3D Escape Room Detective Story is an intriguing point-and-click mystery game that puts you at the forefront of a string of murder cases. If you're struggling with any of the puzzles in the game, I've outlined them all below to give you a nudge in the right direction.
Since this game has five puzzle-filled chapters, I've split it into five separate guides. Once you've completed Chapter 1, check out the walkthroughs for the other four chapters to continue moving forward in the game.
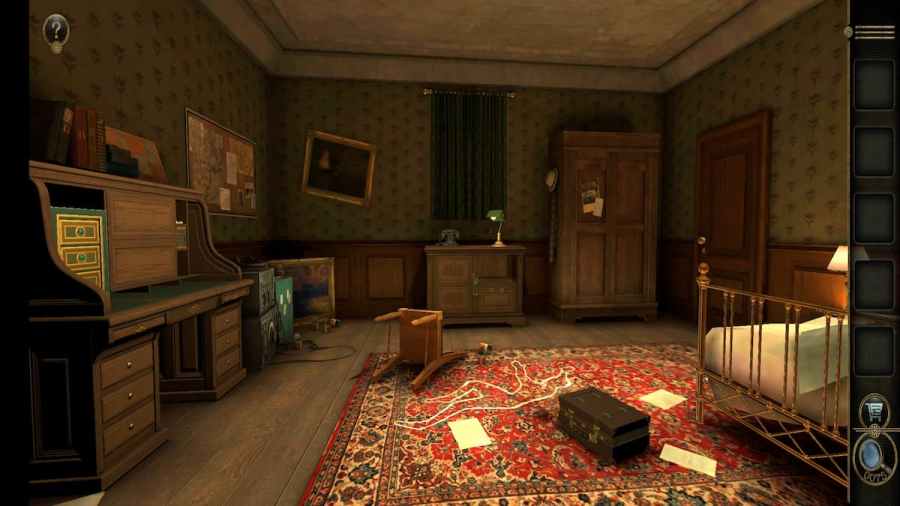
Chapter 1 begins with a phone call from Sheriff Claude asking for your help with a case. Once the interaction ends, the screen fades to black, and you are taken to a messy hotel room.
3D Escape Room Detective Story walkthrough - Chapter 1
From a glance over the room, the key areas of interest are the desk on the left, the cabinet holding the lamp, and the briefcase in the center.

Tutorial and lamp puzzle
This room contains a tutorial to help you navigate the rooms and complete their puzzles. Follow the tutorial towards the desk.
Zooming in on the right side of the desk reveals a slider puzzle with a Handle resting on top of it.

Ignore the puzzle for now and grab the Handle.

Leave the desk and move towards the cabinet against the back wall. Focus on the lamp to see that it is missing a part on its right side.

Attach the Handle to the hole and rotate clockwise to open up a secret compartment in the base of the lamp. The compartment holds the Variable Resistor, which will be used in a puzzle later on.

Opening briefcase
The next area to focus on is the briefcase.

Each side of the briefcase has a lock featuring two golden pieces. Start by flipping the golden piece on the inside so that it is vertical.

After doing that, you'll be able to move the slider on the outside towards the inside.

The briefcase unlocks after doing this on both sides, revealing several different puzzles.

Metal strip puzzle
Go to the puzzle between the photos at the top of the briefcase.

Spin the gold medallion in the center counterclockwise until the central golden piece rests where 4 o'clock would be on a standard clock. This will remove the peg on the left side.

Now spin the medallion clockwise so the gold piece rests at 8 o'clock. This will remove the right peg and give you a Metal Strip.

With both pegs removed, the top of the suitcase will open up. Take note of the telephone number "9527" at the top right and head over to the telephone.

Phone puzzle
The phone can be found on the same cabinet as the lamp.

The phone number from the briefcase is the solution to this puzzle. To input the phone number, you'll need to click on the number you're inputting and drag the circular hole on top of it towards the finger stopper on the lower right of the dial. Since the first number is "9", tap the 9 and drag so that its hole touches the finger stopper.

You'll do the same thing with "5" directly afterward, tapping it on the dial and dragging the hole to the fingerstopper.

Repeat this process for "2" and "7" to unlock the puzzle at the bottom of the phone.

The goal of this puzzle is to place each piece directly beneath the matching symbol on top. To solve it, you need to use the slider at the bottom to move the three pieces around.

Start by moving the slider to the right.

Move the slider up so that only the rightmost piece remains on the bottom.

Move the slider left three times to put the lowest piece on the left side.

Then drag the slider down so all three pieces are on the bottom.

Move the slider to the right.

Push the slider upwards so that the new rightmost piece is alone on the bottom.

Move the slider to the left one time. The piece in the top right is already in position, so you'll leave the piece beneath it to prevent it from moving.

Now push the slider down.

Slide the slider to the left. The two pieces on the bottom should be in the proper columns.

Push the slider up one final time to complete the puzzle.

This will lead you to a small switch on the phone's left side. Flip it to complete the phone.

The dial will open up, revealing a Metal Tray for your inventory.

Briefcase puzzles part 2
Return to the briefcase and place the Metal Tray in its center.

This allows you to turn the gears on the right side by rotating the handle.

Rotating the gears gives you this metal piece.

The metal piece matches an identical piece on the left side.

Place it next to the matching piece to unlock another puzzle.

Metal Strip puzzle
To solve this puzzle, you'll need to flip the sections so that they match the Metal Strip in your inventory.

Once they match, drag the Metal Strip into the puzzle to complete the puzzle. The reward for this puzzle is a Triangle Metal Block.

Triangle Metal Block puzzle
Open up your inventory with the Triangle Metal Block selected.

Twist its two halves and push them together to turn it into an Irregular Gear.

Upon returning to the right side of the briefcase, you'll notice that the top left gear has a slim column sticking out of it. Place the Irregular Gear onto this column and use the red slider at the bottom to place the orange gear against the same top left gear.

Now rotate the gear the same way you did previously to open up the compartment behind the puzzle, which contains an Electronic Prop.

Electronic puzzle
Move to view the puzzle at the top of the briefcase.

The Electronic Prop can be added to the left column.

To complete the puzzle, the sum of the switches needs to match the two areas circled in red. Solve the right side by moving the switch in the center to the bottom.

Solve the left side by inverting the switches so that the left and right switches are at the bottom of their rows while the central switch is at the top.

This puzzle gives you a Semi-Circular Metal Piece.

Semi-Circular Metal Piece puzzle
Select the Semi-Circular Metal Piece in your inventory. Rotate the gold-colored point sticking out to open it up.

Once opened, spin the needles so that they are pointing directly at the red and blue triangles of the piece to turn it into a Sundial Compass.

This can be placed into the center of the briefcase where the Metal Tray is.

After placing the Sundial Compass on the Metal Tray, a new section will open at the bottom of the case. Click on the compass to place it into your inventory. A box-shaped puzzle will appear from the bottom of the briefcase, but it cannot be solved yet.

Right cabinet door puzzle
Now return to the cabinet holding the lamp and focus on the right cabinet door.

Pull each of the golden switches down to open the cabinet.

This reveals a second puzzle consisting of two three-prong tabs, two rotating carved-out circles, and a small central door.

You'll need to rotate each circle so that there is a clear, straight path for the prongs to follow to the center.

Then pull each prong through the path to remove the center door.

The center door opens to reveal a sun-shaped hole.

To complete the puzzle, place the Sundial Compass into the hole.

The space above the puzzle opens, revealing a Trunk and a Key.

Bathroom puzzles part 1
After retrieving the Key from the cabinet, it can be used on the door on the right side of the room. Drag the Key to the lock on the door to insert it.

Turn the key 360 degrees to unlock the bathroom.

Sink puzzle
When looking at the bathroom sink, you'll notice the left elephant missing a trunk.

Drag the Trunk to the elephant to connect the two.

After the Trunk is added to the elephant, it is divided into three sections. Each section must be rotated until it is identical to the elephant on the right. I recommend adjusting the center section first, then the top section. Once the elephant is correct, the top of the faucet will rise to reveal a Key.

Insert that Key into the bathroom cabinet to unlock it. Take note of the numbers on the cabinet door, as you'll need them to solve the last puzzle.

Metal Ball puzzle
Ignore the puzzles for now and focus on the compartment at the top right.

Grab the metal handle at the top and pull it down to reveal a metal sphere.

Open the sphere up in your inventory and twist the golden piece jutting out to open the ball.

Rotate the ball in the center to reveal a small coin. Tap it to place it in your inventory.

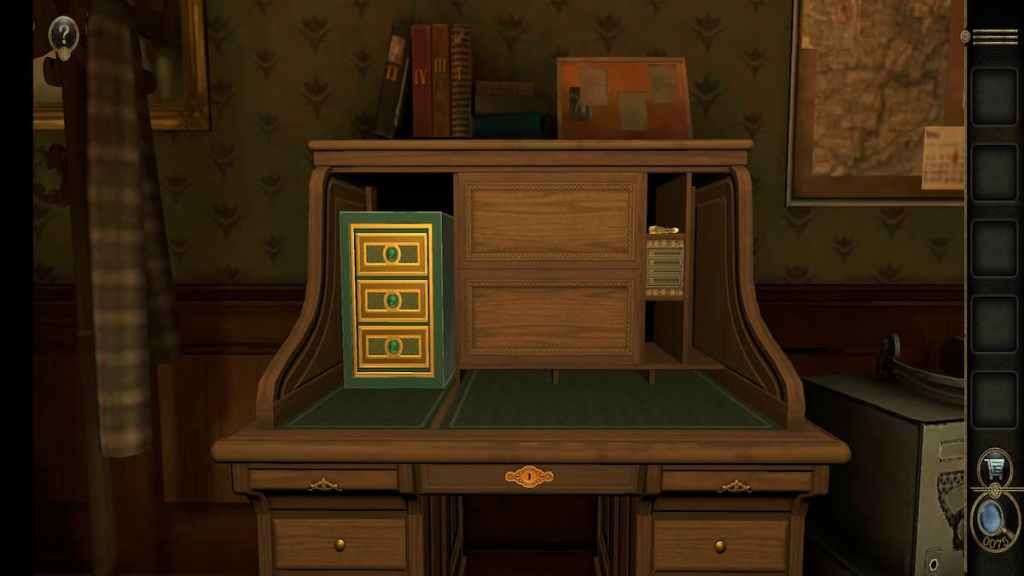
Safe puzzle
Head over to the safe on the desk.
Tap on the top of the safe to reveal a coin slot.

Insert the Coin from the bathroom to unlock the safe's puzzle. The goal of this puzzle is to get the slotted metal piece into the gap at the top of the puzzle.

Slide the block two spaces above the slotted block to the left.

Slide the top right block into the corner.

Slide the long vertical block to the right of the slotted one toward the top of the puzzle.

Slide the bottom left piece to the right.

Slide the horizontal piece on the right against the slotted piece.

Slide the right bottom corner piece up.

Slide the bottom piece right.

Slide the slotted piece and the adjacent one down.

Slide the right horizontal piece to the left.

Move the longest vertical piece down.

Move the right corner piece to the left once.

Slide the top vertical piece on the right upwards.

Move the second horizontal piece from the top on the left side to the right.

Push the slotted piece up.

Move the piece in the bottom right corner to the left.

Slide the lower vertical piece on the right into the corner.

Slide the piece in the top right corner down.

Now move the horizontal piece above the slotted one to the right.

Slide the slotted metal piece to the top to get an Eyepiece.

Briefcase box puzzle
Return to the box-shaped puzzle in the briefcase.

Place the Eyepiece on top of the puzzle. This unlocks a secret compartment containing a Magnetic Tape and a Resistor.

Desk puzzles
This section covers the remaining desk puzzles, including the books, ampere, oscilloscope, and radio puzzles.
Book slider puzzle
Start by looking at the order of the books on top of it. The order here is II, IV, III, I.

Head over to the right side of the desk to view the puzzle.

The slider at the top represents the first, book with the slider at the bottom being the last. Push each slider so that it lands on the numbers of the books in the order they can be found on top of the desk.

Solving this reveals an ampere puzzle within the desk.

Ampere puzzle
You'll need to flip the switches on the left side so that the ampere meter on the left matches the ampere meter on the right. The order will change, but in my playthrough, it was the second, third, and fourth switches.

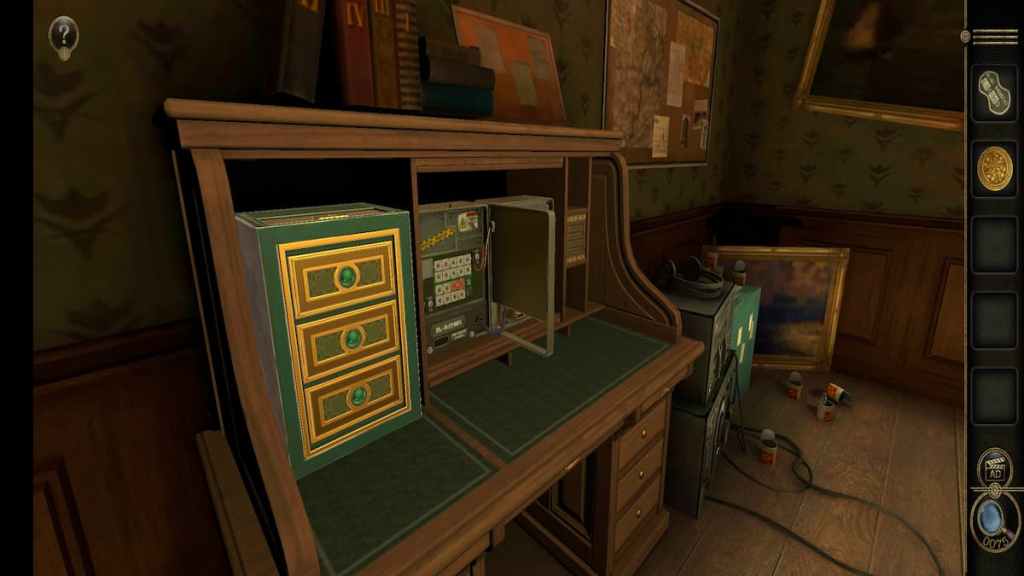
Electronic pathway puzzle
The next puzzle is much more complex, consisting of a series of rotating electrical pathways.

Unlock the pathways by adding the Resistor to the rectangular compartment in the top left.

You need to connect all three blocks using the electronic paths in this puzzle. Start by connecting the Resistor to the block beneath it, then create a connecting path from the block on the right. The blocks in the image below are not connected properly, but flipping them to follow the outlined path will solve the puzzle.

This will unlock a new section behind the puzzle.

Place the Variable Resistor into the open slot on the yellow bar to finish this section.

Oscilloscope puzzle
While the oscilloscope puzzle looks daunting, it's pretty simple to solve.

Start by rotating the right dial, which controls the height of the waves.

Then rotate the left dial, which controls how wide the waves are.

Spin the right dial until the height of the green waves matches the height of the blue waves.

Finish the puzzle by rotating the left dial until the waves match. This gives you a key.

Insert the key into the desk's locked drawer to unlock the stereo puzzle.

Stereo puzzle
The stereo puzzle has two sections, the first of them consisting of two dials and AM and FM frequencies.

You'll need to use the two dials to adjust the FM and AM frequencies to the numbers listed on the magnetic tape.

The left dial controls the FM slider while the right dial controls the AM slider. Turn the left slider until the FM slider touches 98 and the right dial until the AM slider reaches 110 to solve the puzzle.

Completing the stereo reveals a small compartment.

Place the magnetic tape into the compartment to unlock a Decorative Slider.

Bathroom cabinet puzzles part 2
Return to the bathroom cabinet.
Dial puzzle
Focus on the bottom puzzle and pull the lever on the right to begin.

The goal of this puzzle is to get the arrows on each dial to point toward the red dots. An easy way to do this is by having one of the side dials two turns away from the dot, the center dial three turns away, and the final dial one turn away. Turning each of the side dials towards their dots will bring the center dial to its dot in this setup.

Gold slider puzzle
Completing the dial puzzle will unlock a gold puzzle missing a single slider.

Add the Decorated Slider from your inventory into the empty slot.

You'll need to move the sliders to solve the first part of this puzzle. For me, it was the top left first, then the top right, the bottom right, and the bottom left.

After successfully moving all four sliders, rotate the circle so that the gap at the top is at the bottom of the circle, revealing a red slider.

Push the new red slider to the left to obtain the shield.

Central cabinet puzzle
Return to the first room. You'll notice that the cabinet holding the lamp has a lock with a hole the same size and shape as the Shield.

Insert the Shield and slide the lock up to obtain a Wrench for the next puzzle.

If you back away from the lock and rotate the screen, you'll see a slider on the left side of the cabinet.

Opening that slider reveals an intricately shaped lock.

Attach the Wrench to it and twist it counterclockwise to unlock the next puzzle.

Rotating geometric puzzle
This puzzle involves rotating four geometric platforms so that they press against the poles on the right, turning their lights green. Rotating the top one also rotates the one beneath it and the bottom one, rotating the second one rotates the top and third ones, rotating the third also rotates the third and final ones, and rotating the one on the bottom only rotates itself.

Rotate the first and second ones until the first light turns green.

Then rotate the third gear until the second and third lights turn green.

Finish the puzzle by spinning the final tier until the light turns green to obtain a number Cube.

Bathroom cabinet number puzzle
Head to the bathroom cabinet for the final puzzle. It's made up of two sets of three numbers, plus two zigzagging poles.

Begin the puzzle by placing the Cube in the third column's empty spot.

This puzzle's goal is to roll the dice up and down to match the numbers written on the cabinet door, which can easily be viewed by exiting the puzzle. Dragging the dice up and down changes their numbers.

Once you've completed the first set, it's easy to match the second set on the same row. After completing both sets, slide the two gold pieces so that they frame the numbers.

You'll obtain the final clue, a small piece of paper reading "Churchill's piano teacher."

With that, the first chapter comes to an end.
For more exciting escape room games, check out our list of the 25 Best Free Virtual Escape Rooms here on Pro Game Guides.