
Best Inspirations for each character in Absolum:
- Galandra - Go with either Ghost Blade or Duelist.
- Karl - Hammer Swing and Infused Shells should be your go-to.
- Cider - Pneumatic Heels and Vortex Grip work best with Cider.
- Brome - Pick between Drill Rush, Resonance Field, and Battle Rage
Inspirations represent a priceless source of power for your characters, which is why it's important for you to know how they rank and which ones to go for. That's where our Absolum Inspirations Tier list comes in! A few of them can be mediocre, but most either unlock new and exciting moves or give you amazing new abilities to build a run around. Seeing as you only get two inspirations per run, unless you go hunting for some secret bosses, you want to make your choices count.
Each character has a pool of ten Inspirations that can show up in your runs in Absolum. Every time you beat a mini boss, you get a choice of two. Later on you can also unlock an ability to Reroll those choices in exchange for Crystals.
Galandra Inspiration Tier List
| Inspiration | Tier | Reasoning |
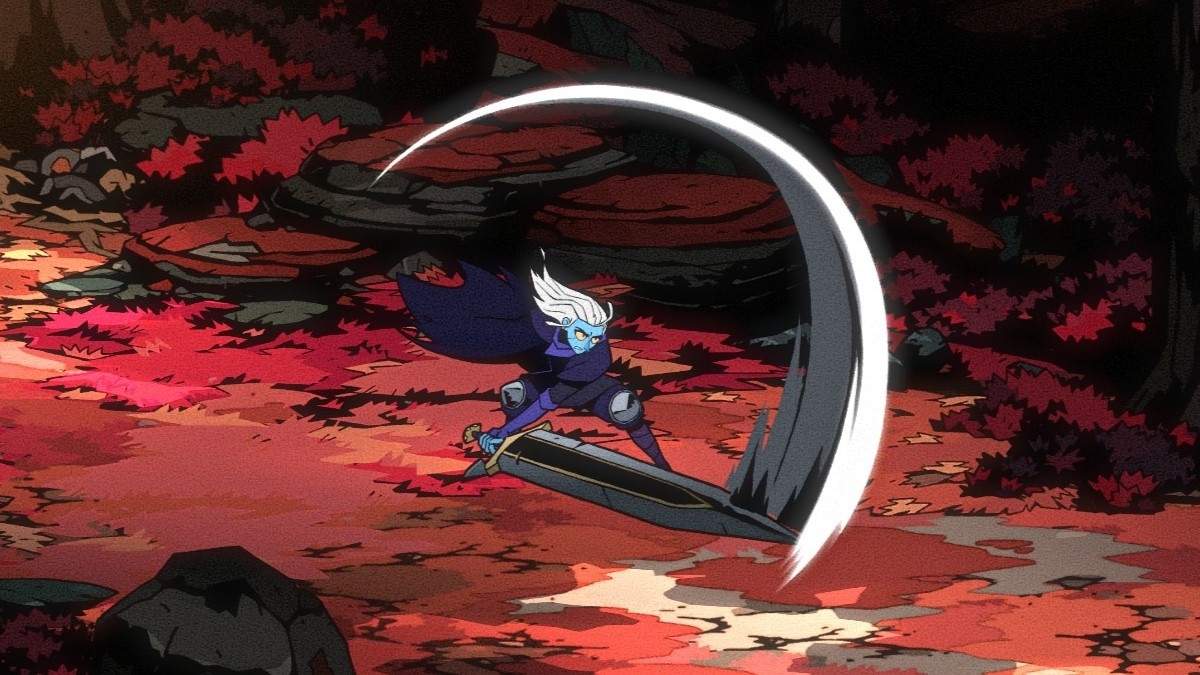
| Ghost Blade | S | This immortal sword of destruction that kills enemies even when you are dead is an unskippable Inspiration. While there are rare moments when it decides to be silly and stay in the corner attacking one enemy for way too long, even then it attracts other enemies towards it, giving you some much needed breathing room. It's also very comfortable to use, seeing as the only input you will ever have to do is press the button to select it when offered. While being a great addition to whatever build you choose to do, Ghost Blade has amazing synergies with certain Companion-based Relics that usually aren’t that useful. |
| Duelist | S | As the name implies, you’ll want to fight as few enemies at a time as possible. The +40% bonus to all damage is massive, but you have to work for it by isolating enemies to avoid the spread of damage. However, even the worst case scenario where you can’t avoid big groups, it is still manageable due to Galandra's crowd control moves. Duelist shines is in boss battles, where you get to use the damage buff to its fullest one-on-one. |
| Sword Flurry | A | Galandra is definitely the Clash specialist out of our four heroes, so an Inspiration that makes it even easier to land them is amazing. The only thing better than striking someone with your big sword, is doing it three times in a row. Sword Flurry is a great damage source, but it also provides great utility by making it easier to hit a Clash. |
| Blade Spin | A | You don’t usually have a reason to take to the skies with Galandra, seeing as her Aerial attacks aren’t anything special, but Blade Spin changes that. Getting this Inspiration early in a run opens up a whole new Aerial style of play, the multi-hit spinning attack working great with Aerial Rituals. Even if you don’t build your run around it, it still provides a great reason to jump up in the air and spin to win. |
| Burial Smash | A | The only issue with Grabs in this game is the fact that you have to slowly walk into an enemy to trigger them. Burial Smash completely negates that downside by allowing you to run from one side of the screen to the other and smash down the unlucky target of your attack. |
| Spirit Claw | B | Spirit Claw makes your Strikes better by giving you a multi-hit finisher at the end of a combo. Seeing as Strikes are generally the most used form of attack, making the Finisher better is a no brainer. While it doesn’t bring anything that new to the table, it’s something you’ll never complain about seeing. |
| Blood Harvest | B | Blood Harvest is the opposite to Duelist, seeing as it works amazing while clearing levels filled with regular enemies, but does nothing during big boss fights. The temporary bonus damage and movement speed are useful and it’s easy to stack up, but not useful enough to grab over the above tiers. |
| Charged Sword | B | I don’t really like the charged attack Inspirations on other characters, but Galandra's is the exception, primarily because it doesn’t lock you into an animation. While the longer you charge, the more damage you do, up to a +300% bonus, you can also stop it at any point if you’re in danger of taking damage, which offers you a great amount of flexibility. |
| Dark Grip | C | Dark Grip is pretty fun to use and a good source of Mana regen, but it’s difficult to use in big groups of enemies, which is most of the time. Sure, you can pick someone up and immediately throw them, but then you don’t get to use the damage over time and Mana regen effects. |
| Dive Kick | C | Dive Kick isn’t necessarily bad, but it finds itself at the bottom of the tier list because it’s not as good as the other Aerial move, and considering Galandra isn't the most Aerial character anyway. |
Karl Inspiration Tier List
| Inspiration | Tier | Reasoning |
| Hammer Swing | S | Spin to win come to life. Sometimes all you need is to end every strike combo with a whirlwind of damage all around you, while also being able to move during it, so no one can escape from you. A must have inspiration for when you want to get in close and personal. |
| Infused Shells | S | My personal favorite inspiration for Karl. The shells flying out and homing in on enemies like a heat seeking missile is really effective as both a damage source and a crowd control tool with the stagger it provides. Its effectiveness depends on the Arcana you’re using, so make sure to pick up Dragonbreath bullet and Rifle bullet. |
| Ironhead Rush | A | Running around the screen headbutting enemies is very effective, but even more importantly, very fun. It also benefits from any Rituals you have on your Skill. |
| Reload | A | Reload turns you into a turret slinging Arcanas left and right with minimal downtime. While you’re at risk during the reload animation, most enemies will already be dead from your attack. Works even better if someone is protecting you in co-op. |
| Earthbreaker | B | Earthbreaker is a simple inspiration that unlocks a new move while grabbing an enemy. It deals good damage and provides some much needed crow control. |
| Throw Mastery | B | Karl is definitely the grappler among the four wizards you can play as, and Throw Mastery takes that up a notch. While using the new move can take some practice to get used to, it also buffs your normal throw attack. A very rewarding inspiration that unlocks a new playstyle. |
| Bouncing Bash | C | While there’s nothing necessarily wrong with this inspiration, the bouncing attacks it gives you aren’t anything special or game changing. Karl isn’t that much of an aerial brawler, so Bouncing Bash pushing him in that direction doesn’t make much sense. |
| Rocket Dwarf | D | While a Rocket Dwarf is incredibly funny to witness in action, sadly it’s not worth the limited inspiration slots you have. It might take you to infinity and beyond, but it won’t carry you to the last boss. |
| Take Aim | D | While the damage buff is nice and you will find spots to charge it up safely, more often than not it’s not worth the risk. |
| Extra Magazines | F | There’s almost no situation where this inspiration is anything more than a downside, which is why it's the only one in F Tier. The 30% damage debuff that Extra Magazines provides is not worth the two extra Mana chunks. Most of the time you want to spend your mana, rather than stockpile it anyway. |
Cider Inspiration Tier List
| Inspiration | Tier | Reasoning |
| Pneumatic Heels | S | The two additional Dashes and the ability to use an Aerial Dash make this Pneumatic Heels the top choice for Cider. It shines the most in aerial combat oriented builds, but you shouldn't skip this one ever. It provides great evasion, making it difficult for enemies to hit or catch you, while also working amazingly well together with other Inspirations and dash based Rituals. |
| Vortex Grip | S | Cider already has a great Grab move that allows you to close the distance with enemies. but Vortex Grip takes that up to 11, offering even greater crowd control and increased damage. It can be a little tough to use when you are getting swarmed, but managing to break them up by using one of their own is an amazing feeling. |
| Slice and Dice | A | Slice and Dice is a great way to turn your defensive move into an offensive one. You’ll have to work for the backstab damage bonus by positioning yourself properly, but that being said, it becomes a lot easier to do if you have a co-op partner or the above-mentioned Pneumatic Heels. This Inspiration also makes your Dash Rituals easier to use. |
| Turbo Rotor | A | You don’t notice its effects that much, however as you play around with it, you’ll notice that your combos are easier to maintain and enemies get stuck in them for longer, resulting in more damage. It may not be flashy, but it does its job. |
| Throwable Replicator | B | While every character can string together a Throwable build, none of them do it quite like Cider, and this Inspiration is the reason for it. You will want to pair it with something that constantly gives you back Throwables, for example Rituals that give you Thorn Daggers. |
| Recycle | B | This one is either a must have Inspiration or a completely wasted slot in your build. It all depends on the skill you choose at the start of the run. If you pick a gadget-based Arcana, it will provide you a lot of mana back each time, letting you chain them together. It works especially well with the Shredder Arcana. On the flip side, if you picked a regular Arcana, Recycle does absolutely nothing. |
| Magnetic Jump | C | I want to love it more than I do, but unfortunately it’s not useful often enough for me to pick it over others. The wall jump and special attack it unlocks can be pretty useful and fun, but there aren’t many places for you to take advantage of it. Most of the time the only walls you have are the edges of the screen, which you would rather use to juggle enemies on them. |
| Gyro Drop | C | The biggest problem with this one is the fact that more often than not, you’ll forget you have it, thus you won’t remember to use it. The input for it can also be a bit finicky to get used to, especially among the chaos in the later stages of the game. The effect itself can be pretty useful, letting you control the landing spot, so you can go for the biggest crowd of enemies. |
| Critical Toolbox | D | On paper it should be great, but in reality it doesn’t do that much by itself and in my subjective reality it only ever spawns explosive Throwables that do me more harm than good. You need to build around it in order for it to be good, both with Luck upgrades and Throwable synergies. Although even then, its job can be replaced by a single Ritual. |
| Cashback | D | I love Cashback, not because it’s good, but because it’s funny. It was hilarious throwing coins at my co-op partner, like I was some medieval lord and they were my squire. However once the novelty wears off, you’re left with a subpar inspiration that is only any good in a Throwable focused build, but even then, there are other Inspirations and Rituals that do a much better job. |
Brome Inspiration Tier List
| Inspiration | Tier | Reasoning |
| Drill Rush | S | Drill Rush is simply amazing. You get a running attack for your Skill that benefits from any rituals you have on it. It hits multiple enemies and deals tons of damage while also giving you great maneuverability. I take it every time I see it and try to build my run around it. |
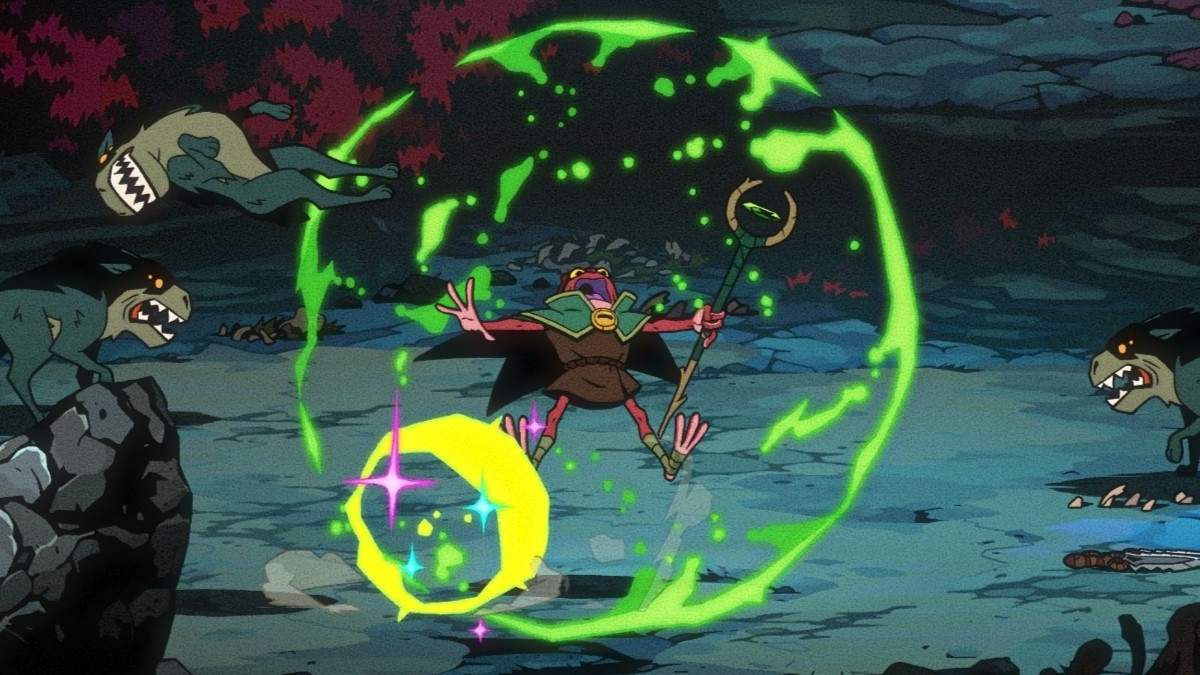
| Battle Rage | S | While not as flashy, the bonus Mana you gain from Battle Rage lets you use your Arcana way more often, which then makes it easier to keep your combo number, which in turn gives you even more Mana. This turns you into a true spellcaster. |
| Resonance Field | S | A 20% bonus damage on my Arcana after using my Skill? Nice. It stacks up to 10 times for a 200% bonus? Amazing! Resonance Field rewards you for minimally changing your playstyle to make sure you hit enemies with your Skill before using your Arcana. It also perfectly synergizes with the next Inspiration on the list. |
| Arcana Overload | A | The strength of this one depends on what Arcana you’re using, so that stops it from being in the S tier. With that being said, spending two times the Mana for three times the damage? Now that’s an investment. Another good aspect is that you can still spam your Arcana by using them while you only have one Mana chunk filled, so it doesn’t have a downside. |
| Infused Staff | B | Your ground strikes become a lot more tempting to use after obtaining Infused Staff. The main downside to the energy blasts is the fact that they get stronger the more unspent Mana you have. On some other characters this might not be as much of a downside, but it would be a waste on Brome. |
| Projectile Dispel | C | Clashing is a thing you want to do as much as possible for this inspiration to reward you by sending the projectiles you Clash back at the enemy. With that being said, you aren’t going to be Clashing attacks consistently for this to be a first pick. |
| Telekinesis | C | Paired with certain Bramble Rituals can enable a unique playstyle for Brome, but consider he has nothing else that makes him generate more of the Throwables, it's not that useful at all. |
| Controlled Grab | C | Controller Grab allows you to reposition after grabbing someone and the slam does a good amount of damage. However it doesn’t really bring anything that new or great to the table, but most importantly, Brome isn't that interested in doing grabs. You're way better off using other moves to generate more Mana and cast your Arcana. |
| Mana Burst | D | While the visuals are very flashy and it can be very fun and effective when things go right, you don’t usually have the chance to stand still long enough to charge it up. While it’s not useless, it just doesn’t justify being taken over most other Inspirations. |
| Channelling | D | Channeling is the same as Mana Burst, but it feels even slower to charge. You’re better off just casting your Arcana normally. |
For more Absolum content and a guide on how to find more of the great Inspirations from our Absolum Tier List in your runs, check out our Absolum Secret Bosses Guide here on PGG.