The horror genre has been fertile ground for gaming in recent years and as with most gaming trends, this has spread to Roblox. There is plenty of room for imagination, as games like Doors have shown, with tension and jump scares being great tools for game developers. If you throw in some tricky puzzles and exploration, as the Myth-inspired Scotomaphobia does, then you have the recipe for a hit. If you’re struggling to find your path on the first few levels as I did, read on for my Scotomaphobia walkthrough for layers one and two.
How to complete Scotomaphobia Layers 1 and 2
What makes Scotomaphobia both tricky and interesting is the fact it is an open world split into levels, rather than your typical maze or building. This means you have more of an exploration feel and may have to backtrack. But the game has a number of layers, meaning that you do have a sense of progress and the satisfaction of advancing as you go.
Related: How to beat Seek in Roblox Doors
If you don’t want a complete walkthrough, look for the plaques you’ll see on the walls, and notes on the ground. These sometimes just give bits of story, but can also give you hints as to how to complete levels. Also, note you're going to have to be a good jumper to complete this game! There are some really tricky jumps to make, often in the dark and in danger, so it can be very frustrating.
Death and advancement
Note that you can’t completely die in Scotomaphobia. If something gets you, you’ll go through one of a series of creepy cut scenes (I don’t know how many there are, but I’ve seen a few…) and then reemerge at the start of the Layer you died on.

Also, note that you're partially in a group with the other players you're on a level with. This means that if someone solves a puzzle, all the players on that Layer get the benefit. So when one person breaks into the mine (below) to get to Layer Two, you'll all descend together. However, on Layer Two, while some of the work can be done for you, you're still going to need to collect the Silver Crystals.
Scotomaphobia walkthrough: Layer One
You arrive on Layer One at the start of a long path that leads forward into the mist. Immediately turn around and go up the cliffs behind you, heading a little to the right until you see a bridge going into the mist. Walk along it and grab the Trowel at the end. Come back from the bridge to where you climbed up and go across to the graveyard on the cliff now to your right. Find headstone 24, use the trowel, and get the Key there.

Go to the house, enter with the key, and take the Axe. Use the Axe on the planks blocking the mine entrance that is at the end of the long path, and down you go to Layer Two.
Scotomaphobia walkthrough: Layer Two

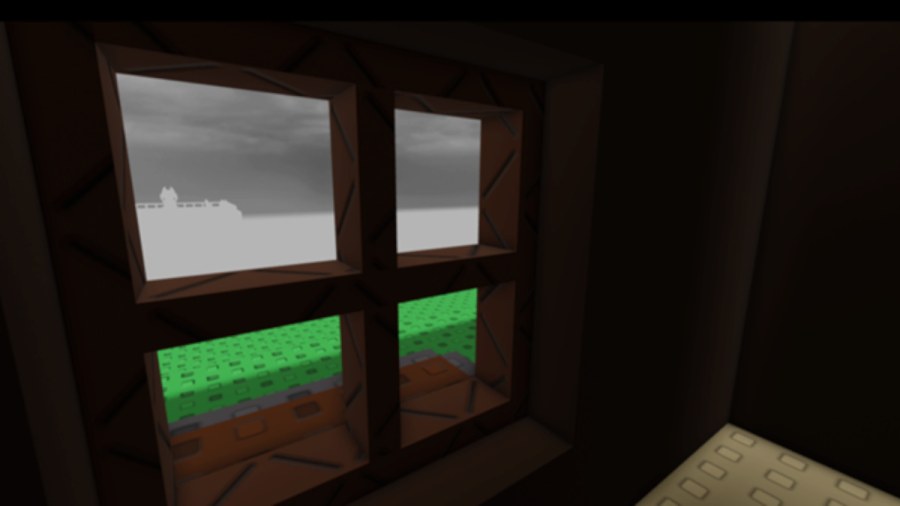
Emerging from the elevator, you’ll be in a large cave and there’s a Blue Fire Pit just in front of you. These are Teleport Points that allow you to get around the map, so make sure to interact with any others you find later to switch them on. Some of these are automatically available, while others you’ll need to activate yourself (you’ll see a list of available locations at any teleport point).
The key to survival early in Layer Two is staying in the light. Keep as close to the torches as possible. If you stray too far, dark fingers will start to appear at the sides of your screen. If they fill the screen, you’ll restart at the entrance from the elevator. Your first job is to go straight ahead and across the chasm, jumping from plinth to plinth. The bright light on the other side is the entrance to Layer Three but no, it’s not that easy. If there is a Glowing Silver Crystal Ball here, interact with it, as these are the key to moving on from this Layer. Collect them all, and you can exit through the glowing white door.
Puzzle 1: Guidance

This is in the room with the Guidance teleport location. From facing the glowing door to Layer Three, turn left and jump until you see a ledge on the cliff wall on your right. Go across here on the ledge, make a couple of jumps as you go, then do around the corner (pictured above) and keep following until there is a point where you can climb up. At the top, jump right onto another ledge, then right jump again across the corner, to get to a point where you can jump up to flat ground above. This is a very tricky jumping section.

On the ledge above you’ll find a cave entrance and inside a map with a radio next to it. Going near the radio triggers it. Someone is trapped in a maze and you need to listen to what they say while looking at the map on the floor to guide them through. You can work out where they are by how they describe what’s around them. We can’t tell you more, as the map is randomly generated, but the radio gives you full instructions. When complete, a door will open in the room. Only one player needs to do this.
Once they’re safe, a new exit appears from the cave you’re in. Go through to find another cave with a lot of water on the floor. While you can mostly walk in the water, look out for a dark presence that swims around in it. If this gets you, yup, you’re dead. Plus, you still have the darkness creature to contend with! But not for long.

Eventually, you’ll come to a long bridge after following a linear path through the water. By the bridge, you’ll see a torch on the ground. Pick this up, and you no longer need to worry about the darkness. Go across the bridge, walk right, and climb up the ledges on the wall until you get to a small gap in the wall. Go in and grab the Glowing Silver Crystal from the statue.
Puzzle 2: Hub

This is at the Hub Teleport location, but you can get there by jumping down from the long bridge you just crossed onto the large bridge below it. The area has six tents, and you want to interact with the first one on the right which has a chart on the floor next to it. The key is to interact with the other tents to get clues so that you can match each Hero with a location and a season.
Once done, speaking to the first creature will get you the next Silver Crystal. Now head between the two back tents on the right side and across a few jumps to a large Temple. Take the Crystal in front of the Altar here. If someone has solved the puzzle already, you just need to go and get your Crystal.

The Tower
You can do this before you do the puzzles above, but it’s a tricky jumping and climbing challenge made much less stressful by having a torch! Go as if you were heading to the Guidance cave but keep jumping forward to the tower, you’ll see rather than going right and up the cliff edge. Jump and climb the tower to the top, where you’ll find your next Silver Crystal.
Trial by Fire
Teleport back to the Hub and look for a small path heading left from the first tent on the left, next to the blue fire pit. You have to run and jump in the dark (unless you have a torch) to get to it quickly but once there and lit you’re safe and have the Trial by Fire teleport location.
Related: How to get the Why. . . badge in Forgotten Memories
From this new teleport spot, look right into the darkness again. You need to jump along a path here, but the difficulty is if you have your torch on, a fire creature gets you, and if you don’t, the darkness creature does. You need to alternate between having your torch on and off to make your way along the path. When you make it to the end, turn left and jump down to the fire pit you can see below. Climb up the moss at the bottom, then jump across the pillars to another fire pit where you can grab your next Silver Crystal.
Puzzle 3: Cardinal

If you’re facing the glowing entrance to Layer Three, turn right and jump across the pillars until you see a mine entrance to your right. Jump across to it and go in. You’ll be in a room with four exits, a compass on the floor, and the Cardinal teleport spot. Using the compass on the floor as your guide (red is north), you’ll need to exit the room east, north, south, south, north, and finally west to enter a room with a Silver Crystal inside. Each room you enter before then looks identical, which can make this tricky to keep track of.

And that’s it! You can now head back to the entrance to Layer Three and walk through. Good luck!
For more Roblox game guides, check out How to get all keys in Cheese Escape or How to get all badges in Forgotten Memories here at Pro Game Guides!