In Sea of Stars, you lead a troupe of adventurers through a whimsical world, defeating monsters and collecting rare artifacts along the way. The game's visual style is heavily inspired by Chrono Trigger, with charming retro graphics and a nostalgic soundtrack. Here's your ultimate guide to the light emitter room in Sea of Stars.
Sea of Stars Abandoned Wizard's Lab Guide
By the way, keep your eyes peeled, as there should be two Rainbow Conches in this area!
Getting the Green Crystal

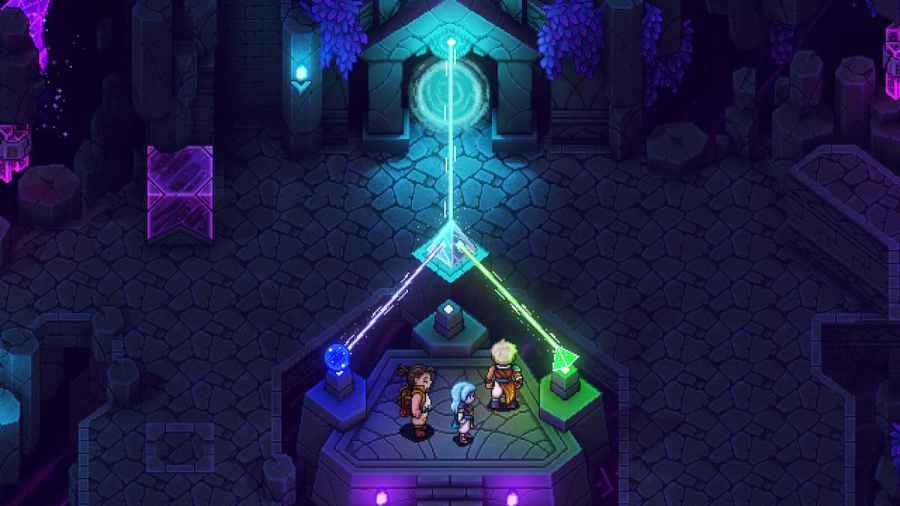
To fix the light emitter, you must first collect the Green Crystal from a chest in the emitter room. This chest is just out of reach, so you must move the purple box using your Mistral Bracelet, allowing you to climb up to the chest platform. With the Green Crystal in tow, return to the light emitter and place it in the pillar to the right. This causes the emitter to reflect green light, generating a green portal in the process. Step through the portal.
Getting the Blue Crystal

After walking through the green portal, look for a chest on the upper-right portion of the room. This is your goal, but to get there, you must solve a puzzle with glowing plates on the ground. There are two plates, one in the center of the room and one on the high platform near the left side of the room. First, step on the center plate. Then, jump across the broken sections of the floor and climb up to the left plate. Open the chest, then step on the left plate.
Now, the platforms have been altered once again, so jump across the glowing platforms and onto the floor. From here, climb up to the right platform, hop off the platform toward the glowing plate, then step on it. This opens the wall that previously barricaded the chest, allowing you to retrace your steps and claim the Blue Crystal from the chest.
Related: Where to find a Golden Pelican reservation in Sea of Stars
Solving the teleport puzzle

This puzzle is where things get a little tedious. When you jump through a teleport hole, you reappear at a different location in the room, but it's easy to get lost. To solve this puzzle, first jump into the portal with the north-facing arrow. Climb up the vertical platforms and fight the two Wanderers. It's best to barrage these enemies with basic attacks before they unleash their powerful skills. After the battle, jump into the portal on the right edge of the platform.
Ascend the ladder and fight the Arcane Sentry and Wizcroube. In this encounter, watch out for the Wizcroube's Bubble Drop skill since it deals damage to your entire party. Next, walk to the right side of the platform and drop down to the lower level. Jump into the only teleporter available, then step onto the glowing plate. After completing the battle with four opponents, step onto the glowing plate, then hop into the newly accessible teleporter.
Hop onto the platform where you encountered the first battle and activate the lever. Enter the teleport hole, and you should be back where you started. Next, enter the east-facing teleporter, then select the glowing item.
Exit the blue portal and return to the light emitter room, then place the Green Crystal into the pillar to the left of the light emitter. Both crystals should be inserted into the light emitter at the same time. A new portal should appear. Walk into the portal.
Getting the Red Crystal

If you haven't rested at the campfire yet, now is an excellent time to do so. There will be more combat ahead, so preparing food beforehand is wise. When you're ready, jump across the rocks and interact with the glowing pillar. This will spawn several enemies, so expect an intense battle. Afterward, move the purple box with your Mistral Bracelet, and interact with the glowing pillar. This will spawn even more enemies, so be prepared for yet another fight.
After this combat encounter, move the purple box to the left side of the stone platform so you can climb up to the last glowing pillar. This will kickstart the final battle in this section, so hang on for a little while longer. Open the chest underneath the waterfall and retrieve the Red Crystal. There's a Rainbow Conch on the far left of this place as well.
Related: All Quiz Master answers in Sea of Stars – All Question Pack answers & locations
Optional room #1: Using the Green and Red Crystals

You open the gold portal if you combine the Green Crystal and Red Crystal at the light emitter. This is an optional room. Here, you jump across many cubes. If you jump across in the wrong order, you will be sent back to the start. There are plates you can step on nearby, which reveal the safe path. Follow this correct path, then pick up the scroll at the end.
Optional room #2: Using the Red Crystal (Rainbow Conch)

If you're missing a Rainbow Conch in the Abandoned Wizard's Lab, it's probably the reward for completing this room. The puzzle itself isn't hard—just move two of the three purple pillars to the middle of the room. The middle switch allows you to yeet the pillars to the left/right side(s) of the room so they appear on the other side.
Opening the white portal
Once you've completed this room, there's no need to backtrack, as a lever on the left side will carry you back to the entrance. Return to the light emitter room, then place all three crystals on all three stands. This action should generate a white portal. Now, you have completed the light emitter puzzle. Before entering the white portal that appears, however, you should rest at the campfire, cook some food, and save your game.
For more Sea of Stars guides, come check out All Artifact Locations in Sea of Stars here on Pro Game Guides.