
Supermassive Games pulls teen summer horror straight out of the 80s and into the present with their Until Dawn spiritual successor, The Quarry. Like in Until Dawn, players can find various collectibles along the way that can expand the story. One of those collectibles is known as Evidence, which is used to prove the happenings of the group's nightmarish night. Here is where to find all of the Evidence in The Quarry.
All Evidence locations in The Quarry
Spoiler Warning: The locations of the below Evidence will spoil some aspects of the game's story.
Chapter 1
Along with one piece of Evidence to find, Chapter 1 also has a vital decision that must be made correctly to ensure you can collect the third piece of Evidence later on.
Important Decision to spawn Evidence #3
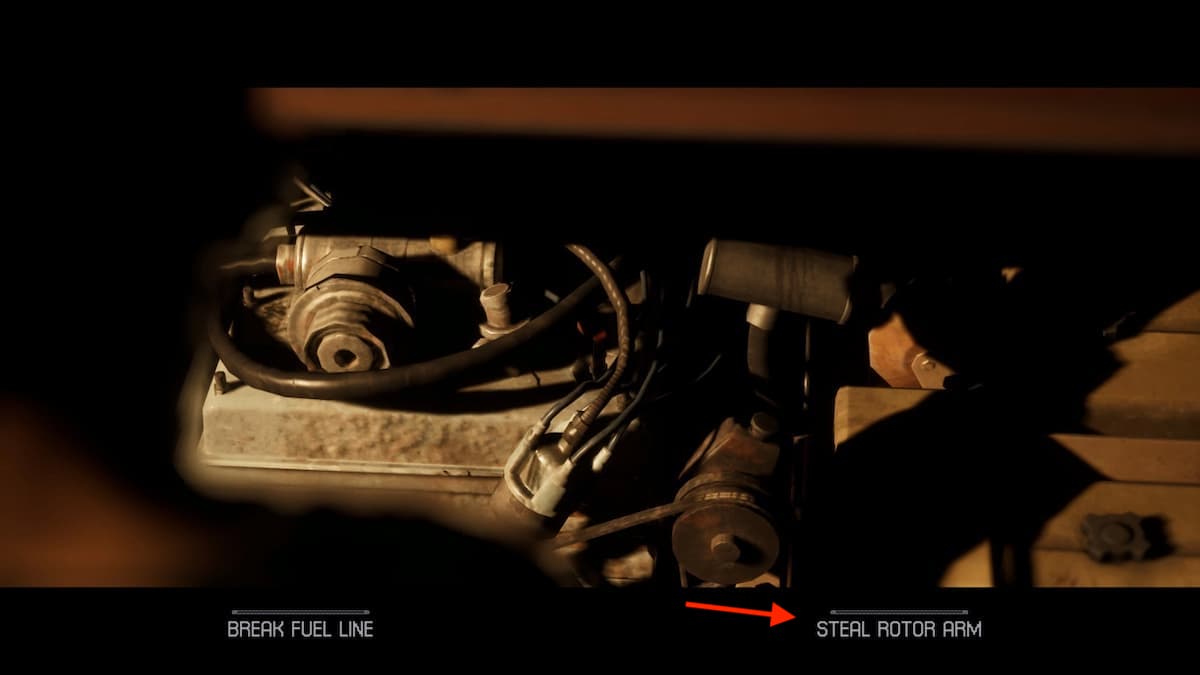
When playing as Jacob, you will head back outside to the van after you have grabbed the bags from the lodge. Shortly after you will get the option at the van to either break the fuel line or steal the rotator arm. In order for Evidence #3 to appear in Chapter 3, you must steal the rotator arm. If you choose to break the fuel line Evidence #3 will not appear and you will have to get it in another playthrough.
Evidence #1: Empty Vial
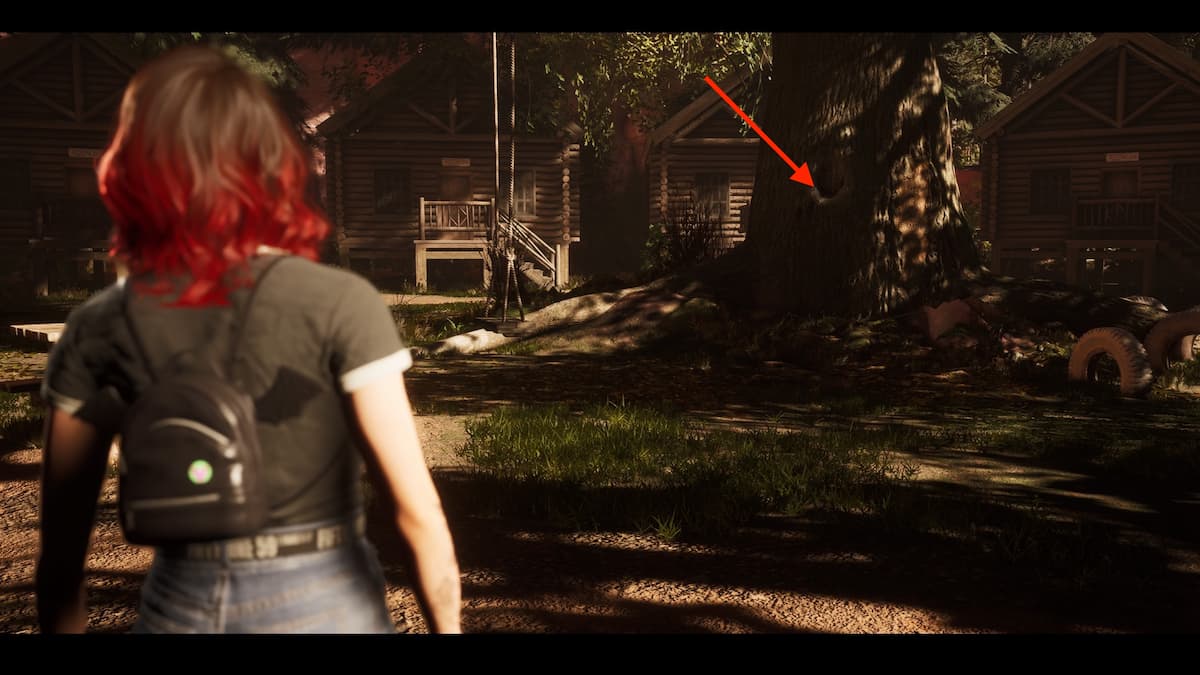
The first piece of Evidence you can find in The Quarry comes when you are playing as Abi. After breaking into the Cabin with Emma, you are left to explore the area. This Evidence can be found in the center of the Cabins, in a hole in the big tree.
Chapter 2
Evidence #2: Torn Bags

In Chapter 2, you will take control of Emma and head to the local storehouse in order to look for party supplies. In the back of the storehouse, you will find a locked room. Within this room, Jacob will grab the case of beer from the corner and leave you to explore. In the corner of this room, you can find this piece of Evidence. It is two torn-up backpacks.
Related: How to get the ‘Family Matters’ Trophy/Achievement in The Quarry
Chapter 3
Evidence #3: Bloated Corpse

In order to collect this piece of Evidence, you will have to ensure that you have taken the rotator arm from the van in Chapter 1. In Chapter 3 when Jacob and Emma are swimming in the lake, Jacob will hear Abigal scream. Before he goes to chase after her, he will realize that he has dropped the rotator arm in the lake. You will need to choose to dive in after it when faced with a decision. While under the water, choose to grab the rotator arm, and complete a simple QTE. When Jacob goes swimming up to the surface he will run into the bloated corpse and unlock this piece of Evidence.
Chapter 4
Evidence #4: Attack Photo
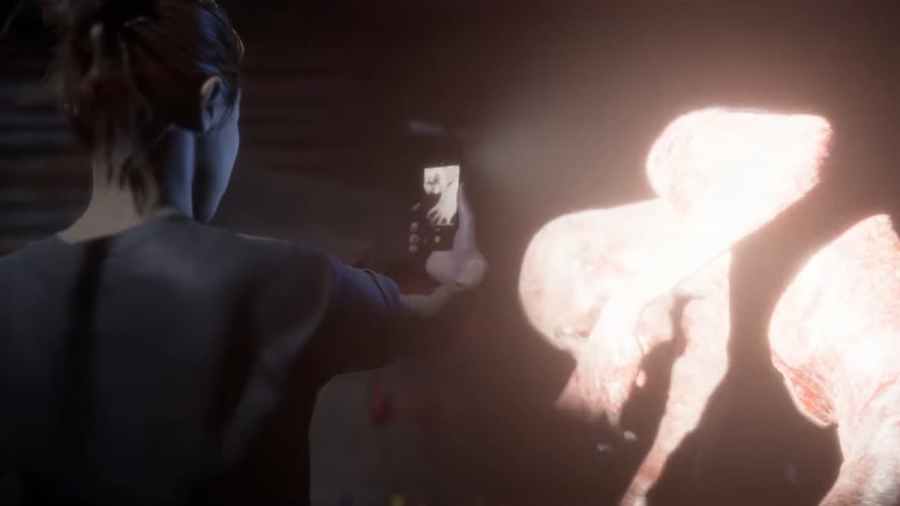
In Chapter 4 when you are controlling Emma, you will eventually make your way to a treehouse. As soon as you enter, you will be faced with a decision. Choose to search the bag as choosing the other will cause Emma to die and you will not be able to get the Evidence. Once the monster jumps out of the hatch, choose to use the Taser on it. Shortly after that, you will receive a timed prompt to take a photo. Make sure you take this photo in order to log the Evidence.
Chapter 5
Evidence #5: Claw Marks
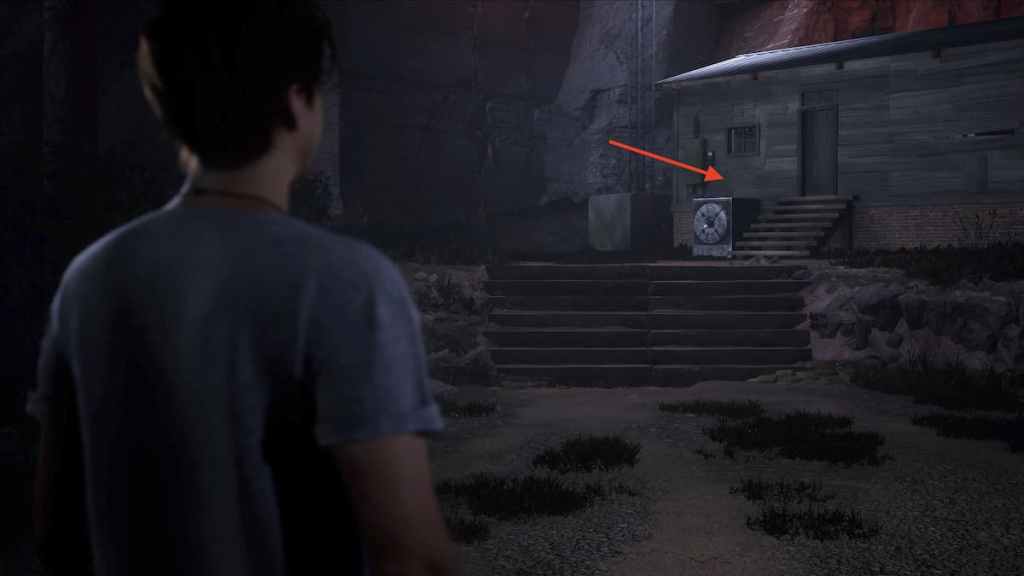
In Chapter 5 when playing as Dylan, you will be heading toward the camps radio building. Before you head inside the building, you can inspect these Claw Marks outside of the door near a large fan. Once you do you will log this piece of Evidence.
Chapter 6
Evidence #6: Memory Card
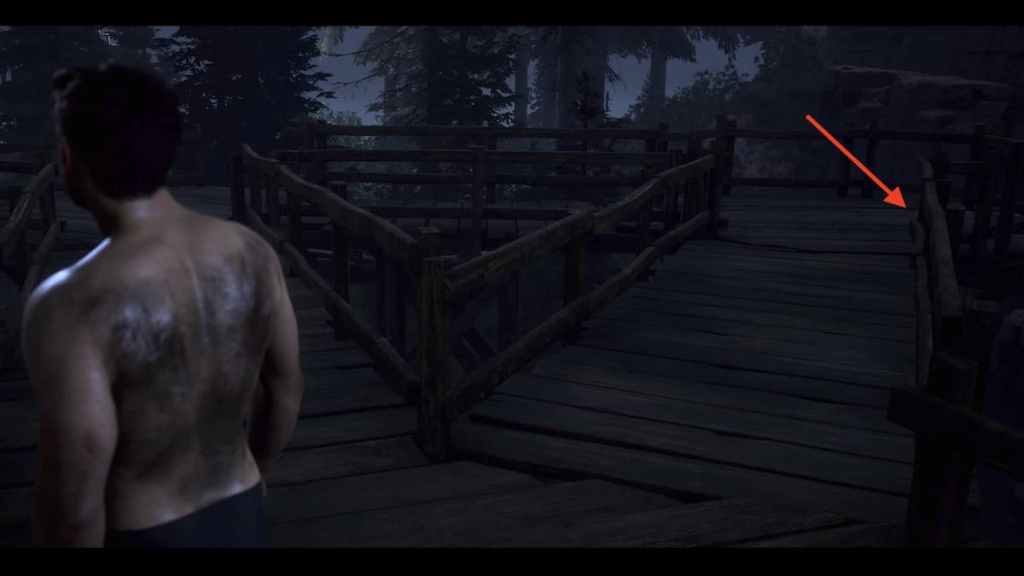
You can find the sixth piece of Evidence during Chapter 6 while playing as Jacob. In this chapter, you will find yourself up on a wooden walkway. Eventually, this walkway will have a fork in its path. Stay to the right side to find a camera on the ground. Jacob will remove the memory card from the camera logging it as Evidence.
Chapter 7
Evidence #7: Cease & Desist Letter
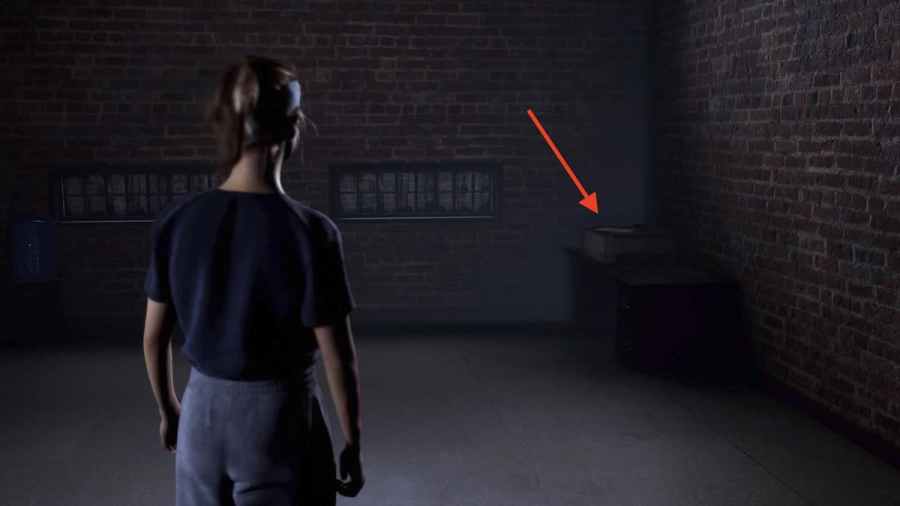
At a late point in Chapter 7, you will eventually be able to free-roam around the police station with Laura. In the lobby of the police station, there are a few concrete steps up to a new room. In the corner of this room, you can find this Cease and Desist letter sitting on the printer.
Chapter 8
Evidence #8: Scarred Flesh
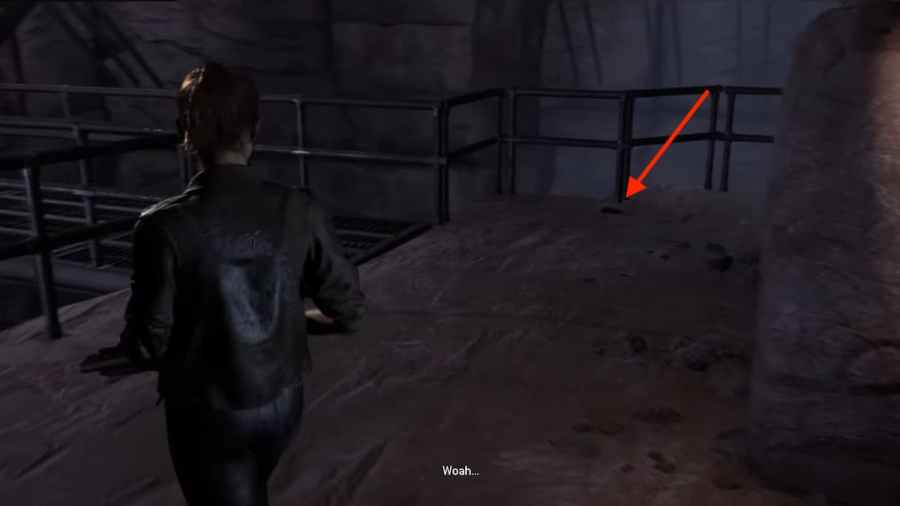
In Chapter 8, you will be moving up the metal stairs of a cave. At one point, the metal walkway you are on will break and you will have to perform a QTE. Right after this, while still playing as Laura, you will make your way to a rocky platform. Right out in the open near a railing before you move onto the next metal walkway, you can find this piece of Evidence.
Chapter 9
Evidence #9: Kaylee's Letter
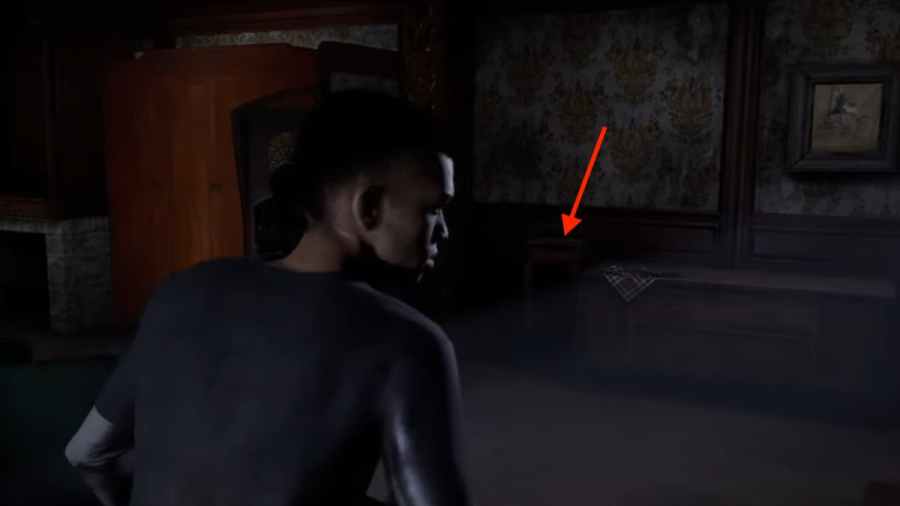
At the beginning of Chapter 9, as soon as you are able to move around the Hackett house with Ryan, turn to your right and walk all the way over to the right wall. Here in a cupboard, you can find Kaylee's Letter, logging it as the ninth piece of Evidence.
Chapter 10
Evidence #10: Trail Cam Footage
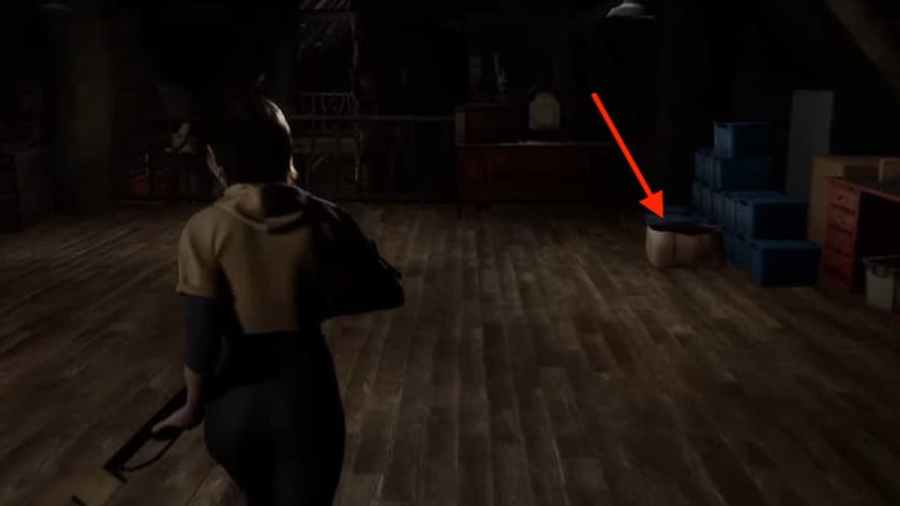
When exploring the Lodge as Kaitlyn and Ryan, you will find your way up to a floor that is fairly open and houses some storage boxes. In the corner of this floor, you will see a stack of blue boxes in the corner. In front of these blue boxes is a cardboard box with tapes in it. Inspect them to have Kaitlyn take a photo of them, and log this final piece of Evidence.
Collecting all ten pieces of Evidence in The Quarry will cause The Truth is Out There achievement to unlock, and you will prove your innocence of the night's horrors.
For more help with The Quarry, check out How to keep everyone alive in The Quarry right here on Pro Game Guides.