Getting to Tobio's Hollow Chasm is one of the longest quests in The Legend of Zelda: Tears of the Kingdom. After players have conquered the four temples (and a creepy side quest in Hyrule Castle), Tobio's Hollow Chasm is the next destination. Link will be traveling around most of the Faron region for this, but by doing so, he will finally find the elusive fifth sage. Note that it's important not to do this quest until Link has 10 hearts, as they will be needed for later.
How to start the quest for Tobio's Hollow Chasm in TOTK (Zelda Tears of the Kingdom)
After the four temples are done, the next job for Link in Tears of the Kingdom is to find the fifth sage. Players will need to start their search in Kakariko Village, specifically where the Ring Ruins are (coordinates 1813, -0936, 0112). Typically, Calip stops Link from getting near the ruins, but now that Zelda is revealed to be an imposter, he will let Link explore.
Inside the Ring Ruins will be some Zonai hieroglyphics.

To translate them, Link will need to take a picture and show it to Tauro, the Zonai translator next to Paya. If Link doesn't have the camera function yet, the player will need to talk to Robbie in Lookout Landing to get the camera.

The hieroglyphics drop a reference to the Zonai Ruins. Therefore, Tauro and Calip pack up and head to the Popla Foothills Skyview Tower. Go there and talk to Calip to start the rest of the quest.

What to do in Zonai Ruins in TOTK (Zelda Tears of the Kingdom)
Warp to Jiukoum Shrine to arrive right by Dracozu Lake, which is the specific part of the Zonai Ruins that Tauro is exploring. Upon gliding down into Dracozu Lake, players will find a tent and a note, which says Tauro is inside a small cave right in front of the tent (coordinates 0931, -2523, 0010).

Walk inside this small cave. Inside will be a mural with more hieroglyphics that Tauro can translate.

This message basically says that Link needs to get the "Lightning Armor" (which is just the Charged Armor Set) and place a Zonai Charge at an altar.
The three pieces of the Charged Armor Set can be found by heading down the Zonai Ruins along the river. The first one is fortunately right on top of the mural inside the chest.

For the second piece of the Charged Armor set, travel southward down the river. Shortly after leaving Dracozu Lake on the right side will be an opening for another small cave (coordinates 0985, -2690, 0007). Use a bomb arrow to clear out the rubble before going inside.

The final piece of the armor is farther down the river. The location will have a pathway on the right with several Zonai Constructs waiting. Instead of going right, go left. Players should find the third small cave with the final piece (coordinates 0968, -2800, 0007).

After collecting these, travel back to Tauro to show off Link's new clothes. He will mention that there should be another area with the altar that Link needs to preset the Zonai Charge at. This altar is way back at the front of the Zonai Ruins, next to a huge Dragon Statue (coordinates 0689, -2744, 0014). There will be a camp of Lizalfos close by as well.

Once inside this final cave, Link needs to put on his Charged Armor Set and place a Zonai Charge at the altar inside.

This causes a cutscene to play where the dragon heads in the Zonai Ruins all charge up and cause a lightning strike to reveal some new sky islands hiding over the Faron Woods. These are the Thunderhead Isles, and they're Link's next destination.

How to get through the Thunderhead Isles in TOTK (Zelda Tears of the Kingdom)
The easiest way to reach the Thunderhead Isles is to glide there from the Popla Foothills Skyview Tower.

Make sure to place a beacon there on the map first. The Thunderhead Isles are a bit of a mini temple where it is in a perpetual thunderstorm, so bring some good wooden or Zonai weapons.
Related: Best Horses & Where to Find Them in Zelda TotK (Tears of the Kingdom)
Once arriving at the small lip of the Thunderhead Isles that's been exposed (coordinates 0708, 12611, 0647), use Ascend to get on top of the next island. From there, walk down through the next series of sky islands, which are all close together.

Eventually, players will come across a long chasm with an orange light right at the edge of a cliff. This light is connected to a lightning conductor and a block. When lightning conductor gets hit, the block extends.

Players just need to stand on the block and wait for lightning to strike (won't be long at all). When the block extends, players can reach the next island.
Towards the end of the next island will be a broken bridge. In order to get past the gap here, just take three of the wooden boards and Ultrahand them together. Place it on top of the gap and use it as a bridge to get to the other side.

The next area will have some rails, but no minecarts in sight. Look around for a metal slab (it should be right by the beginning of the rails). This metal slab as a vertical one attached below it, so players can use it to travel along the rails. Simply attach a fan to the end of the slab and cruise along.

The next main area has a Flux Construct guarding it. It's actually a Flux Construct III, which sounds scary, but it goes down very quickly. When I fought it, I ate a meal of five Mighty Bananas and equipped the Fierce Deity Armor. The Flux Construct III separated after a couple of bow shots, and I was able to strike the entire monster dead after five hits with a Silver Lizal Spear.

Once the Flux Construct III has been slain, move through the rest of the area, using Ascend to get to the higher islands. After a couple of uses of Ascend, players will arrive at an area with a room filled with Like Likes. Defeat them for the drops, but if players don't want them, they can just ignore these enemies.
Related: Great Abandoned Central Mine Location in TotK (Zelda Tears of the Kingdom)
Simply get on top of that room to find a wheel and another block that can get hit with lightning. Position the block so that way it faces forward, then stand on top of it and wait for the next lightning strike.
The block will propel Link to another area with broken rails. To get past this area, players need to actually build two wooden sliders (a wooden board with a vertical board attached to the bottom and a fan at the end). Place one on the short rail and place the other on the far side of the long rail.

Once these are in place, get on the short rails and activate the fan. Once this slider gets to the end, jump off and get on the second slider. Activate that fan to get to the other side.

The next area will have another block that will extend after lightning strikes. Hop on that to advance through the area, which leads to a room with a huge drop below. Jump of the platform and players will arrive at Dragonhead Island. Here will be Joku-U Shrine if players need to warp out and take a break.

Withing Dragonhead Island are huge doors; this is where Link needs his 10 hearts. When Link pushes the door open, he will start to lose hearts, and he needs 10 to survive.

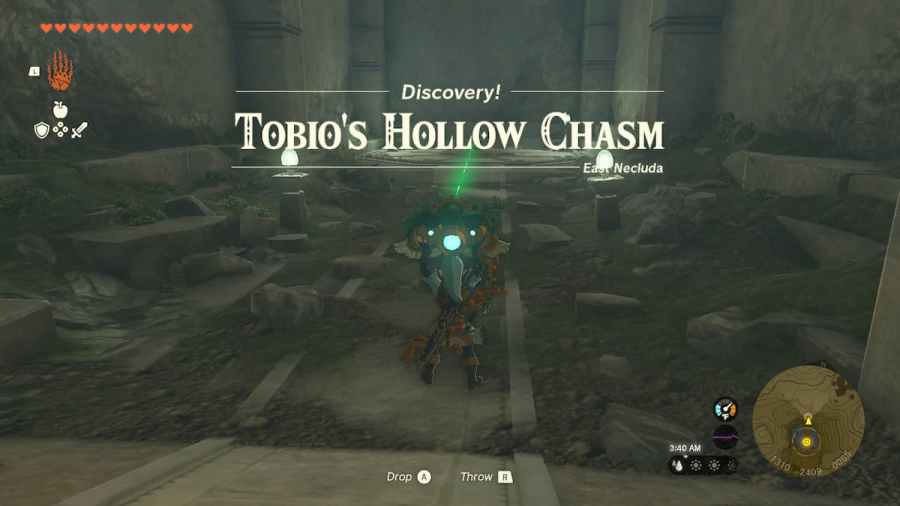
Beyond the door is an owl mask that fires a beam at the location of (finally) Toblo's Hollow Chasm.
There will also be several wings and fans so that Link can make a glider to get over there. I personally attached the owl mask to the front of the plane and just flew it normally.

When players get to the end of the beam, they will find the opening to Tobio's Hollow Chasm and the Construct Factory beneath.

This Construct Factory is a great place to farm items. It's also a great place to abuse the dupe glitch with a five-shot bow.
Want more Zelda Tears of the Kingdom guides? Pro Game Guides has you covered with Zelda TotK – How to find and help Penn at Dueling Peaks Stable in Tears of the Kingdom.