
Megabonk's difficulty curve can be overwhelming when you're just starting out with several seemingly impossible challenges, a slow Silver economy, and no extra slots when you start out. Here's a quick beginner's guide for Megabonk to help you get started and deal with some of these early problems.
How to Get Extra Weapon & Tome Slots
The game doesn't explicitly tell you, but after certain milestones you can purchase permanent extra Weapon and Tome slots from the shop. Extra slots let Tomes and global item buffs affect a larger arsenal, and over long runs this effect snowballs. When every weapon benefits from global stats like attack speed, projectile count, and crit multipliers, a four-weapon setup eventually outpaces a two-weapon one.
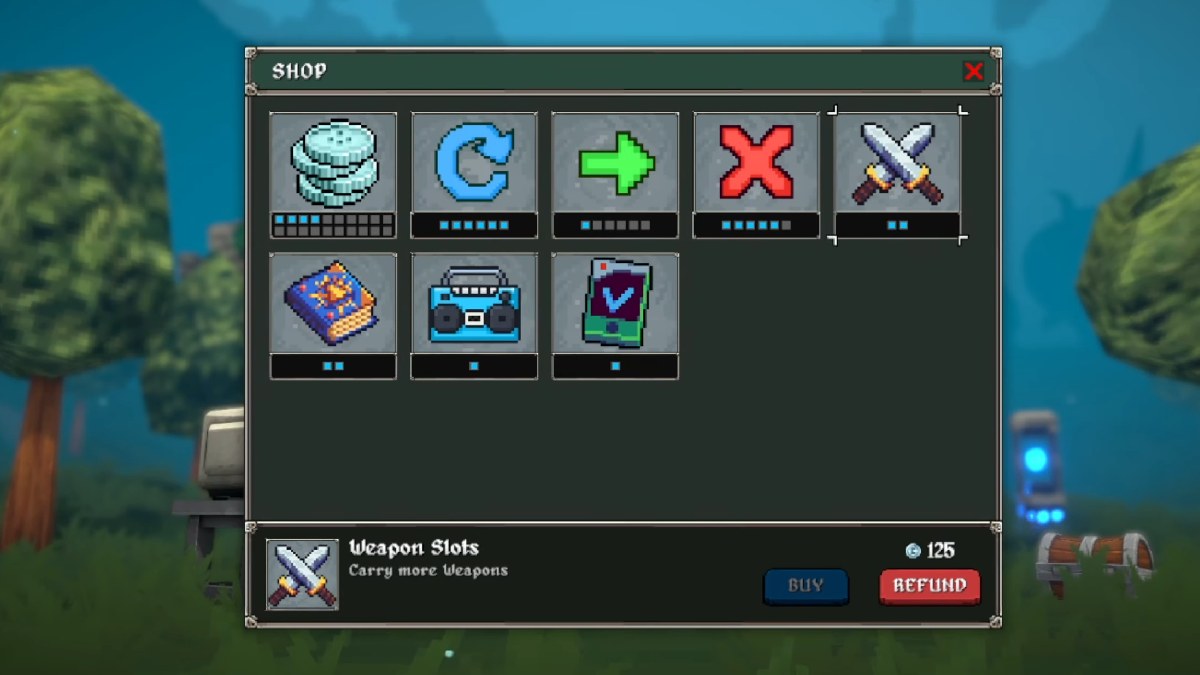
Extra slots are actually disadvantageous on shorter maps, as you won't have the time to upgrade everything. The payoff is most obvious on long maps such as Tier 2 or Tier 3. With more time for scaling and plenty of shrines, the global bonuses from tomes and legendary items multiply across every weapon you hold, turning an average build into an unstoppable run.
| Slot Unlock | Requirement |
|---|---|
| First Extra Weapon Slot | Complete 25 quests |
| Second Extra Weapon Slot | Complete 35 quests |
| Extra Tome Slots | Complete 60 quests |
How to Get More Silver Fast
Silver is the key meta-progression currency in Megabonk, but Silver accumulation feels slow compared to how much you need, and upgrades like Silver Gain barely help. You mainly earn silver at the end of runs, with small pickups during stages providing only minor boosts. The fastest way to farm more silver is to push deeper into stages, since higher-tier runs naturally give larger payouts and Tier 3 can easily reward 50+ Silver per run. Completing quests and challenges is also important, as many of these give Silver rewards and unlock new tools that make long runs more successful and rewarding.
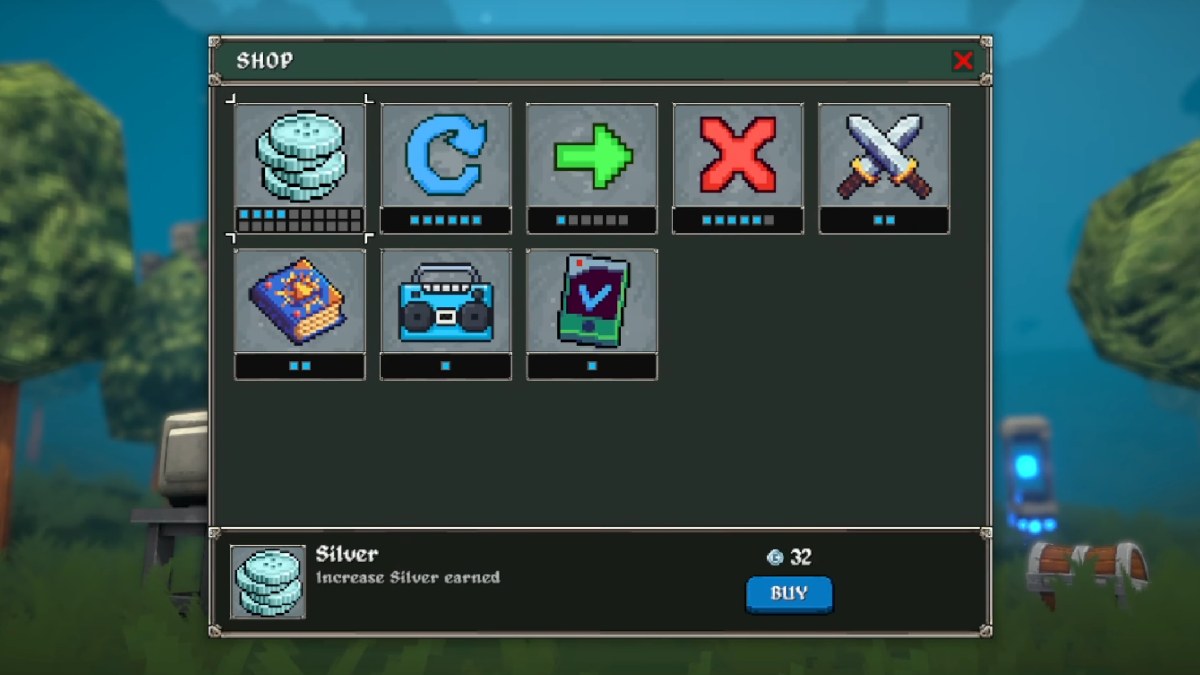
We suggest avoiding the Silver Gain upgrade, as it gives very little noticeable increase. Instead, focus on unlocking weapons, tomes, and items, as these directly strengthen your builds. Your first priority should be to unlock the Toggler before aiming for any of the other Silver unlocks.
How to Unlock and Use the Toggler in Megabonk
The Toggler is one of the best quality-of-life upgrades in Megabonk, letting you disable unwanted weapons, tomes, and items from your level-up pool before a run. This prevents weak or synergy-breaking options from ever appearing and keeps your build consistent.
To unlock it, buy at least 40 unlocks (items, weapons, or tomes) and then spend 50 silver in the shop. Once purchased, you can freely toggle on or off any silver-unlocked content. Default gear like Fox’s fire staff can’t be disabled, but anything else you’ve unlocked with Silver can be turned off permanently or re-enabled anytime.
Because every new unlock dilutes your item pool, the Toggler is a huge power boost. Use it to cut weak tomes such as Knockback or Silver Gain and streamline your runs. Items such as The Key and Kevin are better left permanently toggled off. Unlocking the Toggler early is one of the smartest moves you can make to take control of your runs and reduce RNG frustration.
How to Complete the AFK Challenge in Megabonk
The AFK challenge requires you to survive without moving or jumping, so you must rely entirely on passive damage and strong defenses. Megachad is the most reliable pick thanks to his huge health pool and natural tankiness, though Athena or Amog can work with enough luck and RNGesus on your side.

For weapons, Aegis is mandatory to block elites and bosses, while Aura and Axe or Sword provide high AoE damage and knockback to keep enemies at bay. Recommended tomes are Attraction/XP Pickup Range (vital for collecting XP without moving), Attack Speed or Projectiles for scaling damage, and Shield for rapid recharging protection. Regen or Damage tomes can help, but are secondary in priority.
Success depends on RNG and smart prep. Disable unwanted weapons with the Toggler to narrow your level-up pool, and aim to grab Attraction Tome early so the XP keeps flowing. You can use your manually aimed weapons to help you position against walls to reduce enemy approach angles and avoid boss attacks. With enough tries, you'll eventually get it done.
How to Complete the Pacifist Challenge in Megabonk
The Pacifist challenge in Megabonk requires you not to pick up any weapons. The key is an early Thorns build with an Electric Plug to round off your damage. Thorns Tome reflects damage every time an enemy hits you, so stacking it with Armor, HP Regen, HP, and XP tomes is crucial. XP Tome helps you level faster to grab key upgrades. Items like Spikey Shield and Chonkplate add survivability and extra thorns damage, while lucky finds like Slurp Gloves or a Bob (Dead) summon can quickly snowball your run.
For characters, Sir Oofie is the most reliable thanks to his shield and bulk, though some players succeed with other Tanky builds like Megachad. Focus on the Shrines of Succ to gather orbs for speed leveling, and get late-wave magnets for a massive XP burst before bosses. This run is very RNG-dependent, so be ready for resets until you get early Thorns and defensive tomes.
All Interactables Around the Map in Megabonk
| Interactable | Description |
|---|---|
| Pots | Drop silver and/or XP; a steady income source throughout the run. |
| Challenge Shrine | Spawns strong enemies that can drop valuable loot. |
| Shrine of Succ | Instantly collects all unclaimed XP orbs on the map. |
| Boss Curse (Bloody Shrine) | Adds one extra of each boss when activated (only six health bars display at once). |
| Charge Shrine | Once filled, it lets you choose one of three random stat upgrades. |
| Golden Charge Shrine | A rarer version that offers three legendary stat upgrades when charged. |
| Greed Shrine | Grants silver but increases difficulty by 5%, spawning more and stronger enemies. |
| Moai Shrine | Offers a choice of one of 2–3 free items. |
| Microwave | Duplicates a selected item using another of the same rarity. Usable thrice. |
| Gold Chest | Gives a free item with no drawbacks. |
| Shady Guy | Sells 2–3 items and you can revisit until you buy one. Hat color shows item rarity. |
| Teleporter | Ends a stage and spawns the boss. Tier 1 has no teleports, Tier 2 has one, and Tier 3 has two. |
| Boomboxes | Activate all on a map to unlock the Boombox shop item to select music (one-time unlock). |
| Gold Key & Cage | Use the key to free the Monkey character. Keys drop randomly or from minibosses. |
| Suspicious Bush | Sells 2–3 items, and you can revisit until you buy one. Hat color shows item rarity. |
| Bandit Statue | Fighting and defeating the boss unlocks Bandit if you own the Dexecutioner weapon. |
Best Characters for Beginners in Megabonk
Megabonk currently has 20 characters that players can use. Some of these are highly beginner-friendly, while others are more suited for veterans who deeply understand the game, its mechanics, and its various synergies. If you're having a hard time getting in, the following are the best characters for beginners:
- Sir Oofie: A complete tank whose survivability increases every time you level up. The weapon is slightly slow, but scales easily and quickly with attack speed and projectile count. Use Sir Oofie for longer runs and to better understand the game. Check out the Best Sir Oofie Builds in Megabonk if you're having a hard time figuring out his synergies.
- Megachad: Megachad is another melee tank who can not only absorb damage but also dish it out with a 360-degree weapon. Pair him up with Aegis and ranged weapons to turn him into a Tank x DPS hybrid to clear multiple stages. Try the Best Megachad Builds in Megabonk to clear Tier 1 and unlock more content.
- Monke: Monke's extra jumps and wall climbs are great for beginners who want to kill enemies from a distance. His weapon is strong, and he also has a decent health pool. You can equip other ranged weapons on him for a hit-and-run playstyle, or run the Size Tome to create the famous Banana Tornado. Try our Best Monke Builds in Megabonk to have some fun.
The Holy Trinity Strategy in Megabonk
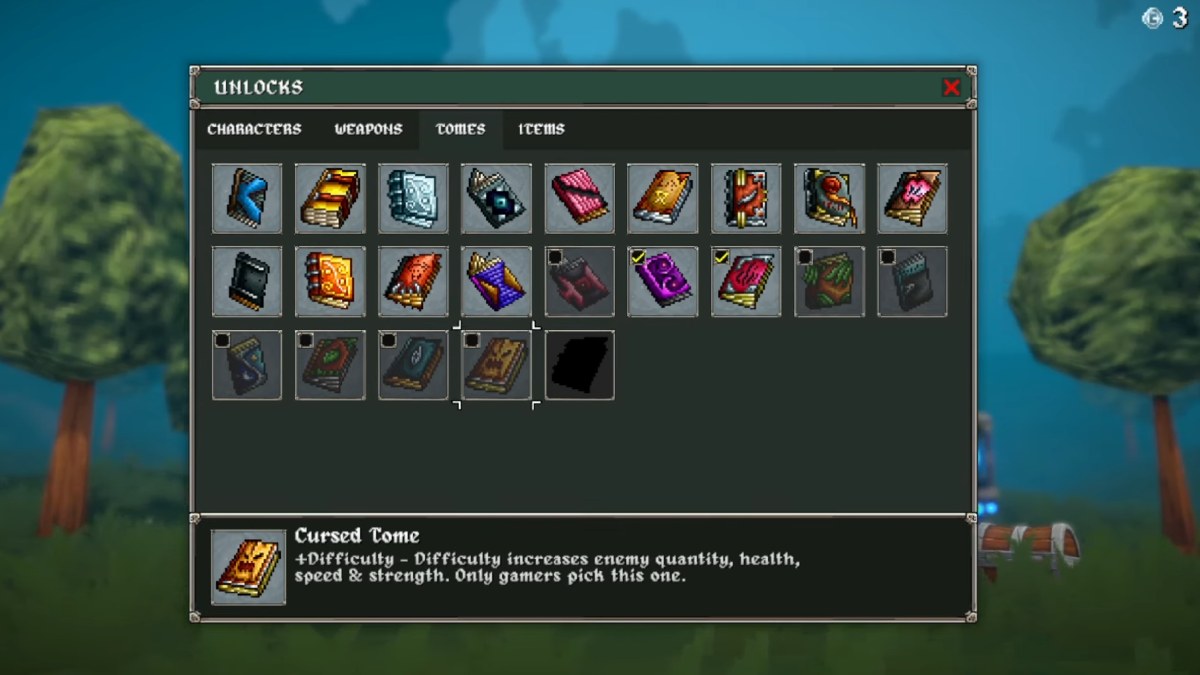
The XP Tome, Luck Tome, and Cursed Tome make up the Holy Trinity in Megabonk. Using these tomes together speeds up your character scaling, allowing you to have longer, multi-stage runs. Here's how it works:
- The XP Tome increases XP gain from all sources by 7% (per level). You'll be leveling up quickly due to the extra XP.
- The Luck Tome improves your overall luck. You'll get better items from Vendors, Moai heads, boss chests, and treasure chests. Charge Shrines will also offer better stat upgrades, and you'll get better weapon upgrades every time you level up.
- The Cursed Tome increases the difficulty level. A higher number of enemies will spawn, and they'll be stronger and faster. Pro players use the Cursed Tome to speed up XP farming and chests from mini-bosses to stack more items.
These three tomes snowball pretty quickly, and if you can keep up, you'll see your character scaling like never before. But if you're not yet a master of movement and positioning in Megabonk, running the Holy Trinity is suicide. For beginners, it's best to avoid the Cursed Tome. But you can still run the XP and Luck Tome for better and quicker scaling.
Megabonk Patch and Update History
Megabonk gets regular patches and updates to fix any broken Characters, Weapons, Items, and Tomes, and refresh the meta. It's one of the main reasons why a new character appears on the leaderboard after the weekly reset.
The first major patch (Megabonk Patch #2) made the final boss easier, made all the characters slightly quicker, and made features like Refresh, Skip, and Banish cheaper during the early game. This was also the patch that slightly nerfed Dicehead and opened the door for other characters to appear on the leaderboard.
The latest patch, Megabonk v1.0.17, was more focused on quality-of-life changes. A full map with fog of war, DX12 support for players experiencing game crashes, and Charge Shrines are now a different color than the other shrines and microwaves. Other balancing changes are listed below:
- Mr Fox now gains +2% Luck per level.
- Birdo's passive has been changed to +1% Airborne Damage per level.
- Bush gains +1% Crit Damage per level, and Bullseye explosion has a bigger AoE now.
- Robinette's passive was nerfed. The damage increase per gold starts to diminish after you've collected 200,000 Gold.
- Dicehead gets a buff.
- Scarf does 50% damage now instead of 33%.
- Spaceman doesn't take fall damage now.
A shoutout to community member IcyCyborg for compiling some of the information used in this Megabonk beginner's guide. You can also check out our Megabonk Character tier list, how to unlock all items, and get all characters.