
There are a total of 29 classes in 100 Days at Sea. The best one is the Fire Mage, but there are great alternatives to it like the Ice Mage and the Ancient Squid. All of the best ones cost 750 pearls. Some of these classes are just plain bad though, and should be replaced as soon as possible. They include the likes of the Survivor and the Camper.
There is a wide variety of classes in 100 Days at Sea. While each of them offers a certain benefit, not all of them are as good as the others. Some of them may even give more buffs for less money. To help you navigate the potential confusion, we have created this thorough Class Tier List, so make sure to keep reading to find out more!
All Class Tier List in 100 Days at Sea
You can find all the classes currently available in the game below, ranked based on how well they perform across different situations. Keep in mind that there are no F tier classes, since all of them provide at least some bonuses and are better than having no classes equipped at all. Take a look through the list and choose the one that best suits your preferred playstyle!
S - Tier Meta Classes
| Class Name | Starter Tools & Stats | Perks & Abilities | Pros & Cons |
|---|---|---|---|
| Fire Mage | x1 Magma Staff +25% Magic Damage | Level 2 You deal +10% Magic Damage. Level 3 You deal an additional +10% Magic Damage. Level 4 You deal +15% Magic Damage. | + The biggest damage output in the game that melts all enemies + Can easily survive on its own thanks to massive damage - The most expensive class in the game - Lacks versatility. No mobility, healing or melee options. You probably will not need it though, thanks to sheer damage output. |
| Ice Mage | x1 Ice Staff +20% Magic Damage | Level 2 You deal +10% more Magic Damage. Level 3 You sprint +10% faster. Level 4 You deal an additional +15% Magic Damage. | + The second biggest damage class in the game that vaporizes enemies + A side grade to the Fire Mage that can still survive on its own thanks to the sprint speed buff - The most expensive class in the game - Sacrifices 15% Magic Damage to gain 10% Sprint Speed, which is a questionable tradeoff since damage is king |
| Ancient Squid | x1 Squid Laser Gun +15% Sprint Speed | Level 2 You gain +10% Max Health. Level 3 You deal +20% damage with your laser gun. Level 4 The Laser Gun never overheats. | + Versatile and tough to kill thanks to the sprint speed and max health boosts. Useful in all team settings +The Laser Gun deals insane amounts of damage, especially when leveled up - Joint most expensive class in the game that will take a huge amount of time to get unlocked - Only comes into its own when entirely leveled up, which can also take a great deal of time |
| Alien Overlord | x1 Ray Gun x1 UFO Space Ship | Level 2 + 20% Ray Gun Damage Level 3 The UFO Ship gets faster Level 4 Ray Gun cools down 50% faster. | + One of the best ranged damagers in the game + Can explore the islands and the ocean fastest in the game thanks to the UFO - Joint most expensive class in the game - Somewhat overshadowed by other S tier picks until it gets leveled up |
| Hero | x1 Holy Sword +15% Health +15% less hungry | Level 2 +10% Max Health Level 3 10% Less Hungry Level 4 Heals 5 HP per melee kill. | + The best melee class in the game thanks to the Holy Sword + Shines in the early game + Very tough to die with thanks to the max health buffs - Very expensive - Falls off later in the game - Hunger is usually a non issue so that bonus seems wasted on what is essentially the best melee class in the game |
A - Tier Excellent Classes
| Class Name | Starter Tools & Stats | Perks & Abilities | Pros & Cons |
|---|---|---|---|
| Knight | x1 Claymore x1 Knight armor that provides 30% Damage Reduction +15% Sprint Speed | Level 2 You gain +10% max health. Level 3 You deal an additional +10% melee damage Level 4 You recover 5 HP when you kill an enemy in melee | + The best tank class in the entire game + Damage Reduction continues to remain useful through the entire game + Versatile thanks to the sprint, health and damage buffs + Inexpensive - Melee is inferior compared to ranged damage - Slightly overshadowed by the Alien Warrior in terms of damage |
| Alien Warrior | x1 Energy Sword +15 % Damage Reduction due to the Alien Armor +10% Max Health | Level 2 You deal 10% more melee damage. Level 3 Gains +10% Max Health. Level 4 You deal an additional +10% Melee Damage. | + The second largest melee damage output + Tough to kill thanks to the health buffs and damage reduction buff + Not very expensive - Melee is its only forte |
| Pirate | x1 Blunderbuss +35% Gun Damage +20 Blunderbuss Ammo | Level 2 You deal 15% more damage with guns. Level 3 +5 to the boat's top speed Level 4 +50 Blunderbuss Ammo | + Very high ranged damage, tied with other A tier picks + Additional boat top speed allow you to explore faster - Expensive - Blunderbuss ammo is an issue, especially so if the Pirate has not been leveled up yet |
| Sharpshooter | x1 Flintlock +35% Gun Damage +20% Reload speed | Level 2 + 10% more damage with the Flintlock Level 3 +25% Reload Speed Level 4 +25 ammo for the Pistol, shotgun and flare gun | + One of the best ranged damagers in the game + Not that expensive - Extremely one dimensional, no versatility - S tier ranged classes overshadow and out-damage it while providing additional bonuses |
| Battle Bunny | Defeating enemies and opening chests gives Egg Grenades +Double Jump +15% sprint speed +10 Egg Grenades | Level 2 +10 Egg Grenades Level 3 Unlocks Triple Jump Level 4 +25% Explosive Damage | + The class with the best mobility in the entire game + Provides massive outplay potential + Egg Bombs deal large damage - Very expensive - High skill ceiling, not suitable for players with bad movement mechanics - Limited number of Egg Grenades that can easily run dry if you do not take care of how you use them |
| Raider | + Dual Pistols +12 Ammo Ammo Capacity increases every 5 kills Killed enemies drop pistol ammo +10% Sprint Speed | Level 2 +5 Magazine Growth Cap Level 3 You sprint 10% faster. Level 4 Additional +5 Magazine Growth Cap | + One of the best ranged damage classes in the game + You practically never run out of ammo, even more so when you level up the class + Some versatility in the form of increased sprint speed, can easily survive on its own - Joint most expensive class in the game - Slightly overshadowed by S tier ranged classes in terms of damage |
B - Tier Good Classes in 100 Days At Sea
| Class Name | Starter Tools & Stats | Perks & Abilities | Pros & Cons |
|---|---|---|---|
| Treasure Hunter | x100 Doubloons +3 sack Slots +20% Doubloons | Level 2 You gain +5% doubloons. Level 3 You have 50 additional starting Doubloons. Level 4 You gain +3 Sack Slots | + The best class for looting in 100 Days at Sea - Expensive - No combat benefits - Cannot play solo due to a lack of health, mobility or combat stats |
| Millionaire | x1 Massive Luxury Yacht +100 Doubloons +5% Max Health | Level 2 You gain 10% Max Health Level 3 Gains +10% Max Health. Level 4 Gains +10 boat top speed. | + A great hybrid alternative to the Treasure Hunter due to its health benefits and boat speed, enabling you to survive more and explore further + Tough to kill thanks to the health buffs + Not very expensive - No combat bonuses, worse than the Treasure Hunter when it comes to looting |
| Swordsman | x1 Machete +25% Melee Damage +10% Extra Health | Level 2 +10% more melee damage Level 3 An additional 10% melee damage and +5% Max Health. Level 4 +10% Melee Damage. +5% Max Health, recovers 5HP per melee kill | + Very high melee damage + The best melee bonuses in the game + Cheap, easily unlocked - Falls off later in the game - The machete is an underwhelming melee weapon compared to the likes of the Claymore or the Holy Sword |
| Olympian | +20% faster sprint speed +10% Extra Health | Level 2 +5% additional sprint speed Level 3 +5% Max Health. Level 4 +5% Max Health, gains Double Jump | + The second best mobility class, falling short only to the Battle Bunny + Tanky, tough to kill thanks to health buffs + Cheap + Stays relevant during all phases of the game + Universally useful bonuses regardless of which build you choose to go for - No combat and damage bonuses - The Battle Bunny is this class on steroids - Only comes into its own when leveled up entirely which takes a long time |
| Soldier | +1 Assault Rifle +15% Sprint Speed +42 Assault Rifle Ammo | Level 2 Start off with Military Armor Level 3 +10% Sprint Speed Level 4 +50 Additional Assault Rifle Ammo | + Good ranged damage + Tanky and slippery, difficult to kill thanks to the Military Armor and sprint bonuses + Cheap + Offers good mobility -Ammo is an issue until you level the class up - Overshadowed by the likes of the Pirate and Sharpshooter |
| Cowboy | +1 Revolver +10% Health +35% Gun Damage +18 revolver ammo | Level 2 You deal 15% more gun damage. Level 3 Gains 32 pistol ammo. Level 4 +2 revolver rounds | + Great ranged damage thanks to the Revolver + Great range build option due to gun buffs + Cheap - Revolver ammo runs dry quickly, once that happens this class is largely pointless - Way better ranged options exist |
C - Tier Mid Classes
| Class Name | Starter Tools & Stats | Perks & Abilities | Pros & Cons |
|---|---|---|---|
| Zookeeper | x1 Machete Companion buffs increased by 100% | Level 2 +25% Additional Companion Power Level 3 +25% Additional Companion Power Level 4 +25% Additional Companion Power | + Cheap + Can stack huge bonuses form good companions such as the Pirate Gunner or the Magma Golem - No versatility - No combat benefits - Relies on you solely having good companions which takes a lot of time and in-game money - Underwhelming for the price |
| Builderman | x1 Wrench +25% cheaper crafting +25% Structure Health | Level 2 You start off with 10 free wooden floors. Level 3 Gains +25% additional structure health Level 4 +15% Cheaper Crafting | + Very cheap + Useful in a team composition through the entire game as a designated craftsman + Not very expensive - No combat, movement or survivability bonuses - No versatility |
| Chef | x1 Burger Stand that produces Healing Burgers +10% less hungry +10% Extra Health | Level 2 Spawns with a Pizza Oven Level 3 An additional 10% less hunger bonus. Level 4 Food recovers 25% more HP. | + Very cheap + Useful in a team composition + Provides some of the best healing in the game - No versatility - No damage, movement or combat bonuses |
| Merchant | +75 Doubloons +15% Doubloons | Level 2 Spawns with a Good Sack Level 3 15% discount in the Muku Shop Level 4 +10% Doubloons | + Cheap + Can immediately buy some useful stuff at a discounted price - No combat and damage bonuses - No mobility or survivability bonuses |
| Battle Buku | +1 Poku Poku +15% Melee Damage -15% discount in the MukuMuku Shop | Level 2 Gains +10% melee damage. Level 3 -10% additional MukuMuku shop discount. Level 4 Killed enemies drop Meat | + Decent melee damage at a cheap price + Practically solves all hunger issues by himself due to the level 4 ability + Discount in the Muku Shop - Needs to be leveled up to unlock its potential which takes time, by which you will probably unlock better classes - Only combat bonus comes in the form of melee damage and even then it is overshadowed by most other classes |
| Harpooner | +1 Riptide +15% Sprint Speed | Level 2 You deal 35% more Riptide damage. Level 3 Gains Double Jump. Level 4 You deal 65% more Riptide damage. | + Great budget ranged option + Cheap - Riptide weapon is clunky with a slow rate of fire, overshadowed by other ranged weapons |
| Adventurer | +1 Giant Sack +15% Health +15% less hungry | Level 2 Opening chests has a 50% chance of providing bonus loot. Level 3 +2 Sack Slots. Level 4 Bonus loot from chests is now guaranteed | + Great budget option for exploration + Useful in the early game + Health bonus makes you tougher to kill - Falls off hard later in the game - No combat or movement bonuses |
| Crewmate | +1 Flintlock +10% Gun Damage +20 Flintlock Ammo | Level 2 Gains 20 pistol ammo. Level 3 +5% gun damage. Level 4 Gains an additional 20 pistol ammo. | + Best budget ranged damage option + Rock bottom price tag + Stays relevant through the whole game - Tiny damage bonuses - No movement or survivability buffs - Overshadowed by all other ranged classes |
D - Tier Bad Classes in 100 Days at Sea
| Class Name | Starter Tools & Stats | Perks & Abilities | Pros & Cons |
|---|---|---|---|
| Medic | x1 Medkit + Faster health regen | Level 2 Starts off with a Bandage Level 3 Bandages recover 15% more HP Level 4 Food recovers 25% more health | + Decent budget healing option + Useful in a team setting + Dirt cheap - Worthless for anything else other than healing - Even in the healing department it is overshadowed |
| Sailor | +5 top speed on all boats +10% less hungry | Level 2 +5 boat top speed Level 3 5% less hungry Level 4 +5 additional boat top speed | + A good cheap option for exploration - Useless in every other regard, should be replaced ASAP |
| Camper | x1 Good Sack +10% Extra Health | Level 2 +5% Max Health Level 3 10% less hungry Level 4 +10% faster health regeneration | + A good set of versatile bonuses for basically free + Tanky, more difficult to kill than other classes in the same price range - The bonuses are tiny and overshadowed by all other classes |
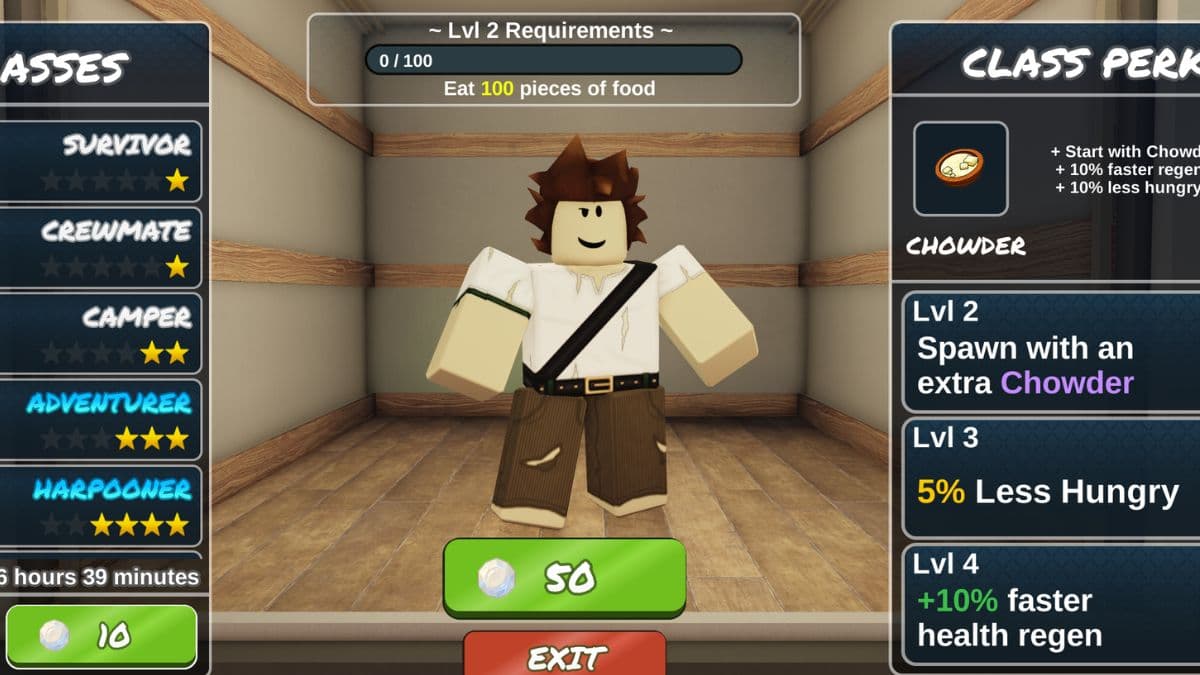
| Survivor | +1 Chowder +10% faster HP Regen 10% less hungry | Level 2 Start off with an additional chowder Level 3 5% less hungry Level 4 +10% faster healt regen | + Good early game survivability boost + You will not die of hunger + Rock bottom prce tag -The worst class in 100 Days at Sea that should be replaced as soon as you get the chance |
How to Unlock Classes in 100 Days At Sea
To unlock new classes in 100 Days at Sea, you will have to visit the Class Shop. It is located on the left side of the game's lobby. The classes themselves cost Pearls, which you can earn based on how many days you managed to survive in the game, by redeeming Badges, completing Quests and redeeming some of the free codes that the game offers. Alternatively, you can also purchase them with Robux from the Shop.
Below, you can check out exactly how much each class costs in 100 Days at Sea.
| Class | Price |
|---|---|
| Fire Mage | 750 Pearls |
| Ice Mage | 750 Pearls |
| Ancient Squid | 750 Pearls |
| Alien Overlord | 750 Pearls |
| Hero | 600 Pearls |
| Knight | 380 Pearls |
| Alien Warrior | 400 Pearls |
| Pirate | 500 Pearls |
| Sharpshooter | 400 Pearls |
| Battle Bunny | 700 Pearls |
| Raider | 750 Pearls |
| Treasure Hunter | 500 Pearls |
| Millionaire | 400 Pearls |
| Swordsman | 250 Pearls |
| Olympian | 250 Pearls |
| Soldier | 300 Pearls |
| Cowboy | 300 Pearls |
| Zookeeper | 300 Pearls |
| Builderman | 150 Pearls |
| Chef | 150 Pearls |
| Merchant | 200 Pearls |
| Battle Buku | 250 Pearls |
| Adventurer | 200 Pearls |
| Harpooner | 200 Pearls |
| Crewmate | 60 Pearls |
| Medic | 50 Pearls |
| Sailor | 40 Pearls |
| Camper | 70 Pearls |
| Survivor | 50 Pearls |
100 Days at Sea Class Tier List FAQs
To Level Up A Class in 100 days at Sea, you will have to complete its objective that is listed on the top of the screen when you click a class inside the Class Shop.
The Best Class in 100 Days at Sea is the Fire Mage since it deals the most amount of damage.