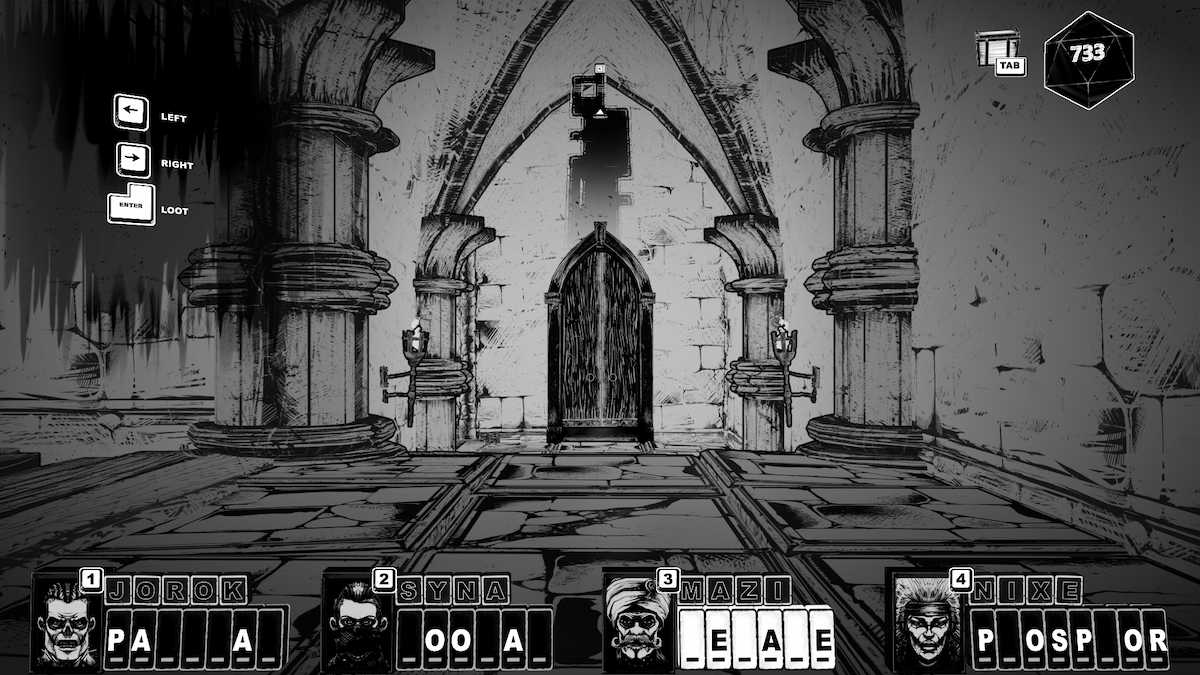
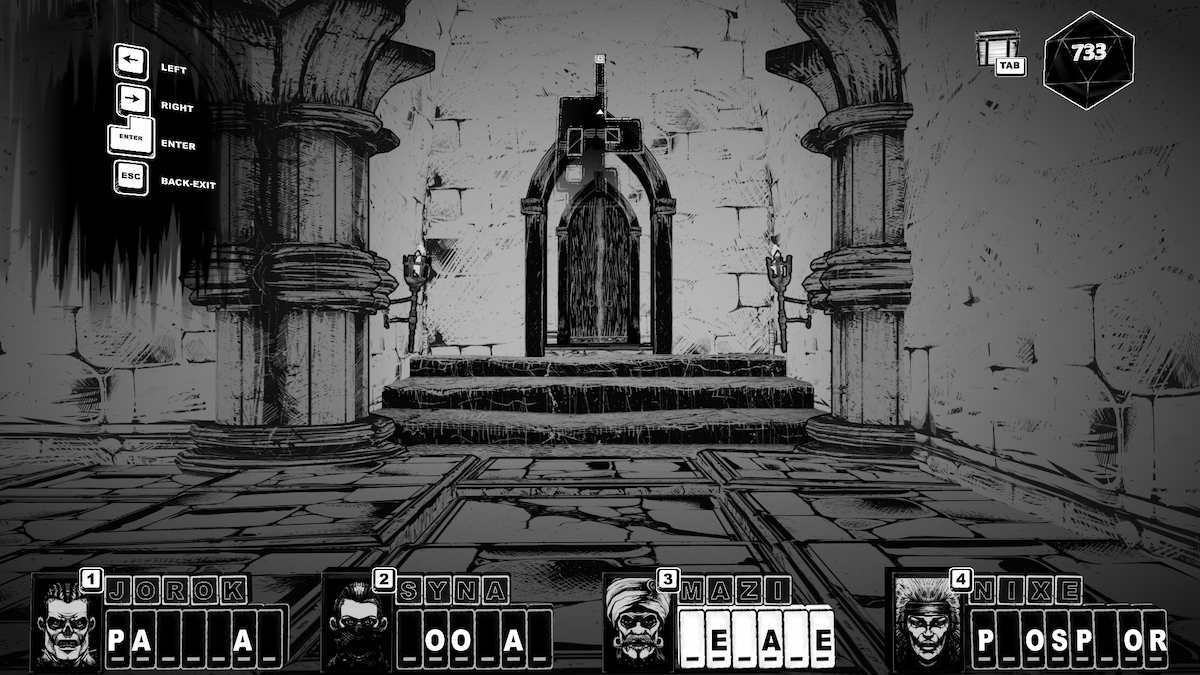
Do you dare open the CHEST? For those enraptured by the monochrome visage of the CRYPTMASTER, we invite you to open your senses and find out how to complete this game with our complete CRYPTMASTER walkthrough.
After the first Chapter is complete, scroll down to the bottom of this walkthrough to access our CHEST and SKULL answer guide.
CRYPTMASTER Walkthrough, Chapter 1: Many ages ago...
Released on May 9, 2024, CRYPTMASTER has had positive reviews from its players because of the innovative style of playing that is found in this typing game. The load-up of the game is extremely thematic, with an introduction that tells you the basics of why you're in this realm about to play a game of undead Scrabble.
Choose from a keyboard or controller for your gameplay controls and familiarize yourself with the buttons you'll need. Remember, this is a typing game, so those playing with a controller are going to have a bit of a weird time.
Before you start a new game, you'll need to pick Realtime or Turnbased. Turnbased may feel more familiar to those who enjoy tabletop games and similar video games, but as the CRYPTMASTER suggests Realtime, I went with that one.
The CRYPTMASTER's Crypt
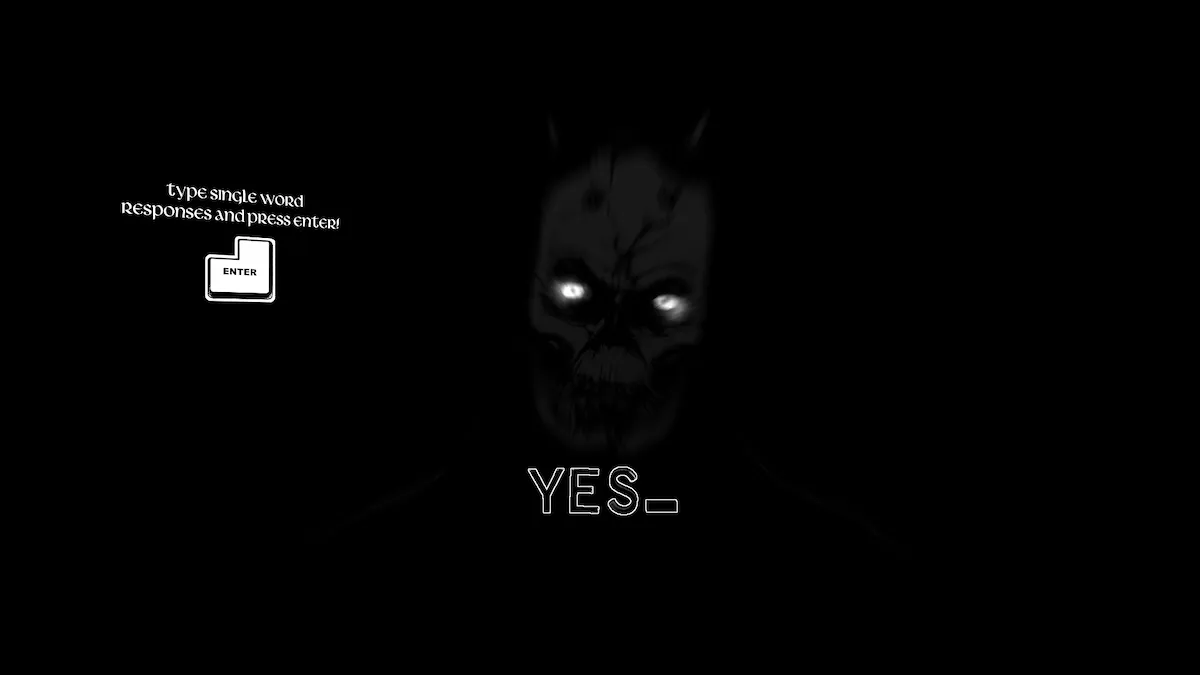
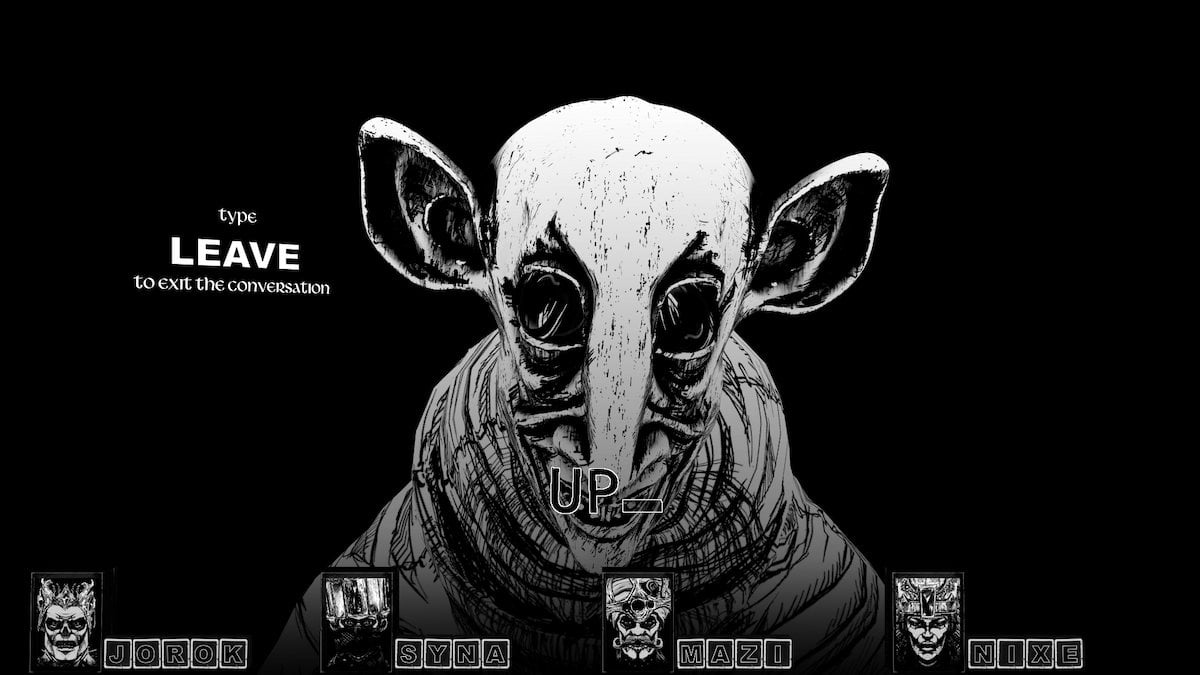
A white skull will appear in front of you, slowly becoming clearer as it speaks. When prompted to answer the first time, simply type 'YES' if you can hear the CRYPTMASTER. They are speaking to you from beyond the veil, and want to know how you're feeling.
You can only respond with one word, and they don't care what you write. In fact, the whole situation is very amusing to them.

You'll be told to move forward into the light, it's the easiest thing you'll do in this dungeon crawl typing game.
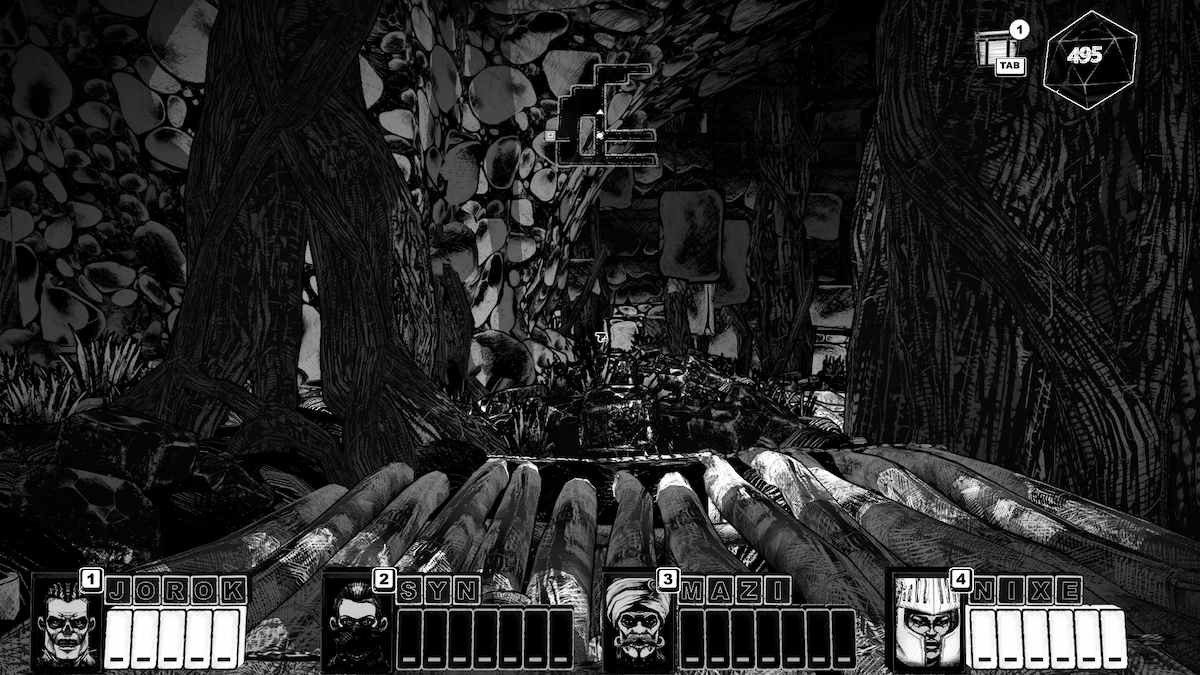
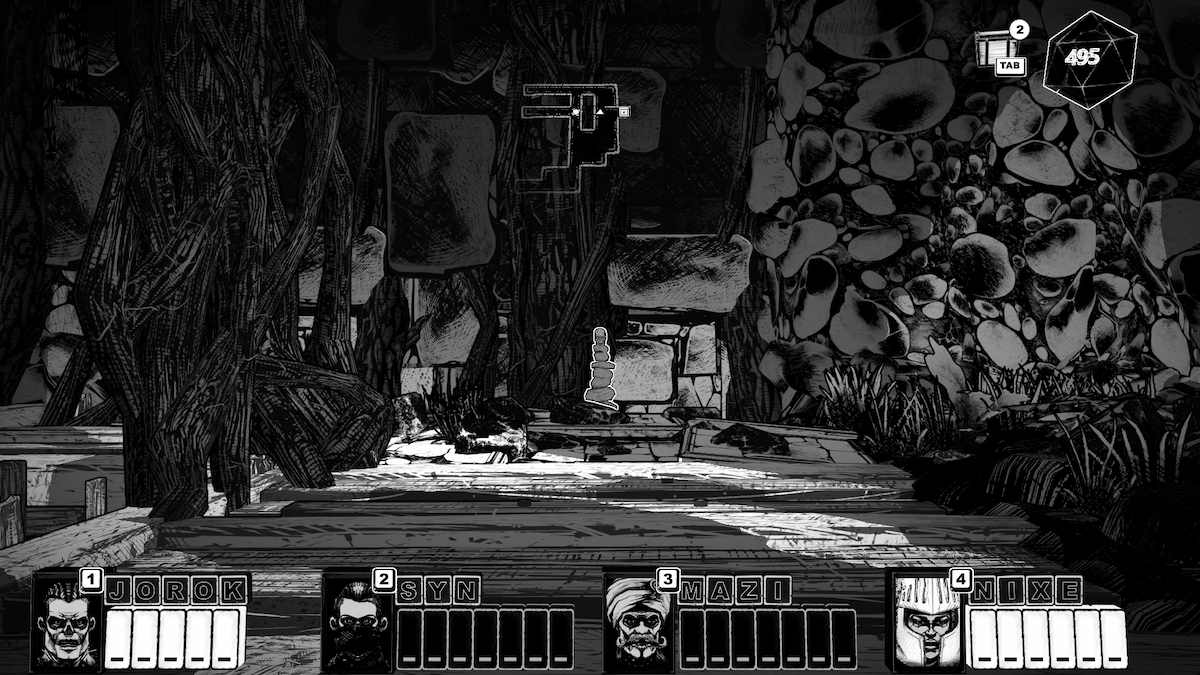
You'll appear far underground, in a place of black, gray, and white tones. White torch flames light the way forward, and although the CRYPTMASTER tells you to look around, that's the only way to go.
Walk up the stairs until you reach a wall with letters on it.
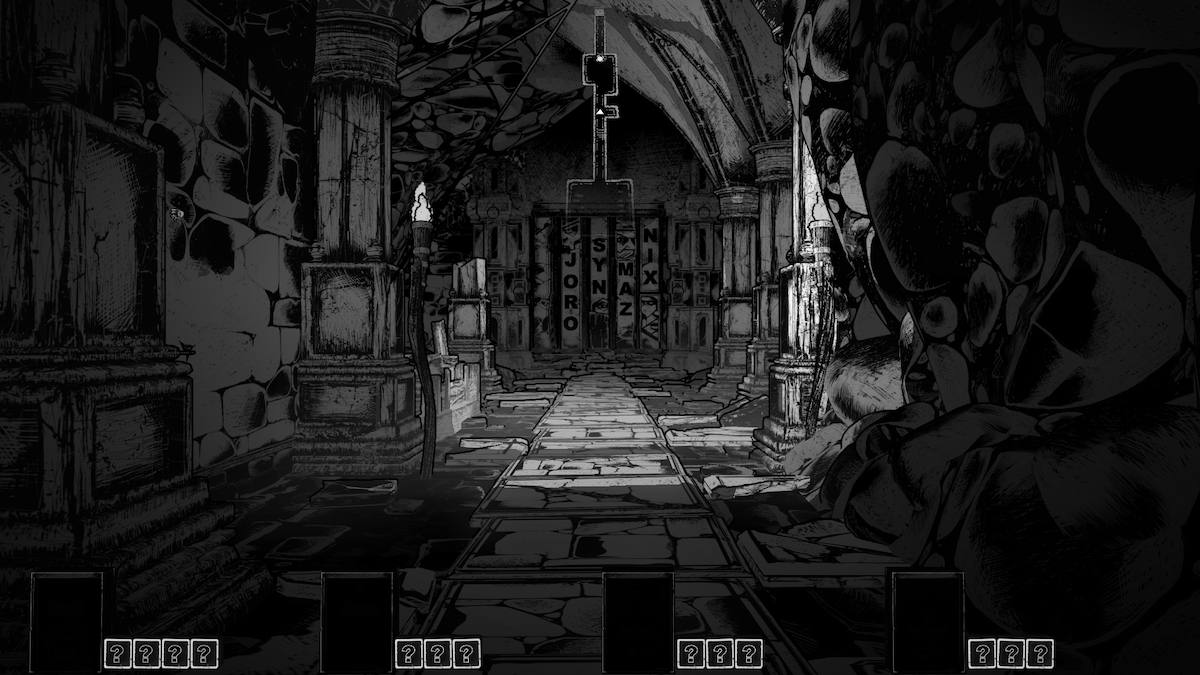
Walk up to the wall and the CRYPTMASTER will prompt you to read (write) out the names on the pillars:
- JORO, the warrior.
- SYN, thief and assassin.
- MAZ, the bard.
- NIX, the sea witch.
These are the names of the four heroes who once saved humanity. Now, they and their bodies are yours to fight with in this game.
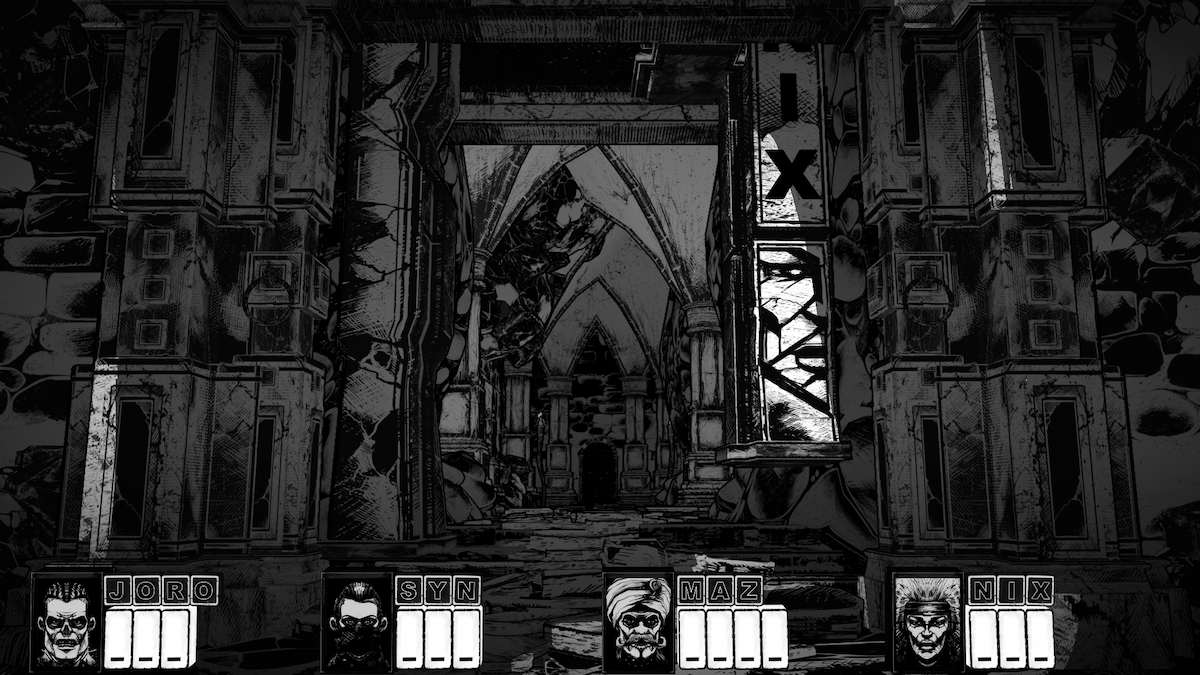
Continue forward through the doorway that has appeared now that the name pillars are fully raised.
A few steps up the path is a black gate, it will open when you approach and you'll be in the next room.
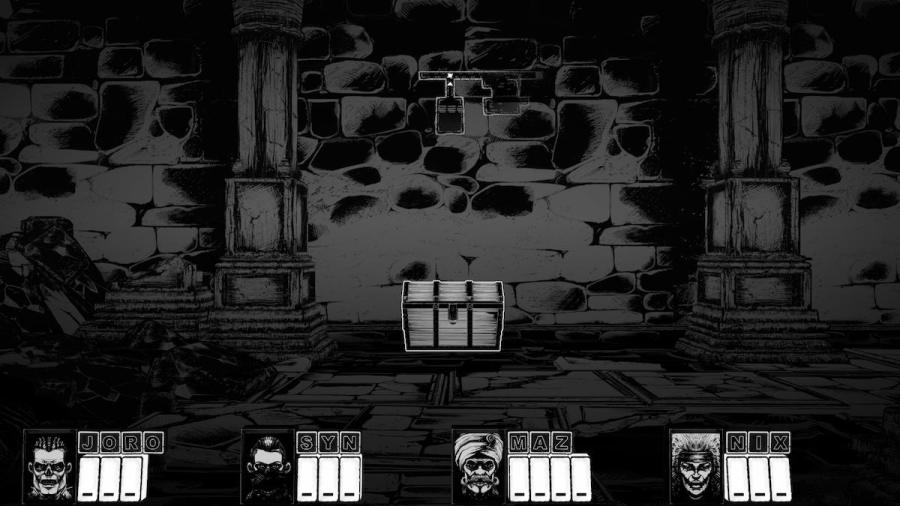
The first CHEST
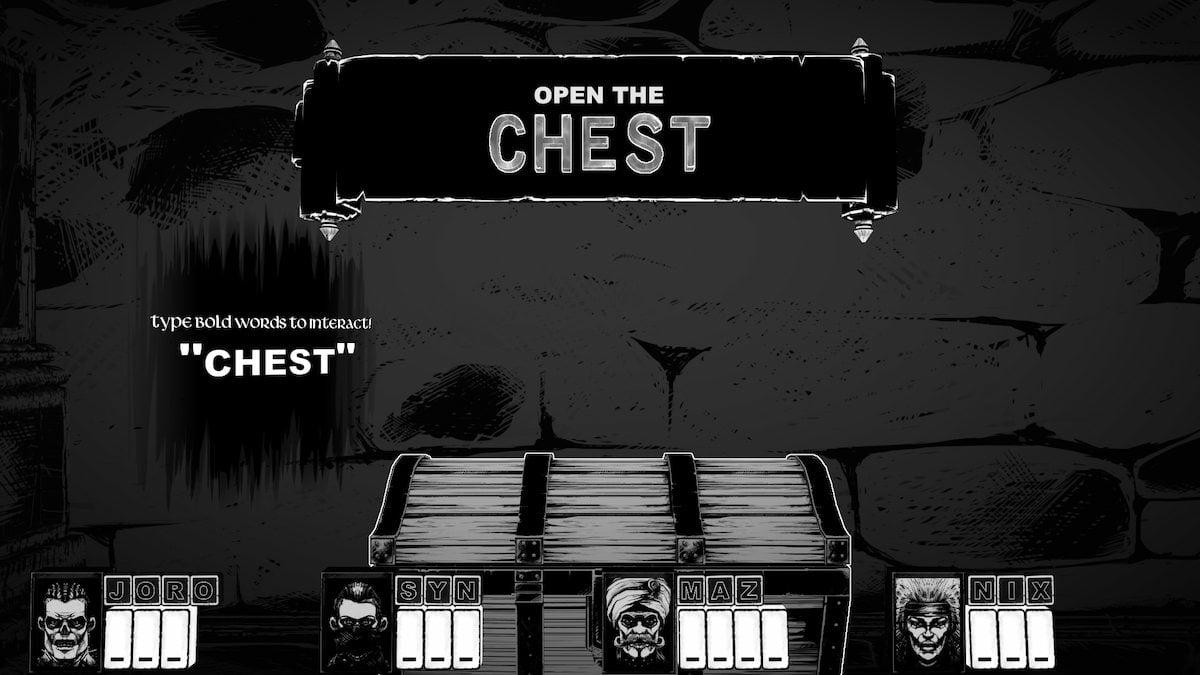
Ahead of you is a CHEST. Walk towards it and spell out 'CHEST' to activate it.
The CRYPTMASTER appears and explains that each CHEST holds an object that may help you remember things about your life. You need to use the five senses to get clues from them about what the object is.
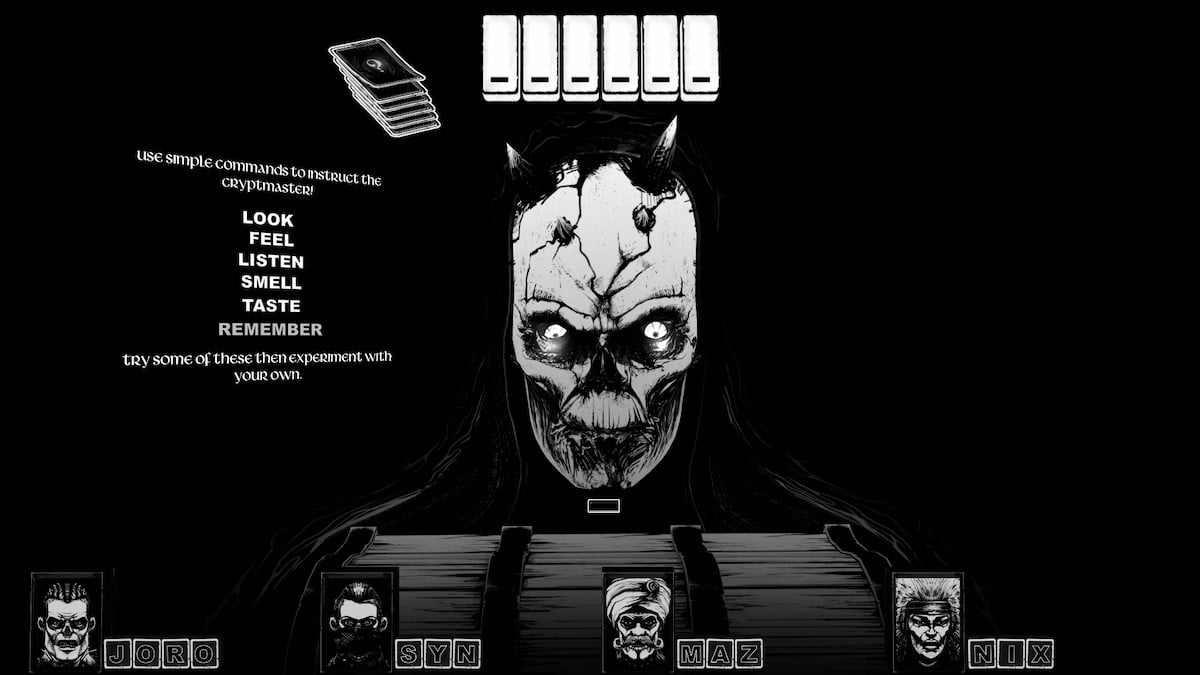
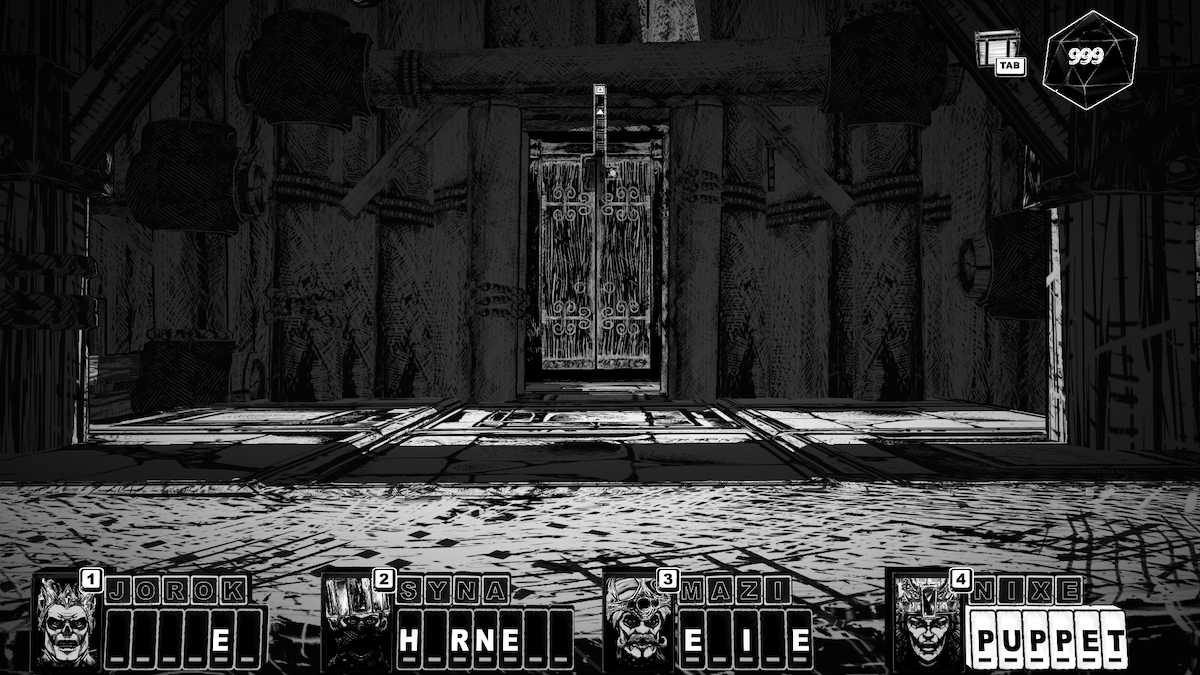
The CRYPTMASTER says that this object is something that JORO would have used in his everyday life as a warrior. The name of the object has six letters, as shown. You won't always be able to use all five senses on each object, so choose carefully when typing out each one to get clues from the CRYPTMASTER.
This item is metallic, looks like a shell, and it's smooth, hard, and cold. It tastes like metal.
It's a HELMET.
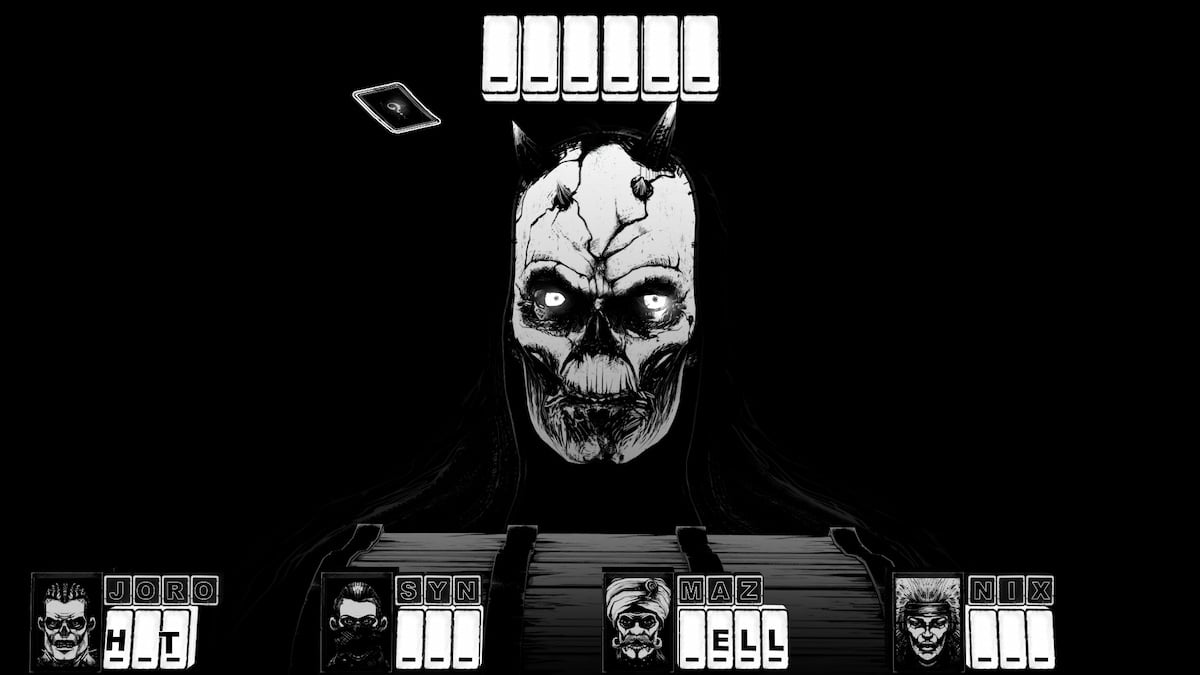
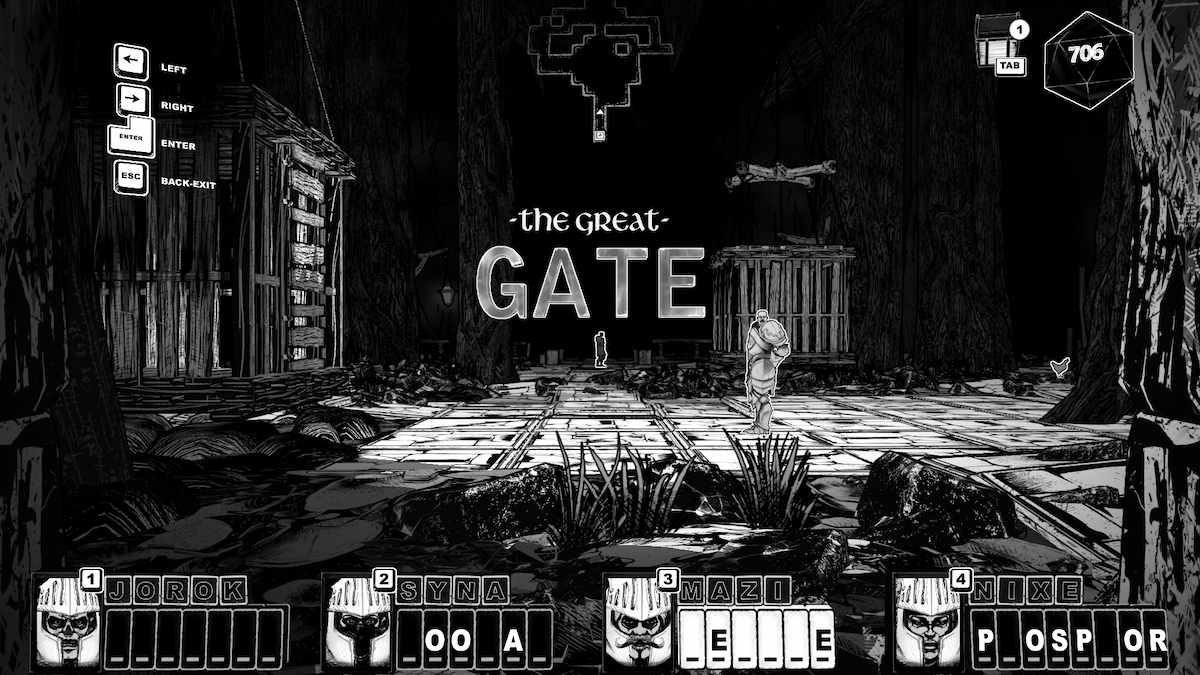
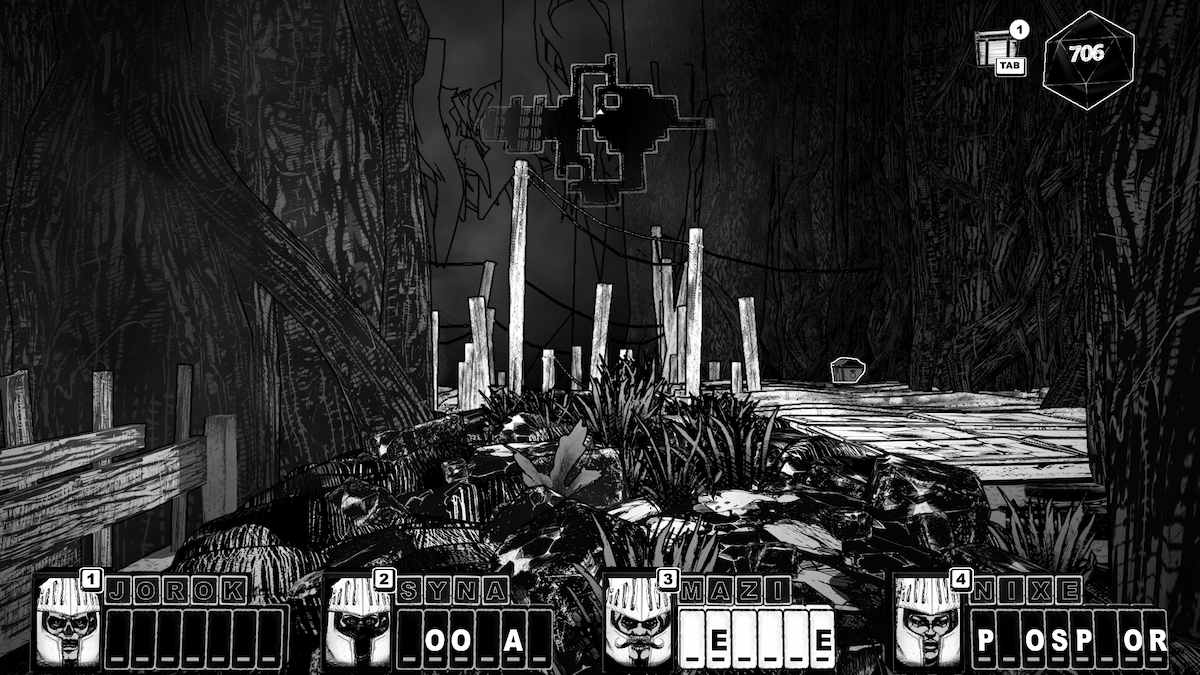
Guess correctly and the letters of the word 'HELMET' become letters next to the heroes' names. These are skills that they can use when you guess the full word - which you can do at any time, as long as you aren't interacting with another typing game.
If you haven't gotten it from that, JORO's first attack is 'HIT.'
Learning skills
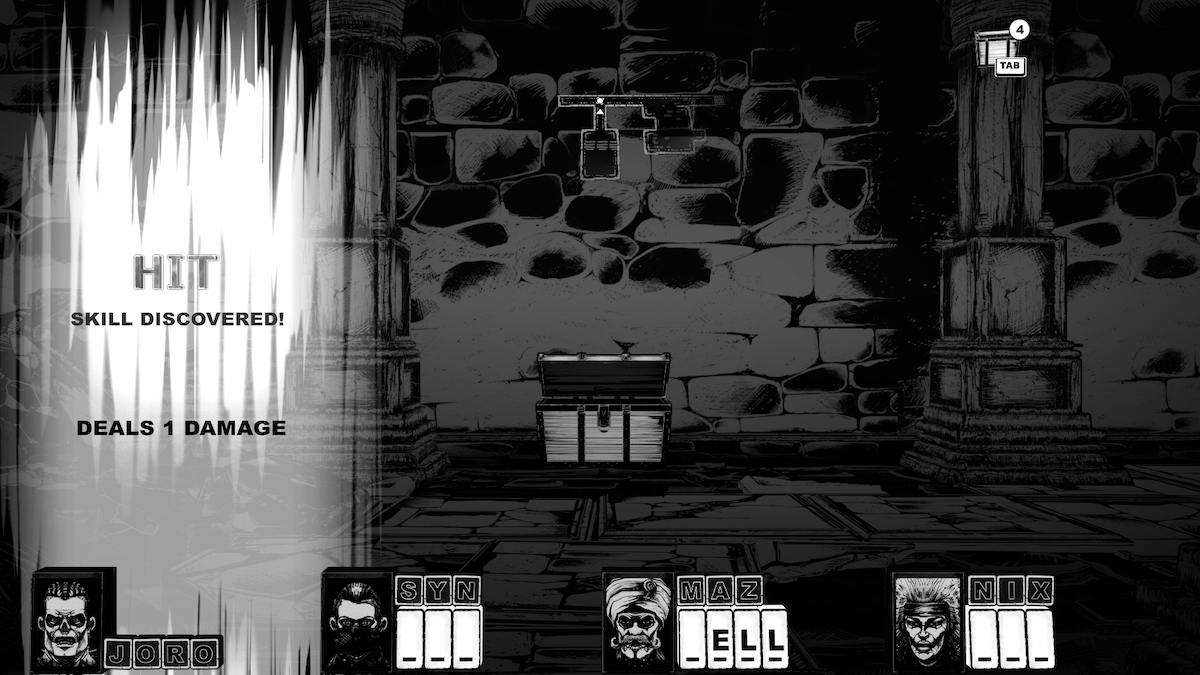
Move back from the CHEST, type 'HIT' out, and discover JORO's first skill. Every skill you need to learn needs to be typed in like this for the heroes to recover what they've lost.
There's nothing to the left of the CHEST, turn to the right and walk straight until you reach a wooden door.
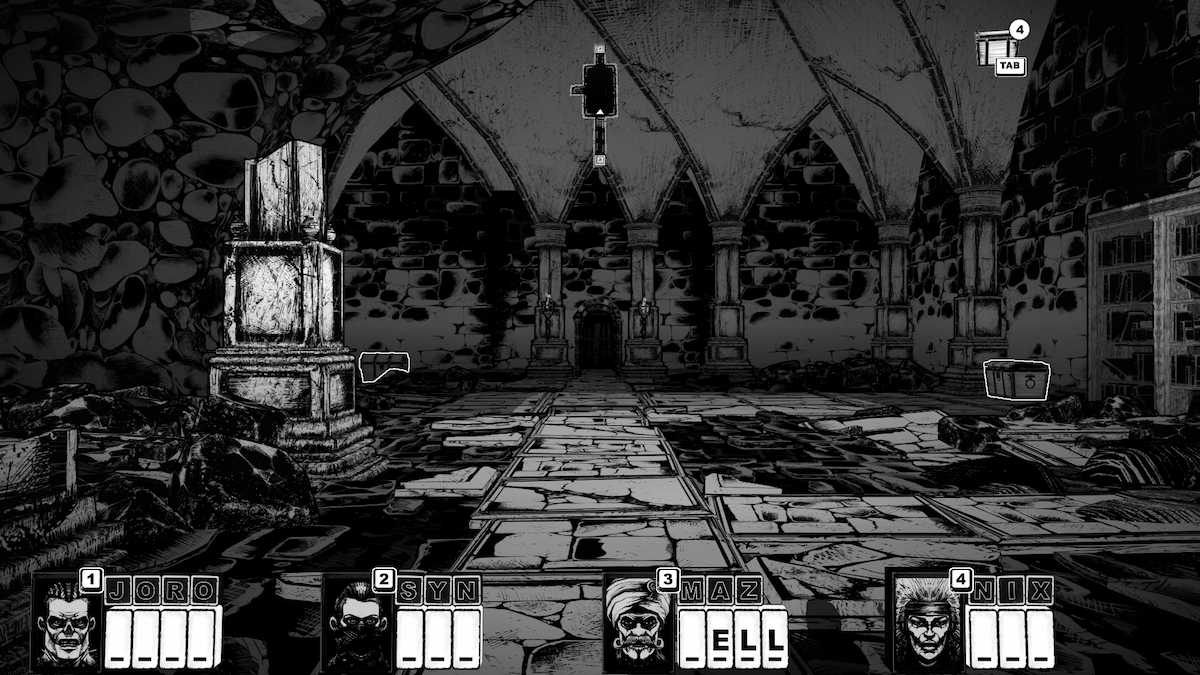
Walk through and you'll find a CHEST on the left and another on the right.
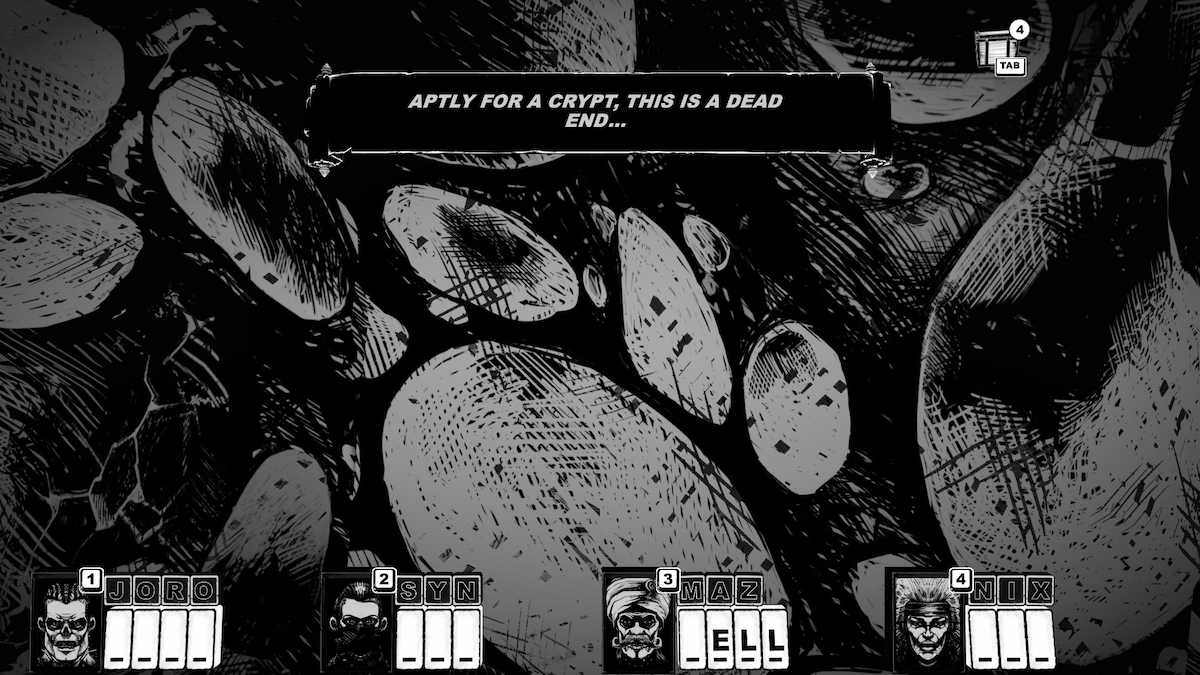
Before you open the first CHEST on the right, consider that 'YELL' makes a lot of sense for a bardic attack and type it in.
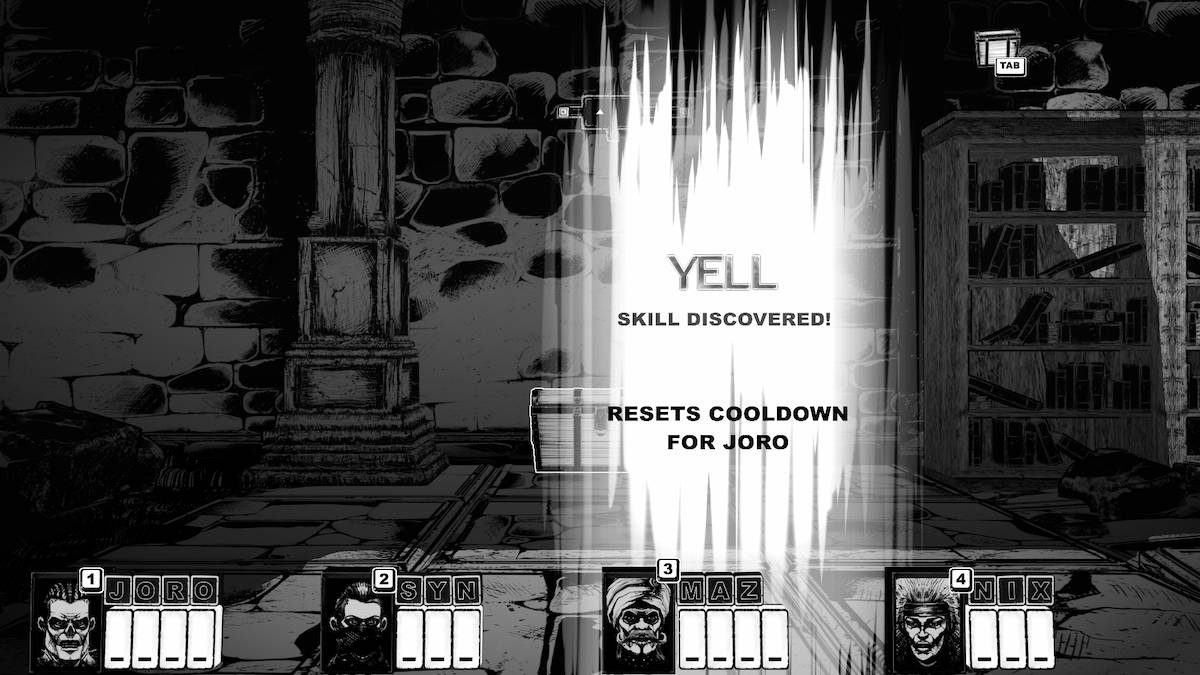
Open the CHEST on the right and start the guessing game again.
It's something rectangular that you can hold in your hands, it's old and dusty, and the inside is papery.
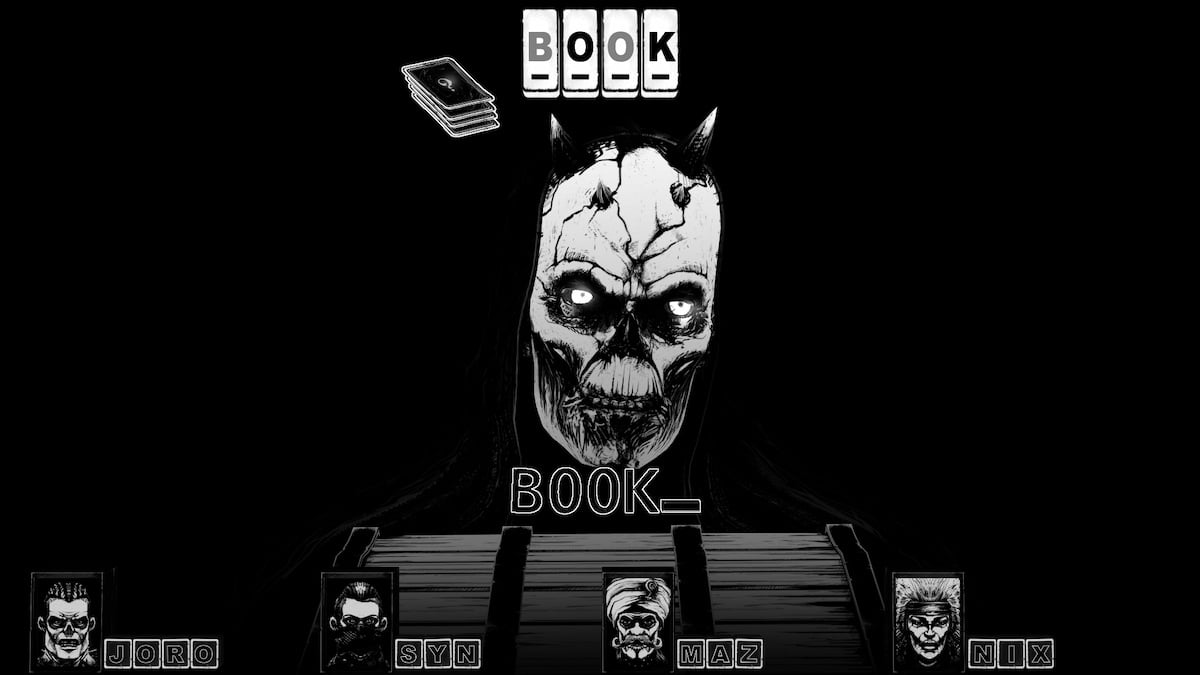
It's a 'BOOK.'
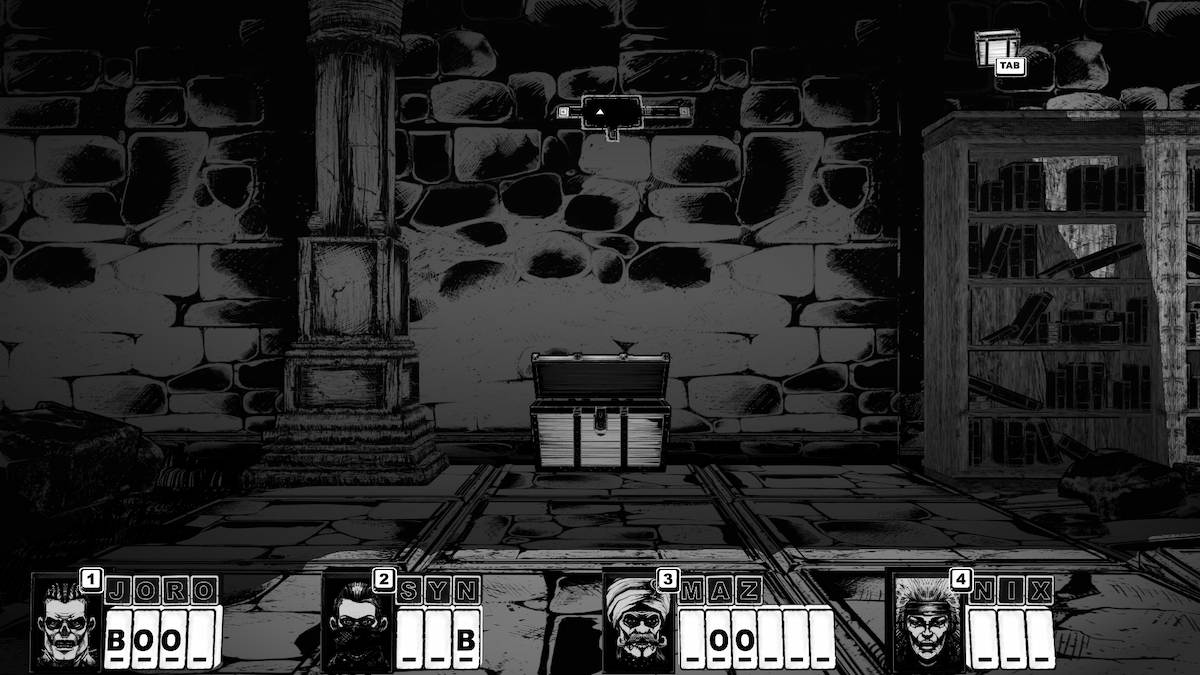
With more letters filled in, have a quick think about what a warrior might wear which starts with 'BOO.' 'BOOT' is the correct answer and will get you your third skill: BOOT, which deals one damage to your enemies.
Turn around and walk over to the other CHEST that was on the left side of the room.
The strange, little fellow who looks familiar, is hairy, and wriggly, is a 'RAT.'
Let's move on. Backtrack to the center of the room and walk through the next door to reach a small room with nothing in it. Keep going through the next door, and the third one.
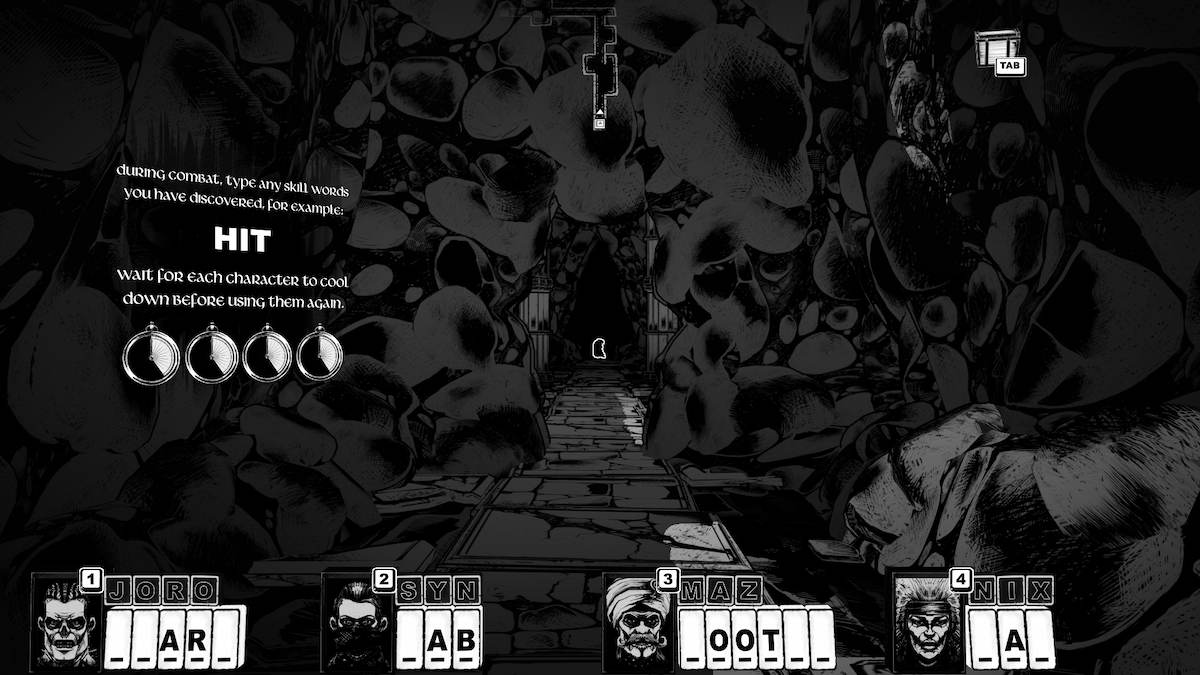
A Toadman wants to fight. Each of your actions is on a timer, so you can't button-mash.
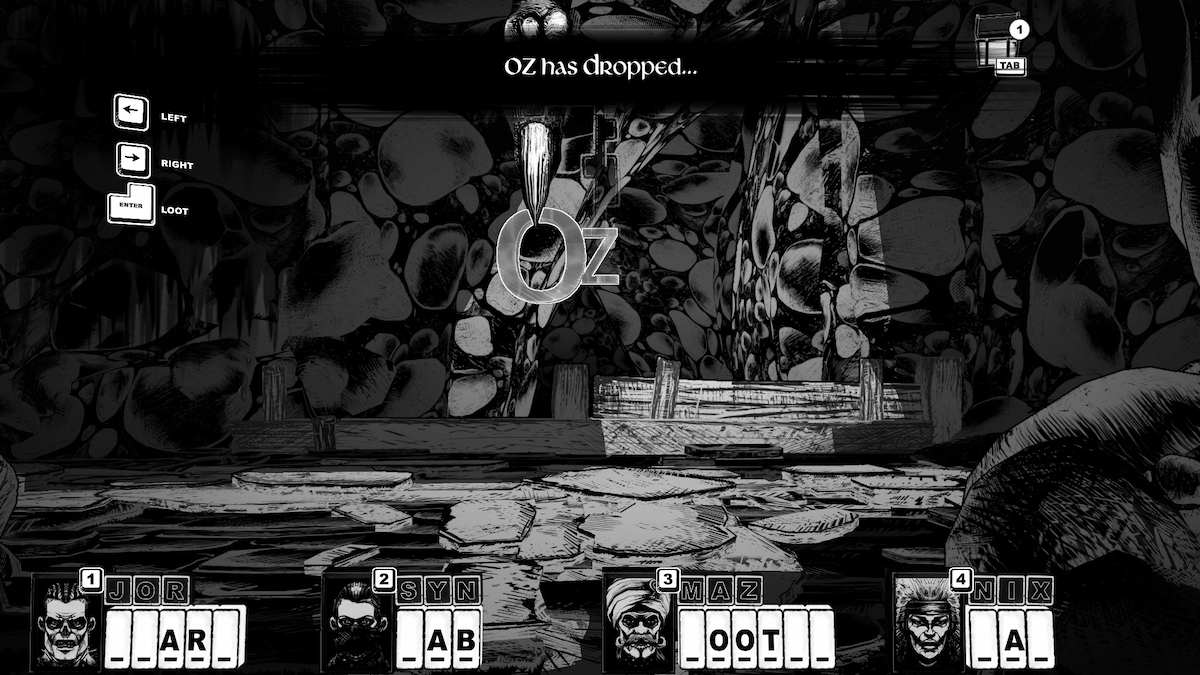
A couple of good HITs and the Toadman will die. You can choose which letter from their name you want to help you with your own missing letters and pick up what they drop by pressing enter.
Follow the path up and to the left, and then go through the next door. Lots of doors in this place.
Over the ravine
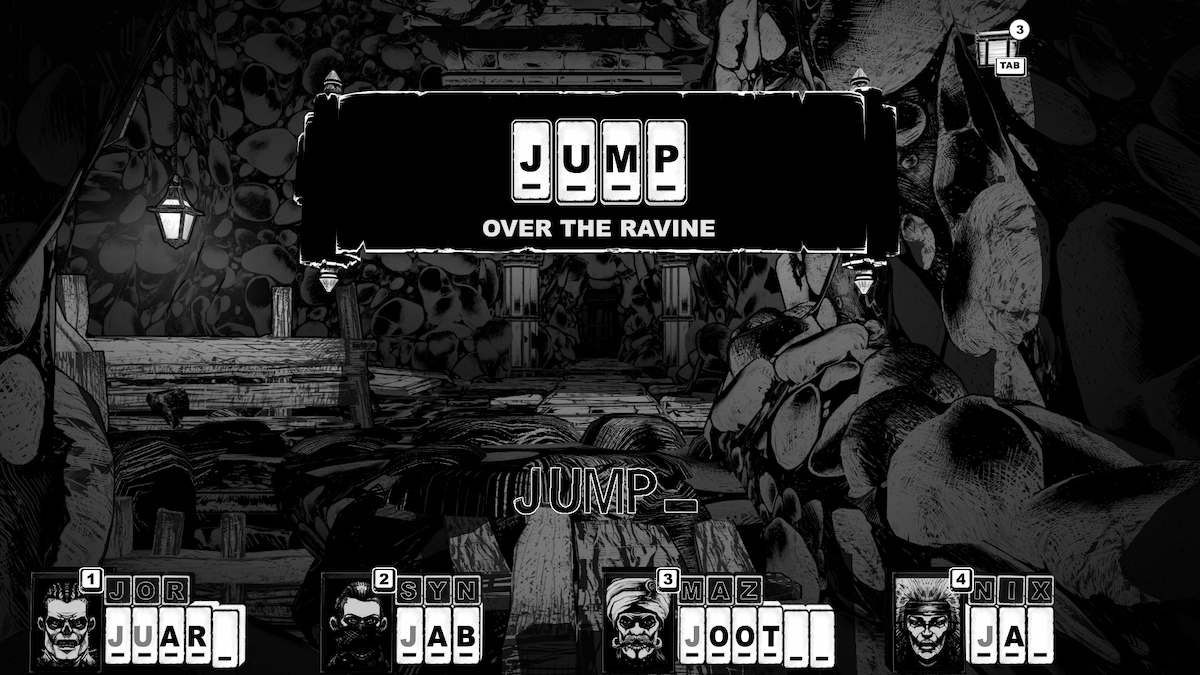
You'll be blocked by a ravine and prompted to 'JUMP' to get past it. There's another CHEST to the left that you will be able to see once you jump over.
Inside the CHEST is something small, shiny, hard, and flat. With the 'C' and 'N' as clues, it must be a 'COIN.'
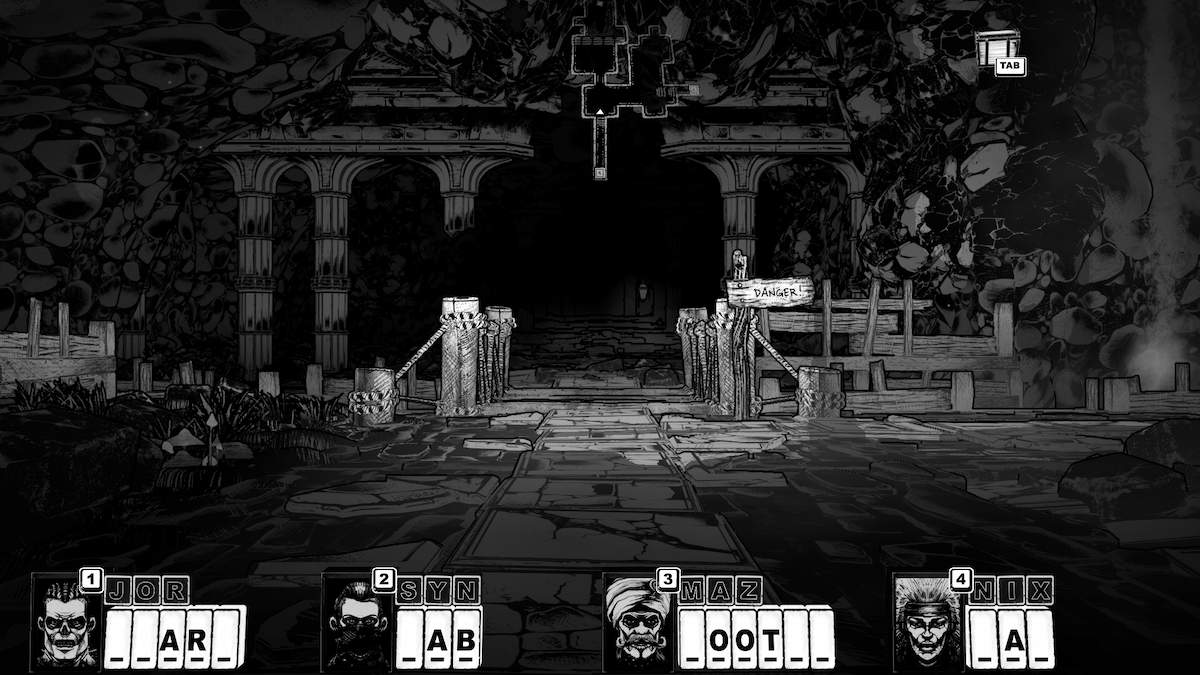
Go to the next room, which is much larger and has a 'DANGER' sign pointing to the right.
Turn right for fun and walk towards the door. Stop before you open the door and look left to see two more Toadmen that you can fight.
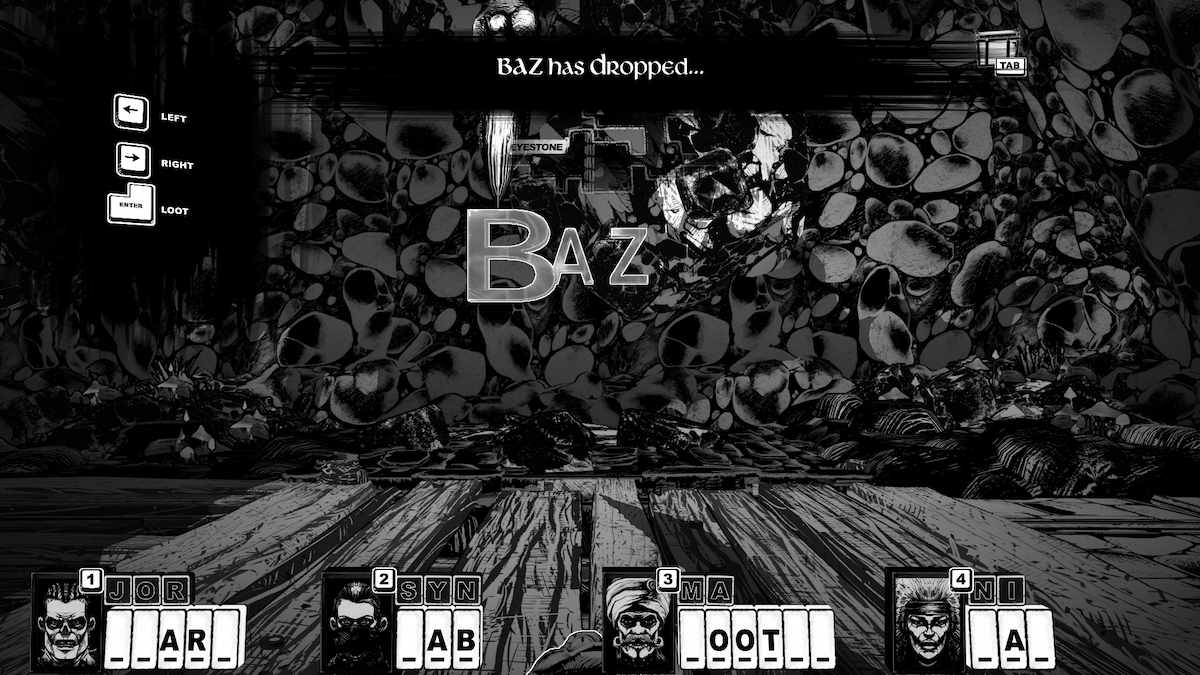
To the left of BAZ the Toadman, there's a BOX, not a CHEST. Open it the same way.
Hard and rather sharp? I don't need any more guesses. 'SWORD.'
This reveal set off a chain of correct words for me, and they are: SOOTHE for MAZ, JAB for SYN, GUARD for JORO. Triple word score, anyone?
The ALTAR
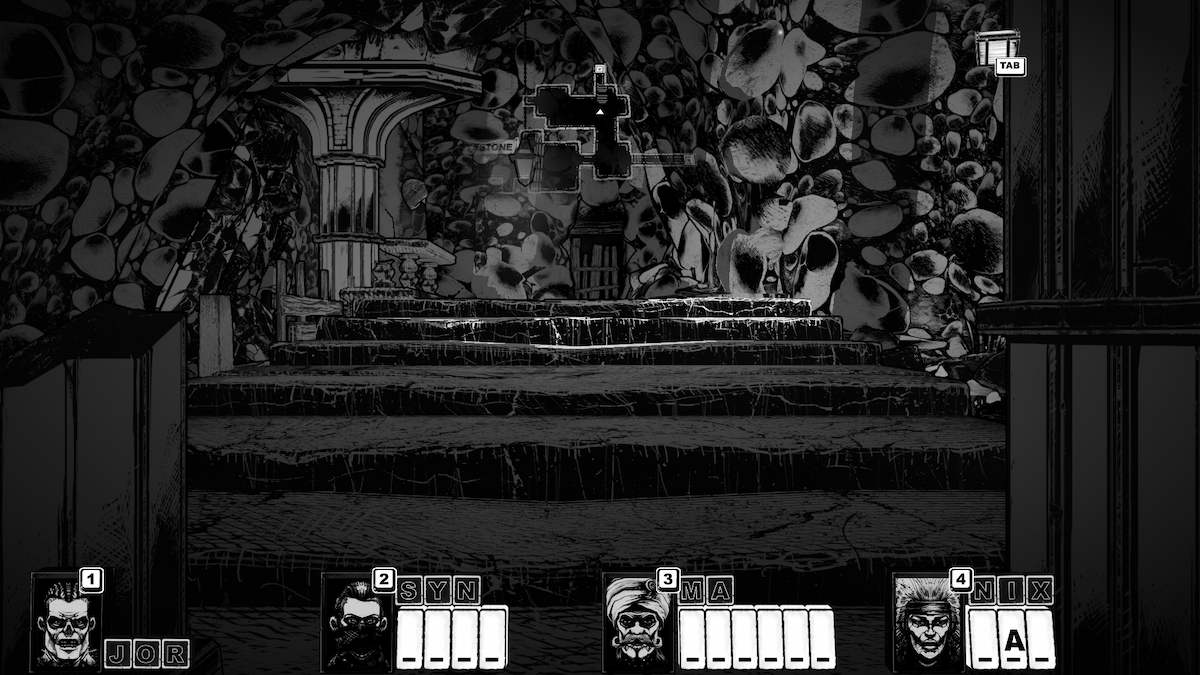
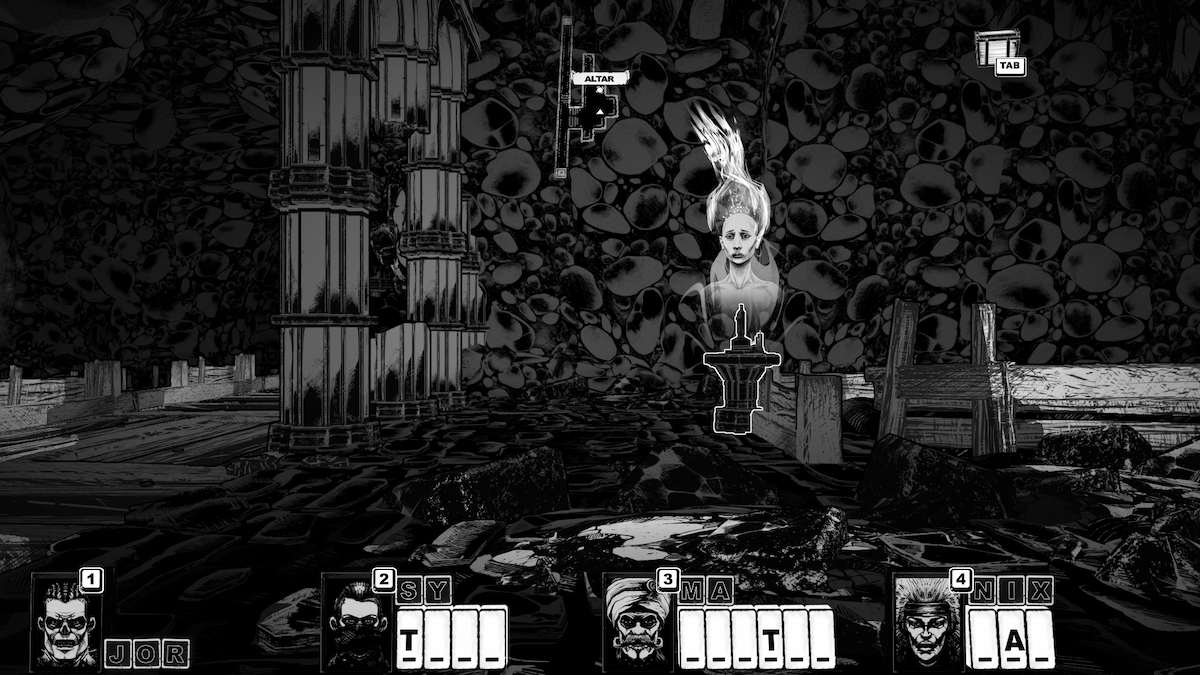
Go up the stairs that we turned left at to fight BAZ earlier. This door leads you to the ALTAR.
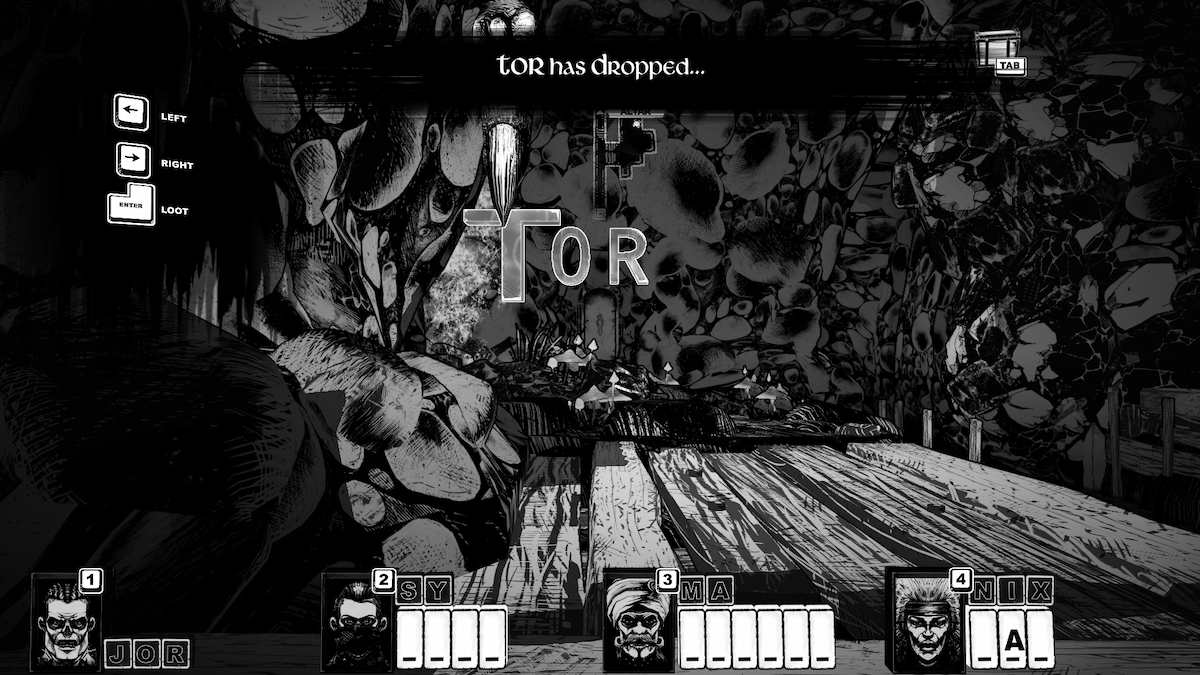
Fight TOR the Toadman ahead of you and try not to get freaked out by the siren-singing lass who's just a floating head and shoulders (knees and toes...)
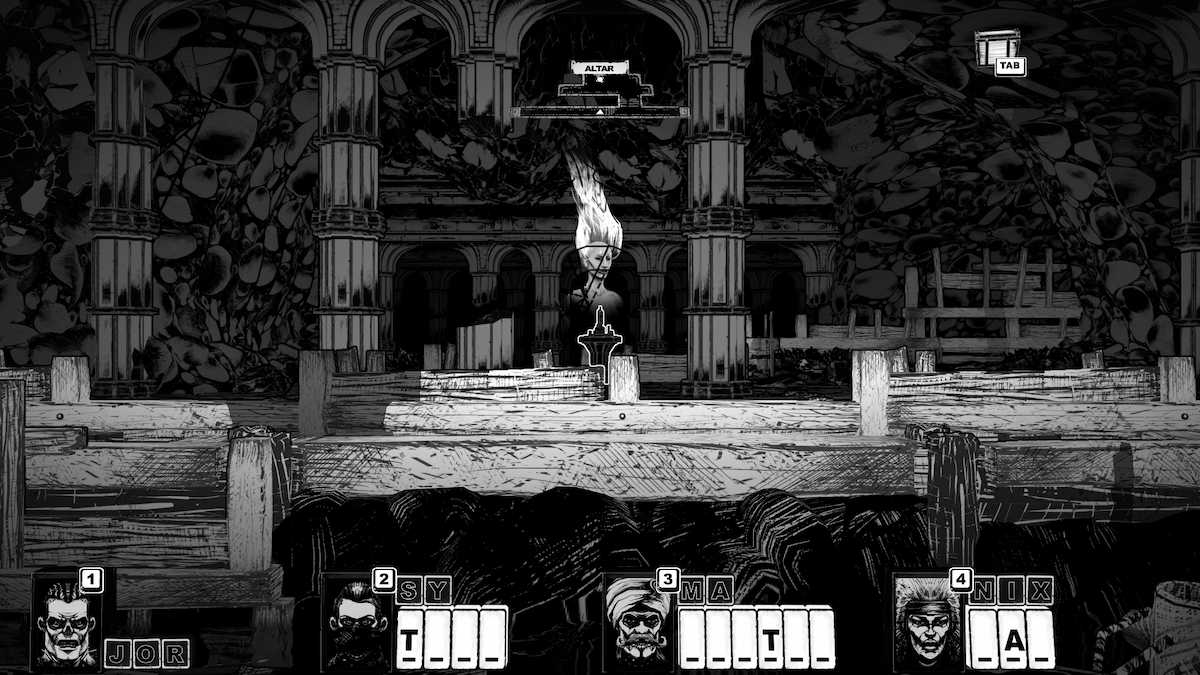
Walk up the stairs to get closer to the singing, flame-haired woman and... She wants us to approach, great. Wonderful.
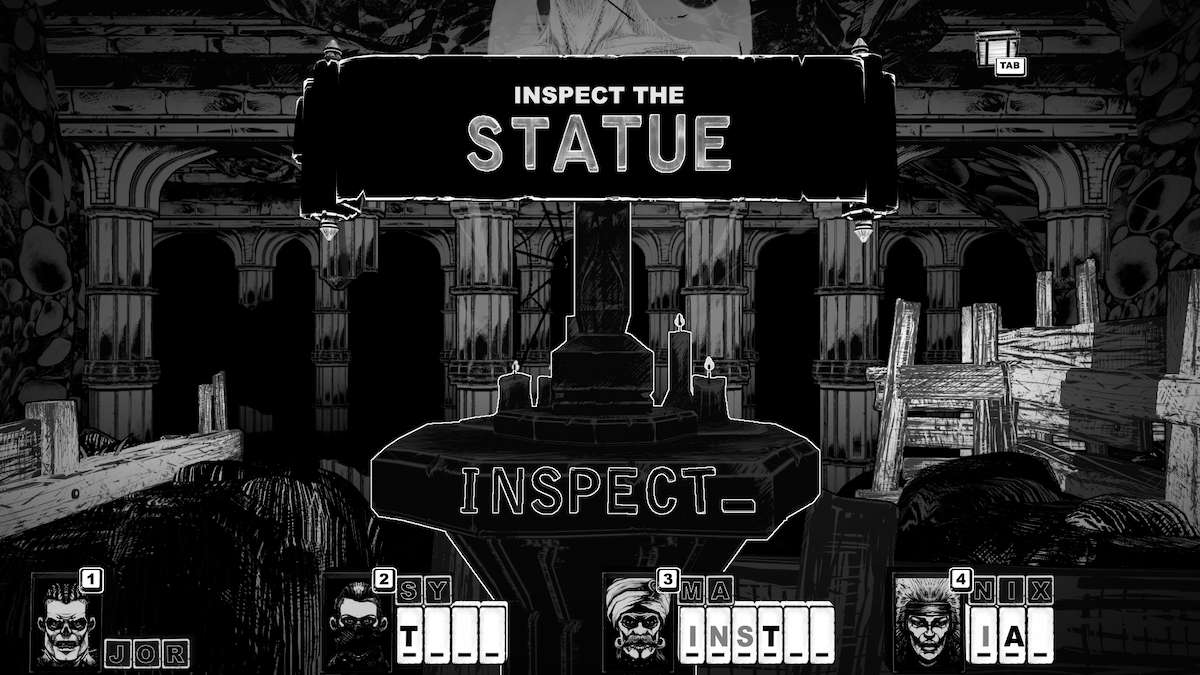
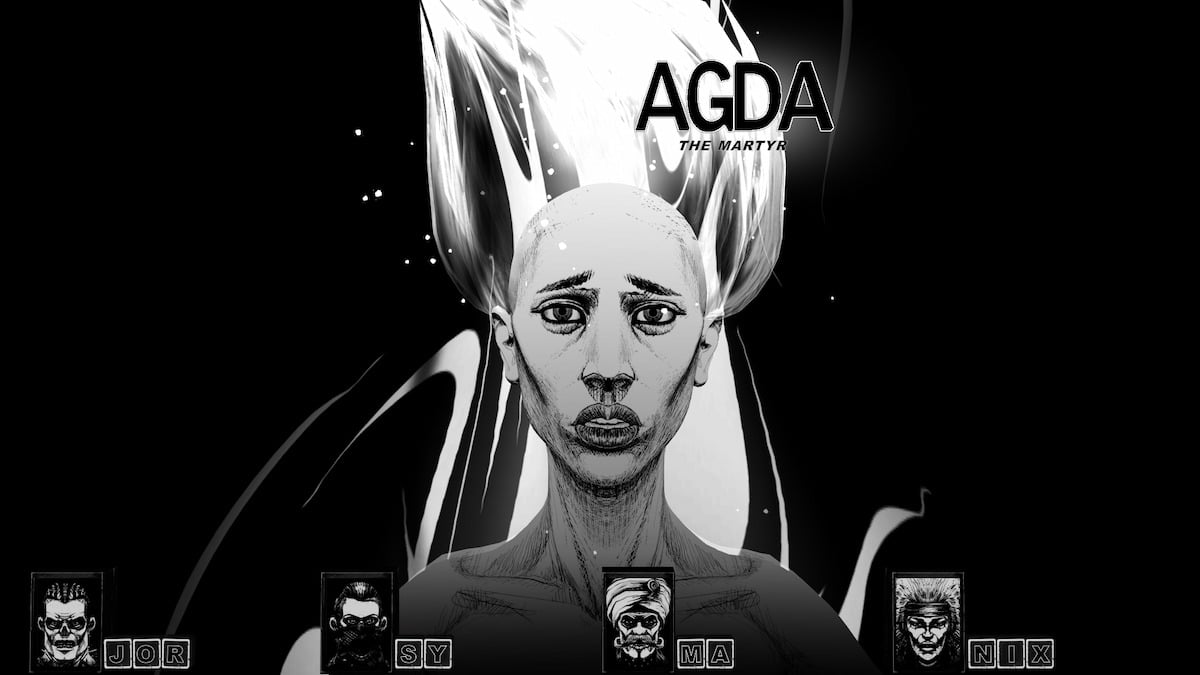
INSPECT the ALTAR to meet ADGA! Up until she realized you were dead, she was really nice. Guess we're desecrating the ALTAR.
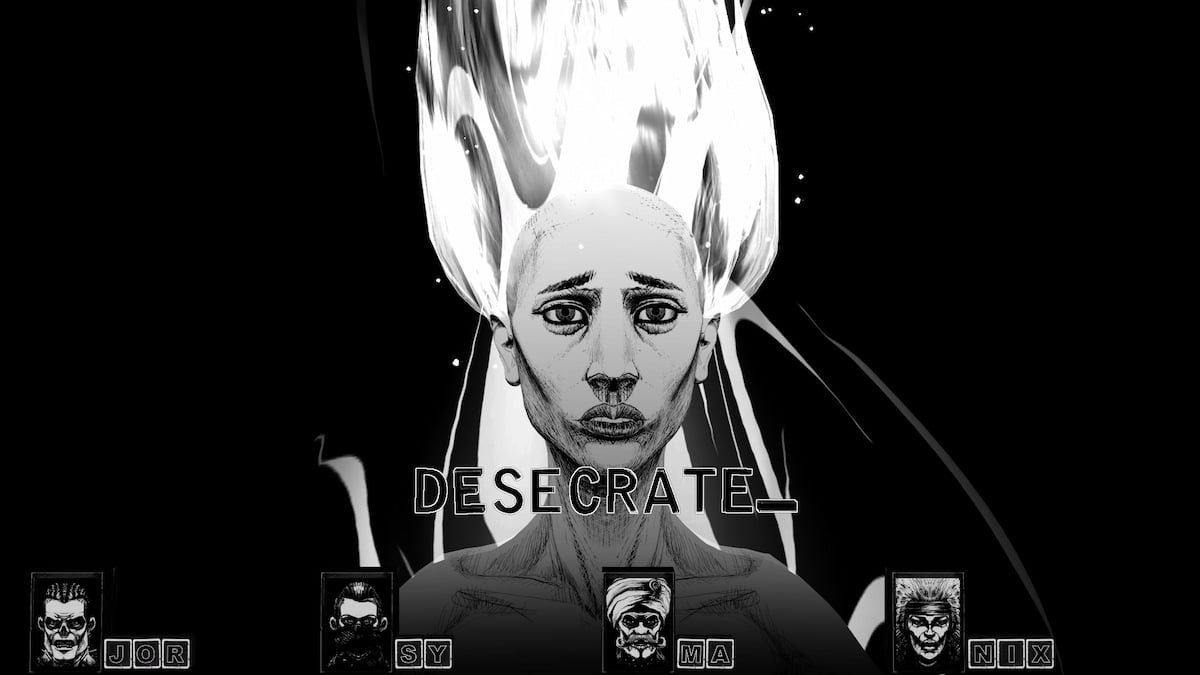
Typing 'DESECRATE' is one way to do this, there are others but... I don't feel like telling you which other words work here.
Fine.
'PEE' and 'SMASH' work, too. I just wish they didn't.
ADGA falls off the ALTAR cursing us all. Anyway-
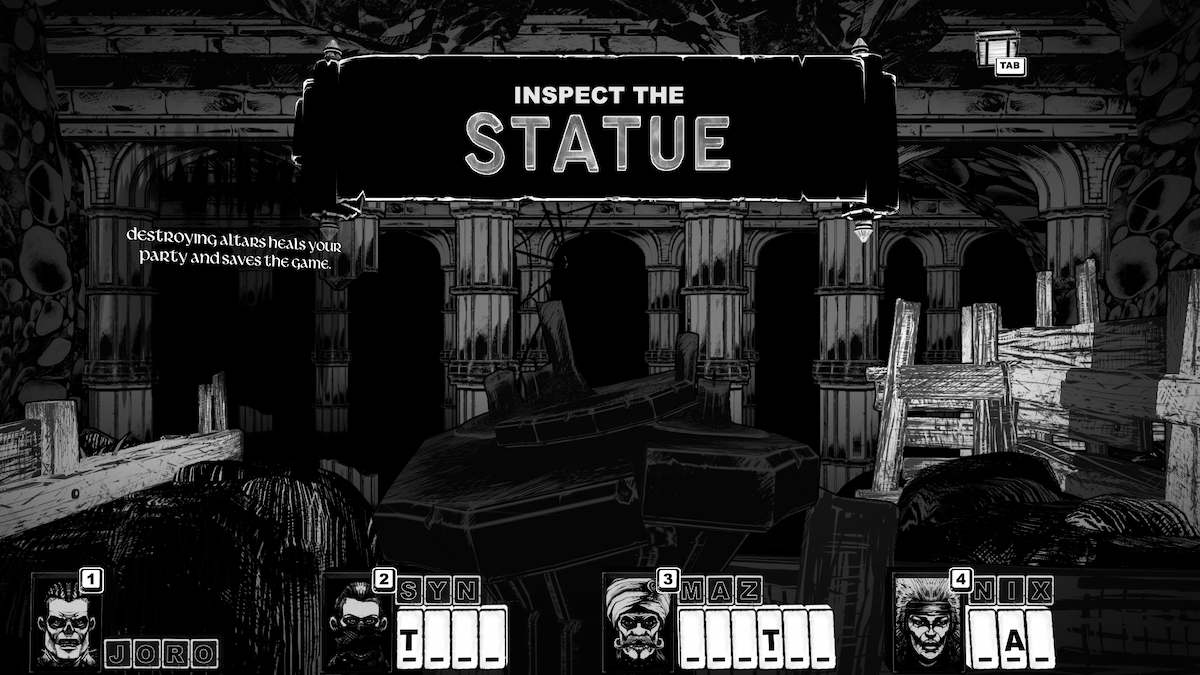
Desecrating an ALTAR can heal your party, so be sure to smash them all. You can visit the ones you've broken to be healed, too.
From the ALTAR, turn left, left again, go forward one step, turn right, and LOOK, A CHEST!
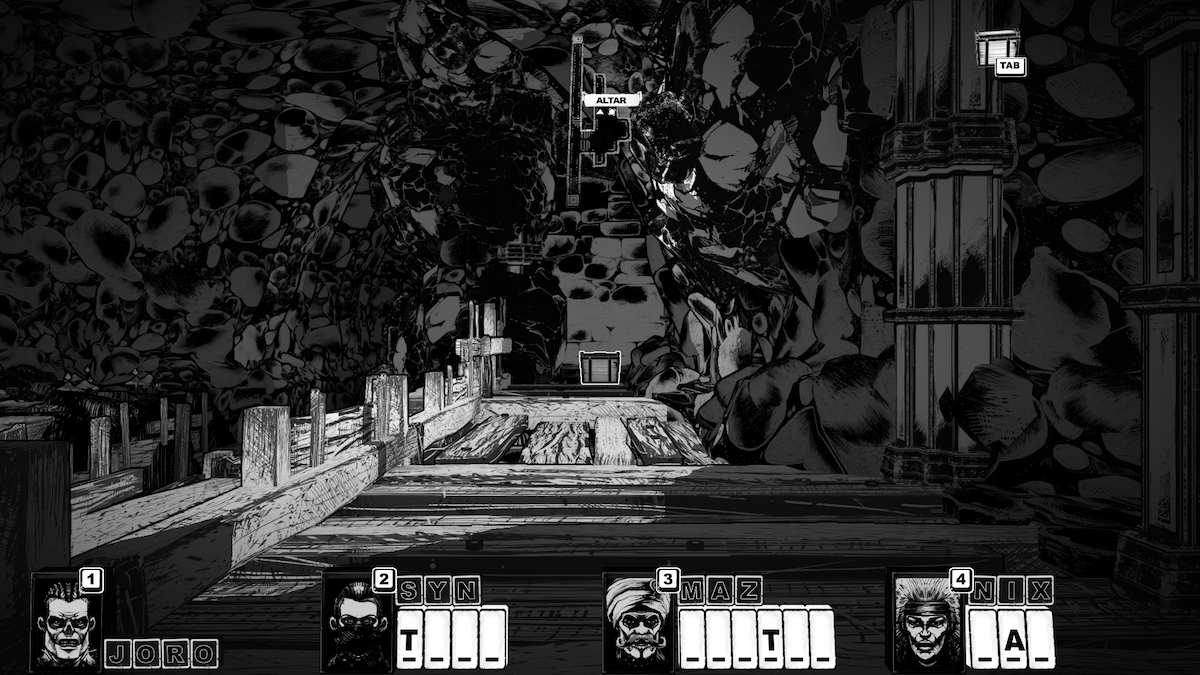
A thin piece of paper covered with drawings and writing. A 'MAP.'
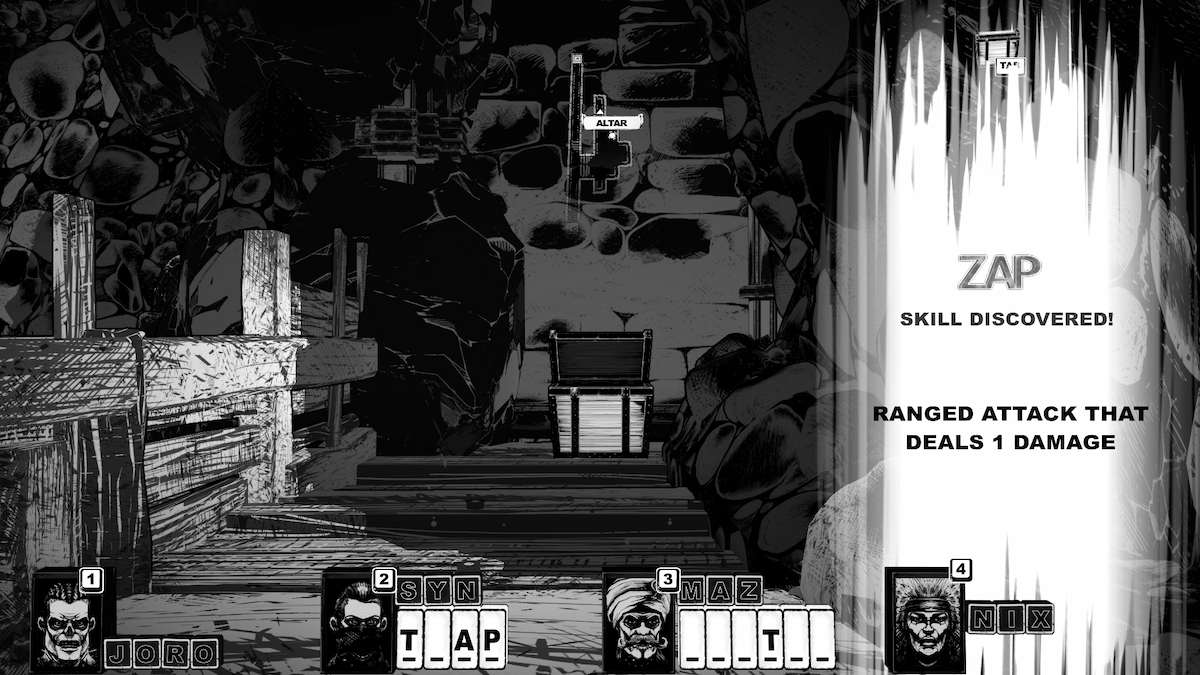
And what rhymes with MAP? 'ZAP!' One for NIX, finally!
Go back to the walkway on the other side of the room and towards the door on your right (where you killed the Toadman).
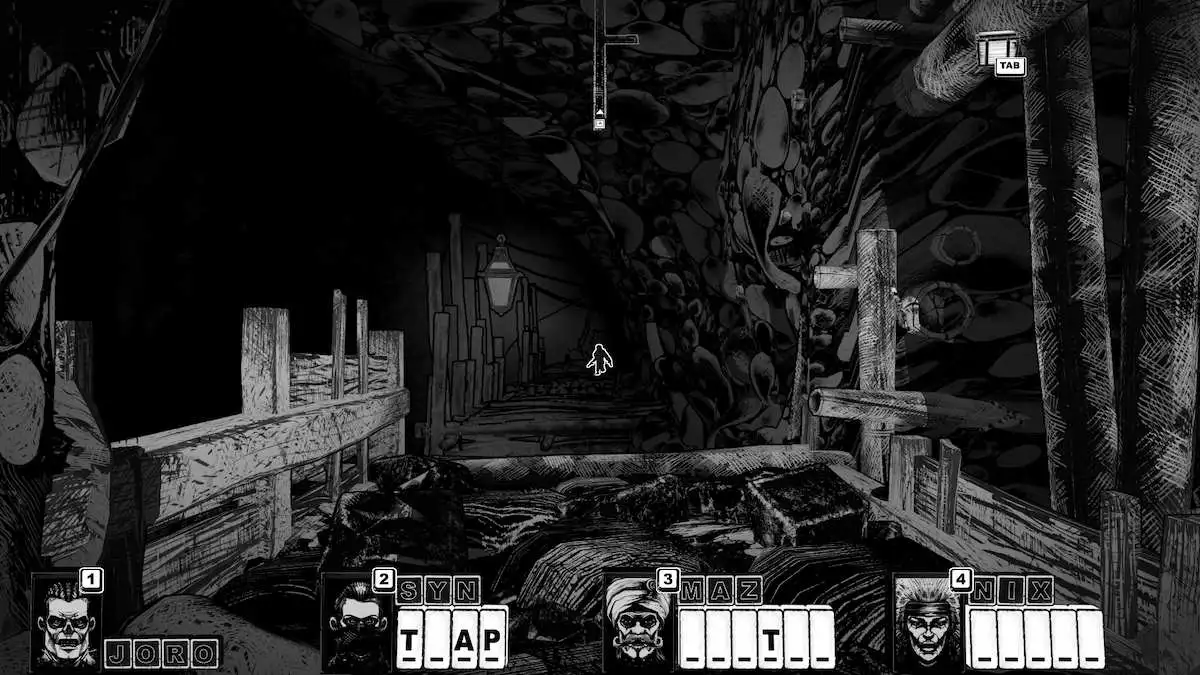
That's not a Toadman in the distance, it's some kind of wolf and it takes a few more hits to put it down. You also can't use any words with 'B' in them, so that cuts 'JAB' out of your repertoire.
Once that fight is over, there's another skill ready for you to type in: 'TRAP.'
Continue forward to the next door.
The SOULSTONE
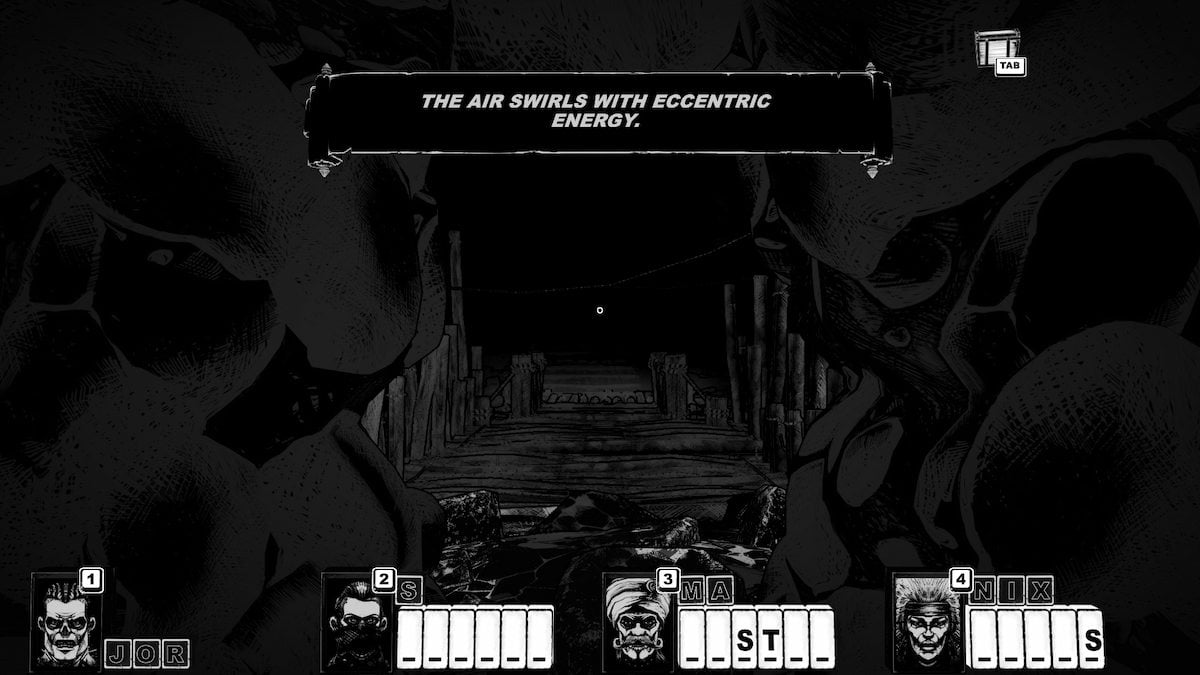
This place feels very ominous, and for good reason. Continue forward and you'll come across a rather unique object that the CRYPTMASTER needs:
The SOULSTONE.
A short conversation later, you agree to carry the SOULSTONE for the CRYPTMASTER who is particularly gleeful to be bound to you for all eternity now that you've said yes.
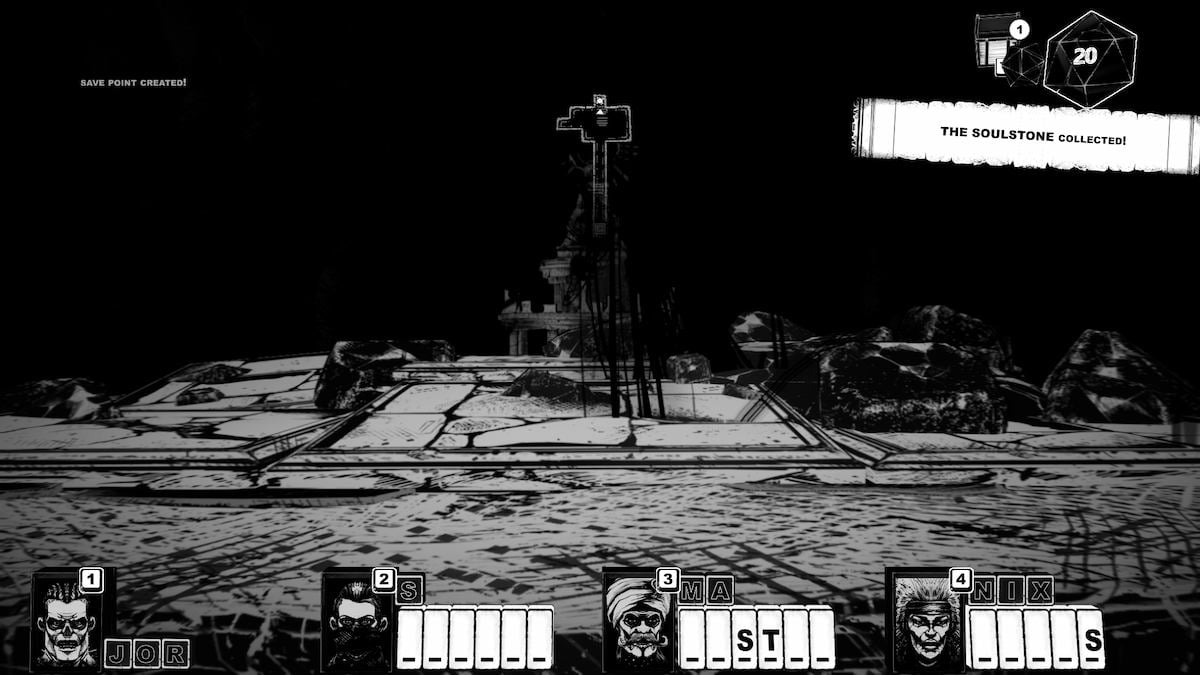
The room shakes a bit, but nothing else changes. Go back out the door you came in.
Gathering bug souls
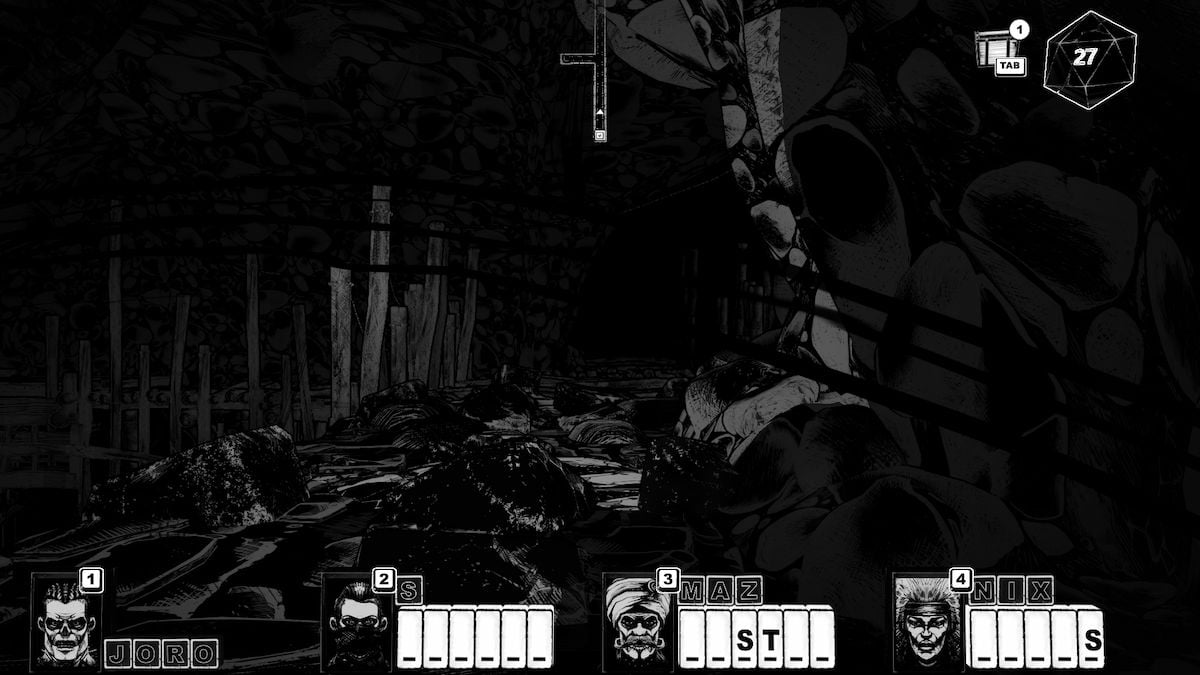
It took me an embarrassingly long time to figure out how to catch bugs. As you exit the SOULSTONE room, you'll hear the CRYPTMASTER talking about catching bugs to harvest souls for the stone.
To your left, after you leave the SOULSTONE room, start listening for the sound of a bug. I found my first one on the small path to the left after leaving the SOULSTONE room.
To make that even more clear: To catch bugs, just type in their name.
Head towards the entrance and there's another bug for you to catch on the right wall by the door:
Keep checking the wall on your right as you walk back through the ALTAR room. There are more bugs for you to collect. They appear randomly, so you may find different ones from those that I found.
Go through the entrance door to the ALTAR and you'll be back in the area with the DANGER sign.
There are two Toadmen to kill again, you know what to do.
Continue straight, back to the DANGER sign. With the sign on your right, walk forward.
The EYE DOOR
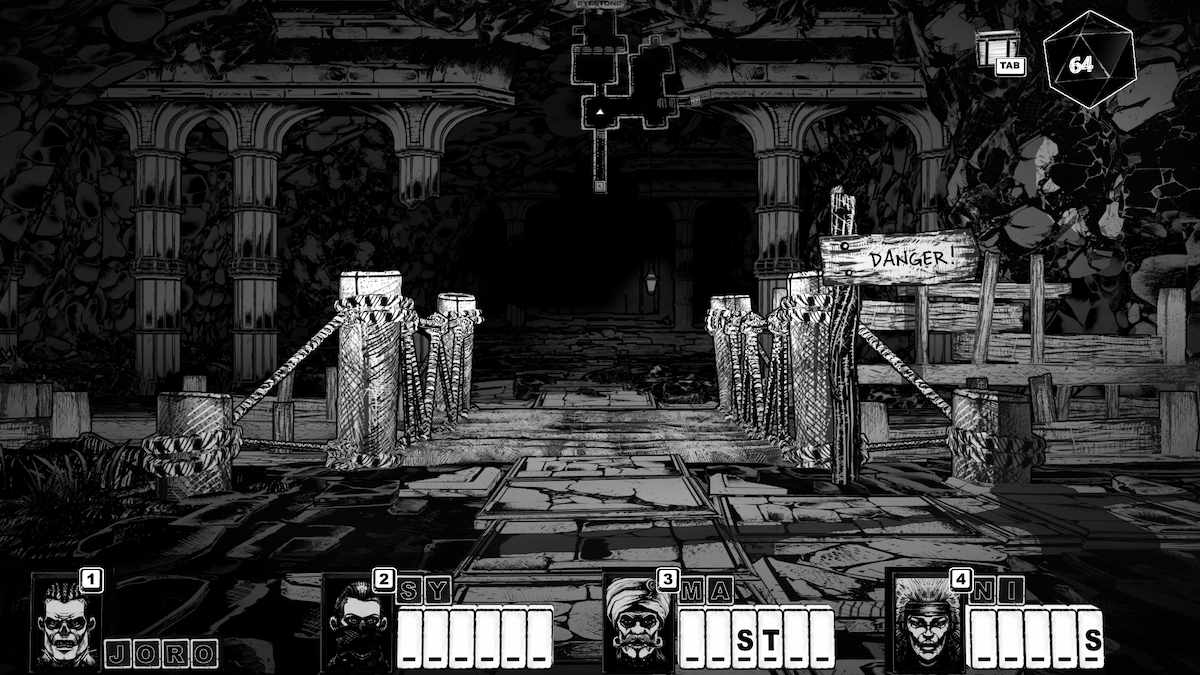
You will reach a giant circle, which will open to reveal an EYE.
It will ask if you are dead.
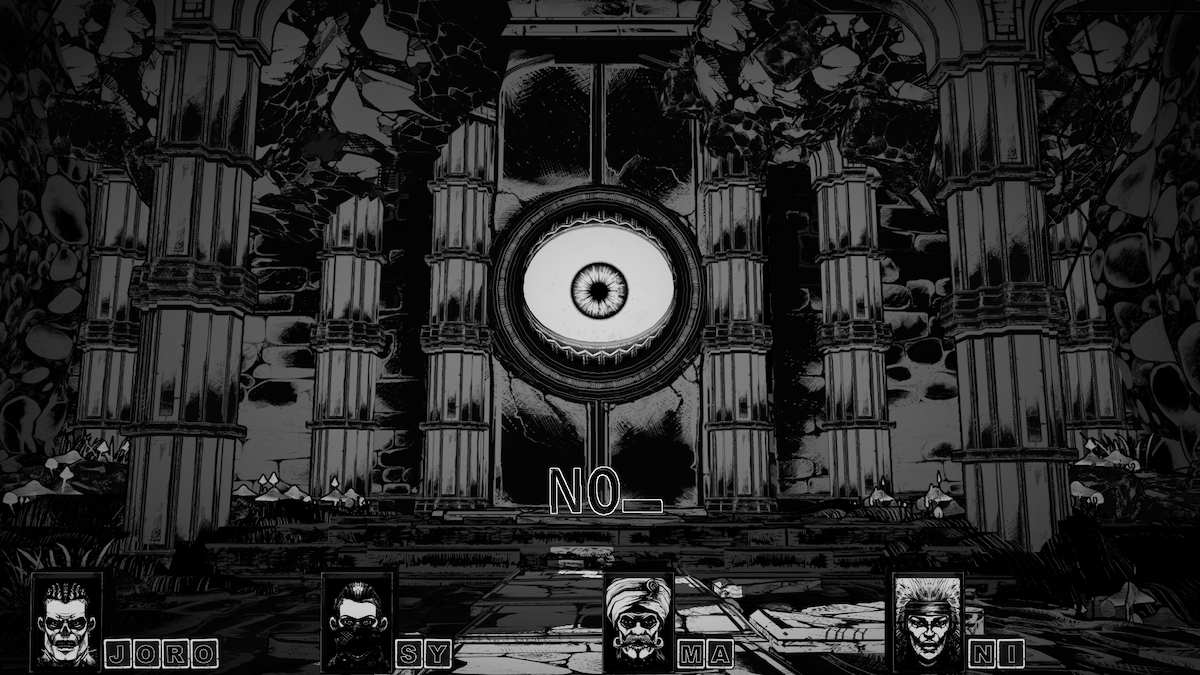
Say 'NO.'
The EYE thinks you might be lying and asks you what the last piece of fruit you ate was. You can give any answer, as long as it's the name of a fruit.
The last question is to describe the sun in one word.
Again, there are many answers, I went with 'BRIGHT.'
The EYE accepts your answers and tells you that you may pass.
BEFORE YOU DO - here are the other skills for the first chapter that you should input:
- MURDER for SYN
- JOSTLE for MAZ
- CRABS and AURA for NIX
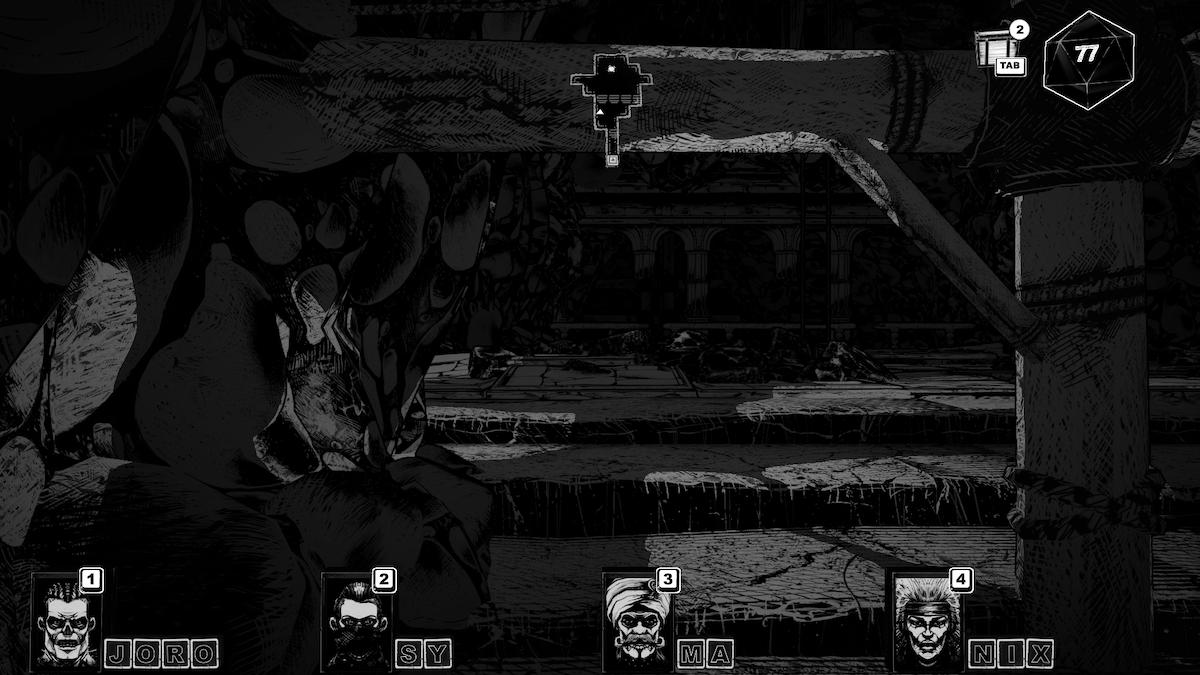
In the next small room past the decorative door, check for more bugs before you leave. You can hear all the insects, so be sure to play with your sound on.
After the weird row of poles tied together, listen for bugs. I slipped over to the far left of the room next to the poles and found another one.
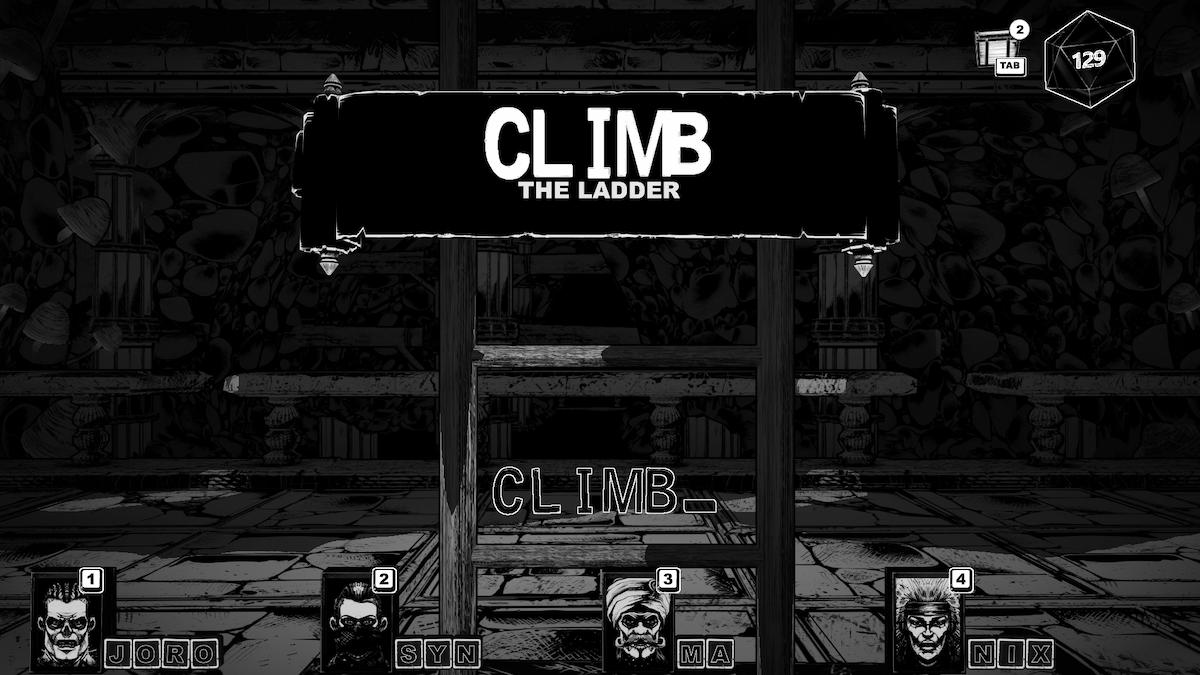
'CLIMB' the ladder in the middle of the room to leave the crypt, and answer 'YES' when the CRYPTMASTER asks if you want to leave.
You have a bit of a chat with the CRYPTMASTER about the surface world, they'll ask what the first thing you're going to do is. You can type any one-word answer, it doesn't seem to matter at all.
The CRYPTMASTER tells you that the higher you get, the more you'll remember about your past life.
CRYPTMASTER Walkthrough, Chapter 2: Bones and Crowns
Congratulations, you're officially in Chapter 2. Here's what you need to know: The CHESTS are all random from this point onwards, so I can't help you as much as I could in Chapter 1. Some of the CHESTS will try to take a bite out of you, too, but you can't tell from looking at them. Mimics, am I right?
What I can do here is remind you about the riddle guide at the bottom of the walkthrough. This will help you get through the chapter and includes all of the possible CHEST words and what the CRYPTMASTER describes for each one when you're playing the guessing game.
In this new area, the soundtrack is significantly less creepy - enjoy.
Walk straight to the next door and the CRYPTMASTER will let you know that you're nearing the Bonehouses.
The Bonehouses
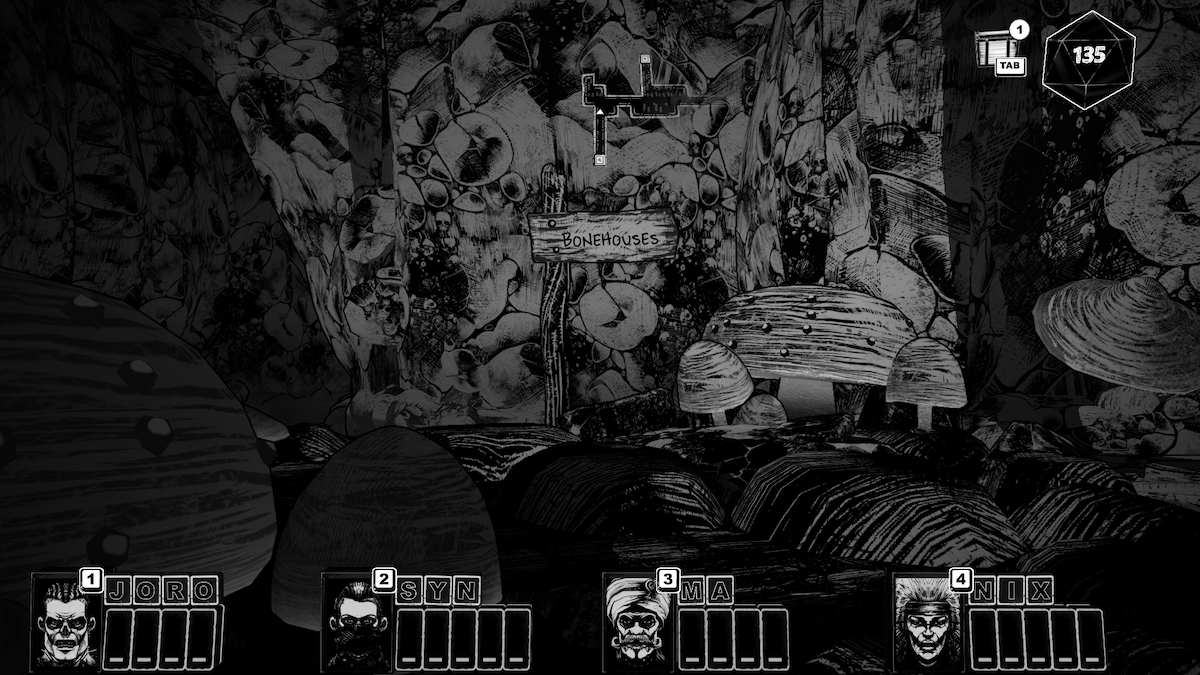
There's nothing of interest on the left of this room, so take the path to the right and fight the... Shark thing? Flying shark creature?
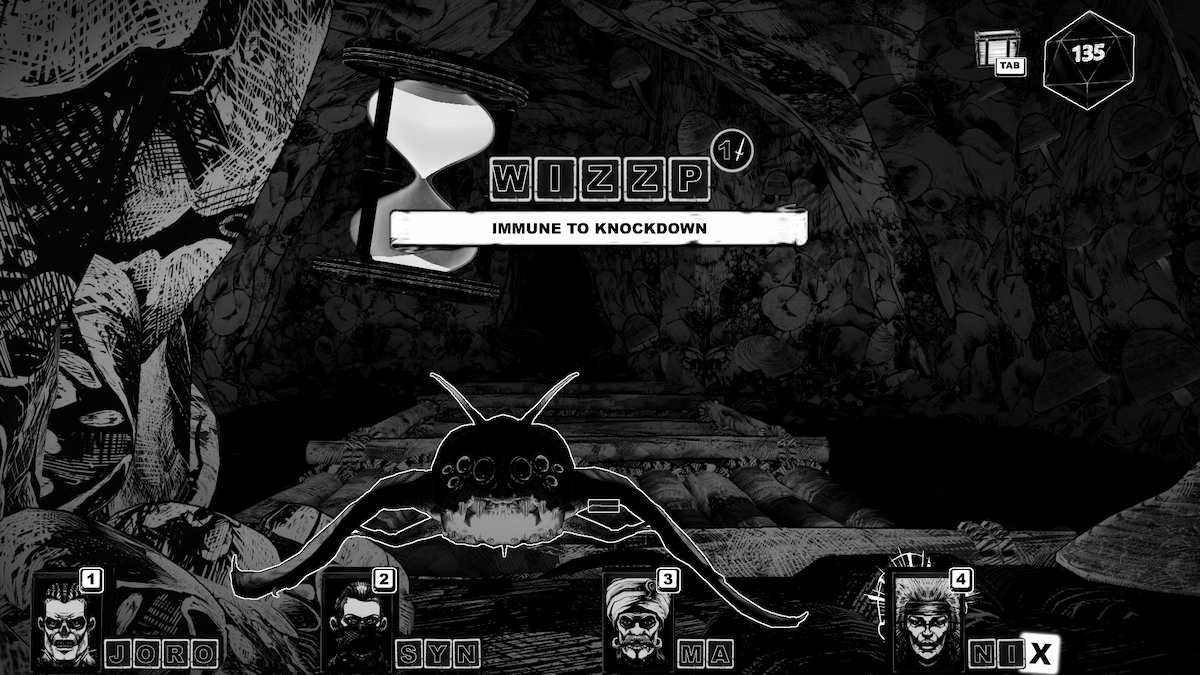
It's immune to knockdown effects, which is just annoying, but keep hitting it and you'll get your first letter reward for this chapter.
Take the next left, which will lead you to another room with a broken bridge and more flying shark things.
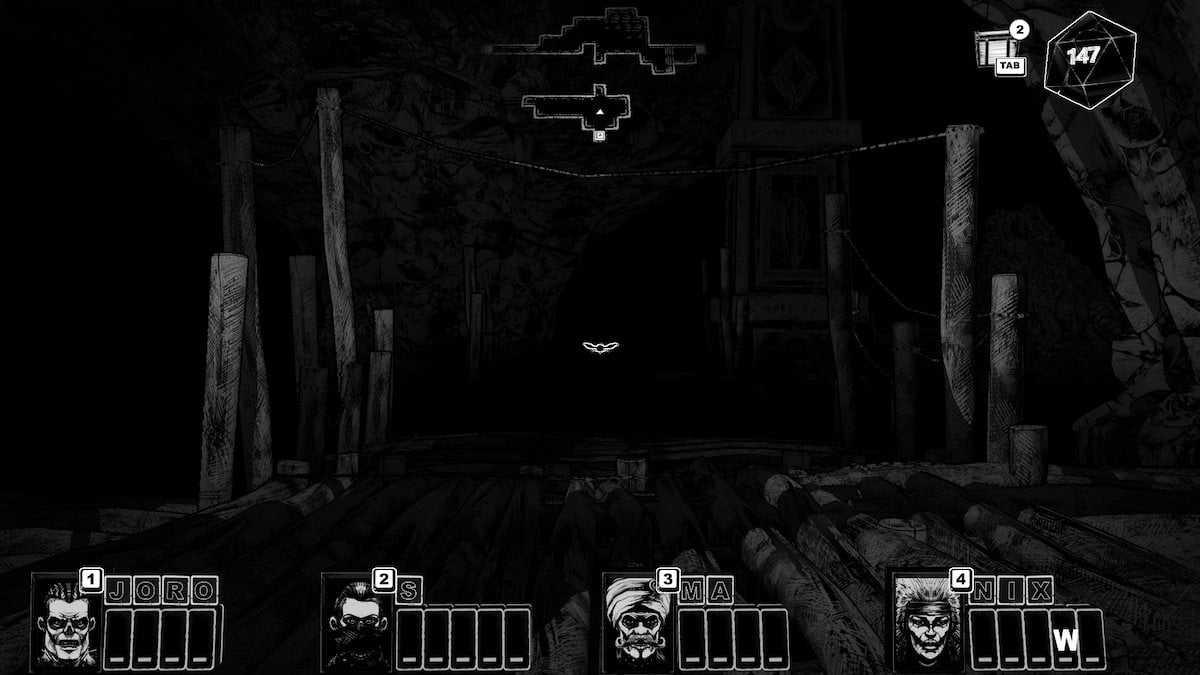
You can't jump this bridge, the gap is too wide, so go back to the room you came from and turn left to take the other door.
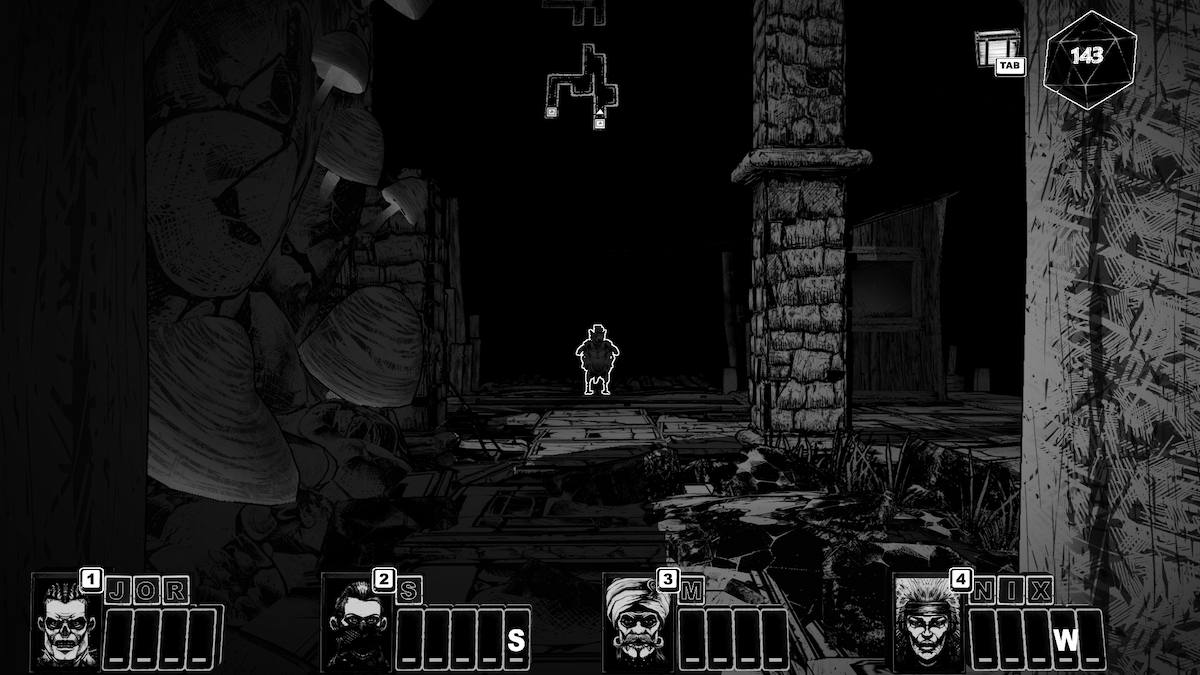
Oh, look, a giant bi-pedel rat. Talk to him, the first two answers don't matter, but the third does. Tell him that you have not been a member of, nor are you affiliated with, any groups engaged in anti-rat activities. A firm 'NO' is perfect here.
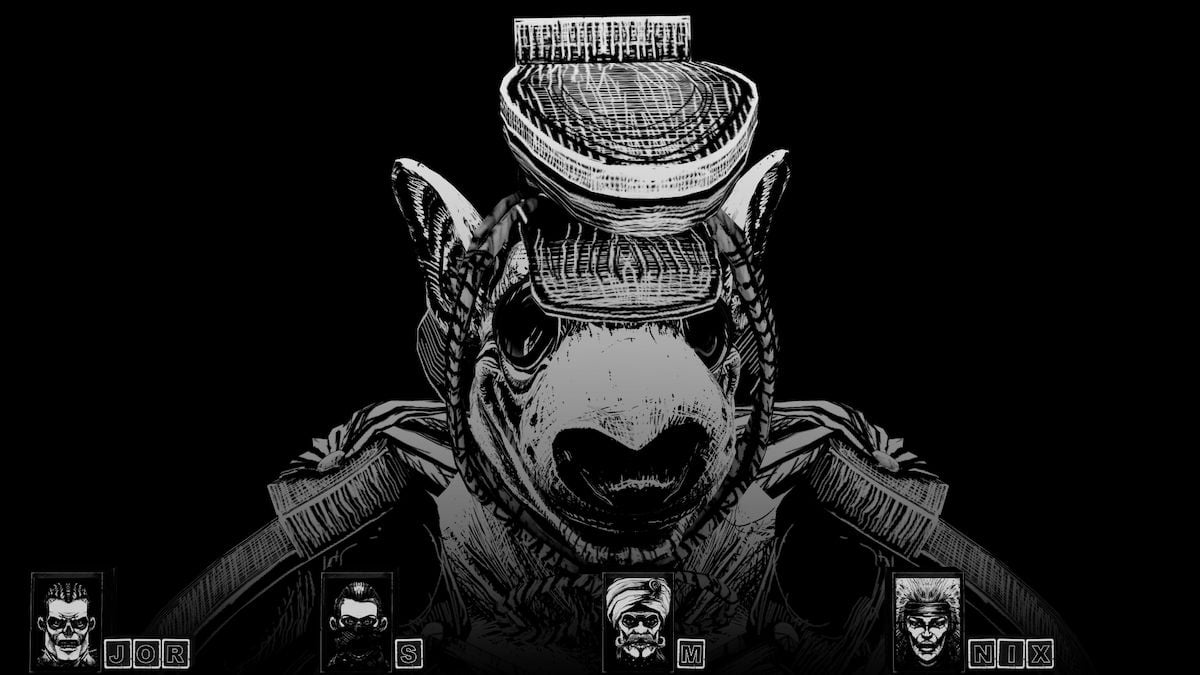
I can't stop looking at his eyes, the swirling darkness is so offputting!
No, you're not carrying any sharp or bladed weapons.
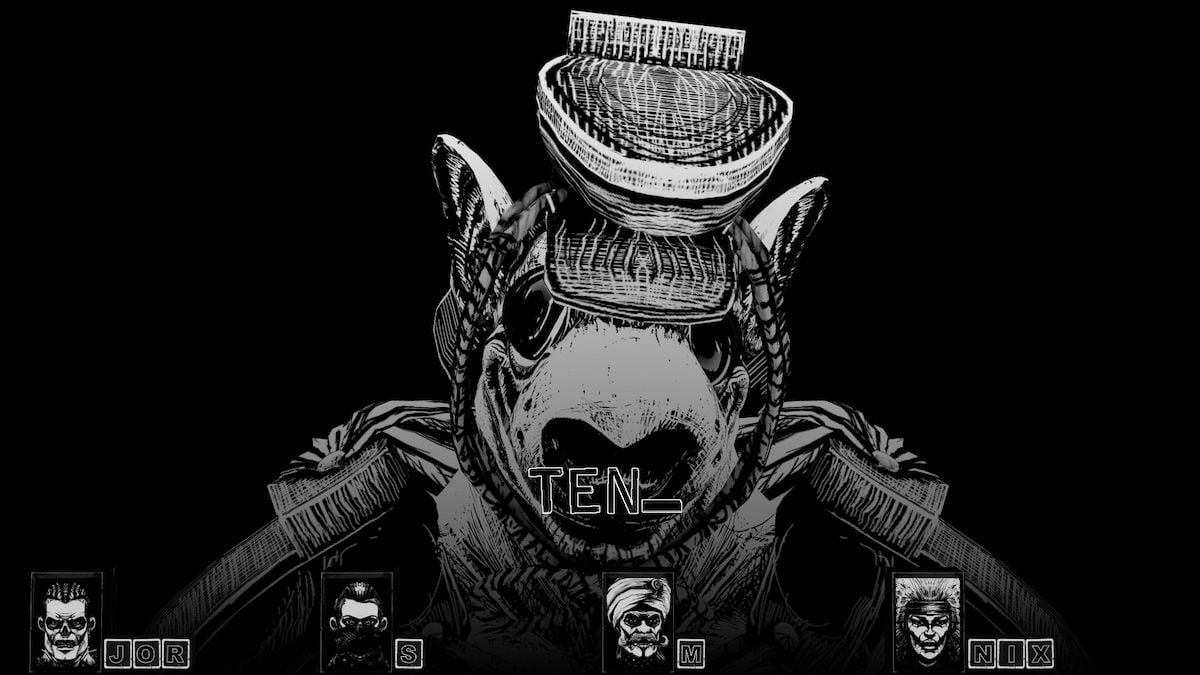
10/10 very helpful. Cheers, rat guy.
Woo! You're signed in. What a ride.
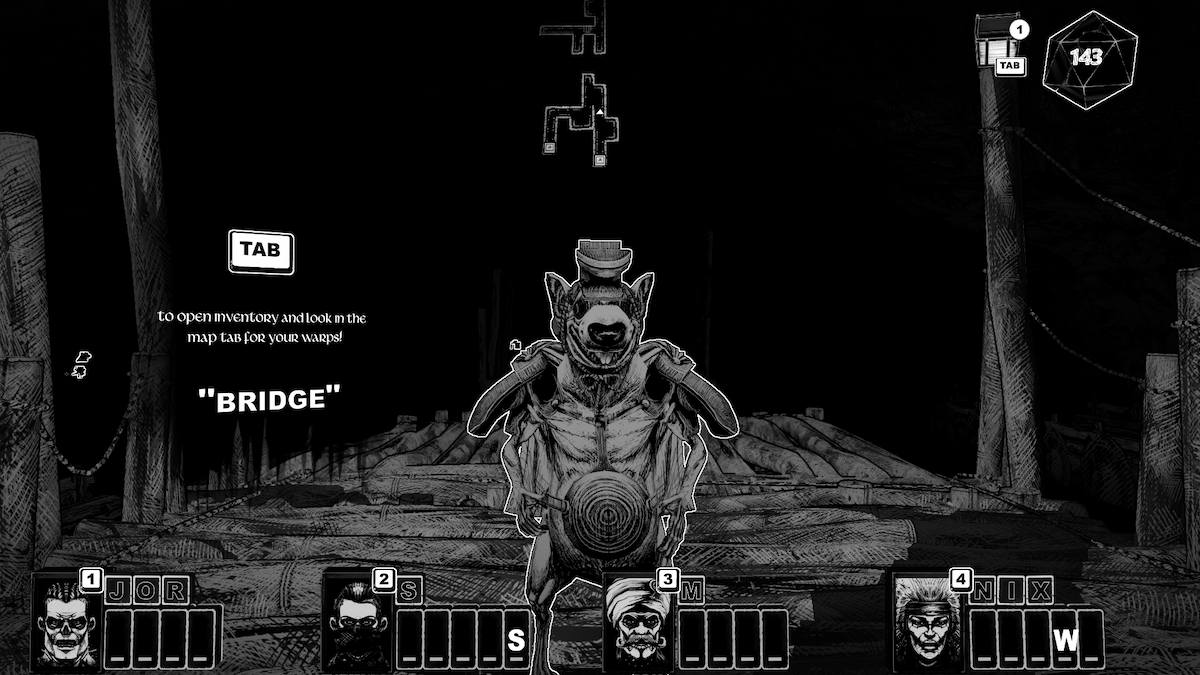
You get a map and you have to use it to warp to the other side of the bridge. You cannot get past the rat guard, the game physically does not let you walk past him.
Type out 'BRIDGE' to proceed to the next area via portal.
The rat people here won't hurt you, so you can keep walking straight and go through the door.
Walk up the mushroom-covered path to be greeted by a familiar humming.
DESECRATE the altar.
The rat people don't even care. You may want to talk to the second rat close to the BONEHOUSES door, though.
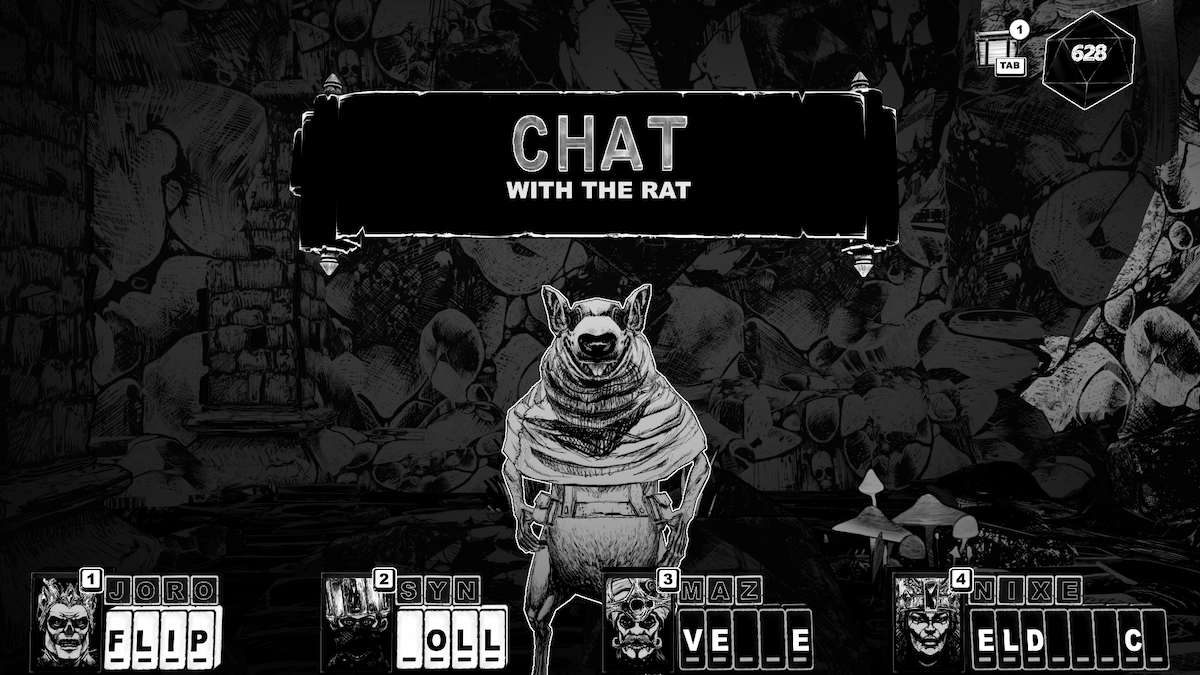
You can 'CHAT' with him for a little quest.
A quick side-note: I went walking off to the left for funsies and the CRYPTMASTER said: "You're skulking again. Stop it." Made me giggle.
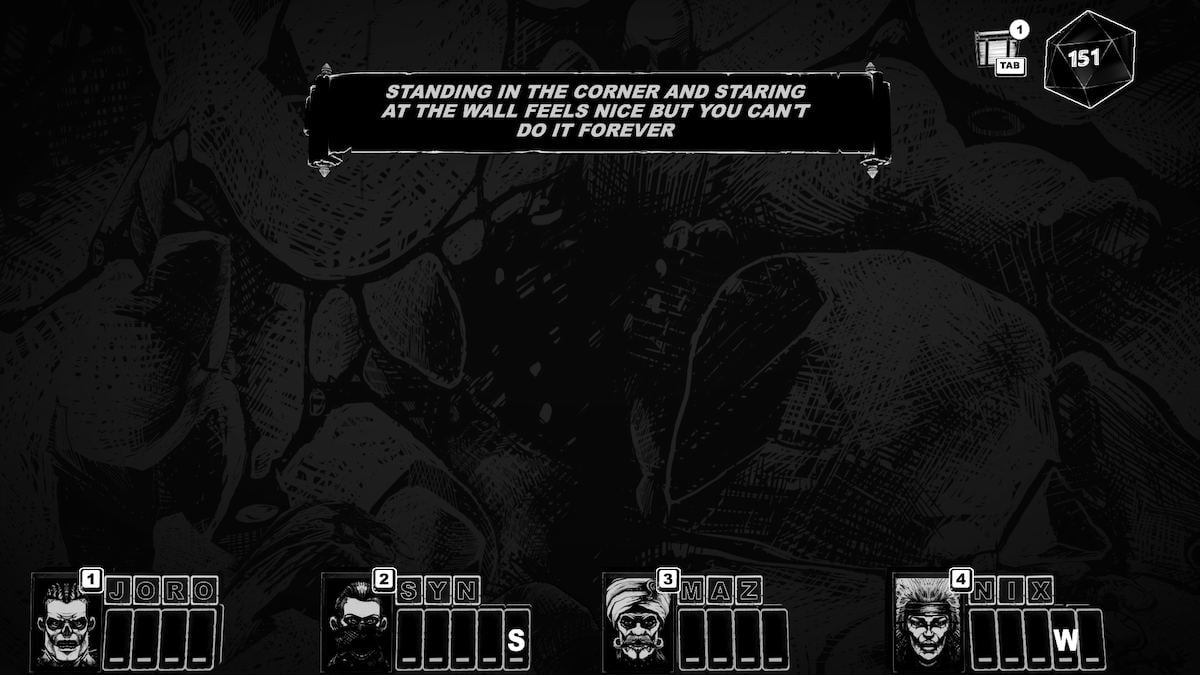
There's lots of little voice lines like that and text that appears on the screen when you go into the corners of the map (or stand by the water).
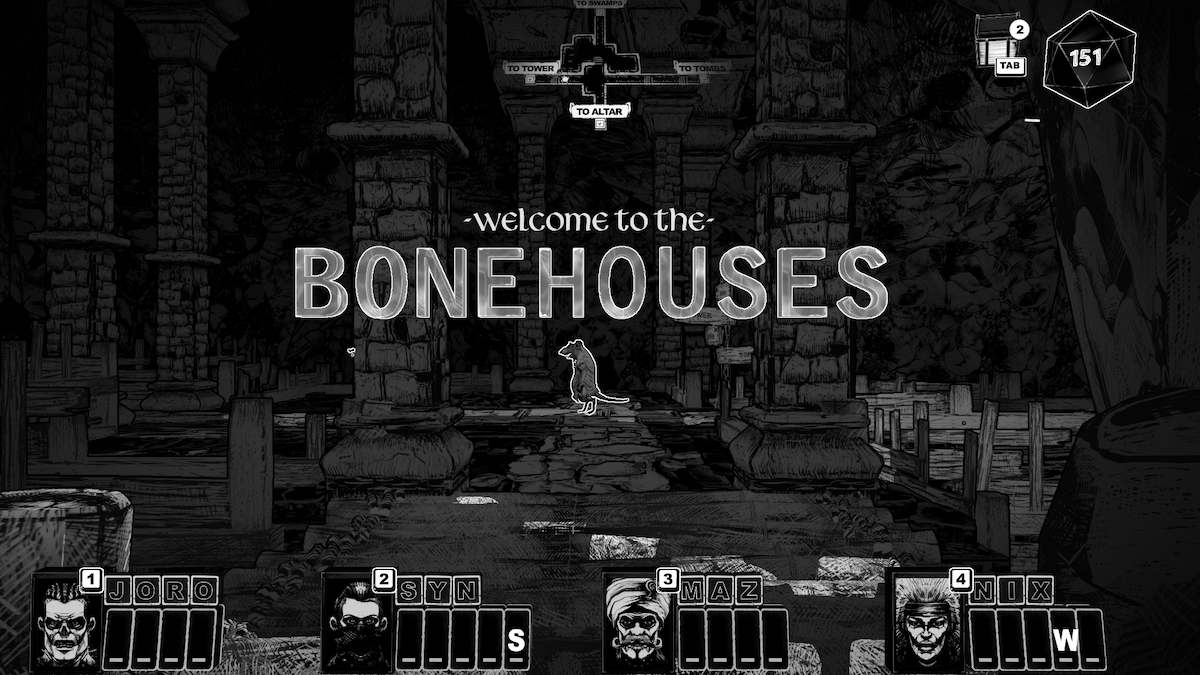
Go through the door and enter the BONEHOUSES. Turn left for the Tower where the PIPER is.
Oop, you've been stopped. Are you royalty? 'YES,' you are.
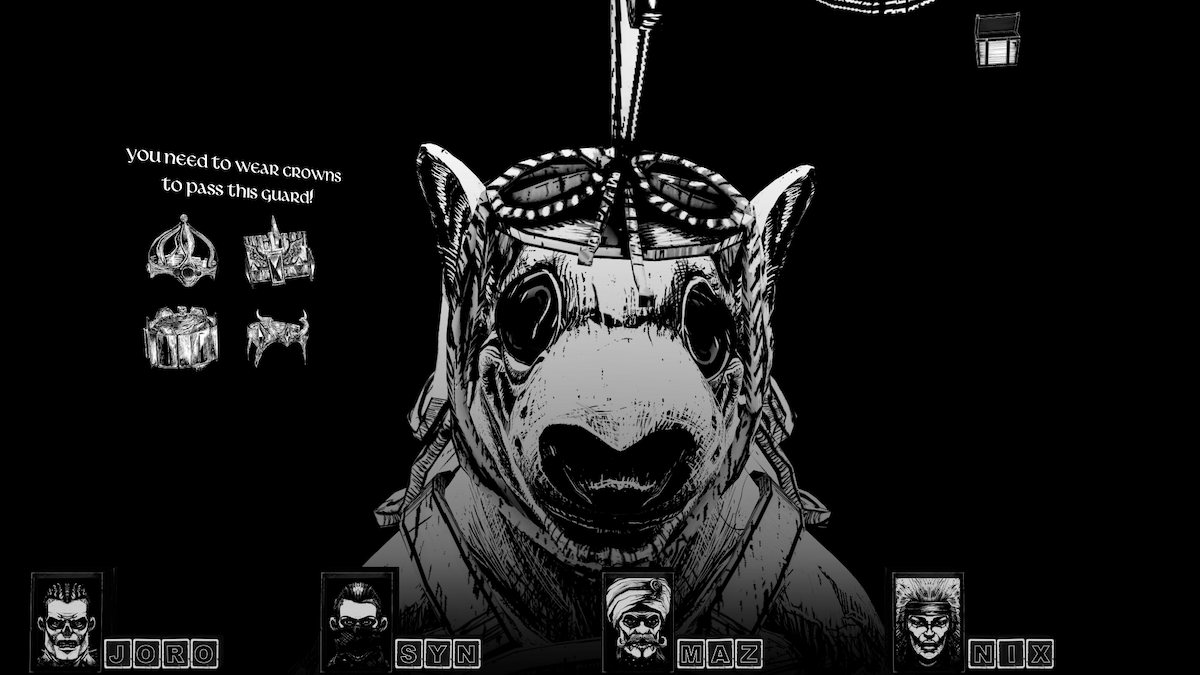
No dice, you need a crown - and I can tell you where to get one. Actually, I can tell you where to get four.
Do a quick 180-turn and head over to the TOMBS.
The TOMBS
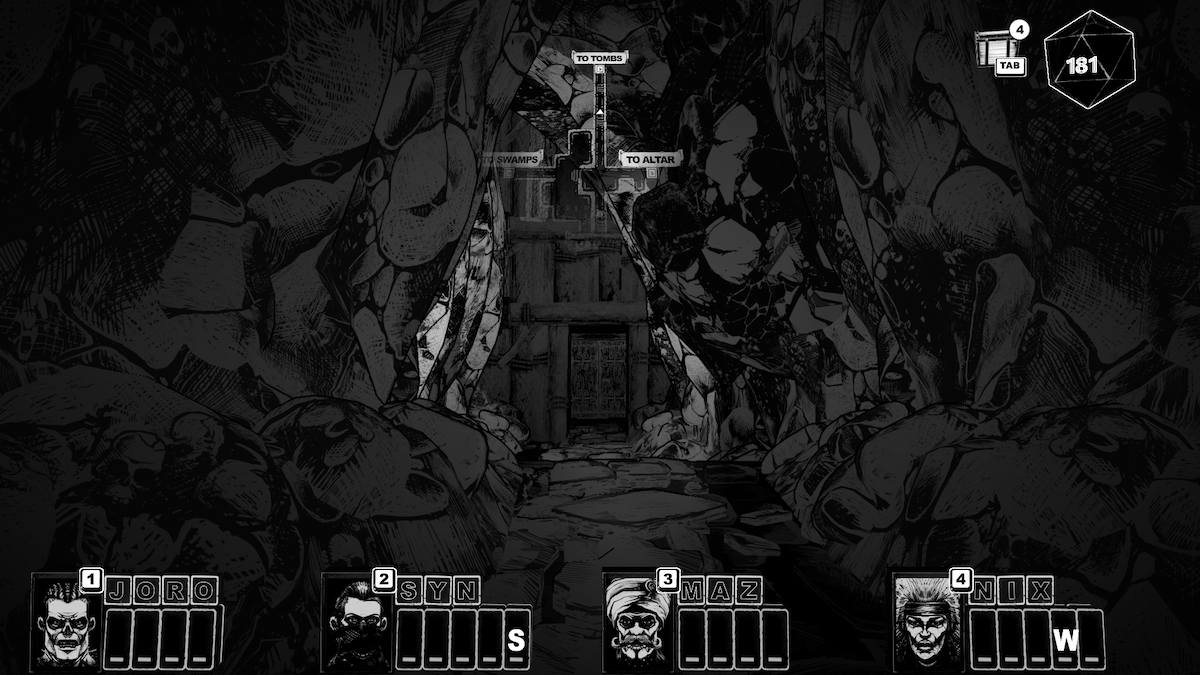
On the left, after you walk through the entrance, there's a rat in a cage swinging next to another Eye Door. Talk to the rat.
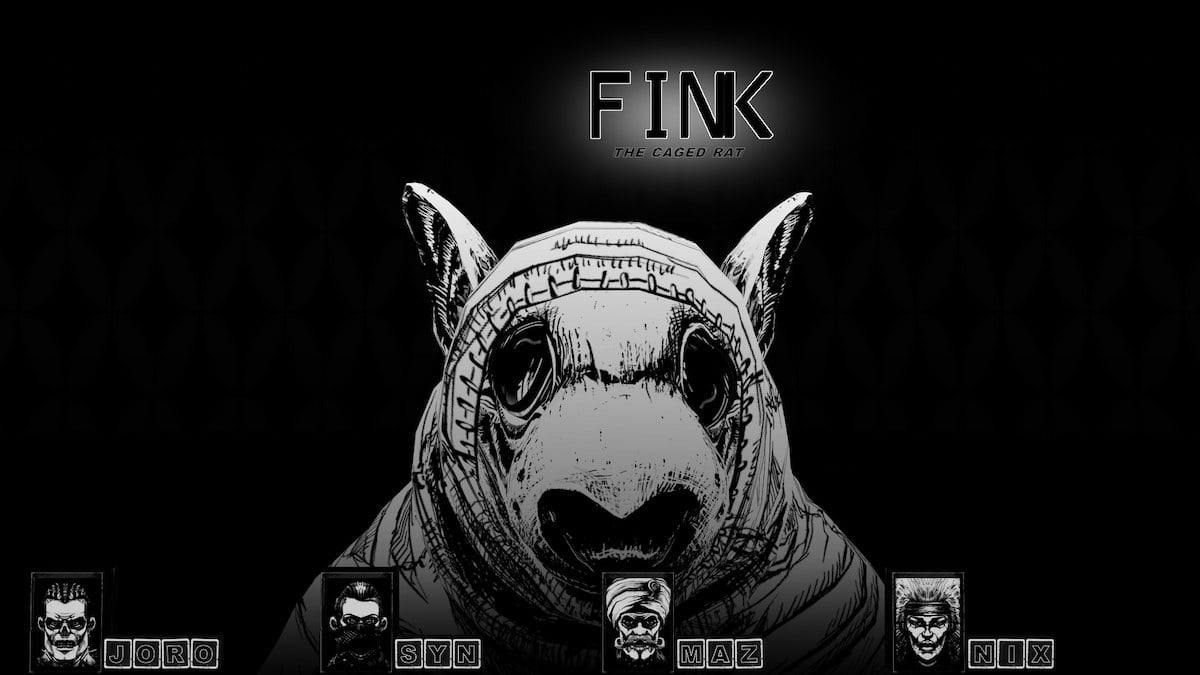
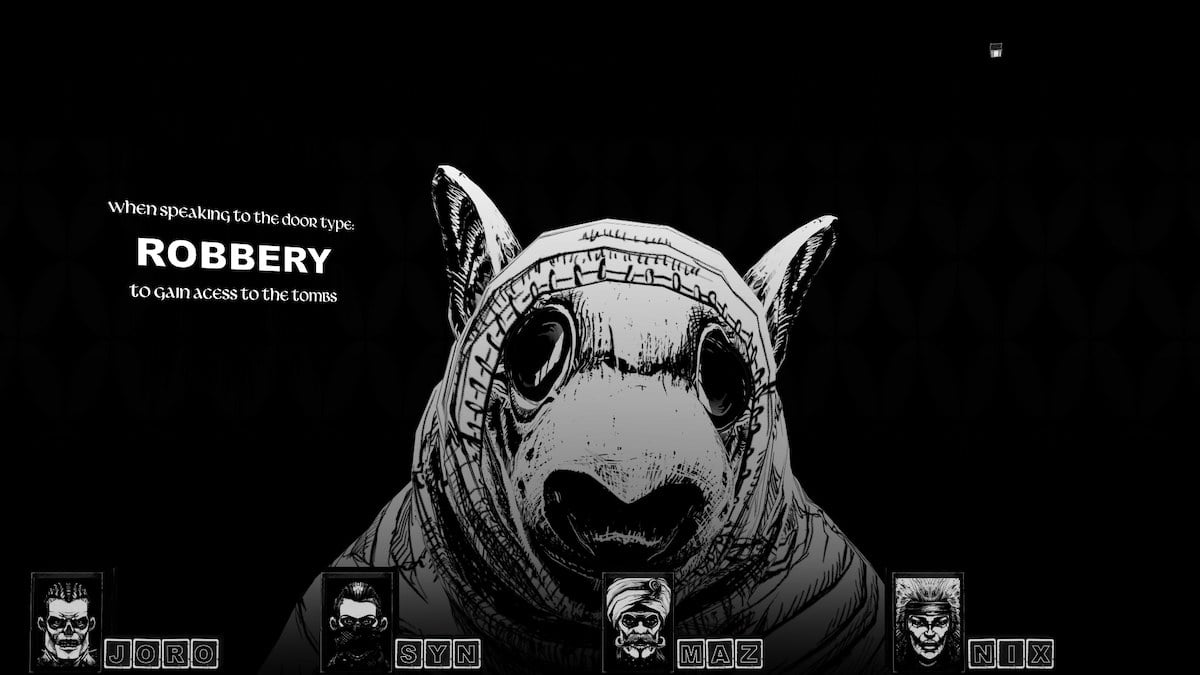
Meet FINK, he's been here longer than any other rat. You can ask FINK how to get through the door by answering 'DOOR' to his first question, and he informs you that you should tell the Eye that you’re 'robbers.' That is, of course, the stupidest idea ever, but you still need to do that.
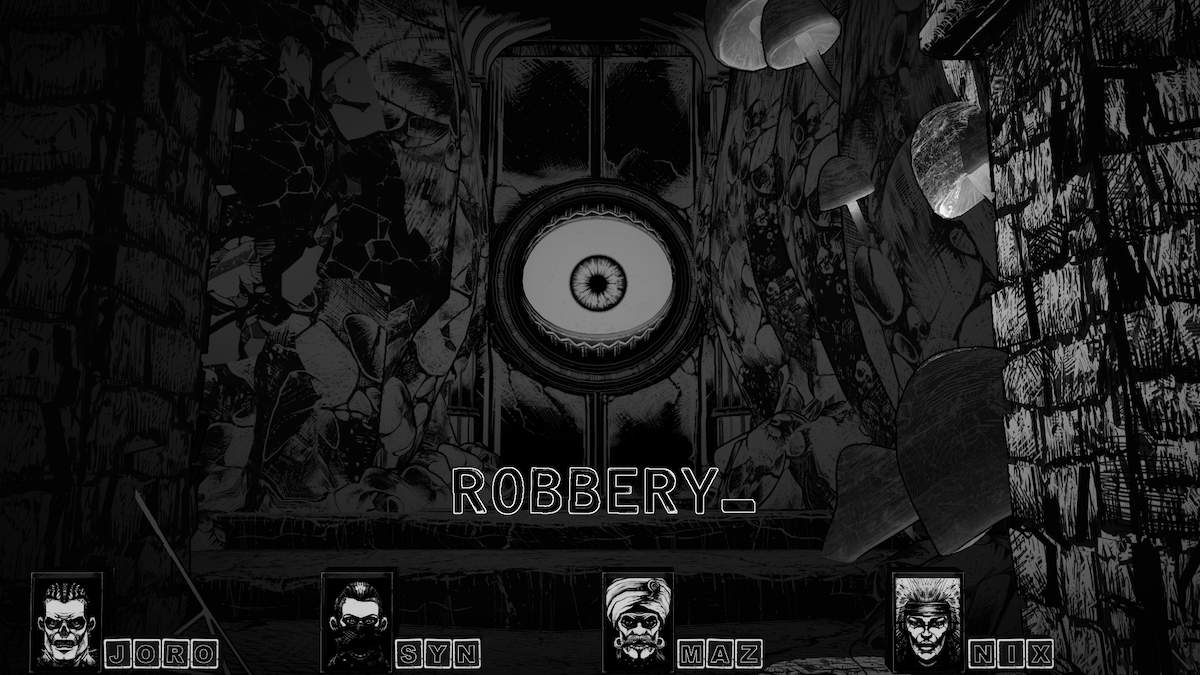
Go to the door and type 'ROBBERY' as your answer. FINK is laughing in the background, go back to him and play cards with him. You're playing 'WHATEVER' the card game.
The WHATEVER game is pretty easy to play and win. You see the names of each card? You need to pick letters from the bottom row that match the letters in the name. Try and choose letters that appear multiple times when you can.
The black letters are wild letters and they change each round.
It takes about five minutes to play and you should easily beat FINK.
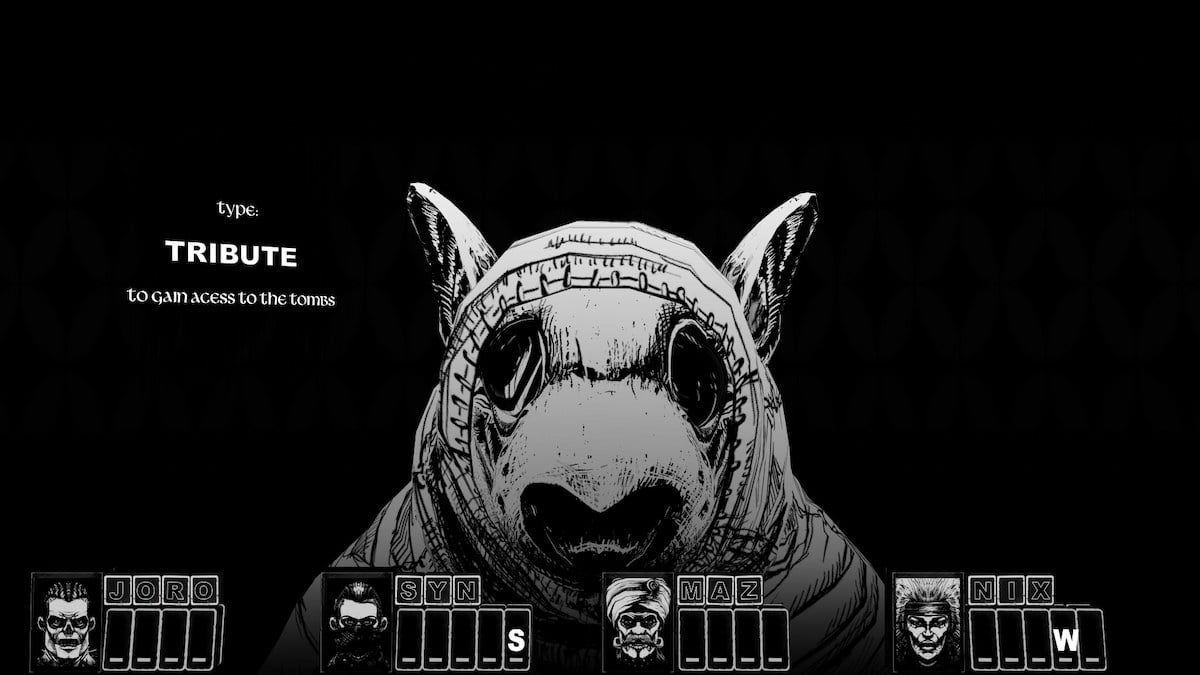
He tells you the real way to get past is to tell the Eye you’re bringing a 'TRIBUTE.'
Before you do that, go over to the right side of this room, and take the path all the way down. There's a CHEST. Now, go to the EYE DOOR again.
After opening the EYE DOOR, instead of going straight through to the next room, turn to the right. Walk back towards the entrance on this new path.
There’s a lovely CHEST waiting for you.
Once you've got your answer (check our 'Clues for the remaining CHESTS' section for help), go through the new door and into the TOMBS.
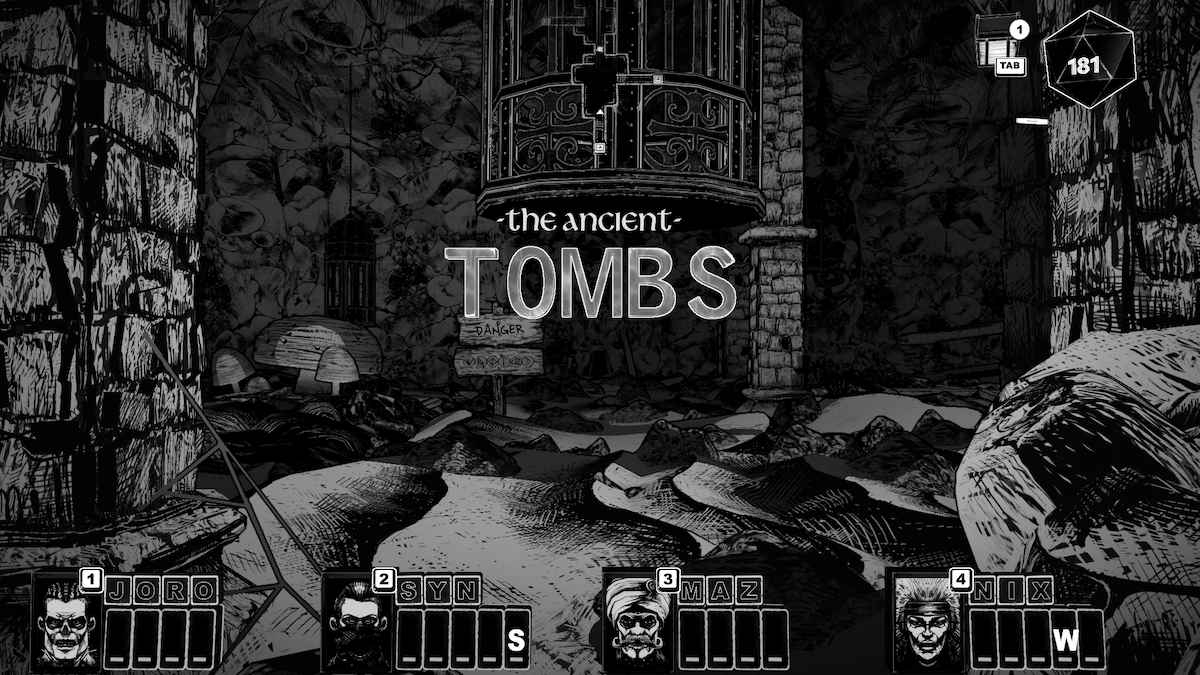
There are four Tombs of Kings & Queens:
- AUROS is the first on your right.
- Past the wall you need to 'CRAWL' under on the left is MARTA.
- EDGAR is on the left in the next room.
- TALIA is on the right.
You can ask FINK about each King and Queen to get clues for their door.
The Kings and Queens of the Ancient Tombs: AUROS
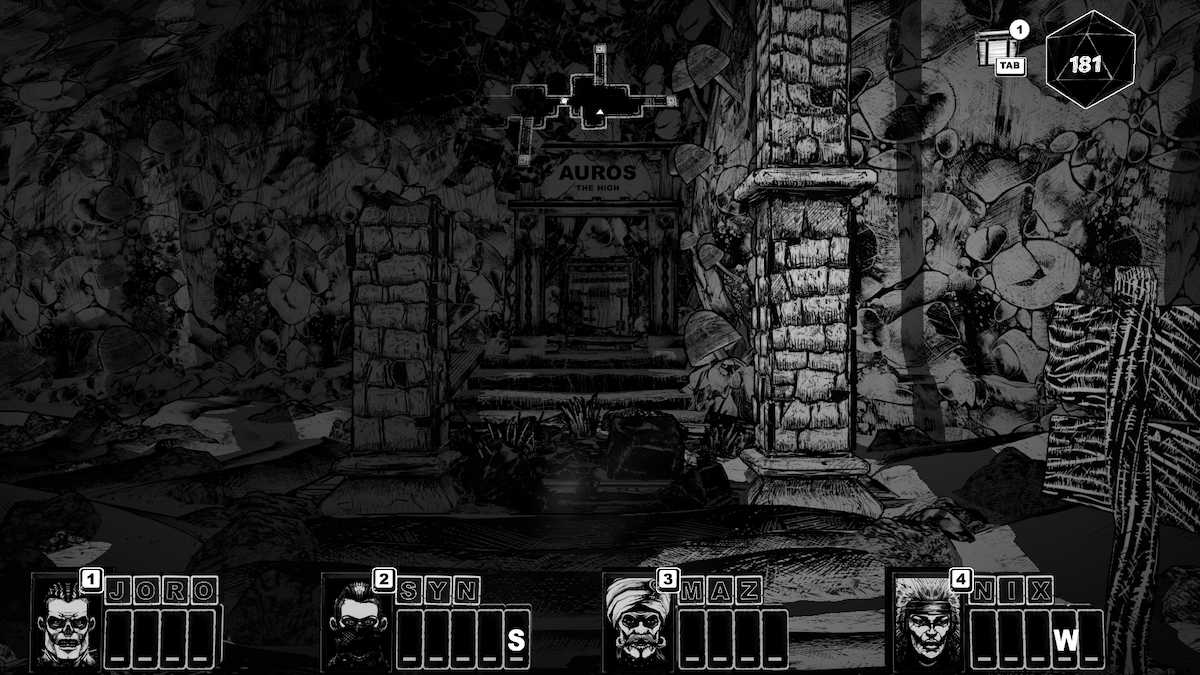
Head to AUROS' door on the right, first. AUROS is a very similar spelling to the Greek God of the East Wind, Eurus/Euros.
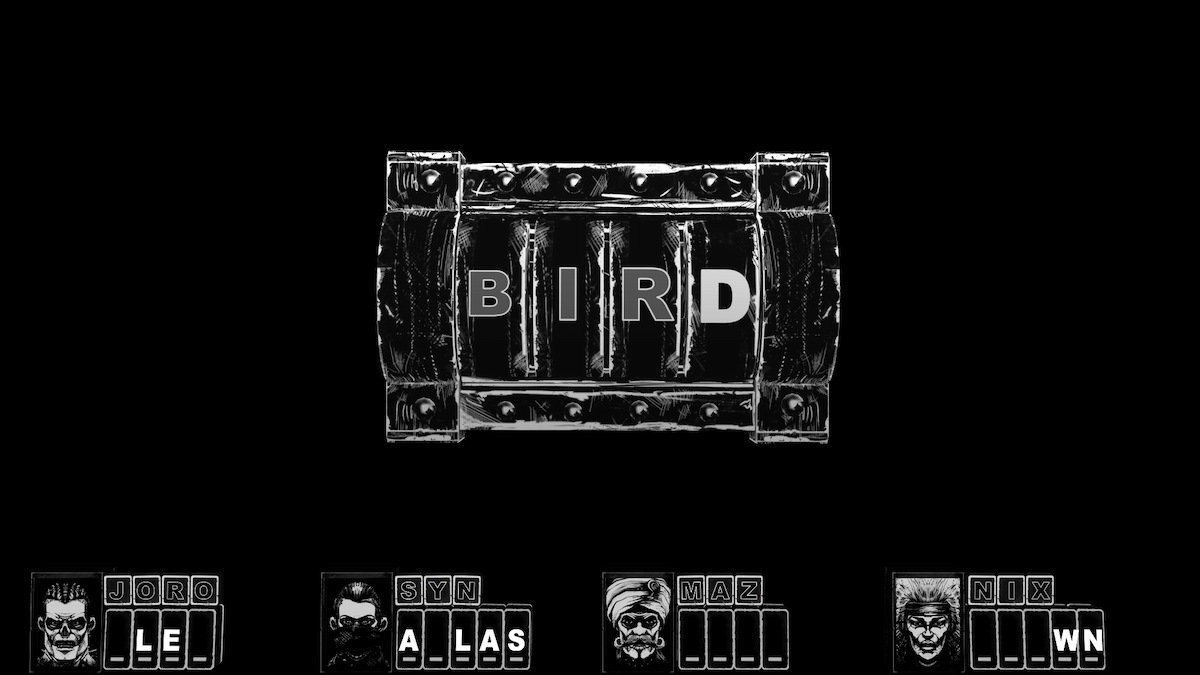
He jumped off a tower, I guess he thought he was a 'BIRD' or something.
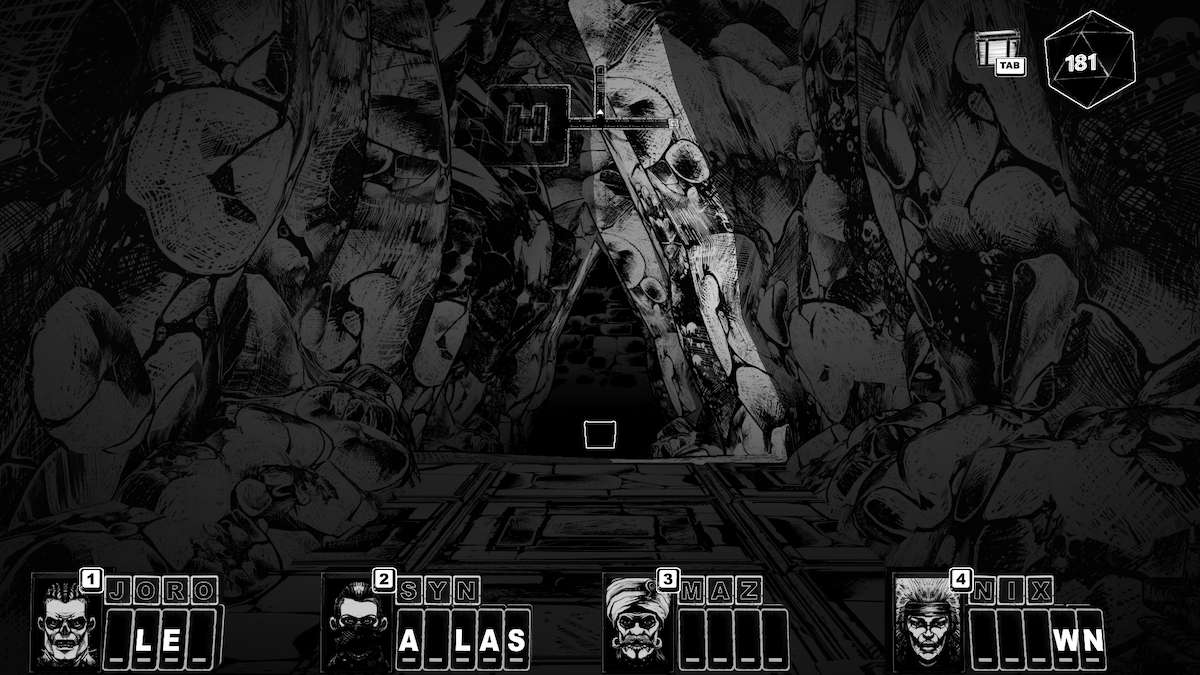
When you enter AUROS’ tomb, the first path to the right is a BOX.
There is a TRUNK in the big open room with skeletons patrolling it, too.
Go to the next room, make your way down the stairs, and turn left.
There's a SKULL there with another puzzle for you. Remember that your SKULLS might not be my SKULLS, so check the riddle guide at the bottom of this walkthrough for answers if you get stuck.

After the SKULL, I was able to unlock these memory words for the heroes: FLEX, ATLAS, PORT, and DROWN.
Turn around and head to the path to the right of the entrance. You'll find a CHEST here.
Now you can make your way to the door and fight a skeleton suspended in a transparent box. Use words to fight that have the displayed letters in to cause damage.
Go through the door to the next room.
The next room is AUROS sitting on his throne. He asks you what word is shorter when you add two letters. The answer is 'SHORT.'
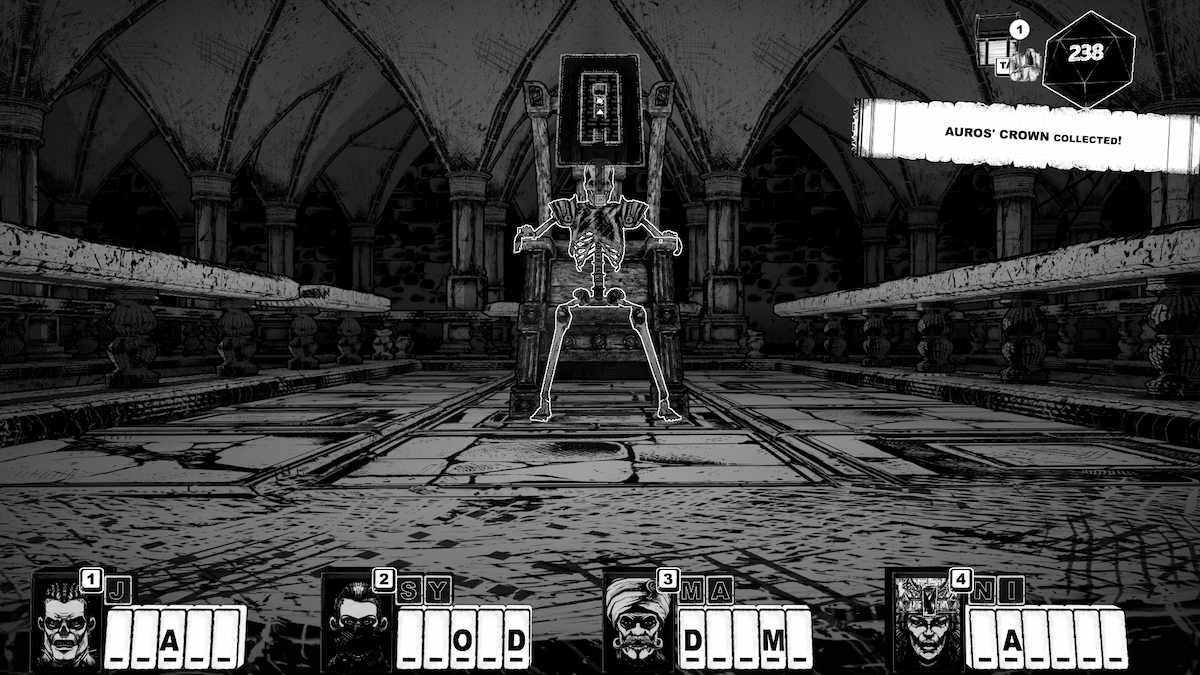
NIX gets a crown, that's one down, and three to go.

Before you leave the room, there is a Page Fragment behind AUROS on the lower level.
The Kings and Queens of the Ancient Tombs: MARTA
Remember that you need to go back to the main room (passing through the three rooms of AUROS' tomb) and turn to the right to CRAWL through the gap in the wall and get to MARTA's tomb.
Before you do that, I highly recommend unlocking some more words for your heroes. You can scroll down to the list under 'Chapter 2 memory words,' but these might be helpful: CRACK for JORO, FJORD for SYN, DRUMS for MAZ, and RATTLE for NIX.
Now you should be able to handle the skeleton better. Head left to MARTA's tomb door.
MARTA was wise, but nobody could make sense of her. She was hazy as fog. To open her door, you must write 'MIST.'
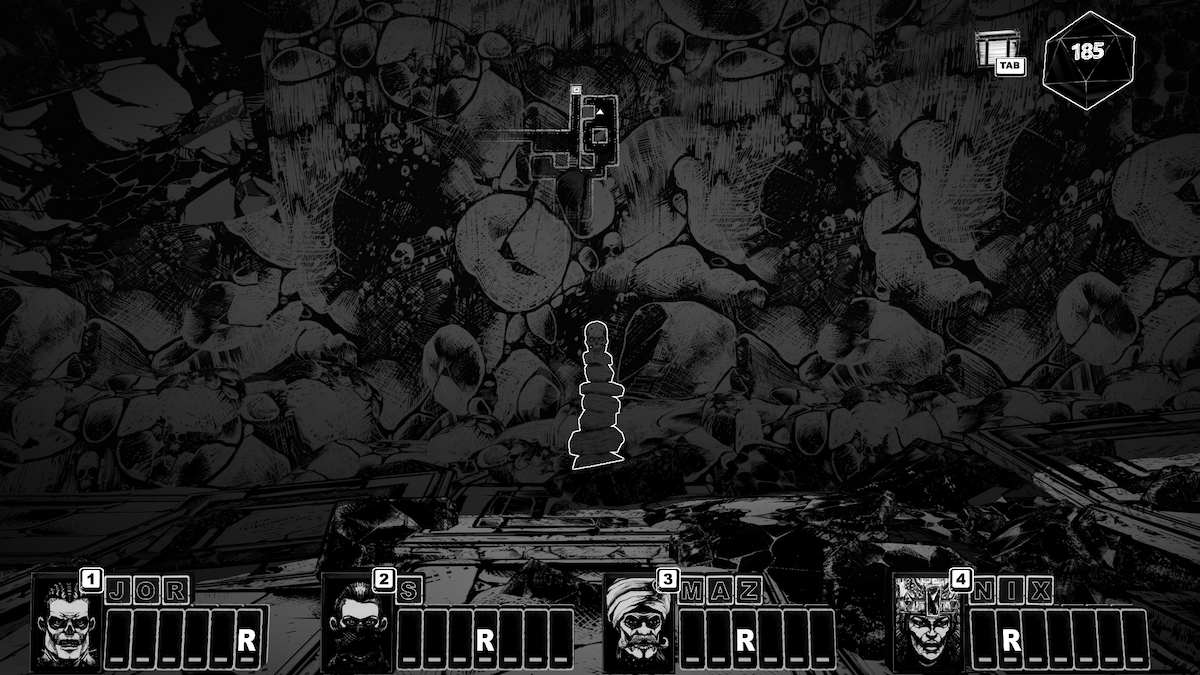
The first room of MARTA’s tomb has several traps in the center. Before you deal with them, go to the right to find another SKULL.
The spike trap is very threatening, but go left first for another Page Fragment.
At this point, you should be able to unlock these memory words: COPPER, MARKET, and TRIBUTE.
The rest of the Tomb is just running past spike traps on the ground and fighting enemies until you get to MARTA. Remember that you can use skills outside of combat. The most useful at this stage is SOOTHE from Maz. Just keep following the route to get to MARTA, it's not far and you should only need to fight two creatures along the way.
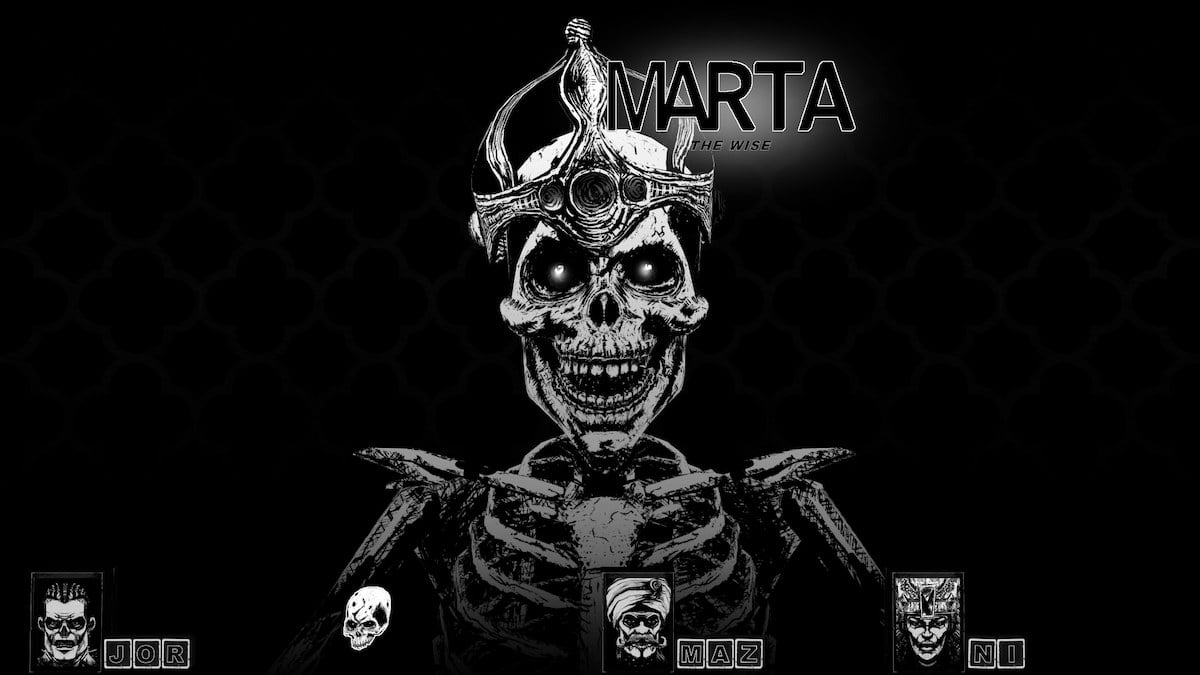
MARTA asks you ‘What can run but cannot walk,' the answer is WATER. MAZ gets a crown.
There are no more secrets here, head back to the main room again. EDGAR is up the stairs on the left when you exit MARTA's tomb rooms. Grab SALMON for NIX at some point.
The Kings and Queens of the Ancient Tombs: EDGAR
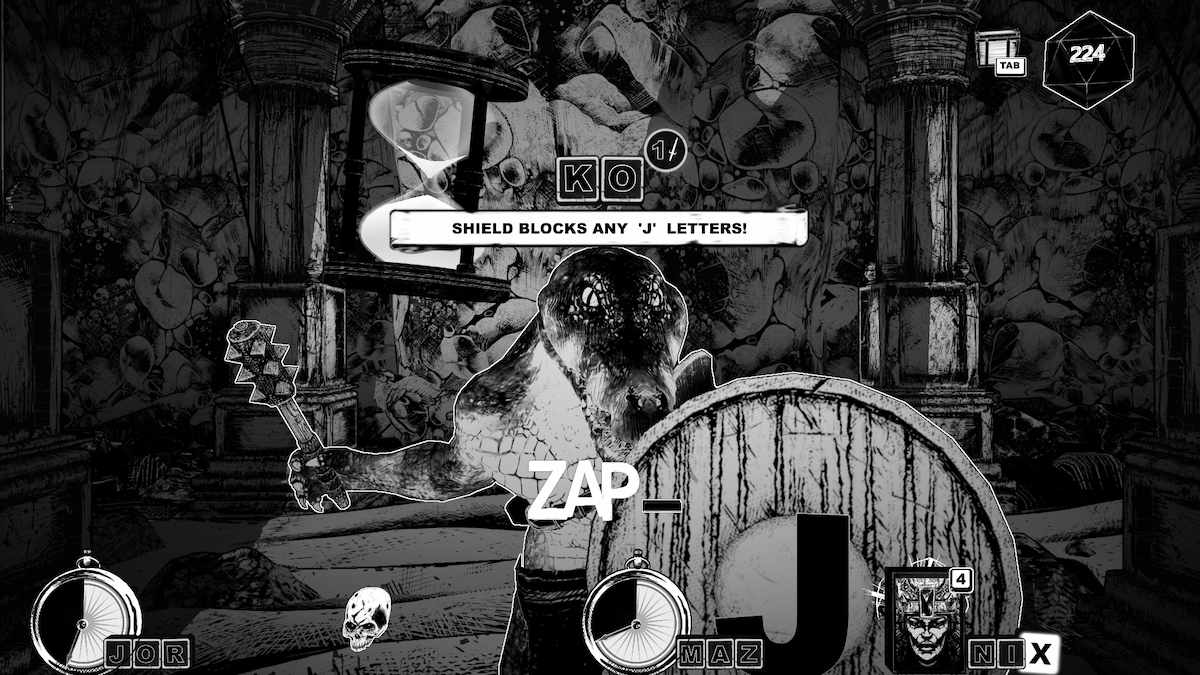
As you enter the first room, there's an alligator to fight. He can block the letter 'J,' which shouldn't' mess you up too much.
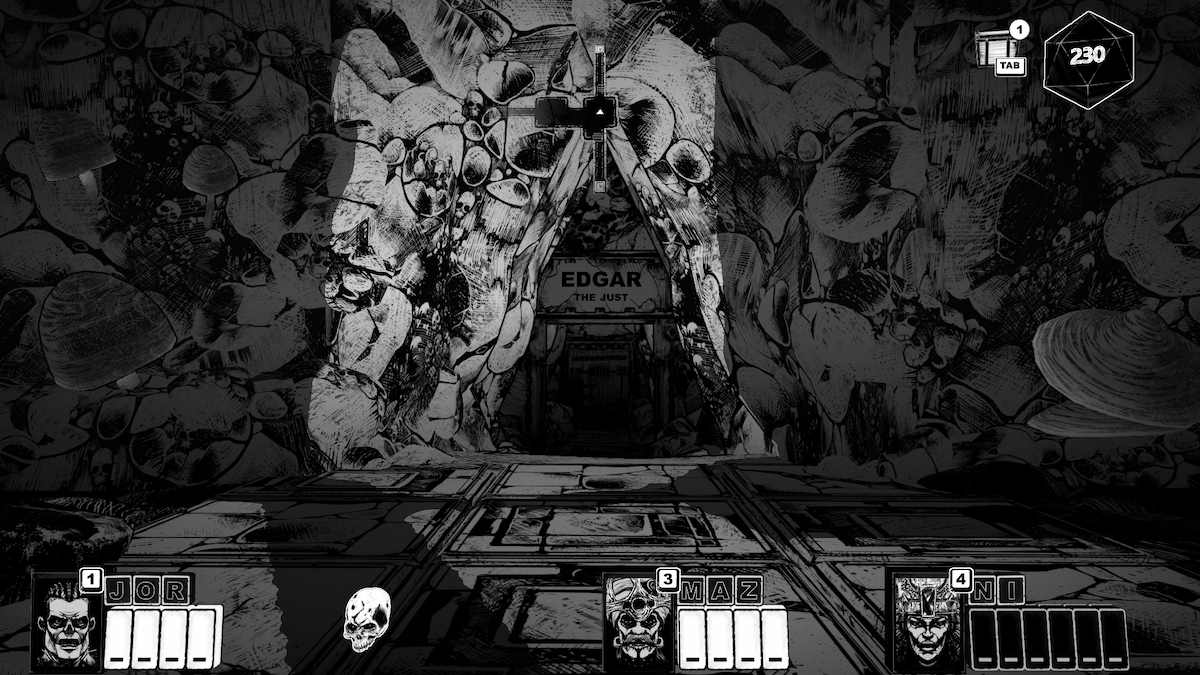
Head to the left side of the room for EDGAR (TALIA is on the right side).
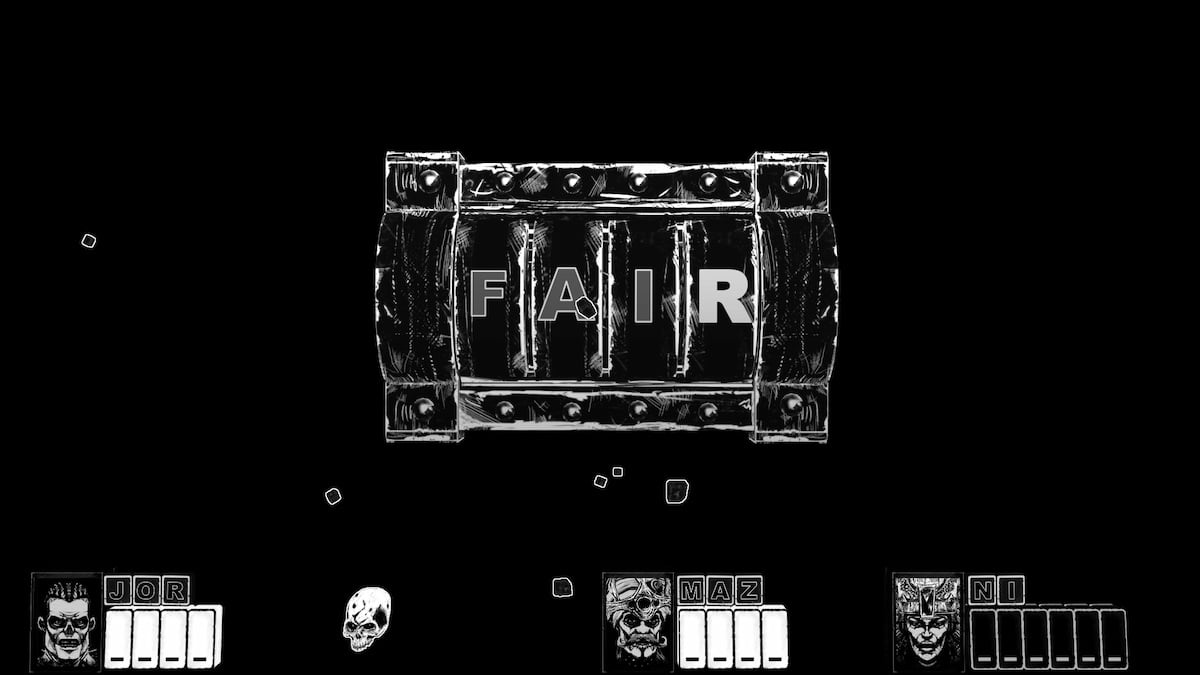
EDGAR was just, a stickler for law and order, and loved balance. Type 'FAIR' to open his door.
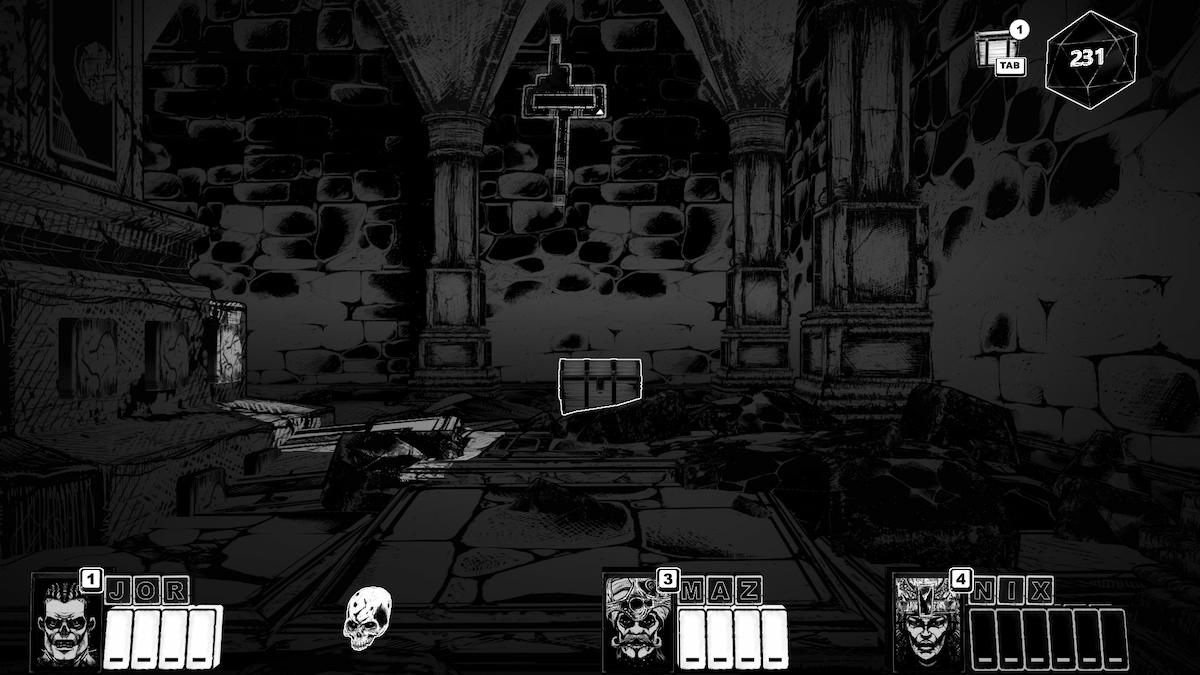
The first room has a circular walkway, if you go to the right you’ll pass a CHEST. Complete the riddle and you should be able to get SEABED for NIX's next memory word.
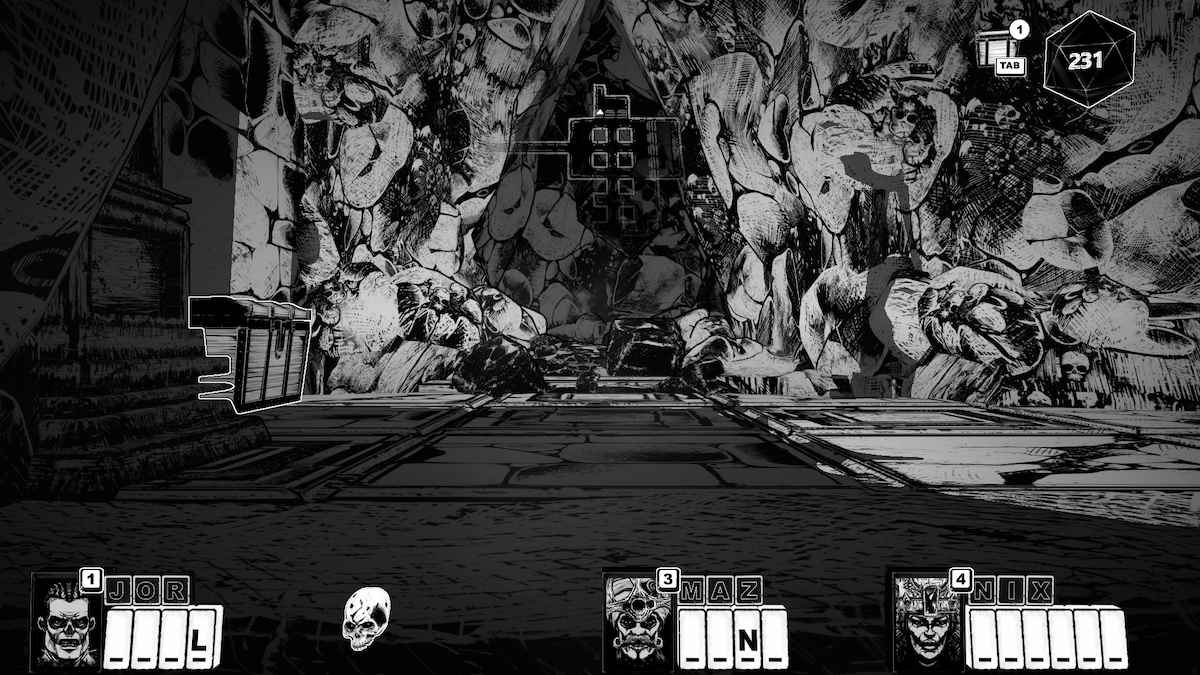
Fight the 'gator, go into the next room. There's a CHEST on the left.
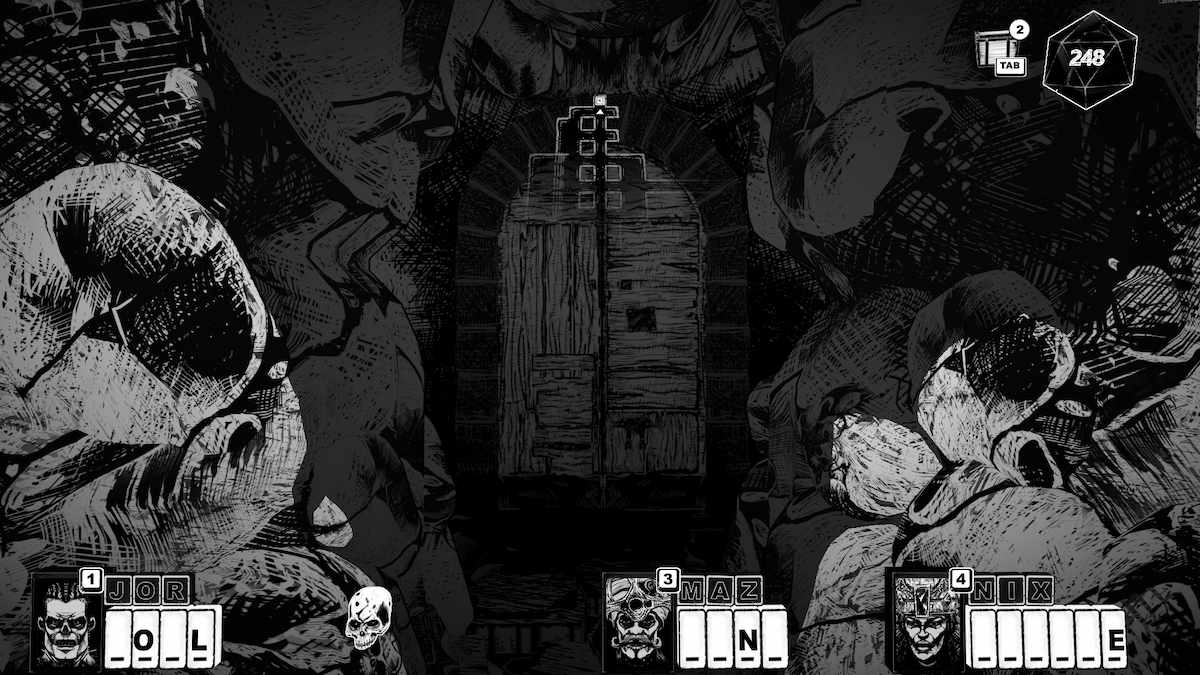
Leg it to the far right of the room and enter the door there.
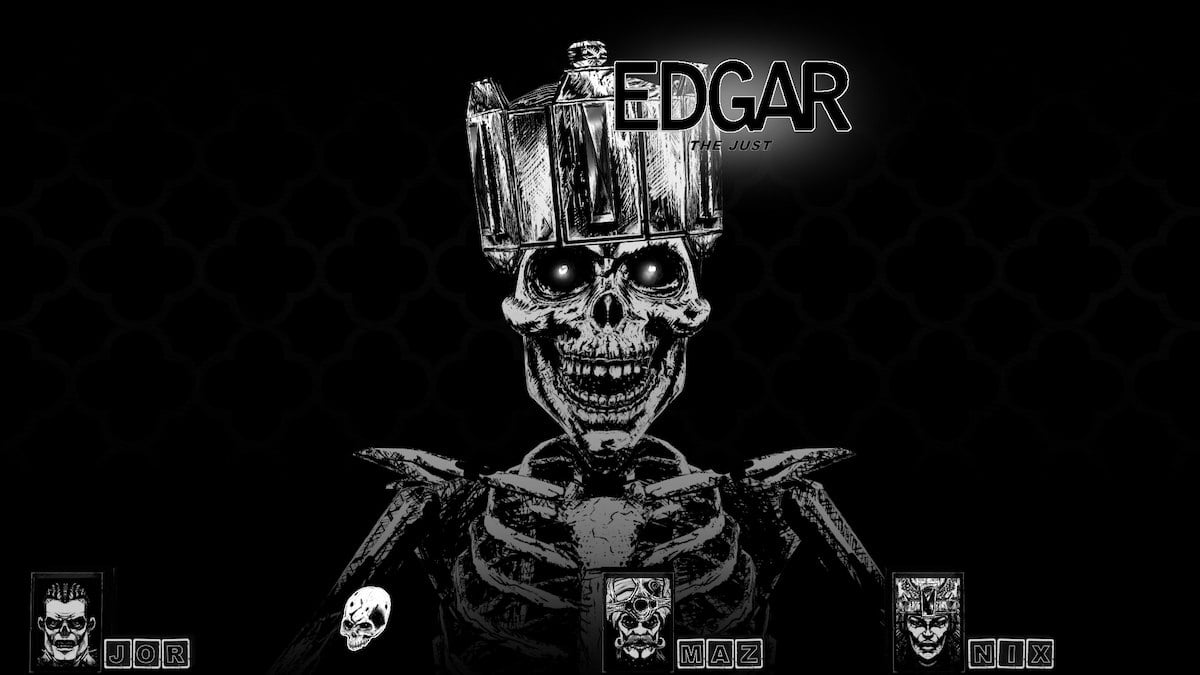
EDGAR is in this third room, and he sleepily asks ‘What has an eye but cannot see?' Well, he asks it after he wakes back up. The answer to this is 'NEEDLE.' SYN's crown has been gained, good job!
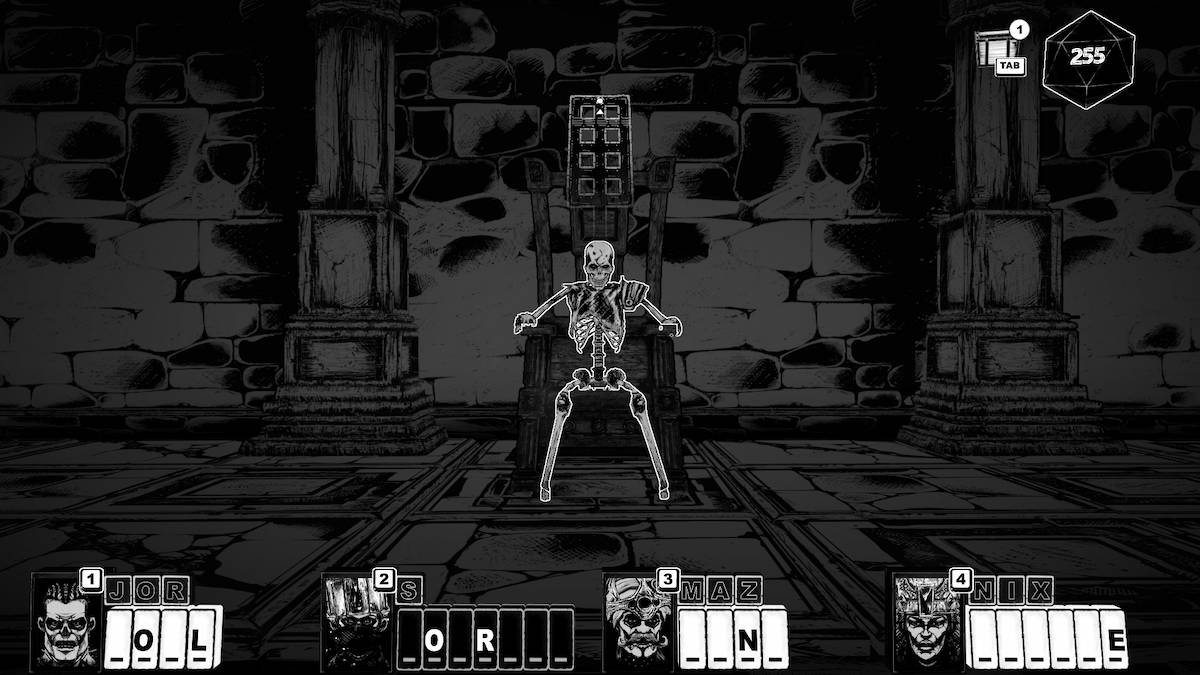
If, like my playthrough, SYN was dead at this point, getting the crown brings her back to life (I didn't want to traipse back to the second altar to heal, it's soooo far away).
Head back to the main room again, where the paths split and EDGAR was on the left with TALIA on the right. Go to TALIA's door.
The Kings and Queens of the Ancient Tombs: TALIA
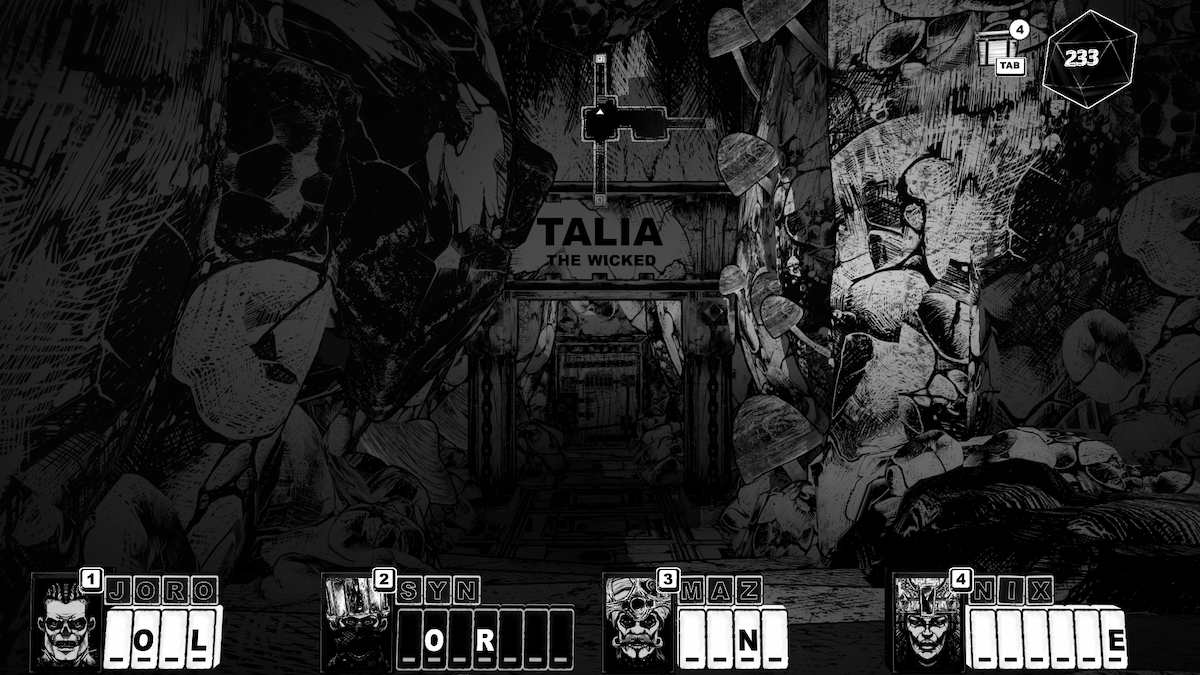
TALIA the wicked. She loved coin. Answer 'GOLD' to get through her door.
Within TALIA’s Tomb, there are letters you’ll want to take note of on the wall - The first is B; The second is O; The third is D; The fourth is L.
After the L and before the final letter, you'll find the third SKULL on the right side of the path.
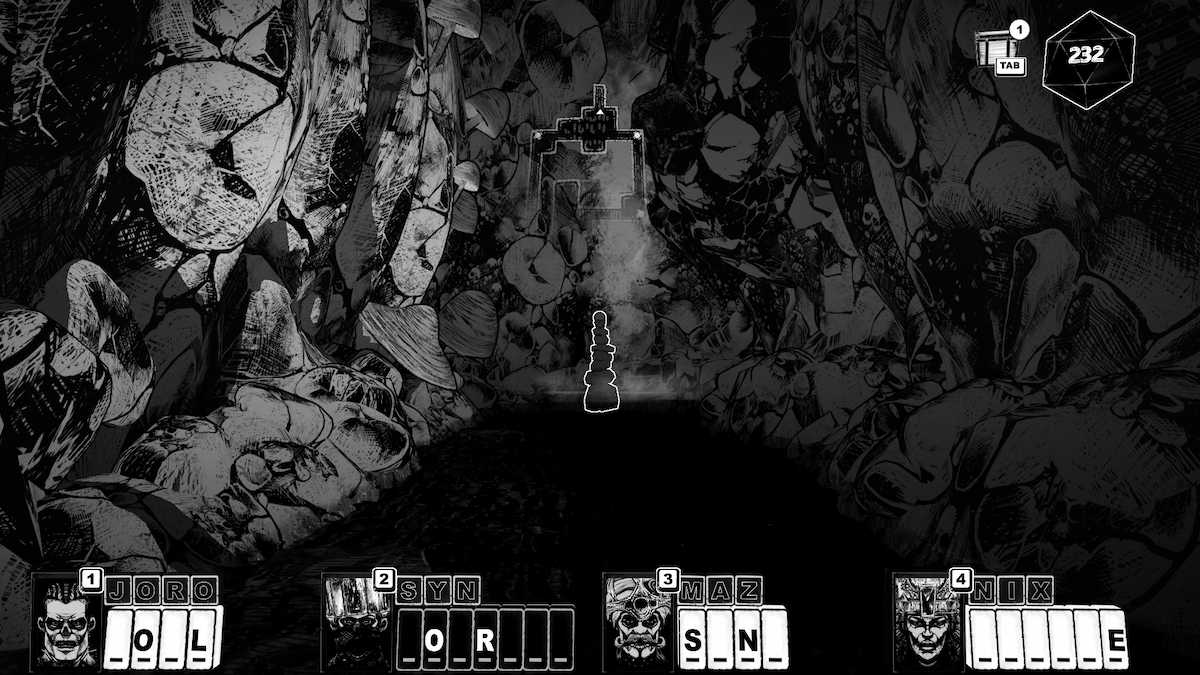
The last letter is O.
Fight a skeleton, and off you go to see TALIA.
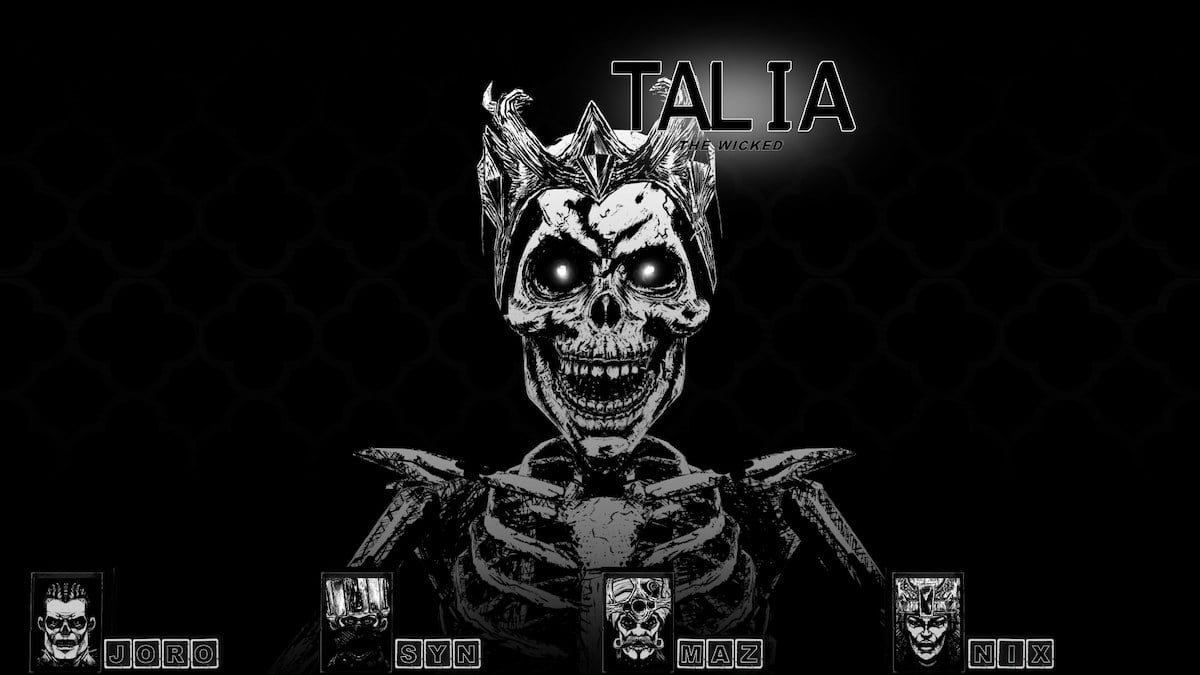
She will ask you what it was that kept her young. The letters on the wall were clues, and rearranged, they spell 'BLOOD.' Of the four Kings and Queens, she's the creepiest.
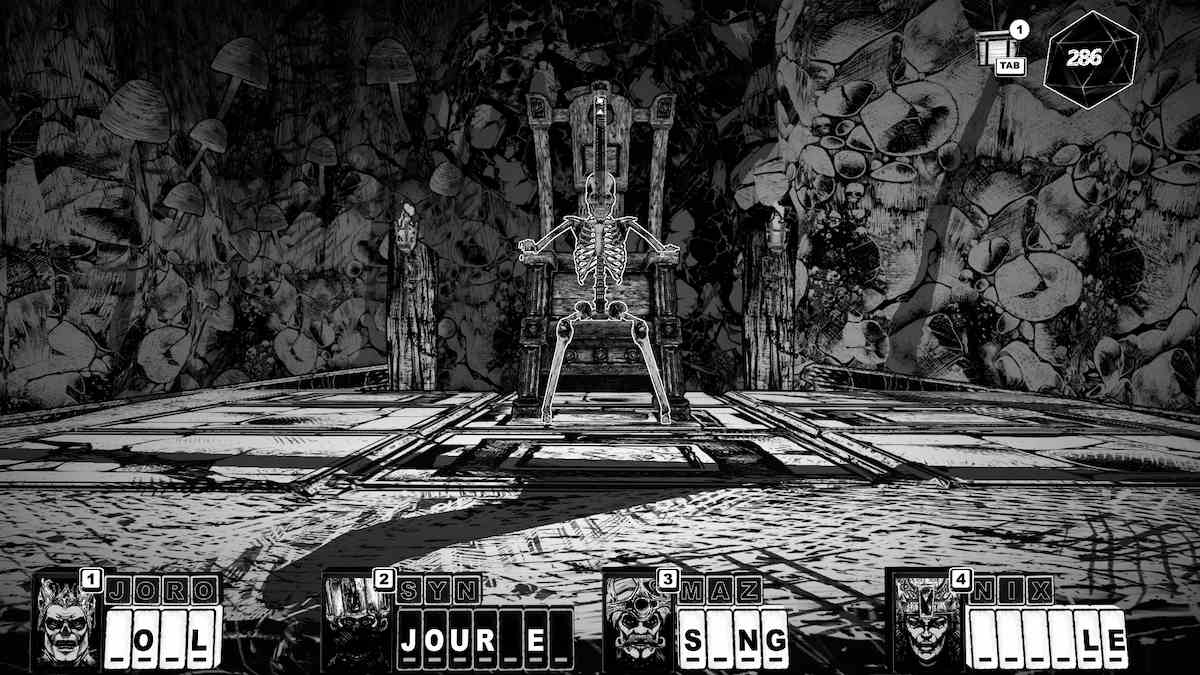
JORO gets his crown, and we can finally head back to the Bonehouses. Grab JOURNEY, SING, and FOIL as your newest memory words at some point on the way.
The SWAMPS
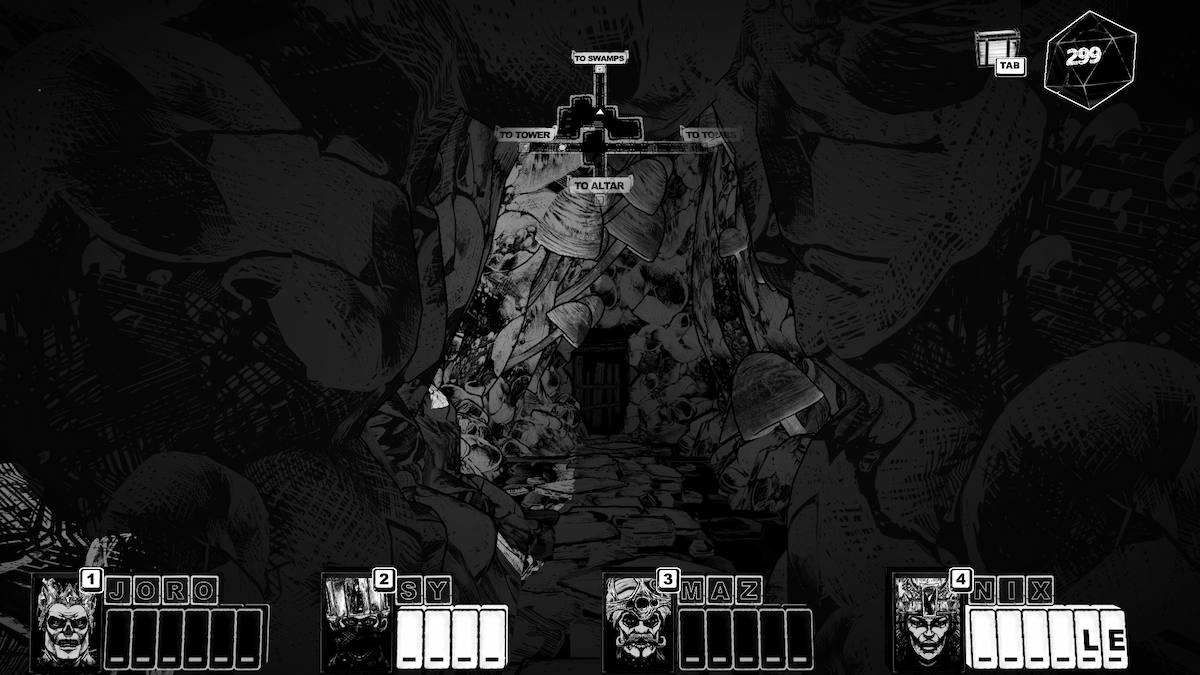
Oh, we aren't heading to the Piper just yet. First, you must direct yourself to the SWAMPS and continue your typing adventure!
BUT WAIT. There's a sneaky SKULL in this area. Before you head to the SWAMPS, go into the water in the room with four exits.
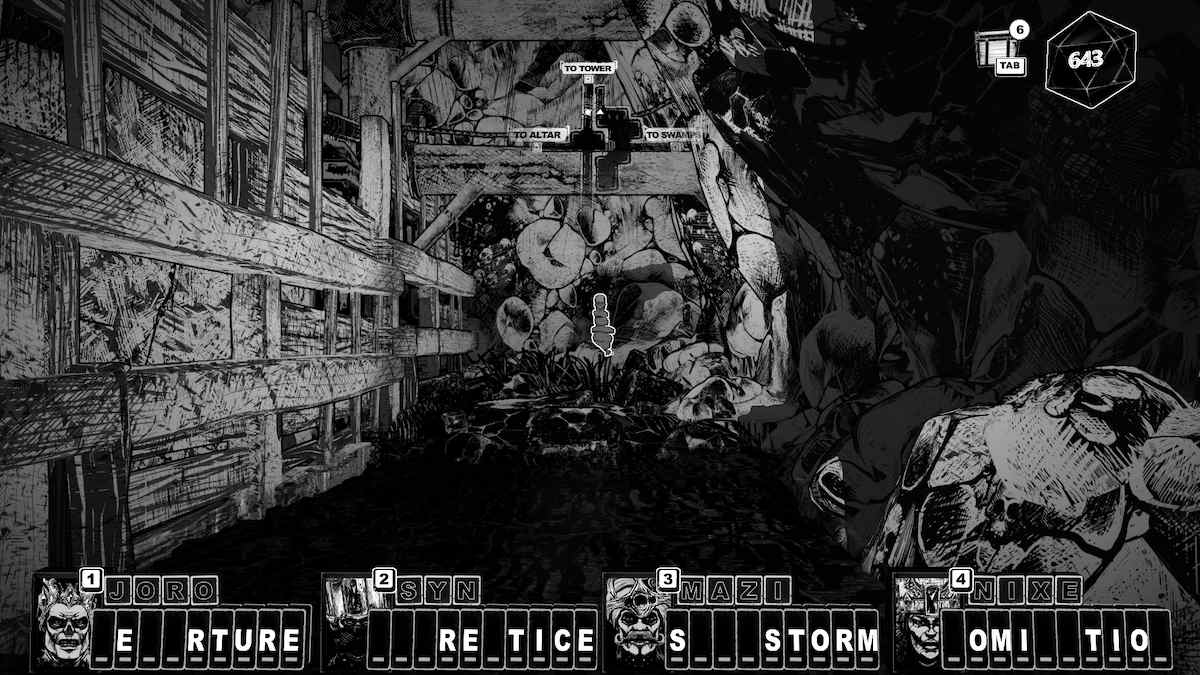
You'll find a cleverly hidden SKULL in the water.
Now you can go to the SWAMPS.
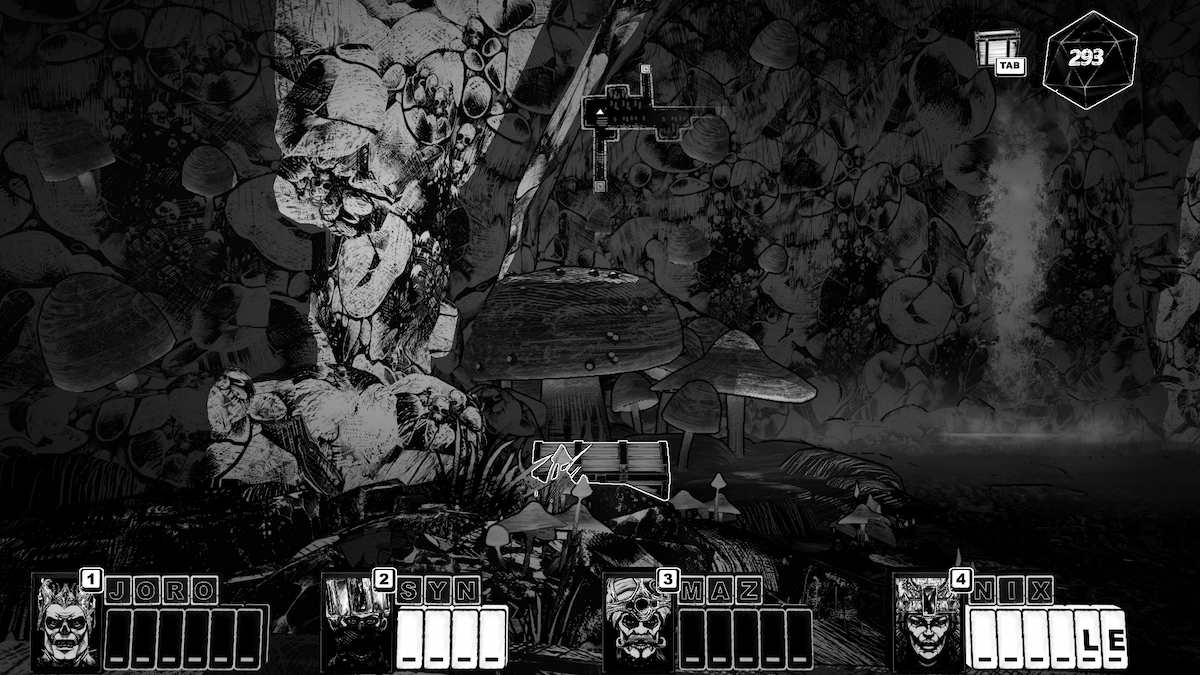
Once you walk through the door leading to the SWAMPS, there's a CHEST in front of you. Open that and then turn right.
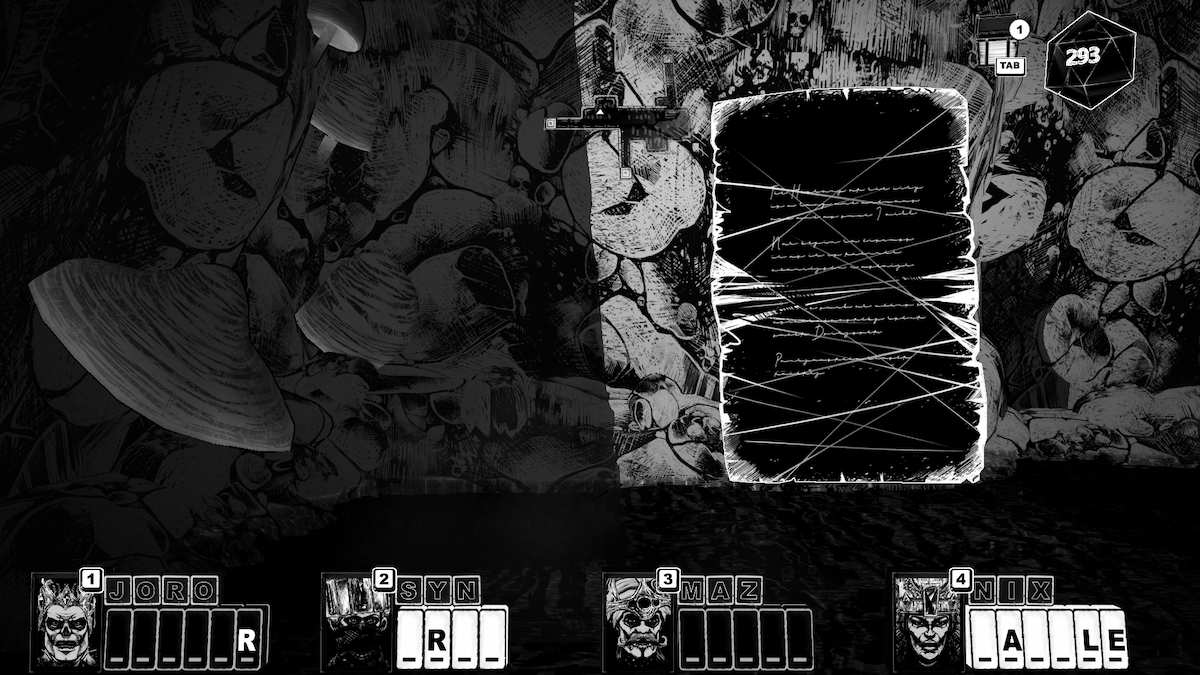
There is a Page Fragment in the upper right corner of the room by a cage. Ignore the door there for a minute, and backtrack to the one on the left.
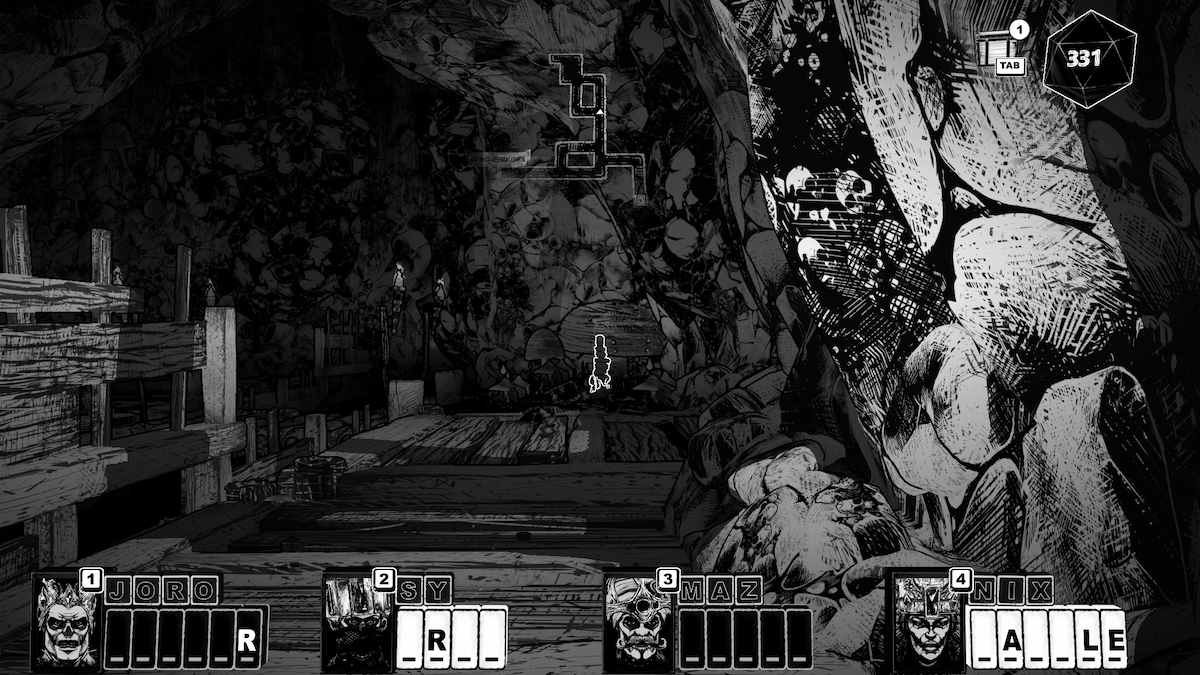
If you take the door on the left, you'll find another SKULL. It's on the far left side of the room.
Go back the way you came and continue to the other end of the room. There's a door that leads you to a large room with water and floating rafts.
This room has a SKULL close to the exit and another across the room from it. For the one by the exit, you need to get into the water - it's hidden in a nook. The one across from it is on the bridge.
The next door takes you full circle, so you're where you would have been if you'd taken the north door and not backtracked to the door on the left.
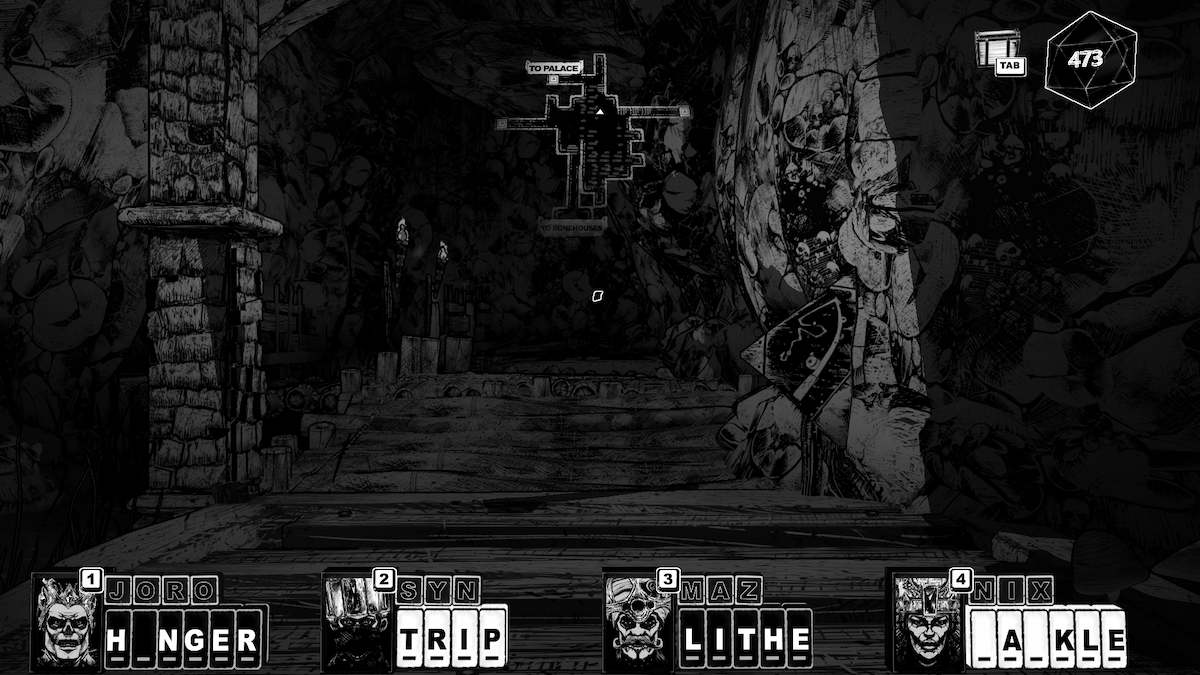
There is a Page Fragment close to the exit marked ‘TO PALACE’ on the minimap.
The next set of memory words you can get should be TRIP, LITHE, HUNGER, and CACKLE.
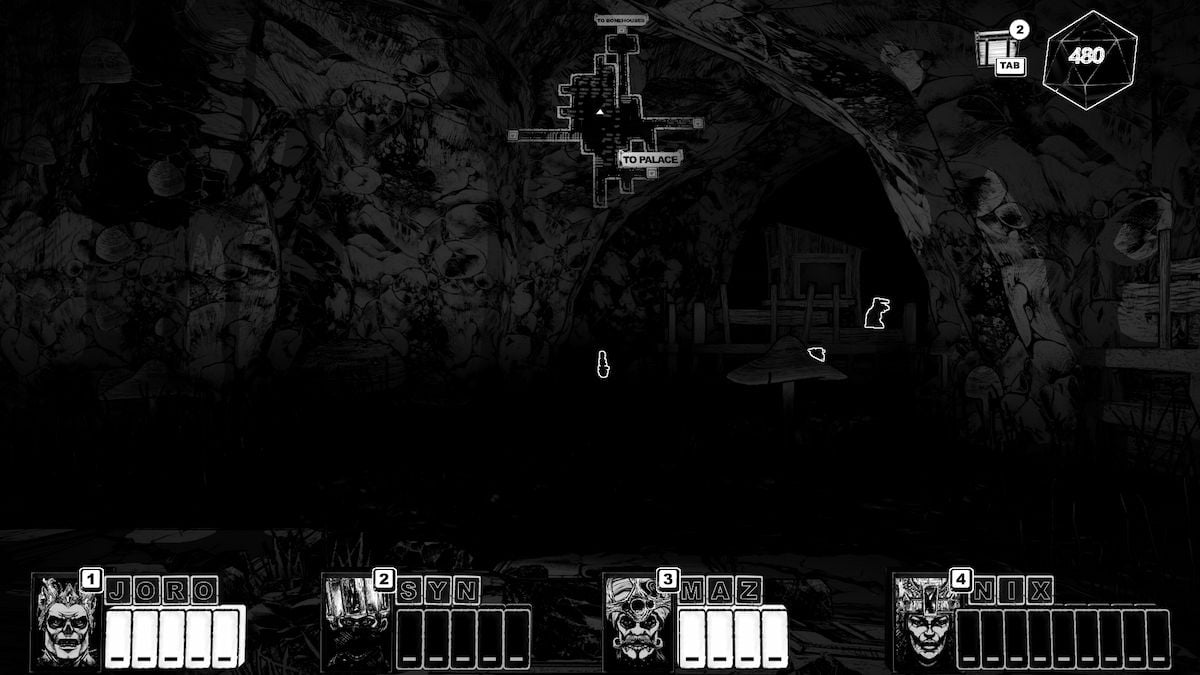
Further down, there's a SKULL in the water behind the rat’s guard shack (you'll need to get into the water to the left of the bridge leading to the shack to see it).
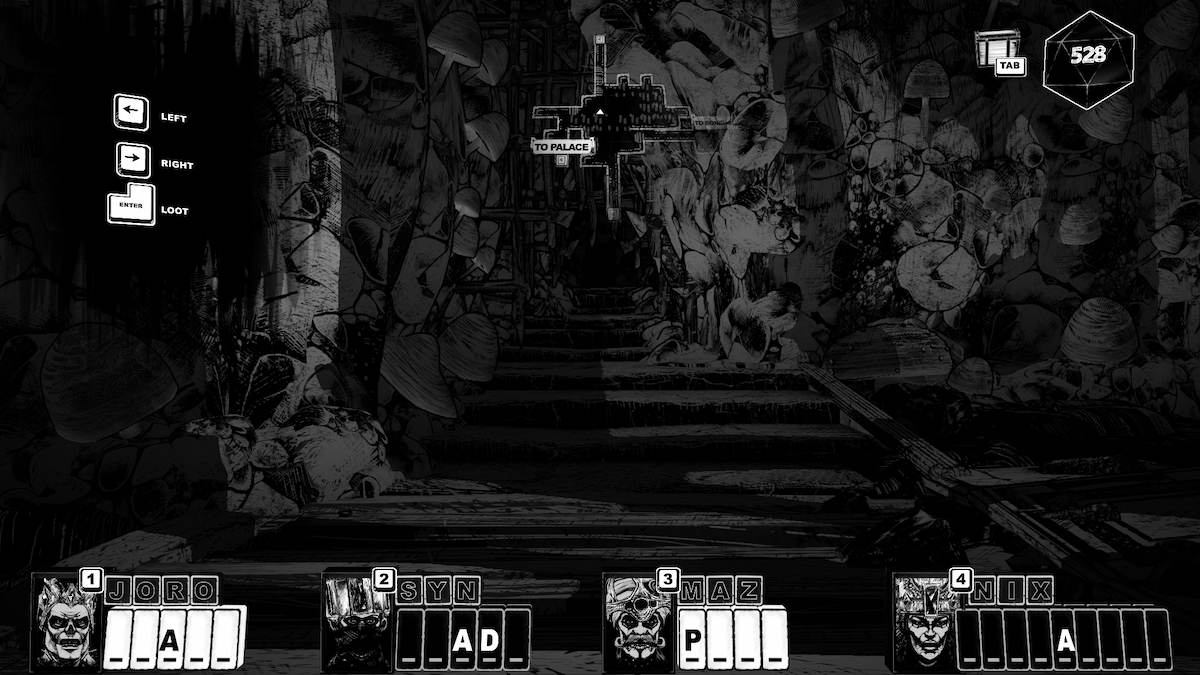
We’re going through the other door, across from where you entered.
The first thing you’ll see is a rat on the ground with a sword in his back. He warns you about a Large Foe, and the room is large with lots of the cubed guys that have skeletons in them. Feel free to lie to him when he asks how bad it is.
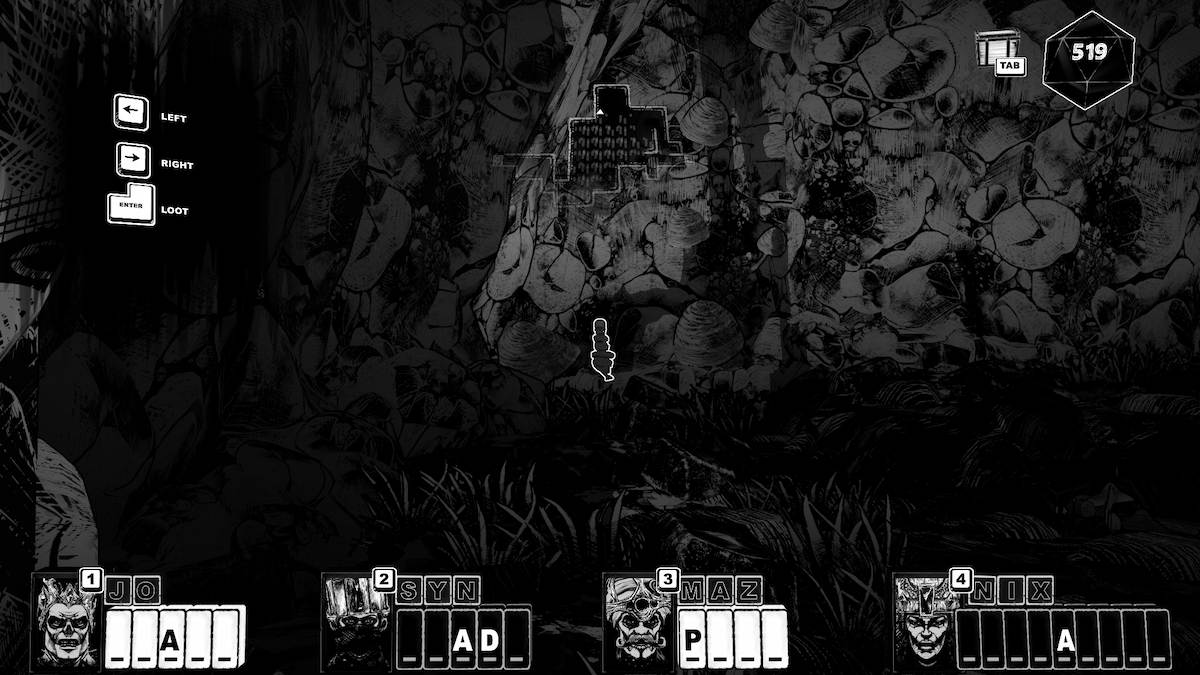
There’s also a SKULL on the far left in the large part of the room with the floating skeleton squares.
The next room has a huge Ooze that’s hard to kill, so let's get some more words before we go: FEAST, BLADE, POKE, and TENTACLES. If you die, the altar is several rooms away and it's just annoying walk all the way back.
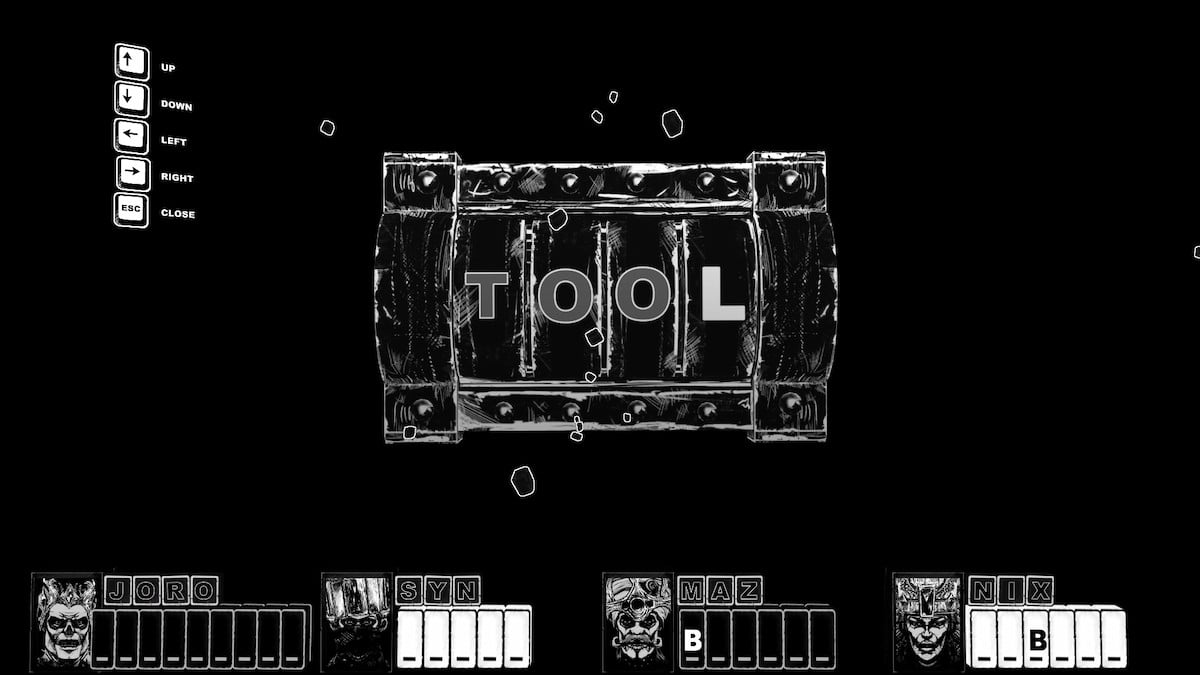
The next room has two doors. The north one has a password to it, and the answer is 'TOOL.' It leads to a room with a CHEST.
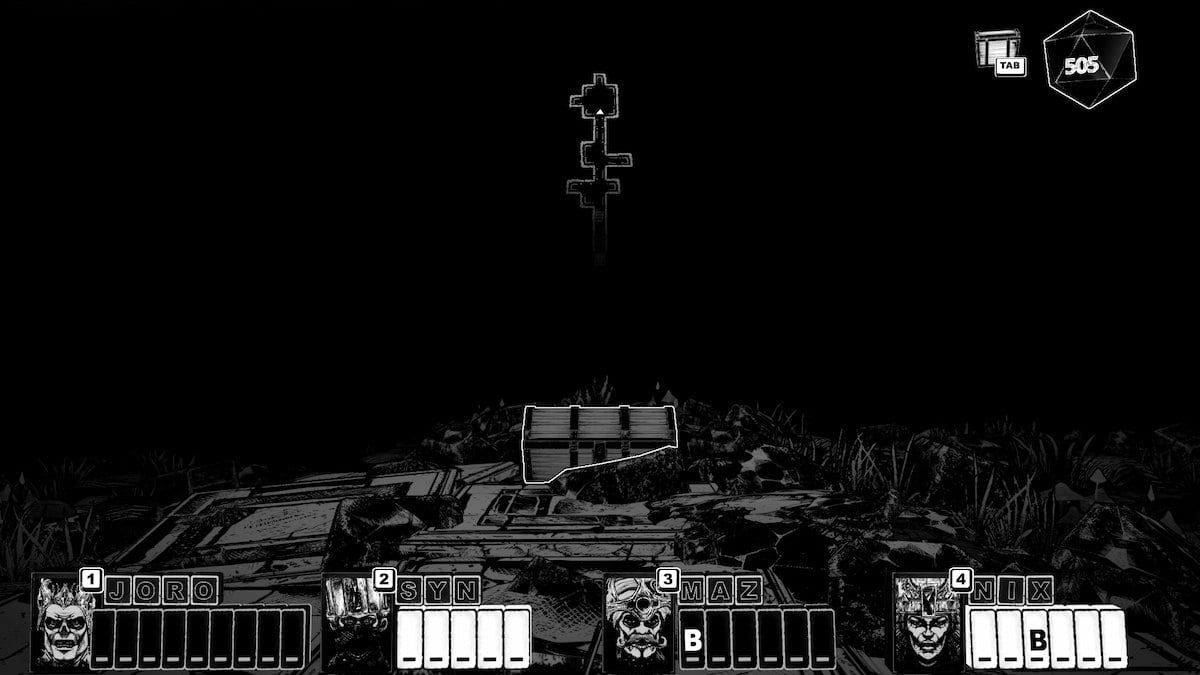
I got a MIMIC FOR THAT ONE. I hope yours is a normal CHEST! My Mimic was called Cassandra, they were immune to knockdown.
Go back out the way you came and take the other door (the one that was on the left). This route also circles back to the one we didn't take earlier, so you aren't missing anything.
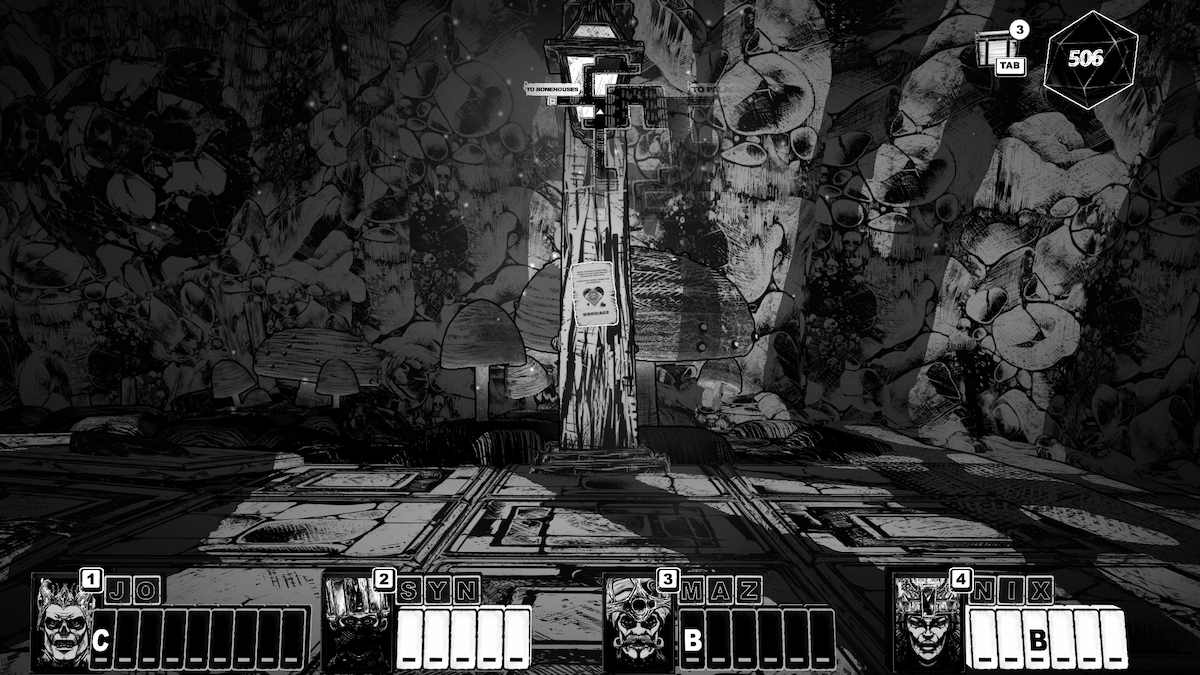
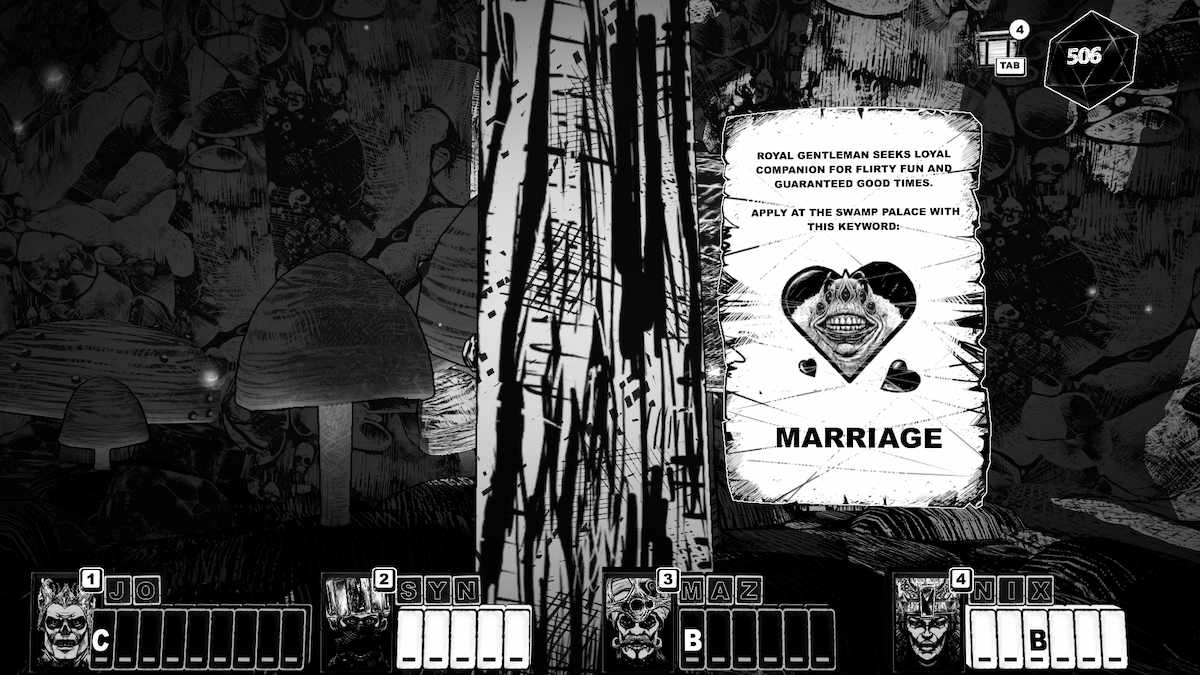
Straight ahead is a flyer with the word 'MARRIAGE' on it, a lonely gentleman is looking for suitors. Anyway, to the left is a SKULL, and right behind the flyer is a hidden pathway you have to DUCK under to get to. It has a box. Hidden treasures, delicious.
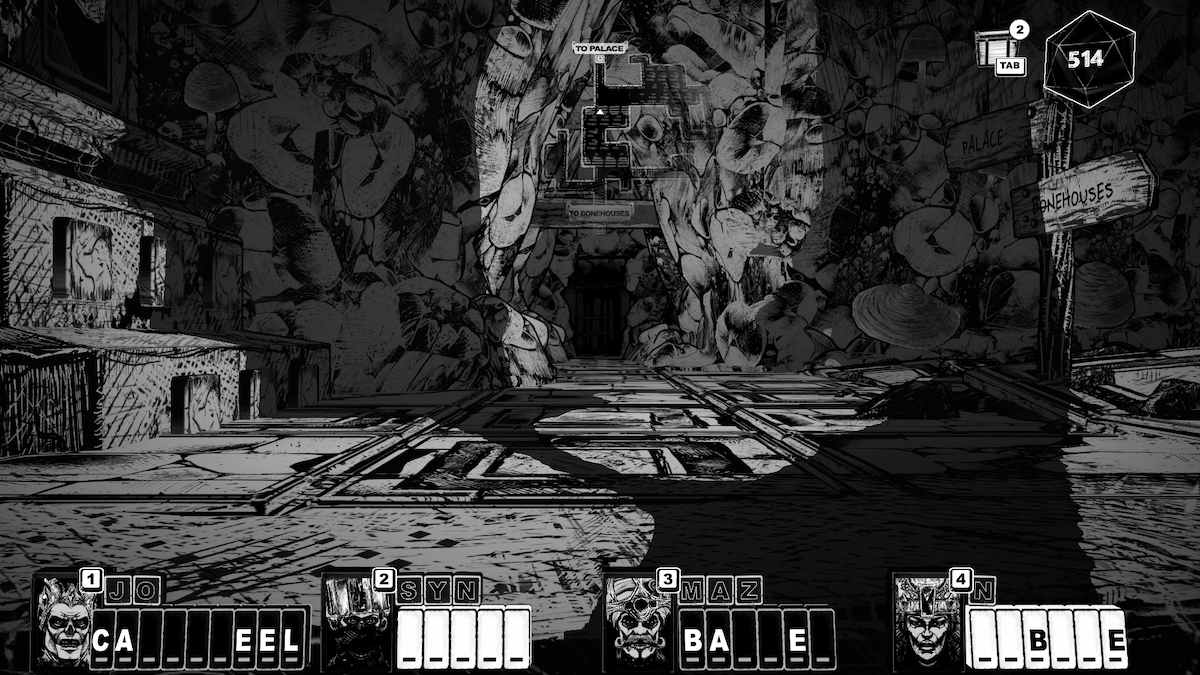
Carry on to the door on the map labeled 'TO PALACE.'
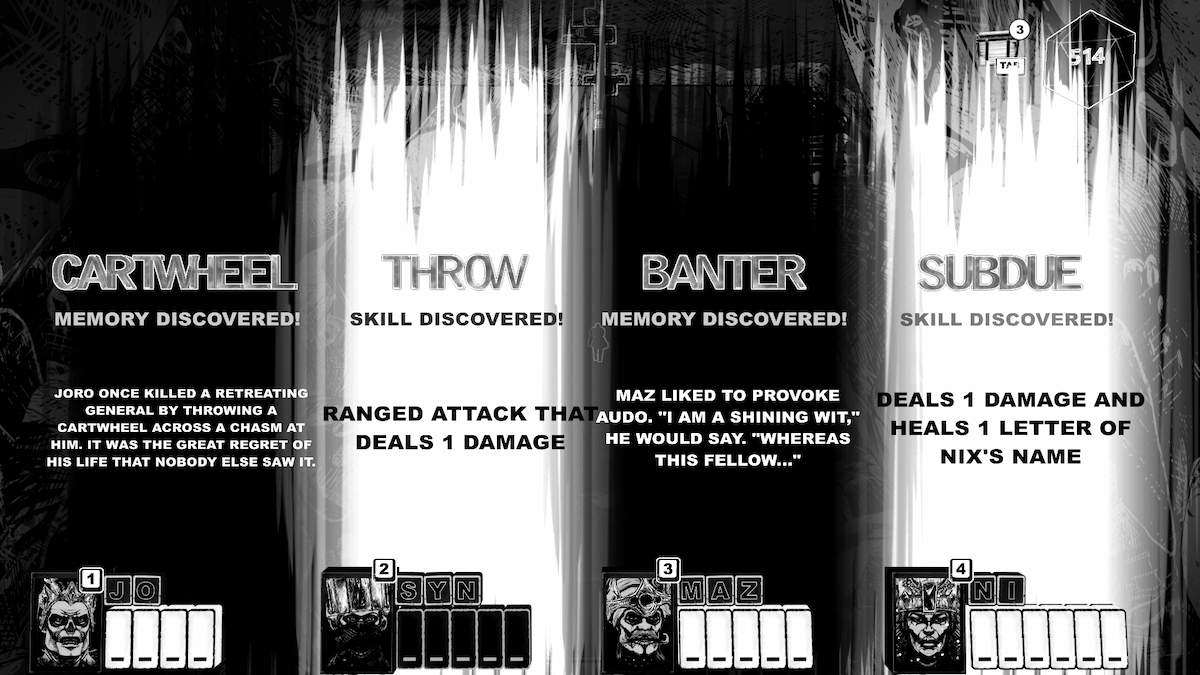
Before you go on, let's get some more words, shall we? CARTWHEEL, THROW, BANTER, and SUBDUE.
There’s also a Knight in this room who isn’t happy about you desecrating the altars (it was two, mate, calm down), prepare for your first bit of fisticuffs with an Armored Enemy.
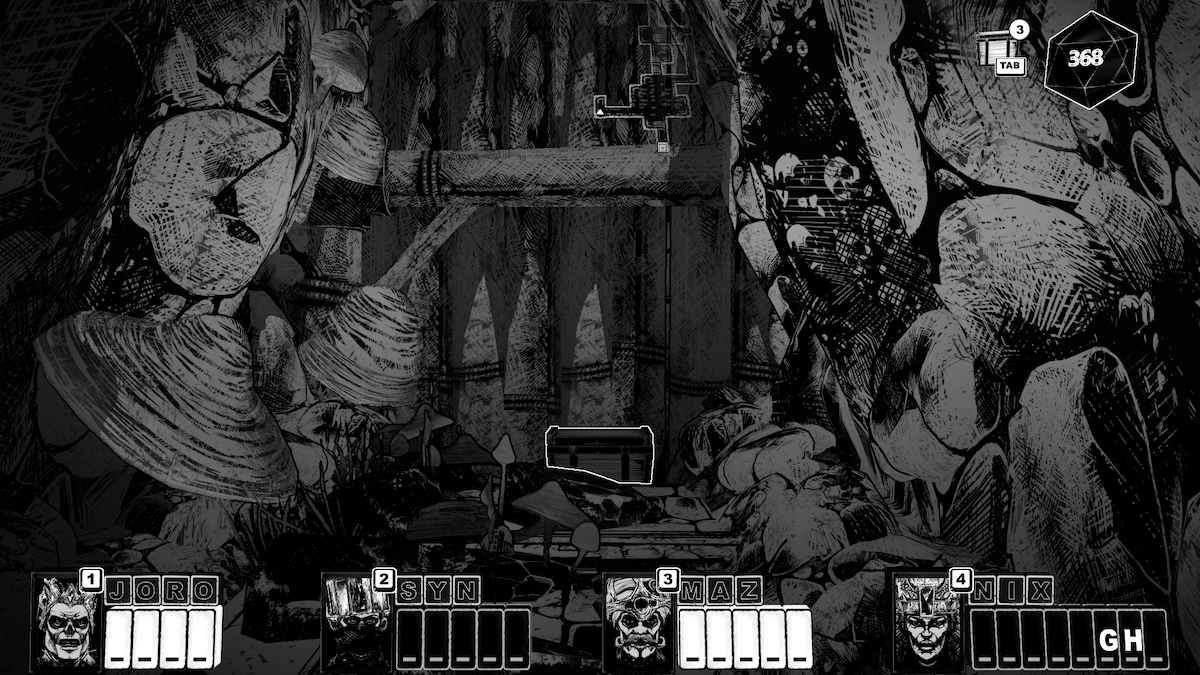
After the knight, there is a small passageway on the right near the next door. It has a box at the end. Now that the room is clear, you can leave.
Toad Palace
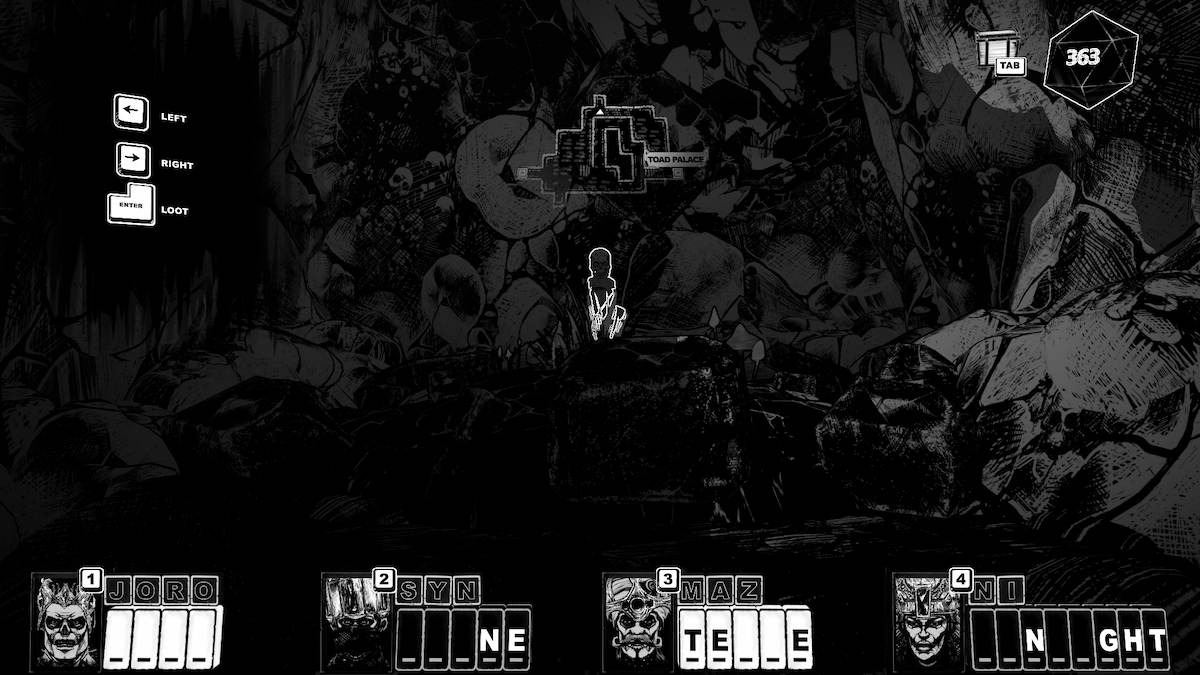
This last room before Toad Palace has several Toads around, as well as a SKULL on the left side of the room - you'll need to get in the water to reach it.
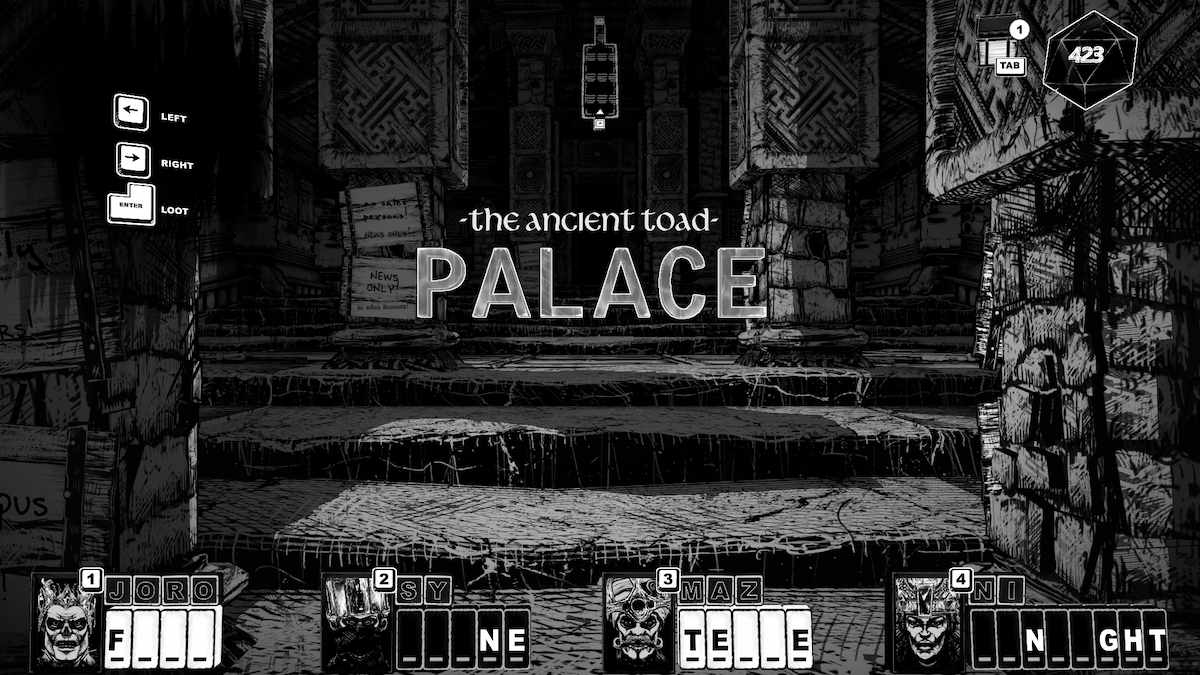
The entrance to the Toad Palace has plenty of no soliciting signs. Apparently, they want 'NEWS ONLY!' and it's literally posted everywhere.
Go through the doors marked N, E, W, and then S to get to the right place. You'll arrive in a hallway full of paintings of Goggo's brides. Keep going until you find Goggo and talk to him... While he's bathing.
It's a weird conversation, but there are two important answers to give. When he asks what YOU want to talk about, say 'MARRIAGE.' When he asks you to describe yourself, say 'DEAD.'
He tells you to add a potion to his bath. Return to the previous room and use the 'CAULDRON' to make a LOVEJUICE or SLEEPJUICE. If you haven't been collecting bugs during this trip, that's your own fault. Go back to the Swamps, they're rife with them.
Speaking of the Swamps, we're going back anyway. We need fish from the FISHING POOLS to complete this task for our betrothed.
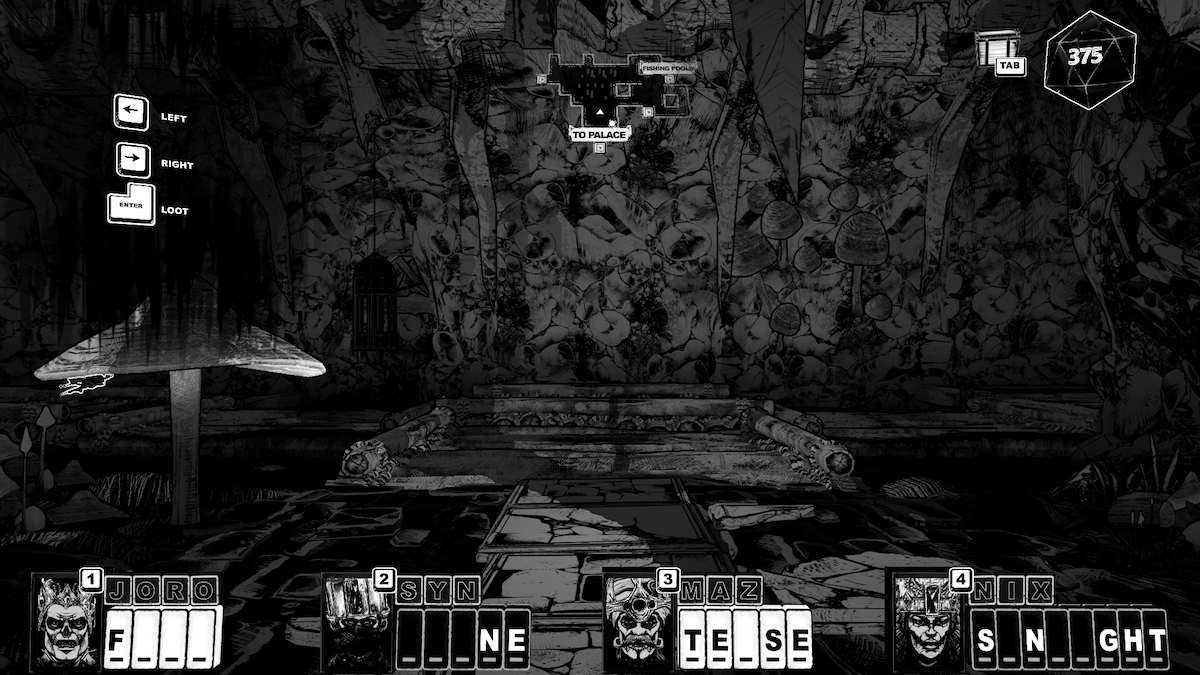
Keep going straight back through the Palace and the next few rooms until you hit one where the map only says 'TO PALACE' and 'TO FISHING POOLS.'
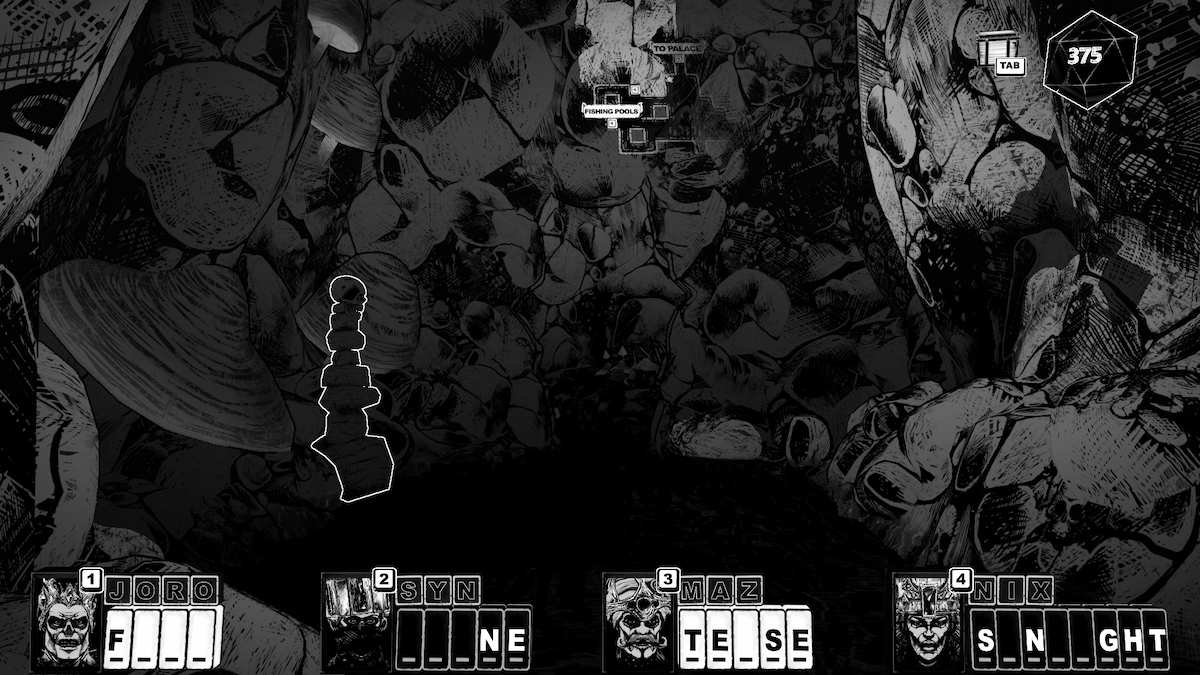
Before you walk in the door to the Pool, take a little walk down the square path to the right of the door. Oh, look, a SKULL.
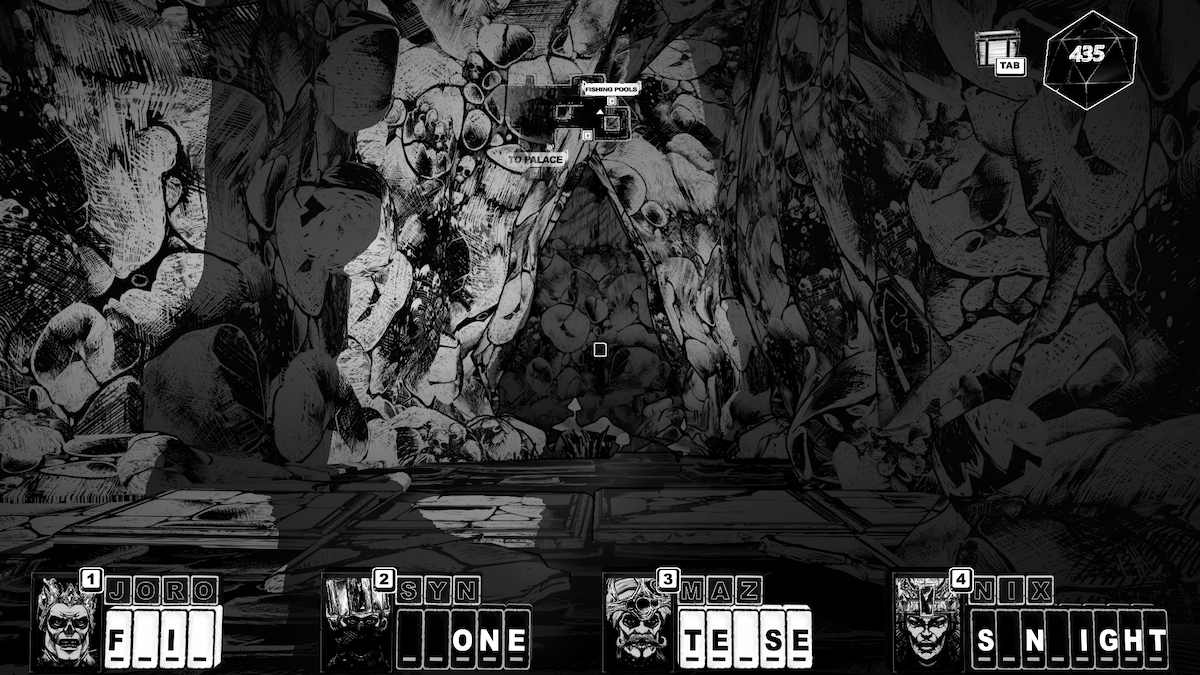
Walk out of the path and you'll see a Fragment Page directly across from you.
Now you can go in the door.
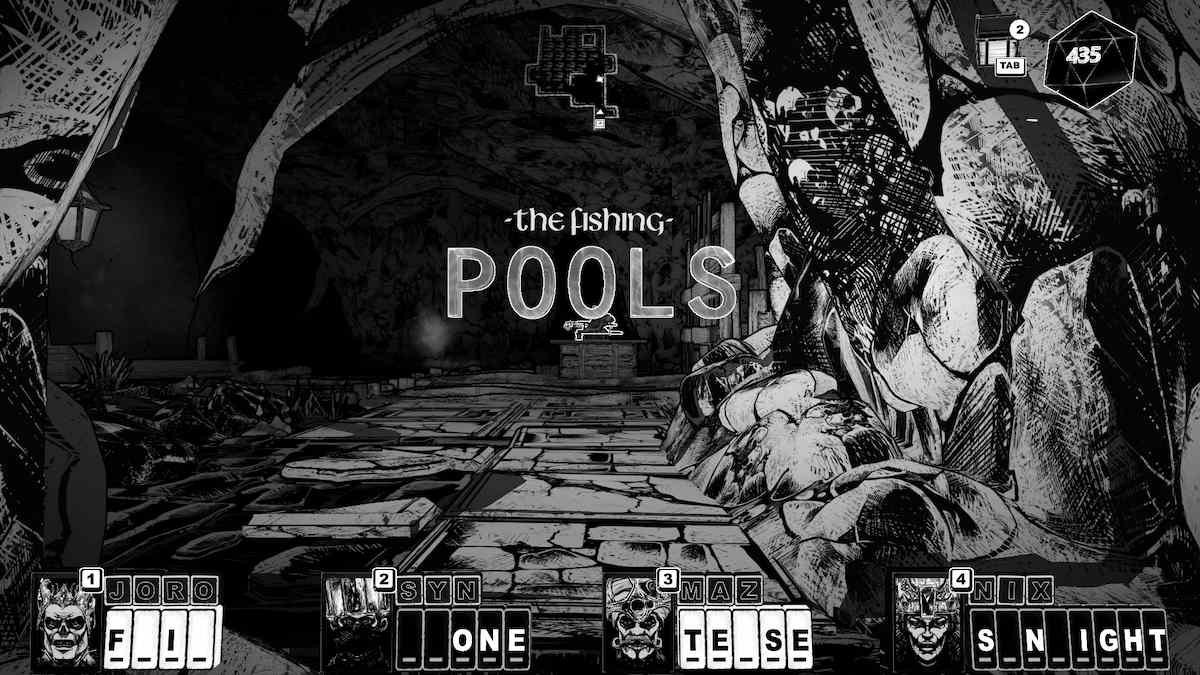
Look, a rat sitting at a table. He wants to know if we're interested in fishing. 'YES,' we are.
When he offers you a fishing pole, he says ‘I need NOTHING,’ so that's what we offer in return.
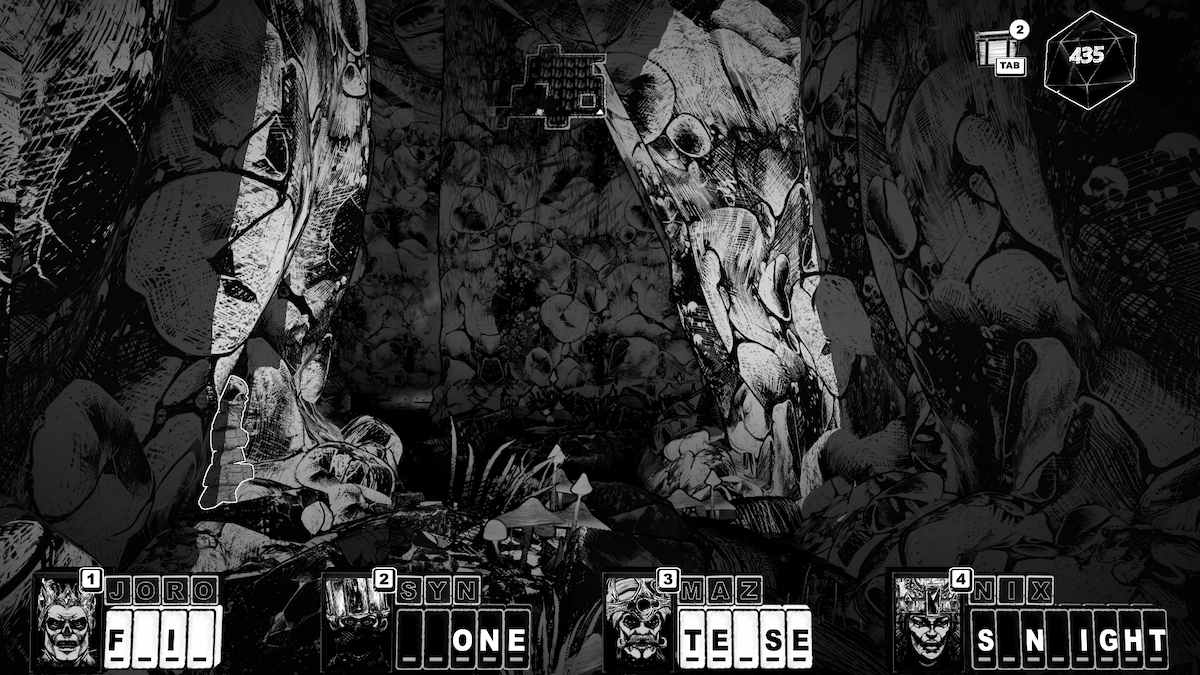
There's a SKULL hidden behind him in the square path.
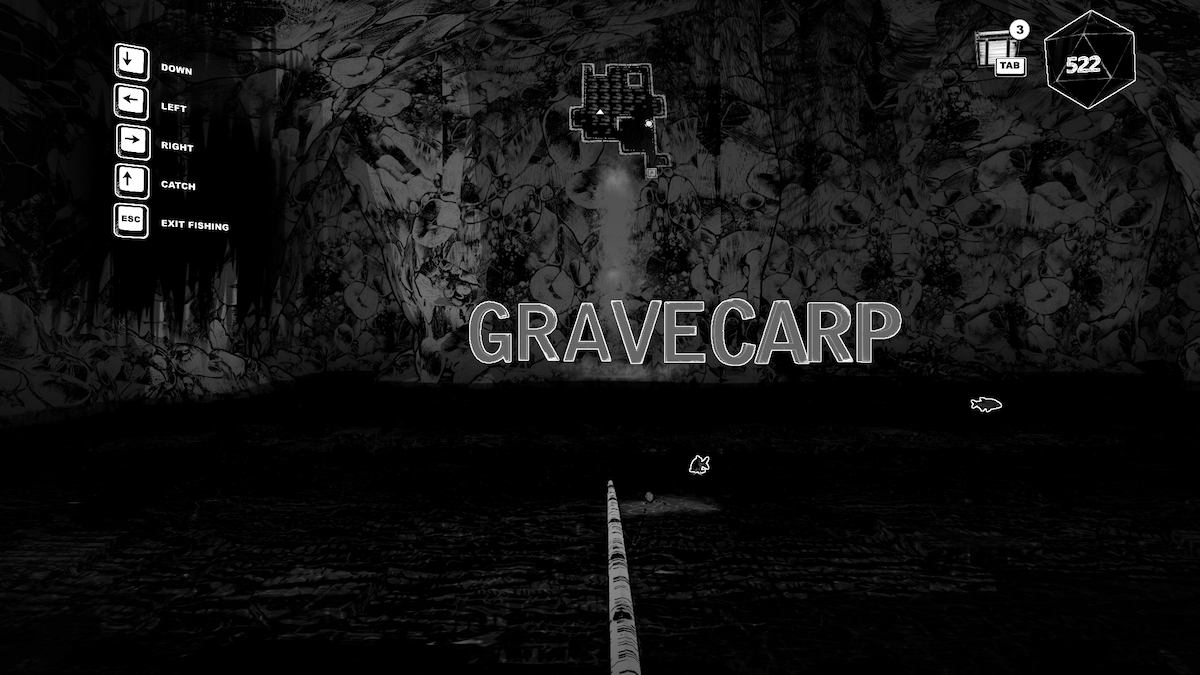
Go fish! No, actually go. To catch fish, go up to them and type in their name. Move the line until they're hooked and the letters of their name are turning white and black. Then press up to reel in your fish.
TEASE, SUNLIGHT, and ALONE are your next memory words. That's all of Nix's words for Chapter 2.
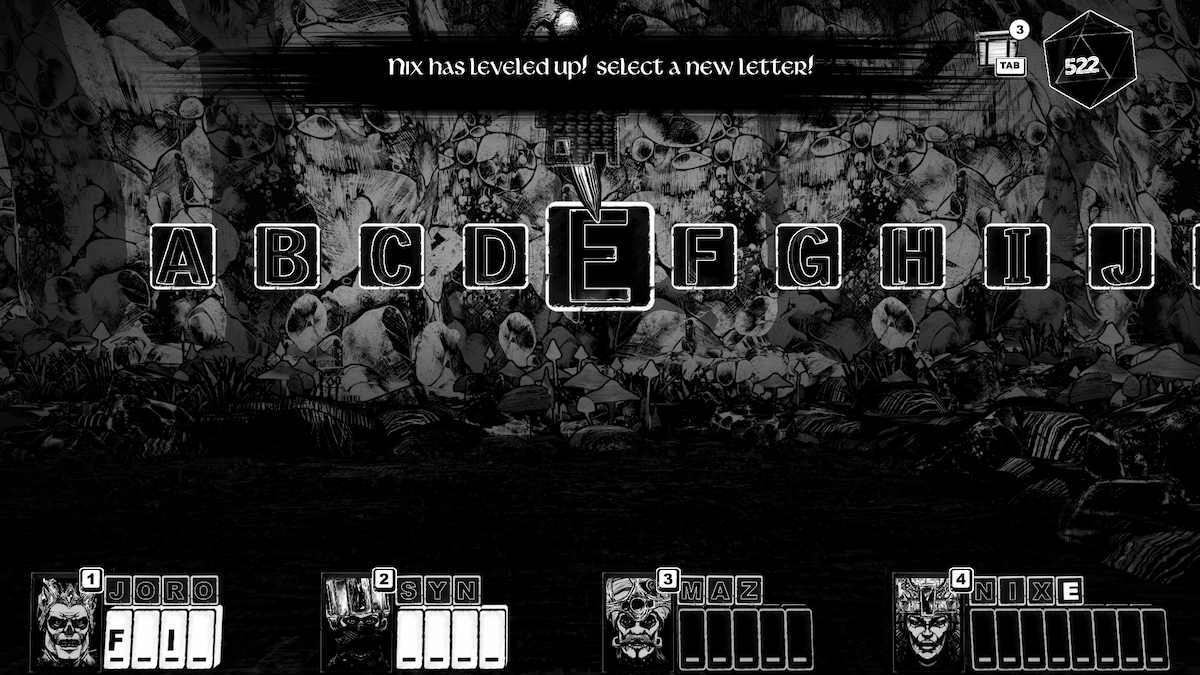
When one of the heroes finishes their word list, they level up and can choose a new letter to add to their name.
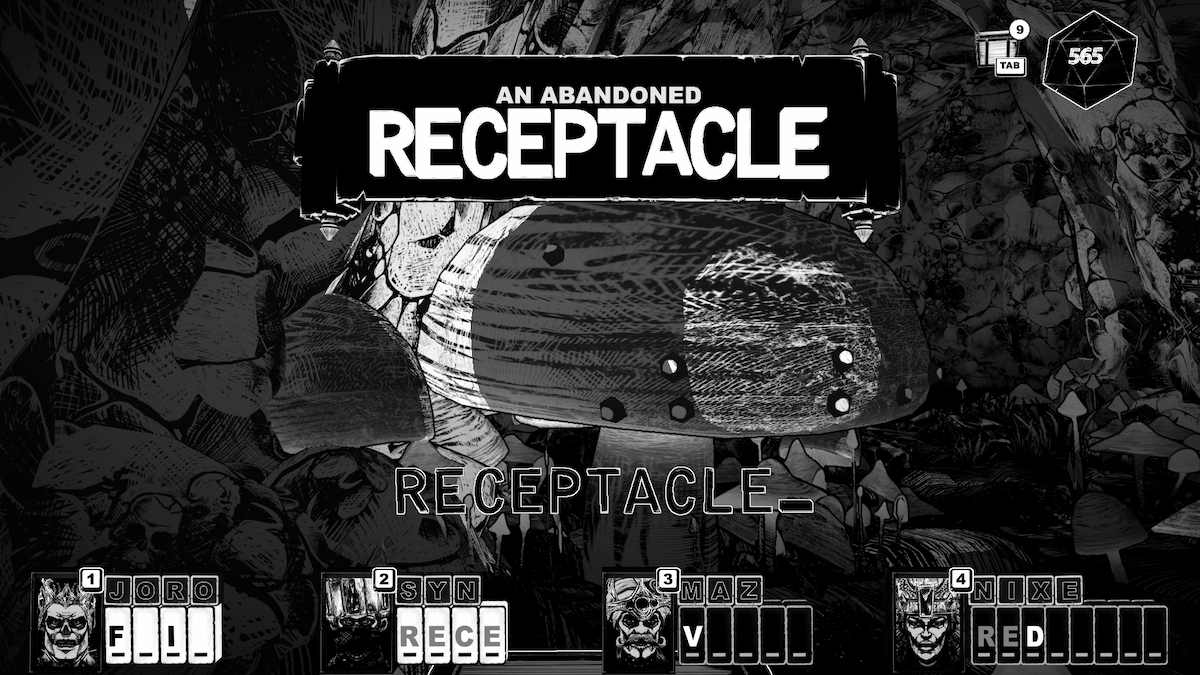
Come out of the Pools and take the door to the left. You'll find an 'ABANDONED RECEPTICLE' which acts as a CHEST (added to list of CHEST answers in the CHEST and SKULL answer guide).
A RATTY side-quest
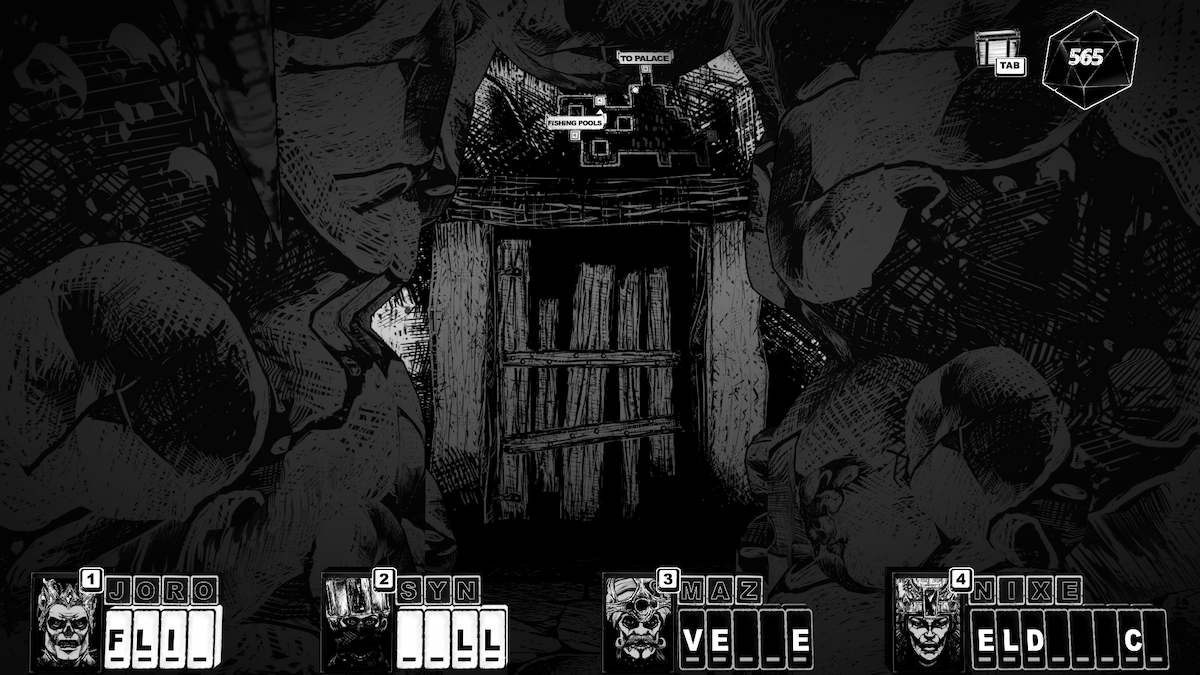
Remember that concerned daddy rat that wanted us to find his son?
To find RATTY, instead of going to either FISHING POOLS or TO PALACE, head inside the unmarked exit and go to the end to find him.
He lets you know he’s buried treasure and marked the spot, and wants you to go find it.
His ‘treasure’ is in the room right before the FISHING POOLS that has four exits in total. It’s by the PALACE exit, to the left there’s a little diamond symbol on the wall. While facing it, type DIG to receive the treasure. Return to RATTY, then go back to his dad for a thank-you.
Back to GOGGO
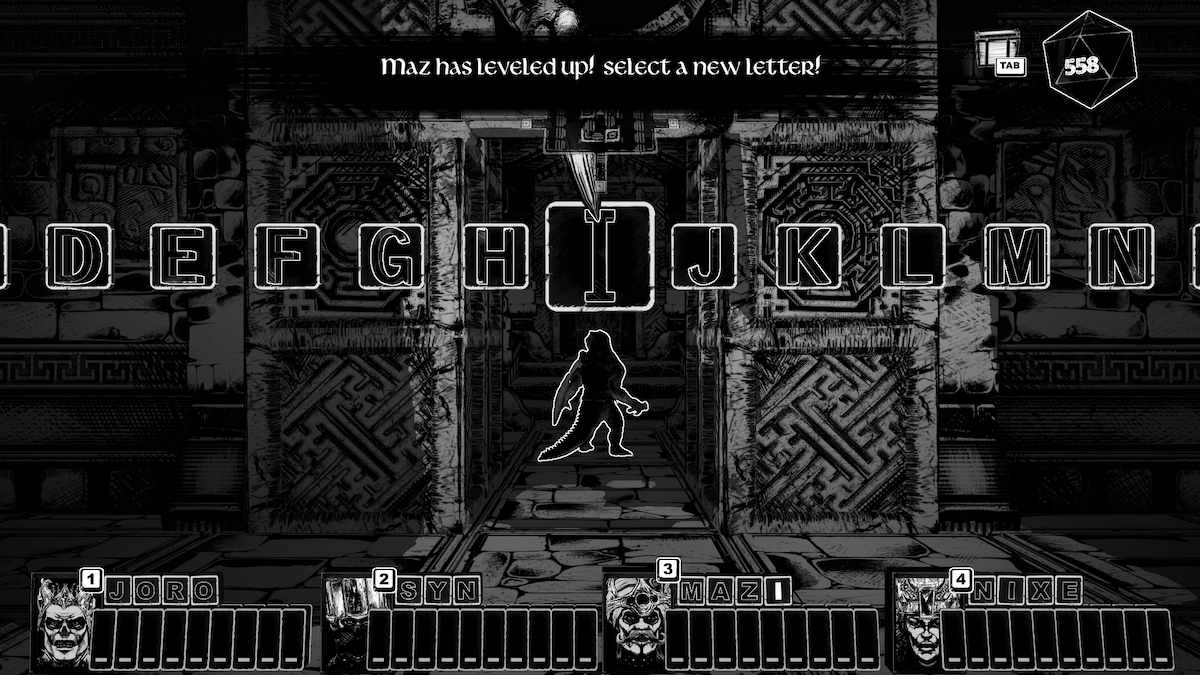
To complete this part of the chapter, return to the palace. Memory words you can type at this point should be FLIP and VERSE. MAZ levels up.
Go to the cauldron in GOGGO's palace again. You'll need fish and bugs that spell out either potion - LOVEJUICE or SLEEPJUICE. To make the potion, you need to use a bug or a fish that has each letter of the potion in its name. For example, for 'I', you can use a 'DEATHWING.' It will also fill in any other letters that match.
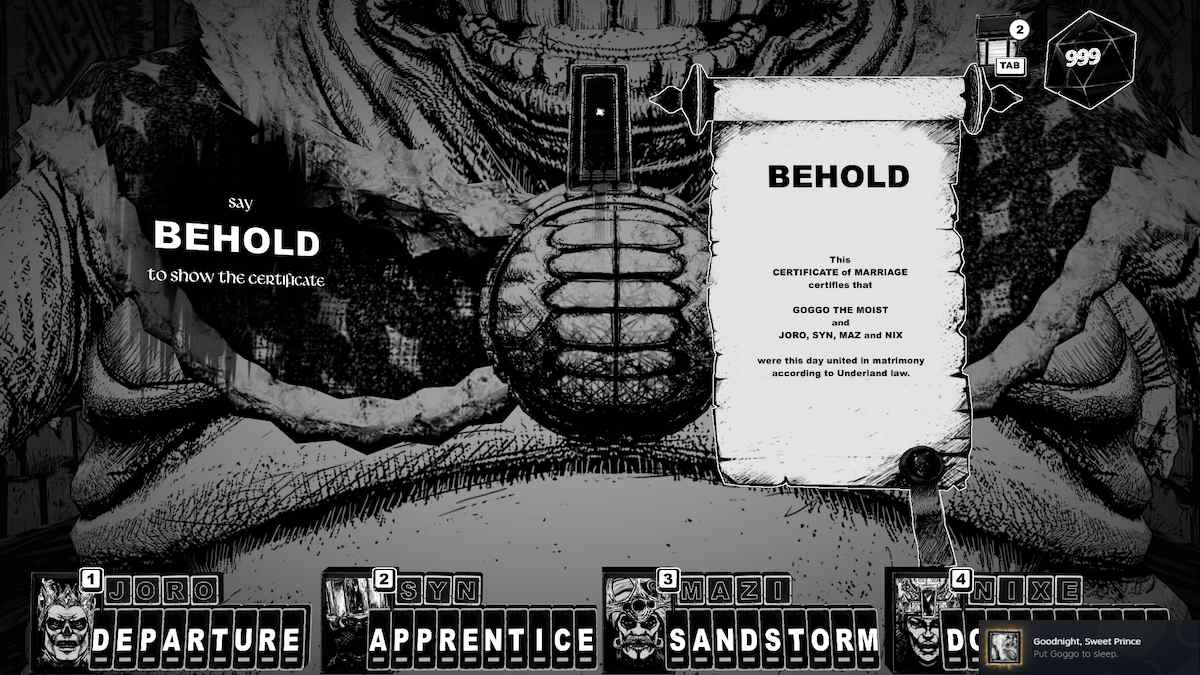
Talk to GOGGO and when he asks if it’s ready, type out whichever potion you have decided to use.
After you have your title of Nobility it’s time to return to the Bonehouses and proceed into the Tower.
Type APPRENTICE AND DEPARTURE for two more memory words. JORO and SYN will level up.
The TOWER
Speak to the guard again, he'll see that you're wearing crowns and immediately let you pass. Enter the tower.
Hey, you might want to type in these words at this point just to keep your memory words going: DEPARTURE and APPRENTICE. This will level up JORO and SYN so that all four of the heroes are on the same level again.
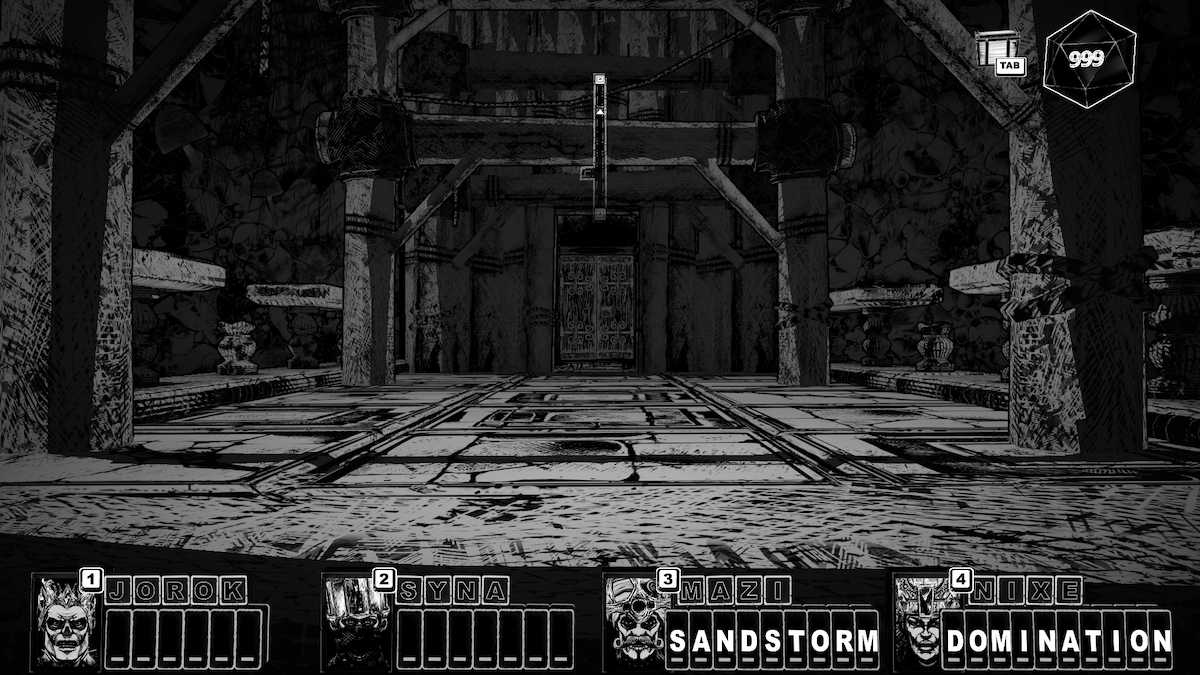
Continue into the Tower and make your way through to the first door by walking straight. The next room isn't much bigger - but there is an elevator and the music becomes quite funky.
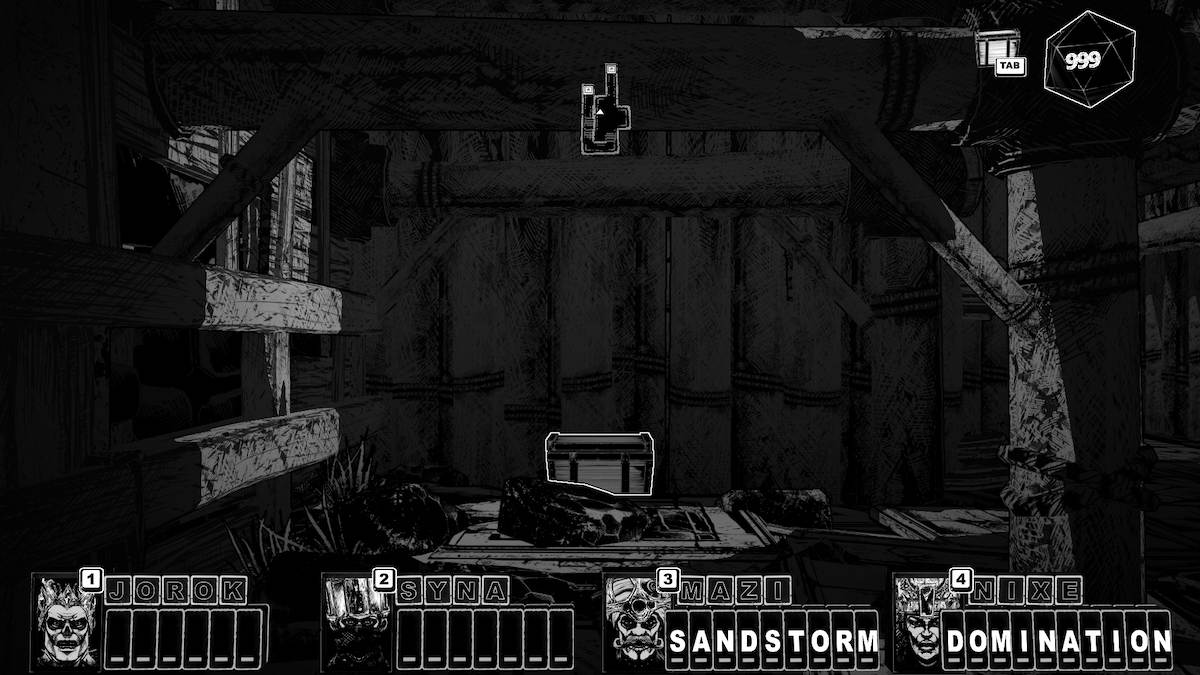
Immediately on your right after you walk into this room, there's a CONTAINER (for something).
As you can see, I've got CONTAINER and SANDSTORM ready to be claimed as memory words. These, like ELDRITCH are level 2 words for the heroes meant for Chapter 3, but I'd rather collect them now and leave room for more clues.
The ELEVATOR won't work so don't waste your time. Go up the stairs to the next door.
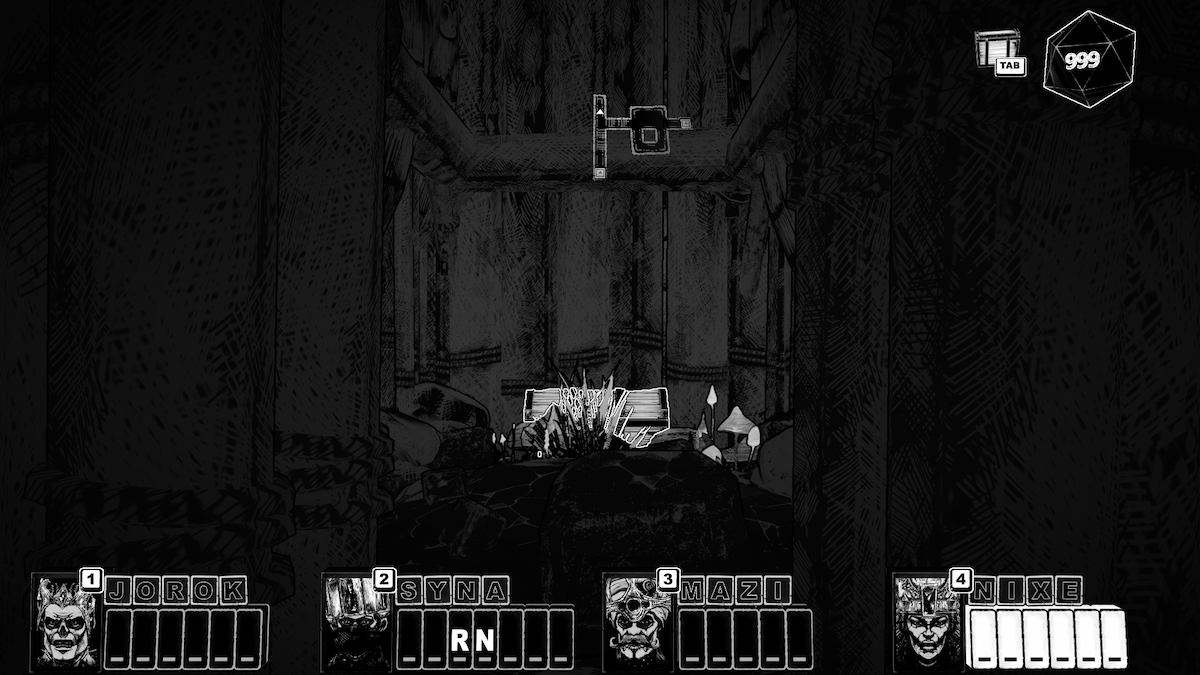
There's another CHEST in the small room ahead of you. Figure out the item and then continue through the main room that was on the right when you entered.
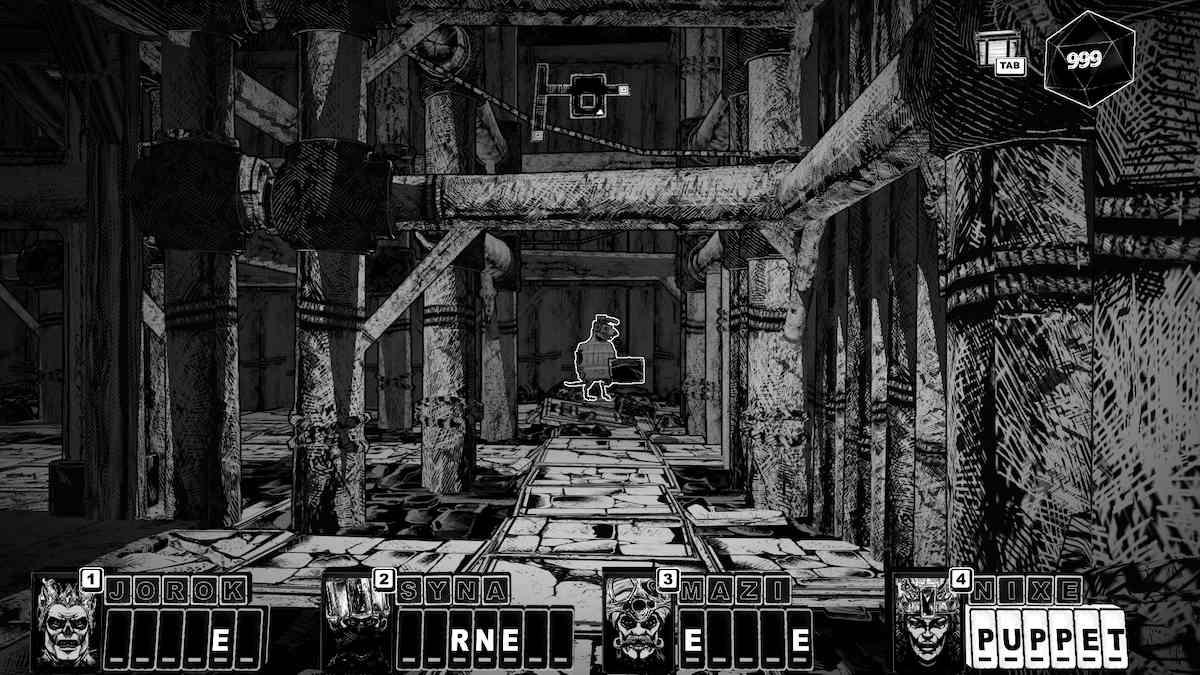
Near the pacing rat, you'll find another Page Fragment by the door.
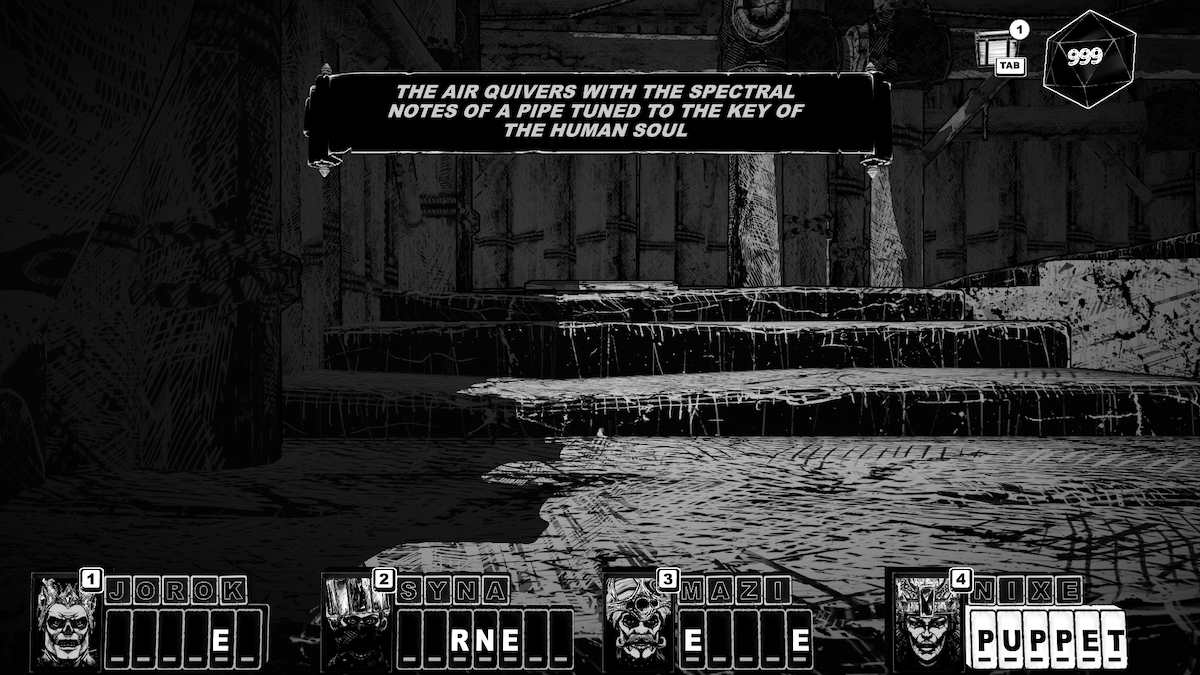
Go through that door into a stairway and enjoy the game being creepy again. Up the stairs you go.
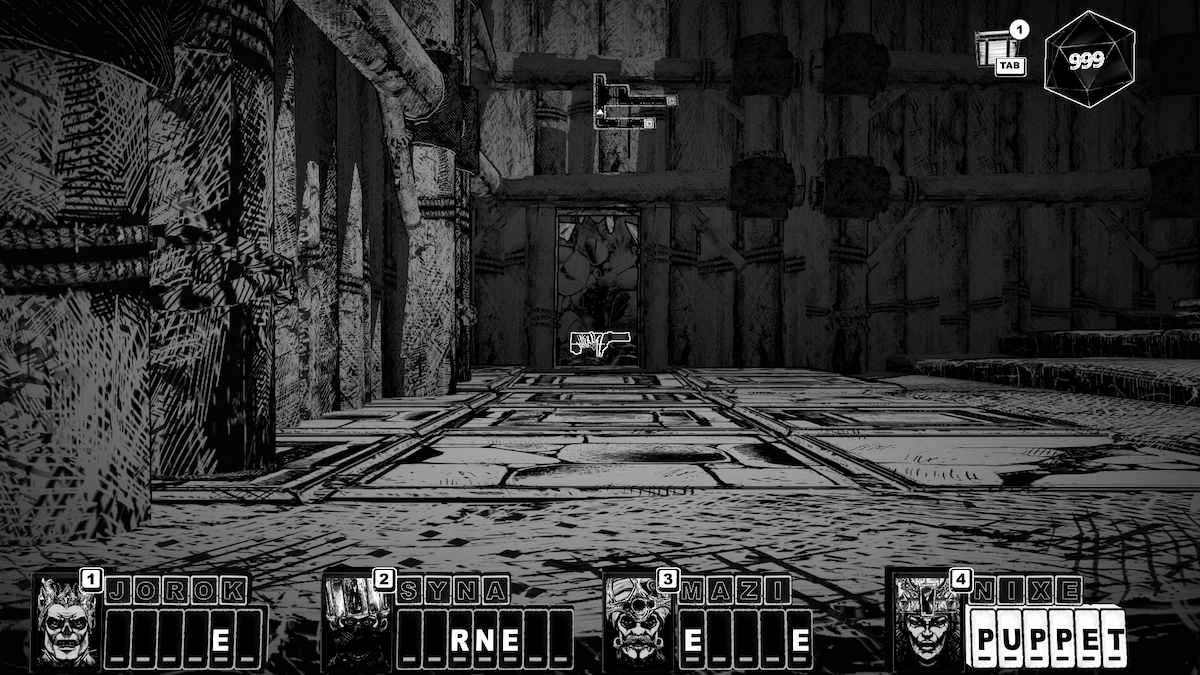
There's another chest on the next floor, directly opposite the entrance. Find out what's inside and then head up the stairs to the rat guard.
Ooooh, he's a bit uppity. Show him your marriage certificate by typing 'BEHOLD' and show him who's boss. Now you can go through the door to see the PIPER.
Well, not yet. First, talk to PRINCE STEVEN, the... Somewhat odd rat with the pointy head.
Take pity on the poor lad and type 'WHATEVER' to play cards with him. Remember how to play? I sure hope you do.
Talk to STEVEN again and let him know you need to go UP, and he’ll unlock the gate to his father for you. Go up the stairs to the gate and enter.
Turns out the PIPER, VITUS, is a human. I... Should have guessed that earlier but I absolutely didn't. His son, STEVEN, is apparently human, too. That, I don't believe, but okay.
Let VITUS know you need to go UP and he'll try to bargain with you. In return for helping you go UP, he asks that you give the COUNTESS a gift for him. Agree, obviously. He'll then ask for a little help finishing a track in her (dis)honor. He needs the help of a trained bard - MAZ.
When he gets stuck, he'll ask for a word that rhymes with the last one he used. The first is 'SONG,' so you could go with 'WRONG,' as I did, or come up with your own!
Next is 'VERSATILE,' which I rhymed with 'DIAL.'
Third is 'GRAND.' A quick note: Not all rhymes will be accepted. If they aren't, VITUS lets you try again.
The last rhyme is 'WORD,' so enjoy finishing off your bardic battle with the PIPER and get ready to go top-side! Psst... You can play 'WHATEVER' with VITUS, too. It took me three attempts to beat him. THREE.
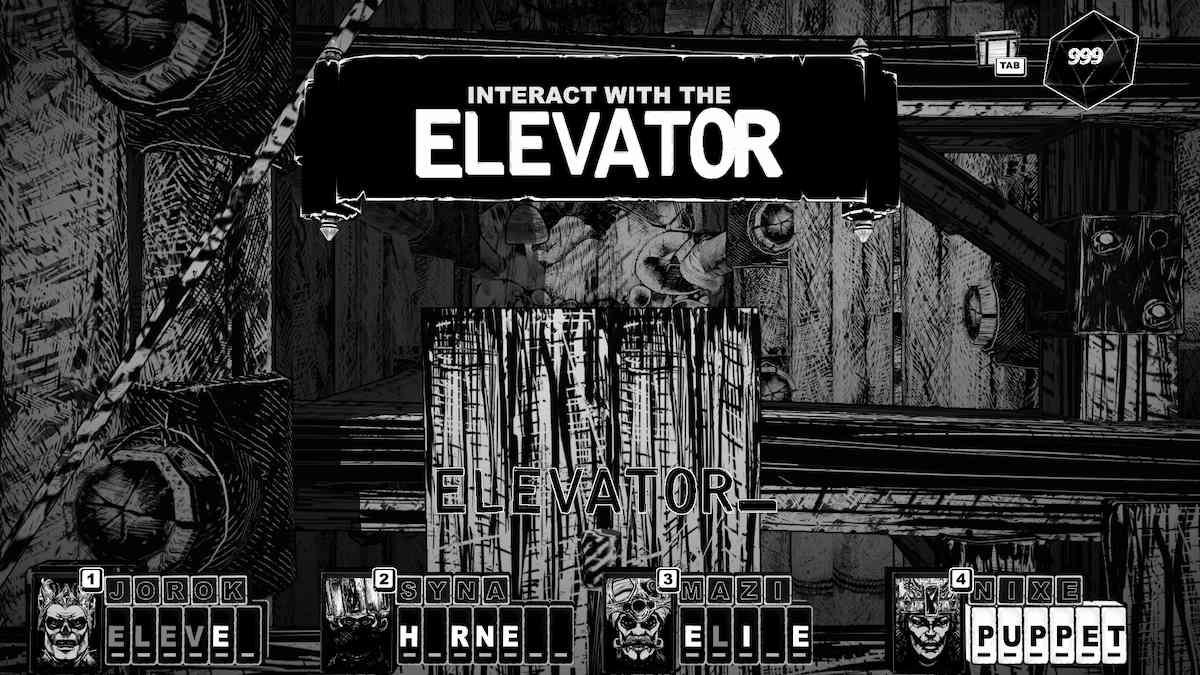
Head back to STEVEN and use the ELEVATOR.
Once you arrive at the next floor, climb the ladder.
Chapter 2 memory words
JORO
- FLEX
- CRACK
- COPPER
- FOIL
- HUNGER
- FEAST
- CARTWHEEL
- FLIP
- DEPARTURE
SYN
- ATLAS
- FJORD
- JOURNEY
- TRIP
- BLADE
- THROW
- ALONE
- APPRENTICE
MAZ
- PORT
- DRUMS
- MARKET
- SING
- LITHE
- POKE
- BANTER
- TEASE
- VERSE
NIX
- DROWN
- RATTLE
- TRIBUTE
- SALMON
- SEABED
- CACKLE
- TENTACLES
- SUBDUE
- SUNLIGHT
Once you've leveled up any of the heroes, you can start finding words from the next list - which is technically the Chapter 3 list. But if, like me, you were trying to find every CHEST and SKULL and battled a lot of monsters, you may have started the heroes' level 2 lists already. That's fine, just bear it in mind when you see the list of memory words for Chapter 3.
CRYPTMASTER Walkthrough, Chapter 3: Lost Books
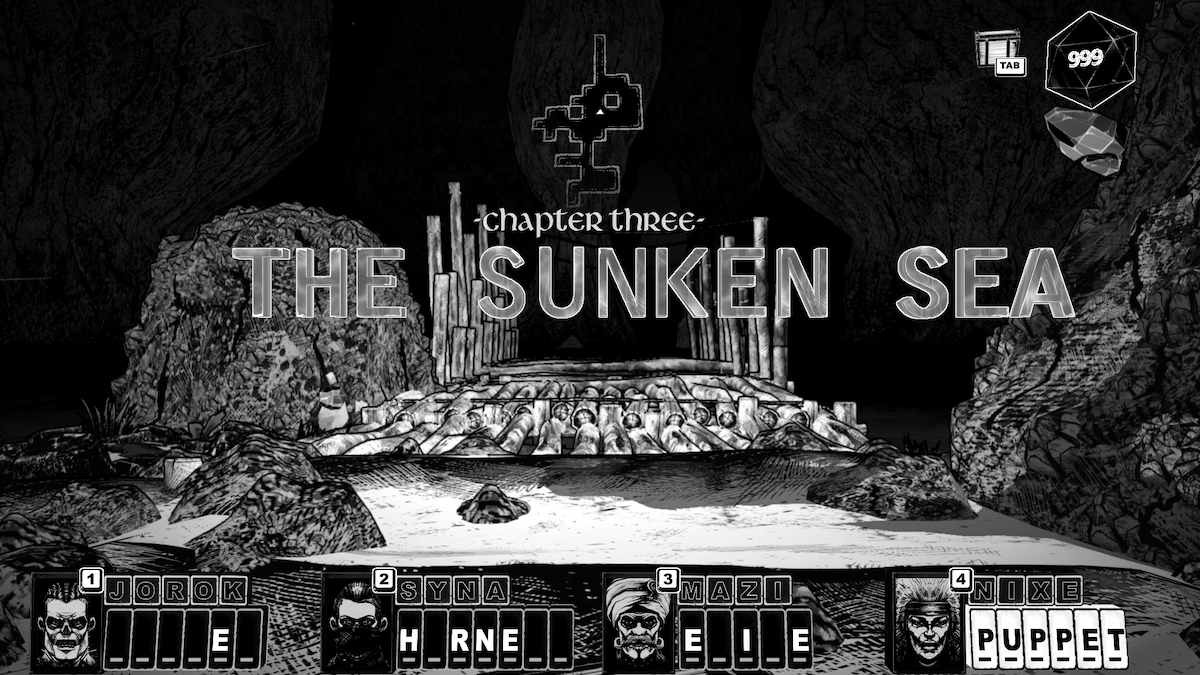
Finally, Chapter 2 is over and you've reached the surface world. It's a bit odd being top-side without any color in the world, but you'll get over it. For Chapter 3 of the CRYPTMASTER Walkthrough, you'll be exploring a few different areas, as well as THE SUNKERN SEA.
Despite the funky-looking map, there's not much to do in this first area. You should already have three words from the Chapter 3 list: ELDRITCH, SANDSTORM, and DOMINATION. You can now also get PUPPET, HARNESS, and EXILE, if you'd like.
Walk around a bit and the CRYPTMASTER will eventually ask to play a game.
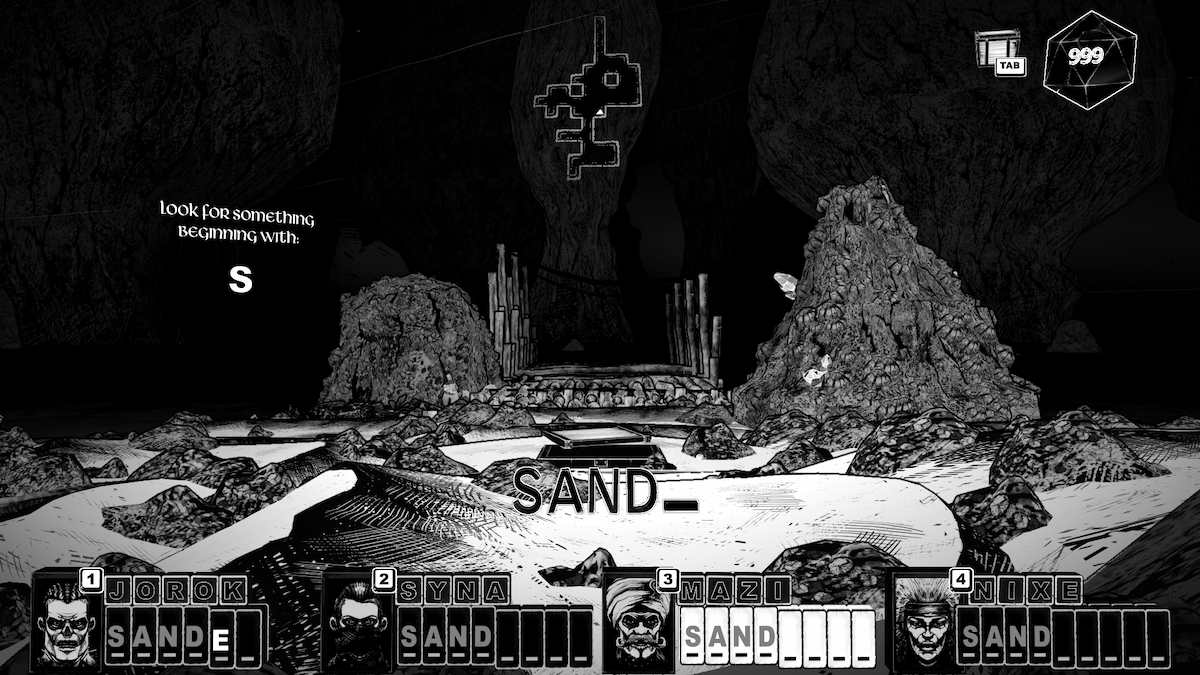
In case you get stuck with this island-themed eye-spy game, here are the answers:
- C is CRAB
- S is SAND
- R is ROPE
- B is BOTTLE
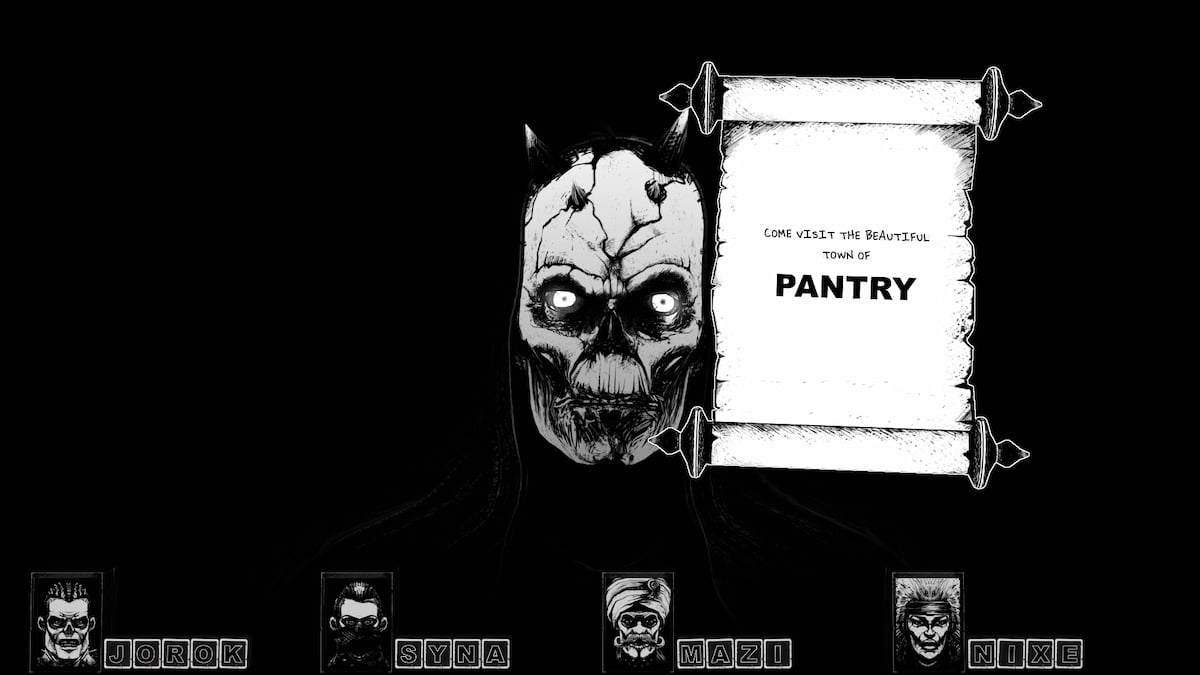
And now you can visit the next area - the slightly odd town of PANTRY! Just type the name and CRYPTMASTER will get you there.
PANTRY Town
Getting greeted by a floating skull isn't my idea of a good time, but okay. You're still trying to go UP and if you let the skull know, he'll tell you to seek out the COUNTESS.
If you walk through the skull - the FORTUNE TELLER - he'll heal you.
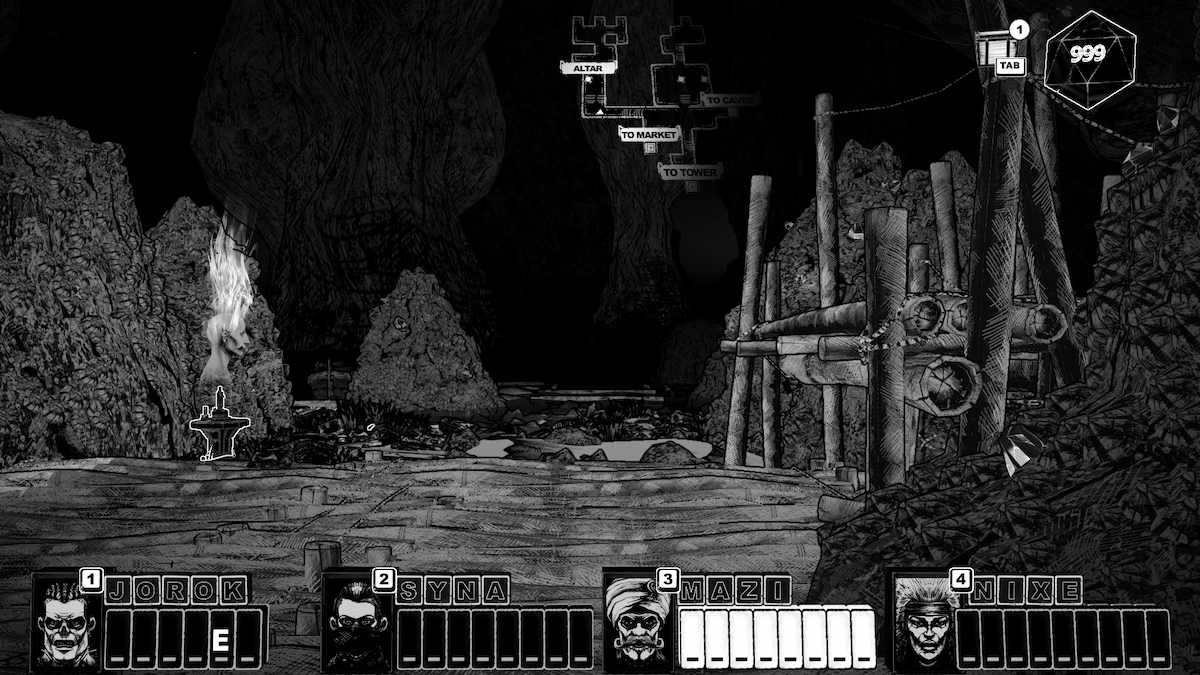
The first thing I did was run over to the ALTAR because, as I'm sure you've realized, an ALTAR is both your save point and a way to heal.
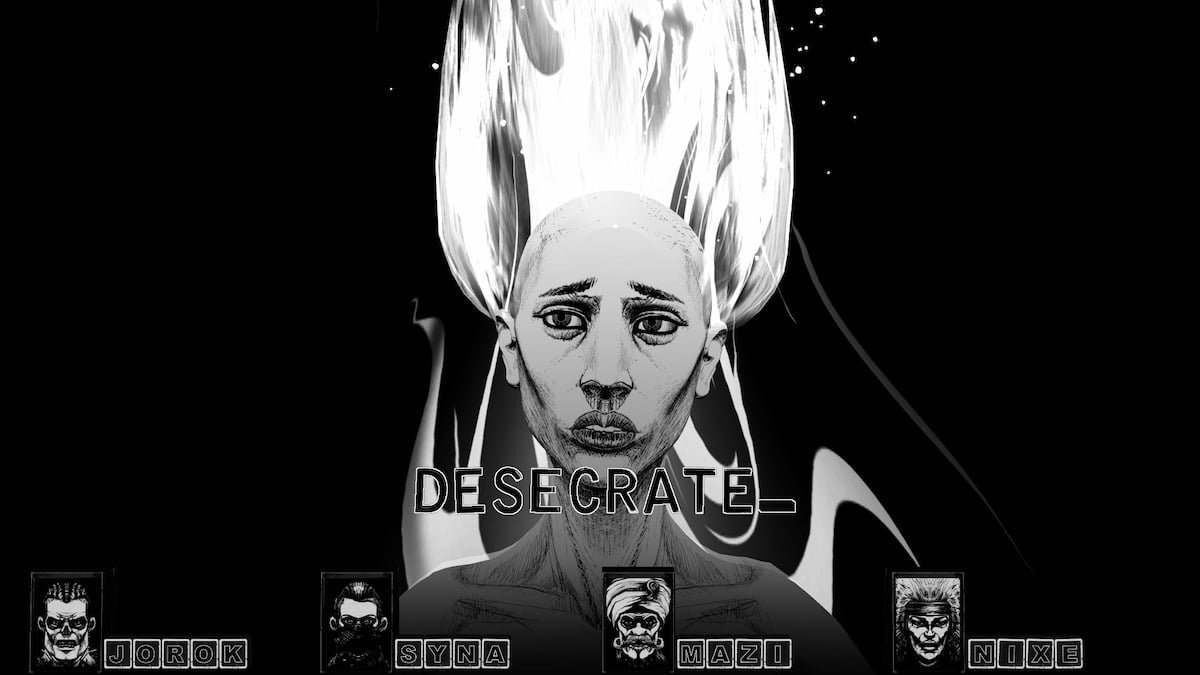
Still DESECRATE it, though.
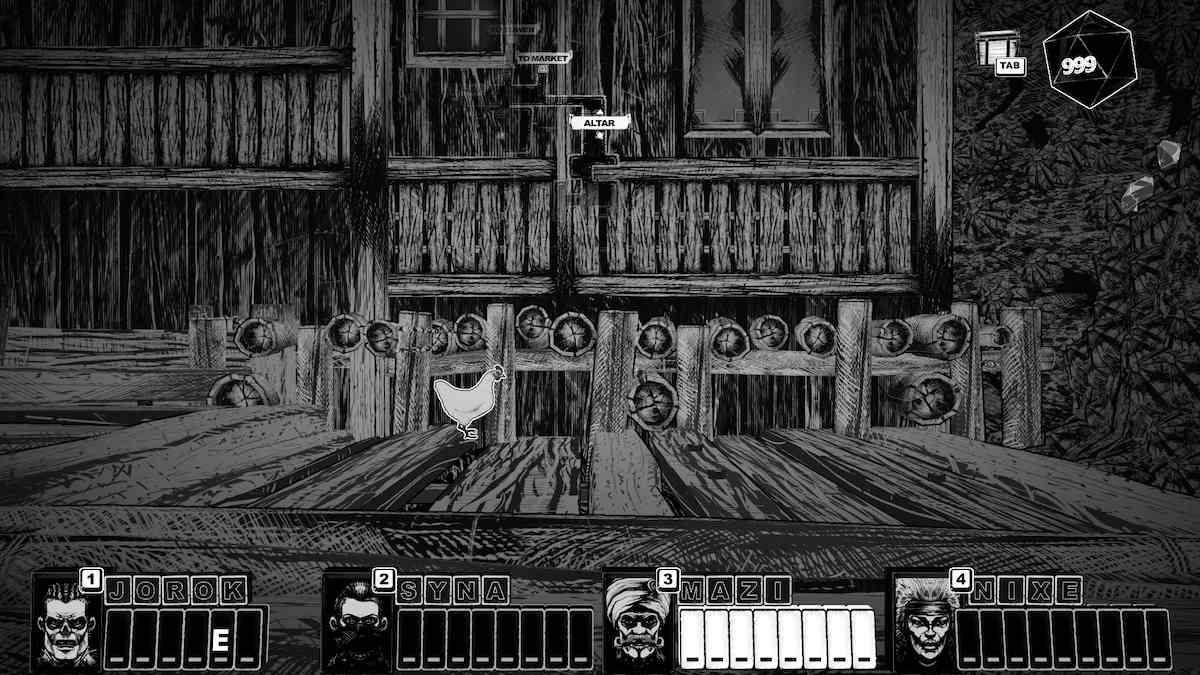
LOOK, A CHICKEN!
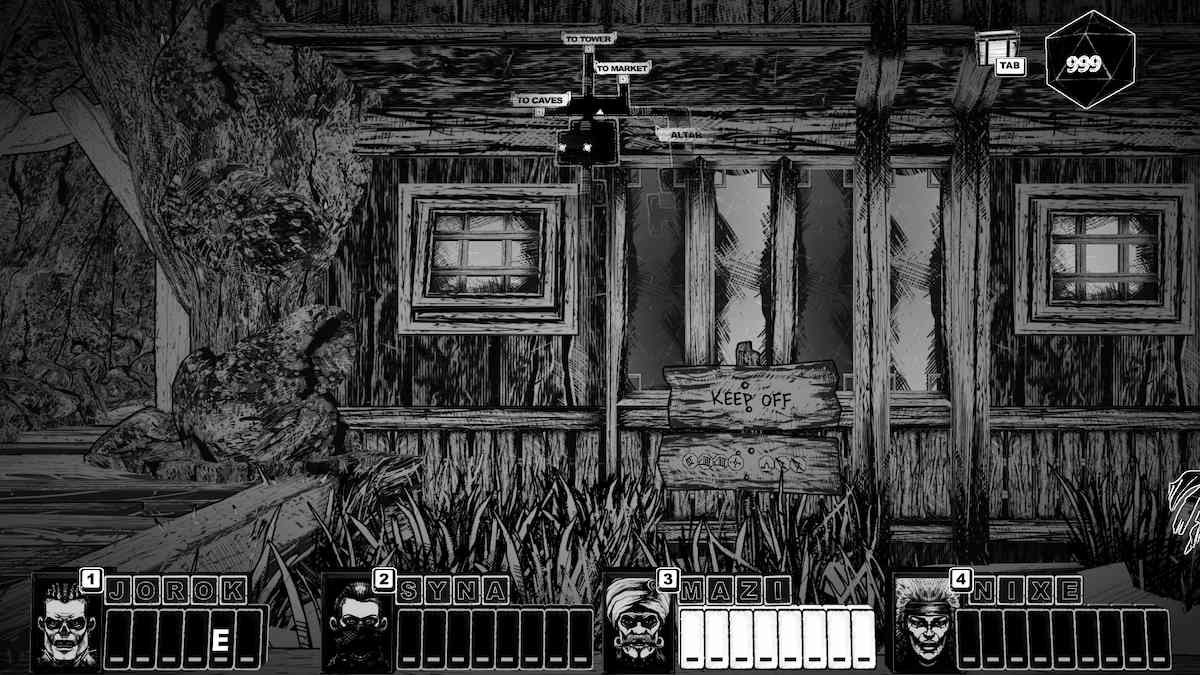
You see this sign? Pay attention to it. I didn't, and a snake bit me, then I walked back too far and ANOTHER snack bit me.
Follow the map to the MARKET and talk to the merchant on the left side to buy the GRAVEPOTION. It costs 399 souls, so I hope you've been saving.
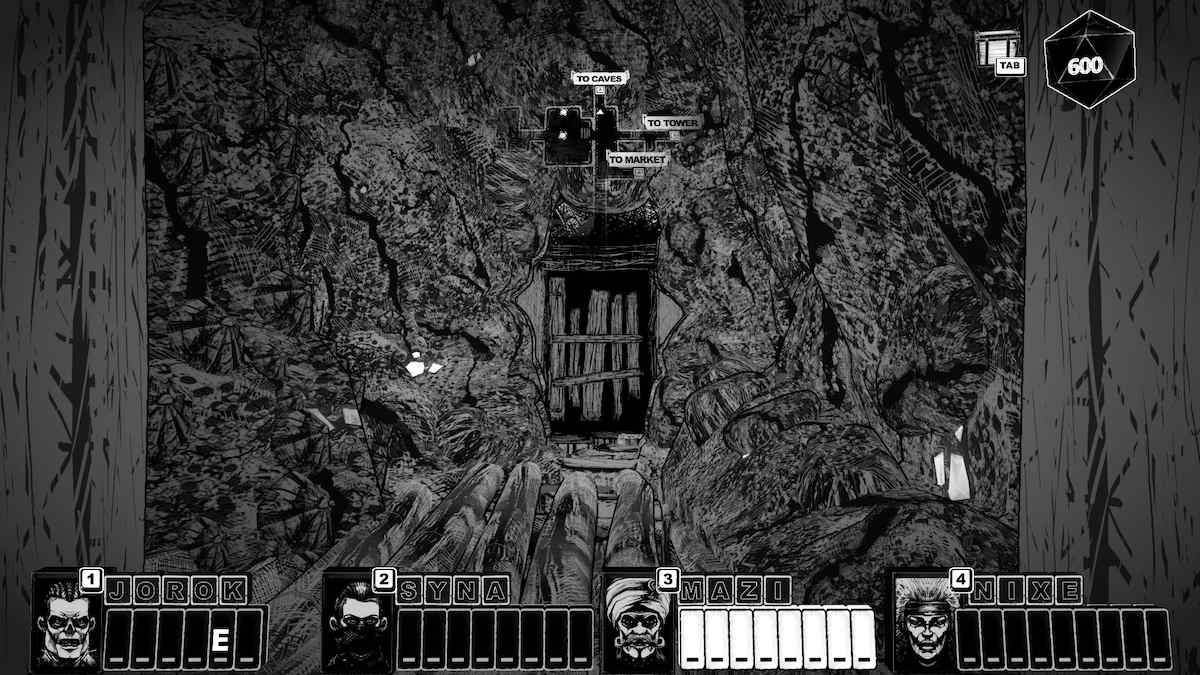
If you want to skip a bunch of stuff, go straight to the TOWER. We're not doing that, we're going to the CAVES. Go back out of the MARKET and turn right to go towards the CAVES.
The CAVES
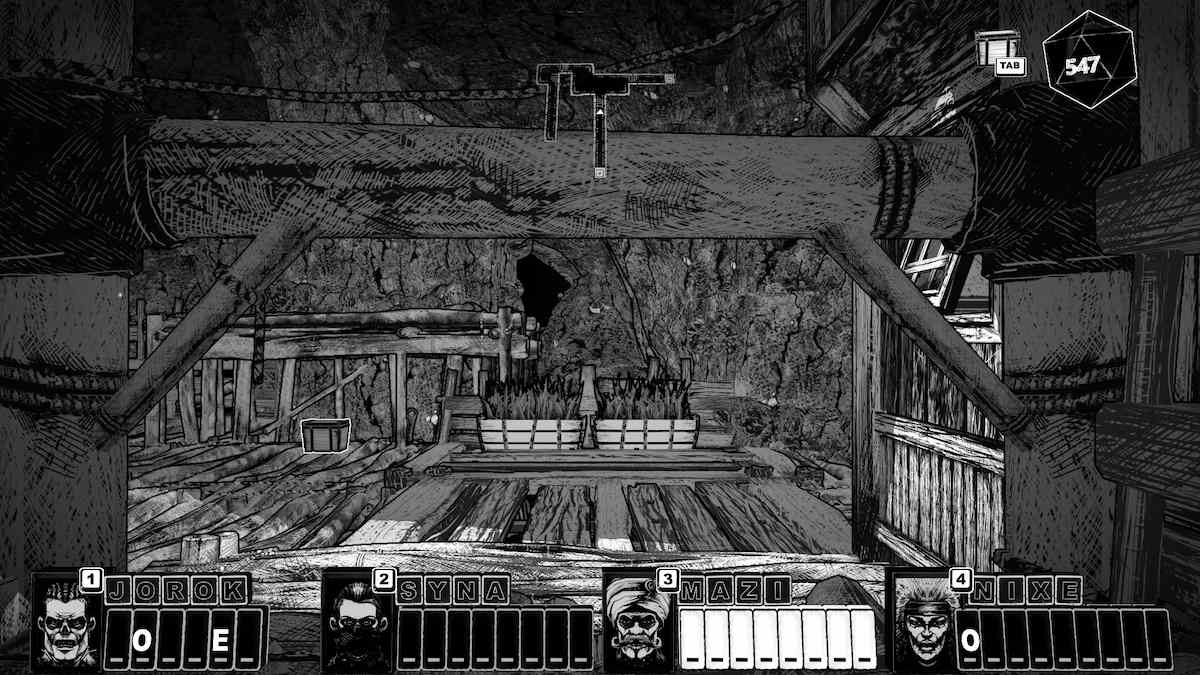
On your left is a CRATE.
Turn around and take the path that was on your right when you walked in.
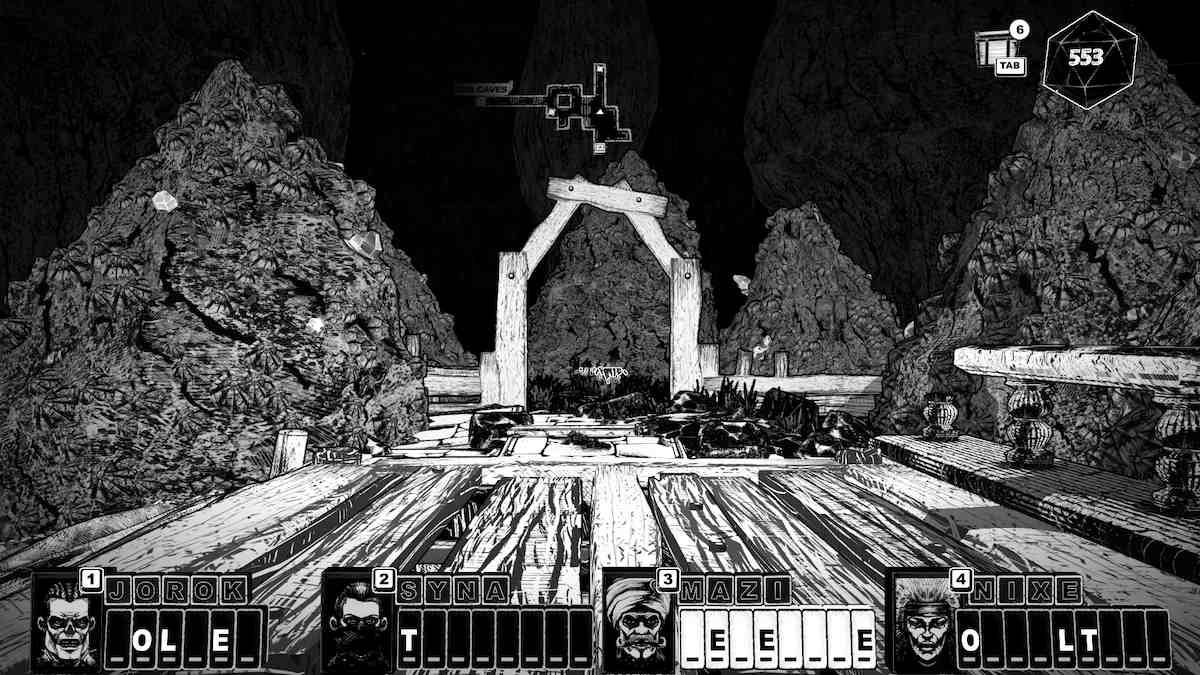
In this next area, there's a CAULDRON straight ahead, and a merchant selling a WHATEVER card to your left.
We're absolutely not here to buy her 'Mystery meat pies,' but we will buy the card for 399 souls. The card is the EYESTONE card, which randomizes your letter line when playing WHATEVER.
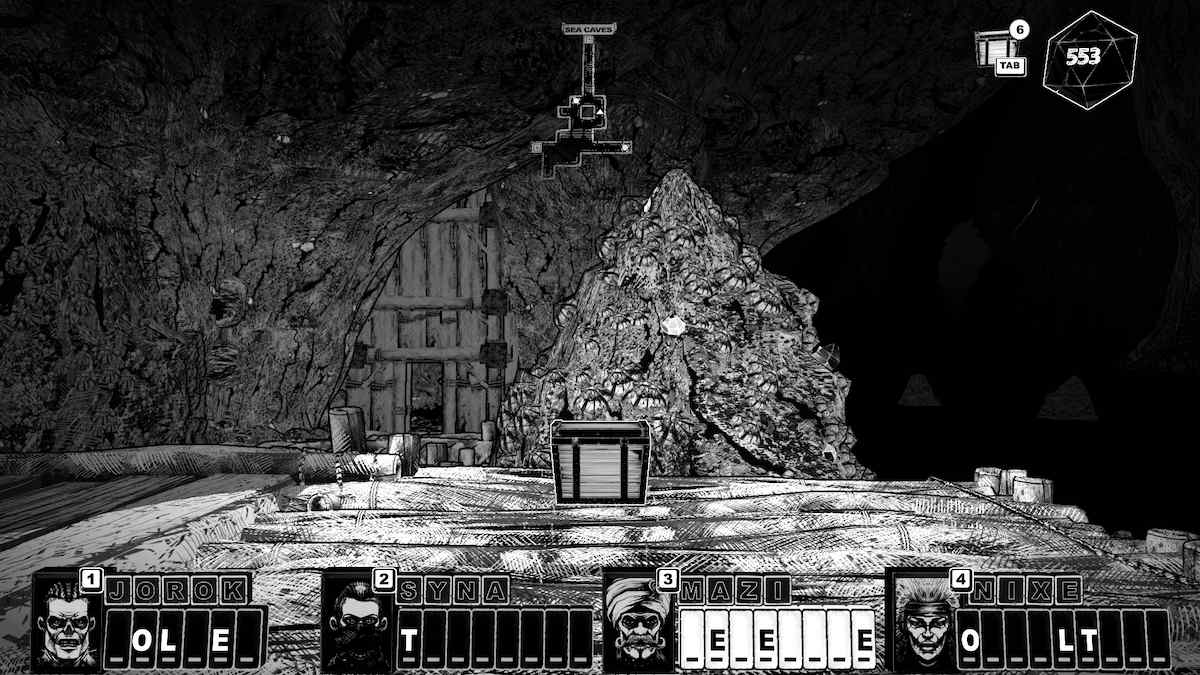
Directly across from the merchant, you'll find another CRATE. MINE WAS A MIMIC, I HOPE YOURS ISN'T. Their name was CHESTER, they're dead now.
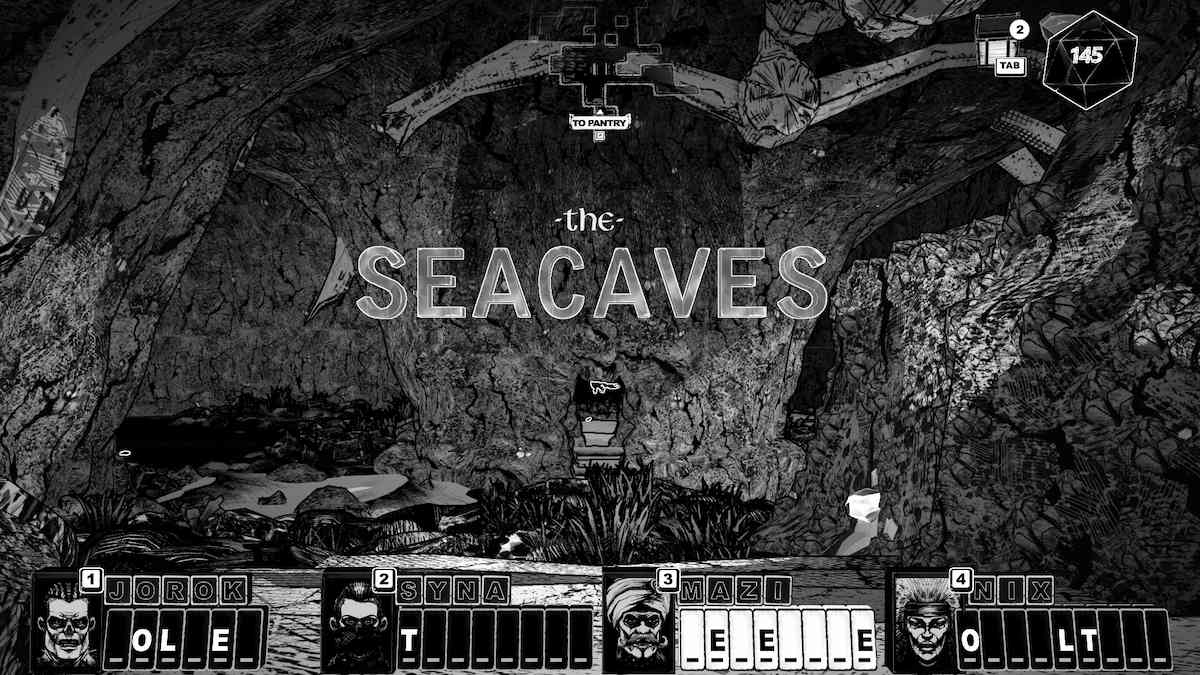
Continue up the path to the SEA CAVES and enter.
Take the second right to find a CHEST on the docks. Continue down the path and you'll find another Page Fragment floating around in the middle of the area.
Go to the furthest exit at the back of the area.
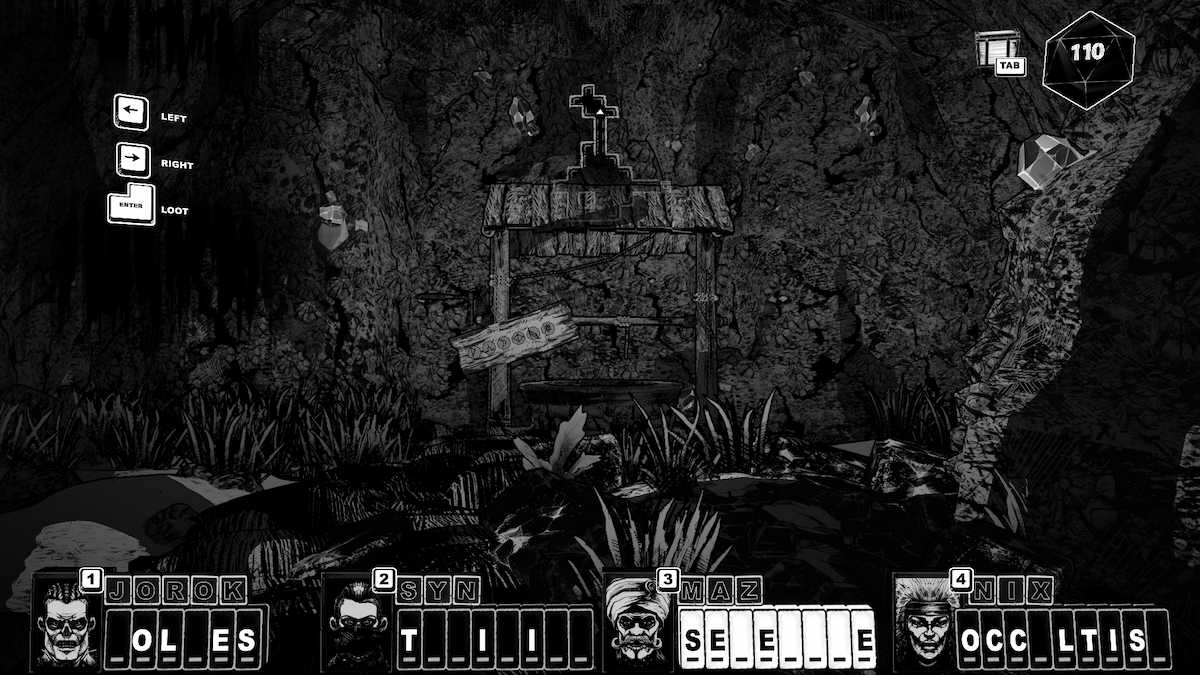
There’s a well here, with a sign that you likely can't read. Considering you're using a walkthrough, the sign says 'MORNAY.'
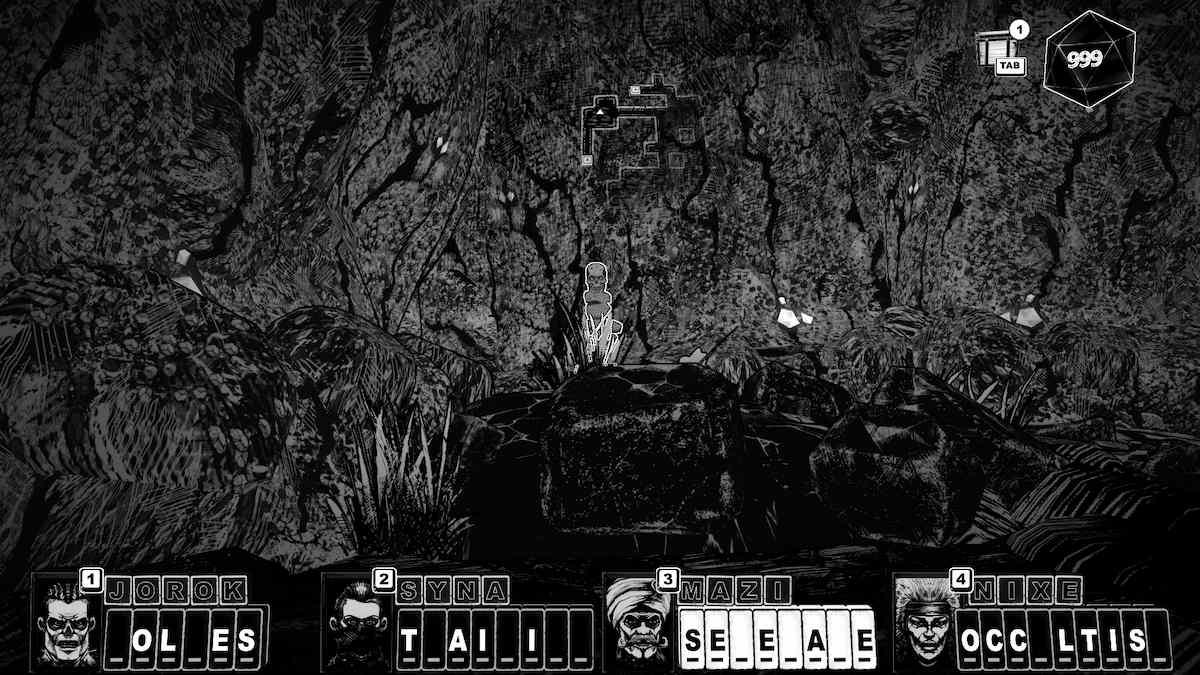
Head back out the exit and enter the other door we didn't go through in the previous room. There's a SKULL with a riddle on the right before you enter the door.
The next room has a SKULL on the left, and a CHEST next to the door on the right. You can go through either door, they both lead to the same place.
Keep going through the next four rooms until you see the COUNTESS. There's nothing particularly hard or dangerous, you can just keep walking until you meet her in the fifth room.
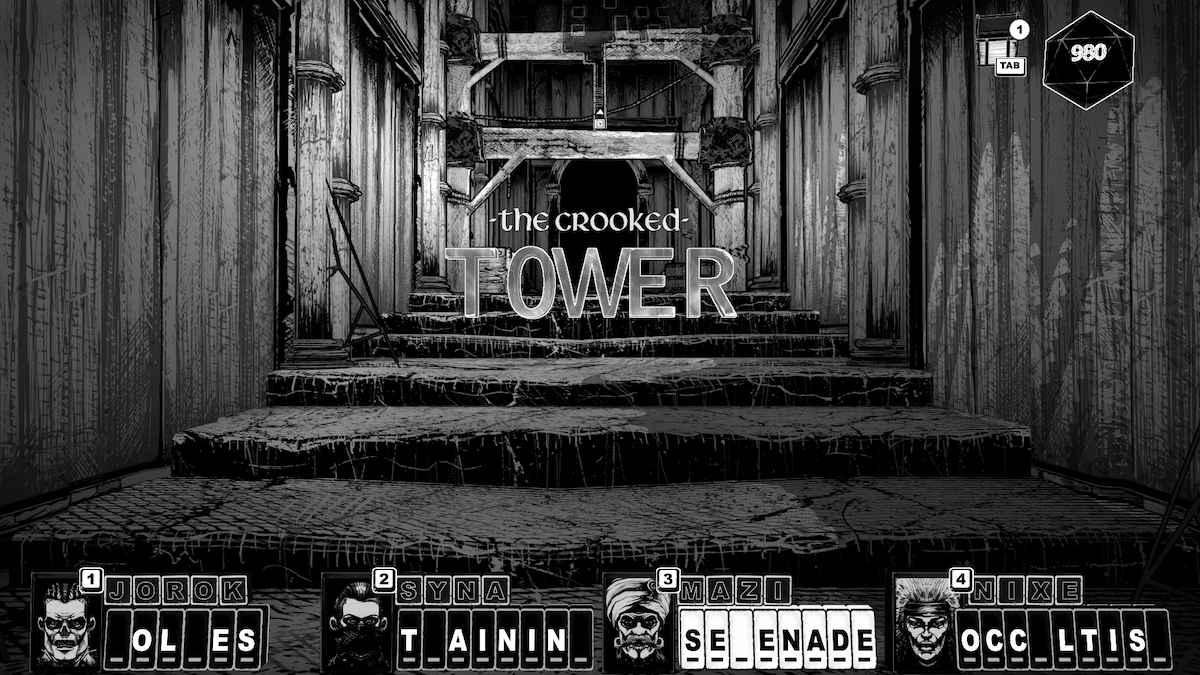
She thinks you're servants, and lets you into the TOWER, no questions asked.
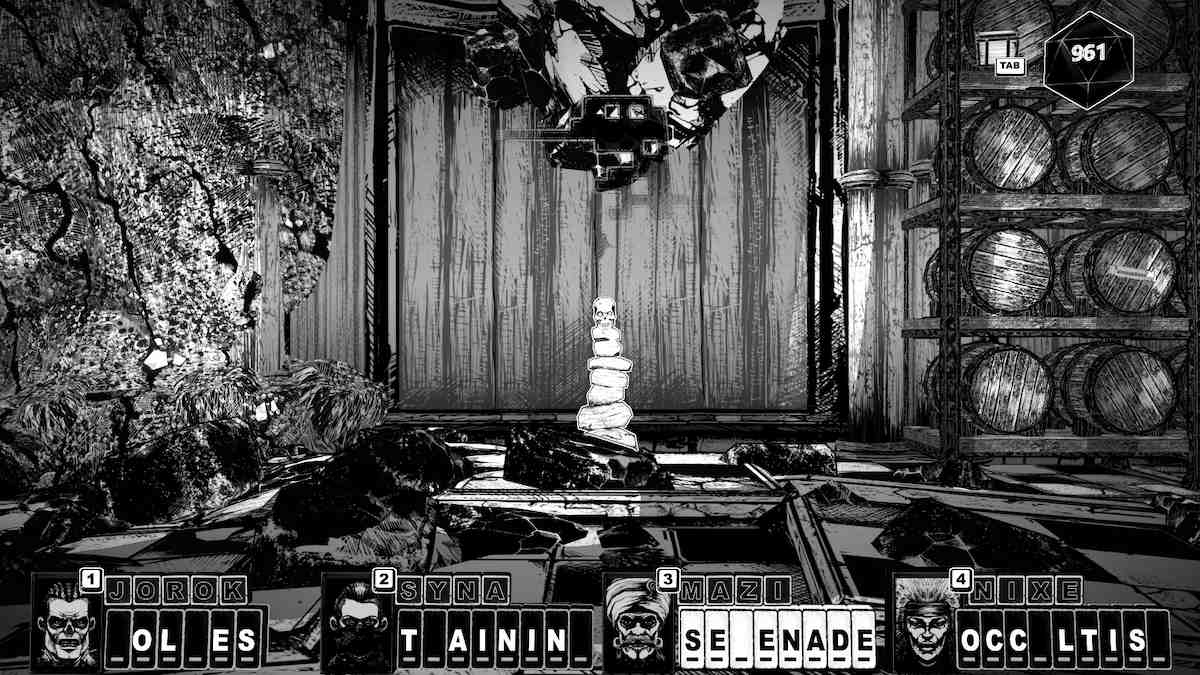
Once you enter the TOWER, go to the left side for a SKULL.
In the next room, once again go to the left side for another SKULL. There's nothing else of interest in here, so just pop through the giant doors on the far side of the room.
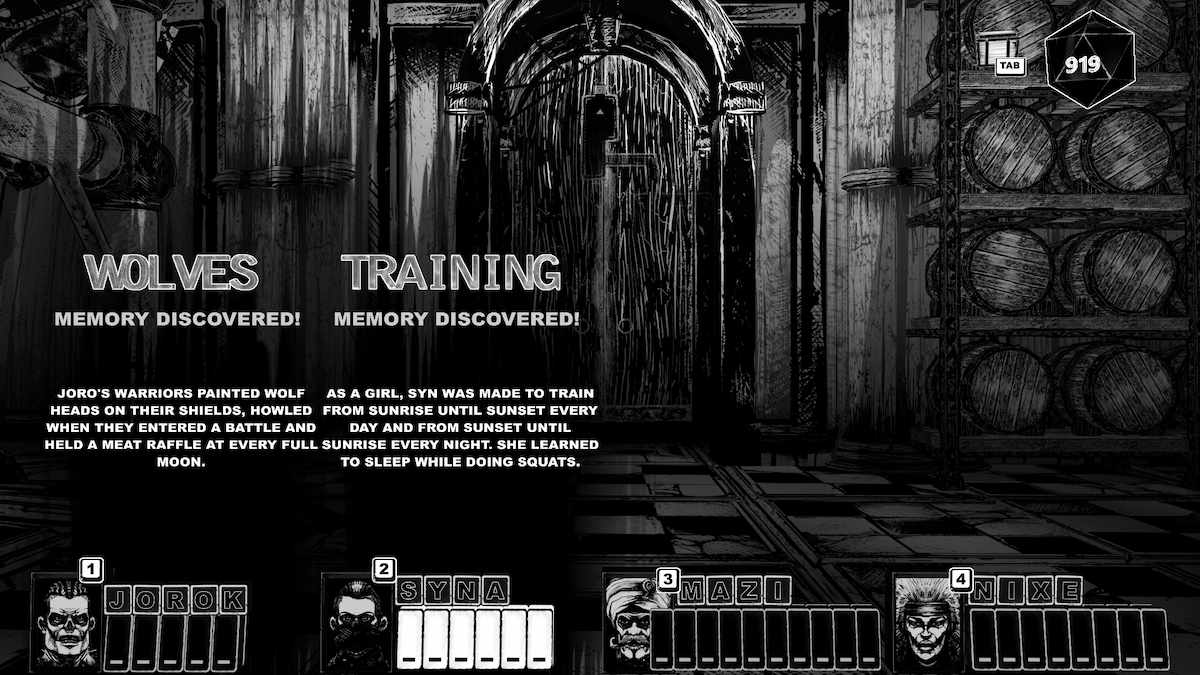
There's nothing in the next room, but grab these memory words while you're here: SERENADE, OCCULTISM, TRAINING, WOLVES.
Enter the next room and immediately within sight, you can see a RECEPTACLE on your right. Leave the room through the large door to the left of the area.
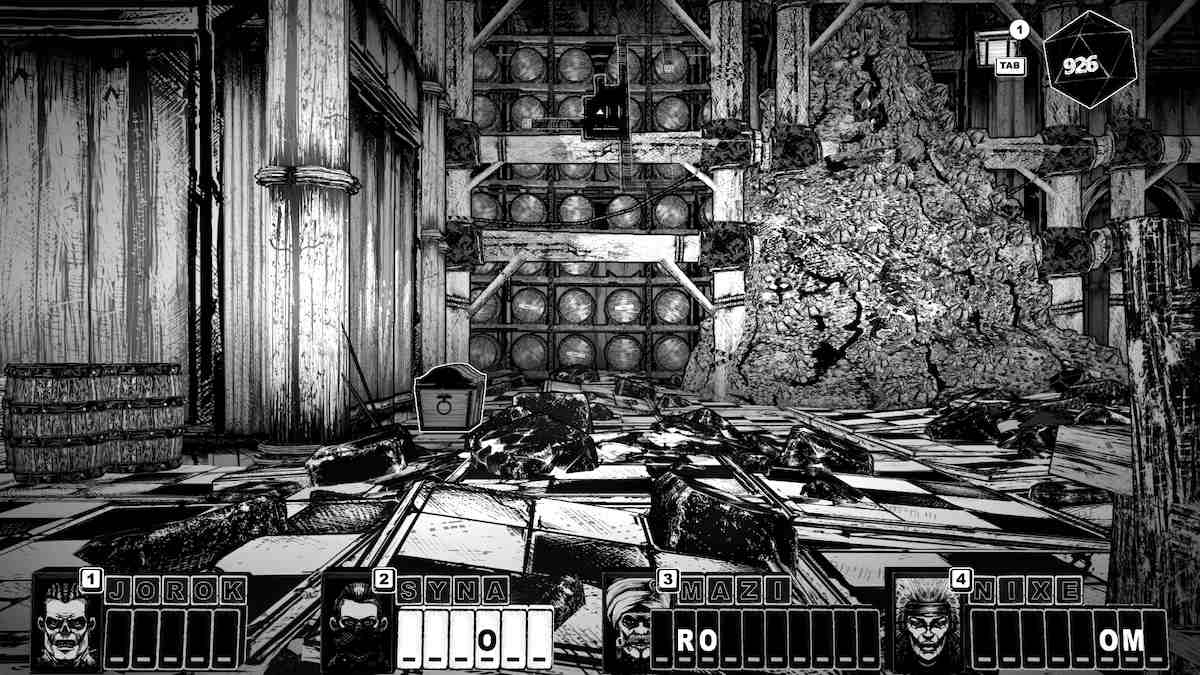
There's a CHEST in the next room, on the left-hand side. Both of the other doors in this room lead to the same place, so you can go through either. I went through the top right one.
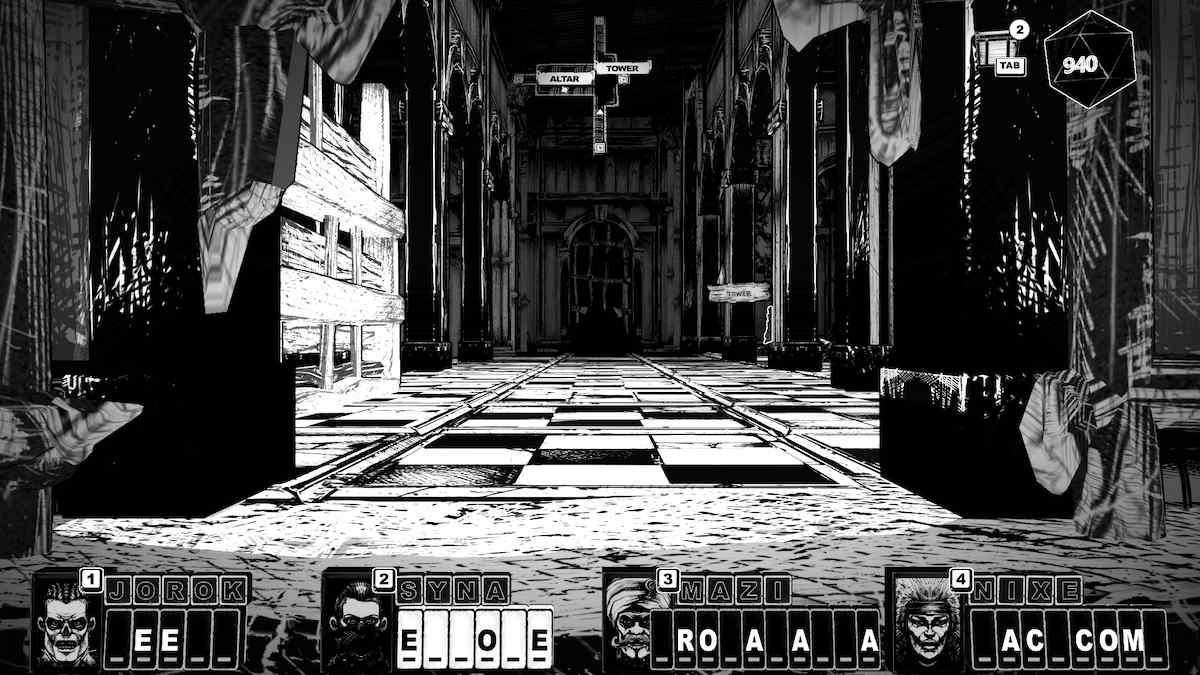
We're now at the base of the TOWER and there's a SKULL on the right. The ALTAR here actually wants to talk to us, but understands that we're still going to DESECRATE this one for another save and heal point.
If you had gone straight to the TOWER from PANTRY, this is the room you would have ended up in. There are several CHESTS and SKULLS that we haven't hit by going this way, so portal back to PANTRY by typing out the town's name and go to the TOWER entrance there.
Let me just quickly run you through the PANTRY to TOWER route:
- The first room has a CHEST on the right and a SKULL in the upper left corner (it's the second left on the map in that area).
- In the second room, go up the stairs and turn left to find a SKULL and a CHEST. There's a second SKULL at the top of the stairs near the door.
- Nothing in the third room.
- Nothing on the staircase.
And you're back where you were!
The TOWER
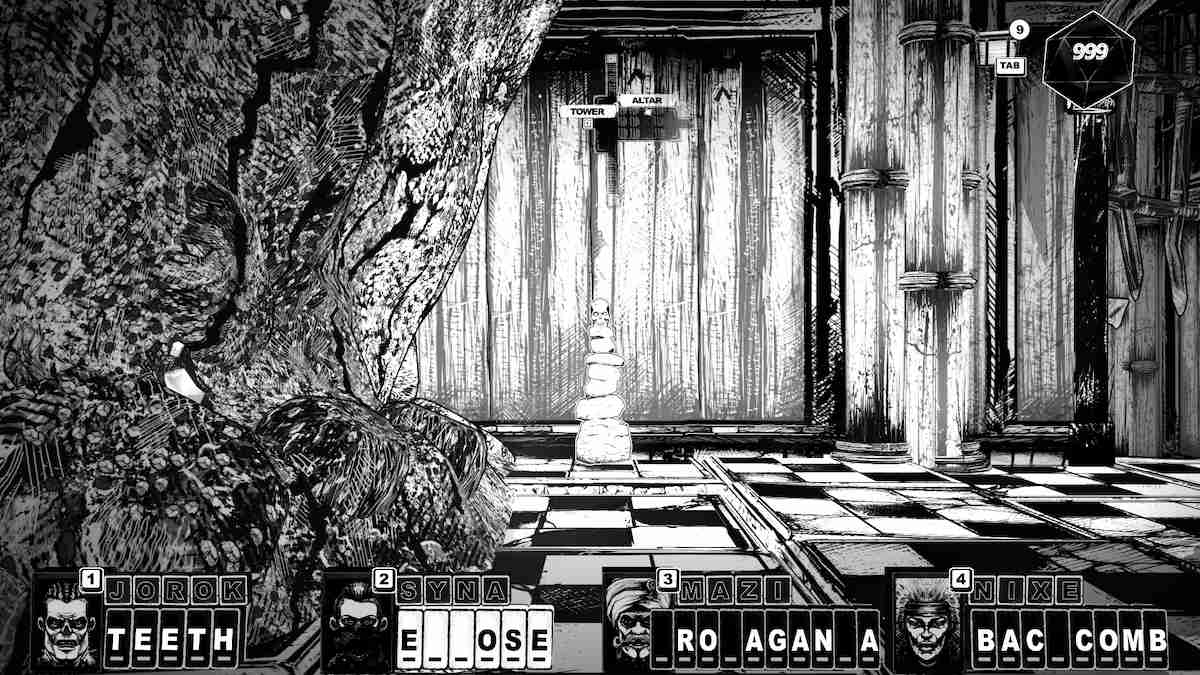
On the right of the door leading to the TOWER, there's another SKULL. Take the door to the TOWER. There's nothing in the next room with the long table and both doors go to the same place, so take either door at the top of the room.
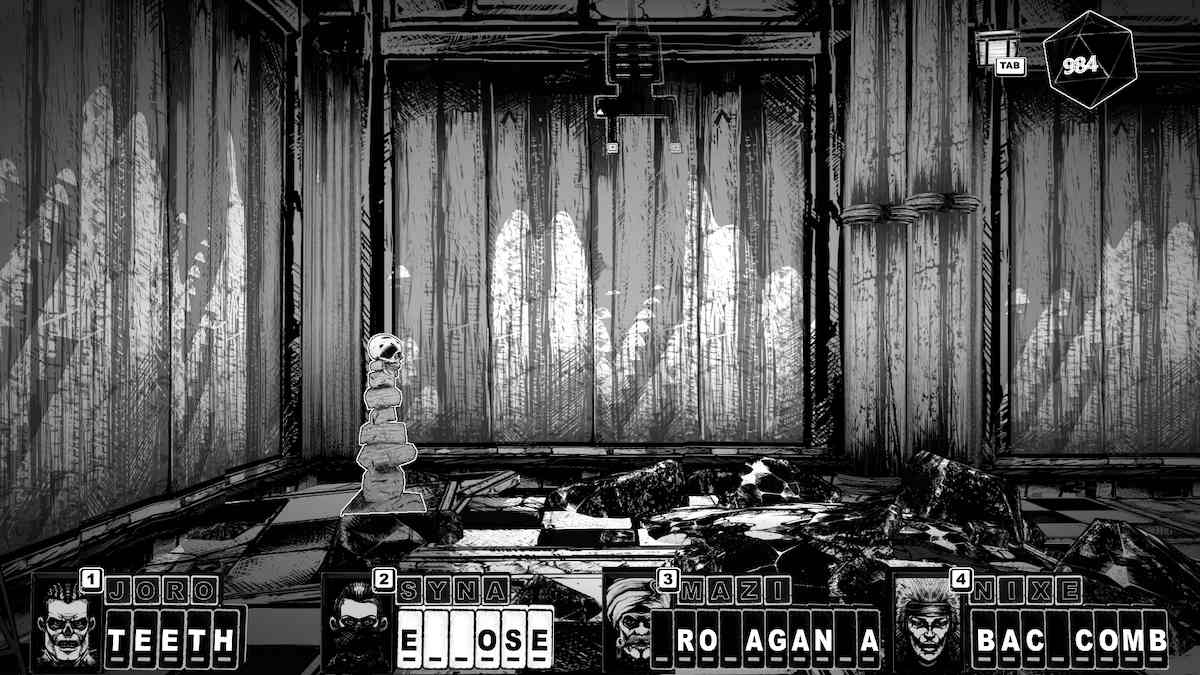
There's a SKULL on the left of this next room.
Type these for more memory words: TEETH, EXPOSE, BACKCOMB, PROPAGANDA.
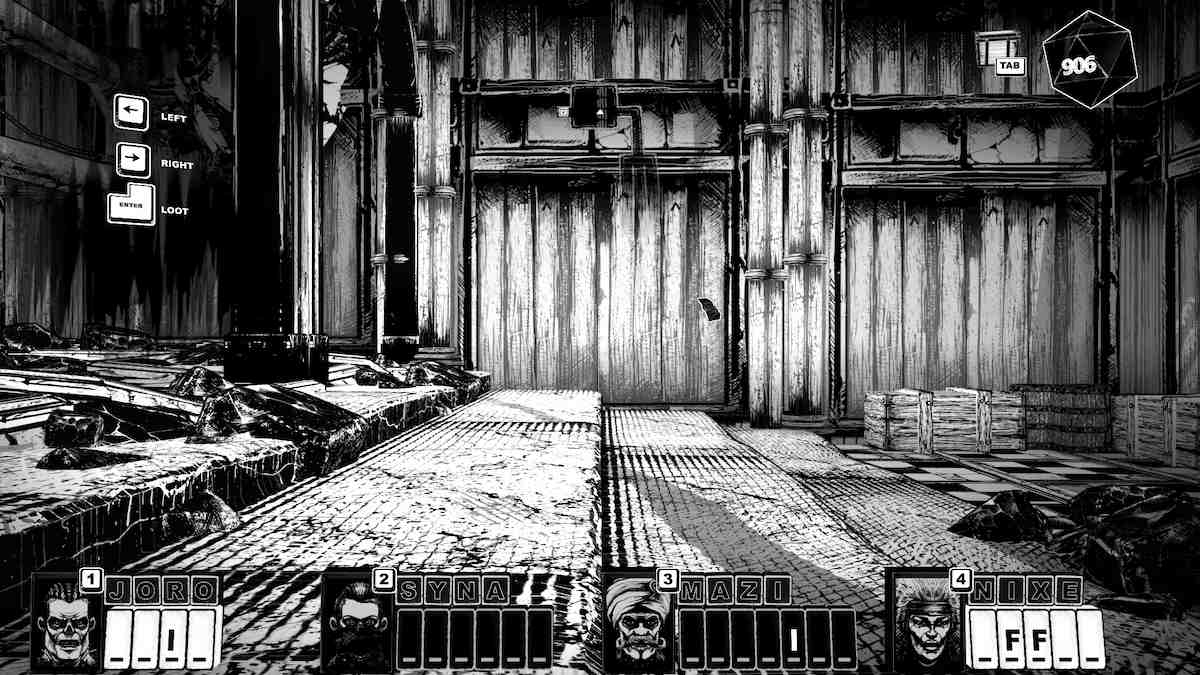
Find a floating Page Fragment at the end of the next room (near the door).
After a long corridor, there's a spike trap strangely placed in the center of a small room. You can avoid it by walking around it.
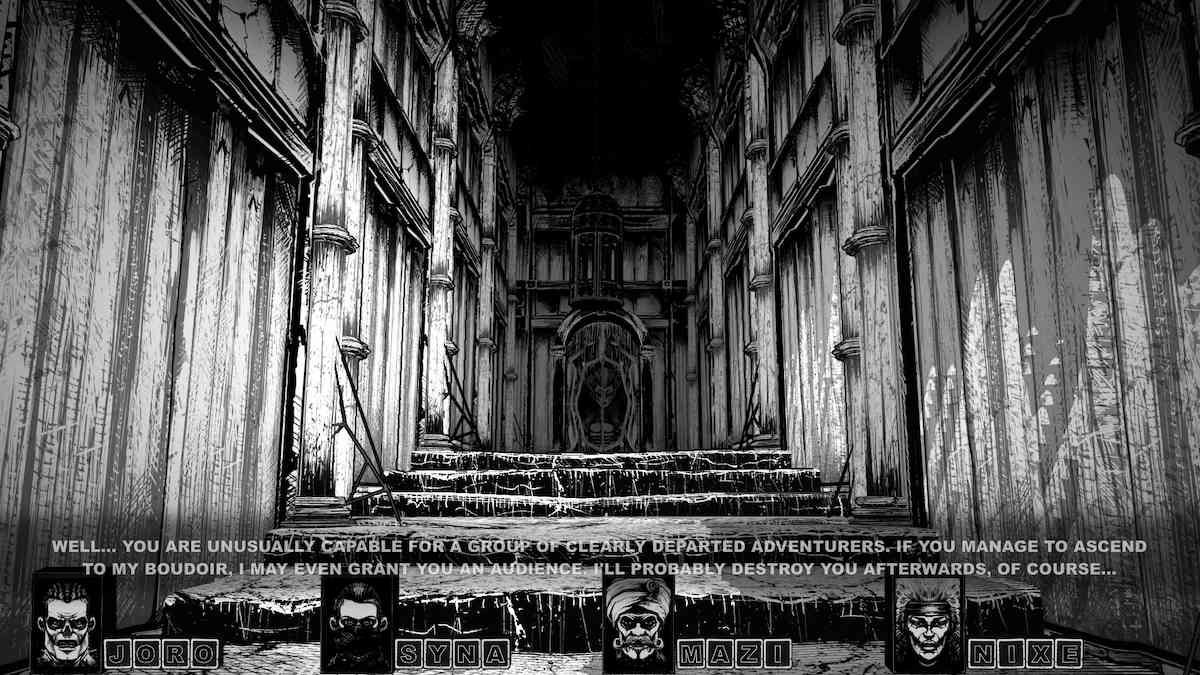
Walk down the next corridor and the COUNTESS will interrupt your skulking again.
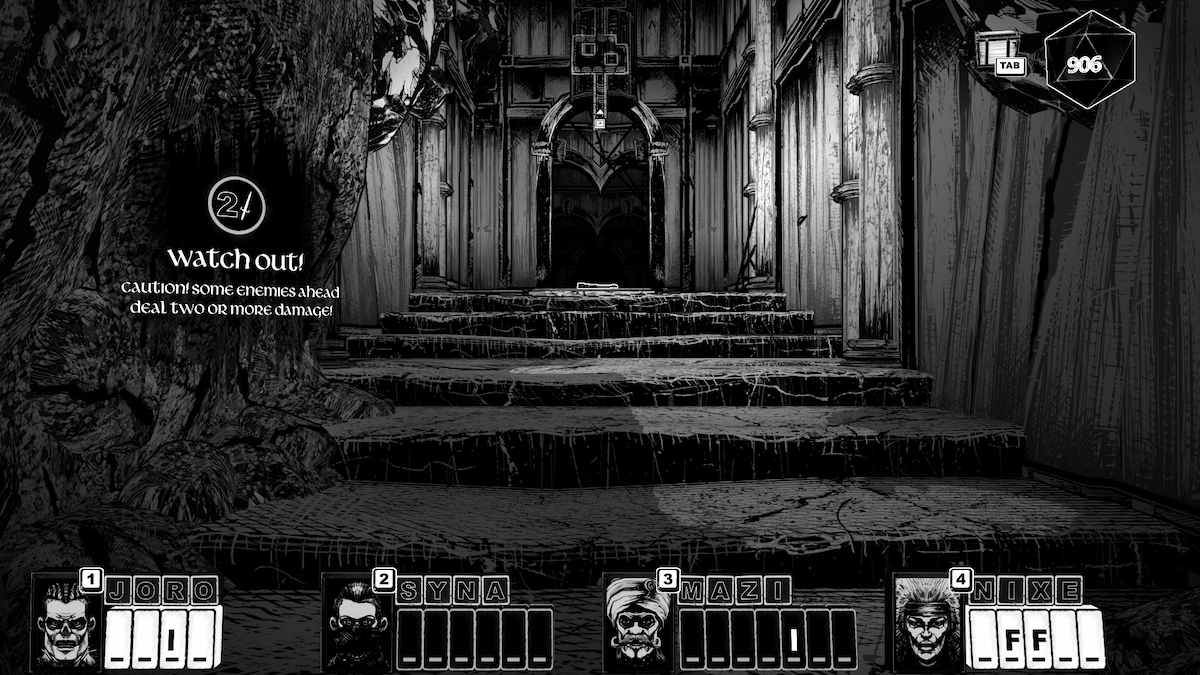
Once you're in the next room, you'll need to be more careful and have a good combat plan in mind. Some enemies from here on will do twice the damage that they usually do.
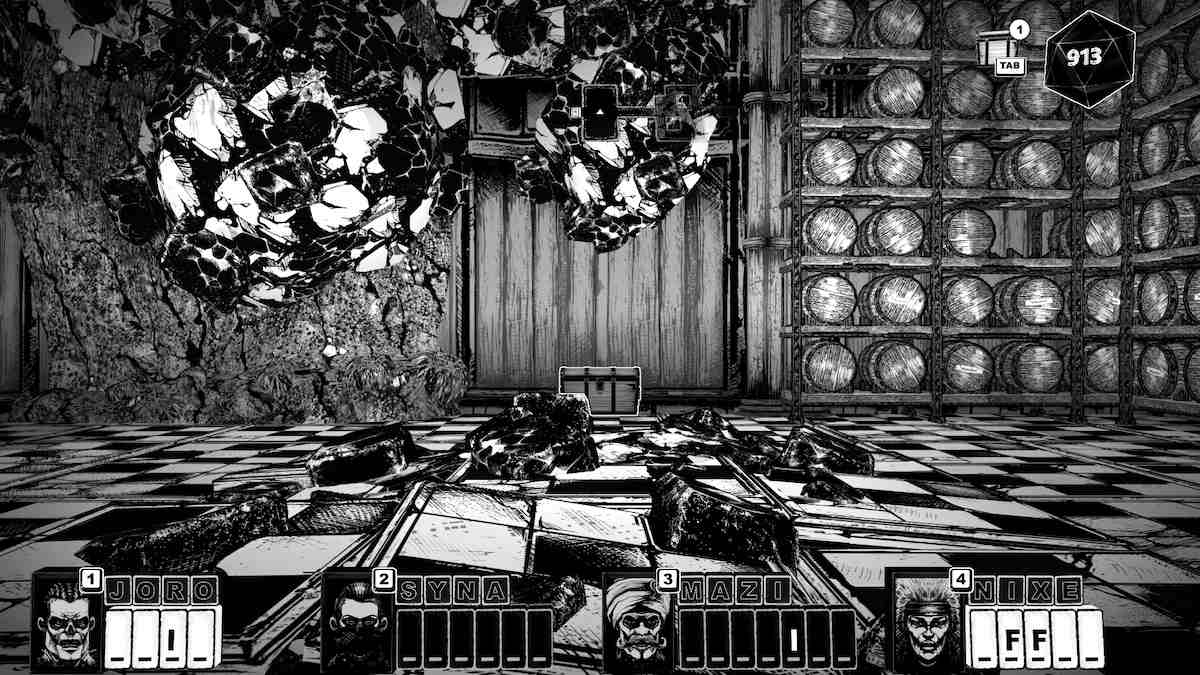
Defeat or walk around the Ooze creature to find a CHEST in the second room of this area.
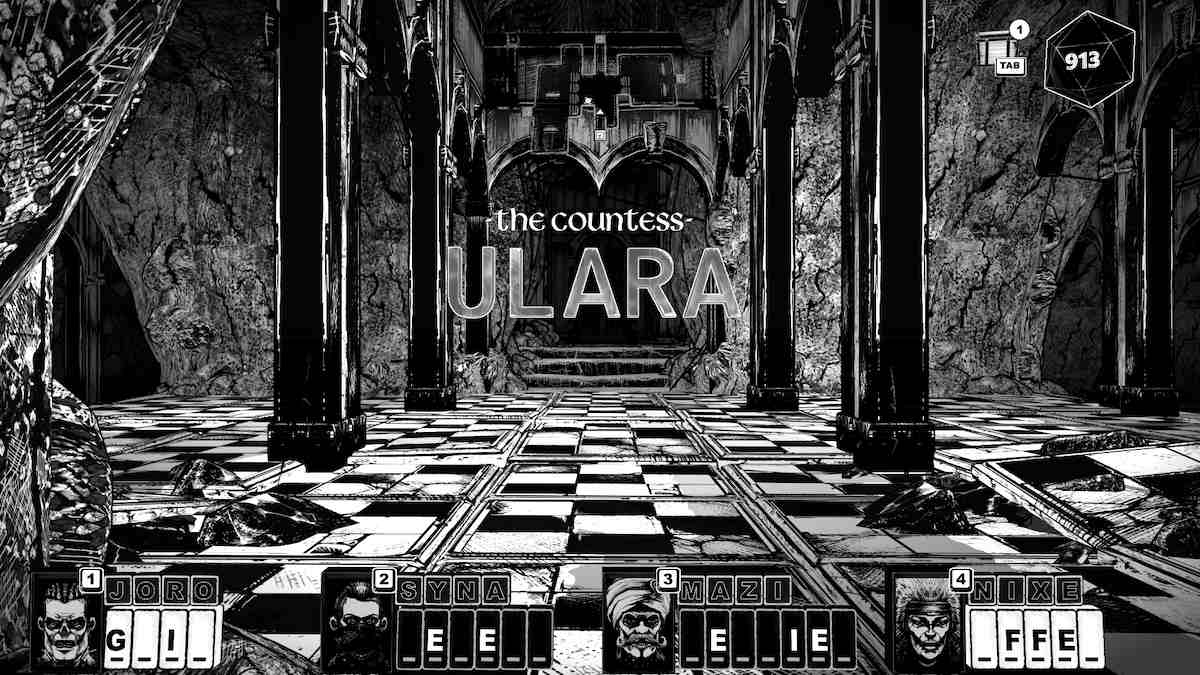
Welcome to ULARA's COURT.
To the right, there's a Page Fragment. To the left, there's a POT and a CHEST opposite it (it's hidden in the corner). Go straight ahead to find the COUNTESS.
In the COUNTESS' room, there are two CHESTS on the right. One by the staircase, one by the balcony. Okay, one is a COFFER, but it's a CHEST.
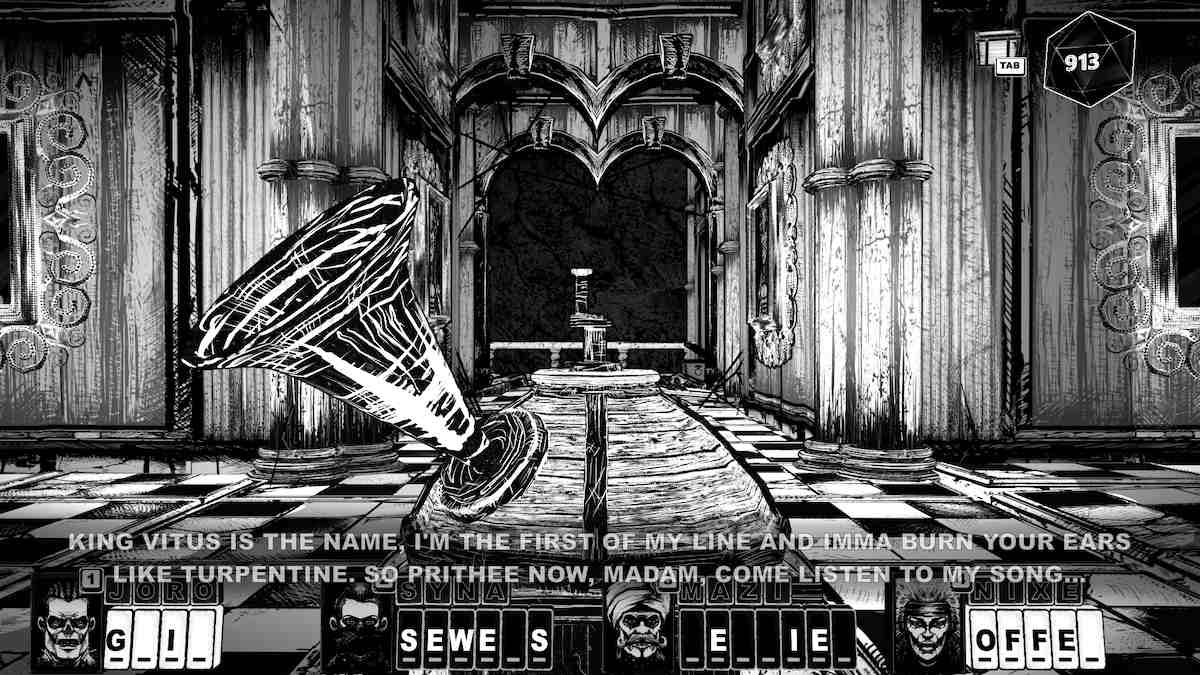
Use the WAX CYLINDER in the room to hear VITUS' song in full. It's actually a bop!
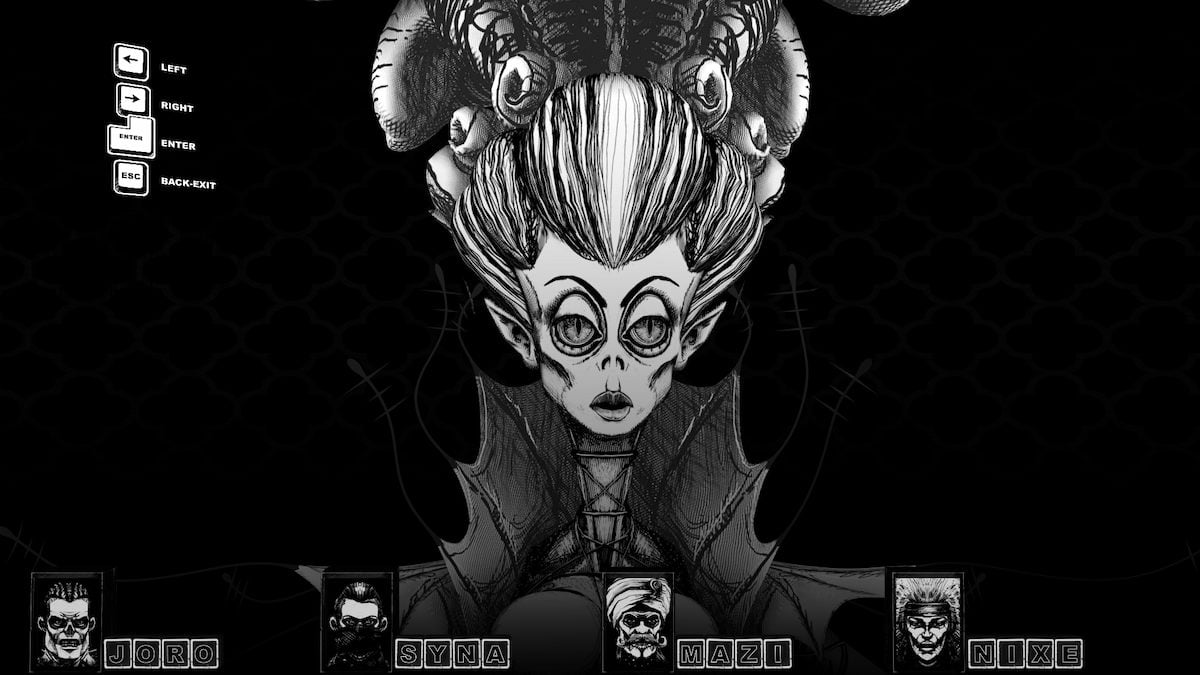
Now, talk to ULARA. Answer her questions and when it's time, tell her you want to go UP.
She will ask for a favor as a trade. She’ll ask you to find the names of four lost Gods that she has the books of. She’s unlocked the library for you so that you can find the names. You can also play WHATEVER with the COUNTESS.
There's a SKULL on the left side of the staircase (your right side if you've just turned around after speaking to the COUNTESS.
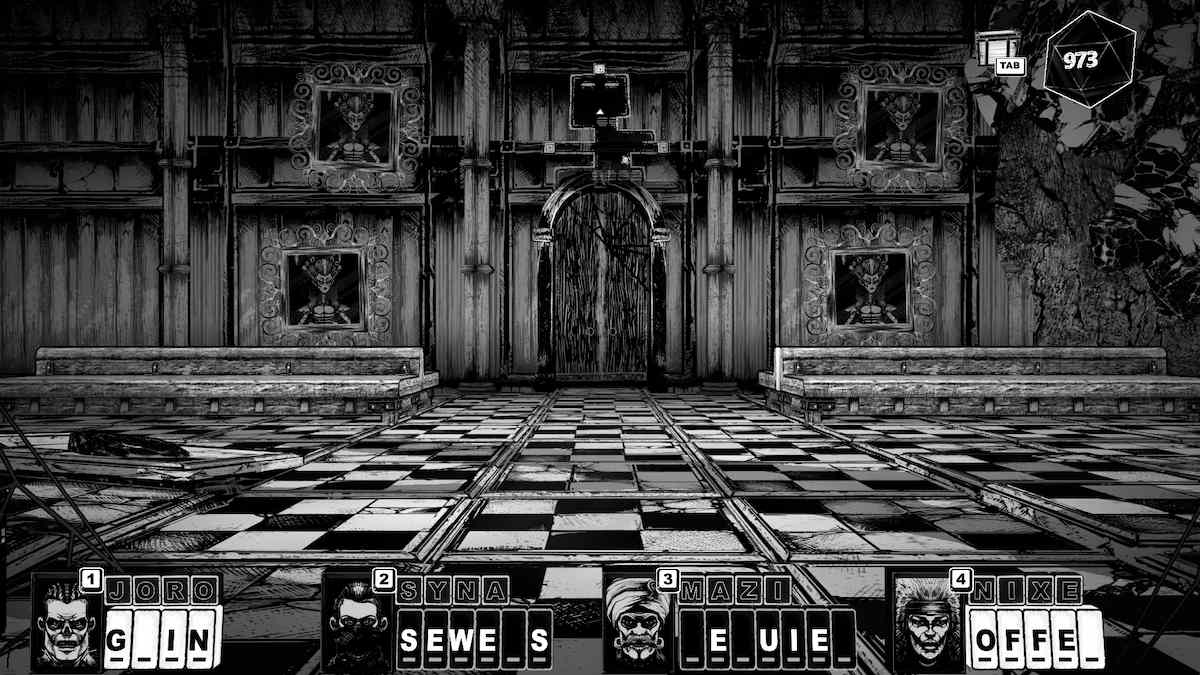
Exit the room, and go left to the library. There are four scrolls at the back of the library with clues about the name of the island each god resides on. Let's start with the left scroll:
PAYN: The God of Doom and Destruction
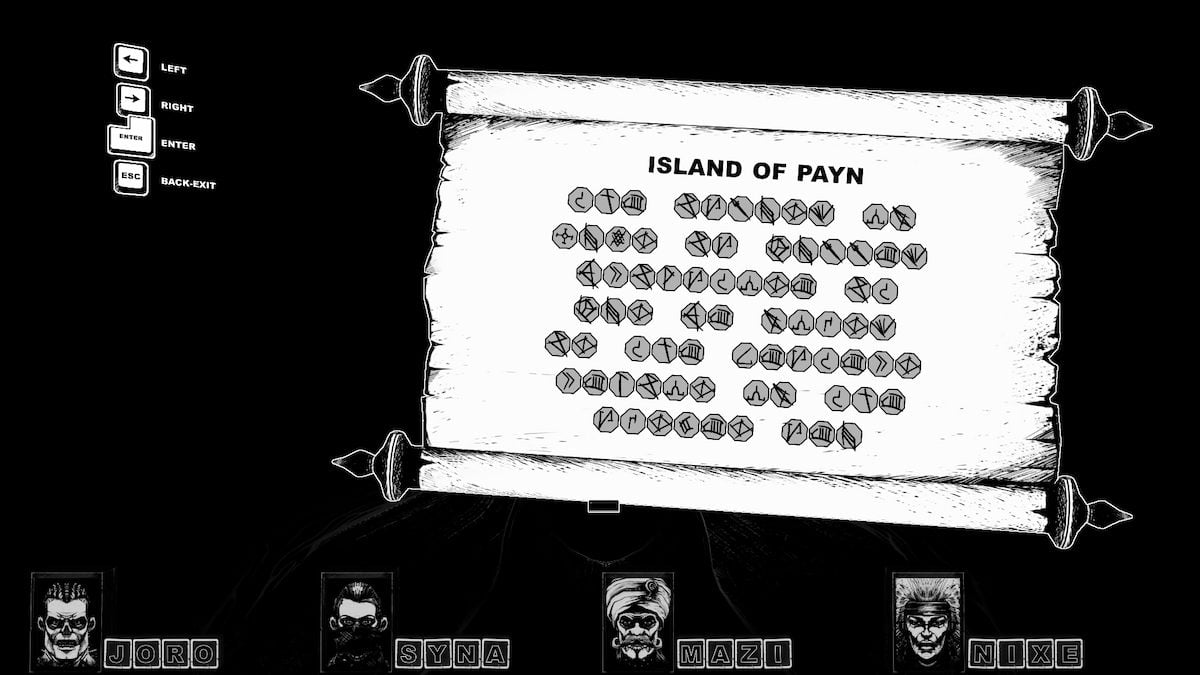
You have two choices here: You can either go back to PANTRY and use the signs around town to figure out the full alphabet, or you can suddenly gain the knowledge that the Island of PAYN is called BRIMSTONE.
Because the team behind CRYPTMASTER deserves our efforts, I won't tell you what the entire note says. You can go figure that out for yourself.
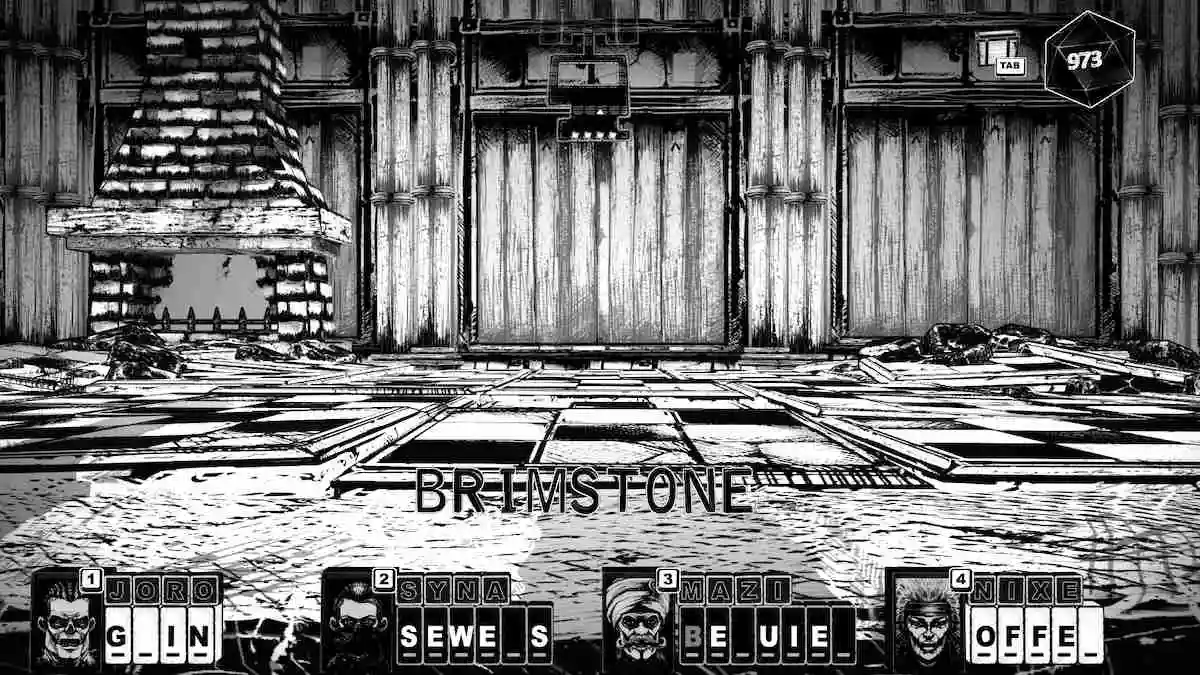
Type BRIMSTONE with the scroll up to have CRYPTMASTER confirm it's correct, then stand in the middle of the room and type it again to portal there via the CRYPTMASTER express.
Once you're there, go straight and you'll run into a skull that really needs to calm down. Tell him that you're here to see PAYN, pretty please. Go through the door once the skull shuts up.
In the first room of his temple, there’s a SKULL to your left. There's also a SKULL in the top left and another in the top right of the area. Watch out for the spike traps.
Oh! Turns out chatty skull is PAYN. Go through the door, grab these words: GRIN, SEWERS, REQUIEM, OFFER.
Welcome to the arena of PAYN. The first room has spike traps, which are easy to avoid. The second room has rolling boulders, also pretty easy to avoid.
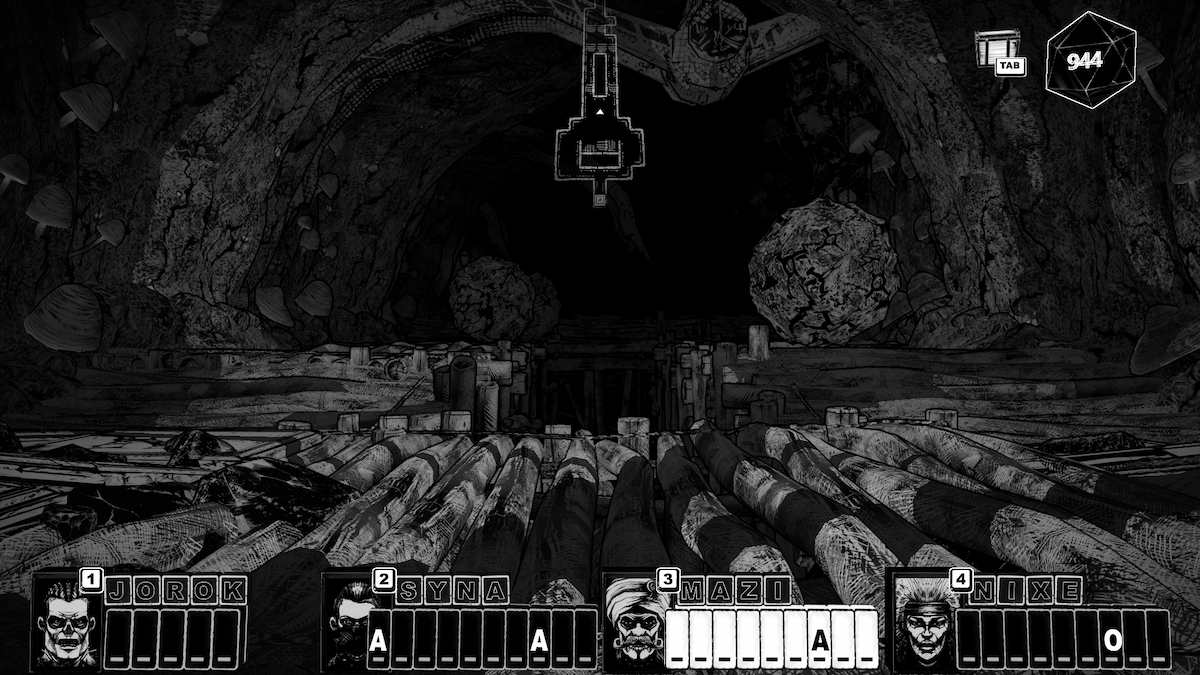
The third room ALSO has boulders. Just wait for the first set to go and walk as fast as you can.
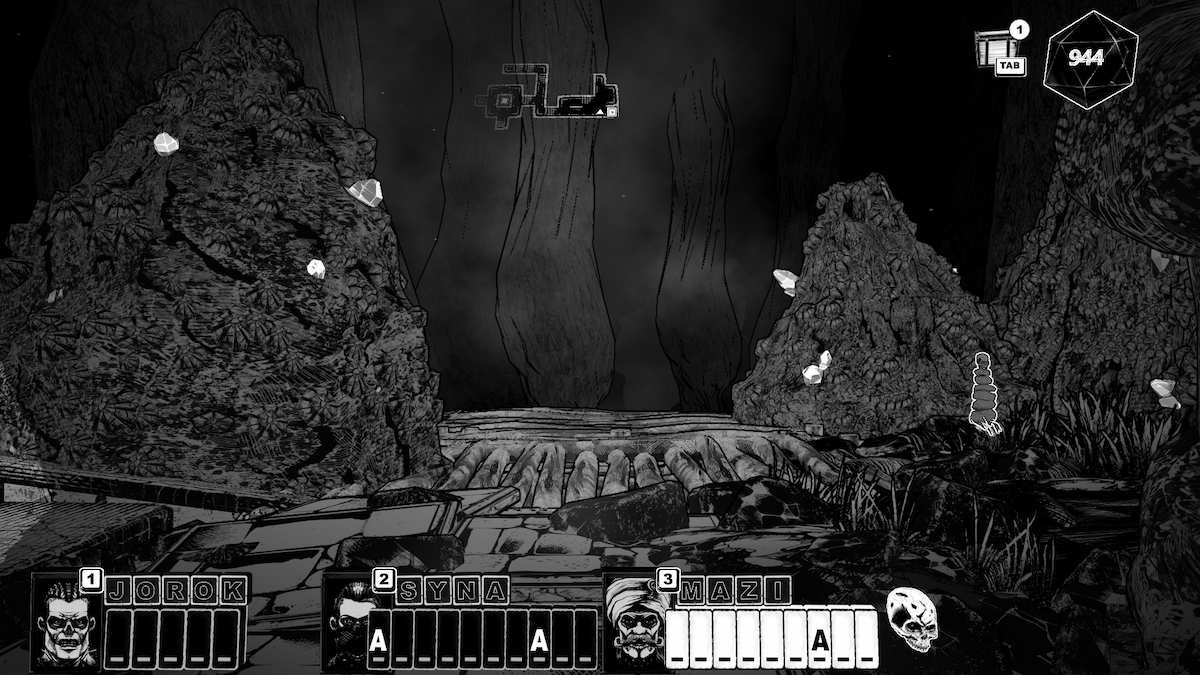
The fourth and final room has a SKULL on the right as soon as you walk in, and a STRONGBOX in the top right corner. Type these memory words before you move on: SNEER, ASPHYXIATE, STIMULATE, and SUMPTUOUS.
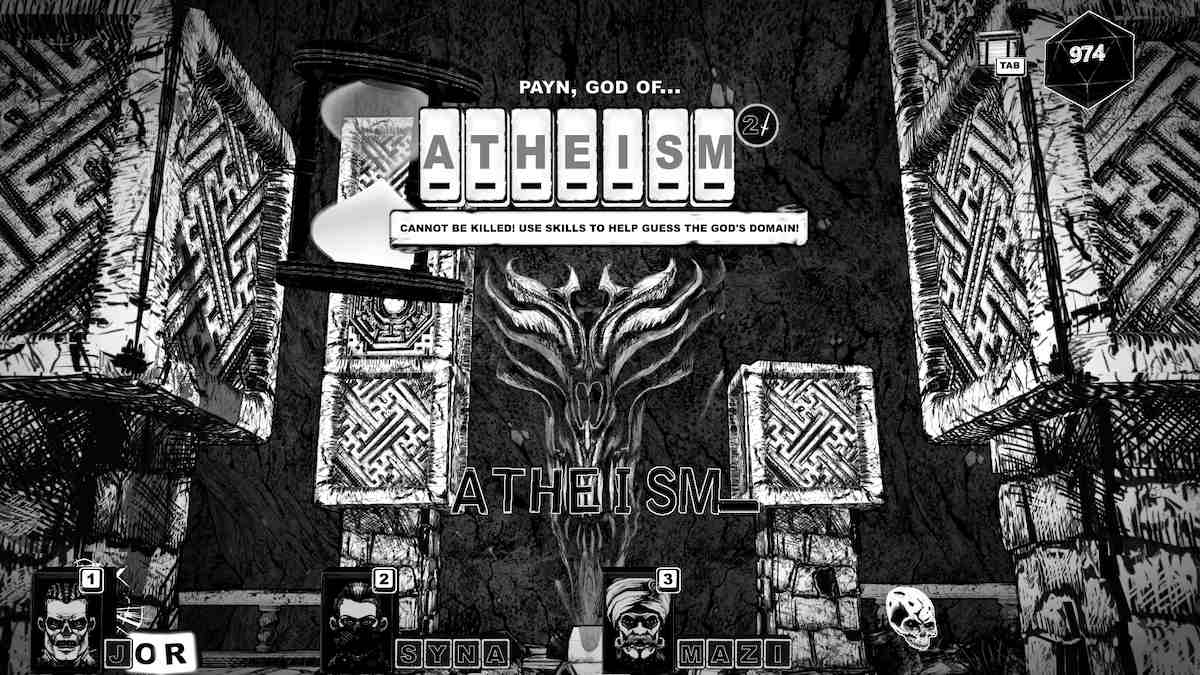
You can keep fighting until you get the letters or complete this quickly by typing in 'ATHEISM.'
Right, that's PAYN dealt with. Go back to the library for the next scroll.
KLAXO: The Funhouse God
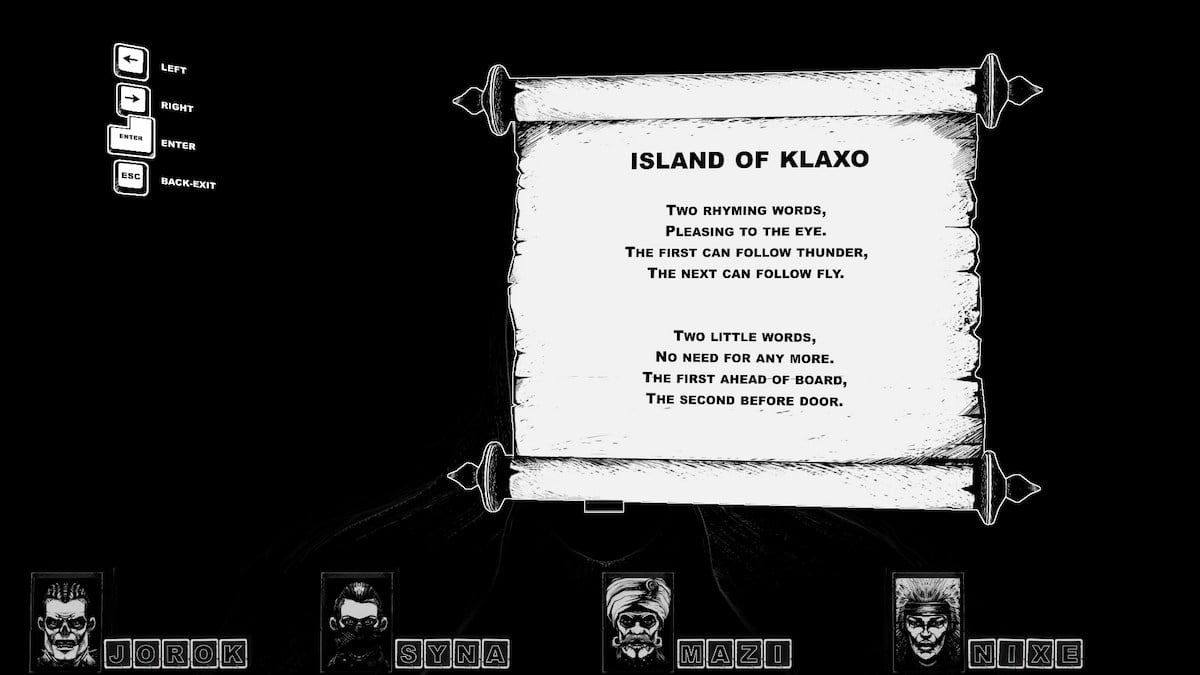
There is a puzzle to figure out two rhyming words. The answer is 'CLAPTRAP.'
Walk up the path to meet KLAXO. He tells you that one of the two statues on either side of him only lies and that you need to tell him which the liar is.
Neither lies. They're statues. He's the liar. They may talk, but they don't say anything of consequence.
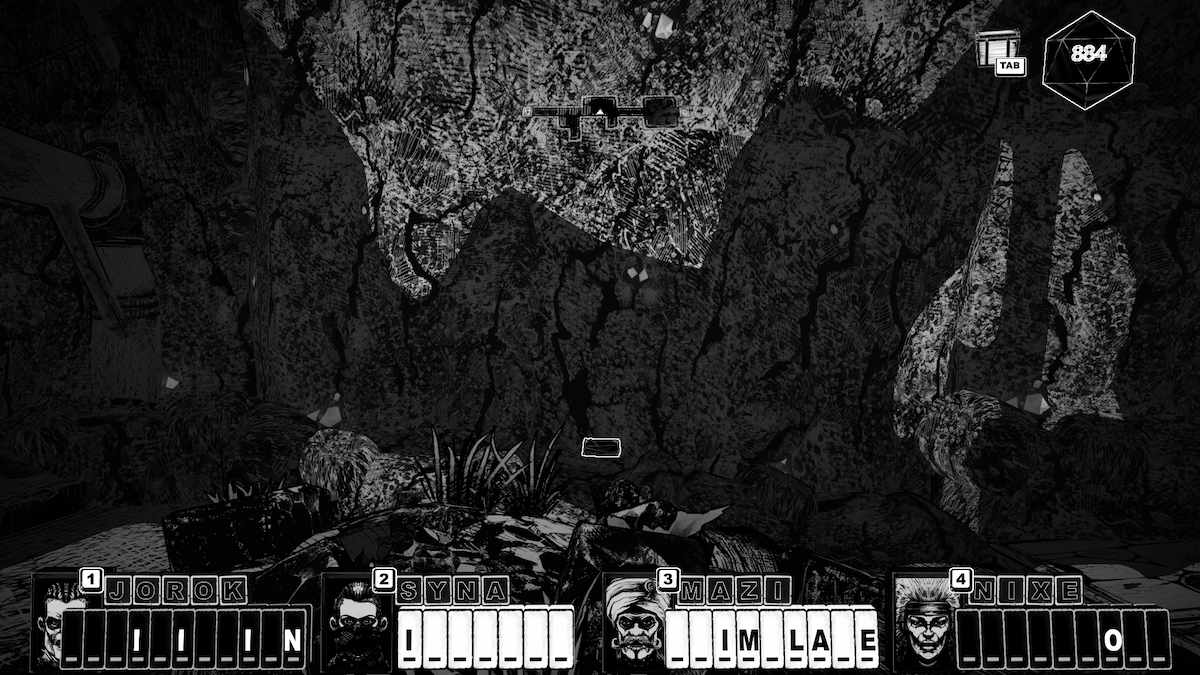
The first room has a Page Fragment on the left.
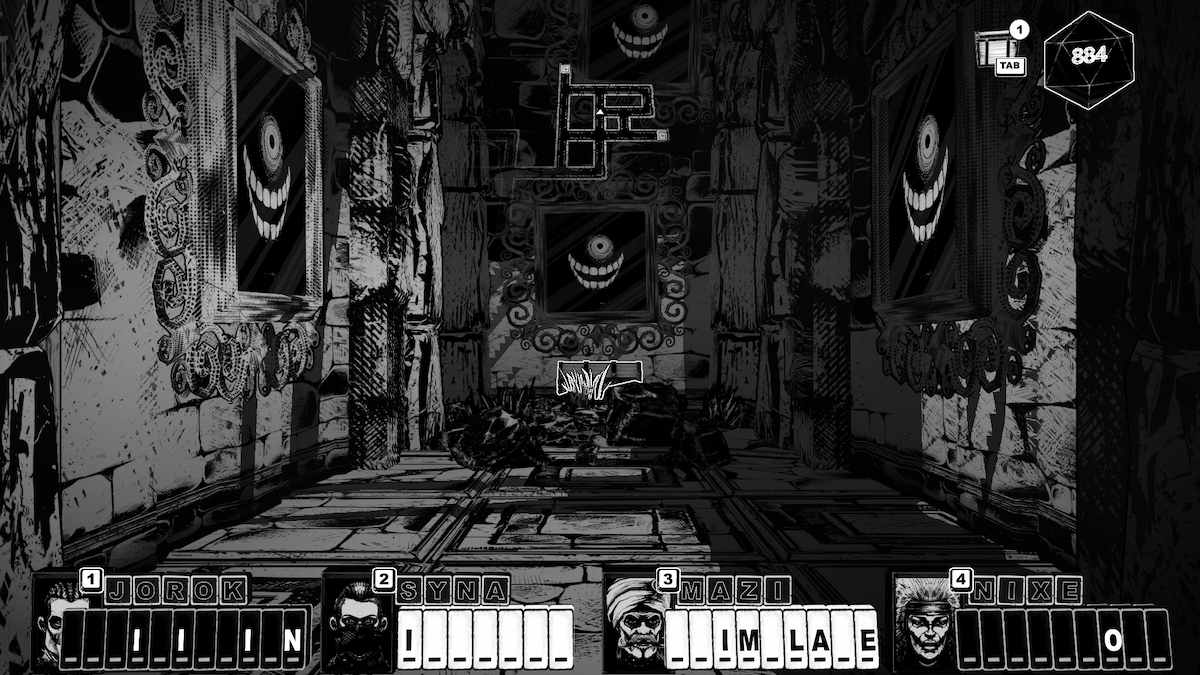
The second room has a CHEST on the right (the second right on the map). Take the top left exit to go to the next area. DO NOT take the exit on the right. You just end up back at the beginning of the path.
Take the furthest exit from where you started in the next room, too. Continue down the corridor until you reach KLAXO. Before you talk to his book, type in 'STIMULATE' for a lovely revival skill.
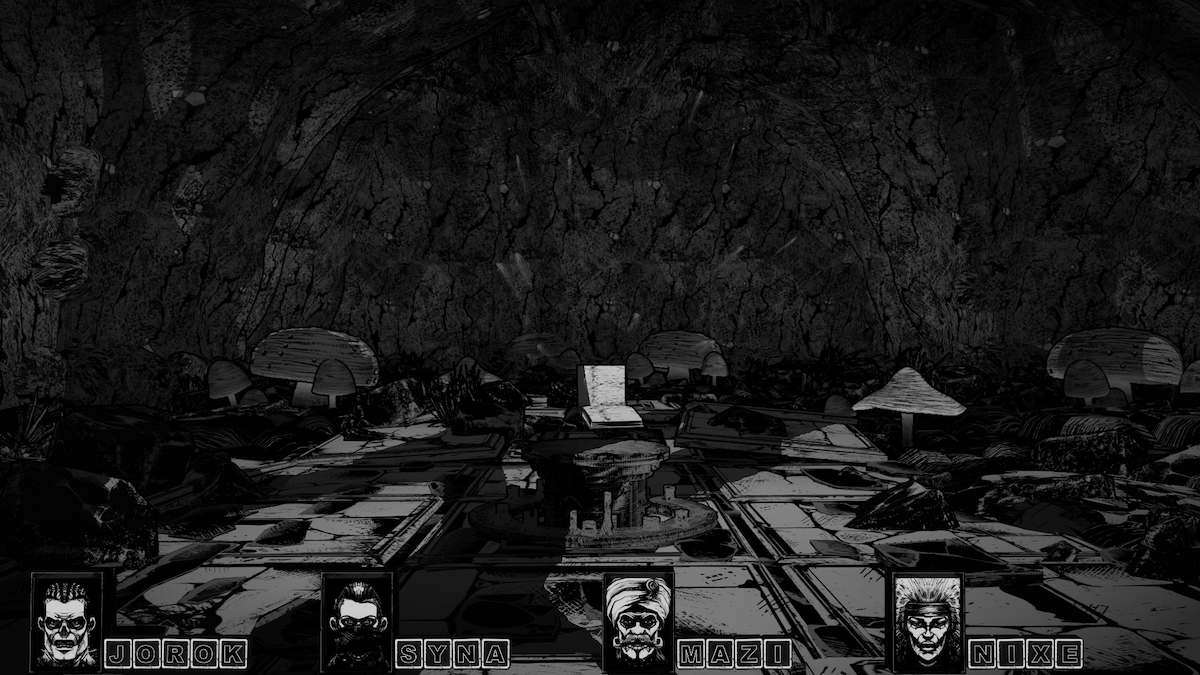
As you may have guessed from the headache-inducing music and funhouse-type decor, KLAXO is the god of NUISANCE.
Make your way back to the library and interact with the third scroll.
LORIA: The Goddess of Queues
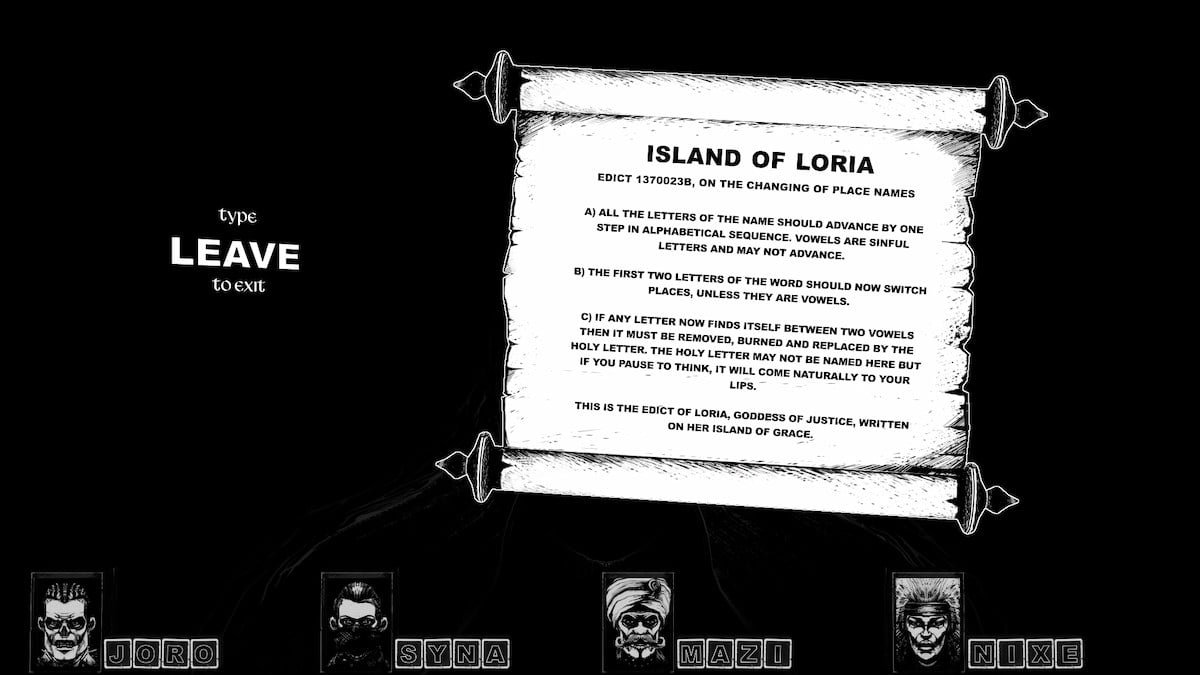
The scroll puzzle for LORIA mentions her island of 'GRACE.' Rearrange the letters, and the answer is 'SHAME.'
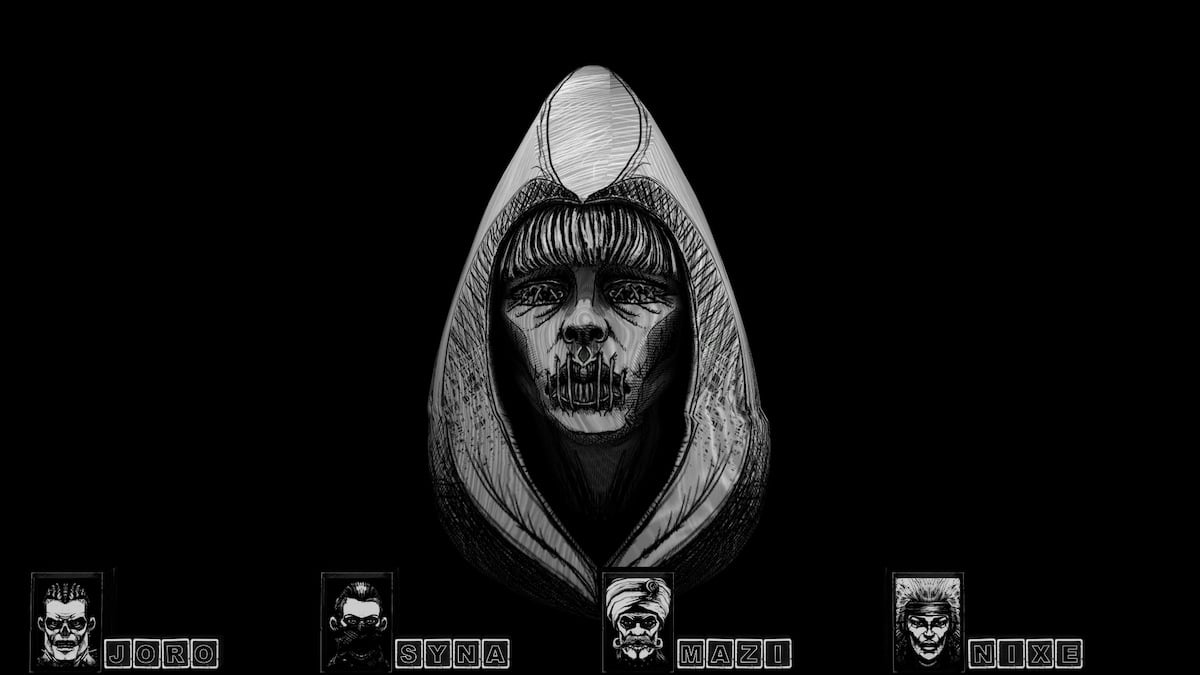
LORIA will not speak to you unless you go through the line to talk to her.
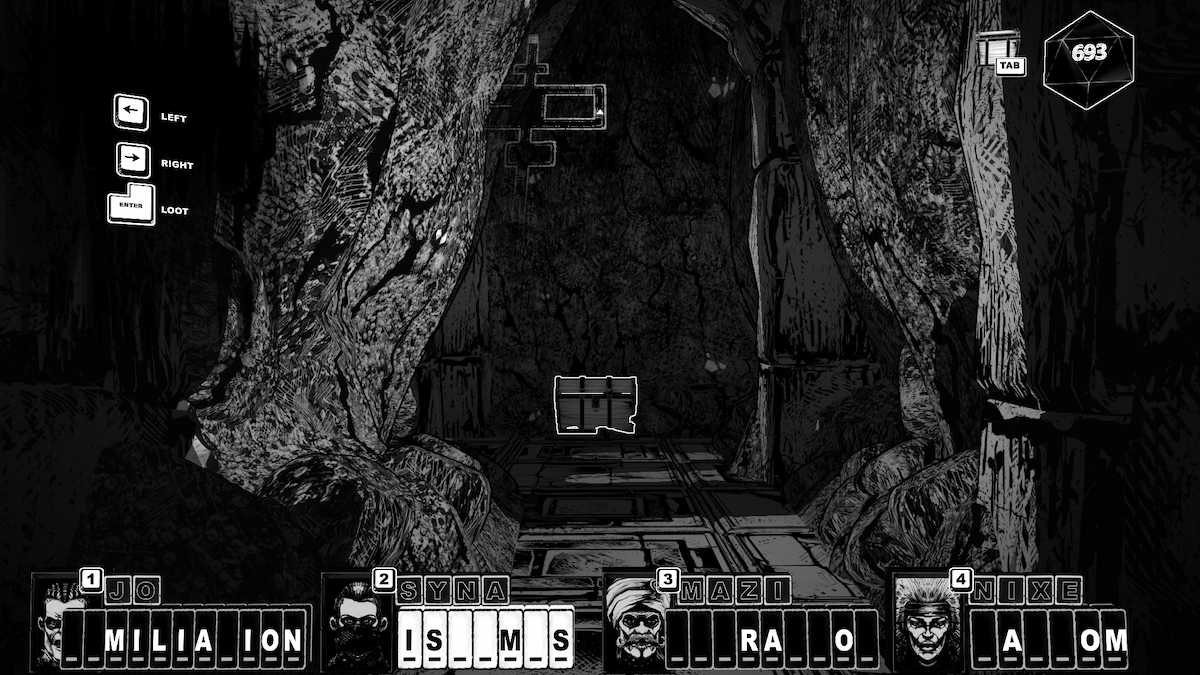
In the first room, take the path to the right to find a TRUNK. From there, you can take either path to get to the next room.
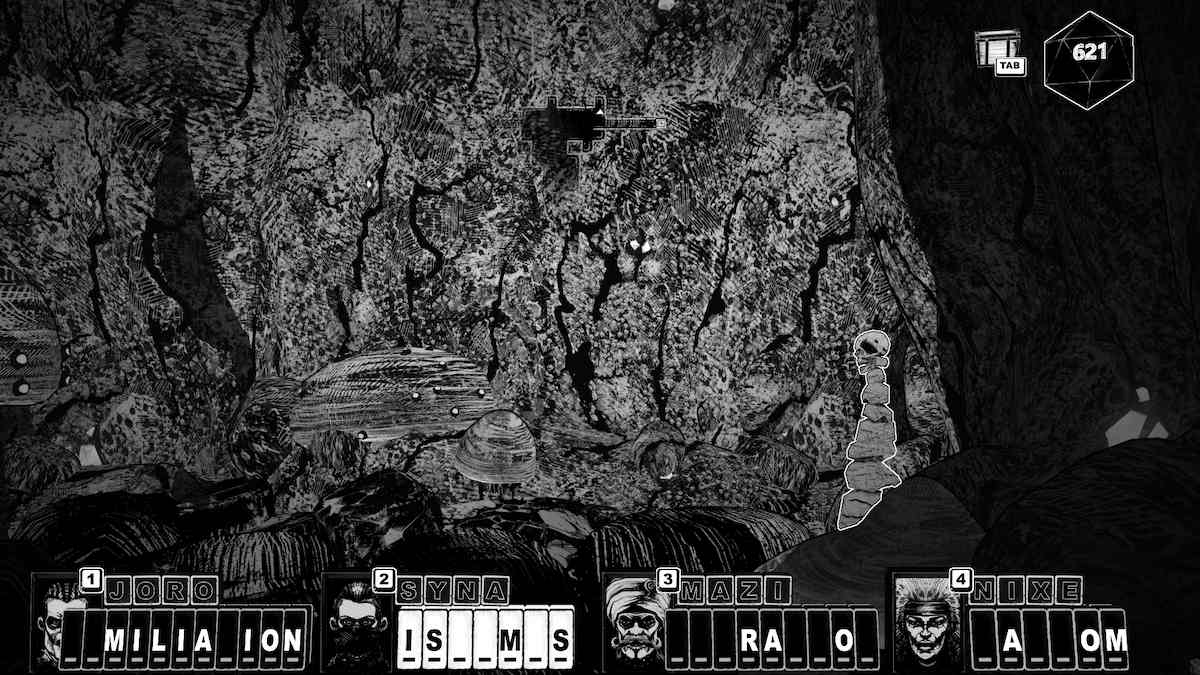
Find a SKULL in the top right corner of this second room. The exit the SKULL is next to is the one you need to take.
This is the fastest of the gods so far. LORIA's room is right behind that door.
LOIRA is the Goddess of Bureaucracy. Once you've got her book, head back to the library again.
ISS: The Goddess of Sinners
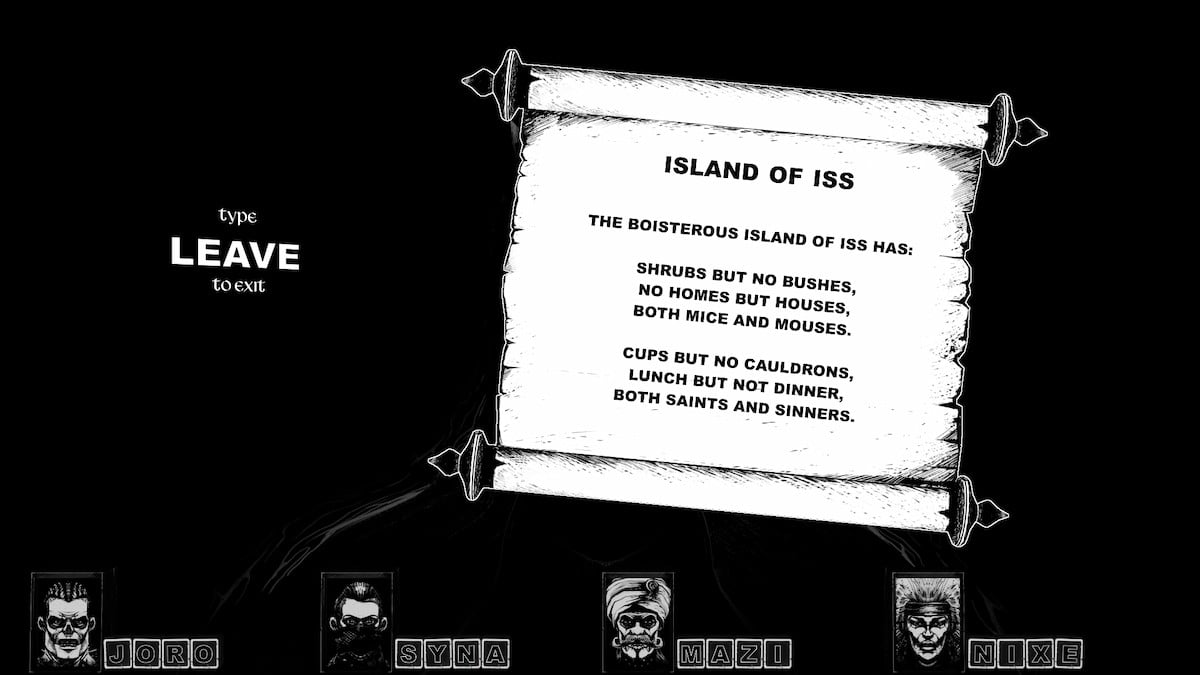
The fourth puzzle asks you to find the letters that are shared or aren't shared between each of the two words. For example, in the first line, they don't share the letter R. RUMPUS is the name of the island.
Head straight to the door and meet ISS. She's pretty relaxed about you being there and invites you in.
Don't use any 'S' words in this place. At all. Snakes just fly up and attack you.
There is a Page Fragment at the end of the first room near the door you have to OPEN.
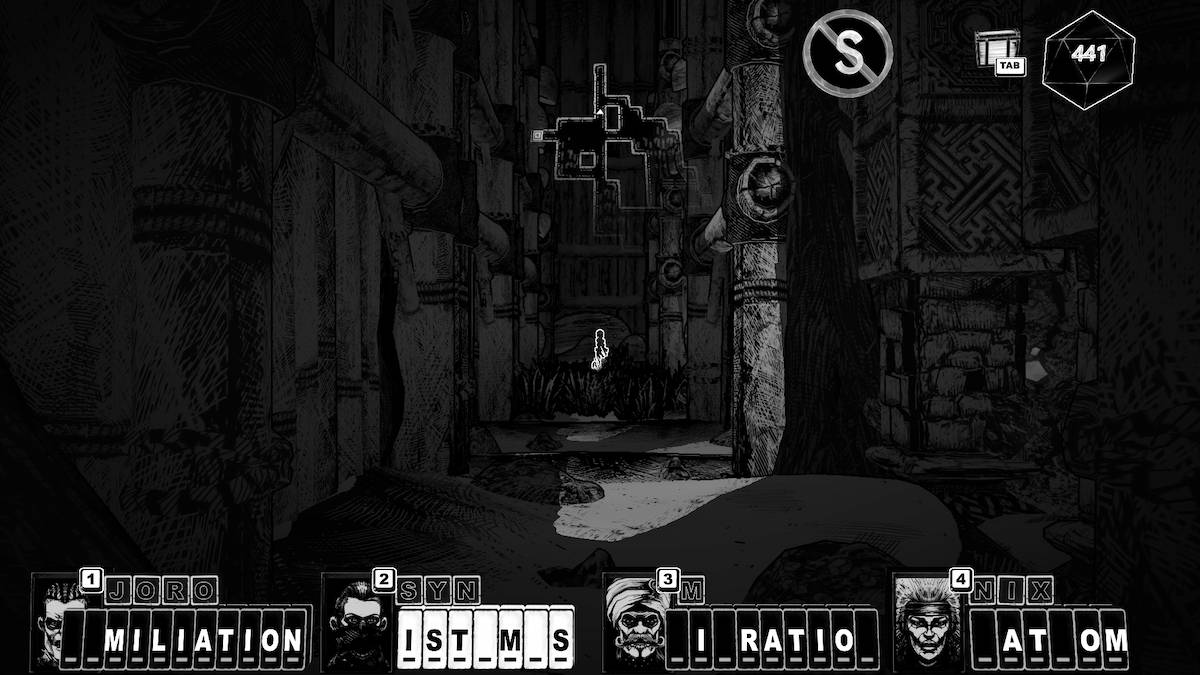
In the next room, head to the top right of the map to find a SKULL.
Keep heading north and you'll meet ISS. She's the Goddess of FLIRTATION.
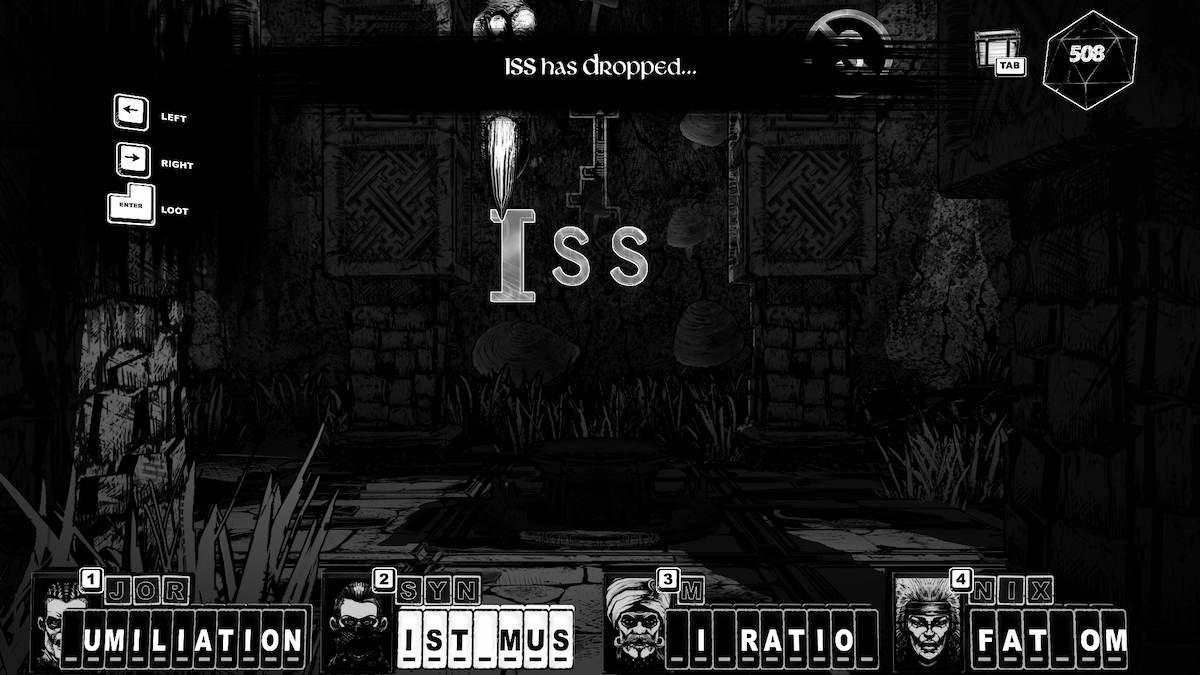
That's all four. Go back to the COUNTESS.
Along the way, you can pick up these memory words if you haven't already: HUMILIATION, ISTHMUS, VIBRATION, FATHOM. Considering we're closing out Chapter 3 here and there are still PLENTY of words left, I'm going to direct you to the Chapter 3 memory words section in this guide. I won't be suggesting words for you anymore, all of the words are written in each memory words section, so they're easy to access.
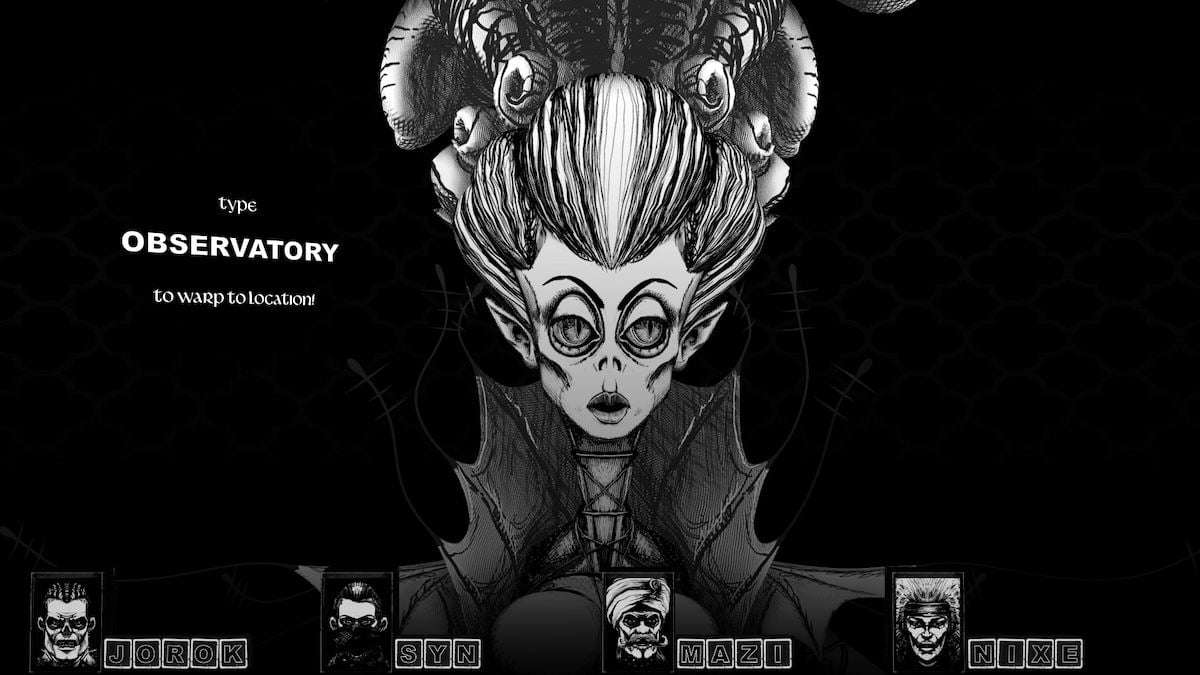
After returning to the COUNTESS, she tells you that in order to go UP, you should type 'OBSERVATORY.'
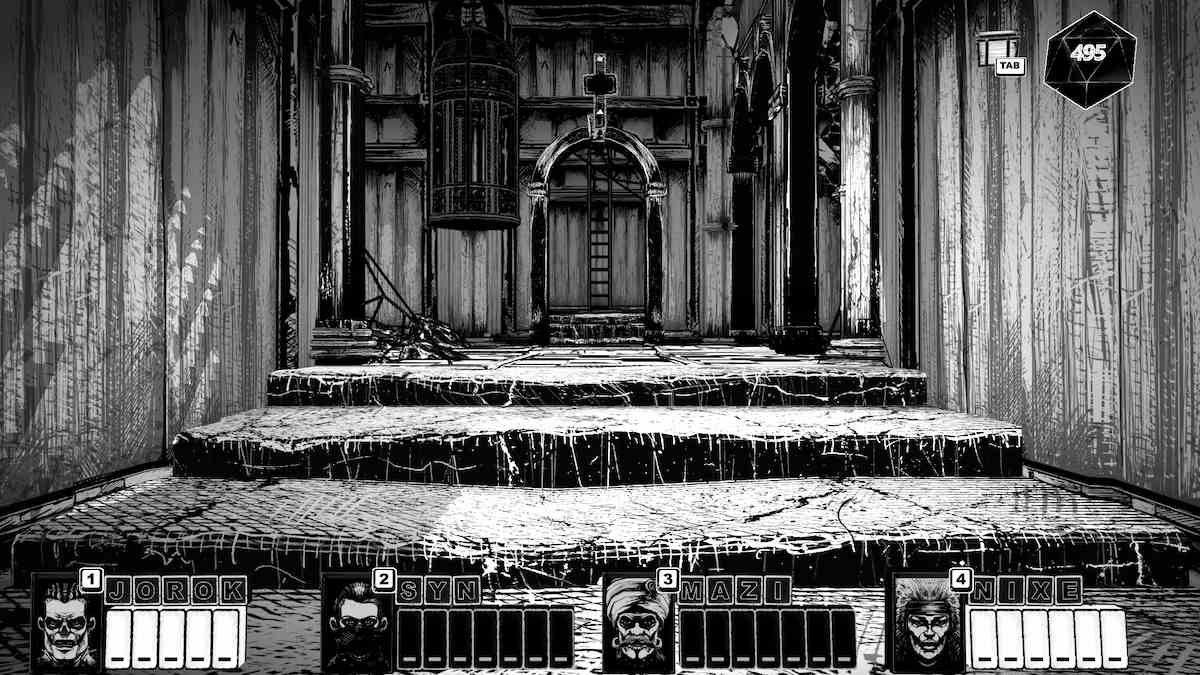
Climb the LADDER to go UP.
Chapter 3 memory words
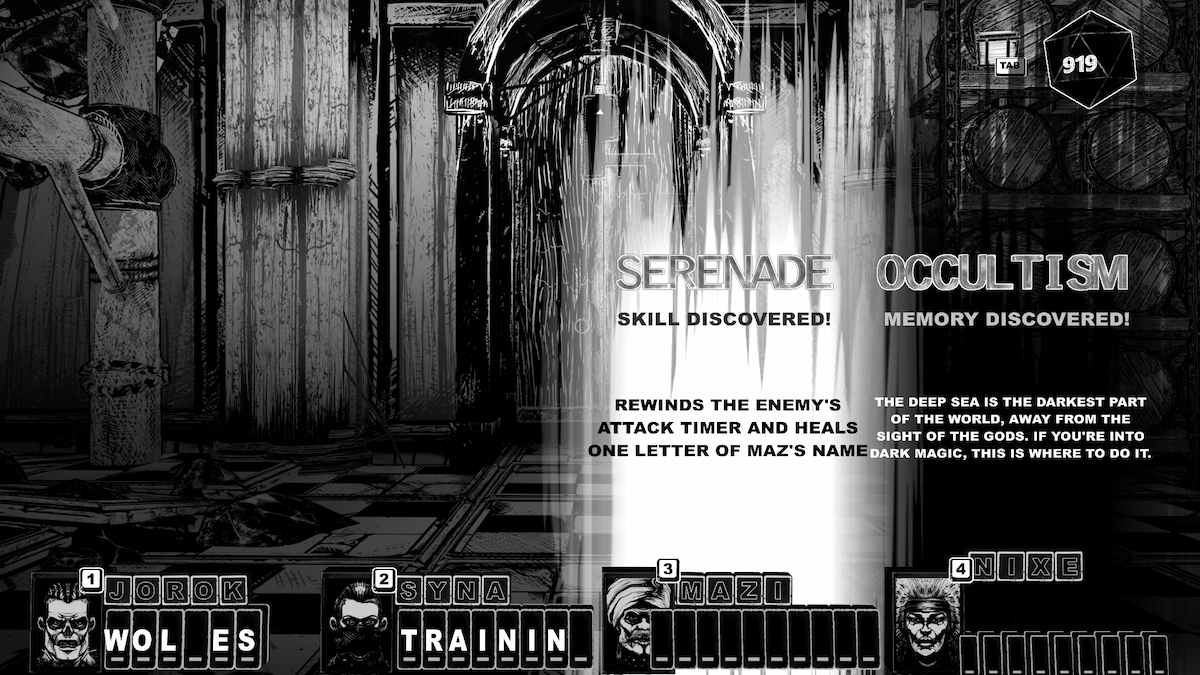
JORO
- WOLVES
- TEETH
- GRIN
- SNEER
- HUMILIATION
- TAUNT
- RABBIT
- PATHWAY
- SWEEP
- CARPENTRY
- JUNGLE
- CLEAVE
- KNIFE
- FORK
- GLUTTON
- READY
- STEADY
- BERSERK
- BRIBE
- PAYMENT
- KICKBACK
- SLAM
- CRASH
- WALLOP
- TRANQUIL
- WISDOM
- FOCUS
- GRUDGE
- ENEMIES
- REVENGE
- BLIZZARD
- SNOWSHOE
- REVOLVE
- INITIATION
SYN
- HARNESS
- TRAINING
- EXPOSE
- SEWERS
- ASPHYXIATE
- ISTHMUS
- JUGULAR
- HOOKAH
- STITCH
- ROOFTOP
- LOCKPICK
- PINCH
- WHISPER
- GRISTLE
- UNLEASH
- SHRINE
- OFFERING
- DEAL
- TROPHIES
- MYSTICISM
- DISTRACT
- IMPETUOUS
- PYROMANIA
- FRENZY
- SLIPPERY
- OBSCURITY
- OINTMENT
- SHAMELESS
- EYESIGHT
- TRANSFIX
- ISOLATION
- TAXIDERMY
- DISMANTLE
- JOURNEYMAN
MAZ
- SANDSTORM
- EXILE
- SERENADE
- PROPAGANDA
- REQUIEM
- STIMULATE
- VIBRATION
- WAYWARD
- BEWARE
- MELANCHOLY
- PASSION
- CHANT
- ASTRONOMY
- CONSCIENCE
- MARTYR
- PRINCESS
- PEA
- NOSTALGIA
- ALLITERATION
- MYTHOLOGY
- RUMBLE
- MELLIFLUOUS
- PANACHE
- ALLEVIATE
- EUPHORIA
- SENSUALITY
- OBSESSION
- HYPERBOLE
- CARICATURE
- RIDICULE
- AQUEDUCT
- REINVENTION
- CATERWAUL
- CHORUS
NIX
- ELDRITCH
- DOMINATION
- PUPPET
- OCCULTISM
- BACKCOMB
- OFFER
- SUMPTUOUS
- FATHOM
- NIBBLE
- PHOSPHOR
- CLAMSHELL
- URCHINS
- BATHTIME
- BUBBLES
- LATHER
- SEAFOOD
- SHREWD
- MEDDLE
- ARISTOCRACY
- GHOSTING
- ZIGZAG
- ABYSS
- INSANITY
- PLEDGE
- DIVINATION
- TELEPATHY
- AKUPARA
- IMPERIOUS
- FISHNET
- SHRINK
- YOUTHFUL
- ELDERLY
- DODDER
- TWILIGHT
CRYPTMASTER Walkthrough, Chapter 4: Helmets in the DOWNWOOD
When you reach DOWNWOOD, you'll need to talk to ORTHOS. He'll ask if you know who he is, if you need anything, and then force you to say 'PLEASE' when he offers to help you trick the Eye Door.
Then he'll ask for your names. After typing 'JORO,' he has a fanboy moment, and agrees to help you. He’ll give you the first of four HELMETS that you’ll need to trick the Eye Door so that you can leave this place.
To your right is a Page Fragment, and to the top left of this area is a SKULL.
Go through the door, there's a CASKET on your left, and a CHEST on the right in the small area off the path.
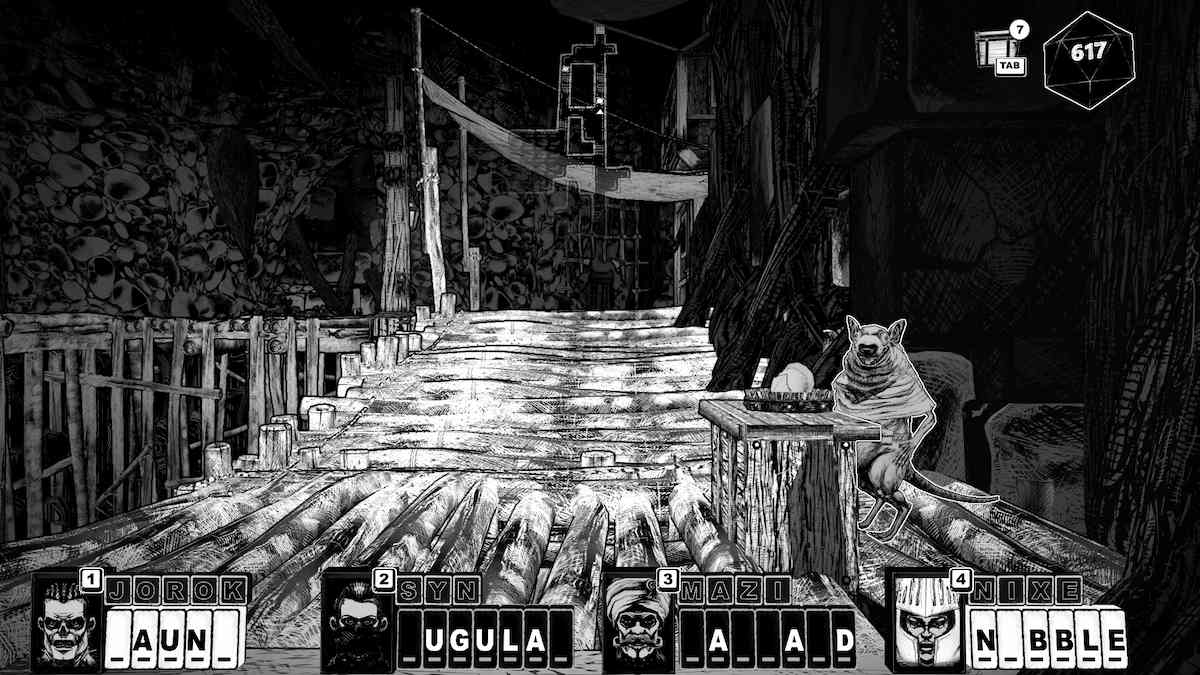
Keep walking up the path on the right side of the map and you'll see a merchant rat. He's selling a 'potty,' but it's actually another HELMET. It's 100 Souls and you should absolutely buy it.
In the next room, there is an ALTAR straight ahead. Listen to what she tells you, it's important and affects a decision you make later. Oh! There's a BOX to your left. Enjoy that.
Take the door on the right and then follow the path to the MINES through the next door. Be careful of that rat on the bridge, he hits hard.
In the first room, there's a Page Fragment in the upper left area of the map.
The next room has a SKULL on the left side of the room and two doors to choose from. Leave the SKULL for a second, we're coming back this way.
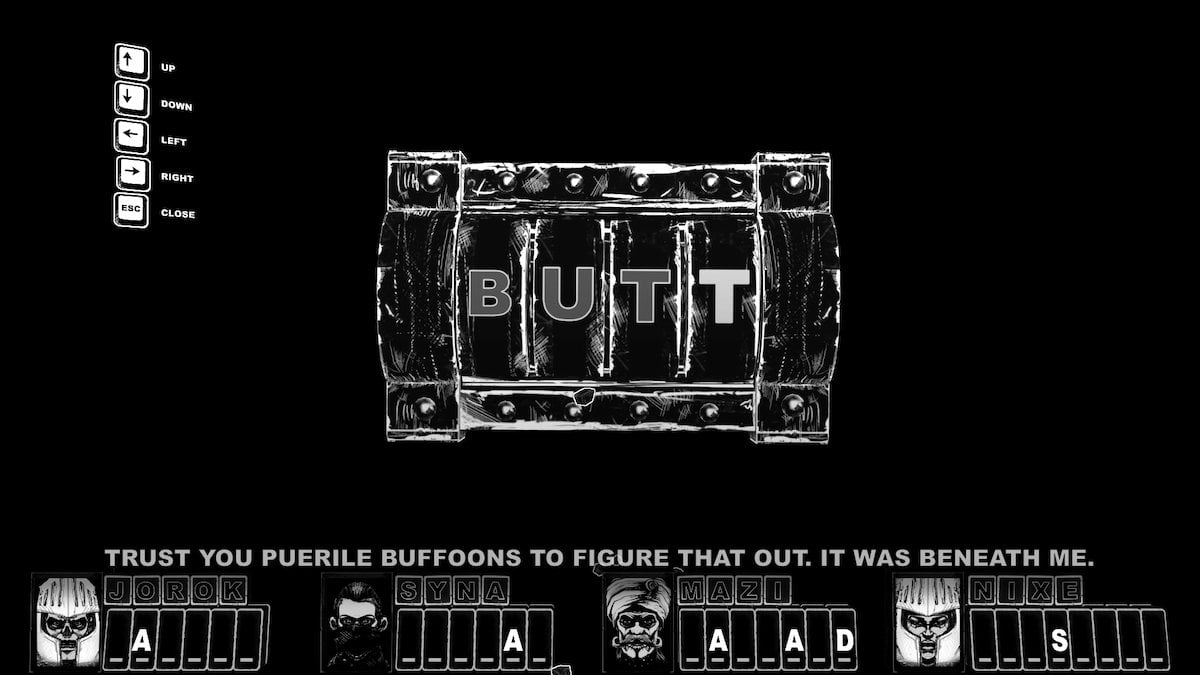
The door on the right is locked, but if you walk over to it, the CRYPTMASTER makes a comment about how childish rats are. The answer is 'BUTT.'
Go in and grab the HELMET off the corpse, and solve the SKULL riddle at the back of the room. Leave the way you came and head over to the left door - the one you didn't take the first time. Solve the SKULL riddle along the way.
This next room has a SKULL on the right and a CHEST on the left. Lots of SKULLS in this area...
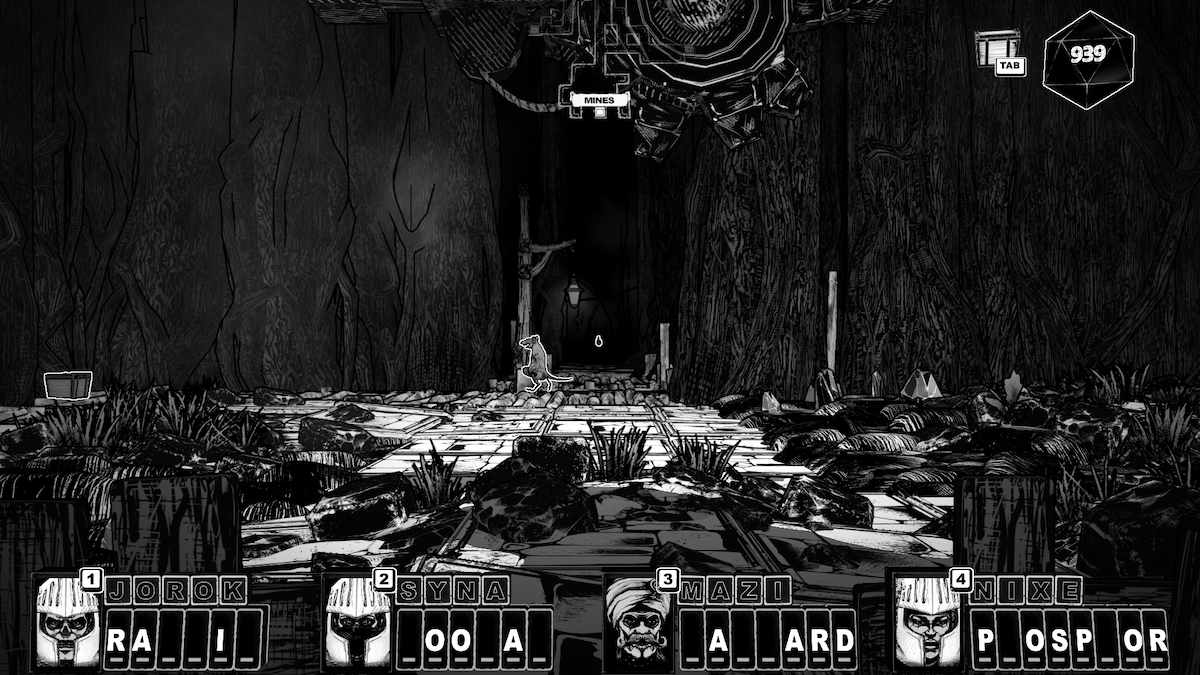
Go north, pull the LEVER to go up again. Back on the surface, there's a BOX to your left.
Go straight on and take the first right.
You’ll see a door immediately on your left, go through there and there your fourth HELMET is waiting for you in the center of the room.
Go out the way you came, head straight, and then through the door on your left marked 'TO GATE'.
Keep walking to the next, much larger, room. There's a CHEST on your right.
Once you've got that (mine was a repeat riddle, which hasn't happened yet), keep walking north. Avoid any soldiers as you go, because they might BLESS you, which will hurt.
Go through the door, and be greeted by a giant GATE with way too many eyes.
The gate will ask which squad you’re in, you're in squad 'FOUR.'
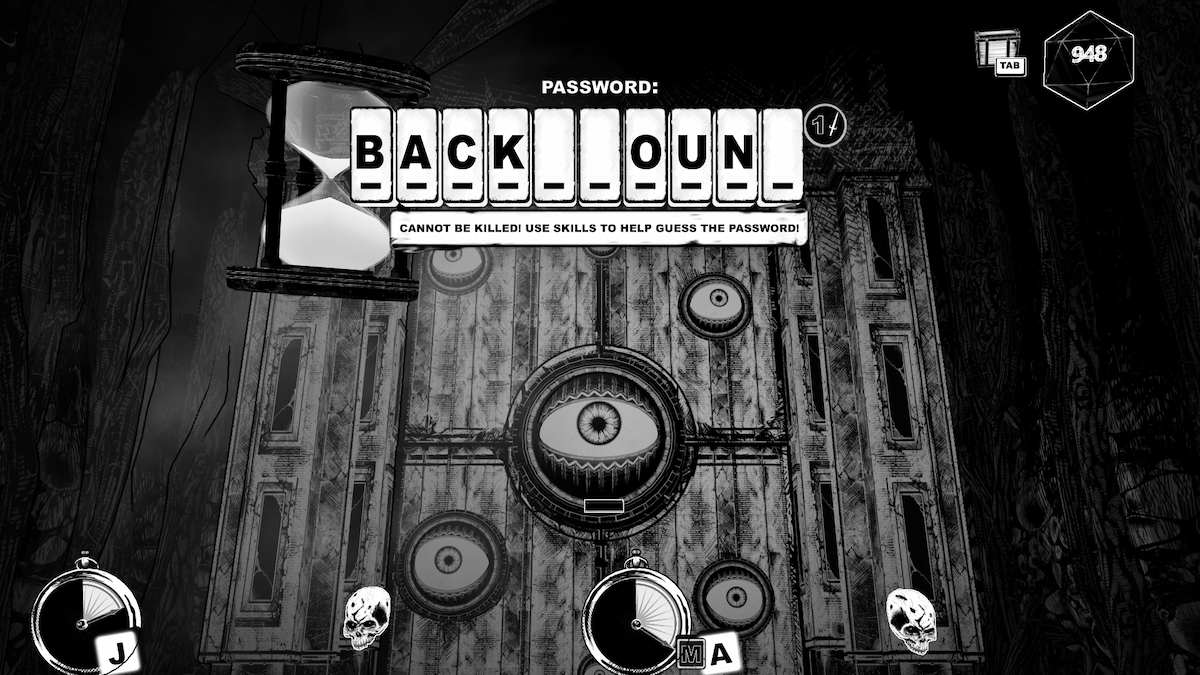
After answering his next question, he'll ask for the password. The password changes, I can't help you here. Mine was 'BACKGROUND,' but the one I had before that was a word beginning with a 'T.' Unfortunately, I died so I couldn't find out what it was.
STIMULATE and SOOTHE are going to be your favorite skills after that fight...
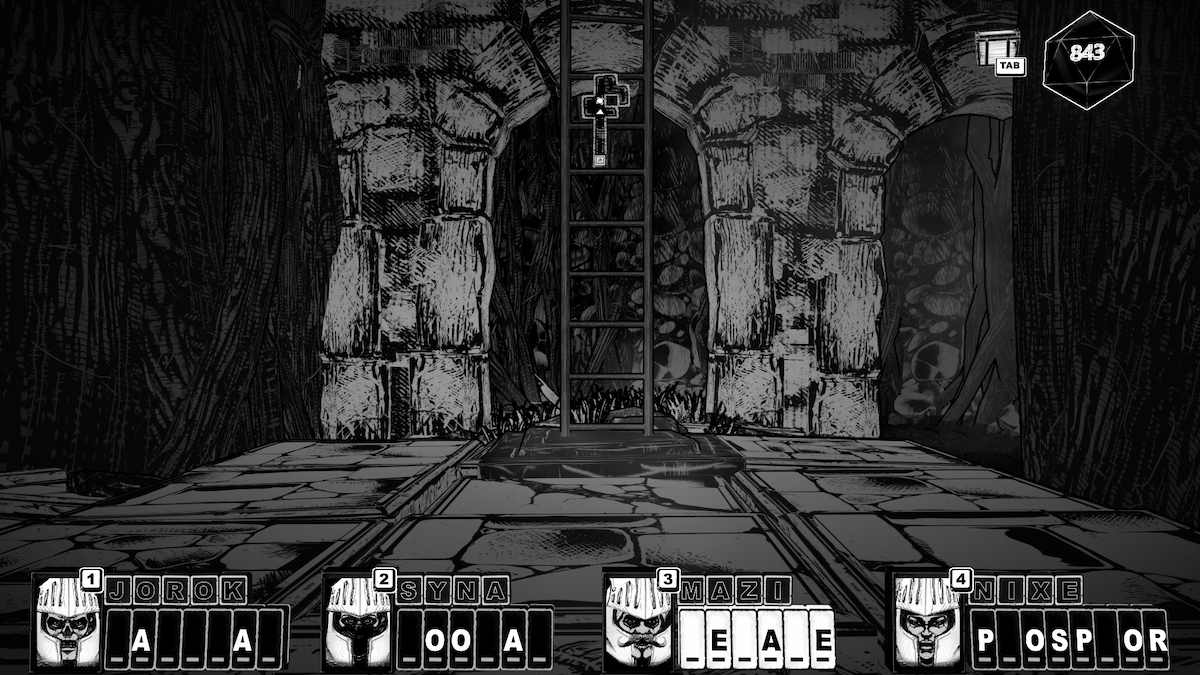
Go through the door, climb the ladder. You're almost there.
Chapter 4 memory words
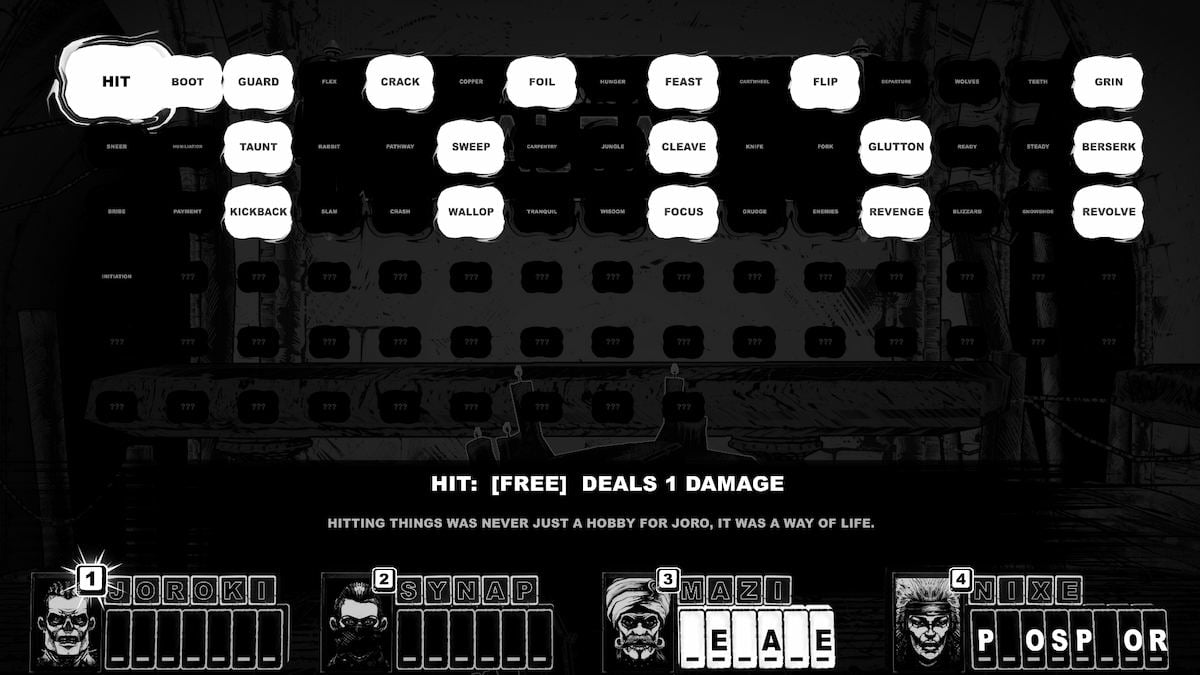
JORO
- TRIUMPH
- METROPOLIS
- SHATTER
- BROADSWORD
- GUILLOTINE
- RAMPAGE
- RETREAT
- REGROUP
- TERMINATE
- BREEZY
- RHYTHM
- RETALIATE
- BAKERY
- TAVERN
- WINDMILL
- FLATTERY
- LAXATIVE
- CHUCKLE
- LEISURE
- ROWDINESS
- DISMEMBER
- ETHICAL
- IMAGINATION
- ANTICIPATE
- STORMY
- MAELSTROM
- WHIRLWIND
- ARDUOUS
- WRESTLING
- ANNIHILATE
- RETURN
SYN
- PLUNGE
- WANDERLUST
- LATITUDE
- WOBBLE
- TEETER
- TOPPLE
- INNUENDO
- AGENDA
- DOGWHISTLE
- BURGLARY
- ONYX
- PURLOIN
- DECEPTION
- DISGUISE
- BARGAIN
- ASSASSIN
- POISON
- PENINSULA
- BETRAYAL
- ANARCHY
- EMBEZZLE
- IRONY
- BULWARK
- HYSTERIA
- ENVY
- SMITHEREENS
- MASTER
MAZ
- PENUMBRA
- UNANIMOUS
- ROUGHHOUSE
- RATIONAL
- CATARRH
- DOGGEREL
- LULLABY
- PLETHORA
- ROUSE
- EUPHEMISM
- UNREQUITED
- VENERATE
- MAGNIFICENT
- DELIRIUM
- RESUSCITATE
- PARADIDDLE
- PLINTH
- INCANTATION
- NONSENSE
- HOGWASH
- GIBBERISH
- PIZAZZ
- QUARTZ
- GROOVE
- NYMPH
- EMBROIDERY
- INTOXICATE
- CLIMAX
NIX
- PLAGUE
- TEMPEST
- INFESTATION
- SCUM
- SEDIMENT
- OOZE
- TEMPTRESS
- CONQUEST
- SHARKFIN
- DISINTEGRATE
- TSUNAMI
- TOTTER
- TREASURE
- SPURNED
- SHOCKWAVE
- LASCIVIOUS
- BOUDOIR
- SIZZLE
- INTRIGUE
- ADORATION
- SACRIFICE
- MANICURE
- PULCHRITUDE
- ABANDON
- WHALEBONE
- AMBERGRIS
- LEVIATHAN
- SPASMODIC
- ZIGGURAT
- ENVELOP
- MIDNIGHT
CRYPTMASTER Walkthrough, Chapter 5: Choices
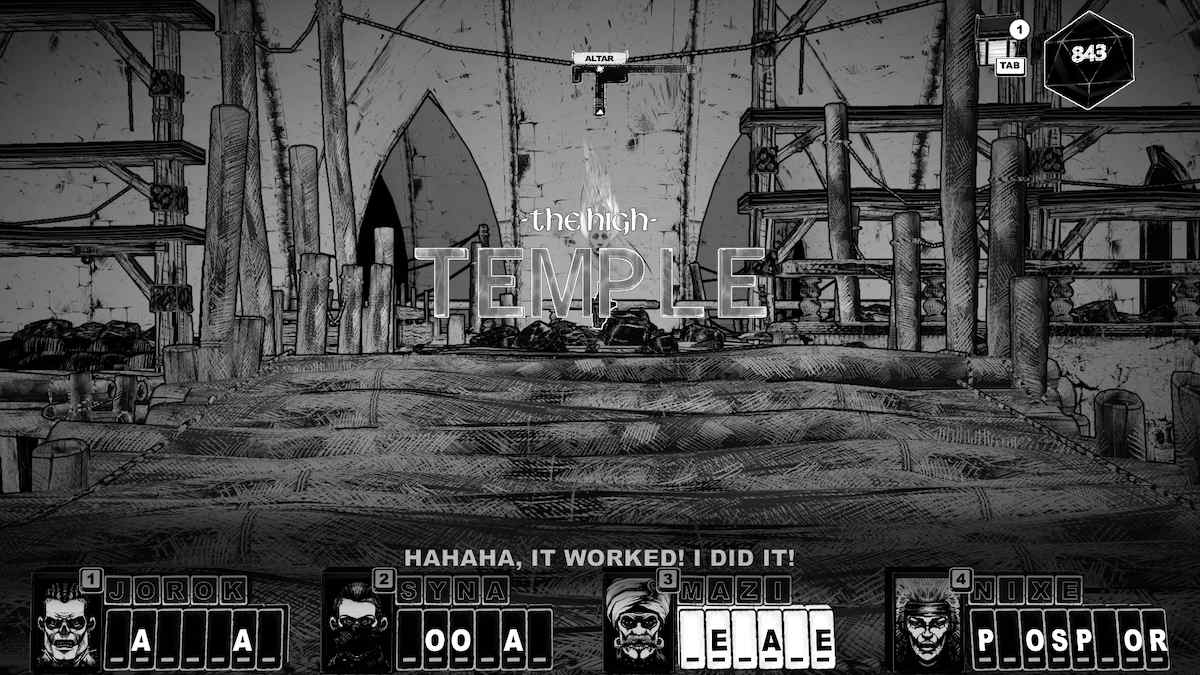
After climbing the ladder a final time, you're as UP as you can go.
The ALTAR lass has more to tell you, and she offers you another choice. An alternative to what the CRYPTMASTER wants. No matter what you decide, DESECRATE the ALTAR.
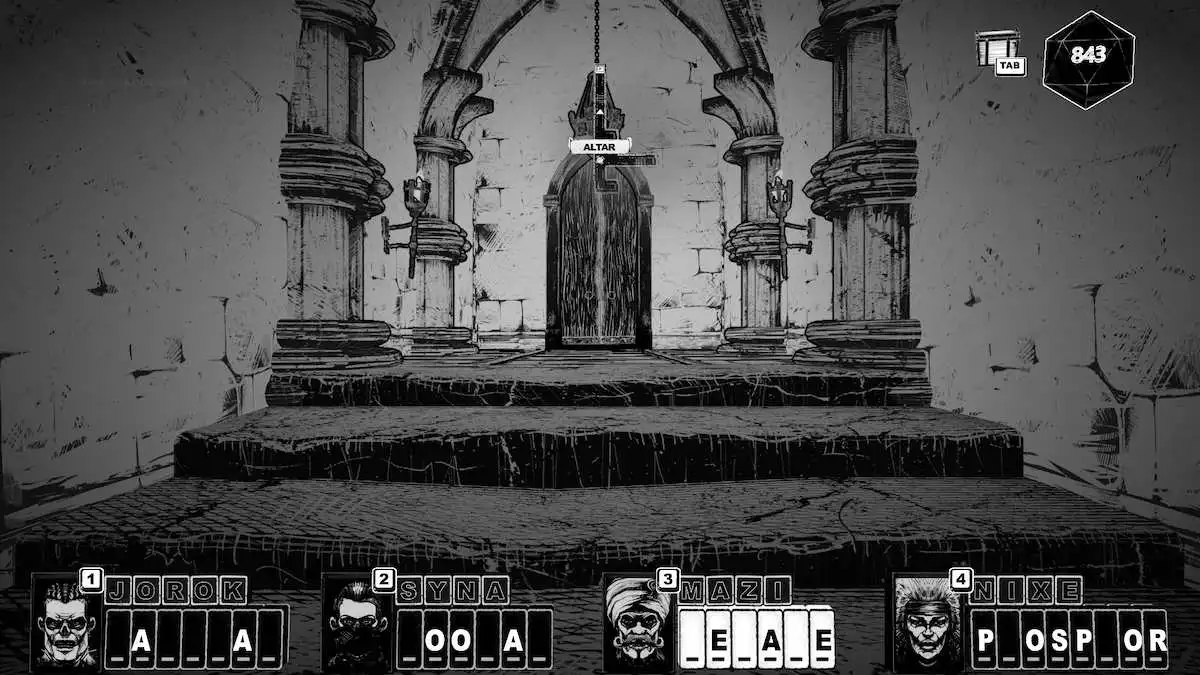
Take the path to the right, go through the door, and enjoy the sunshine.
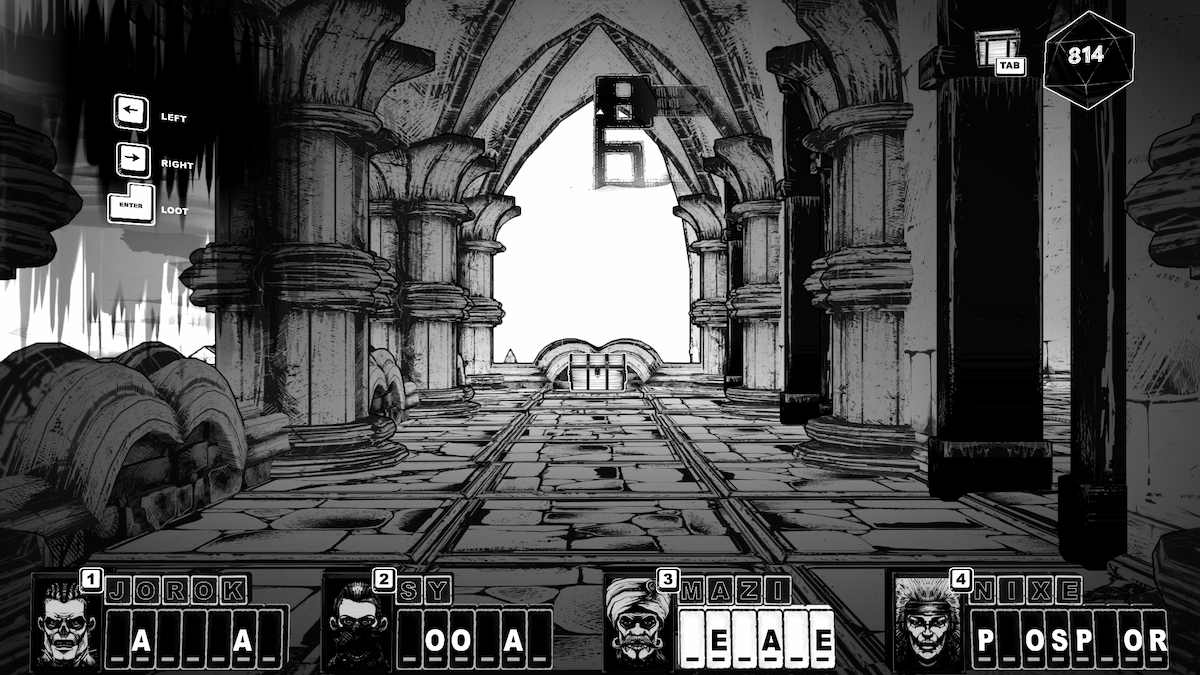
There's a CHEST on the right side of this large room.
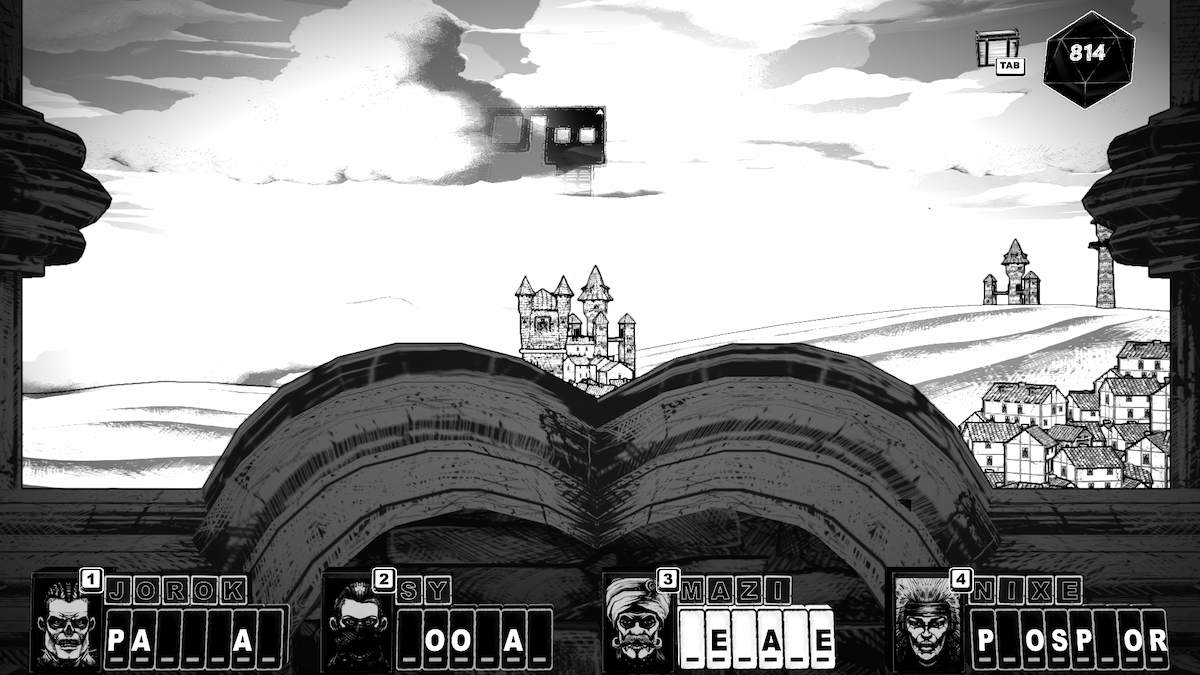
Once you have that, follow the path around to the left and go through the next door to the second room.
Walk north, go through to the third room. Again, go through the door. It's a bit of a long, final stretch. Lots of walking and doors.
Nothing different in the fourth room, keep going to the fifth, and then through to the corridoor/sixth area. The seventh area has a couple of guards you can fight or sneak past if you've got decent observation skills.
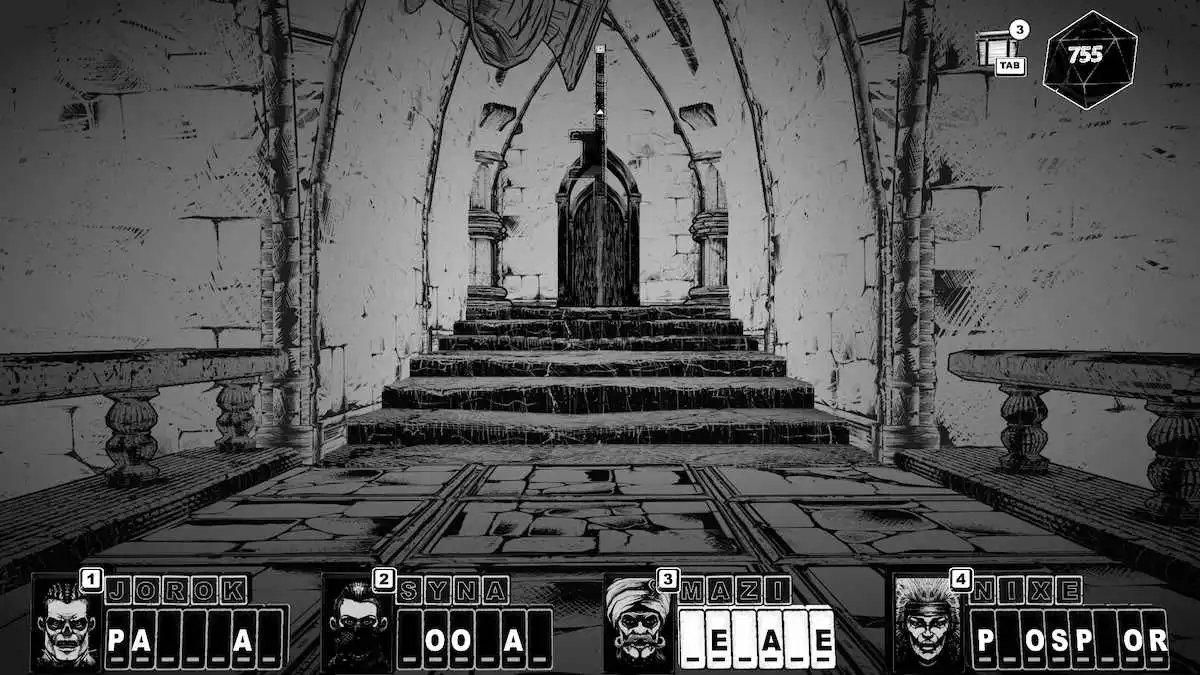
The eighth area is another corridor with no enemies. You're almost there.
It's in the tenth area that you finally come face to face with AUDO (the ninth is just the introduction area, warning you that he's coming up next).
He's been alive for centuries, and has been expecting your arrival.
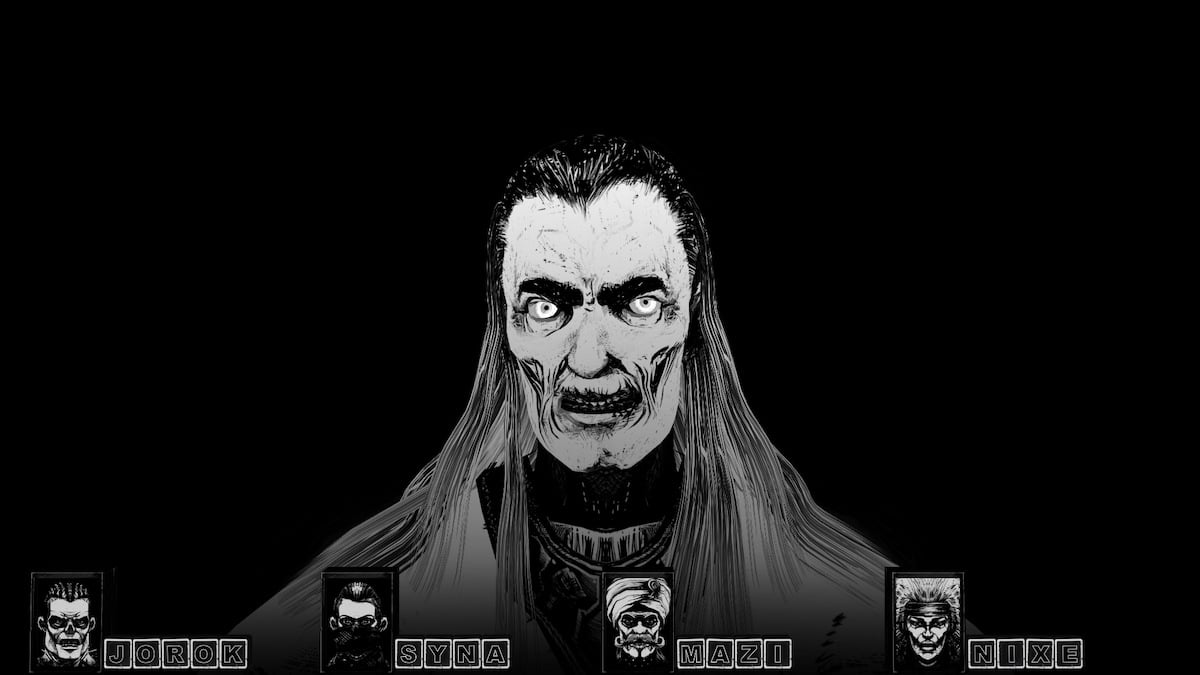
If you don't want to spoil your own ending, stop reading here. If you die and end up back at the ALTAR, type 'AUDO' to go back to the ninth room.
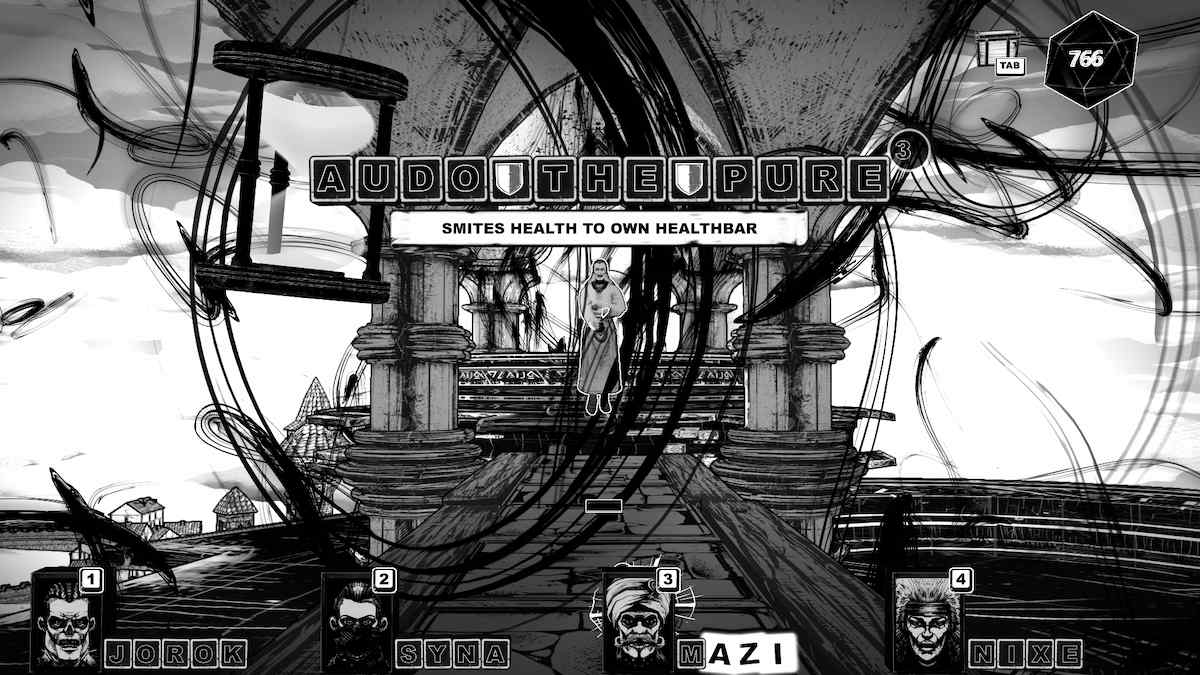
When you beat AUDO (which takes some effort, so go in with a strategy!), he notices that you have the SOULSTONE and asks if the CRYPTMASTER is with you.
He taunts the CRYPTMASTER, gives a bit more of a history lesson, and there's a grand reveal that I definitely didn't expect.
Now you have your choices; three, to be exact. Two are obvious, the third... Not so much.
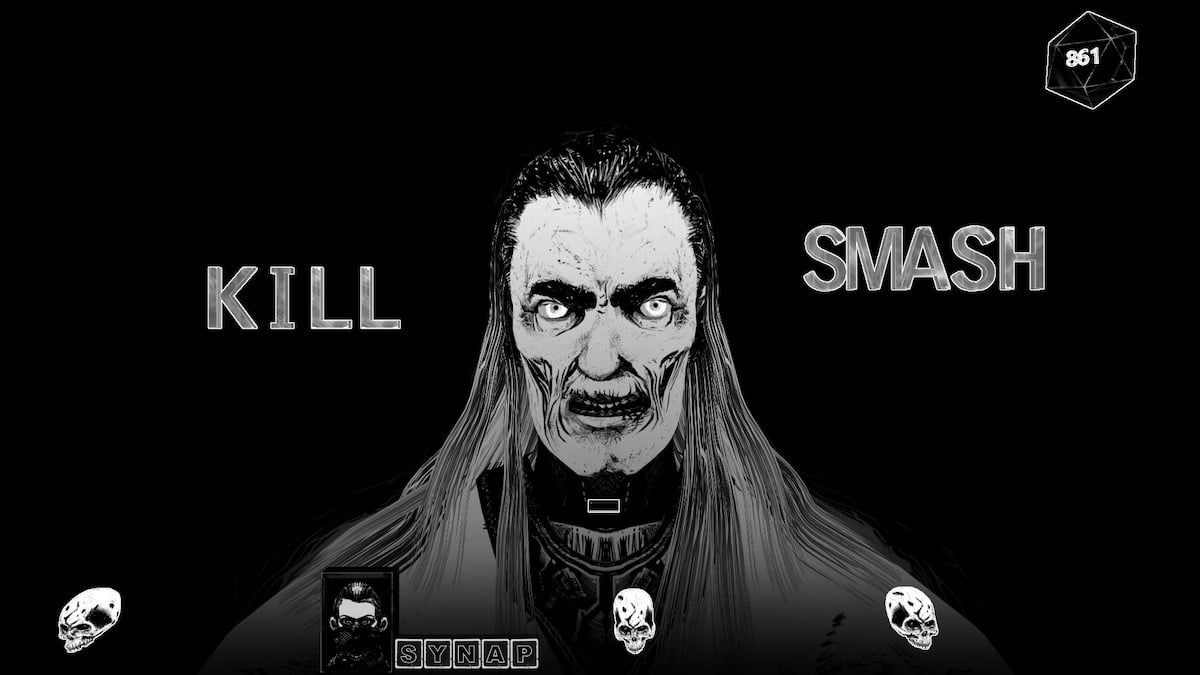
You can choose to kill AUDO, SMASH the SOULSTONE, or -
You can just say 'NO.'
I said no, because chaos is fun and I could see both sides of the argument but I didn't think either of them were going about this in the right way. This is also the hidden ending of CRYPTMASTER.
By choosing NO, you learn that a new order is formed that is guarded by the four heroes. The dead live among the humans, but ultimately decide they prefer the underland to the glare of UP.
If you choose 'SMASH,' the city is saved, the CRYPTMASTER dies, and AUDO continues to watch over the city (alongside his four companions, who have their own mausoleums now).
If you choose 'KILL,' the CRYPTMASTER rules over the city, bringing hordes of the undead and other creatures from the Underland.
Chapter 5 memory words
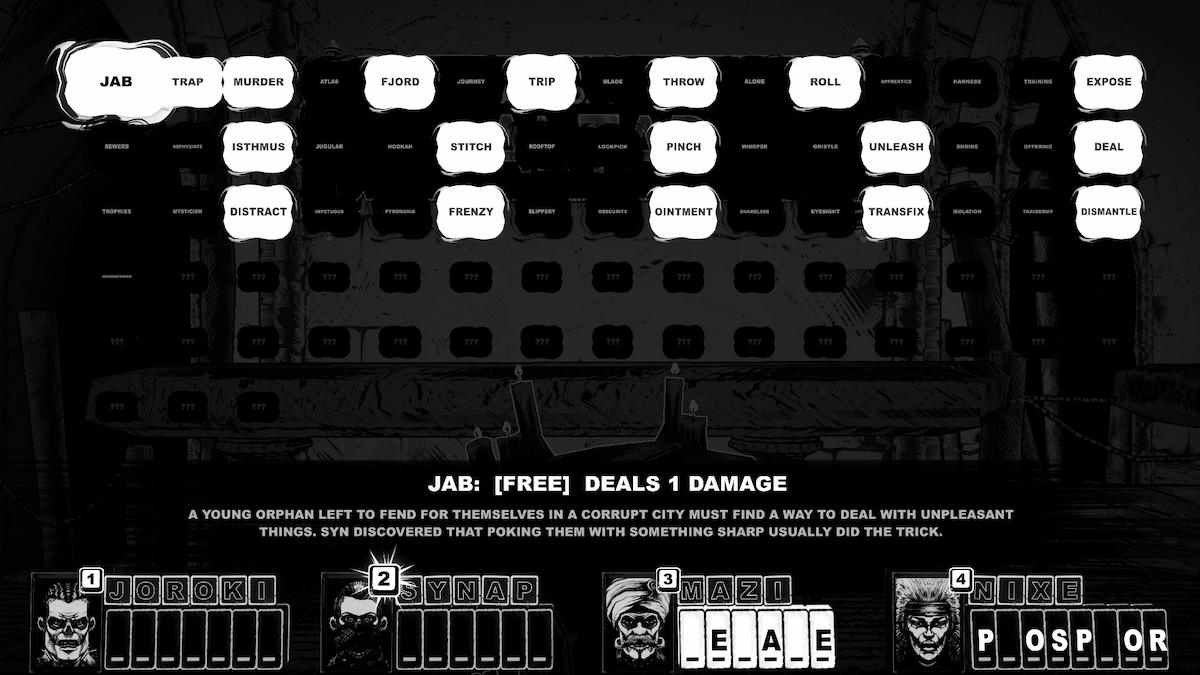
JORO
- FELLOWSHIP
- MUTTONHEAD
- ASSEMBLE
- BUZZARD
- EVERYTHING
- OBLITERATE
SYN
- ENSNARE
- VENDETTA
- SANCTUARY
- ARCHIPELAGO
MAZ
- CRESCENDO
- TECTONIC
- REJUVENATE
NIX
- NIGHTMARE
- NOMENCLATURE
- CORNUCOPIA
All CHEST and SKULL Riddles and Answers (Chapter 2 onwards)
For those who want the answers to all the CHESTS and SKULLS in CRYPTMASTER, I've written up this additional section. This part of the walkthrough contains the answer to every CHEST (BOX, CONTAINER, TRUNK, etc.) and SKULL I came across in the game.
All of the clues here are written as close to verabim as possible. Some clues are difficult to hear, but you'll be able to find your answer by searching main terms using CTRL+F or just scrolling down the list.
All CHEST clues and answers in CRYPTMASTER
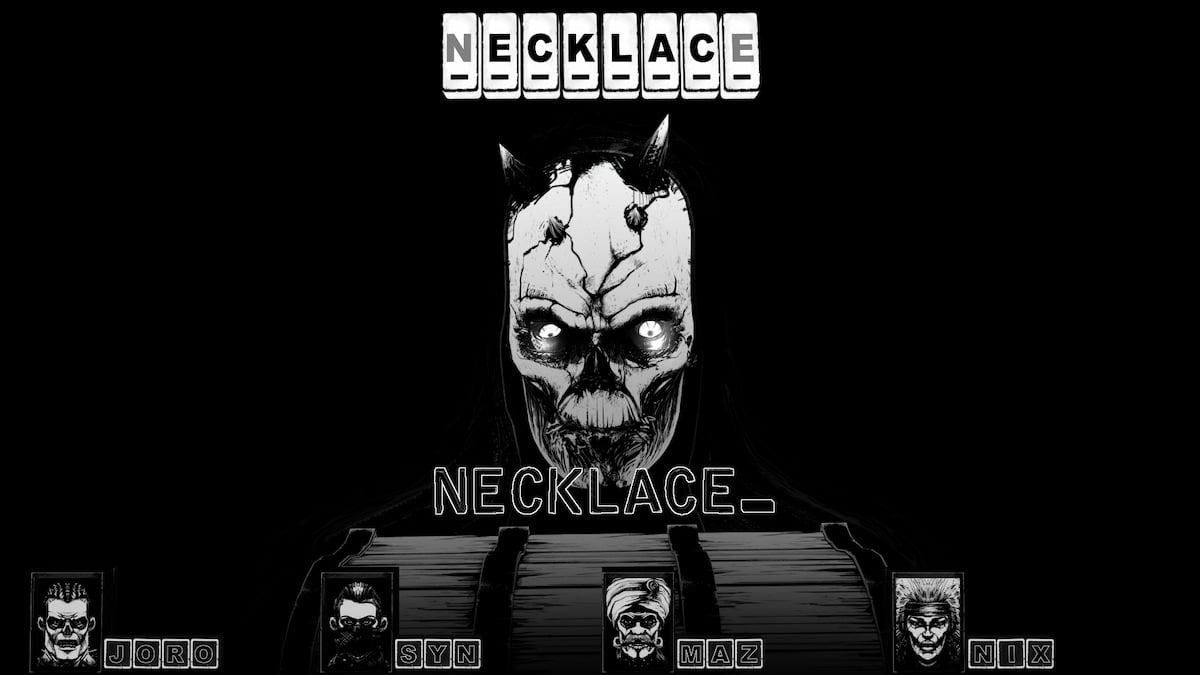
- NECKLACE - It's a sort of fancy loop; very cleverly joined and has a stone; doesn't taste of anything, doesn't have a particular odor; can't hear anything unusual; CRYPTMASTER remembers giving one of these to a dear friend.
- DRUM - A squat, circular tube of wood, open at one end and covered at the other; the covered end is springy; tapping it makes a pleasant sound; CRYPTMASTER remembers seeing these in the temples with people holding sticks in each hand.
- KNIFE - Metal thing at one end and a bone thing at the other end; it's pointy; the CRYPTMASTER used one of these for lots of things when they were alive (sometimes for woodwork, sometimes for tussles in dark alleyways).
- DIAMOND - In the light, it sparkles from every side; small and cool, perfectly hard; kingdoms rose and fell for these pretty things; they dug them up from under the ground.
- BLANKET - Looks comfy; flat and floppy; large and brownish; soft; CRYPTMASTER associates it with nighttime.
- ROPE - A long thing; brownish and floppy-looking; rough to the touch, flaccid but strong; CRYPTMASTER remembers being on a ship and there were lots of these there.
- ARROW - A lonely, little fellow; long and thin, fluffy at one end and nasty at the other; pointy; CRYPTMASTER has a painful memory associated with one of these; nothing to hear; no odor.
- EYEBALL - The way it's looking at the CRYPTMASTER makes them uncomfortable; an orb with a messy tail, there are circular designs on one side; sticky; the CRYPTMASTER looked into lots of these when they were alive; nothing to hear; no odor; the CRYPTMASTER doesn't like the taste.
- NET - Made of holes; made of strong twine, artfully patterned; the CRYPTMASTER used to watch the fishermen using thesz
- CANDLE - It's a solid cylinder, bone white, with a little tail at one end; once, the CRYPTMASTER did use these - very frequently, in fact - for reading; smooth and a little pliable.
- RING - A curious, little object; small, has a hole in it; small, hard, and rounded; CRYPTMASTER thinks these were rather precious to many people.
- TRUMPET - Weird funnel with buttons down one side; small and metallic, carefully shaped; CRYPTMASTER didn't like these, they could be loud.
- CHICKEN - CRYPTMASTER doesn't like it; it's a horrible-looking monster with a wicked look in it's eye, it has a tiny head, CRYPTMASTER hates it; CRYPTMASTER won't touch it but they imagine it would be fluffy; CRYPTMASTER has always hated these, they associate them with the countryside, dirt, and noise; CRYPTMASTER won't put it in their mouth but could eat it if it wasn't moving around; it's babbling away in some arcane, barbaric language.
- KETTLE - Something nice and solid; big, black, hollow thing with a loop at the top that has a bit sticking out; very hard, made of metal; CRYPTMASTER associates it with fire; makes a 'dong' noise; metallic, sort of ashy.
- BEETLE - It's going round and round, poor, old thing; it's armed, like a little knight, scuttling to and fro down there; the outside is smooth and hard, there are little antlers at one end; a young CRYPTMASTER used to keep one of these alive in a box.
- SNAIL - Weird, the CRYPTMASTER doesn't like it; a squishy thing, inside a swirly thing; hard on one side, slimey on the other side.
- MIRROR - Small and flat, with a picture of a very handsome fellow upon it; very flat and small, made of glass; CRYPTMASTER had one many years ago, they used to like looking at it.
- LACE - Fancy; a white-ish square, about the size of a book, very holey; soft cloth, embossed; CRYPTMASTER used to be fond of the finer things like this.
- WIG - A creature of some sort; hairy on one side, with a sort of net on the other, looks as if it should fit over something; soft, smooth, very pleasant to the touch; CRYPTMASTER never needed one, but they got punished for stealing one from their tutor as a boy; hairy; faintly perfumed; can't hear anything unusual.
- COMB - Doesn't look like something CRYPTMASTER could use; long, flat bit of polished wood, someone has cut into it lots of times down one side; wooden, prickly down one edge; the memory is painful to CRYPTMASTER, though they used to use one.
- EGG - A little, pointed ball, perfectly smooth; smooth to the eye but very slightly rough beneath the fingertips; CRYPTMASTER used to climb trees to get at these as a boy; if CRYPTMASTER shakes it, they can tell there's something inside.
- SPYGLASS - A long stick in two joined pieces, sealed with a curious material at either end; smooth; CRYPTMASTER owned one of these and remembers stars; tastes of wood.
- PILLOW - A big, white bag of something; soft and springy; reminds CRYPTMASTER of sleeping.
- SHOE - Looks like a little boat with a flat bottom, made out of a tough, brown skin; supple, the bottom part is harder; CRYPTMASTER used to use two of these every day; chewy; the interior has a fainly unplesant whiff.
- CHAINMAIL - It's a big thing made of little round things; made of loops, artfully interlinked; CRYPTMASTER wasn't much of a warrior, so they never needed something like this.
- SPOON - Crypmaster's face looks funny; small, curved at one end, made of metal.
- COMPASS - A little, round, spinny thing; mostly metal with a glass top; useful on long journeys; doesn't taste unusual; doesn't smell of anything.
- GLOVE - A brownish pouch of a very irregular shape; softer on the inside than the outside; CRYPTMASTER used to have these, they come in twos.
- BEDPAN - A closed receptacle with a long handle; made of metal, handle made of wood; many people use these in their daily lives, but it's not something you'd put on display; strong and unpleasant odor.
- GOBLET - Thin in the middle, then expanding into double bowls, one at either end - one is much larger than the other; metal, etched all over with ornate designs; CRYPTMASTER used one of these a lot when he was alive, more than his companions thought was healthy.
- PIPE - A bent tube, one end is shaped like a little pot; slightly rough, unpolished earthenwear; smokey.
- BOWL - Half of a hollow ball; smooth wood, nicely carved; made of wood, nice, smooth, polished wood.
- CODPIECE - A hardened, leather cup, affixed with ribbons or straps; made of hard leather with a bit of give to it; CRYPTMASTER assumes MAZ used to have one; pungent; a strong taste; no sound (not a peep).
All SKULL riddles and answers in CRYPTMASTER
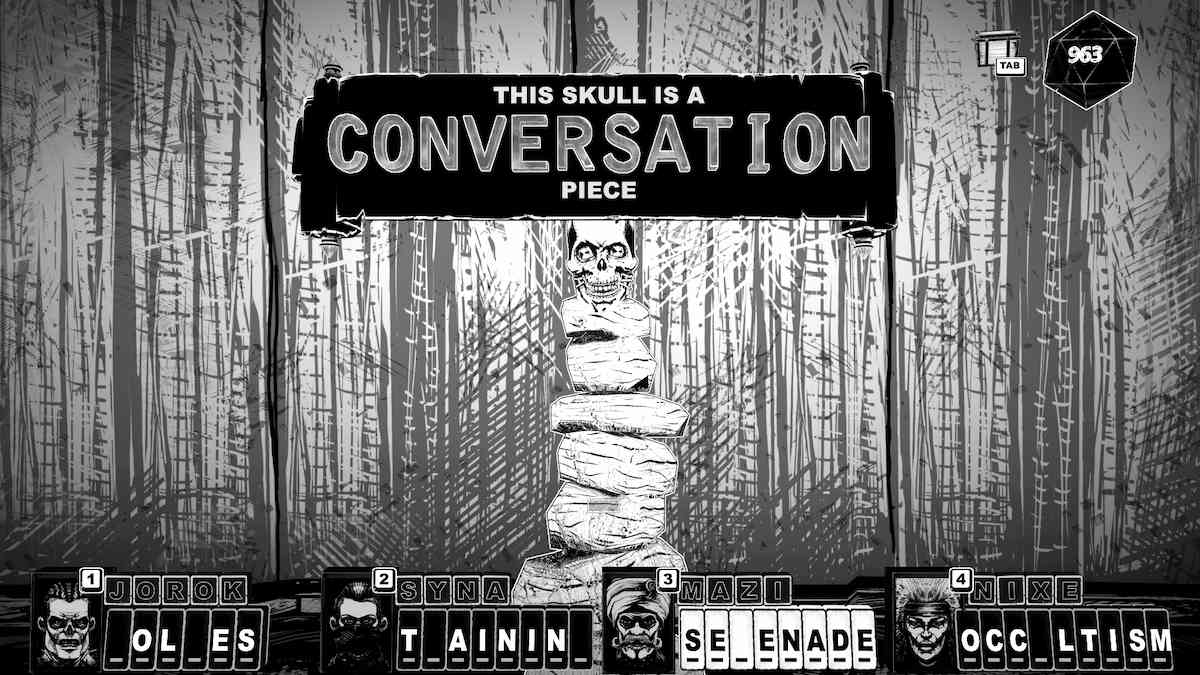
- INCORRECTLY - A word often spelled incorrectly.
- COAL - Black when you get me, red when you use me, gray when you cast me away.
- JUGGLE - A troubadour comes to a bridge carrying three bars of gold, the bridge can only hold his weight and two bars. He cannot swim across. How does he cross the bridge with all three bars in one trip?
- LIGHTNING - I prod at the earth, and dig along the sky, should I touch you, you're bound to die. What am I?
- DARKNESS - Hold traveler, and answer me: The more there is of this, the less you see.
- TEAPOT - Solve my riddle and free this poor unfortunate ghost. What starts with 'T' is filled with 'Tea' and ends with 'T'?
- MAP - It has legs without bones, houses without stone, hills without height, and graves without bones.
- SECRET - If you have me, you want to share me. If you share me, you haven't got me.
- THREE - If there are five juicy maggots, and you take away three juicy maggots, how many juicy maggots do you have? (I hate this one, I knew the riddle about the apples and it still flummoxed me for a couple of minutes.)
- NOTHING - I'm needed by the rich and owned by the poor, you'll die if you eat me, that's for sure. What am I?
- ORANGE - I trust you'll answer this with ease, which color is it, grows on trees?
- BARBER - In life, I shaved every day, but my beard remained long. Who was I?
- DELIGHTED - When someone stole all my lamps in my room, I may have looked glum and full of gloom, but how do you think I felt?
- N - If you leave me in the window, you'll live a mournful life. But put me in the middle of a door, and you could save a life. What am I?
- SILENCE Speak my name and I'm gone. What am I?
- M - You will see me once in every minute, twice in every moment, yet never in a hundred years.
- Window - Riddle me this: What invention lets you look right through a wall?
- MUSHROOM - What's sort of room is one with no doors or windows? (This one was really hard to hear!)
- FATHER - I once knew a man called Silas, if the son of Silas is my son's father, what was Silas to me?
- TWENTYFIVE - I am four times the age that you were when I was the same age as you. If I am 40 years old today, then tell me: How old are you?
- FOUR - Four fishing rats catch four fish in four minutes, but answer me this: How many rats would it take to catch 100 fish in 100 minutes?
- MEAT - In life, I was a butcher who wore boots twice the size of other men and stood almost 7 feet high. What did I weigh?
- COMB - Solve my riddle and end my plight. What has many teeth but cannot bite?
- LUNCH - Answer this riddle and free my poor soul: What can you never eat for breakfast?
- EGG - You took me from my home before the world could wake me, but now you have a need for me, you'll first have to break me.
- TOWEL - I'm a helpful fellow, I pose no threat. But the more I dry, the wetter I get.
- LEG - What is it that has a bottom at the top?
- CANDLE - I keep back the darkness, I fight with the cold. I'm tall when I'm young, and short when I'm old.
- ICE - I am made of water, of water made am I, but if you put me into water, then I will surely die.
- FUTURE - It's never behind you, wherever you've been. It's always in front of you, and yet, can't be seen.
- NAME - What is it that belongs to you, yet others use it more?
- ENVELOPE - What could it be that starts with an 'E' and ends with an 'E', but only has one letter in it?
- RECORD - Pity a poor soul and answer my riddle: You can break this thing many times, but everytime you break it, it gets harder to break the next time. What is it?
- UP - A wizard claims he can throw a ball as hard as he can, and it will return to his hand without bouncing. Where does he throw it?
Looking for more dark puzzle games here at Pro Game Guides? Read our Alone in the Dark Review: A step in the right direction and our Scary Horror 2 – Chapter 1 Walkthrough.
