Screenshot by Pro Game Guides

Disney Dreamlight Valley ‘Diamond in the Rough’ Quest Guide

Are you a diamond in the rough?

After resolving the bug problem and collecting the Scarab key in 'The Wild Tangle's Swarm' quest, it's time to finally explore the Cave of Wonders. Here's how to work through all the puzzles.

Recommended Videos

How to complete 'Diamond in the Rough' quest in Disney Dreamlight Valley

The first step of this quest is simple; all you have to do is follow the Scarab to the large sand pile in The Wastes, where the Cave of Wonders will be opened up. Once the Scarab stops moving, be sure to Interact with it to reveal the cave. Then it's time to head inside, leaving poor Gaston behind.

How to find a way to open the gate in Disney Dreamlight Valley

Now you will start a few different puzzles to work your way through the cave. The first one requires you to find a way through the blocked gate.

Screenshot by Pro Game Guides

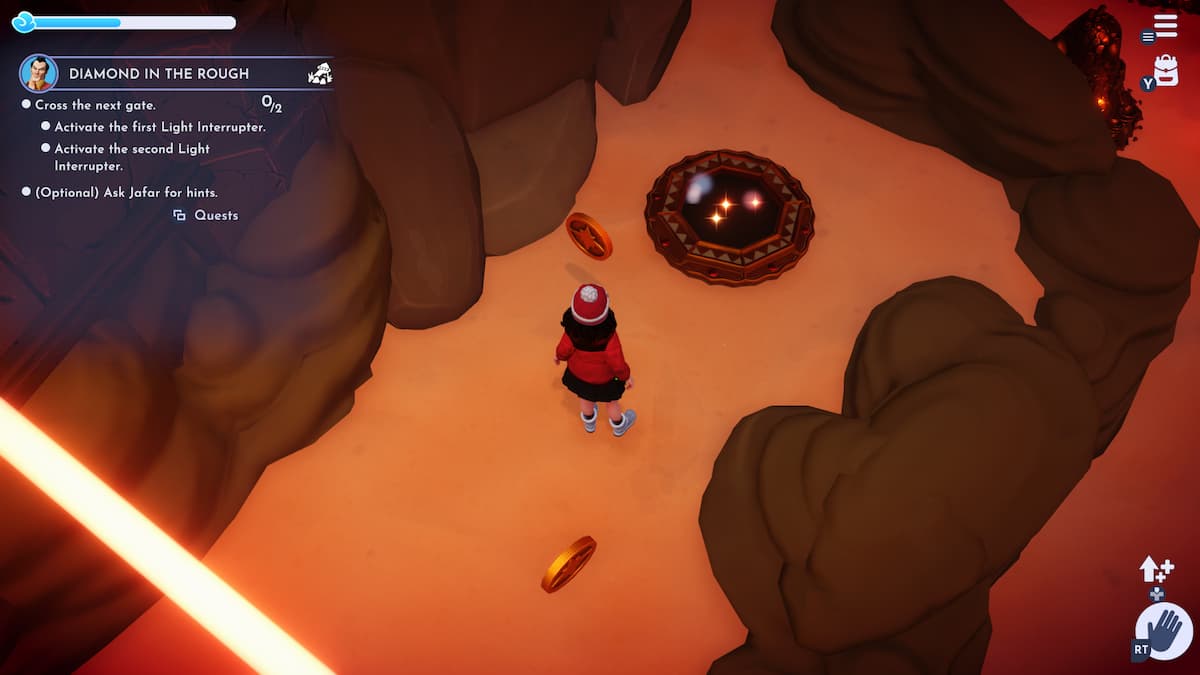
To open up the gate, venture off to the left from the Jafar comm and clear the shards out of the way as you do. You'll find a Power Core on the ground. Pick it up and place it in the slot on the wall right before you. This will restore power to the lever of the gate.

Screenshot by Pro Game Guides

Head back the way you came and pull the lever near the gate to lower the barrier and allow you to continue on to the next puzzles.

Related: Disney Dreamlight Valley ‘The Ancient Door’ Quest Guide

How to activate Light Interrupters in Disney Dreamlight Valley

Your next step will require two different puzzles to be solved to get you through the next gate. Two Light Interrupters need to be activated to do so.

Light Interrupter One

For the first Light Interrupter, take the path on the left to enter into another room.

Continue straight ahead, clearing the shards to find the Ancient Mirror on the ground. You'll need to grab this, head back into the hallway you entered from, and place it on the wall where the mirror is missing.

Screenshot by Pro Game Guides

Next, continue toward the right past the spot where you found the mirror and pull the lever on the wall so that the laser appears and shines across to the next level (you'll want the light to be reflecting off the mirror spot on the wall above the lever).

Screenshot by Pro Game Guides

Follow the laser down to the next lever and repeat the same action, ensuring the light is reflecting off the mirror back toward the main gate.

Screenshot by Pro Game Guides

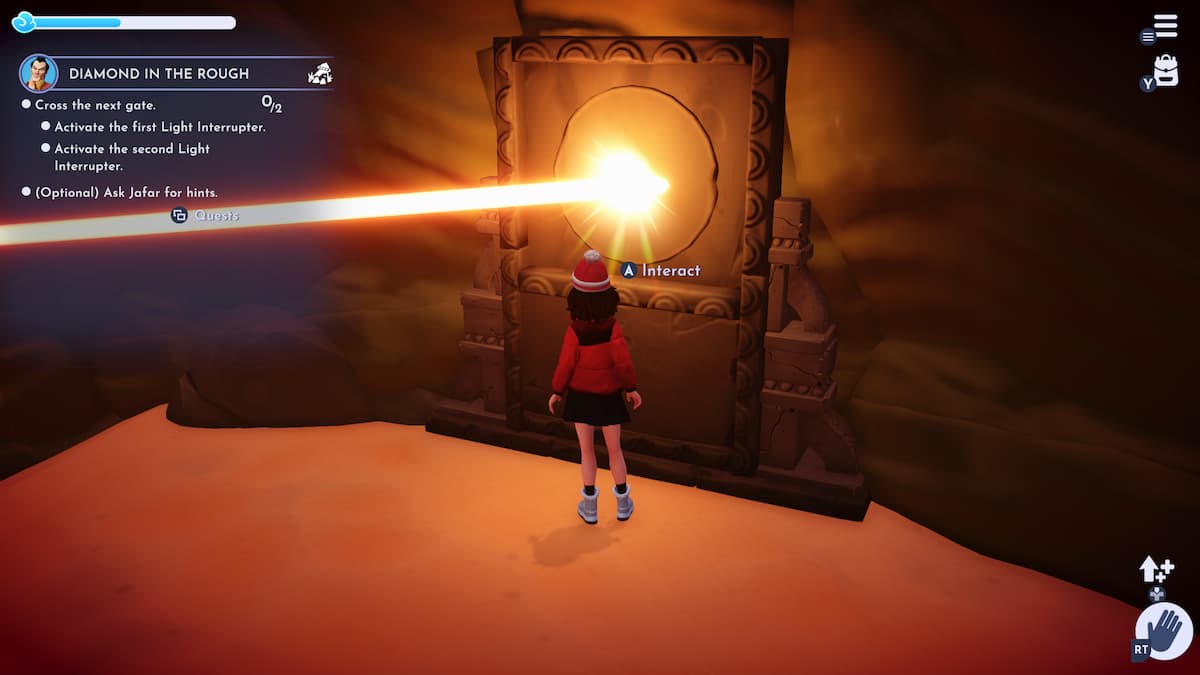
Follow the laser again back to the gate, where you'll need to pull the last lever to raise up the mirror so that the light from the other lasers reaches it. This will activate the first Light Interrupter for the gate.

Related: Disney Dreamlight Valley ‘The Sundial’ Quest Guide

Light Interrupter Two

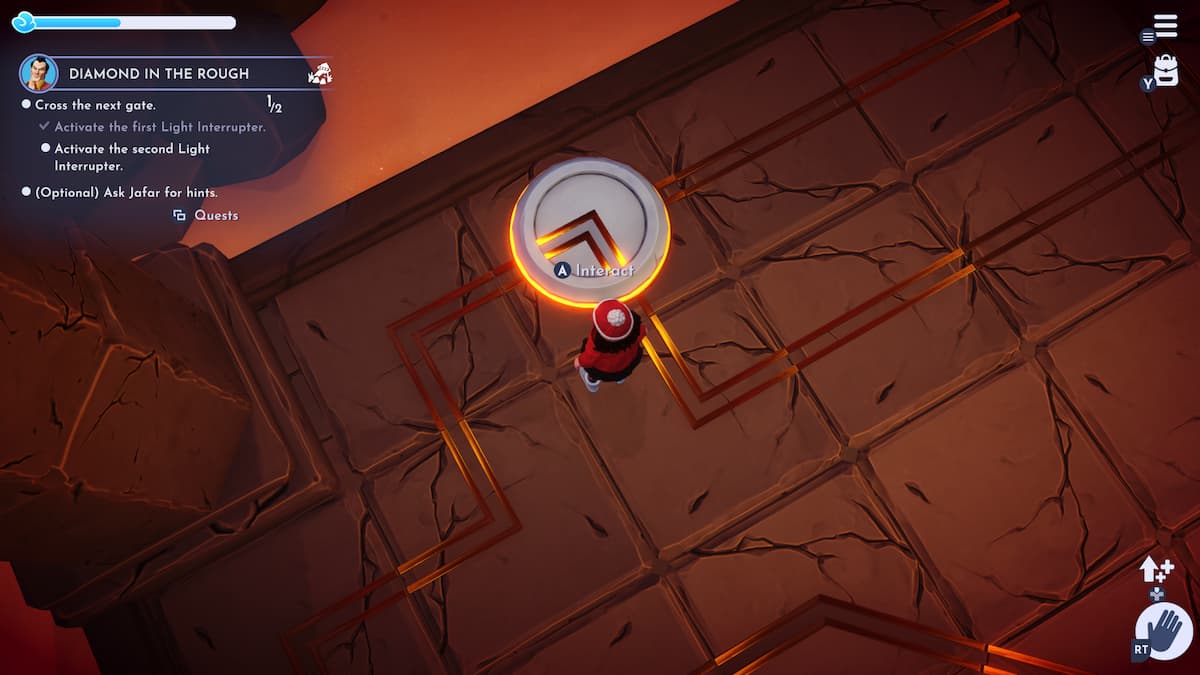
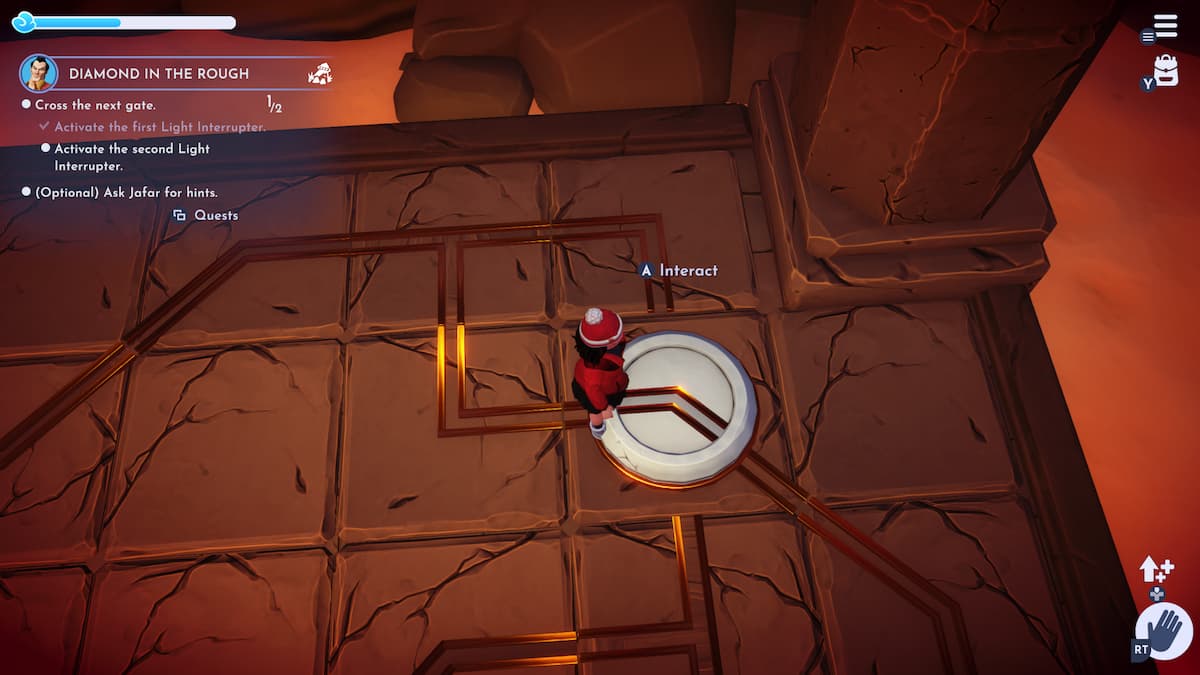
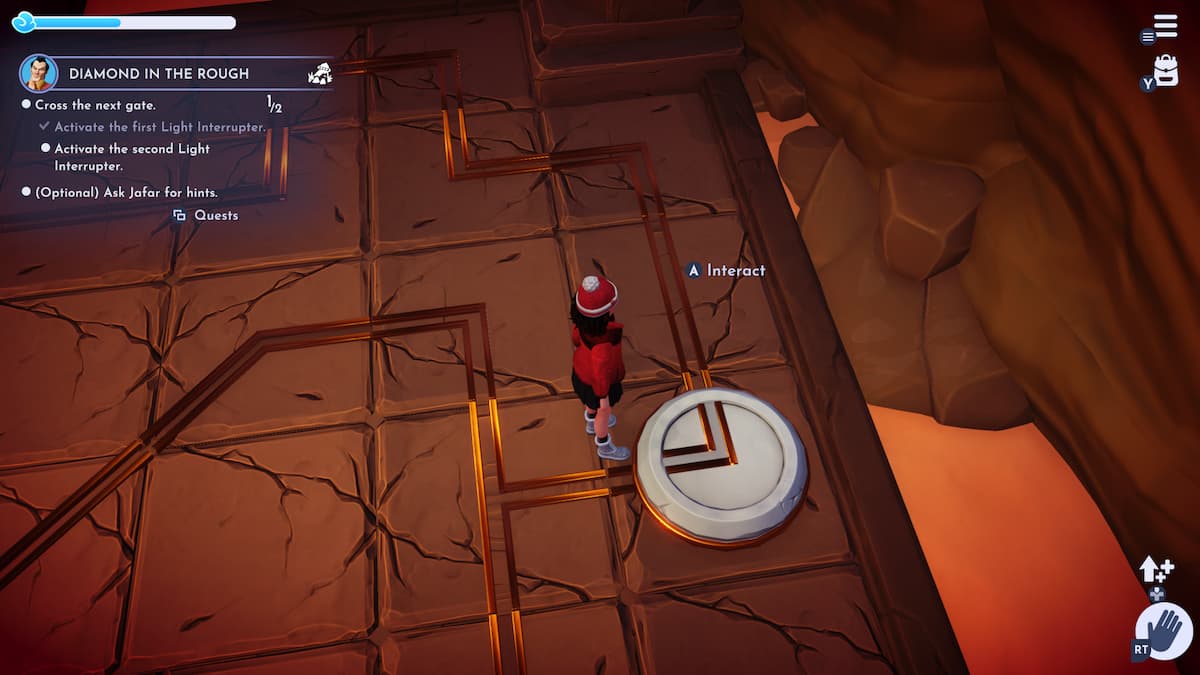
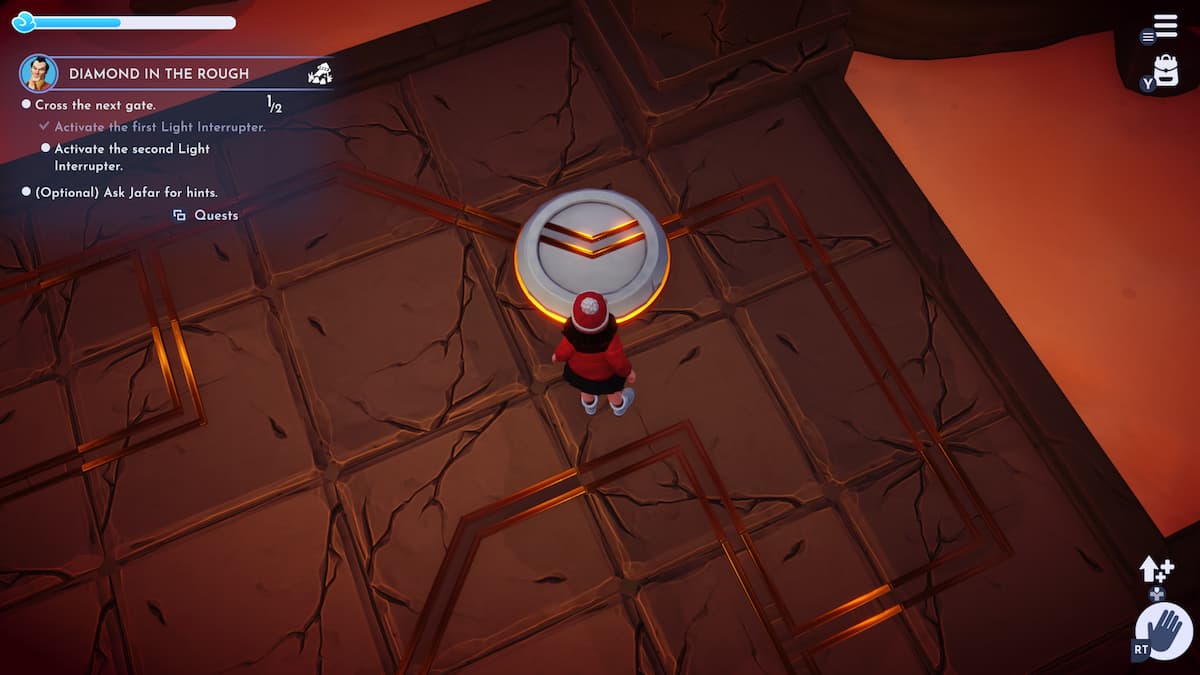
The next Light Interrupter puzzle is fairly easy, and you can find it by following the doorway to the right side of the gate. This puzzle will require you to power up the core in the center of the tiled floors. To do so, you'll need to make a track that draws power from the powered core on the wall to the center.

All you need to do is properly rotate all the tiles on the board so that they create a path. The lines should match up perfectly if you have them in the right spots. However, you'll also want to make sure that they lead to the powered core. Take a look at the pictures above to help you position all of them.

Screenshot by Pro Game Guides

Once you have all those tiles positioned, head over to the powered core and rotate the last piece to draw power across the rest of the board and to the center. This will power up the core in the center and allow you to grab it.

Screenshot by Pro Game Guides

Now bring the core back to the gate and place it in the empty slot on the right side of the gate. This will activate the second Light Interrupter and lower the gate for you to cross through.

Now you're in the home stretch. Head through the gate and grab the Jewel of Time from the statue and then you can use the shortcut to return to Gaston and announce your success!

Looking for more Pro Game Guides Disney Dreamlight Valley content? Check out our guides on All photo locations for Directive Danger in Disney Dreamlight Valley or Disney Dreamlight Valley ‘Ancient’s Landing Fine Dining’ Quest Guide!

Pro Game Guides is supported by our audience. When you purchase through links on our site, we may earn a small affiliate commission. Learn more
related content
Read Article How to display and share designs in Daisy’s Boutique in Disney Dreamlight Valley
A fem-presenting Disney Dreamlight Valley avatar points towards a mannequin wearing the same dress they are.
Read Article How to complete Daisy’s Boutique challenges in Disney Dreamlight Valley
The Disney Dreamlight Valley how-to guide that introduces Daisy's Boutique challenges.
Read Article How to get Daisy Duck in Disney Dreamlight Valley (You Have Mail!)
Daisy Duck spinning around in front of the plaza well in Disney Dreamlight Valley.
Read Article A beginner’s guide to Touch of Magic in Disney Dreamlight Valley
Screenshot of Disney Dreamlight Valley gameplay showing a fem-presenting avatar with short, brown hair, standing in their home near a fireplace. The avatar is wearing a custom purple turtleneck design with gold stars and black flourishes.
Read Article How to get better DreamSnaps scores in Disney Dreamlight Valley
A fem-presenting Disney Dreamlight Valley avatar with blue skin and horns gestures towards a blue fox roaming in the ground. The avatar is winking and wearing a Monster's University shirt in white with a blue logo, and blue headphones around their neck. In the background, the wallpaper has glowing red lights, Boo's door from Monster's Inc. can be seen on the right, and there's a brown couch by the wall with a purple rug nearby.
Related Content
Read Article How to display and share designs in Daisy’s Boutique in Disney Dreamlight Valley
A fem-presenting Disney Dreamlight Valley avatar points towards a mannequin wearing the same dress they are.
Read Article How to complete Daisy’s Boutique challenges in Disney Dreamlight Valley
The Disney Dreamlight Valley how-to guide that introduces Daisy's Boutique challenges.
Read Article How to get Daisy Duck in Disney Dreamlight Valley (You Have Mail!)
Daisy Duck spinning around in front of the plaza well in Disney Dreamlight Valley.
Read Article A beginner’s guide to Touch of Magic in Disney Dreamlight Valley
Screenshot of Disney Dreamlight Valley gameplay showing a fem-presenting avatar with short, brown hair, standing in their home near a fireplace. The avatar is wearing a custom purple turtleneck design with gold stars and black flourishes.
Read Article How to get better DreamSnaps scores in Disney Dreamlight Valley
A fem-presenting Disney Dreamlight Valley avatar with blue skin and horns gestures towards a blue fox roaming in the ground. The avatar is winking and wearing a Monster's University shirt in white with a blue logo, and blue headphones around their neck. In the background, the wallpaper has glowing red lights, Boo's door from Monster's Inc. can be seen on the right, and there's a brown couch by the wall with a purple rug nearby.
Author
Abby Smith
Abby Smith is a super nerd and video game fanatic who grew up playing games on a variety of platforms. She likes to spend her free time binge-watching Netflix, reading all genres of novels, and playing all the best new video games. She is currently a full-time Staff Writer for Pro Game Guides, and as an alumni from Full Sail University, also enjoys dabbling in creative writing such as short stories, scripts, and comics on the side.

Write A Comment

Disney Dreamlight Valley ‘Diamond in the Rough’ Quest Guide

Comments are on moderation and will be approved in a timely manner. Please read the following rules before commenting:

  • All comments must be on topic and add something of substance to the post
  • No swearing or inappropriate words
  • No asking or begging for anything free
  • Do not attempt to start a poll in the comments
  • Comments in all CAPS will be removed
  • We reserve the right to remove a comment for any reason
  • Do not impersonate a staff member or influencer

This site is protected by reCAPTCHA and the Google Privacy Policy and Terms of Service apply.