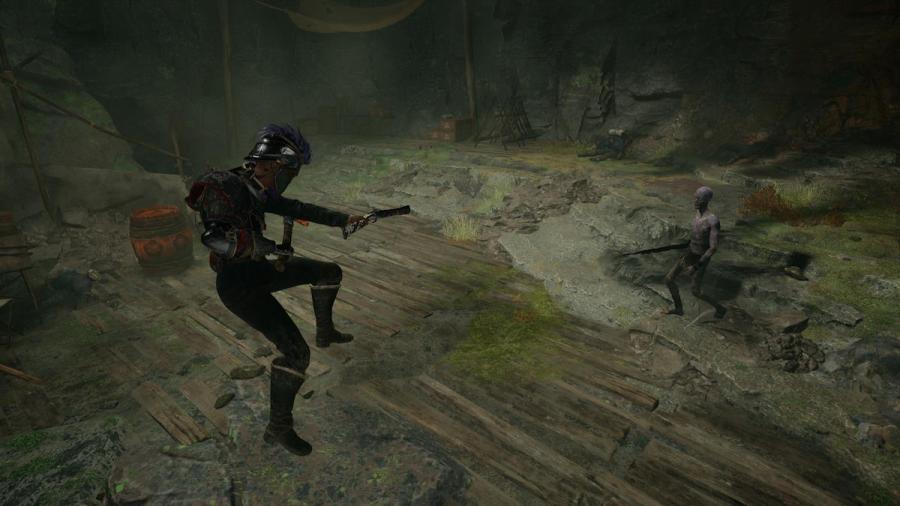
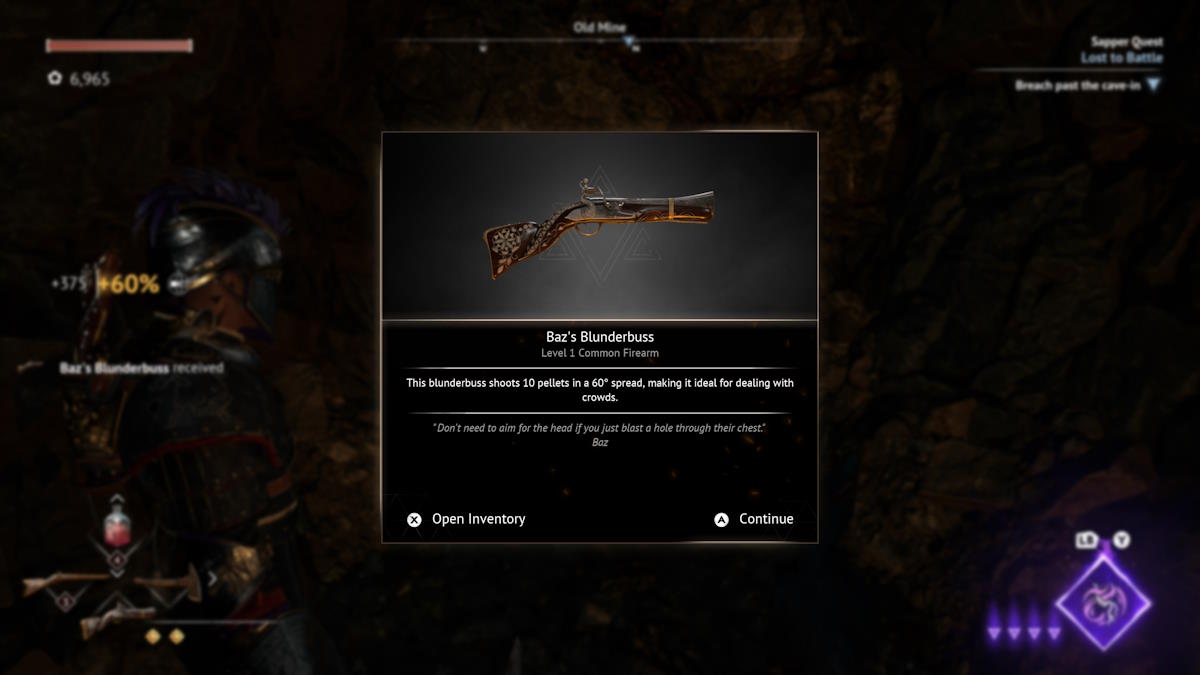
The Blunderbuss is one of the guns you can nab for yourself in Flintlock: The Siege of Dawn, and it's one that offers a vastly different experience to others you might've found on your journey so far. All it takes for you to find and wield this monster of a weapon for yourself is a short side quest, which we'll guide you through here.
Lost to Battle Walkthrough - Flintlock Siege of Dawn
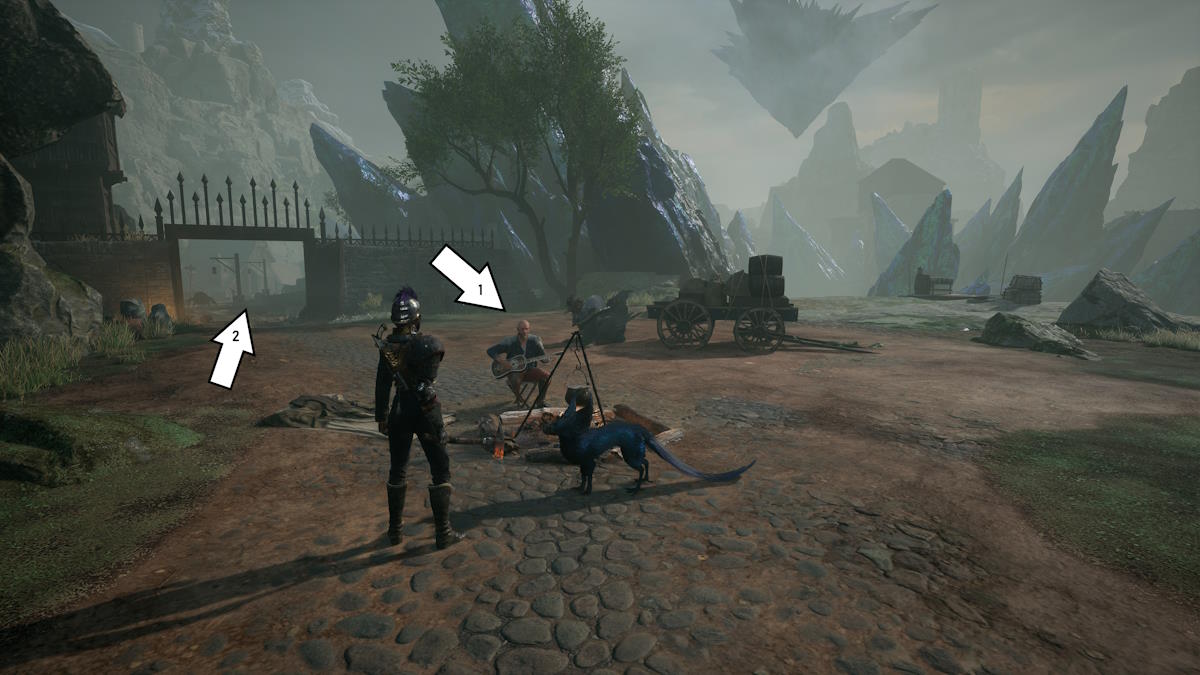
To begin the Lost to Battle side quest, you'll need to reach the campsite before the Revenant boss fight. Activate the campsite if you haven't already, which will bring your friend Baz (1) over, and here you'll need to speak with him. He'll inform you that he got jumped and mugged by some Coalition deserters, and they ran off with his prized Blunderbuss. Obviously you can't let that slide, so you're off to dispense some quick and painful justice.
Progress through the gate into the town (2), and keep pressing directly onward. There's plenty of spiders and undead here, so stay on your toes and try not to get outnumbered.
You'll come across a chasm you'll need to hop over, and eventually you'll reach a sheer cliff with some ledges on the other side. Be careful not to over estimate your jump range here, and head for the closest ledge. You'll want to head up and around to find the entrance to the mine which the deserters ran off to.
Head on in, and head on down. There'll be a rest point at the bottom for you here, so make sure to interact with it, and then rest at it to set your respawn point.
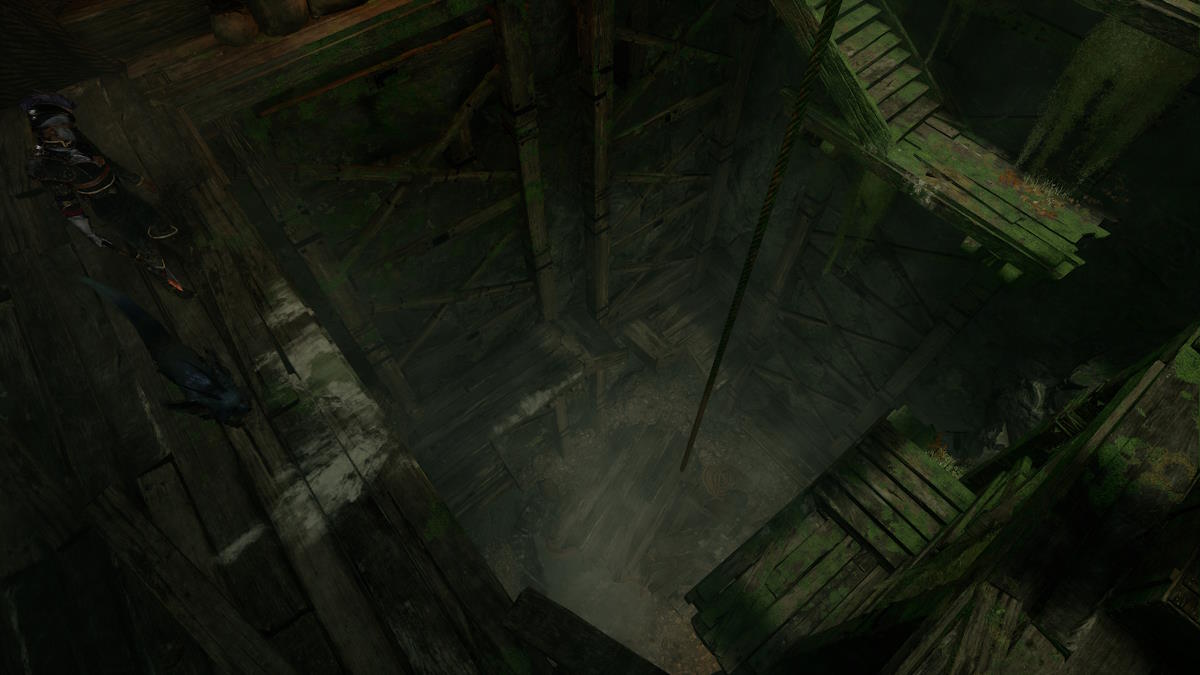
Your foes in this mine will consist of a few spiders, and quite a lot of undead. Their numbers in these tight spaces can leave you quickly overwhelmed, so don't stay in one place too long. Keep moving through the mine and ensure you collect the Breaching Barrel you'll pass on your way, next to a broken elevator.
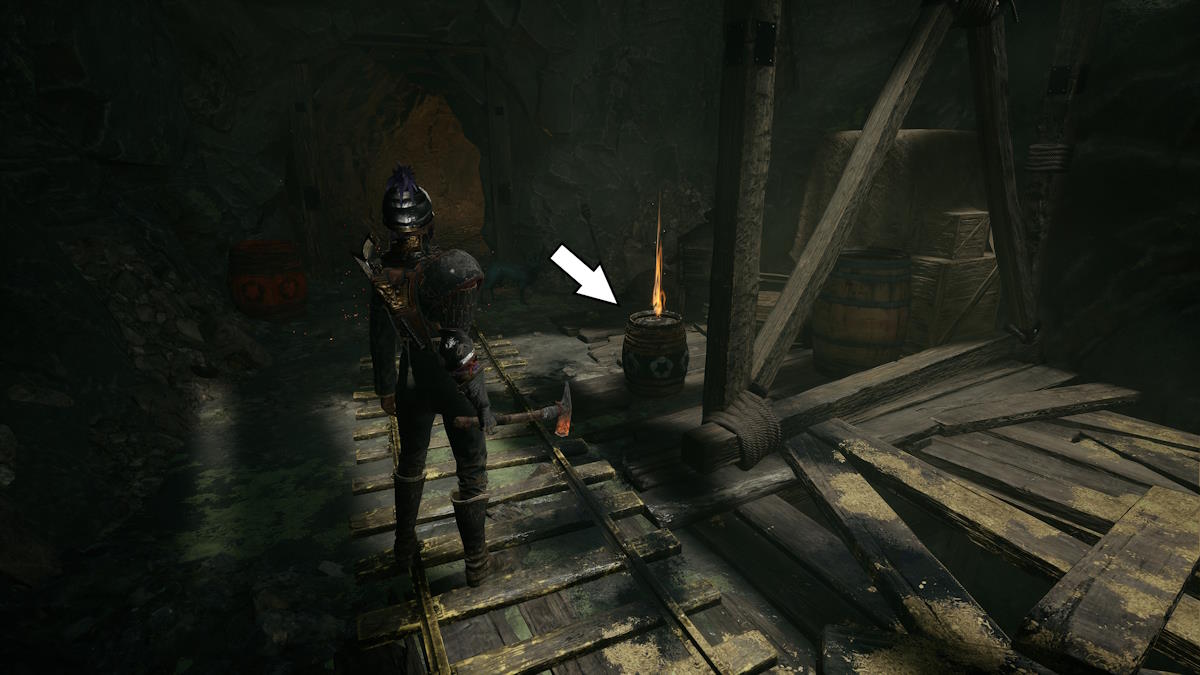
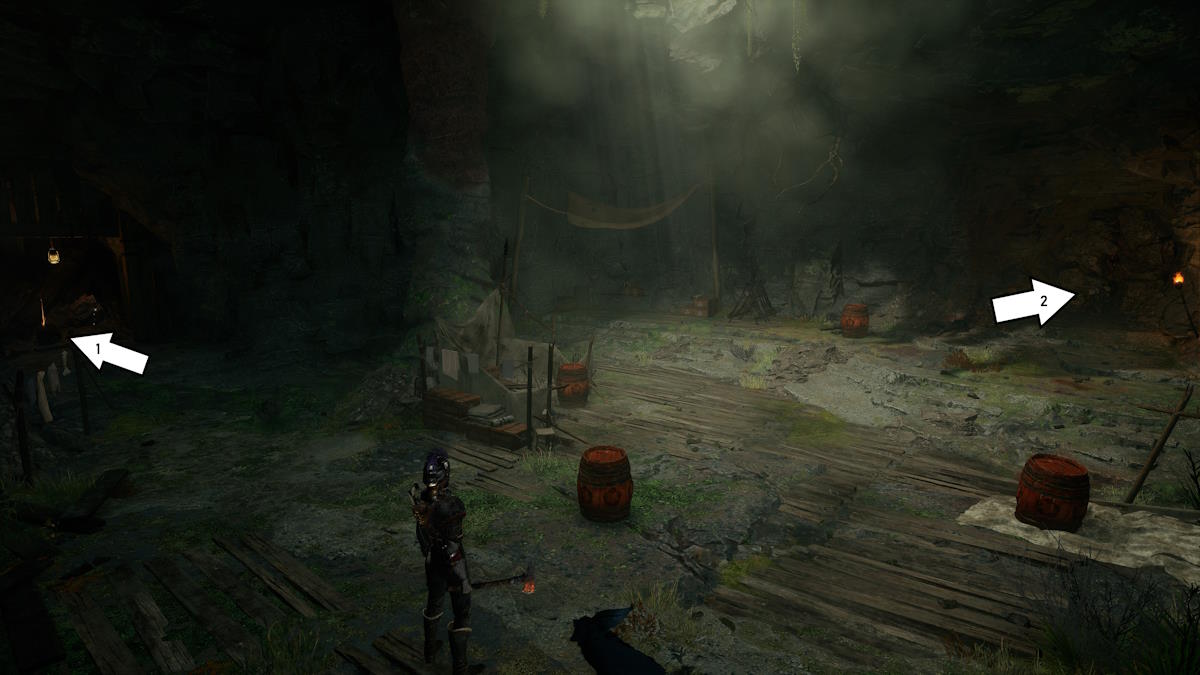
Use the barrel on the blocked path ahead of you, and eventually you'll come to a large open cavern. You'll hear one of the deserters talking to themselves here, and you'll find them near death in front of yet another blocked passage. Speak to the deserter (2) to receive the Blunderbuss (who will then sort of... vanish?), and then locate the Breaching Barrel (1), which is on the back left side of the room.
Using the breaching barrel will cause a horde of undead to rush in, which actually constitute their own boss health bar. This isn't a hard fight by any means, but you have to stay on the move at all times. If the horde rush you, chances are it's game over. Thankfully, the Blunderbuss excels in situations like this, so use it liberally and fill the undead with plenty of buckshot.
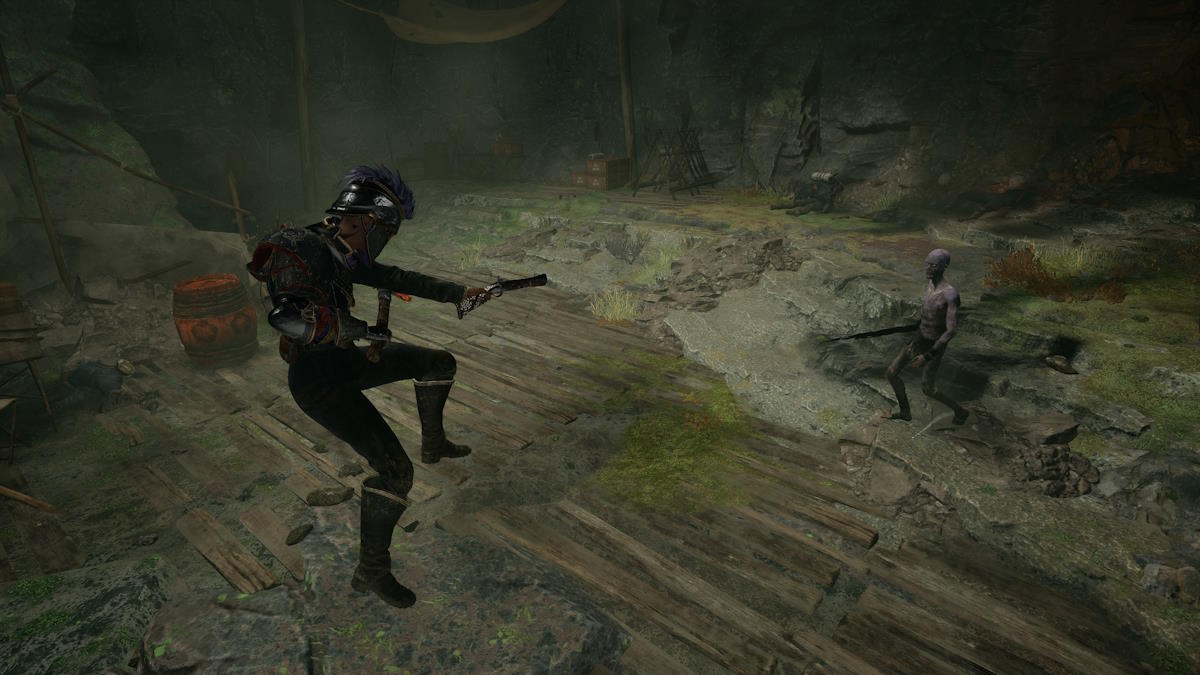
Once they're dealt with, you're free to leave the mine and head back to Baz. You can fast travel there, or you can try out that new toy of yours on all those nasty critters on the route back. Speak to him to finish the quest, and don't worry: he won't actually accept the Blunderbuss back.
The Blunderbuss is best used in situations involving a large amount of enemies, as it has a wide area of effect, but lower overall damage. It's also got a far longer time to fire, which means it isn't great at gun parrying either.
If you've found this guide helpful and you're looking for some more Flintlock: Siege of Dawn content from us here at Pro Game Guides, check out our Rammuha Boss Guide!
