
Megachad is the face of Megabonk, and rightly so. His unique weapon and passive skill create the perfect blend of offense and defense, making things easier for beginners and interesting for veterans. Whether you’re after long runs, clearing challenges, or hunting for bosses, Megachad works everywhere. So, here are the best Megachad builds in Megabonk that you can replicate for easy wins.
Megachad Starter Weapon & Passive
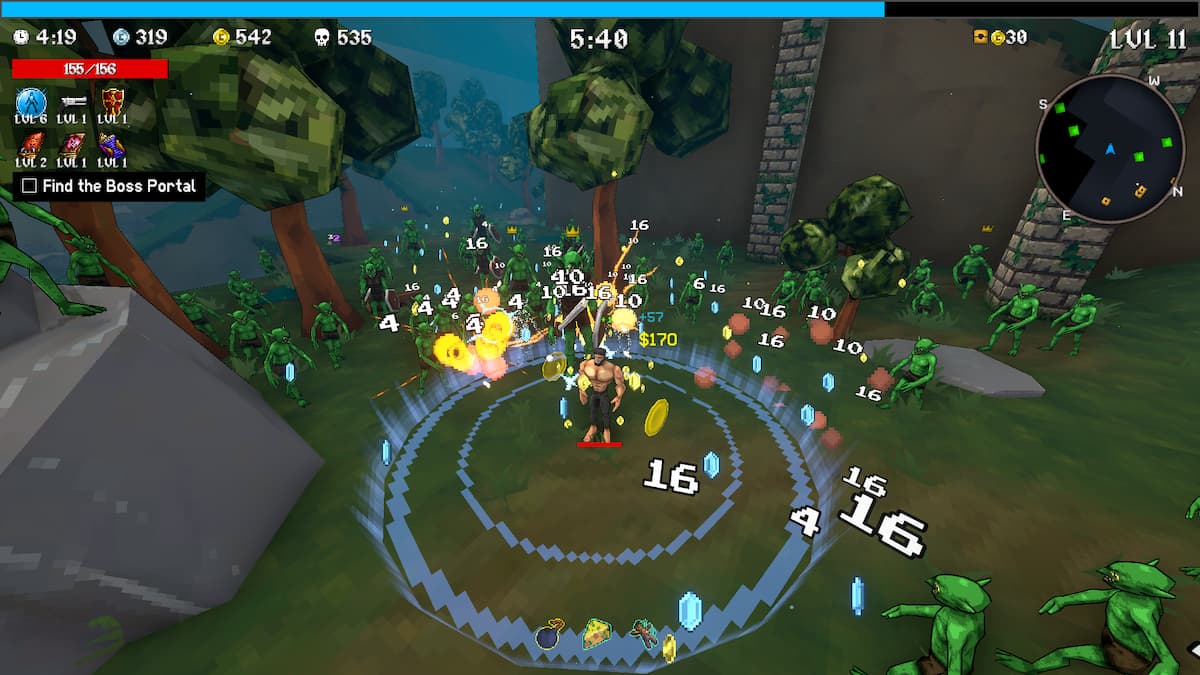
Megachad has the Aura weapon, which has a low base damage but covers all directions simultaneously. Size and damage upgrades make this one of the best crowd control weapons in the game. His passive, Flex, stuns enemies when they attack you and prevents any damage. This adds a defensive layer that few other characters have in the game.
Naturally, Megachad is a tank- moves slowly and can take a beating. But, hit the right combos, and he can excel in almost every playstyle. Read on to find three very different Megachad builds that work.
Best Megabonk Megachad Builds

We’ve created three solid Megachad builds that you can try for three very different playstyles- Tank, DPS, and Hybrid. You’ll find the best Weapons, Tomes, and Items for each build, along with a brief explanation of why they synergize well.
Build 1 - The Megachad AFK Build
If you don’t like to move around too much, this is the build for you. Instead of chasing enemies for XP, you stand your ground and let Megachad take care of the rest. See the table below for the best Weapons, Tomes, and Items that can help you create the AFK-Tank build.
| Weapons | Tomes | Items |
|---|---|---|
| Aura Aegis Axe Lightning Staff/Revolver | Shield Tome/HP Tome Regen Tome Damage Tome Cooldown Tome | Oats Moldy Cheese Gym Sauce Battery Beefy Ring Time Bracelet Clover Credit Card (Green) Boss Buster Cursed Doll Ice Crystal Ice Cube Idle Juice Anvil Mirror Za Warudo Holy Book |
Why It Works: Aura’s all-direction area damage is superb for crowd control. Once scaled enough with the Damage and Cooldown Tome, enemies will melt at contact. Prioritize Aura Size from level-up offers and Charge Shrines. The Damage Tome will also improve the damage output of all other weapons.
To increase survivability, the Regen Tome is a must as it regenerates health per minute. Mix that with items like the Medkit and Oats, and you’ll be regaining health faster than enemies can chip it away. Shield Tome and HP Tome are swappable. Choose whichever you get early and use Items to cover for the other one. For example, if you can’t get the HP Tome, stack Oats.
Lastly, Items like Time Bracelet and Clover will scale your XP gain and Luck, so your run isn’t cut short by bad luck.
Build 2 - The Tank-DPS Hybrid
With the right Tomes and Items synergies, Megachad can be a superb DPS. The default tankiness makes him a more forgiving DPS for beginners, as compared to other options like CL4NK. Check out the table below for a hybrid Megachad build.
| Weapons | Tomes | Items |
|---|---|---|
| Aura Revolver Aegis Flamewalker | Damage Tome Cooldown Tome Precision Tome Regen Tome/HP Tome | Gym Sauce Oats Medkit Battery Beefy Ring Forbidden Juice Backpack Time Bracelet Moldy Cheese Wrench Turbo Socks Mirror Brass Knuckles Demonic Blade Dragonfire Holy Book |
Why It Works: The weapons create a mix of defense (Aegis, Aura) and melee/crowd control/ranged offense (Aura, Flamewalker, Revolver). Attack speed and damage of all four weapons will scale with the Damage and Cooldown Tome. Revolver will be the main weapon of this build, synergizing with all four Tomes for increased damage, attack speed, projectile count, and crit chance boost.
While Aegis will be the first line of defense, the Regen or HP Tome is a must to increase tankiness. Choosing HP increase/regeneration items and Armor/Shield stats from Charge Shrines will be crucial to nail the Tank part of this build.
This build requires you to be more active due to the lowered defenses, but you’ll be clearing swarms and bosses more easily and quickly.
Build 3 - The Long-Run Build
This is the build for you if you’d like to replicate the “god runs” of Megabonk streamers and YouTubers. Provided the RNG gods smile at you, this build will help you get your longest run yet.
| Weapons | Tomes | Items |
|---|---|---|
| Aura Revolver Aegis Bananarang | XP Tome Luck Tome Damage Tome Quantity Tome/Cooldown Tome | Beefy Ring Brass Knuckles Gym Sauce Moldy Cheese Medkit Oats Backpack Time Bracelet Beer Mirror Sucky Magent Holy Book Chonkplate Za Warudo Beacon Eagle Claw |
Why It Works: The Aura + Aegis combo keeps you in control during swarms and helps you survive tricky situations. Bananrang and Revolver will dish out the damage to elites and bosses.
The core of this build is scaling quickly enough to improve your weapons as soon as possible. XP Tome will make sure you’re continuously leveling up, while the Luck Tome ensures better rewards from every source. The added luck is crucial to ensure survival during the early and mid-game.
Once you’ve made it past the first few swarms, the Damage and Quantity Tome will have scaled your weapons to killing machines. If you can’t get the Quantity Tome, the Cooldown Tome is a good alternative.
However, make sure you grab the items that have similar effects to the Tome you couldn’t get. Also, to make up for the low multiplier of the Damage Tome, items like Beefy Ring, Gym Sauce, and Brass Knuckles are absolutely essential.
Items will also help cover up the glaring gap in defense scaling. Prioritize shield, HP, and HP regeneration Items. With increased luck, thanks to the Luck Tome, the Charge Shrines will also offer better stats.
Choose and replicate the build that best suits your playstyle and let us know in the comments how it goes. Feel free to leave your own builds and strategies in the comments section.
If you're looking for more builds, check out Best Megabonk Builds for Every Character. Also, make sure to check out our Megabonk Characters Tier List, Megabonk Weapons Tier List + Unlock Guide, and Megabonk Tomes Tier List.