With space themes, positive emotional themes, and plenty of puzzles to solve, Isoland 4 is a point-and-click game any budding detective can enjoy. In this Isoland 4 guide, we'll cover the first half of the game, providing solutions to all of the puzzles should you get stuck.
If you're already beyond the first half of the game, the guide for the second half as well as the guide for puzzles only available in the second playthrough, can be found using the link below.
Complete Isoland 4 walkthrough guide
Isoland Part 1 walkthrough - Prologue puzzle
The prologue begins in a small abandoned rowboat floating near a lighthouse.

Tapping on the boat will allow you to view it from close-up.

To grab an item for your inventory, simply click on it. Here, the battery will place itself in your inventory once it is clicked on. Any items in your inventory will appear in a white bubble on the bottom right portion of your screen.

Tapping on an item in your inventory will place a hand icon on the item as well as the item's name above it. Selected items can be used on other objects by tapping on them after the item is selected.

Tapping on the flashlight after selecting the battery will place the battery into the flashlight's compartment.

The flashlight will power on, scaring off the seagulls and ending the prologue.

Floating in space
The game begins with an unconscious astronaut floating in space.

Tap on the astronaut to send him falling.

He will land in the Mysterious Room, unlocking the "Smooth Landing" achievement.

Poetry book puzzle
From the Mysterious Room, head three rooms to the right to enter the lunch room.

Click on the arrow at the bottom of the screen to move to the next room.
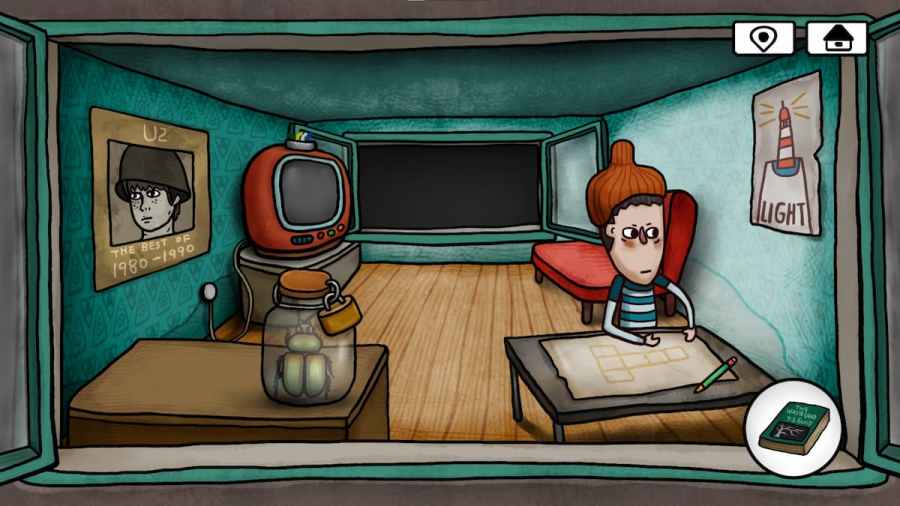
This room contains a TV, a poetry book, a locked jar containing a bug, and a few other goodies.

Tap on the poetry book to the left of the locked jar to place it in your inventory.

Return to the food room and enter the window on the back wall to view a room with a mechanic and a furnace.

Clicking on the man reveals that he is a regular guy who likes to read.

Select the poetry book in your inventory and tap on the man to give it to him.

In his excitement to read, he'll drop his pliers on the ground. The window in the back will open up as well.

Deer antler puzzle
Heading through the window at the back of the engine room leads you to a laboratory.

Clicking on the back right test tube will spread cracks around its surface.

Once the glass tube is broken, the antler inside can be clicked to move it to your inventory.

While you're here, pick up the antenna on the test tube containing the tentacle.

Leave the laboratory behind and head to the room filled with signs.

Repeatedly tap on the back window until it opens up.

Entering the window reveals a new grey room. The only thing inside of it is a deer missing an antler.

Select the antler in your inventory and click on the deer to give it to him.

A forest will grow around the room. One blue flower can be seen growing in the top right corner—click it to take it.

Mysterious flower puzzle
Head to the sign room and grab the flashlight hidden behind a few tufts of grass.

Return to the mysterious room the astronaut is in and hand him the flashlight.

He'll shine it in the flower, which will give you a white fruit.

Related: Room Escape Strange Case Walkthrough
Sailor and blue flower puzzles
Head to the water-filled room with a sailor in a boat.

Give him the white fruit to gain the "Time Travel" achievement

The sailor will drop a moon rune as he leaves and a new room will open.

Enter the new room to see a small river with a man standing in it.

Hand him the blue flower to get a ticket and unlock the "Memory of a Butterfly" achievement. This unlocks the window to the left as well.

The next room over has a kid looking at holes in the sand. Clicking on him makes him ask if you have seen his bucket.

Shovel and bucket puzzle
Return to the food room and pick up the bucket on the left.

Bring it to the kid in the sandy room. He'll place a shovel in it, which you can take for your inventory.

Taking the shovel opens up the back window.

The room beyond that window contains a musician. On the right side of the desk is a blue feather, which you should take now.

Bedroom tv and locked jar
Fix the TV by placing the antenna from the laboratory on top of it. This provides a hint for a future puzzle.

Open the bug jar using the pliers to get a dung beetle.

This will unlock a room containing Cleopatra, a star rune, and an empty bowl.

Cleopatra's puzzle
Cleopatra talks about needing a blue feather, a beetle, and an olive.

We're only missing the olive, which can be found in the food room. Click on the plate containing the apple on the right side of the room.

An olive can be found to the left of the plate.

Return to Cleopatra's room and place all three ingredients into the bowl.

This will create a bird and unlock another room.

Cheese puzzle
Entering the room to the left of Cleopatra's reveals a dining table with four people. Grab the cheese in the bottom left corner.

The cheese can now be fed to Cleopatra's bird.

Now you're able to freely explore the outside world, which unlocks the "Clear and Bright" achievement.

Briefcase puzzle
Leave the cottage behind and head as far right as you can. You'll come across a man sitting on a bed with a white bird and a briefcase.

Clicking on him a few times reveals that he wants to take a ship.

Hand him the ticket to get the group photo he is holding.

While you're here, tap on the bird to make it fly across the screen while tickets rain down. Doing this several times in a row will unlock the "Perseverance" achievement.

With the family photo, return to the musician's room.

Place the group photo into the frame to her right.

She will begin playing, which will unlock the windows behind her and make flowers grow in the pots. Mark down the number of flowers in each vase to form the code "21314". Make sure to visit the monk's room behind hers to mark it on the map. This will also give you the "Make the Most of our Strengths" achievement.

Now return to the briefcase and enter the code "21314" into it to unlock it.

Take the ship photograph out of the briefcase. You can now open and shut the briefcase as many times as you want, with the counter inside of the briefcase keeping track of how many times you open it.

Opening and shutting the suitcase 18 times gives you a time slip.

Opening and shutting it 50 times makes an eye appear on the top of the case.

Opening it 99 times gives you the "Time Flies" achievement.

Going to the cottage after this reveals a lot of eyes in the sky, giving the achievement "Gazing into the Deep Space".

Edge of Spacetime Achievement
By placing the time slip on the matching red symbol in the sailor's room, you can get the "Edge of Spacetime" achievement.

Related: Cube Escape Seasons walkthrough
Spaceship puzzle
To get to the spaceship, you'll need to travel to the left. On the way, you'll be able to pick up an hourglass sticker from a fence.

The spaceship is found next to an alien statue.

Clicking on the door reveals a new puzzle. The mechanisms with the blue centers release blue orbs, while the mechanisms without only blow puffs of air. The goal of the puzzle is to fill the board with the blue orbs.

Click on the top mechanism until the row is filled with balls.

Tap the lower right mechanism to blow the lowest orb to the left.

Repeat the process of tapping the top mechanism and the lower right until the lowest row is full.

Press the right mechanism to push the left one across from it above the one without a blue center.

Press the one without a blue center one more time.

Now press the top left mechanism until the other mechanism is in the top right corner.

Press the mechanism beneath the corner once to push the blank one against the left wall.

Press the mechanism in the top right corner once.

Fill in the board by pressing the blue mechanism on the lower right until its row is filled.

This unlocks the spaceship's interior. On the first floor, grab the brown controller on the floor and the panic sticker on the cranberries poster.

On the second floor, grab the lighthouse.

While you're outside, head to the area with the megaphone in the center. You can pick up a starfish fossil and an ichthyolite here.

Mountain and lighthouse puzzles
Head back to the area with the closed doorway and chain fence.

Heading to the top of the structure reveals a small pool of water.

Place the lighthouse from the spaceship into the water.

Clicking on the lighthouse leads you to the top of it.

Cable puzzle
Focus on the puzzle in the center.

Click on the button in the center to start the puzzle. Press the three separate buttons until all of the cords connect with their other halves to turn on the light. A clam can now be seen above the ship in the bottle, and the "Guiding Beacon" achievement will unlock. Grab the orange "sea story" badge while you're here as well.

Tap on the clam to open it and obtain a red pearl. The match next to it can also be picked up.

Ship in the bottle puzzle
Start by clicking on the ship in the bottle. The cube next to it, as well as its reflection in the glass, will be used for a future puzzle.

Select the match from your inventory and tap on the ship to light it.

Once it's burned, a single gold coin will be left in the bottle. Grab it to store it in your inventory.

Looking for more affordable point-and-click escape room games? Check out our guide on 3D Escape Room Detective Story here on Pro Game Guides.