There are a total of eight Adaptations you can find in Another Crab's Treasure. Each one is helpful in its own way, and you'll want to collect them all to get the best possible loadout for Krill.
All Another Crab's Treasure Adaptations system, ranked
There are a total of eight of these Adaptations, and you will need all of them in order to earn the Well-Adapted achievement in Another Crab's Treasure. Here are all eight in the order of worst to best, and where you can pick these amazing powers up.
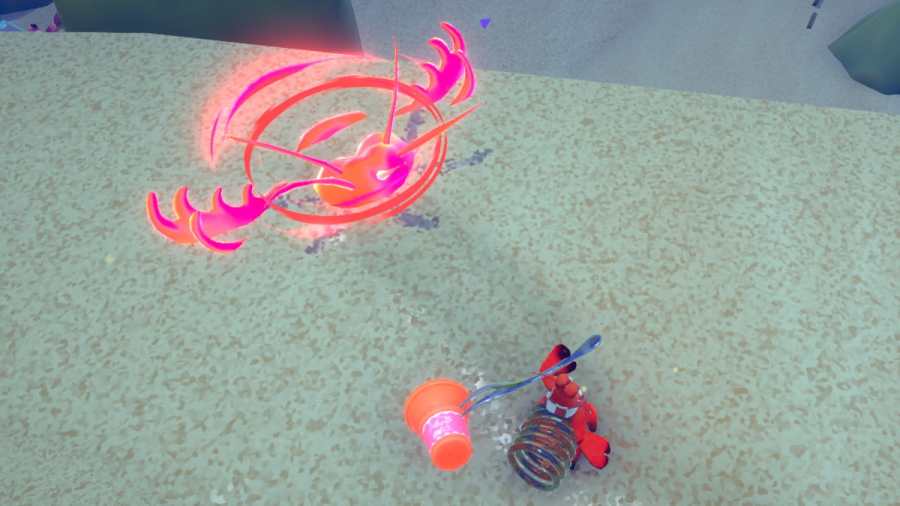
8. Urchin Toss Adaptation
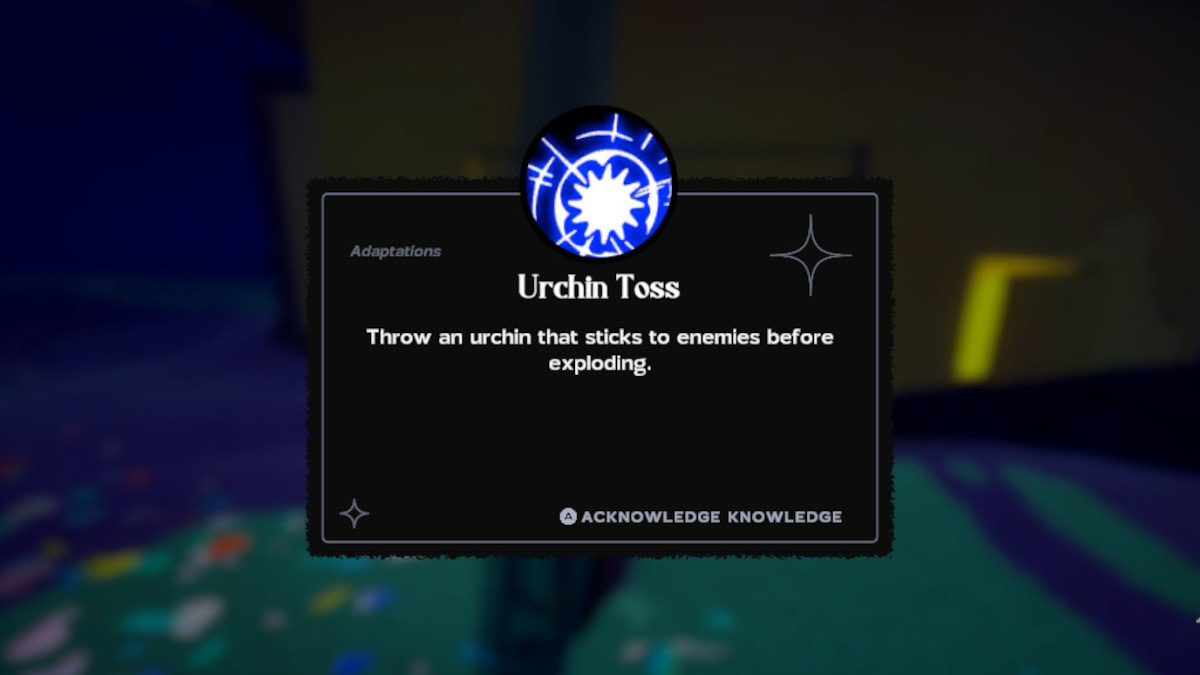
There is an Urchin NPC you can find in the Lower Crust in New Carcinia. The NPC is wearing a bottle cap, and you have to exhaust his dialogue and run into him a bunch of times. It will do damage to you, and he will eventually give you this Adaptation. I liked this one the least; it just seems to be flat damage, and I found the staggers to be a lot more useful.
7. Bobbit Trap Adaptation
The Bobbit Trap is found in the Sands Between where there are a bunch of Bobbit enemies; it's just east of the giant dumpster. It allows you to plant a Bobbit in the sand that will attack and hold your enemy if they walk over it. Level 2 deals DoT damage to the enemy that is being held. Level 3 allows you to hold the enemy for longer. It is one of the least useful; you have to be able to predict how an enemy will come at you, but it can get you out of a pinch.
Related: How to buy shell insurance in Another Crab’s Treasure
6. Royal Wave Adaptation
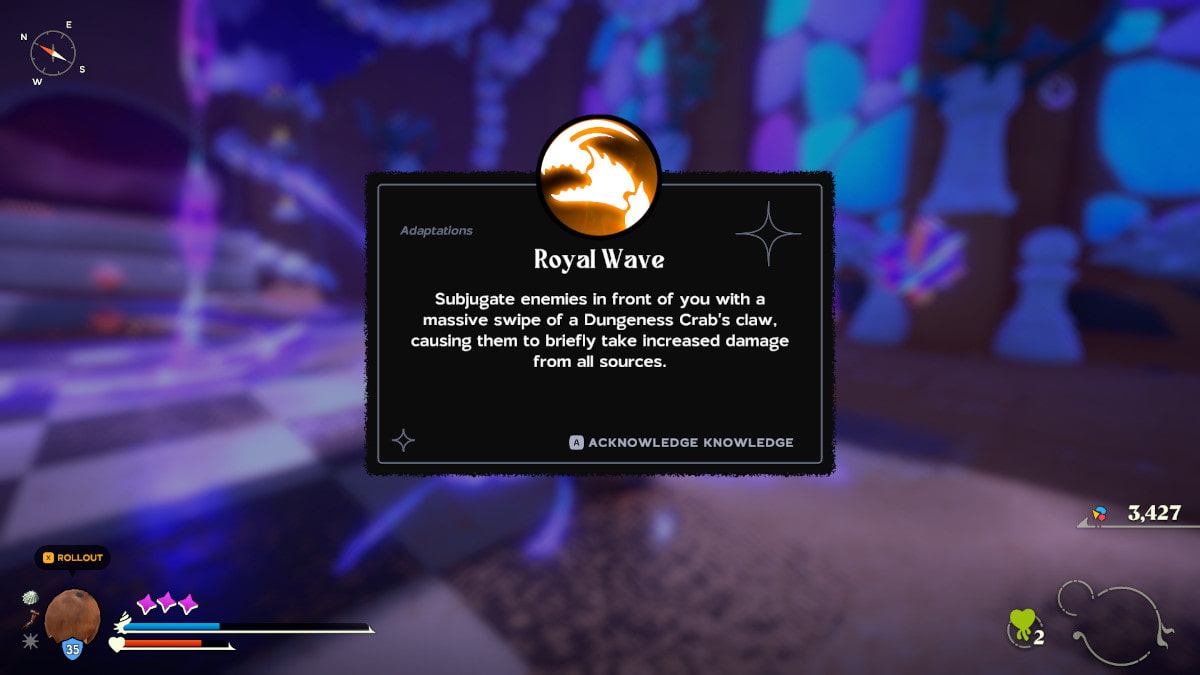
The Royal Wave is going to be the first Adaptation you can get in Another Crab's Treasure, and it is found when you defeat Duchess Magista in the Shallows. Enemies hit with this move will take extra damage for a few seconds. Level 2 raises the amount of time it lasts and the extra damage enemies take. Level 3 lowers the Umami Charge cost by 1.
5. Tactical Tentacle Adaptation
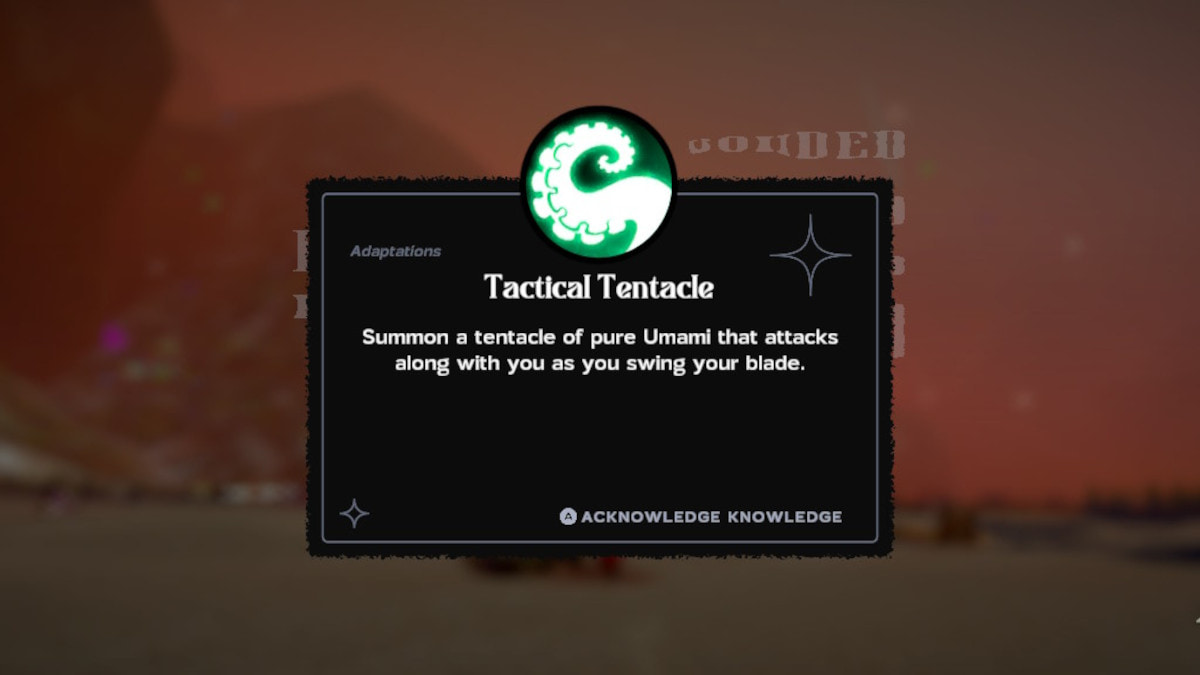
There are several secret bosses, and this Adaptation is tied to defeating one of them. You'll need to kill Consortium, the secret boss in Flotsam Vale. The Tactical Tentacle swings a tentacle along with the swing of your weapon. Level 2 increases the size and duration of the tentacle, and level 3 increases the damage dealt and heals Krill for a percentage of the damage dealt.
4. Bubble Bullet Adaptation
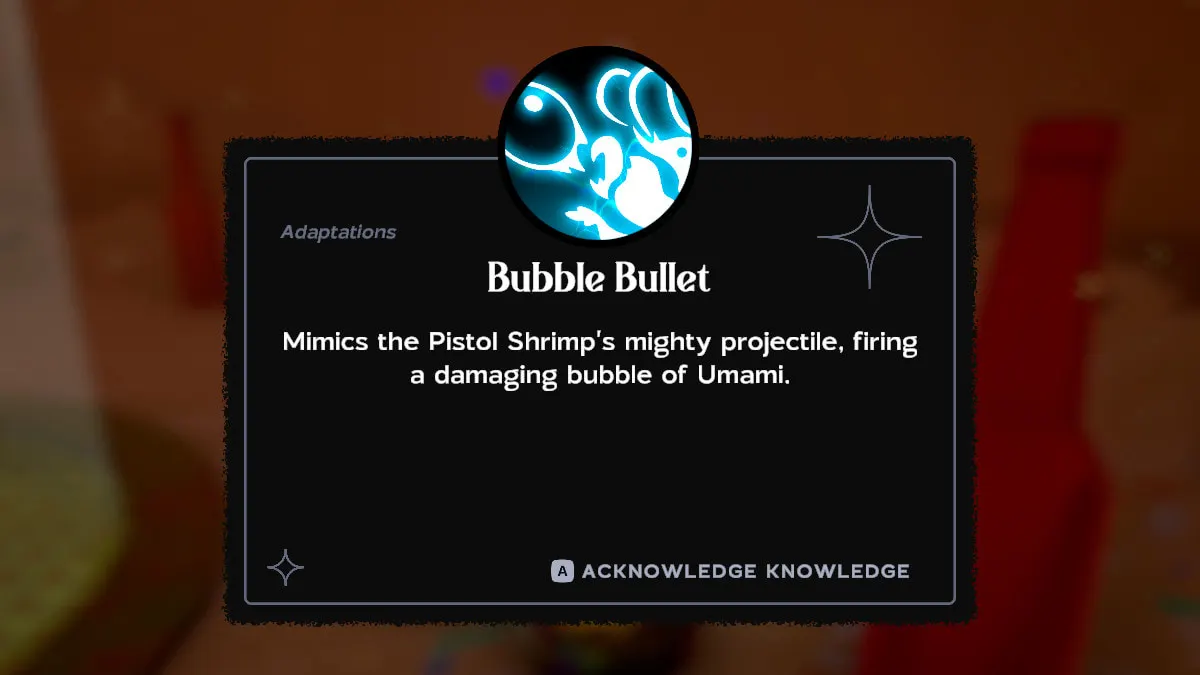
The Bubble Bullet is gained from defeating the Ceviche Sisters bosses. It is a ranged attack, allowing you to fire a projectile at enemies and deal damage from afar. This powerful weapon can be upgraded twice to make it even more powerful. Level 2 fires a larger bullet that can Capsize an enemy. Level 3 gains you a rapid fire version of this attack by holding down the fire button.
I find that having a ranged attack added to my moveset is incredibly helpful to me, as I can deal damage without putting myself in more danger than necessary. This also allows me to pick off one of a group of enemies. This one is good, but most of the time I felt like I'd rather Mantis Punch. This might have been different if I put more into Umami.
3. Electrocute Adaptation
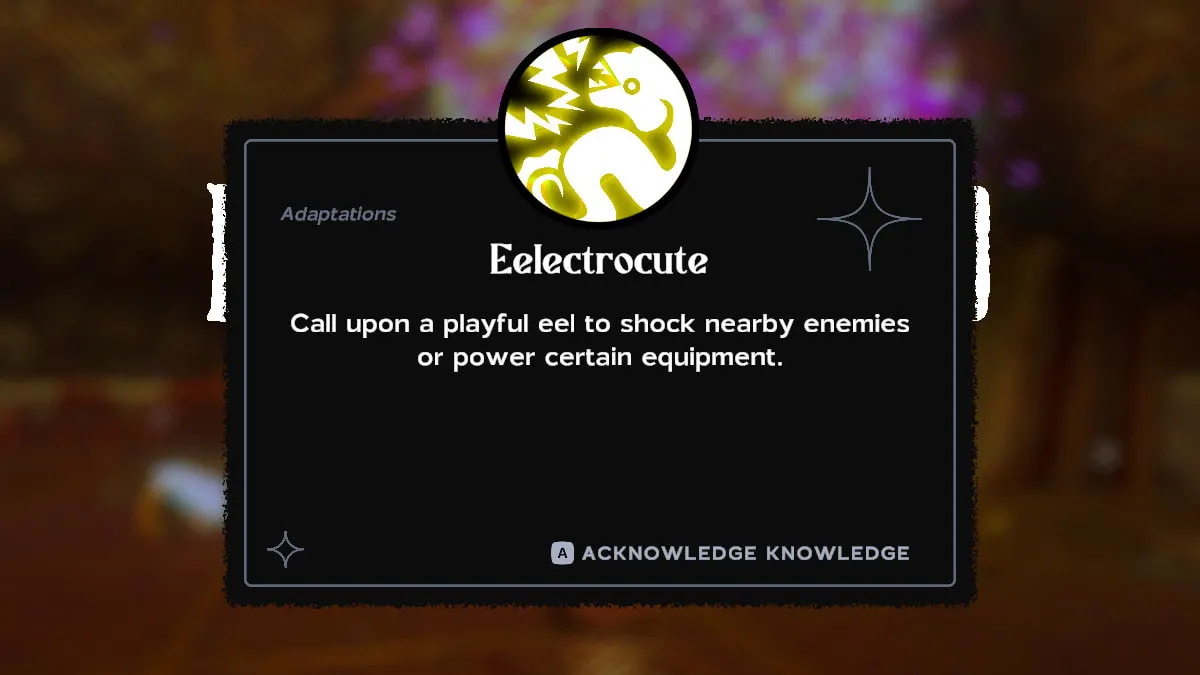
Once you have killed Voltai, one of the bosses, this Adaptation is automatically given to you. It is also one of the few Adaptations that has uses outside of battle; you can use them on crab statues to find hidden loot. The power calls upon an electric eel that will shock enemies and "power certain equipment." Level 2 increases the duration of the eel. Level 3 increases the damage and stun duration. This is great for the same reason the Mantis Punch is but for groups of enemies. Like the Mantis Punch, Electrocute is also useful out in the world, so it's good to keep it selected.
Related: How to shoot a crab with a gun in Another Crab’s Treasure
2. Mantis Punch Adaptation

You can use the power of Umami to hit enemies with a powerful blow or destroy Umami-infused objects, like the blocks that keep you from certain areas of the map. You get this power if you go out of your way to defeat the secret boss Topoda, who is located at the Expired Grove. Level 2 makes Krill invincible while casting. Level 3 allows you to teleport in front of your enemy.
I like this power at level 3; there's nothing like being able to teleport to make dealing damage a lot easier. This power also interacts with the purple blocks in the world, making this one the Adaptation I keep selected.
1. Snail Sanctum Adaptation
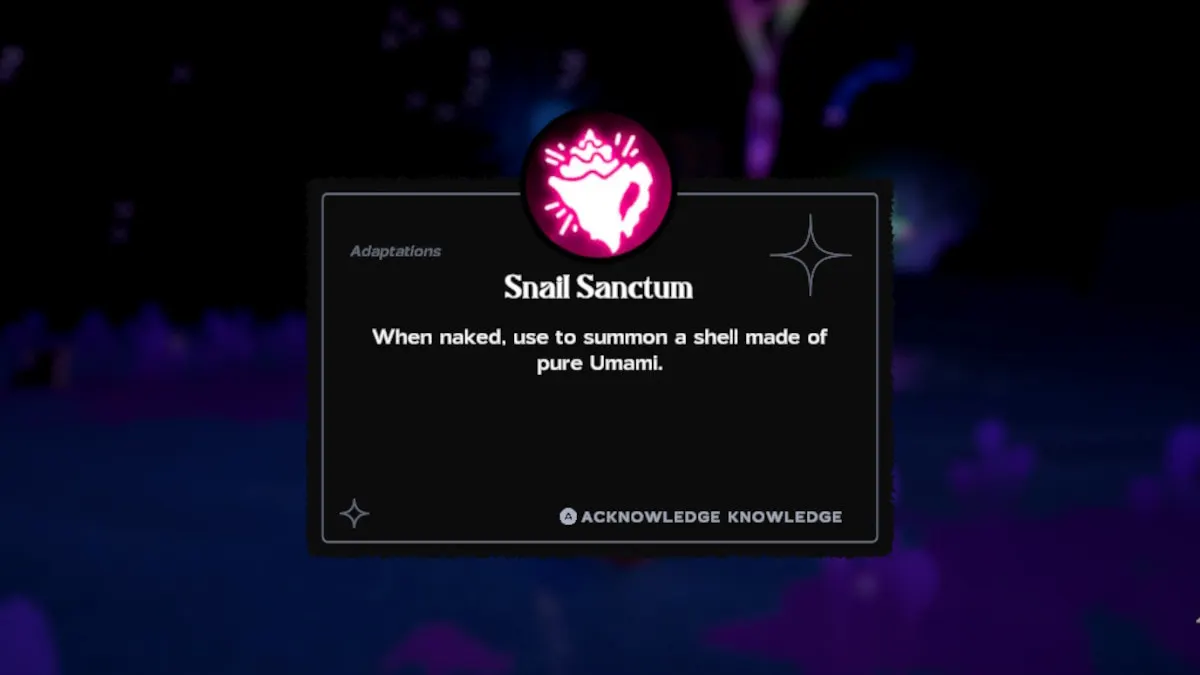
The Snail Sanctum allows you to get one of the shells needed to complete the Shell Seeker achievement; it summons a shell of pure Umami if you are naked. In order to get this Adaptation, you need to defeat the boss Petroch in the Unfathom. Level 2 gives a Spirit Conch a Shell Spell. Level 3 greatly improves a Spirit Conch's stats.
It's my favorite Adaptation to use, as it can help cover you if you find yourself without a shell, or going back into a dangerous area to get your stuff back after a death. I am a pretty defensive player, however, so your mileage may vary.
For more Another Crab's Treasure, check out Best Shells in Another Crab’s Treasure on Pro Game Guides!