The Path of the Splicer 2 quest takes guardians to the Moon for another Override mission in Destiny 2. It's very similar to the first Path of the Splicer quest, just reenacted on a new planet. To get started, players should grab the quest from the Splicer Servitor on the HELM.
From there, players should use ether to charge their Splicer Gauntlet and create a Key Code, which ensures access to a Conflux Chest while in the Override. 50 Ether is required to create a Key Code, so if players do not have enough they must complete public events and playlist activities. If you're unsure of how to access the Splicer Gauntlet, open the Quests tab and right-click (PC) on the Splicer Gauntlet item.
With the Key Code created, open the HELM map and launch the Override: The Moon offensive mission.
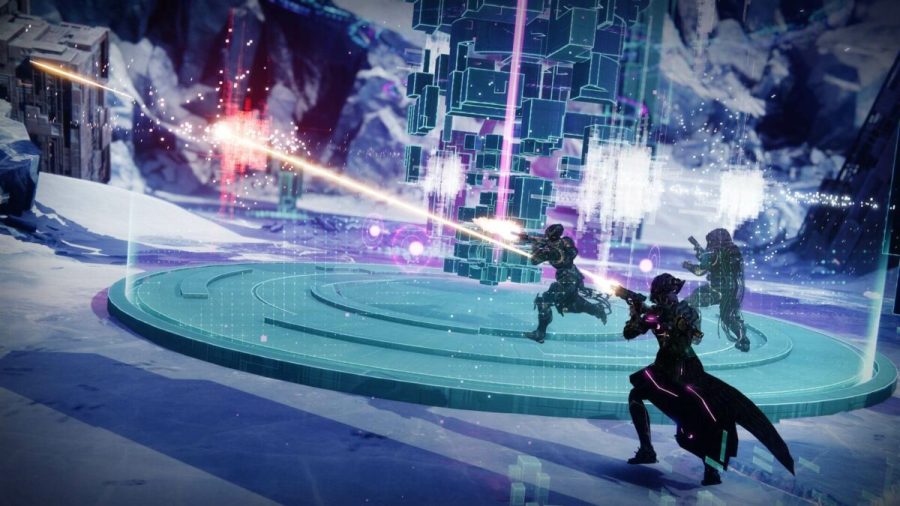
Phase One plays out in three sections, the overall gameplay a nasty game of Gambit without the enemy team competition. Rather, players will fight the Hive, grab motes, and deposit them into the terminal to access the Vex network. Stronger enemies will invade the area and they must be defeated to progress to the next step where the terminal glows red. While the terminal is red, shoot the glowing red orbs to create a platform. Climb the platform to hack the node. Then repeat this whole process two more times.
Sometimes a portal will activate that sends players to a miniboss. It's not necessary for all players to enter the portal, but enough should go in to defeat the miniboss, who will drop a Data Spike that overloads the terminal much faster.
With Phase One out of the way, players will be sucked into the Vex terminal. This kicks off Phase Two, which is a platforming section that isn't too difficult. Just be careful and time your jumps accordingly to make it to the third and final phase.
Phase Three is the boss battle, a large minotaur called Portunos, Subjugated Mind. This boss's health is divided into thirds where Portunos will become immune, teleport all players, and send forth a ton of smaller Vex. Search for the Scytal, who serves as a stronger enemy that must be defeated to progress further. One player must grab the Data Spike dropped by the Scytal and deposit it into the terminal. Rinse and repeat this process until Portunos is defeated.
With Portunos dead, two chests will appear, one normal and the other a Conflux Chest. Remember that Key Code you constructed before? This is where you'll use it to open the Conflux Chest for more rewards. Eventually you will return to Mithrax, which will progress this season's story until the next weekly quest.
For more Destiny 2 guides, check out Destiny 2 Weekly Reset [May 18] Time, Legacy Activities, Nightfall, & More on Pro Game Guides.