
Destiny 2's 30th Anniversary Pack went live on Tuesday, Dec. 7, and Guardians from all across the community are jumping into the new action looking to collect new gear, get the beloved Gjallarhorn rocket launcher, and of course try out the new activities. One of these activities is the brand new dungeon known as the Grasp of Avarice.
Dungeons in Destiny 2 have always been a nice mix of fighting, platforming, and puzzling with new weapons and armor to boot. The Grasp of Avarice is no different. Here is a full guide on how to complete it.
Starting Area
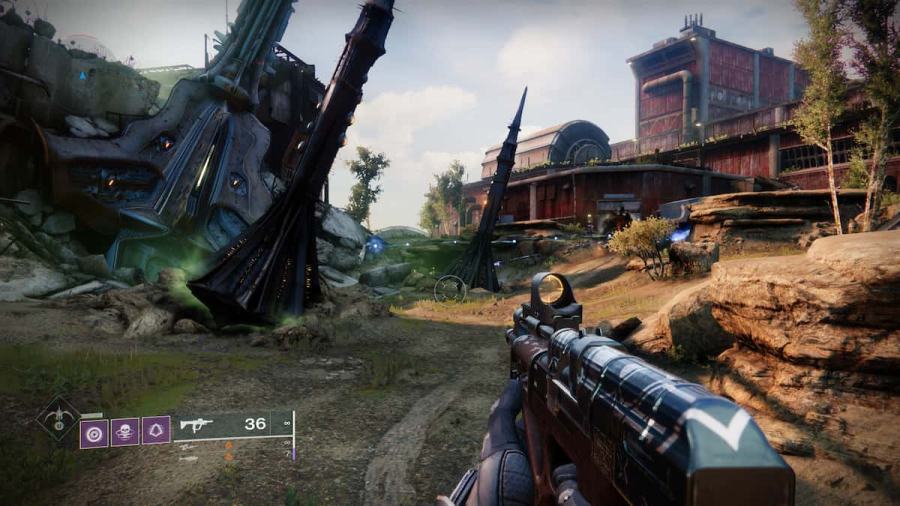
The dungeon starts you in the Skywatch area of the Cosmodrome. Here, you will make your way to the location of the Loot Cave of old. You will find enemies just outside the cave and the surrounding area. Killing the enemies will cause some of them to drop what looks like exotic engrams. But look a little closer and you will notice that these engrams will quickly turn red. These pickups are actually debuffs called Burden of Riches that you will need to advance the dungeon.
Once you have collected some of these, go inside the cave to find a small structure known as the Icon of Excess. Stand next to the structure, and you will notice the number of riches drop. You are basically offering up the riches to the icon. Rinse and repeat this by killing enemies and turning in the riches. Once you have collected and turned in enough, the Icon will glow brightly and the floor beneath you will fall away, dropping you down into a larger cave system.
The use of the Burden of Riches and the Icon of Excess is a gameplay mechanic you will see countless times in this dungeon, so keep that in mind as you continue.
Important Note: There is a timer next to the debuff. If this timer runs out you will die. Collecting more riches will rest the time though.
Area Two
Once you have dropped down, make your way through the cave system. It's a pretty linear path so it's not too difficult to navigate. There will also be a few enemies but nothing too tough.
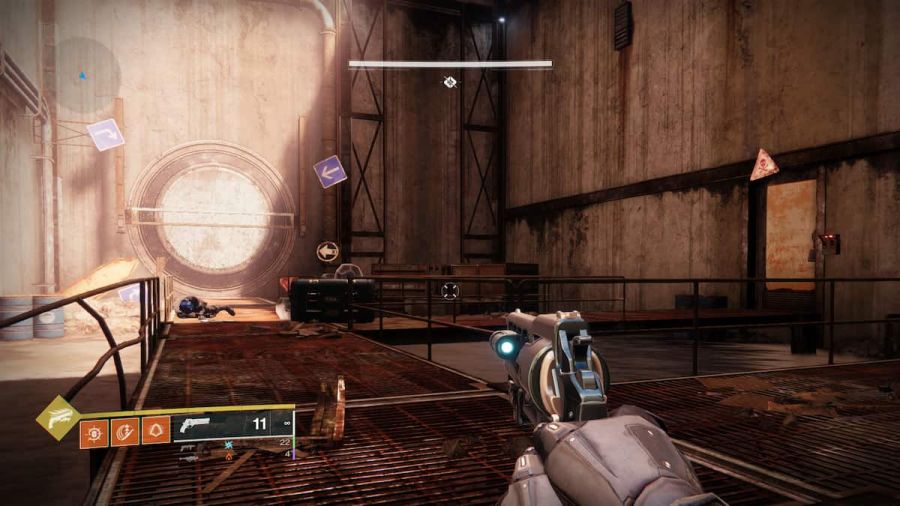
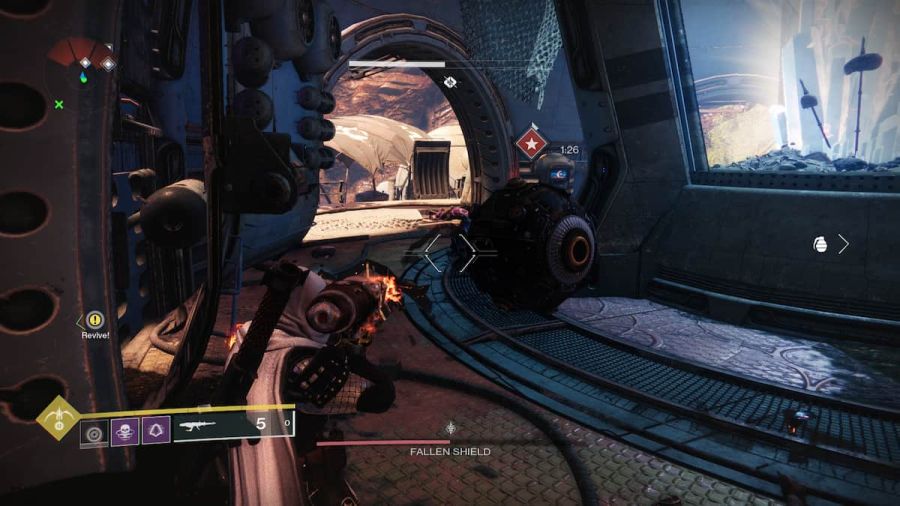
Eventually, you will reach an area of the dungeon that looks like the image above. A large round door with a bunch of arrow signs pointing to it will be at the far end as well as two doors to your right. This is where the puzzles begin.
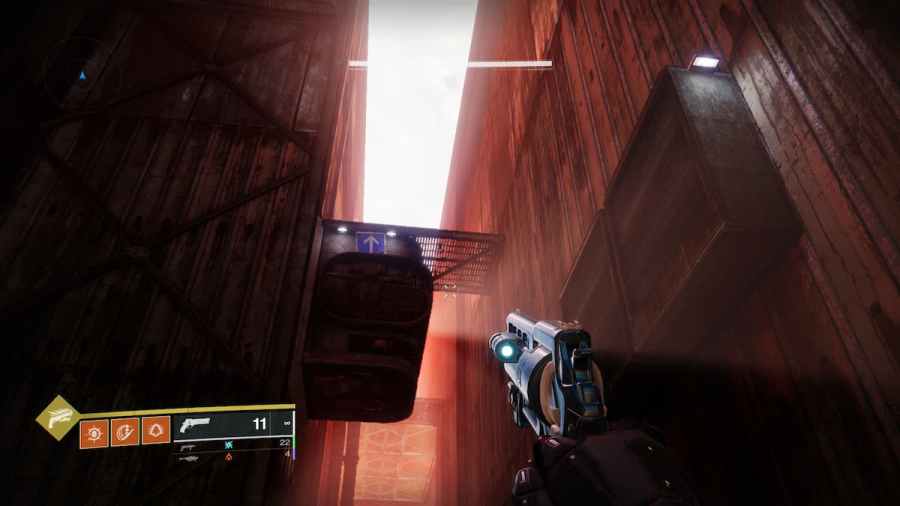
Head to the door depicted in the image above. Open this door but don't rush in. There is a trap just inside. On the floor will be a pressure plate that, if activated, will make spikes come out of the wall. Jump over the pressure plate and activate the console on the other side. Activating the console will open the big round door.
Next, travel inside the big round door and follow the path to a hallway with a big gap in the floor. On the other side of this hallway is another console and between the gap is a platform. But beware this area is all a trick. Standing on that platform will cause it to drop out from under you and activating the console on the other side will kill you.
Instead, make your way across to the console, turn around and you will see a small side room on the left side just underneath the false platform. Once you make it to this room, activate the console in here. Once activated, go all the way back to the starting room with the big round door.
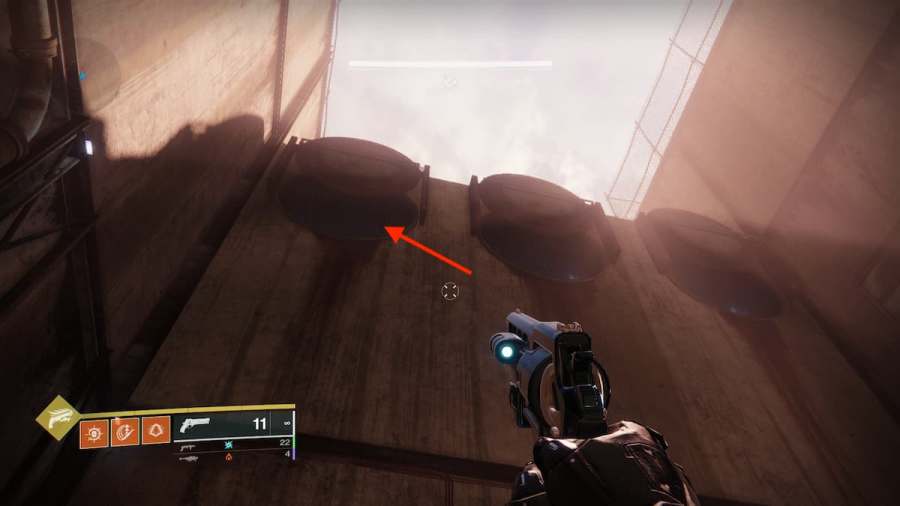
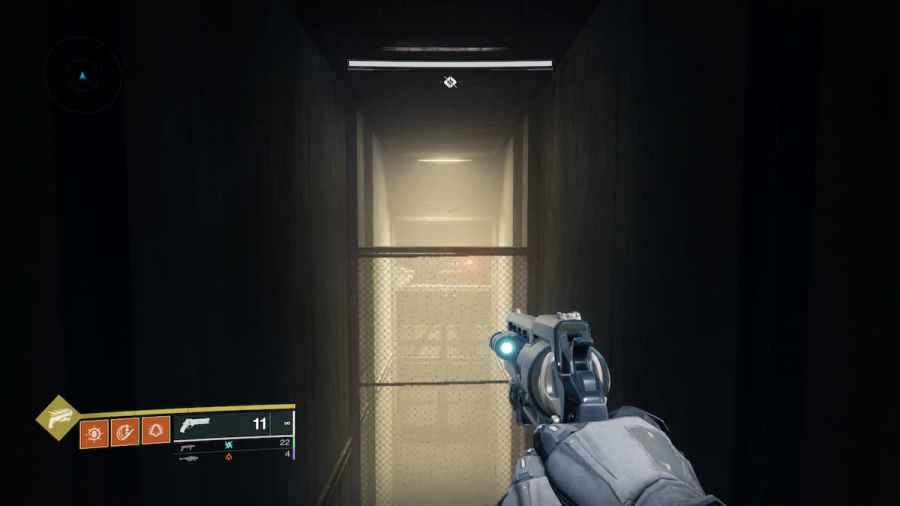
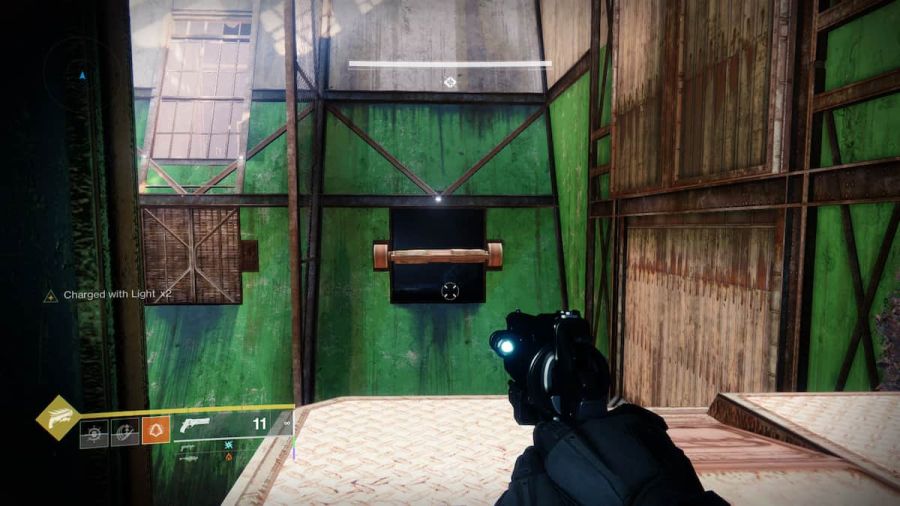
Look up and you will notice that all six of the doors above you have opened. Go through the one indicated in the image above. It will be on the left once you come out of the big round door. Inside you will find a pressure plate and a hatch on the roof. Activate the plate to open the hatch.
Area Three
This next area is pretty small and not that complicated. First, climb up to the platform depicted in the image above. But when you get up to it, make sure you stay to the right, as another trap plate will be on the left. From here carefully jump to the next platform and move quickly across the walkway since the platforms are traps as well and will drop underneath you. Once you get across, activate the console in the next room to open the door.
Area Four
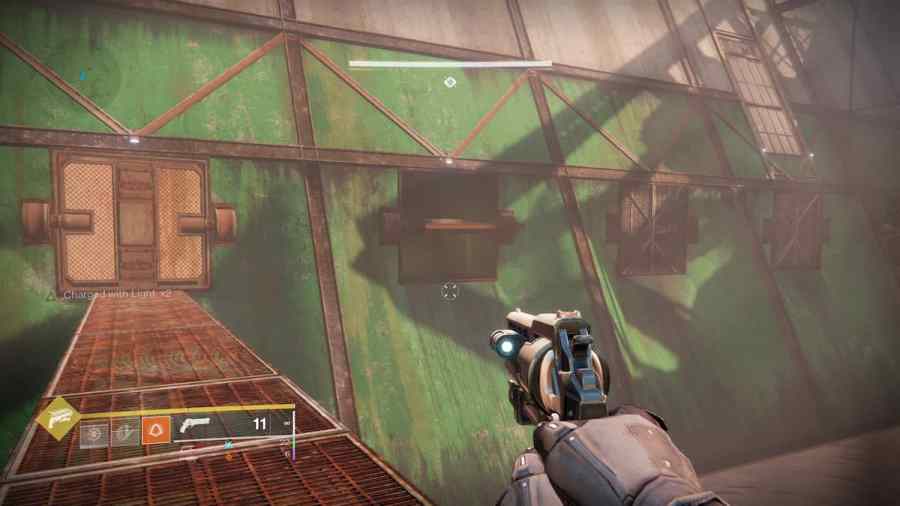
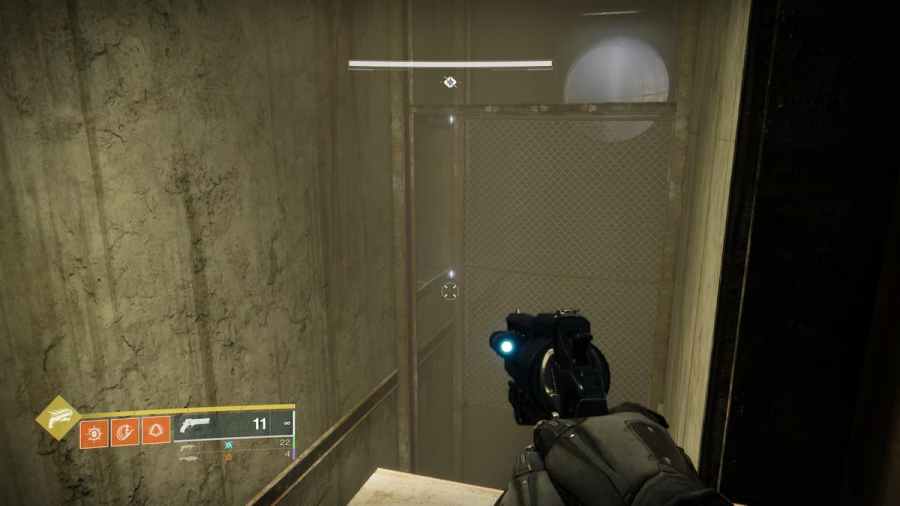
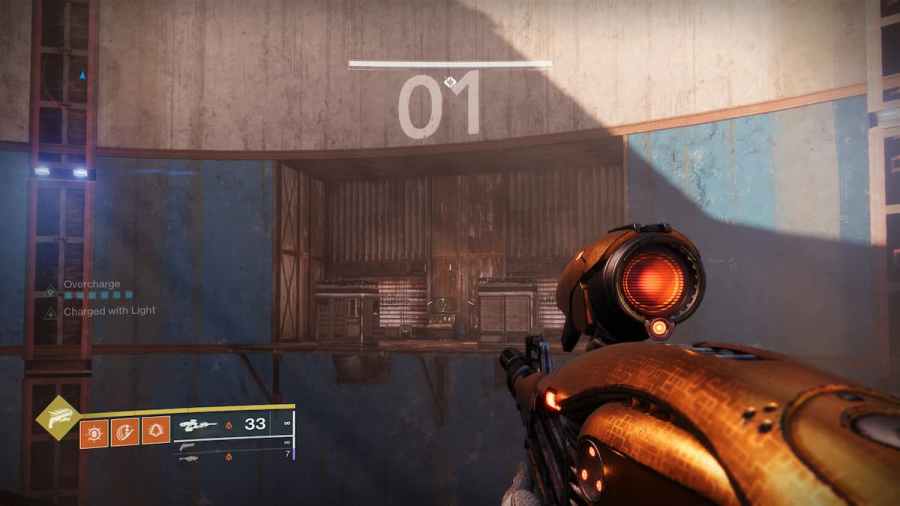
The next area is a bit of a process but not too challenging. Travel through the now opened door, and out onto the walkway. To the right, you will notice another open door like the image above. Jump to it and make your way inside. This small area has a few thralls and another trap. Take out the enemies, avoid the pressure plate, and hit the switch located on the back wall of this room. It will be lit up, so you can't miss it. Only hit it once to close the door you came through and open the other one.
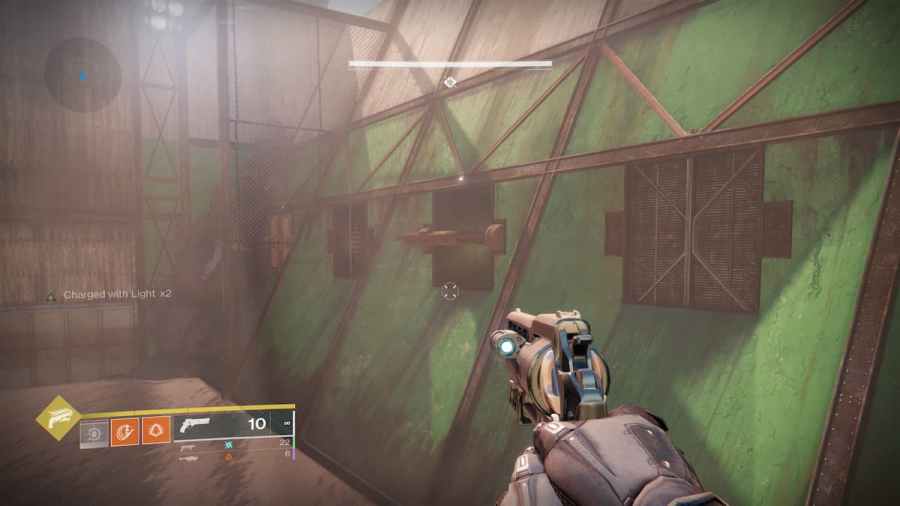
Now make your way out of the newly opened door. Walk back out onto the walkway and you will see another door open on the other side of this whole area. Jump to it and make your way inside. Just like the last room, wipe out the enemies, avoid the trap, and activate the switch on the far wall. This will also close the door you came through and open a different one.
Go out the newly opened door and jump across the gap to another open door. In here, jump through the gap in the ceiling and activate the switch. This will open one of the large doors in this area.
Now that you have opened one of the big doors, you now have to backtrack and repeat what you did to get to the large open door. Head back the way you came, killing enemies and hitting switches until you make it. Once inside the large room, another console will be on the back wall. Activate it and the other large door in this area will open on the opposite side of you.

Repeat what you did with the small rooms and the switches one more time, to get to the other large door. Once inside go to the back of the room and open the door on the right, not the one on the left. The left door is a death trap.
Area Five
Once you travel through the small door, you will be in a large circular room. Drop down to the platform on your left. In this room, you will notice four stations along the outside of this room. Each station is labeled with the number one through four.
Start by going to station one and activating the console. This will open the doors at station three. Make your way to station three, fight some enemies, and activate the console here. This will now open the doors back at station one. Kill some more enemies there, activate the console, and this will open the doors at station two.
Make your way there and kill the vandal with the scorch cannon. Take this weapon and bring it to station four. To open the station four door, shoot the activator next to it with the scorch cannon. You will have to charge up a shot though in order for the door to fully open. Once the door is open, climb the stairs to get to the next area. But beware, as you climb the stairs, a large rolling object will drop down suddenly and attempt to crush you. Either jump over it or use the little spaces on the left or right of the staircase to avoid it.
Important Note: The use of the scorch cannon to charge an activator is another gameplay mechanic that you will see countless times in this dungeon, so keep that in mind.
Area Six
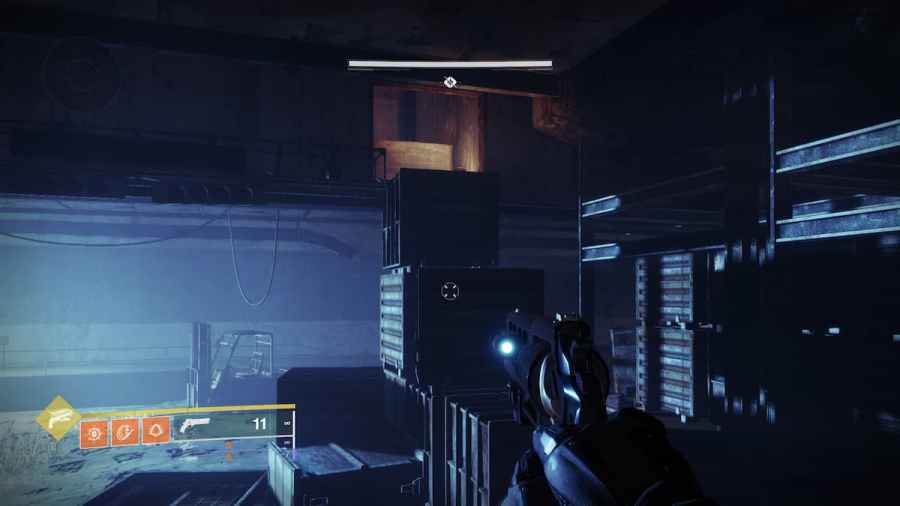
This area is pretty quick and there are no enemies. Make your way into a large room and go left. You will see a stack of crates made to look like a staircase leading up to the exit. Climb these and make your way through the passage. You will come out into an even larger room filled with water at the bottom. Look across the room and you will see your exit. Jump across to reach it. Note: if you are playing as a Hunter, the Stomp-EE5 boots will help immensely with this large jump.
Ogre Boss
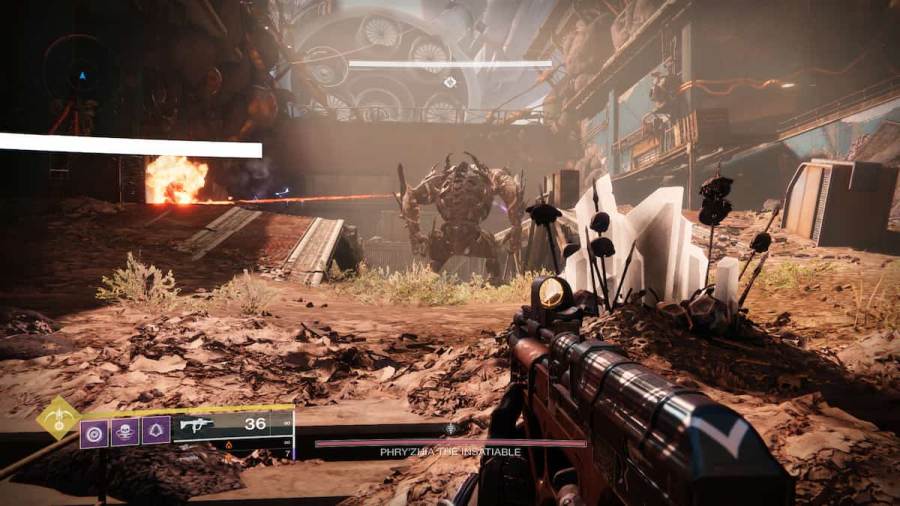
Make your way through the bunker door on the other side of this jump and it will lead you to the first Boss Area. This area is pretty challenging so having teammates is essential. The boss is completely immune to all damage and must have its shields taken down before you can do damage. Here is how to take them down.

When the encounter starts your first priority should be to get the scorch cannon off the vandal that spawns at the back of this boss room. After getting the scorch cannon, look to either the left or right of the room and you should see another activator. Just like in the previous area, shoot it with the scorch cannon directly into the hole and hold down the fire button. Allow the blast to fully charge up so that it will open the doors underneath it all the way. Now go inside and kill the enemies within. These enemies will drop more of the Burden of Riches that you will have to turn into the icon.
This process is repeated over and over again until enough riches are turned into the icon. Once enough riches are turned in, the bosses' shields will go down and you can damage it. Most likely, you won't do enough damage to the boss the first time, so when his shields go back up, you will have to do all of this again until the boss dies.
This boss fight is challenging, but there aren't too many steps to it. It's just a rinse and repeat type of fight until it's over. So, after enough attempts, you will finish it. Make sure to open the chest that appears after you defeat the boss.
Related: How to get the Eyasluna in Destiny 2
Sparrow Area
Once you have defeated the boss, a door will open at the back of the room. Go through the door and follow the only path that will lead you to the next area. Eventually, you will come to a big door. This is the beginning of what can be referred to as the Sparrow area.
To open the large door, activate the console on the left. But be ready, because the second the door opens, the encounter will start. So it might be a good idea to read the next few paragraphs to know what you will be doing the second the door opens.
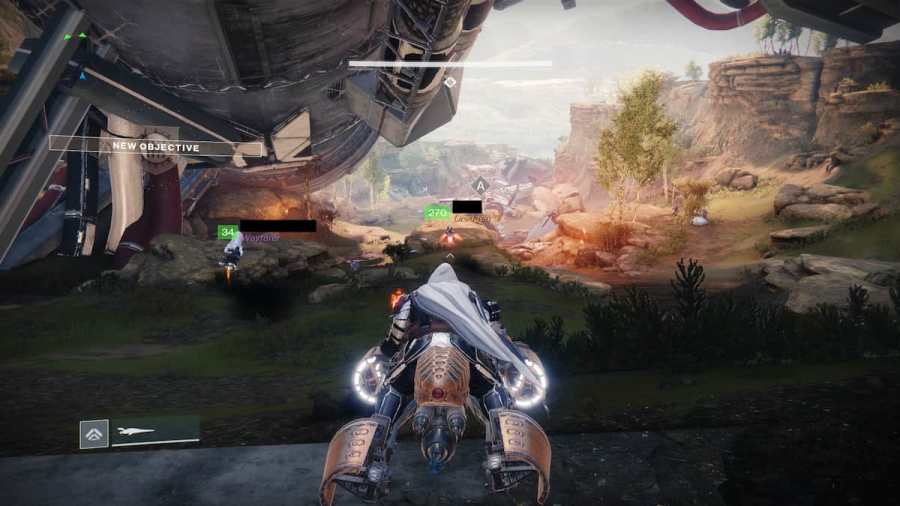
Hop on your Sparrow, and race into the spacious area in front of you. There will be a lot of pathways and plenty of enemies. Once the encounter starts, you should see a symbol with the letter A and a short timer next to it appear on your HUD. This is a mine and you will have to dismantle it by being in its vicinity.
Fortunately, in order to dismantle the mine, all you have to do is ride your Sparrow through it. The reason you use a Sparrow is that the timer on the mine is very short, roughly 10 to 15 seconds if you're fast. The other reason is that there will be multiple mines to dismantle in this whole area.
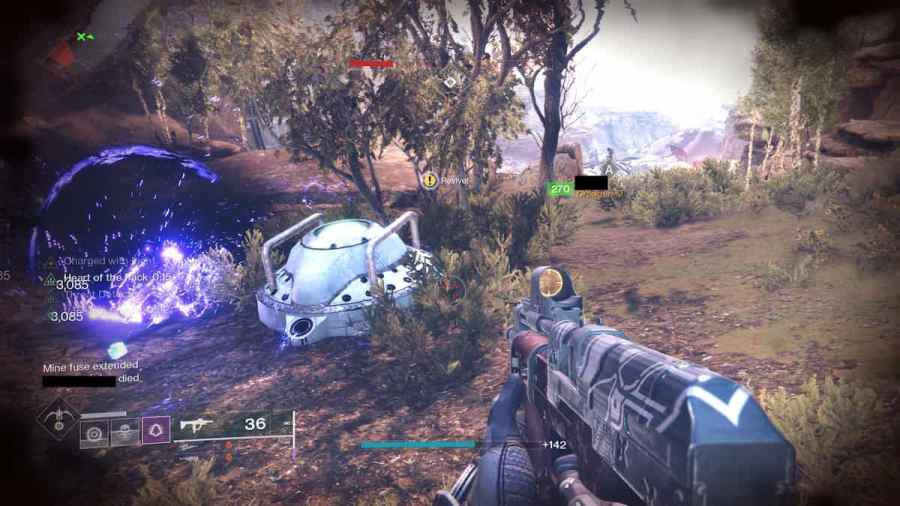
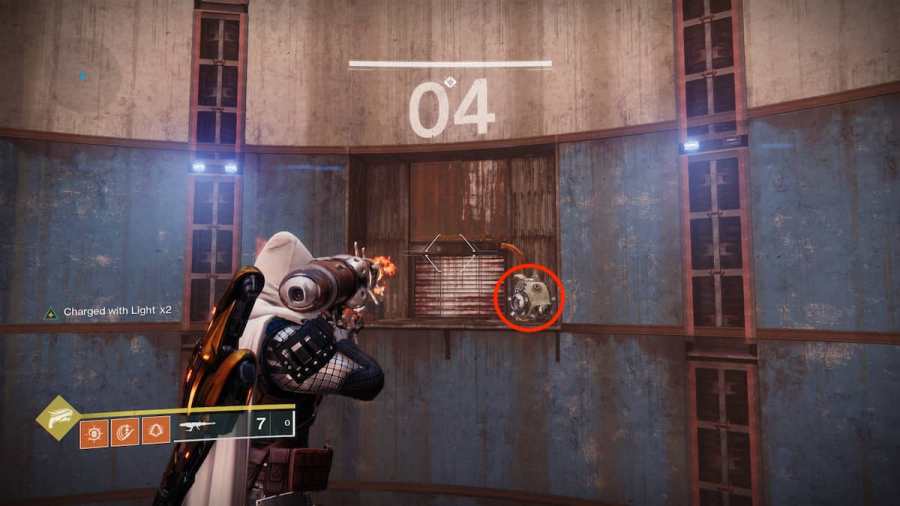
Helpful Tip: if you happen to go too slow or want a few extra seconds added to a mine's timer, you will have to drive across a timer extension. These will be little circular devices with a red light illuminated on them. When you drive close to them they will illuminate a green light and a few seconds will be added to the next mine's timer.
Continue heading straight and towards each mine as it appears on your HUD. Make sure to avoid enemy gunfire as much as possible so you don't fall off your Sparrow. The final mine will be across a huge gap. Fly your Sparrow through one of the launchers and you will reach the last mine, therefore completing the encounter.
Fallen Shield Area
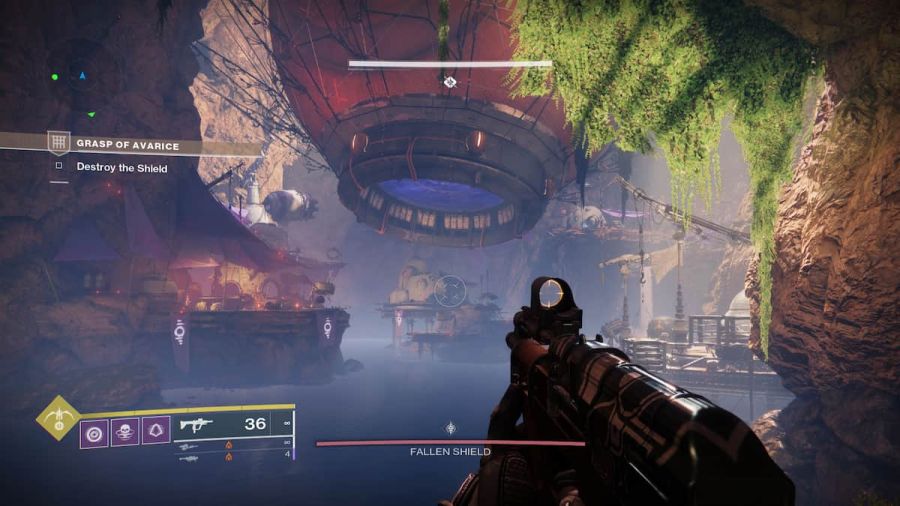
After finishing the previous encounter, travel along the only path ahead, climbing over large crystals. Eventually, you will reach a cliff edge that overlooks the next area. To your left will be a small base and a launcher next to it. Here you will find another Vandal with a Scorch Cannon as well as a few other enemies. Kill them and take the scorch cannon.
Now for the fun part. Using the Scorch Cannon, charge up the activator near the launcher and stand under the launcher. When the Scorch Cannon shot is fully charged up, release it, and the launcher itself will activate, sending you flying to the next section of this area.
The scorch cannon and launcher system are crucial to this area of the dungeon and you will have to do it quite a few times, so keep that in mind.
Once you have made it across, use this traversal system to find the location of the first Servitor in one of the sections. When you find it, you may notice another Icon of Excess and a Servitor with an immunity shield. This will have to be taken down in order to kill it. Just like the Ogre Boss from before, you will have to kill other rank-and-file enemies first to collect Burden of Riches. Turn enough of them into the Icon and the Servitor's shield will drop. The Servitor will only take a few seconds to kill if you and your team are together. That's the first part.
Now that the Servitor is dead, its broken corpse will remain. Just above that corpse will be a red symbol with a star and a timer next to that. The corpse has now become a bomb so to speak. The goal now is to roll the corpse to the nearest launcher, activate it with the Scorch Cannon, and send the Servitor corpse bomb flying towards one of the locks in the middle of the area, destroying it in the process.
Important Note: Make sure you aim the launcher at the lock first before sending the Servitor corpse bomb. This is done by interacting with the launcher itself.
Once that's done, you will now have to do that whole process of Servitor launching five more times in different sections of this area to destroy the five remaining locks on the entrance to the final boss room. Once you have destroyed them all, the shield blocking the boss room will drop and you will be able to launch yourselves into the room from underneath it.
Final Boss

In the boss room, there are four major areas: the center stage (this is where the boss will spawn), left of the stage, right of the stage, and front of the stage. When the encounter starts, take notice of the three activators in the room. One is on the left attached to the center stage, another is on the right attached to the center stage, and the last one is above the front of the stage attached to an arch beam.
When the Boss spawns, he will have an immunity shield up. Next to where he spawns, in the dead center of the room, is another Icon of Excess. Just like the Ogre and the Servitors, your goal is to collect Burdens of Riches, turn them into the Icon, and drop the bosses' shield so you can do damage.
In order to get Burden of Riches, you must have a Scorch Cannon to charge one of the three activators in the room. Vandals with Scorch Cannons will spawn if you don't have one already from the previous area. Once you have charged one of the activators, a bunch of Burden of Riches will drop near you. Make sure to turn them into the Icon so you don't die from the debuff timer. Also, be careful turning them in as the boss will be standing right next to the Icon.
And that's all there really is to this fight. Rinse and repeat this process until his shields drop and when his shields go back up, repeat all of it until the boss dies. The final loot chest will spawn at the back of the room where the boss dies.
Important Note: sometimes during the whole fight, one of the activators will be closed, so just find one that isn't and charge it up.
Congrats! You have now completed the Grasp of Avarice dungeon in its entirety. Enjoy the new loot and be ready to hit it again!
For more awesome Destiny guides, check out How to get the Forerunner Exotic Sidearm in Destiny 2 (Magnum Opus Quest) on Pro Game Guides!