IMPORTANT: There is still a lot of information missing in the tier list. We will continue updating it as we test all the weapons out. Note that the game still hasn't been out for long and that with new characters and weapons, the meta might shift post-release.
Weapons are the second-most important thing in Destiny Rising, and to get the best ones, you'll have to grind events, end-game modes, and a bunch of other challenging content. Therefore, it's crucial you focus on only the best of the best, and of course, the weapons that your characters can use. Our ultimate Destiny Rising weapon tier list below will teach you which weapons you should focus on getting and why. Scroll down and let's dive in!
Destiny Rising Weapons Tier List (Summary)
In our Destiny Rising weapons tier list below, we've ranked all weapons in the game based on their overall strength across all game content. However, mods, traits, characters that use them, and a lot of other things affect the ranking and performance of each weapon. Therefore, we included a more in-depth version of the tier list further down, categorized by weapon type. Check it out if you want to learn more about the rankings. For now, this is the tier list summary:
| Tier | Weapons |
|---|---|
| S++ | 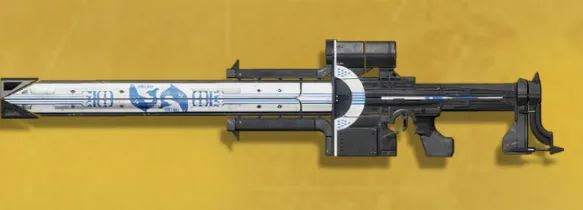 Izanagi's Burden |
| S+ | 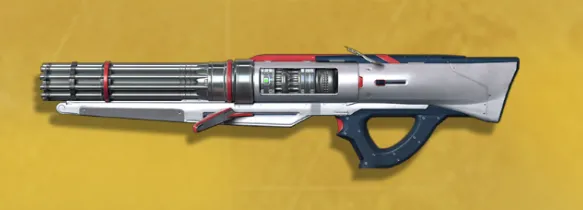 Sweet Business 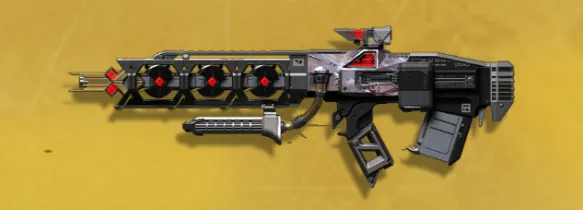 Furies III 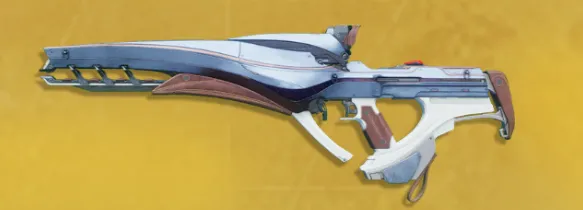 Polaris Lance 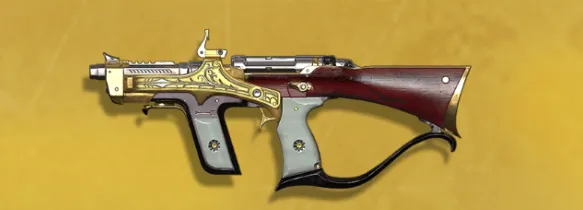 The Huckleberry 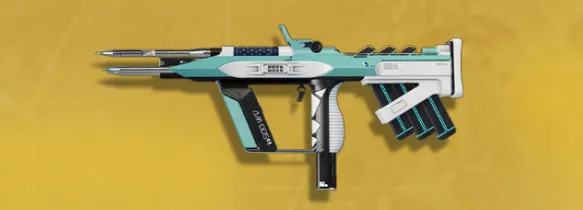 Riskrunner 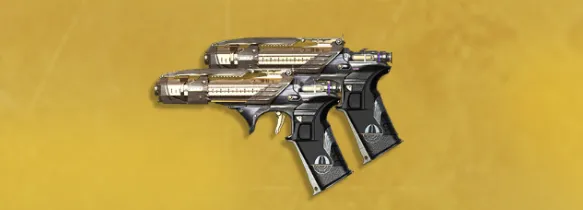 Concerto 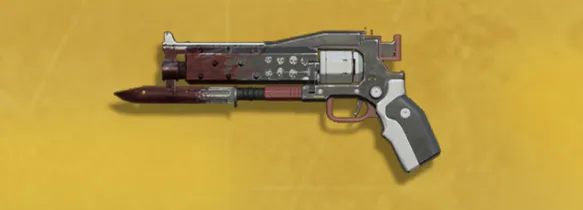 Crimson 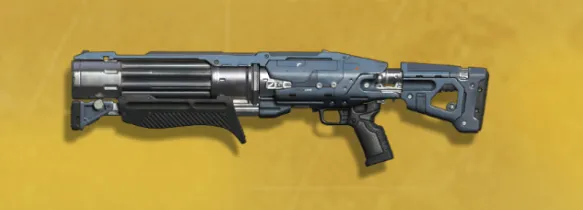 Octant Riot Disperser 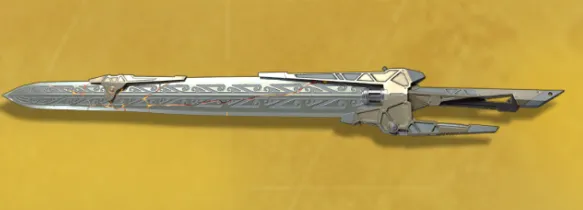 Partridge Sky 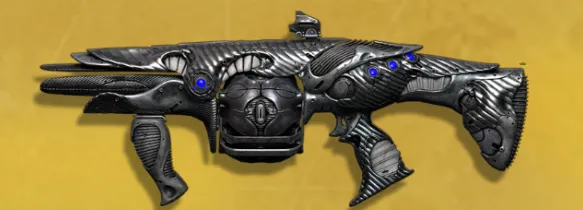 Satiyaaliksni Smart Bomb 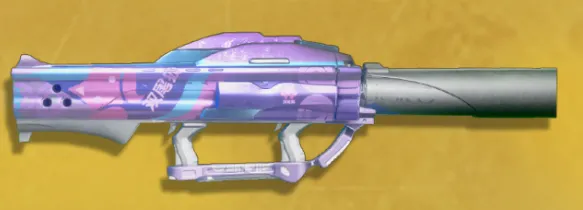 Two-Tailed Fox 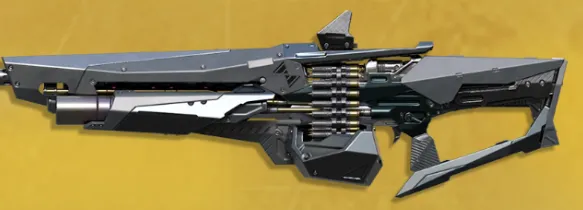 Gallows 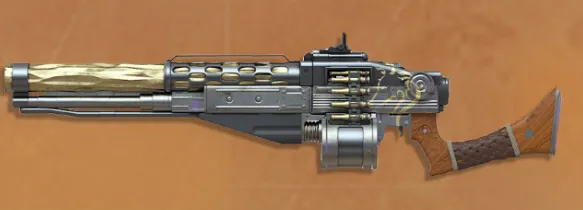 Scorched Earth |
| S | 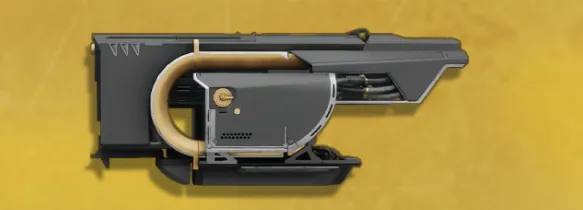 Jotunn 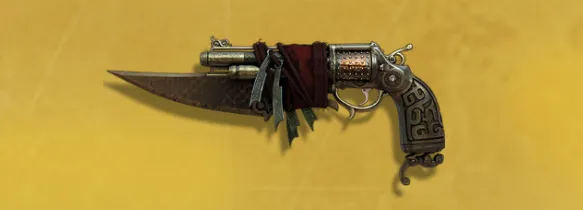 The Old Prefect 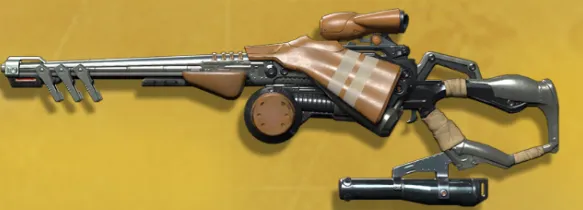 Royal Contravene 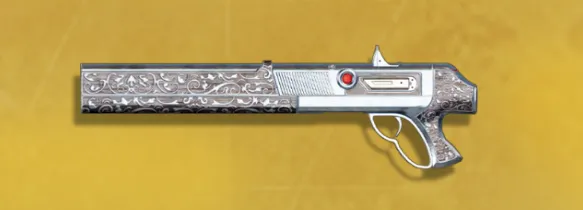 The Chaperone 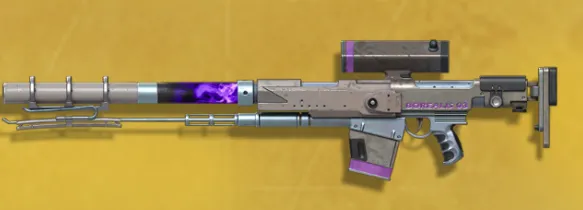 Borealis 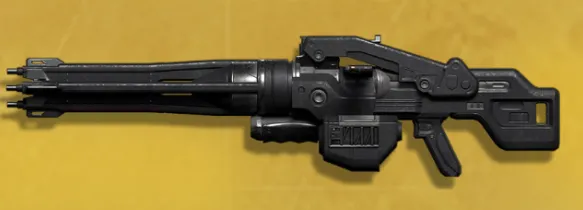 Heir Apparent 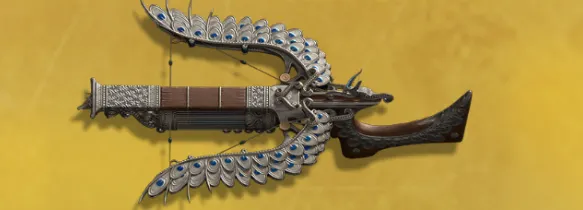 Mahamayuri 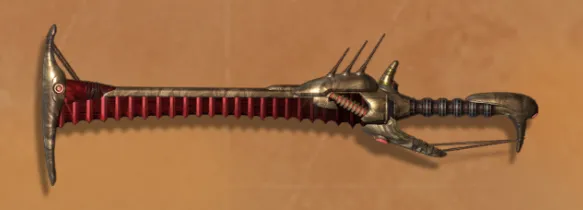 Makeshift Ending |
| A | 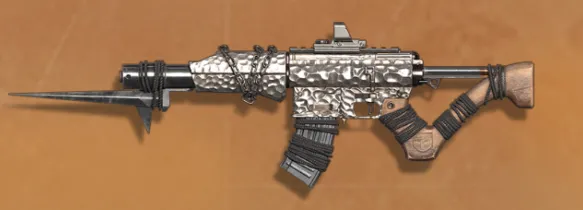 Sworn Oath 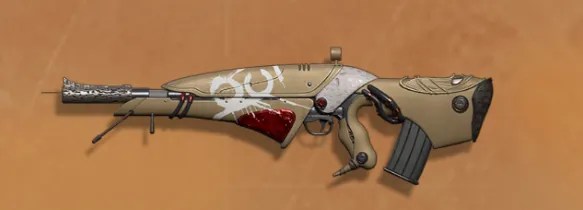 Ultimatum 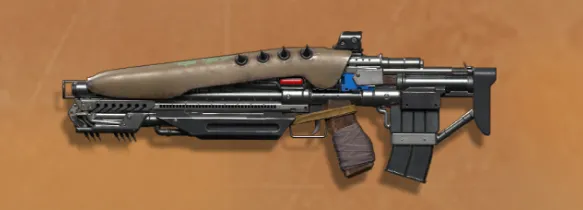 DEL2 Sweet Ears 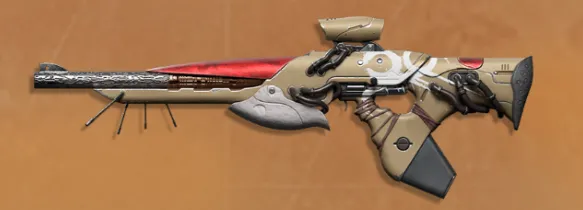 Total Lockdown DEL3 Lassi 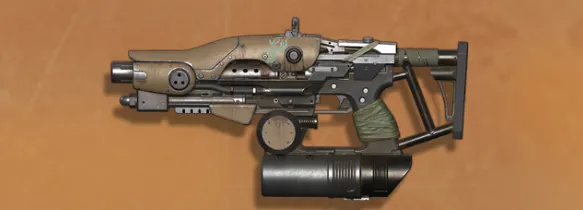 IST1 Parantha 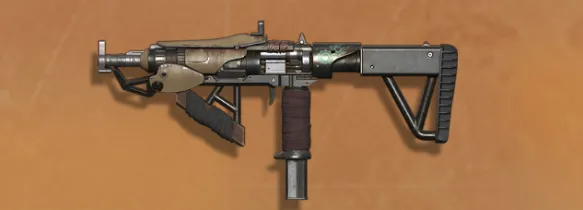 DEL5 Kulfi 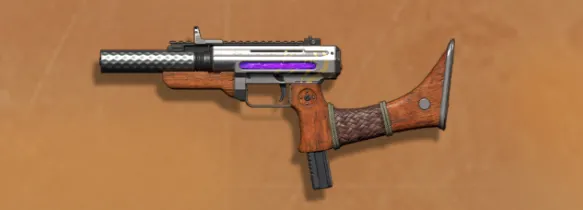 Wolfpack 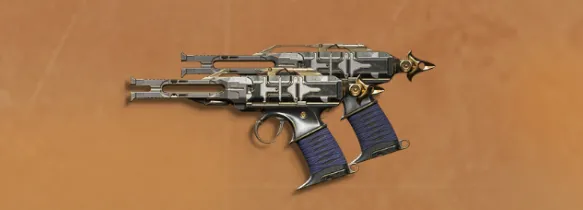 DEL6 Kokoretsi 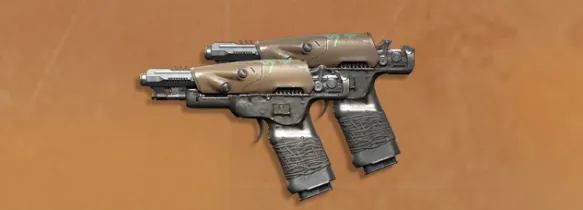 Chushingura 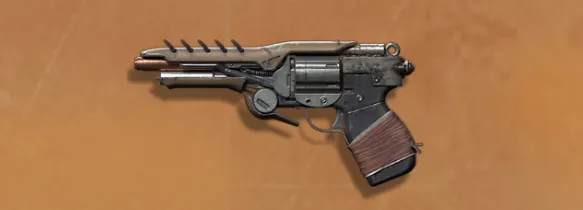 DEL7 Simit Present Fleet 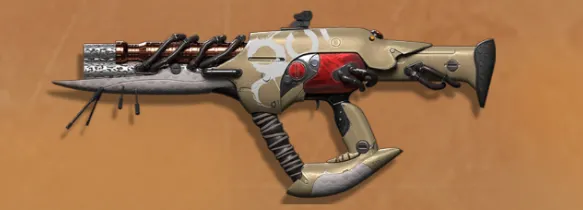 End of the Line 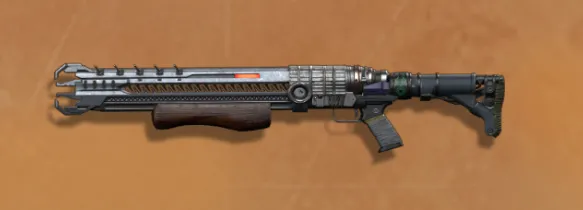 IST2 Niaatiks 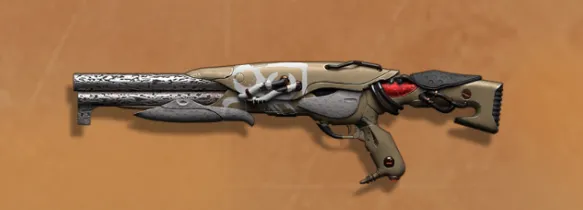 Eternal Retribution 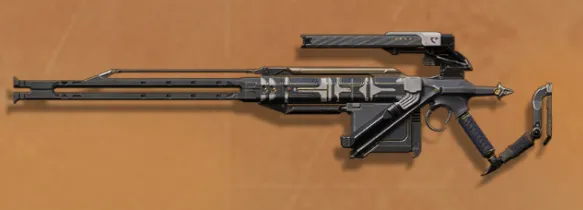 Magoichi 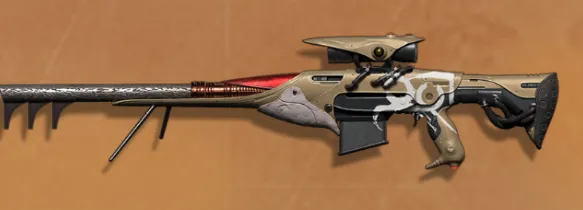 40000 Sidereal Year 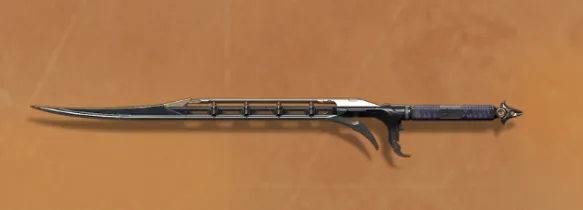 Nobunaga 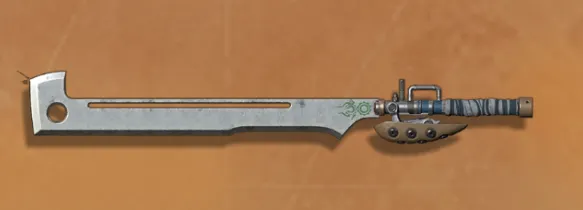 CLY2 Kakalik 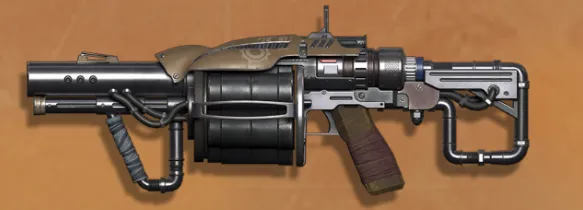 HON1 Khanom Khrok 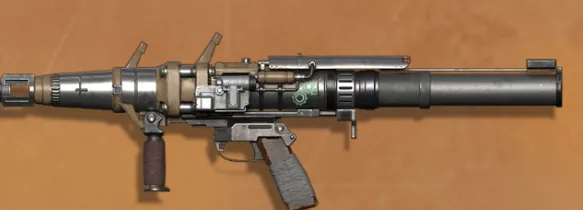 HON2 Tutum'alik 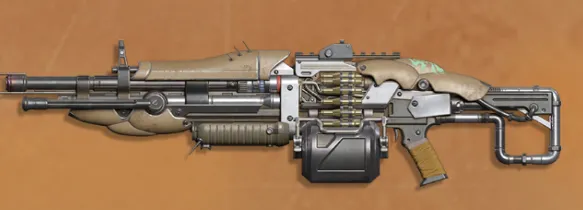 BVD4 Akutaak 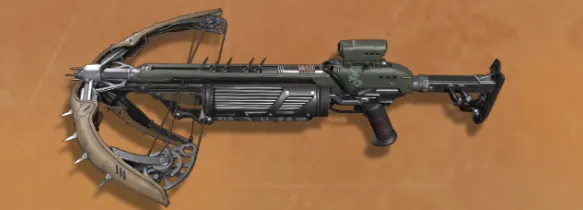 HON3 Eibellakks 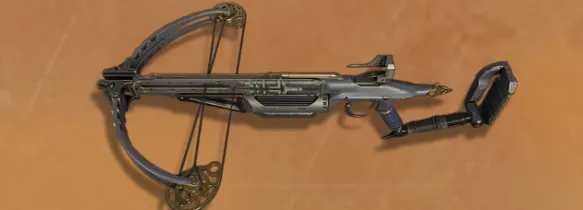 Saizo |
| B | 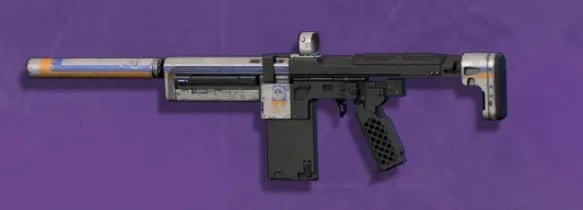 Cognitum Carbine 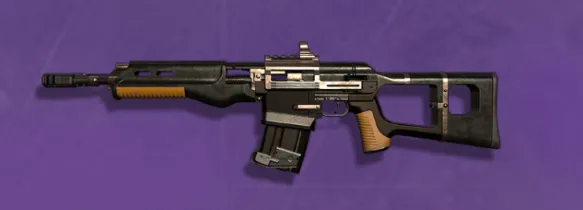 Toxic Equation 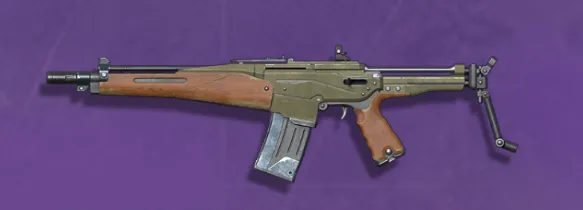 P22 Tamarin 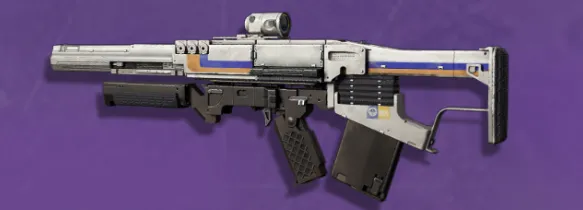 Type 7 Moonshot EMR-R 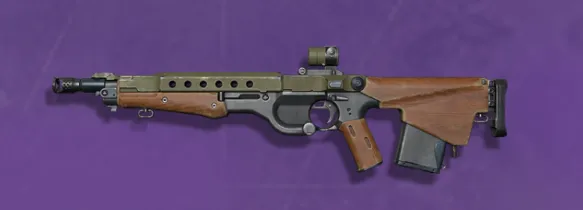 P31 Armadillo 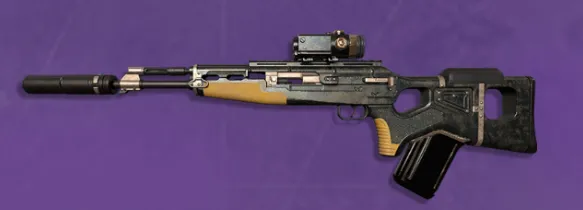 Fall From Grace 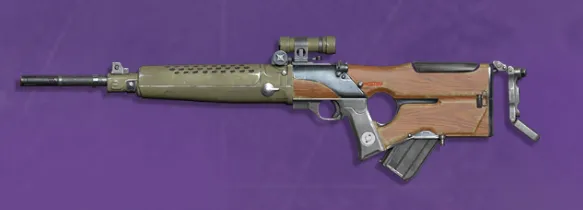 P267 Right Whale 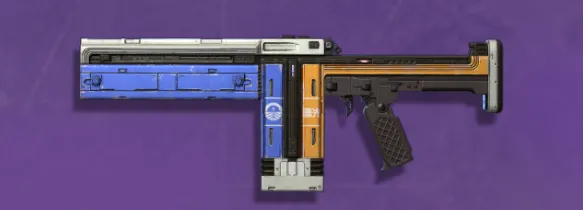 The Monolith 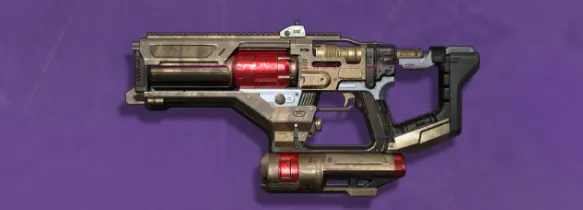 Mutineer's Torch 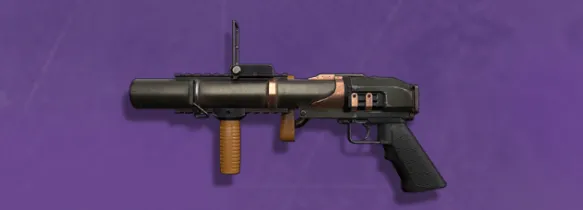 Brotherhood's Banner 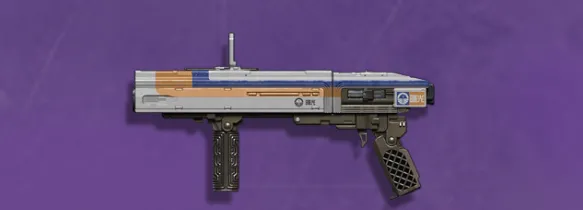 Laplace's Mystery 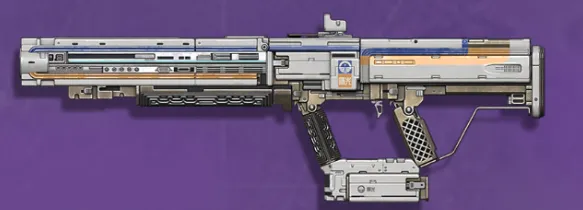 Latitude 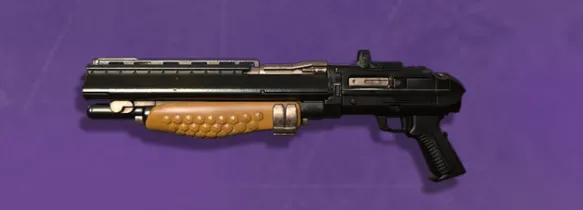 Labyrinth's Compass 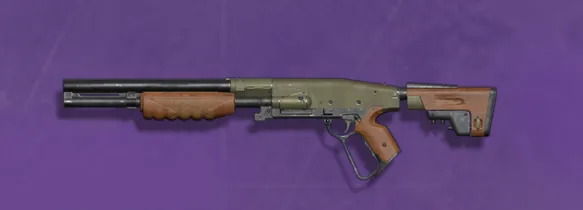 K205 Lemming 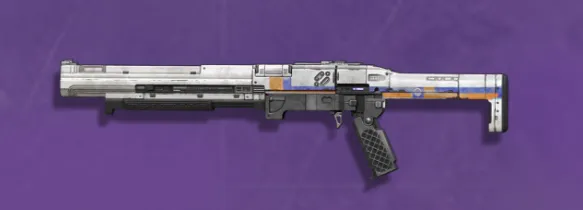 Gunpowder Duster 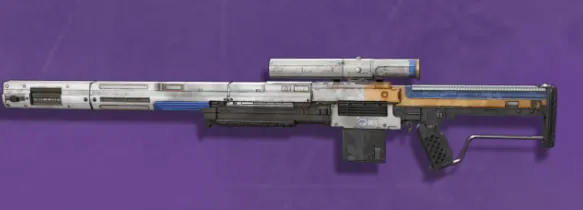 The Accelerator 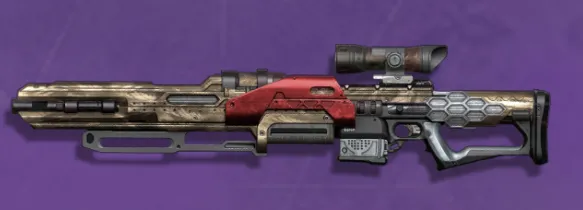 Overseer 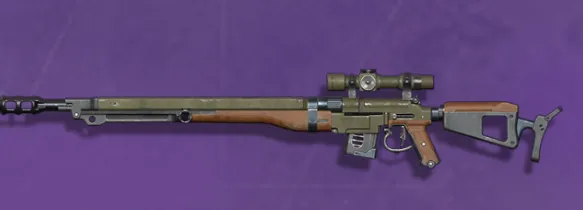 A19 Argali 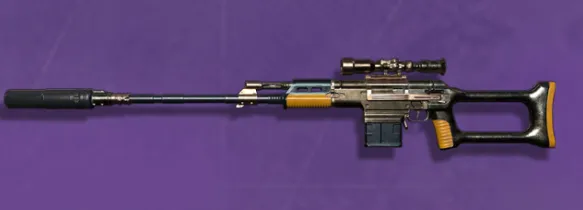 The Ultimate Pray 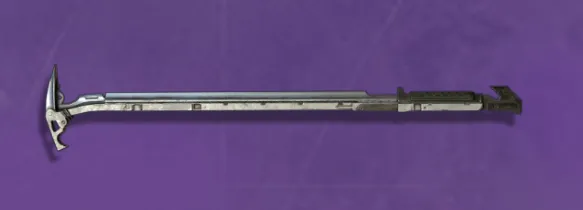 Regolith Piton 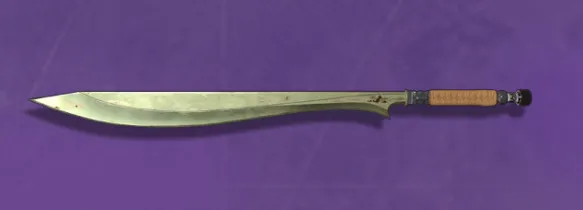 Dusty Grave 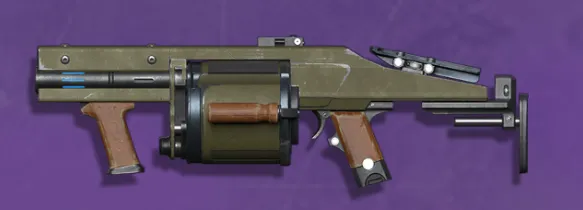 A112 Calf 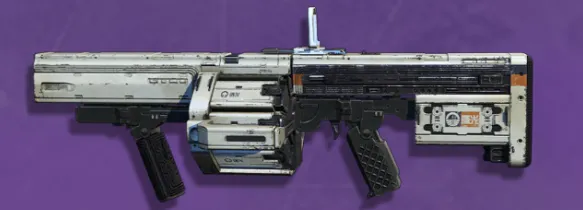 Prompt Satellite Dispenser 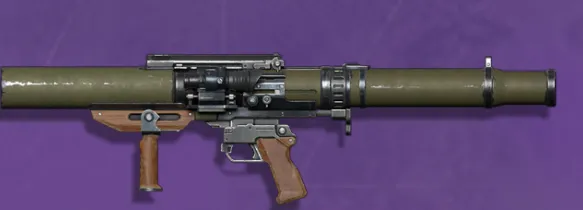 A67 Javan Rhino 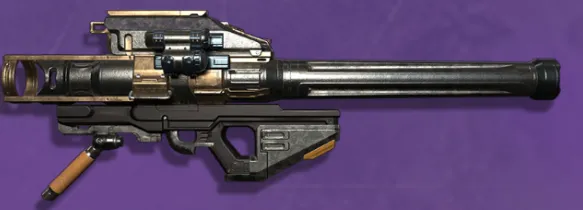 Call of Greed 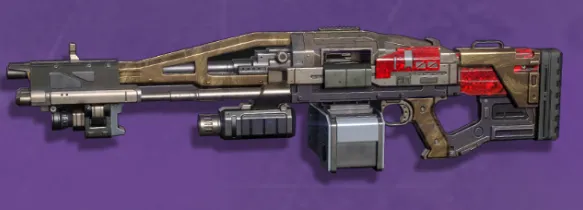 Spikefling Baton 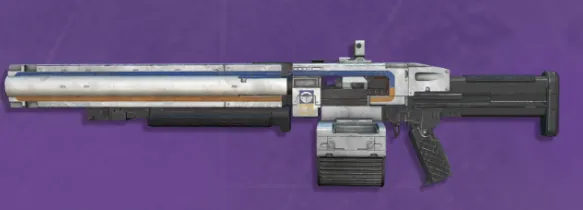 Full Field Thresher 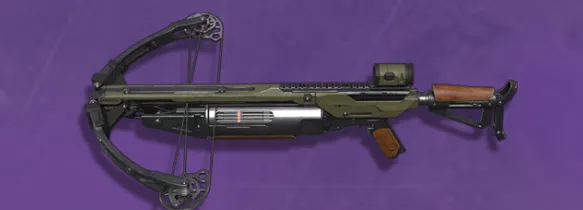 P45 Turbot |
| C | 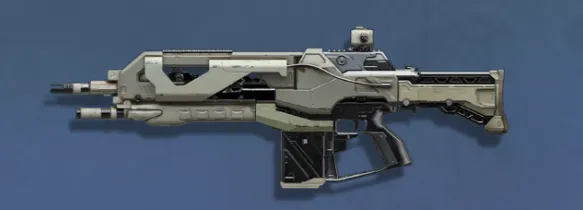 Type 301-1 SRI 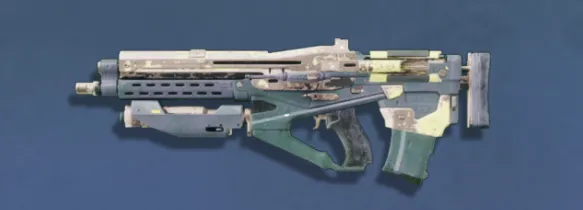 Reverse Equilibrium 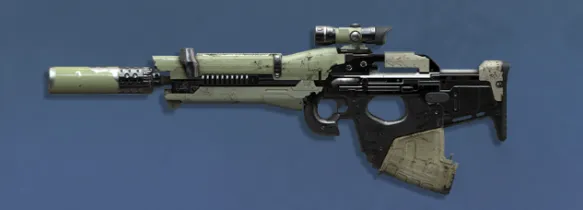 Always Going Home 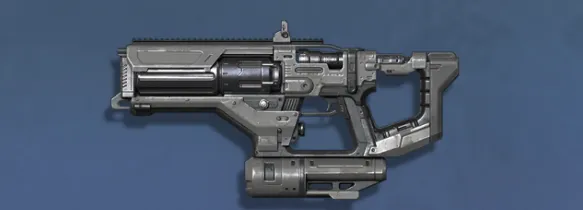 REV-7 Fusillade 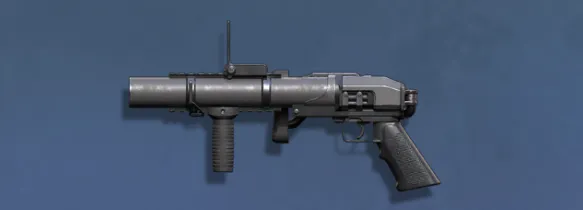 Lotus 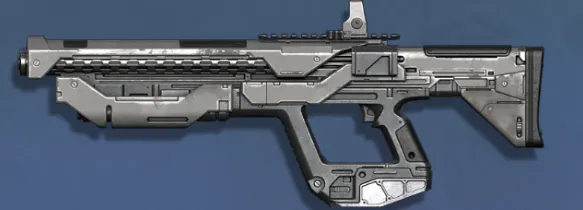 Tye Nurler-AO4 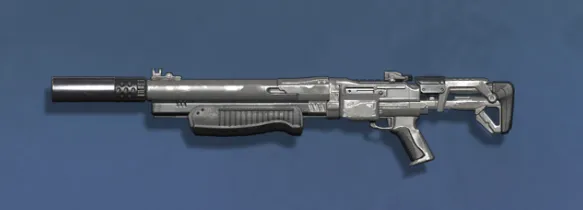 Sandan-54 Fieldhand 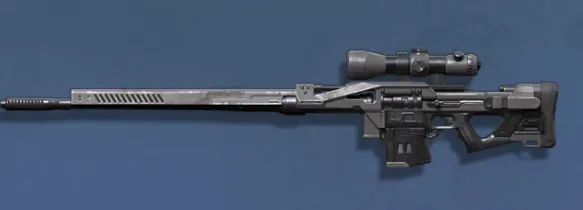 Type 5 Stratoshot SRM 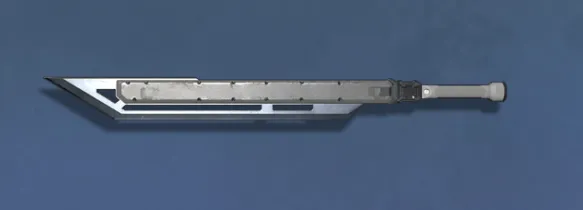 Nightfall Banner 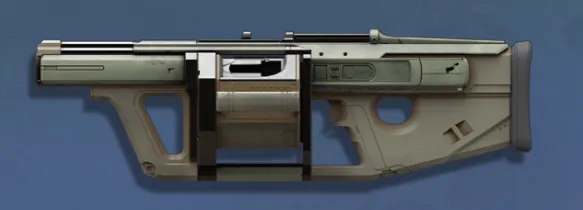 6G76 Self-Rescue LVL 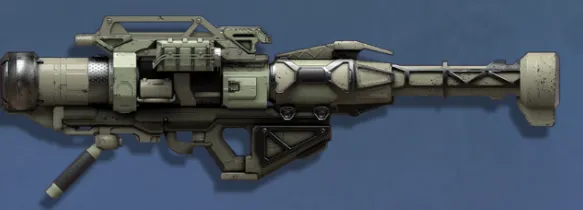 J90 Hornbill 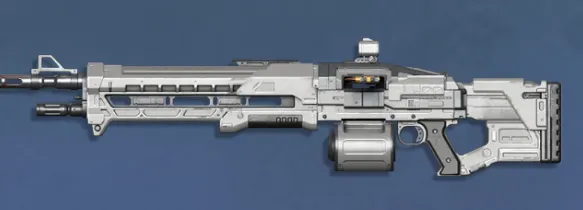 Chilling Thrill 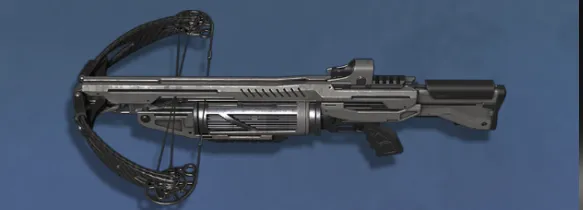 Chirping Cicada |
Destiny Rising Weapons Tier List (In-Depth Rankings)
In the section below, we dive into the rankings, pros, and cons of each weapon in Destiny Ranking. It's a breakdown of the tier list summary above and should help you decide which weapons exactly to focus on getting and investing in.
Auto Rifle (Primary)
| Weapon | Details | Pros & Cons | Tier |
|---|---|---|---|
 Sweet Business | Rapid-Fire Solar  | TBA | S+ |
 Sworn Oath | Rapid-Fire Solar  | TBA | A |
 Cognitum Carbine | Rapid-Fire Arc  | TBA | B |
 Toxic Equation | Rapid-Fire Void  | TBA | B |
 P22 Tamarin | Rapid-Fire Solar  | TBA | B |
 Type 301-1 SRI | Rapid-Fire Void  | TBA | C |
Pulse Rifle (Primary)
| Weapon | Details | Pros & Cons | Tier |
|---|---|---|---|
 Furies III | Rapid-Fire Solar  | TBA | S+ |
 Ultimatum | Rapid-Fire Solar  | TBA | A |
 DEL2 Sweet Ears | Rapid-Fire Arc  | TBA | A |
 Type 7 Moonshot EMR-R | Rapid-Fire Arc  | TBA | B |
 P31 Armadillo | Rapid-Fire Solar  | TBA | B |
 Reverse Equilibrium | Rapid-Fire Void  | TBA | C |
Scout Rifle (Primary)
| Weapon | Details | Pros & Cons | Tier |
|---|---|---|---|
 Polaris Lance | Piercing Solar  | TBA | S+ |
 Total Lockdown | Piercing Solar  | TBA | A |
 DEL3 Lassi | Piercing Void  | TBA | A |
 Fall From Grace | Piercing Void  | TBA | B |
 P267 Right Whale | Piercing Solar  | TBA | B |
 Always Going Home | Piercing Arc  | TBA | C |
Fusion Rifle (Primary)
| Weapon | Details | Pros & Cons | Tier |
|---|---|---|---|
 Jotunn | Impact Solar  | TBA | S |
 IST1 Parantha | Impact Arc  | TBA | A |
 The Monolith | Impact Void  | TBA | B |
 Mutineer's Torch | Impact Arc  | TBA | B |
 REV-7 Fusillade | Impact Solar  | TBA | C |
Submachine Gun (Primary)
| Weapon | Details | Pros & Cons | Tier |
|---|---|---|---|
 Riskrunner | Rapid-Fire Arc  | TBA | S+ |
 The Huckleberry | Rapid-Fire Void  | TBA | S+ |
 DEL5 Kulfi | Rapid-Fire Arc  | TBA | A |
 Wolfpack | Rapid-Fire Void  | TBA | A |
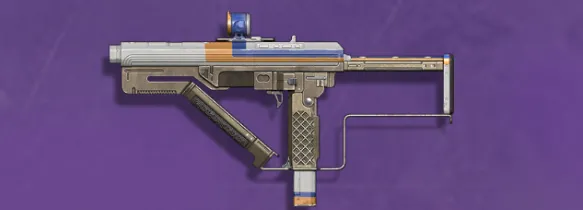 Autoshear | Rapid-Fire Void  | TBA | B |
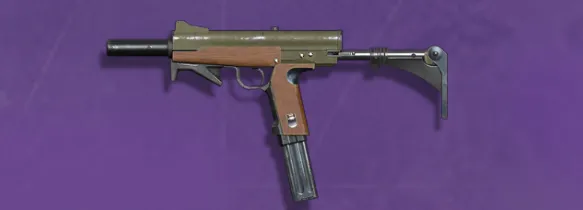 K18 Coelops | Rapid-Fire Arc  | TBA | B |
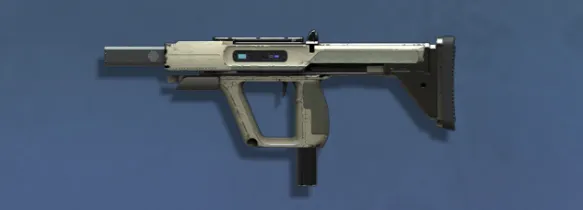 Dancing Bees | Rapid-Fire Solar  | TBA | C |
Sidearm (Primary)
| Weapon | Details | Pros & Cons | Tier |
|---|---|---|---|
 Concerto | Impact Void  | TBA | S+ |
 DEL6 Kokoretsi | Impact Solar  | TBA | A |
 Chushingura | Impact Void  | TBA | A |
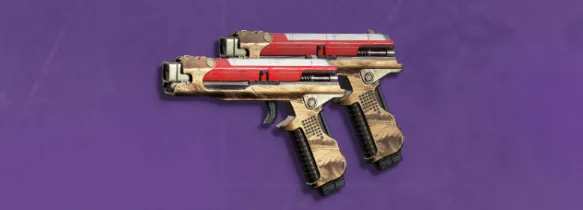 Century Lookout | Impact Void  | TBA | B |
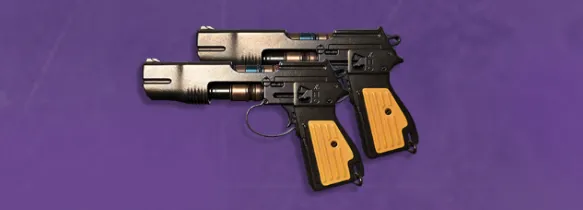 Permanent Liability | Impact Solar  | TBA | B |
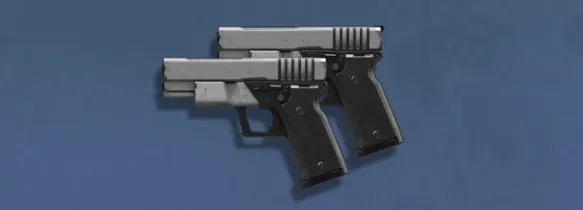 Azure Drab Auto-Fab | Impact Solar  | TBA | C |
Hand Cannon (Primary)
| Weapon | Details | Pros & Cons | Tier |
|---|---|---|---|
 Crimson | Impact Arc  | TBA | S+ |
 The Old Prefect | Impact Solar  | TBA | S |
 DEL7 Simit | Impact Arc  | TBA | A |
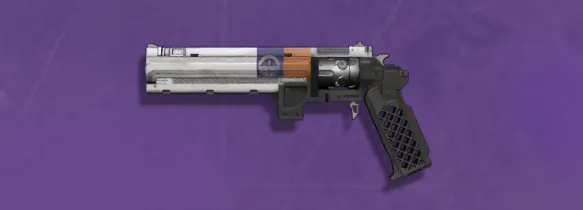 AOCS R1 Revolver | Impact Solar  | TBA | B |
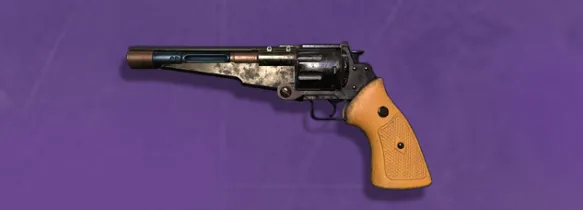 Survivor's Instinct | Impact Arc  | TBA | B |
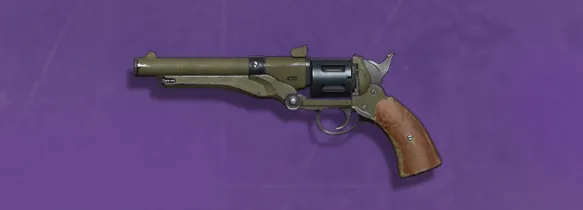 P6 Somniosus | Impact Void  | TBA | B |
 Amatoxin | Impact Arc  | TBA | C |
Light Grenade Launcher (Primary)
| Weapon | Details | Pros & Cons | Tier |
|---|---|---|---|
 Present Fleet | Spread Arc  | TBA | A |
 Brotherhood's Banner | Spread Void  | TBA | B |
 Laplace's Mystery | Spread Arc  | TBA | B |
 Lotus | Spread Solar  | TBA | C |
Linear Fusion Rifle (Power)
| Weapon | Details | Pros & Cons | Tier |
|---|---|---|---|
 Royal Contravene | Piercing Arc  | TBA | S |
 End of the Line | Piercing Arc  | TBA | A |
 Latitude | Piercing Solar  | TBA | B |
 Tye Nurler-AO4 | Piercing Arc  | TBA | C |
Shotgun (Power)
| Weapon | Details | Pros & Cons | Tier |
|---|---|---|---|
 Octant Riot Disperser | Impact Arc  | TBA | S+ |
 The Chaperone | Impact Void  | TBA | S |
 Eternal Retribution | Impact Void  | TBA | A |
 IST2 Niaatiks | Impact Arc  | TBA | A |
 Gunpowder Duster | Impact Arc  | TBA | B |
 Labyrinth's Compass | Impact Solar  | TBA | B |
 K205 Lemming | Impact Void  | TBA | B |
 Sandan-54 Fieldhand | Impact Solar  | TBA | C |
Sniper Rifle (Power)
| Weapon | Details | Pros & Cons | Tier |
|---|---|---|---|
 Borealis | Piercing Void  | TBA | S |
 Izanagi's Burden | Piercing Solar  | TBA | S++ |
 40000 Sidereal Year | Piercing Solar  | TBA | A |
 Magoichi | Piercing Void  | TBA | A |
 The Accelerator | Piercing Arc  | TBA | B |
 Overseer | Piercing Void  | TBA | B |
 The Ultimate Pray | Piercing Arc  | TBA | B |
 A19 Argali | Piercing Solar  | TBA | B |
 Type 5 Stratoshot SRM | Piercing Void  | TBA | C |
Sword (Power)
| Weapon | Details | Pros & Cons | Tier |
|---|---|---|---|
 Partridge Sky | Impact Solar  | TBA | S+ |
 Makeshift Ending | Impact Solar  | TBA | S |
 Nobunaga | Impact Arc  | TBA | A |
 CLY2 Kakalik | Impact Void  | TBA | A |
 Regolith Piton | Impact Solar  | TBA | B |
 Dusty Grave | Impact Void  | TBA | B |
 Nightfall Banner | Impact Solar  | TBA | C |
Grenade Launcher (Power)
| Weapon | Details | Pros & Cons | Tier |
|---|---|---|---|
 Satiyaaliksni Smart Bomb | Spread Arc  | TBA | S+ |
 HON1 Khanom Khrok | Spread Solar  | TBA | A |
 Prompt Satellite Dispenser | Spread Solar  | TBA | B |
 A112 Calf | Spread Void  | TBA | B |
 6G76 Self-Rescue LVL | Spread Arc  | TBA | C |
Rocket Launcher (Power)
| Weapon | Details | Pros & Cons | Tier |
|---|---|---|---|
 Two-Tailed Fox | Spread Void  | TBA | S+ |
 HON2 Tutum'alik | Spread Void  | TBA | A |
 Call of Greed | Spread Solar  | TBA | B |
 A67 Javan Rhino | Spread Void  | TBA | B |
 J90 Hornbill | Spread Solar  | TBA | C |
Machine Gun (Power)
Weapon | Details | Pros & Cons | Tier |
|---|---|---|---|
 Gallows | Spread Void  | TBA | S+ |
 Heir Apparent | Spread Solar  | TBA | S |
 Scorched Earth | Spread Solar  | TBA | S+ |
 BVD4 Akutaak | Spread Arc  | TBA | A |
 Full Field Thresher | Spread Solar  | TBA | B |
 Spikefling Baton | Spread Arc  | TBA | B |
 Chilling Thrill | Spread Solar  | TBA | C |
Auto Crossbow (Power)
| Weapon | Details | Pros & Cons | Tier |
|---|---|---|---|
 Mahamayuri | Rapid-Fire Arc  | TBA | S |
 Saizo | Rapid-Fire Solar  | TBA | A |
 HON3 Eibellakks | Rapid-Fire Arc  | TBA | A |
 P45 Turbot | Rapid-Fire Arc  | TBA | B |
 Chirping Cicada | Rapid-Fire Void  | TBA | C |
All Weapon Attributes in Destiny Rising Explained
Below, we explained all the stats and attributes each weapon in Destiny Rising has, and all of those were taken into account when creating the tier list and the rankings above. Check them out to familiarize yourself with different aspects of weapons and how they affect gameplay.
Primary vs Power Weapons
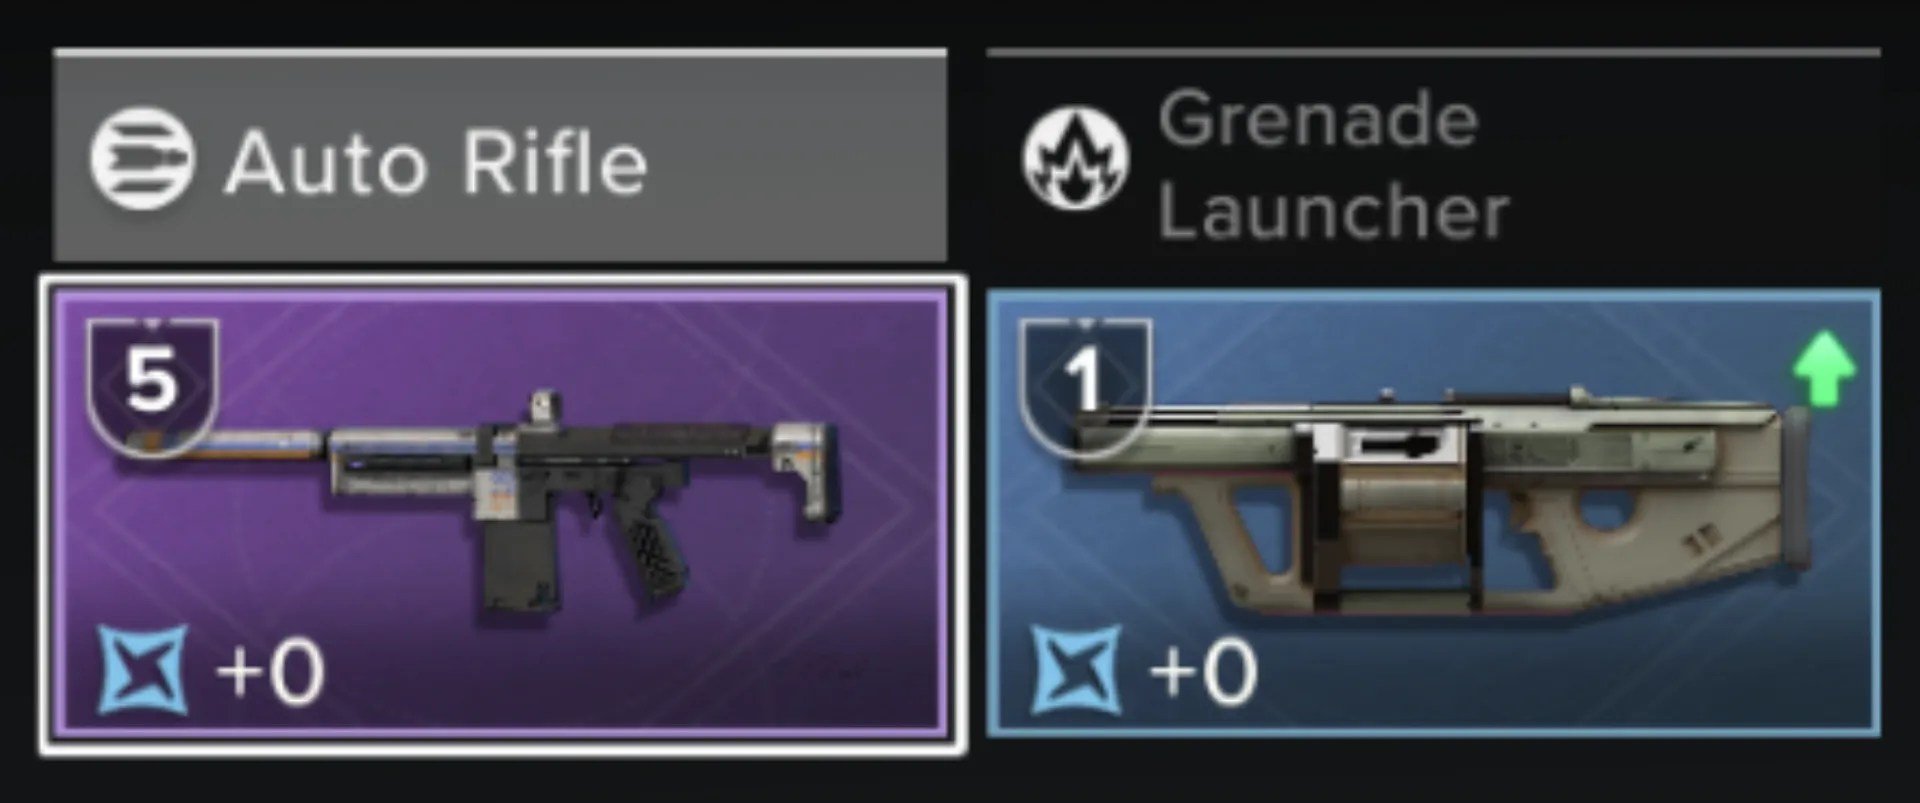
Each character in Destiny Rising has two weapon slots: one for a Primary Weapon and one for a Power Weapon. Primary Weapons (first slot) have infinite ammo and are meant to be your most-used tools in every run. Power Weapons (second slot) have more firepower and limited ammo, which you can replenish by collecting Power Ammo drops (purple-colored) on the battlefield.
Weapon Rarity (Quality)
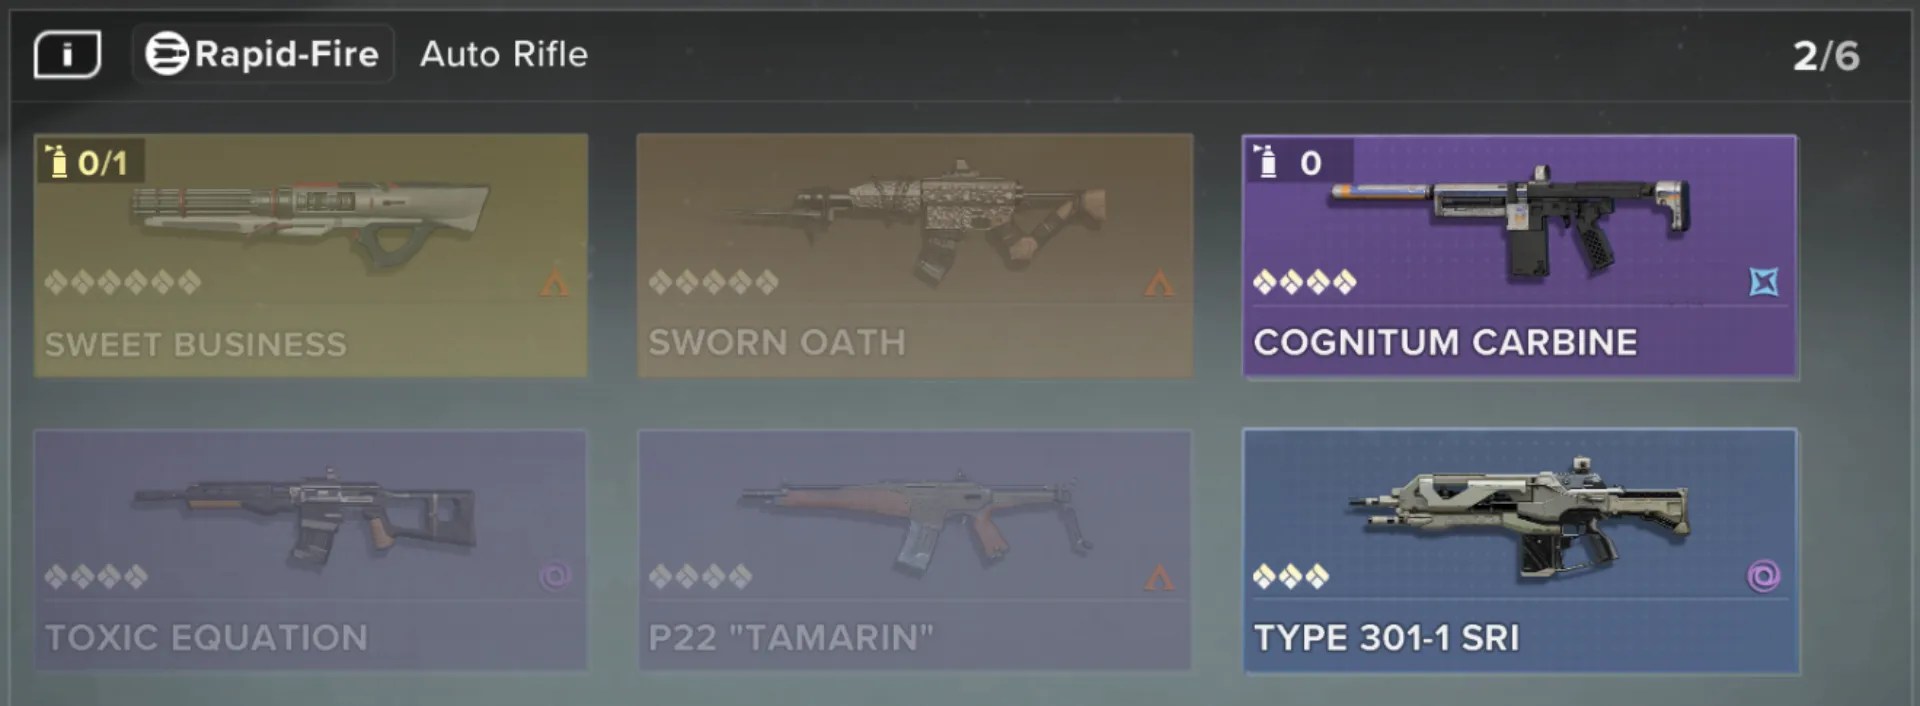
There are 4 weapon qualities/rarities in Destiny Rising: Rare, Legendary, Mythic, and Exotic. The rarer the weapon is, the better its stats, traits, and other attributes. Also, rarer weapons are more difficult to get, requiring event participation and farming end-game modes.
Base Weapon Stats
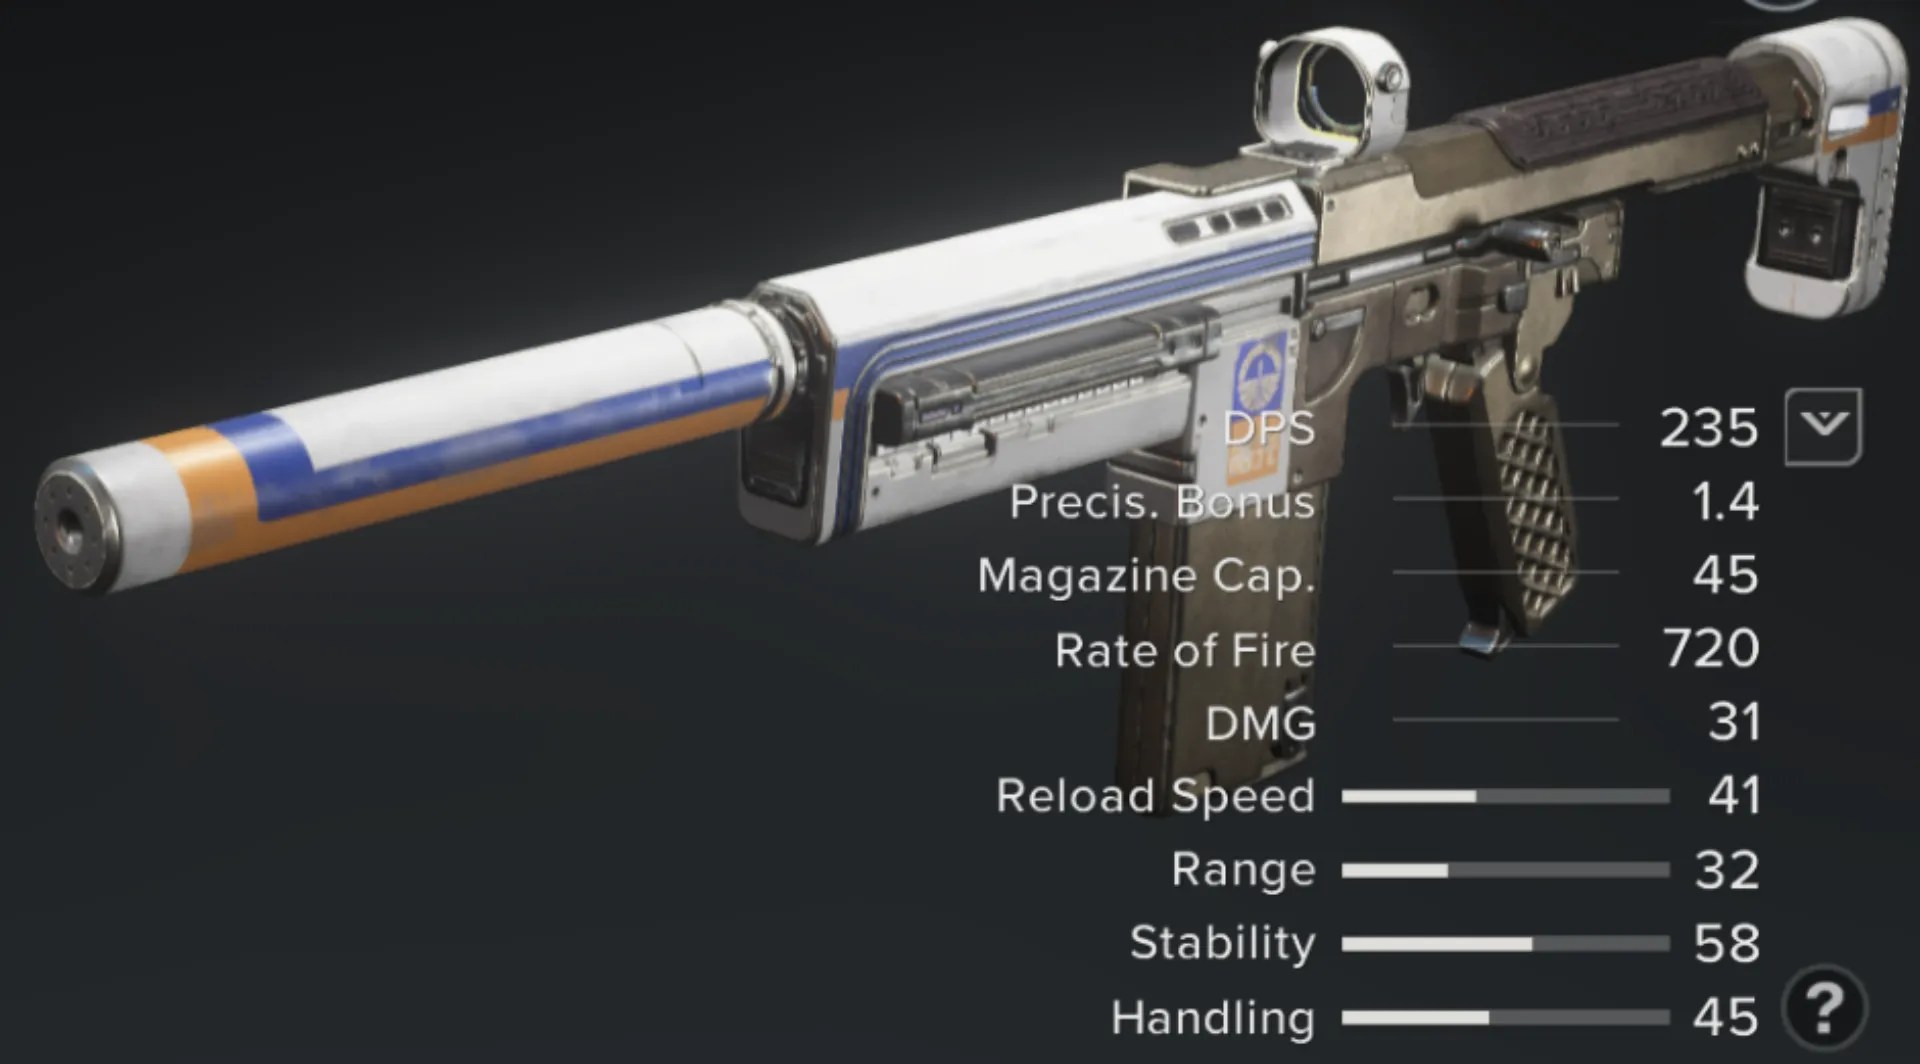
Each weapon in Destiny Rising has a set of stats that determine its combat performance. The higher your Gear Level, the higher the stats of your weapons will be and the more damage, range, and everything else they'll have. Here are all the stats in the game and how they affect weapons:
- DPS: The maximum damage a weapon can deal per second. This does not take additional factors such as precision hits and triggered weapon perks into consideration.
- Precision Bonus: Precision damage bonus.
- Magazine Capacity: Rounds per loaded magazine.
- Rate of Fire: The number of rounds that the weapon can fire per minute.
- DMG: How much damage a weapon deals per hit.
- Reload Speed: The time it takes to reload the weapon.
- Range: Increases the effective range of the weapon.
- Stability: How much or little recoil you will experience while firing the weapon.
- Handling: The speed with which the weapon can be readied and aimed.
- Max Ammo: The total number of rounds that can be carried (Power weapons-only).
- Charge Time: The charging time of the weapon (microseconds) (Fusion rifle-only).
- Blast Radius: Damage area. Falls off towards the edges (Launcher weapons-only).
- Velocity: Projectile speed (Launcher weapons-only).
- Swing Speed: Affects the swing speed of swords (Swords-only).
- Charge Rate: How fast the weapon recharges its energy (Swords-only).
- Guard Resistance: Damage resistance while guarding with the weapon against most attacks (Swords-only).
- Guard Endurance: How long you can maintain your guard with the weapon (Swords-only).
Weapon Elements
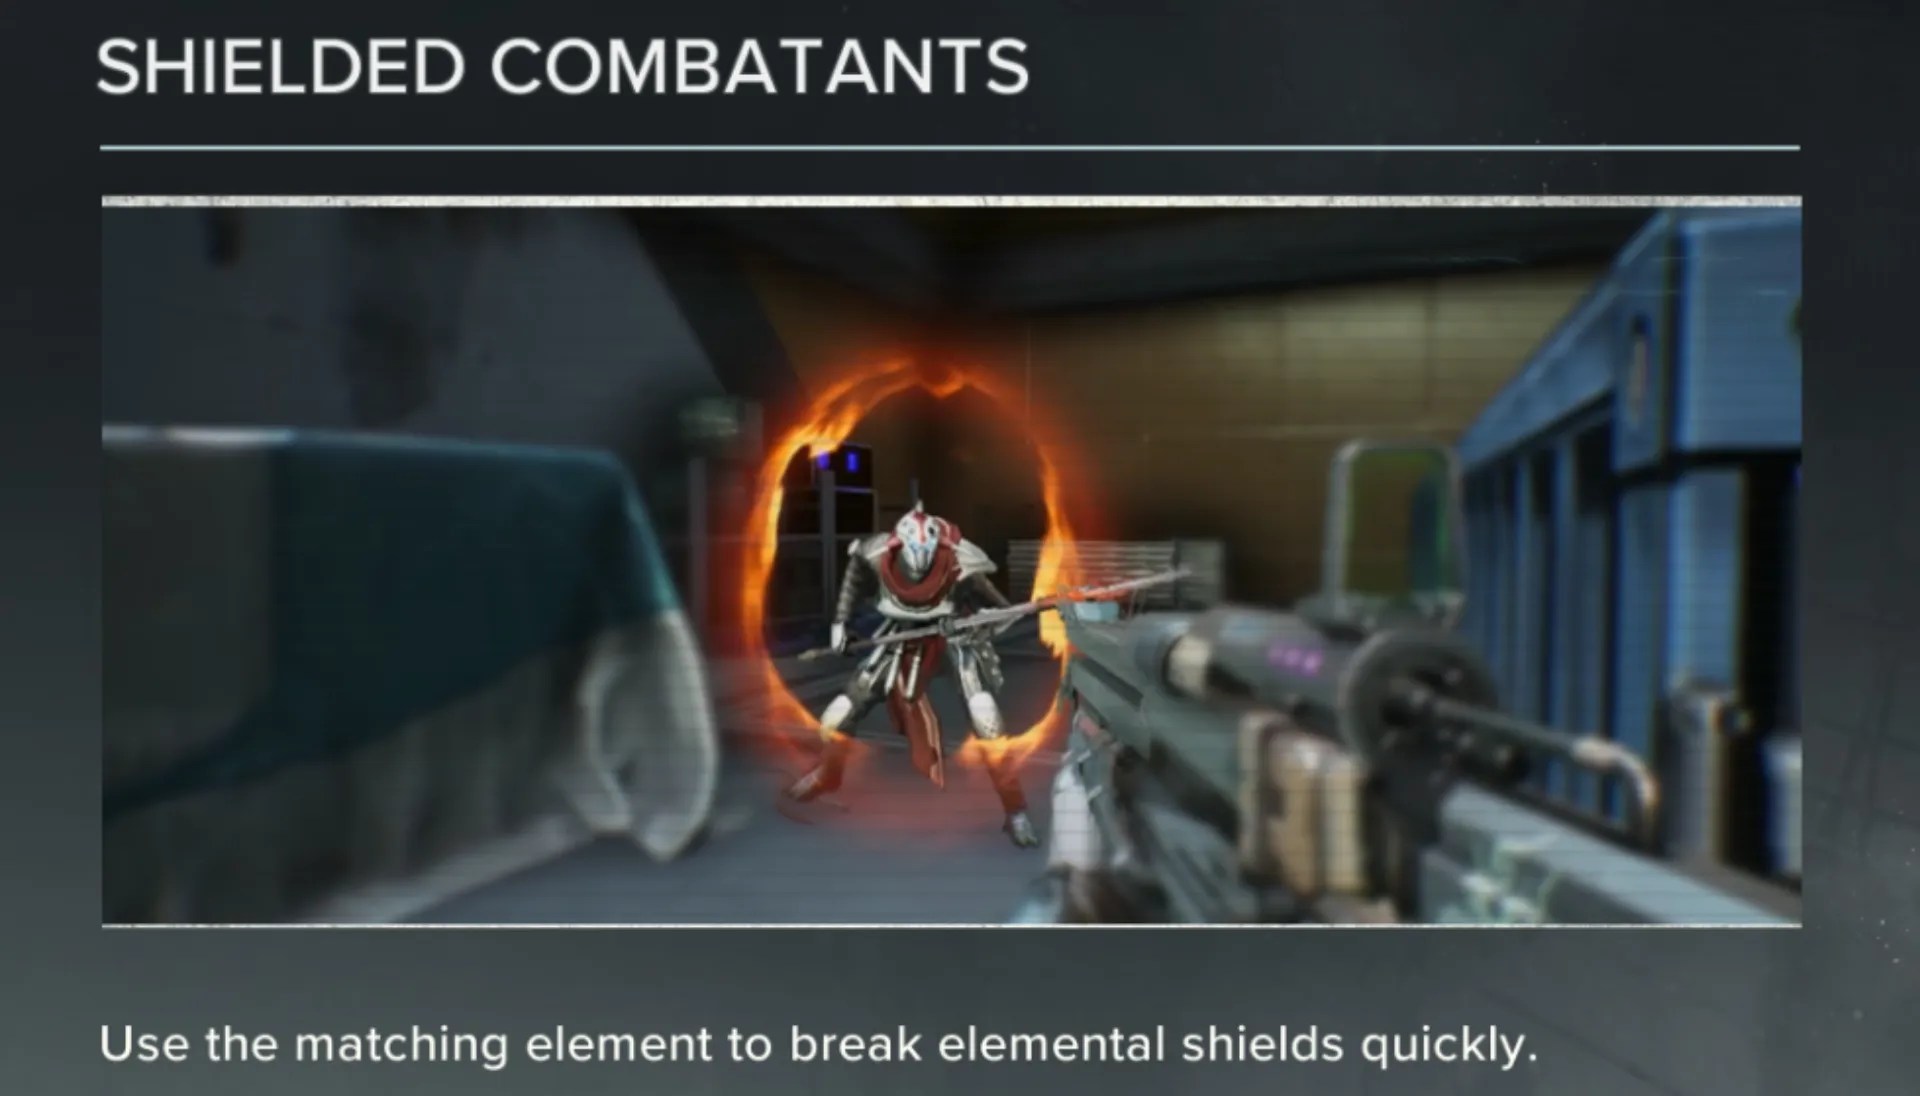
Special enemies in Destiny Rising have colored shields, which can be destroyed more effectively using the weapon with the appropriate element ( Arc,
Arc,  Void, or
  Solar). Elemental shields can be broken using a non-matching element weapon, though it takes more damage. The weapon elements don't affect anything but the Elemental Shield interaction.
Combat Styles (Shinka Resistances)
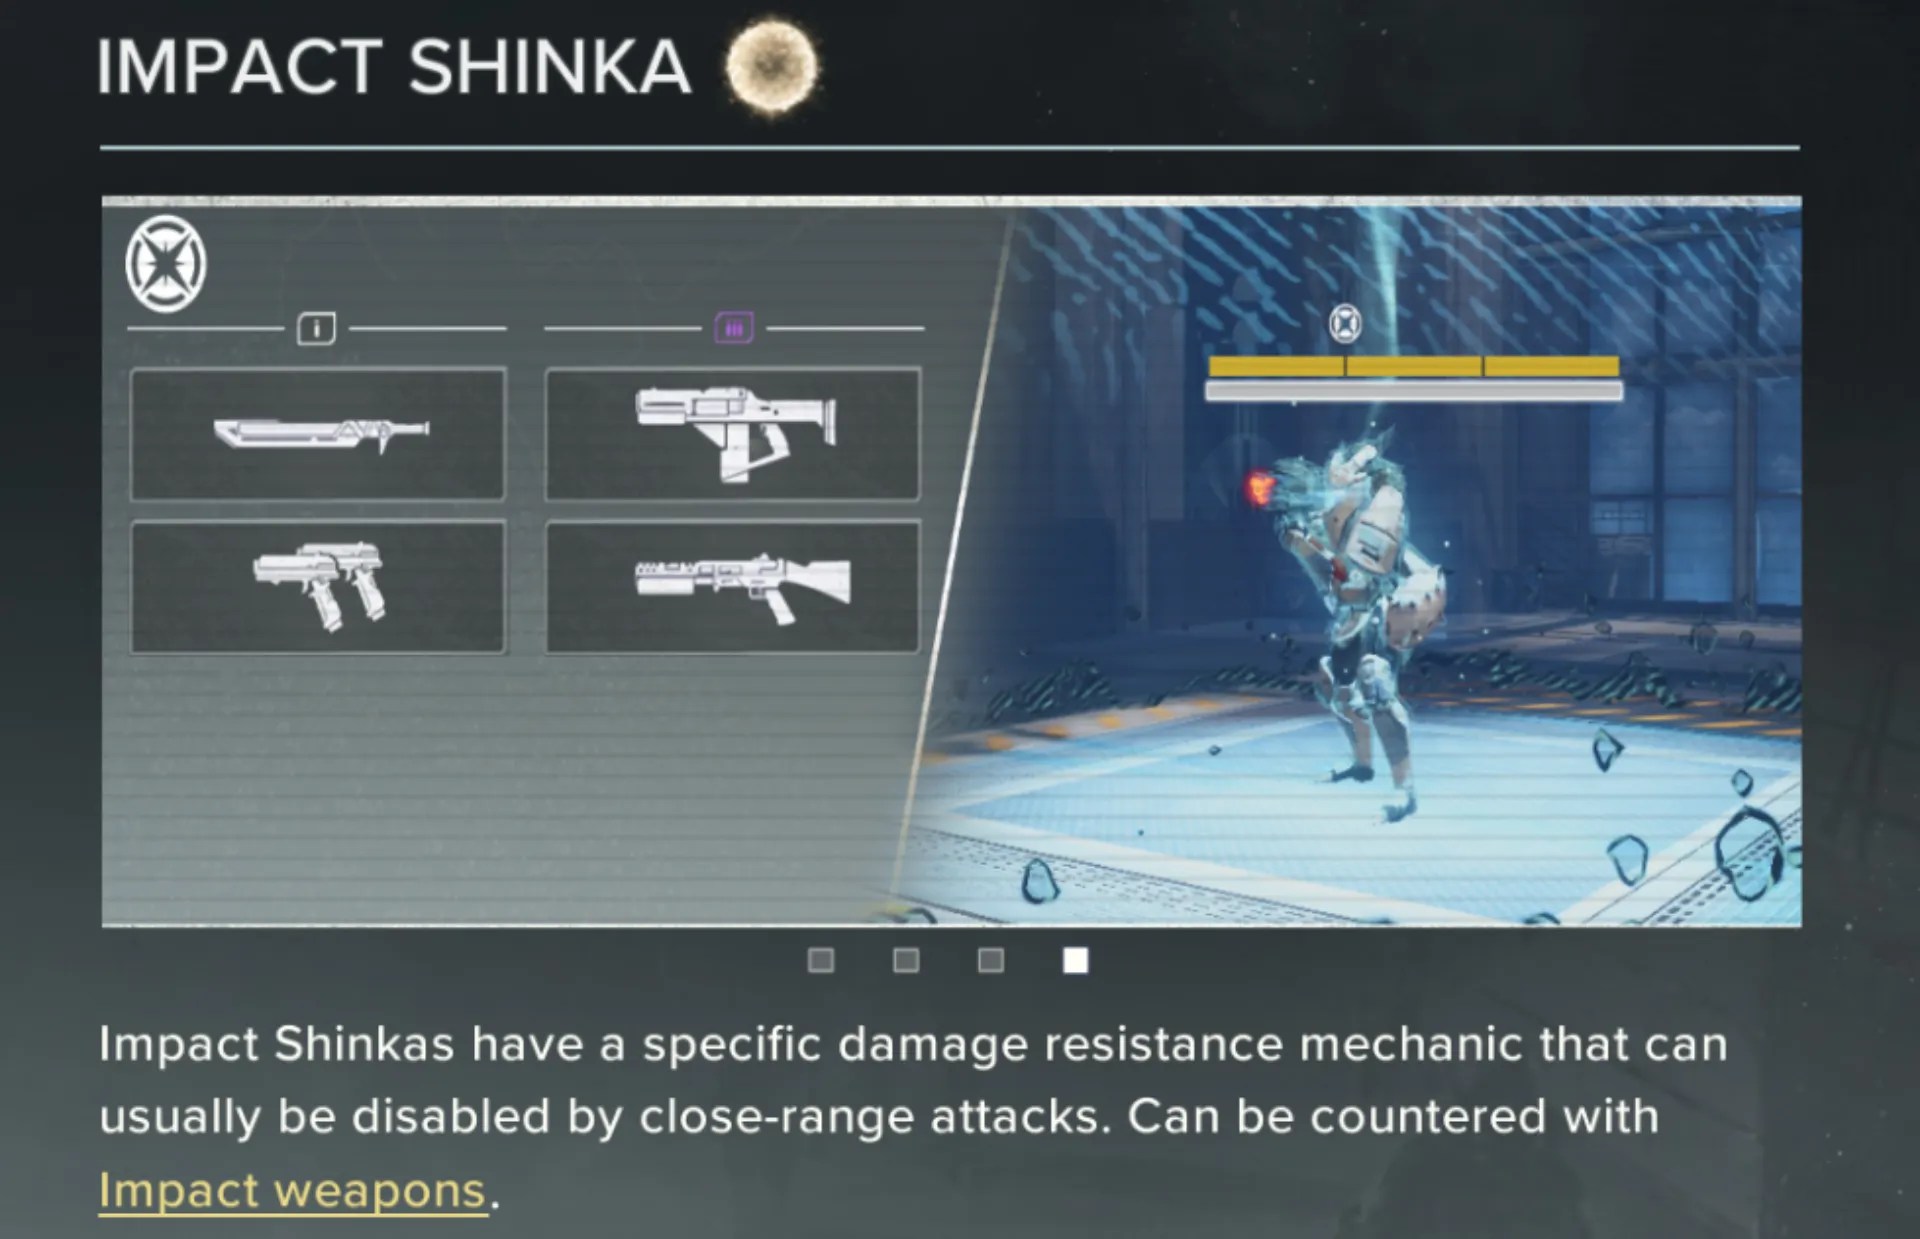
Some special enemies (Shinkas) in Destiny Rising have weaknesses to weapons with the specific Combat Style. The emblem above the enemy health bar will indicate which Combat Style weapon you should use to bypass its resistance. Here is every Combat Style in the game and what weapon types have it:
| Combat Style | Weapon Types |
|---|---|
 Rapid-Fire Weapon capable of rapidly firing consecutive shots. | • Auto Rifle • Pulse Rifle • Submachine Gun • Machine Gun • Auto Crossbow |
 Spread Weapon that fires explosive rounds capable of hitting groups of targets. | • Light Grenade Launcher • Grenade Launcher • Rocket Launcher |
 Piercing Weapon with long range, precise aiming, and high accuracy. | • Scout Rifle • Hand Cannon • Linear Fusion Rifle • Sniper Rifle |
 Impact Weapon that deals high damage at close range. | • Fusion Rifle • Sidearm • Shotgun • Sword |
Destiny Rising Weapons Tier List FAQ
The single best Exotic weapon in the game is Izanagi's Burden. It's passive boosts its DMG by an insane amount when reloading a full mag, making it by far the weapon with the most DPS and there is no contest.
What are all the best Exotic weapons in Destiny Rising?
The best Exotic weapons in Destiny Rising are Sweet Business, Furies III, Polaris Lance, The Huckleberry, Riskrunner, Concerto, Crimson, Octant Riot Disperser, Izanagi's Burden, Partridge Sky, Satiyaaliksni Smart Bomb, Two-Tailed Fox, and Gallows.
What are the best Mythic weapons in Destiny Rising?
The best Mythic weapons in Destiny Rising are Scorched Earth and Makeshift Ending.
Can you get all weapons as a F2P in Destiny Rising?
Yes, you can get all weapons in the game as a F2P, though some that can be obtained only via battlepasses/events might require a lot of effort on your end. Still, if you put enough hours in, you should be able to unlock all of them.
That does it for our ultimate Destiny Rising weapons tier list for now. We will keep updating it as the new weapons are added to the game to make sure it's the most complete and accurate tier list out there. For more guides (including our Destiny Rising codes list), check out the related posts section below as well as the Guides category here on Pro Game Guides.
