
The final episode of Life is Strange will have you on the edge of your seat, probably with a tissue in your hand. The pictures taken really do reflect what Mr. Jefferson was saying in his class at the start of the game: life is...weird.
Much like all of the episodes that have come before, Polarized has 10 photos to capture. Here is how to take them.
Photograph 1
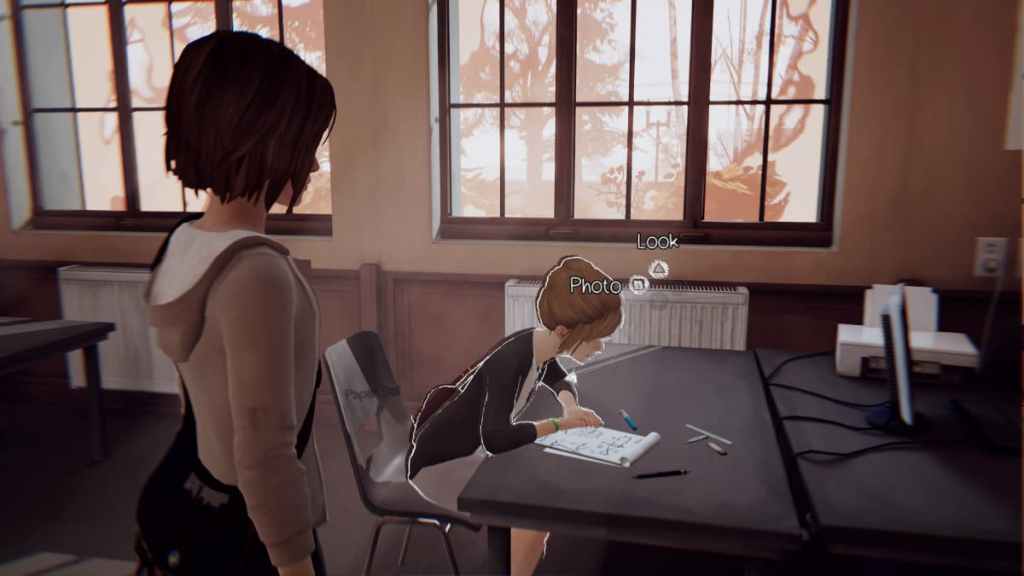
The first photo will be available once you escape Mr. Jefferson's torture bunker. When you wake up in class again on that fateful first day, wait till you are free to roam. Then, head over to Kate Marsh.
First, you will need to comfort her, and this will lead Max to tell her that everything will be alright, given what she knows about the situation. After the conversation, you will be able to take a side-profile shot of Kate.
Photograph 2
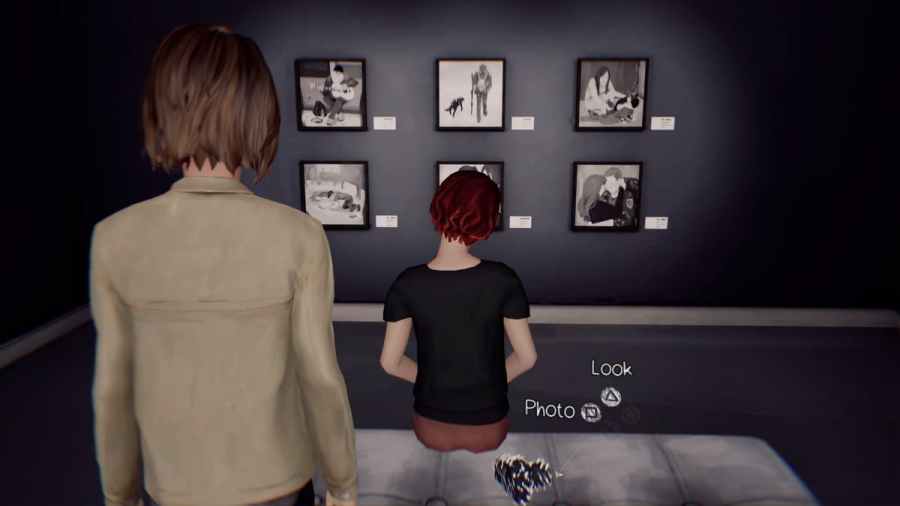
The second photo is accessible once you land in San Francisco at the art gallery. Instead of heading up the stairs, go down the short stairs into what seems like a little sub-gallery cave that's off of the ground floor from where you enter.
Stand behind the red-haired woman for a chance to take a photo (which, quite frankly, is a bit strange, as it isn't even Max's camera. Bad Max).
Photograph 3
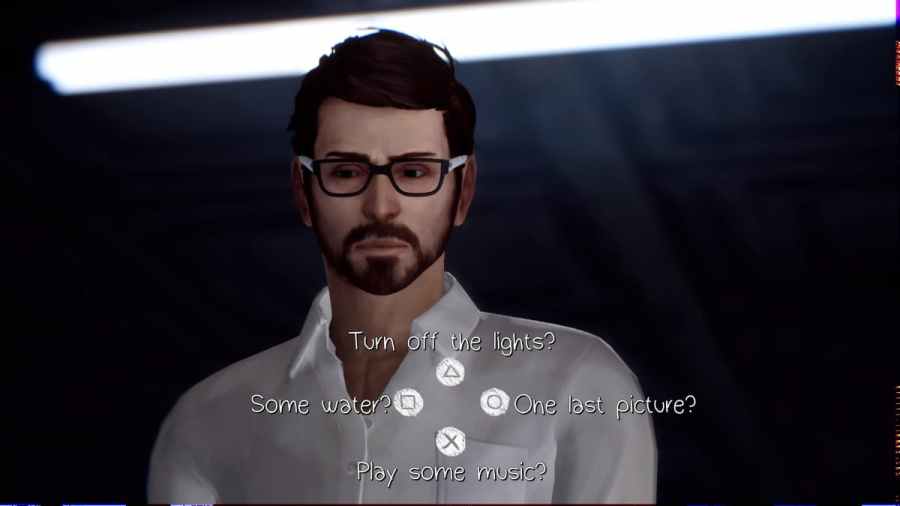
When you're back in Jefferson's lair, you will need to rewind when he goes off to check the photos he just took of Max. When he comes back, try to stall him by asking for a last request.
To get the picture, you need to choose the One Last Picture prompt, and you will then gain the achievement. If you are stuck and want the right choice to progress the story, you need to pick the Some Water option.
Related: All achievements and trophies for Life is Strange Remastered
Photograph 4
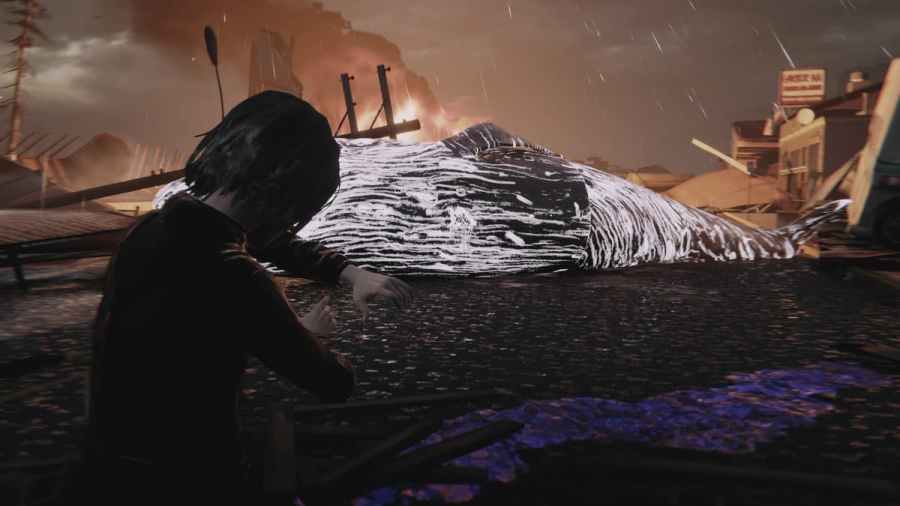
When you go to the diner to collect the photo from Warren, you will be met by the chaos of the storm. Work your way through the debris until you get to an opening in a building on the left-hand side. You will need to put out the fire and save the man.
Once you have done that, exit through the window and head toward the Two Whales Diner. There will be a stream of petrol flames making their way toward the diner. Stop them by using the Sand near the entrance. You can then take a photo of the whale in the middle of the road.
Photograph 5
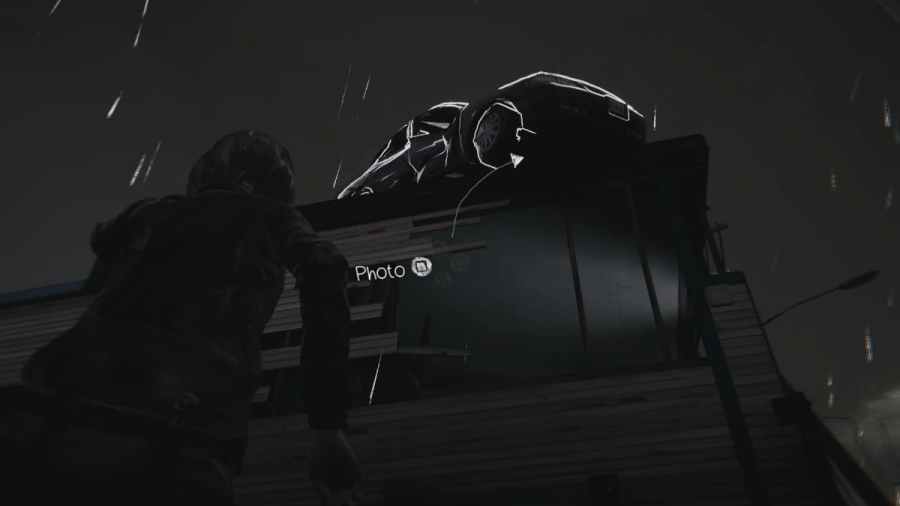
After taking the photo of the whale, turn around and look at the top of the building next to the Two Whales Diner. You will see a car precariously hanging over the edge. Stand close enough, and you will be invited to take a photograph of it.
Photograph 6
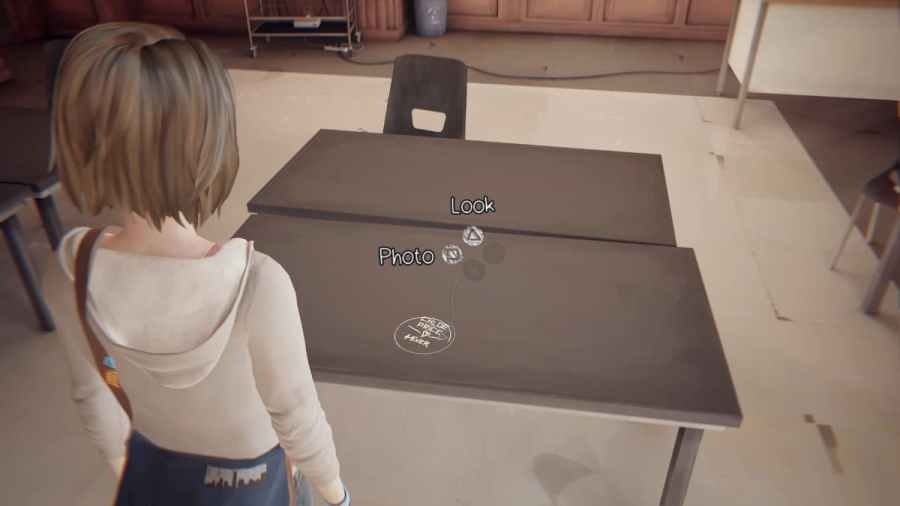
When you have gone back in time again, walk up to the same desk from the first episode that has the Rachel Amber etching on it. Look at the graffiti and let it cycle through until it reads Chloe Price 4 Ever. You will then be able to take a picture of your BFF's name. Cute.
Related: All photograph locations in Life is Strange Remastered – Episode 1
Photograph 7
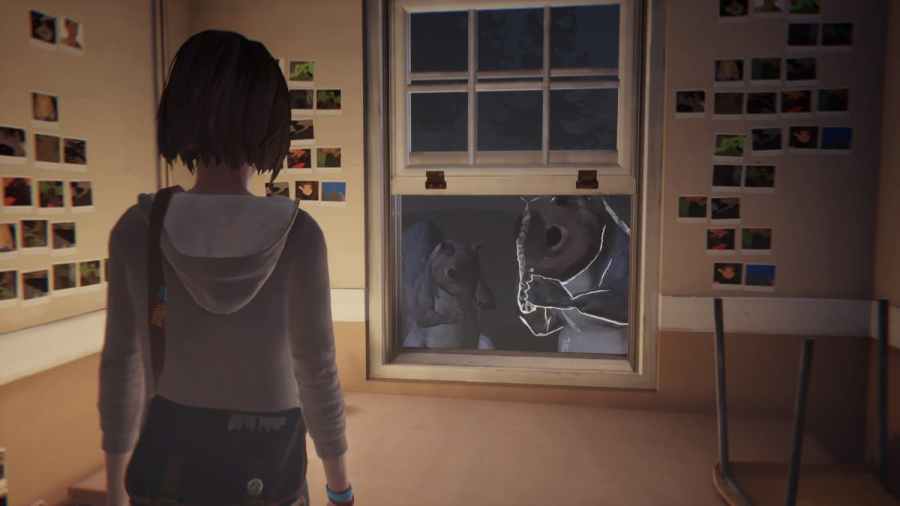
You will end up in a Silent-Hill-style maze of Blackwell's girls dormitory. Keep going through the doors until the walls are plastered with polaroid photos. When you get to this stage of the maze, head down the right-hand corridor near the girls shower room.
You will see that the squirrel duo from before are now jacked and big boys. Get close to the window for the chance to take their photo.
If you are stuck at this point and can't seem to reach the part when all of the photos are on the wall, you first need to enter Victoria Chase's room when appearing as Victoria, herself.
Then you will want to check the map near the dormitory entrance when wearing Rachel Amber's clothes. It will tell you which room was hers.
Photograph 8
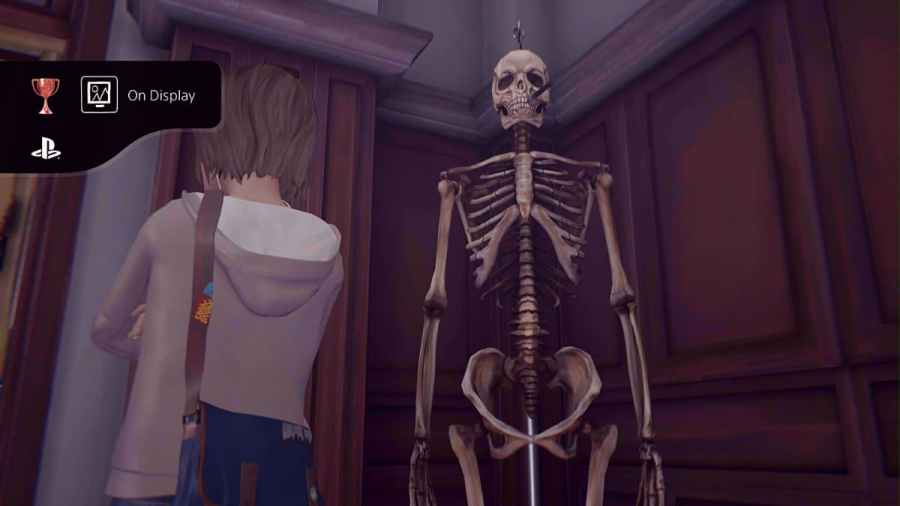
For this one, you will follow the path to the bathroom from the first episode, except everyone will be going backward (yes, backward). Before following Rachel's doe and going into the bathroom, look to the right-hand corner by the yellow doors. You will see your skeleton buddy there again.
Walk up to him, but instead of the conventional Take a Photo prompt, you will just see the option to Open Your Journal. Do this, and in a backward fashion, you will have taken the photograph for your collection.
Photograph 9
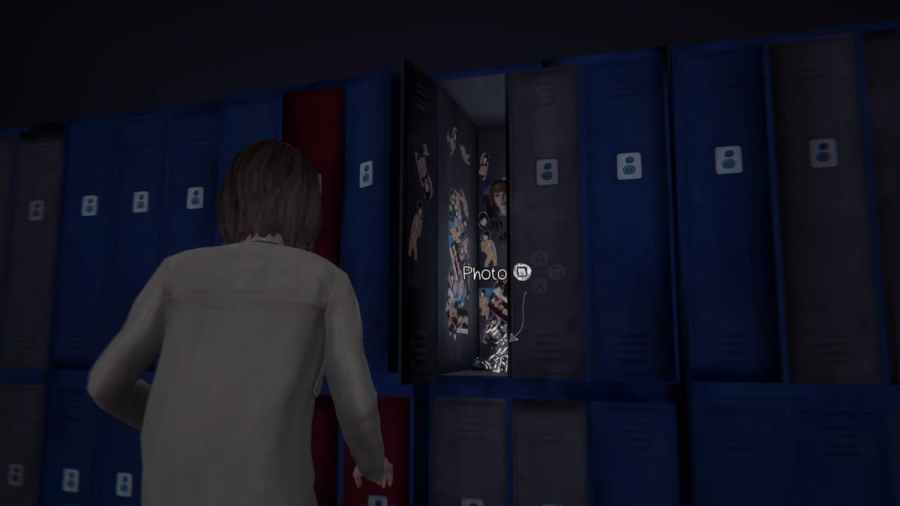
You can easily get lost in this one, but it isn't too difficult. When you reach the locker section of the sentry level (while all of Blackwell is hunting you down with flashlights), keep to the right-hand side.
You will come across a right-hand turn that you can take. Follow it round all the way to the right, and you will find Warren's locker. Open it, then take a photo.
Photograph 10
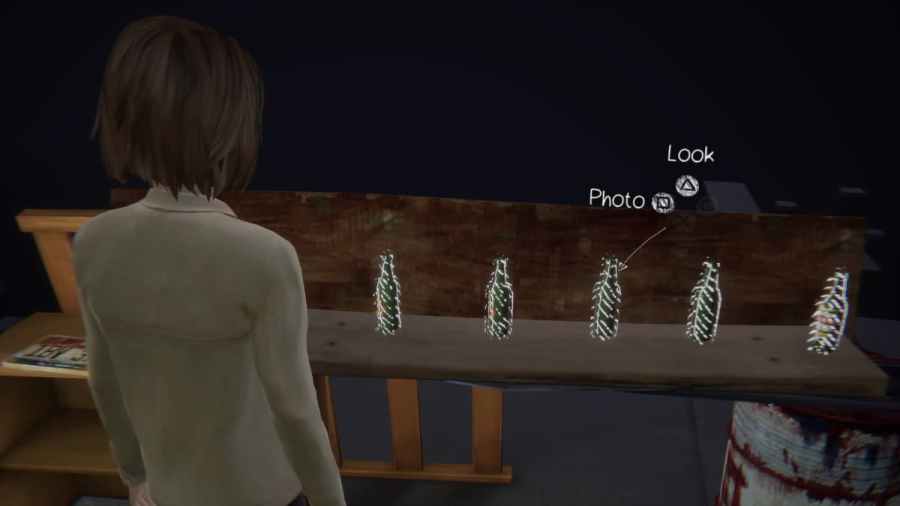
In the section after Principal Wells is a big, light sentry, you will need to collect five bottles. Collect all five from around the obstacles, and head to the end of the path where you will see these bottles lined up. Get up close to snap a picture of the clinking, green containers.
And with that you, will have all of the trophies/achievements from taking all optional photos within the game! We hope you enjoyed the experience, as well as the storyline.
Miss some of the other photos from the previous episode? Not to worry, check out All of the photograph opportunities from Life is Strange - Episode 4: Dark Room.