
Monke is the most fun character to play in Megabonk, mainly because of his weapon and his wall-climbing ability. But those two alone won’t get you too far in the game. So, here are three Monke builds focused on three different playstyles, from beginners to Monke GOD! Let’s dive right in.
Best Monke Builds in Megabonk
Monke can perform well with different types of builds because of his high mobility, big HP pool, and a weapon with massive scaling potential. The first build is the optimal build for Monke as it takes full advantage of his passive, while the other two are slightly more experimental.
Build 1 - DPS Tank
This build takes full advantage of Monke’s passively scaling HP to transform him into a tank, and uses a mix of ranged and melee weapons to clear swarms and bosses.
| Weapons | Tomes | Items |
|---|---|---|
| Bananarang Aura Revolver Slutty Rocket | HP Tome Size Tome Quantity Tome Cooldown Tome | Gym Sauce Moldy Cheese Credit Card (Red) Beefy Ring Power Gloves Oats Medkit Beer Mirror Battery Boss Buster Brass Knuckles |
Why It Works: HP Tome will multiply Monke’s +2 HP per level, increasing his health pool every time you level him up. This will make survival easier during the early game, when Bananarang is weak, and during the late game, when bosses are strong and can land fatal hits. Items like Oats and Medkit will also add a nice HP and HP Regen boost.
Size Tome is for Aura and Bananarang. Aura will keep enemies farther away, and bigger bananas will hit multiple enemies. Revolver and Slutty Rocket are mainly for elites, mini-bosses, and bosses. Quantity and Cooldown Tome will increase their DPS by increasing projectiles and attack speed. The same goes for Bananarang.
You’ll have to look for relevant Items, Charge Shrines, and weapon upgrades to scale damage. HP Tome can be swapped for Damage Tome for quicker damage scaling. If you go that route, your HP scaling will slow down, causing problems in long runs.
Build 2 - Projectiles
Monke’s jumps and wall-climbing ability are perfect for creating a projectile-based build. You can enjoy his agility while clearing mobs with multiple projectiles. Here are the Weapons, Tomes, and Items to go for.
| Weapons | Tomes | Items |
|---|---|---|
| Bananarang Revovler Bone/Katana Firestaff/Slutty Rocket | Quantity Tome Damage Tome Cooldown Tome Size Tome | Oats Medkit Backpack Modly Cheese Time Bracelet Gym Sauce Feathers Scarf Spicy Meatball Turbo Socks Beefy Ring Gas Mask Turbo Skates Demonic Soul |
Why It Works: This build will start slow, but things will pick up once you get Revolver/Firestaff and the Quantity Tome. The tomes will keep increasing the number of projectiles and attack speed to the point where multiple projectiles will always be hitting enemies. Don't forget the Bone and Revolver’s bounce upgrades.
Damage Tome is very important in this build. There are no melee weapons, and you’re projectiles should be doing enough damage that no enemy can break through in case you get caught in a tricky situation.
Monke’s passive will take care of HP scaling, but do give it a boost with the items listed above. Also, items like Turbo Skates will also synergize well with this build, providing an extra attack speed boost. If you see Chonkplate early, you can add Lifesteal to this build to boost survivability.
Build 3 - Monke Crits
A crit-based build is not natural for Monke, but somehow it works very well if you can get the items early to scale Crit Chance and Crit Damage.
| Weapons | Tomes | Items |
|---|---|---|
| Bananarang Revolver Katana Aura | Precision Tome Damage Tome Quantity Tome Size Tome/HP Tome | Gym Sauce Forbidden Juice Demonic Blade Beefy Ring Demonic Soul Battery Clover Time Bracelet Giant Fork Feathers |
Why It Works: This build has the same core as Build 2 - killing enemies from a distance - but adding the Precision Tome and Forbidden Juice to the mix changes the whole dynamic.
Revolver and Katana both scale with Crit Chance and Crit Damage. If you can get the Giant Fork early, this is definitely the build to go for. Demonic Blade will also add some Lifesteal, which will remove all your worries about survivability, as Bananarang and Revolver both restore your HP with hits.
Size and HP Tome are interchangeable in this build. Take whichever you can get early, and it’ll be just as effective. Size will improve Aura and Bananarang while HP stacks multiplicatively with Monke’s passive.
If you don’t get the Precision Tome and Forbidden Juice early, switch to Build 2 to save your run.
Monke Starter Weapon and Passive
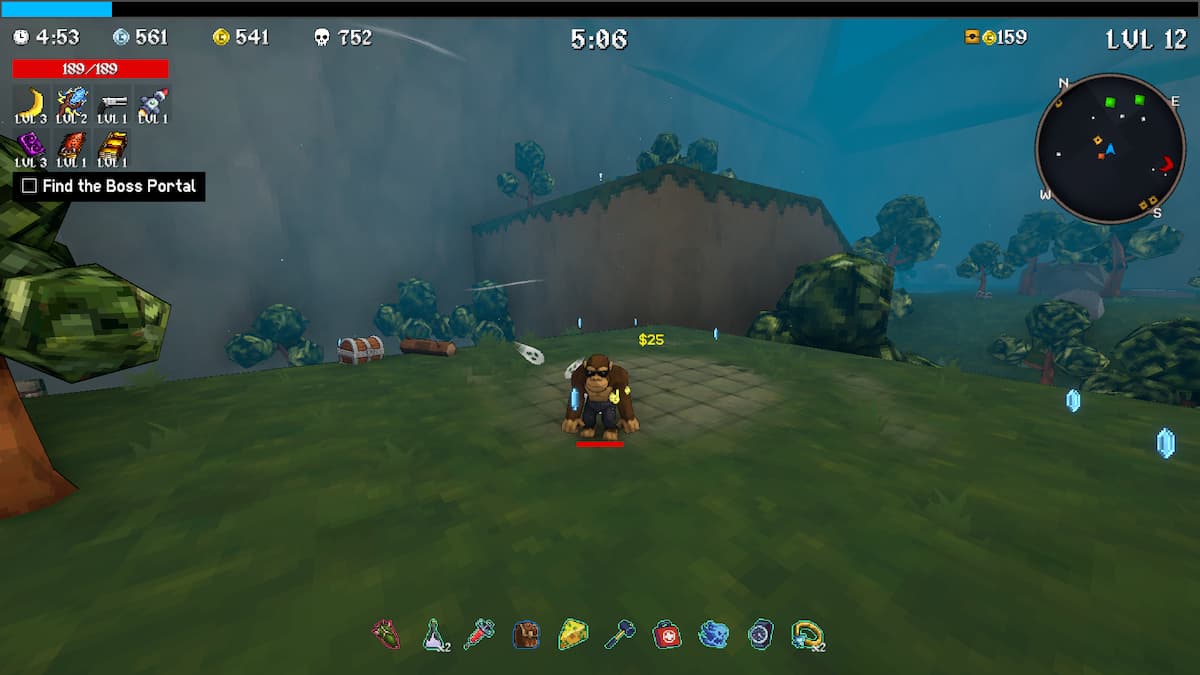
Monke’s starter weapon is the Bananarang, and it’s exactly what it sounds like. It’s a banana that moves like a boomerang. It can hit multiple enemies depending on its size and damages enemies while going outwards and coming back. It scales with Size, Projectile Quantity, and Attack Speed.
| Strengths | Weaknesses | Passive |
|---|---|---|
| High Mobility: Monke makes evasion easier with his high jumps and wall climbing. Game-breaking Weapon: With the right upgrades, Bananarang transforms into an ever-present tornado of bananas, shielding Monke from enemies and killing them. HP Scaling: +2 Max HP per level increases Monke’s chances of survival past the final boss. | Uncontrolled Jumps: The same jumps that can save you can also land you in big trouble. Fall Damage: Monke isn’t immune to fall damage. When low on HP, using his high jump and wall climbing can mean death. | Can climb up walls. Gains +2 Max HP per level. |
Megabonk Monke FAQs
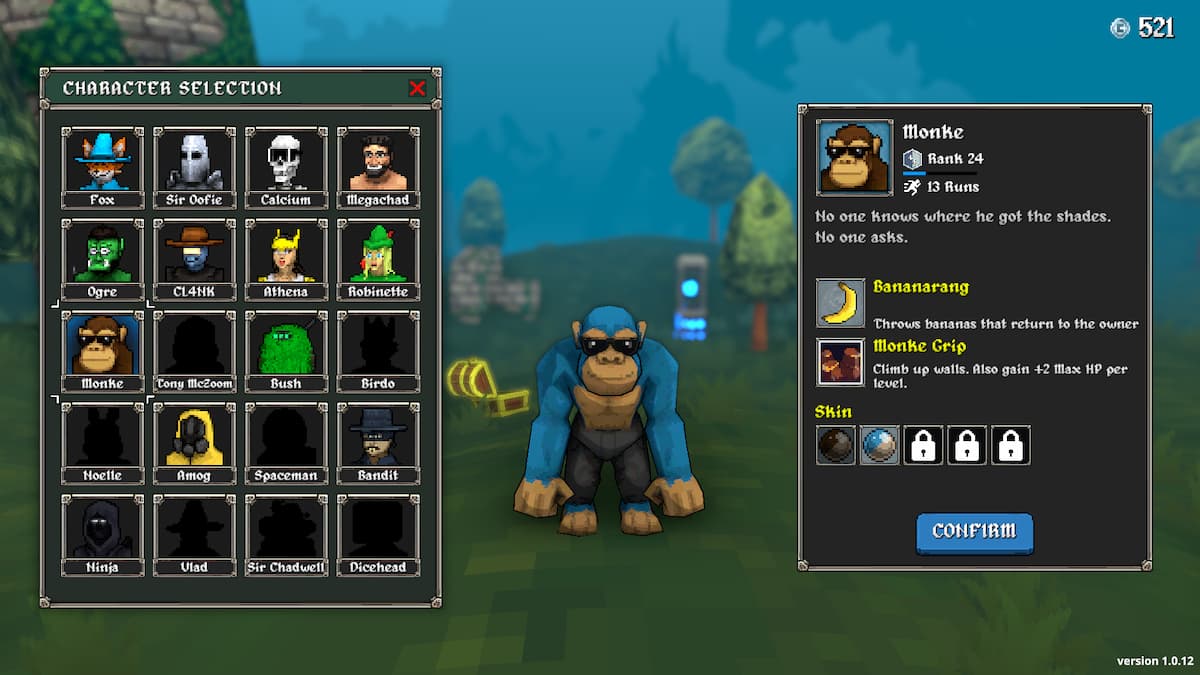
Monke is one of the secret characters in Megabonk. To unlock Monke, you need to find a Banana, a Golden Key, and Monke’s Cage. The Banana will unlock Bananarang, and the Golden Key is used to unlock Monke’s Cage, which frees him and unlocks him as a playable character.
Monke’s cage in Megabonk spawns in random locations across the Forest. It also won’t spawn in every run. The Golden Key and Monke’s Cage will spawn in the same run. So, if you find the Key or the Cage, look for the other items at the opposite end.
If you want to recreate the Bananarang Shield in Megabonk, you must max out the Size Tome and increase your attack speed with the Cooldown Tome and other Items. Once the Size Tome reaches Level 16, you will have bananas the size of Aura.
If you're looking to try a different character, check out the Best Megabonk Builds for Every Character. Also, check out the Best Builds for Mr Fox, Sir Oofie, and Athena (great for the AFK Gaming challenge).