
Minecrafters have been talking about automated crafting for ages, and Mojang has finally delivered version 1.21. I'll explain what the new Crafter block is as well as how to make and use it.
How to craft the Crafter block
To make the Crafter block Minecraft, you'll need the following materials:
- 5 iron ingots
- 2 Redstone Dust
- 1 Crafting Table
- 1 Dropper
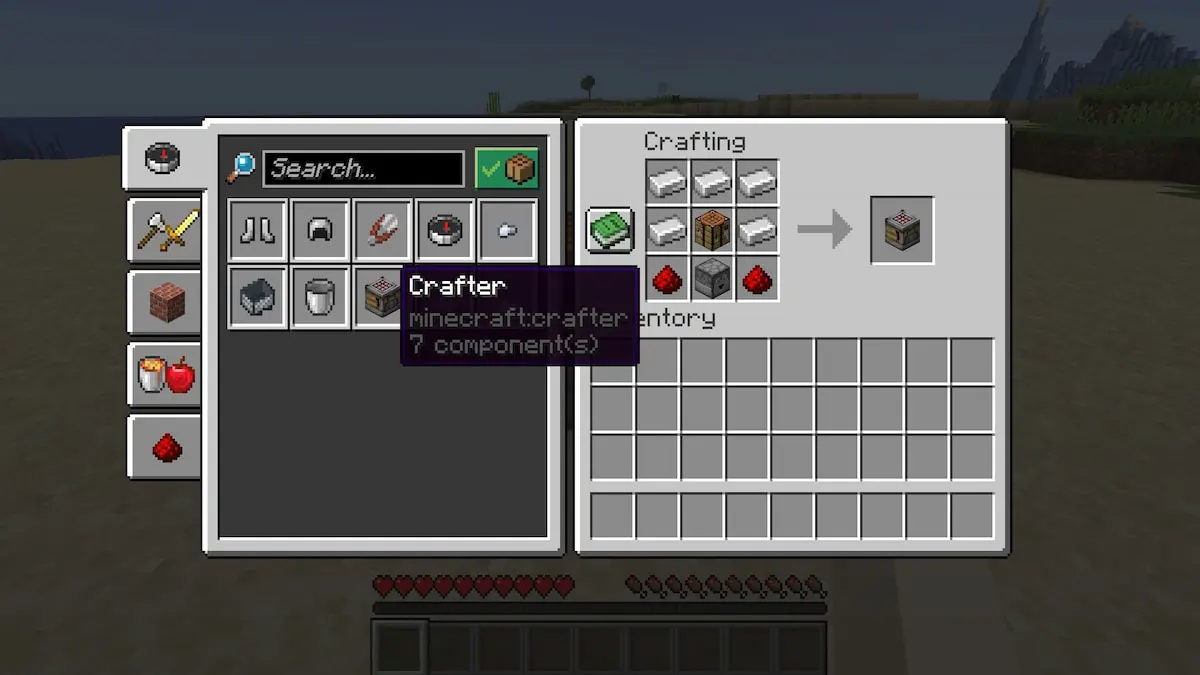
On a Crafting Table, fill the top three boxes with one iron ingot each. In the middle row, place one iron ingot on the left, the Crafting Table in the center, and the last iron ingot on the right. To complete the recipe, set the Dropper in the bottom row beneath the Crafting Table and fill the final two boxes with one Redstone Dust each.
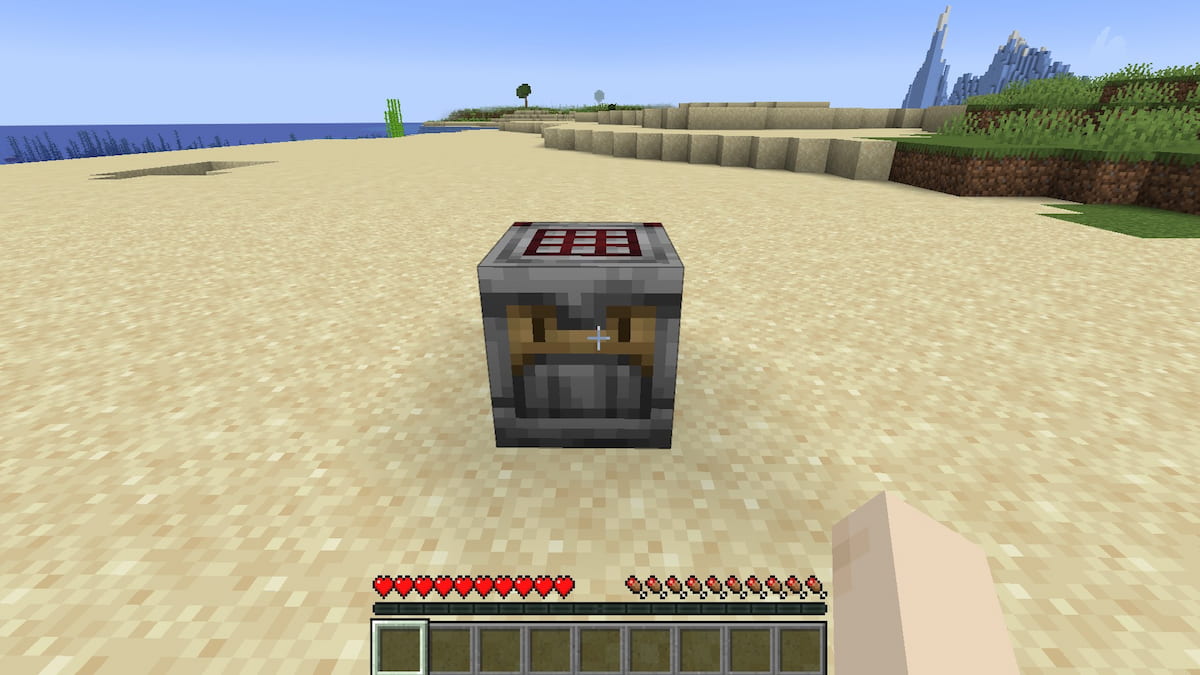
Now you can take the Crafter and place it wherever you'd like. When you place it, the front of the Crafter will face you. This is where completed items will come out if a hopper is not used.
How to use the Crafter block in Minecraft for beginners
A Crafter block has to be powered by Redstone to auto-craft anything. In particular, you will need to create a system that constantly supplies Redstone power to the Crafter. For those unfamiliar with Redstone, I'll show you how to build a simple repeating circuit with Redstone to power the Crafter. This circuit will only power simpler recipes, like turning wood into planks or wheat into bread.
More complex recipes, like books or bookshelves, would require a more intricate set-up to ensure that every component goes to the right slot. This is true even for crafting sticks because adding wooden planks into the Crafter one by one will simply produce an enormous amount of buttons.
After the simple circuit tutorial, I'll explain how items can be added and removed from the Crafter.
How to make a Repeating Redstone Circuit with the Crafter
To power the Crafter, you'll need the following items.
- 2 Redstone Repeaters
- 8 Redstone
- 1 Redstone Torch
To craft a single Redstone Repeater, you'll need three Stone, 2 Redstone Torches, and 1 Redstone. In the top row, place one Redstone Torch followed by the Redstone, then the final Redstone Torch.
Next, put a single Stone block into each box in the middle row. Make sure to double the recipe to create both Repeaters.

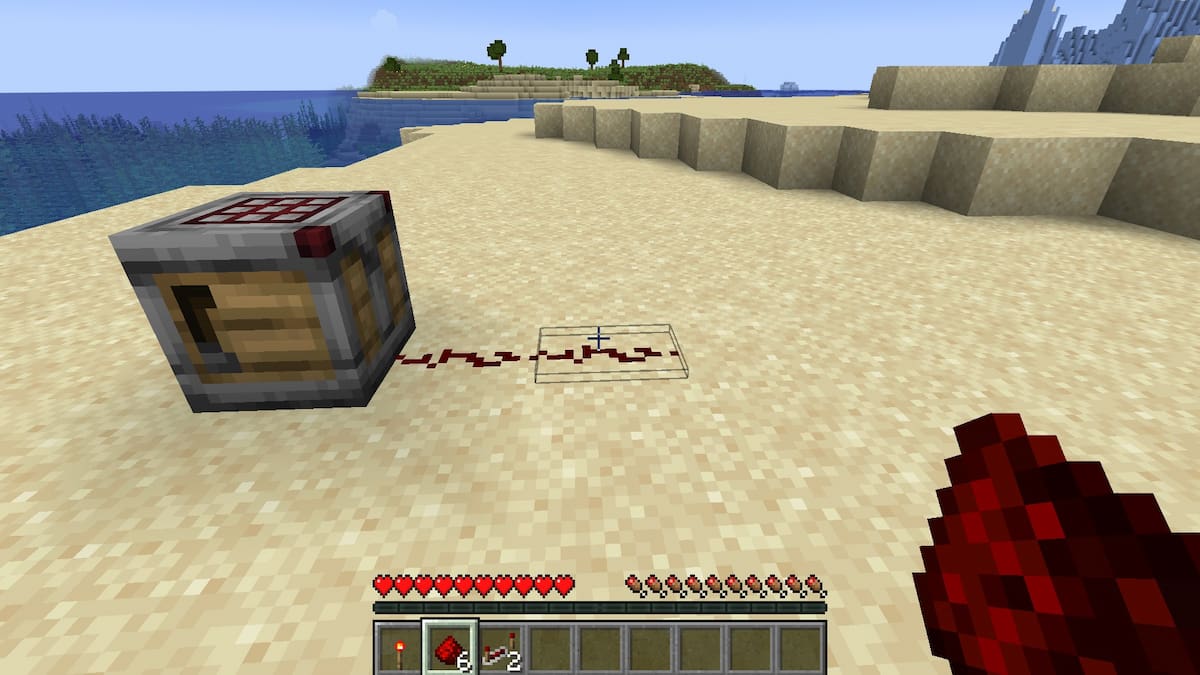
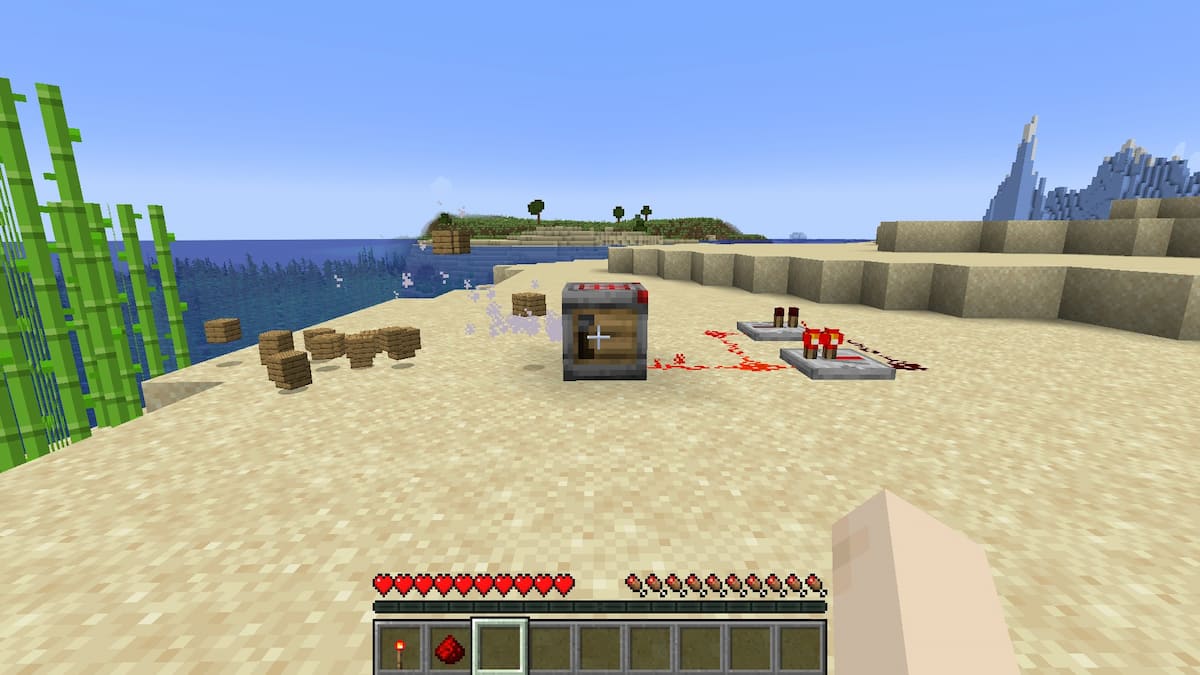
With the Redstone Repeaters on hand, begin creating the Redstone Circuit. Start by using two Redstone to create a small path of Redstone Dust extending out from the Crafter.
Walk to the end of that line and turn to face the back of the Crafter. Place the first Redstone Repeater at the end of the Redstone Dust line. You need to place the Redstone Repeater while facing this way so that it is in the right configuration.
Next, place five of the remaining Redstone Dust exactly as pictured in the image below. You're essentially creating a rectangle with the Repeater acting as one of the sides. You will have one leftover Redstone, which will be used later.

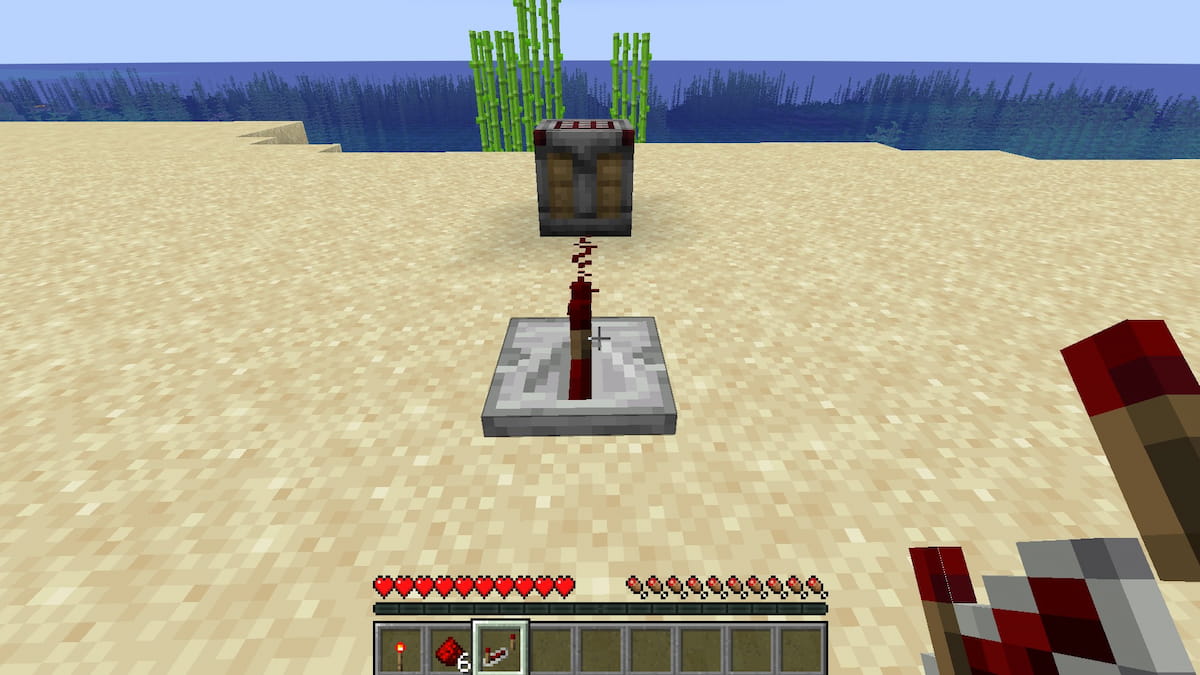
Now we'll place the other Redstone Repeater. Like with the previous one, the way you place this one is vital for making the circuit function. Stand next to the Crafter, then turn to face outward toward the Redstone Circuit you've been working on. Place the Redstone Repeater in the gap between the Redstone Dust while facing this way.
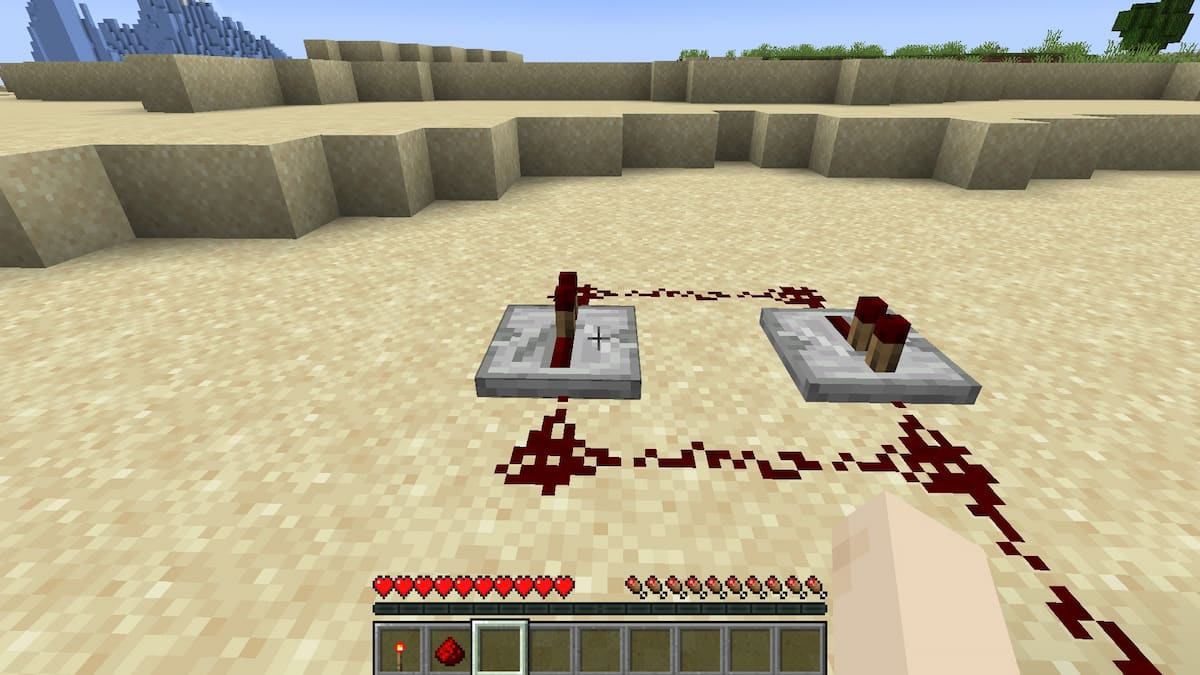
With the basic structure of the circuit complete, place the Redstone Torch next to the Redstone in front of the first Repeater. This will power the circuit.
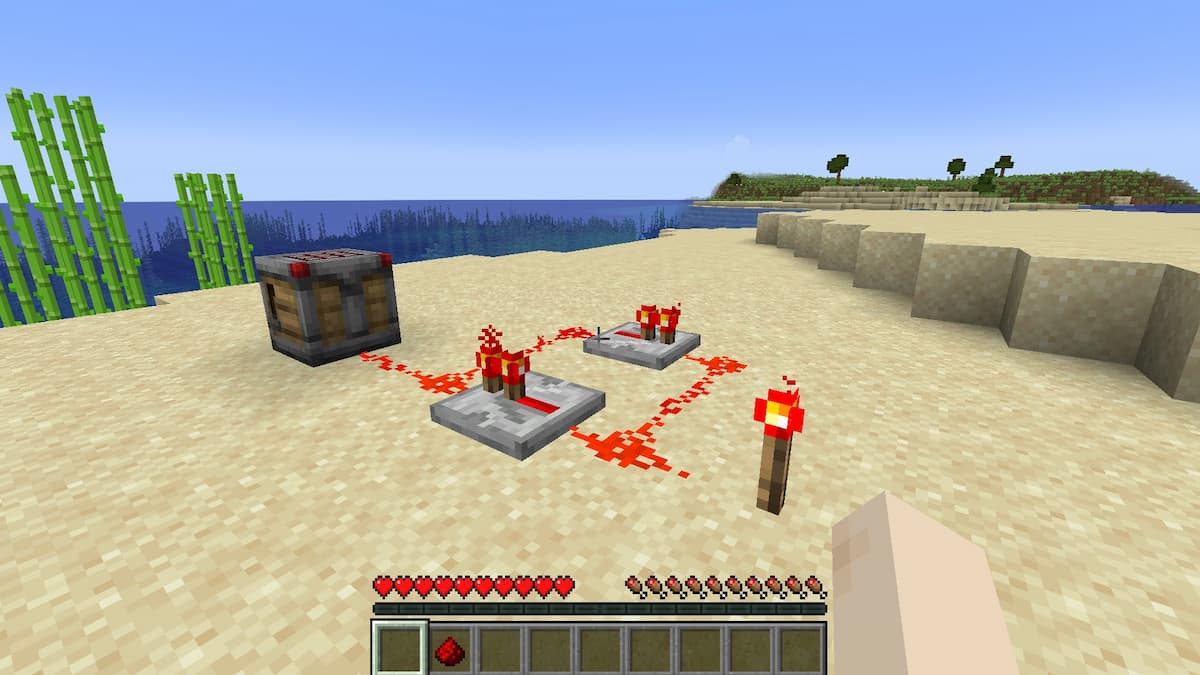
With the circuit powered, break the Redstone Torch. The Redstone and Repeaters should remain a bright red, indicating that they are still working. If they do not, place the torch and break it again.
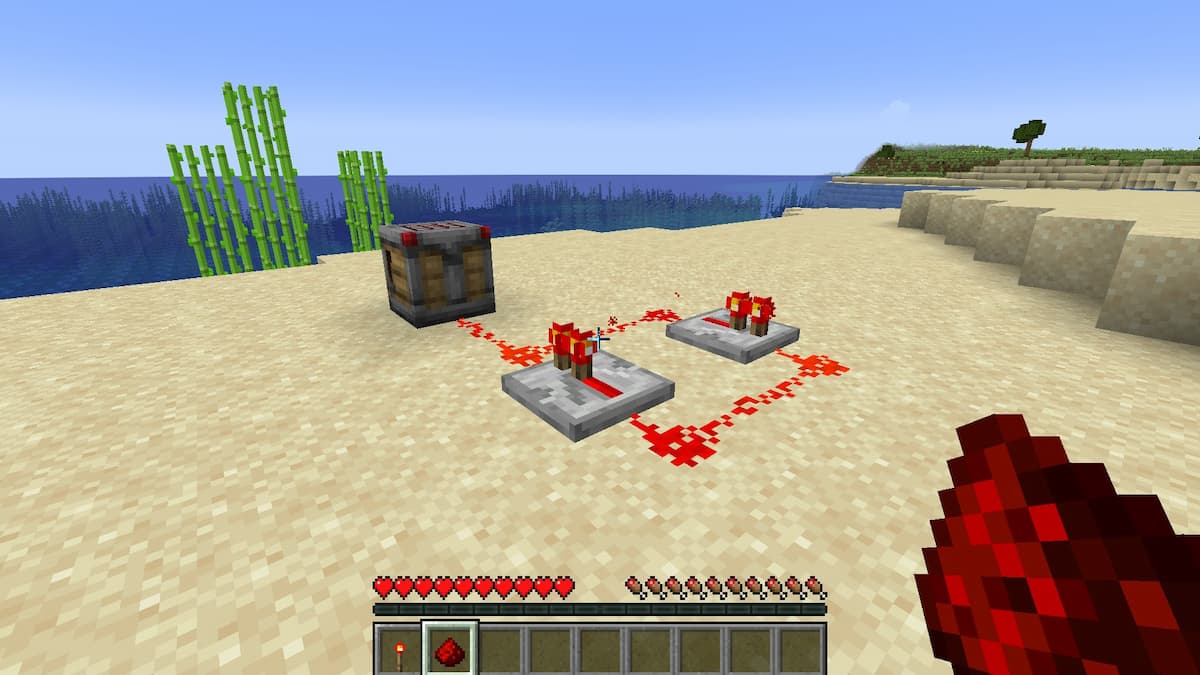
This last bit is the trickiest part, which is why we have the extra Redstone. Essentially, you need to quickly break the Redstone Dust the torch was used and replace it immediately. This will turn off the power from one side of the circuit and then immediately connect it to the powered side. Doing so will make the Redstone Circuit "pulse" its power continuously.
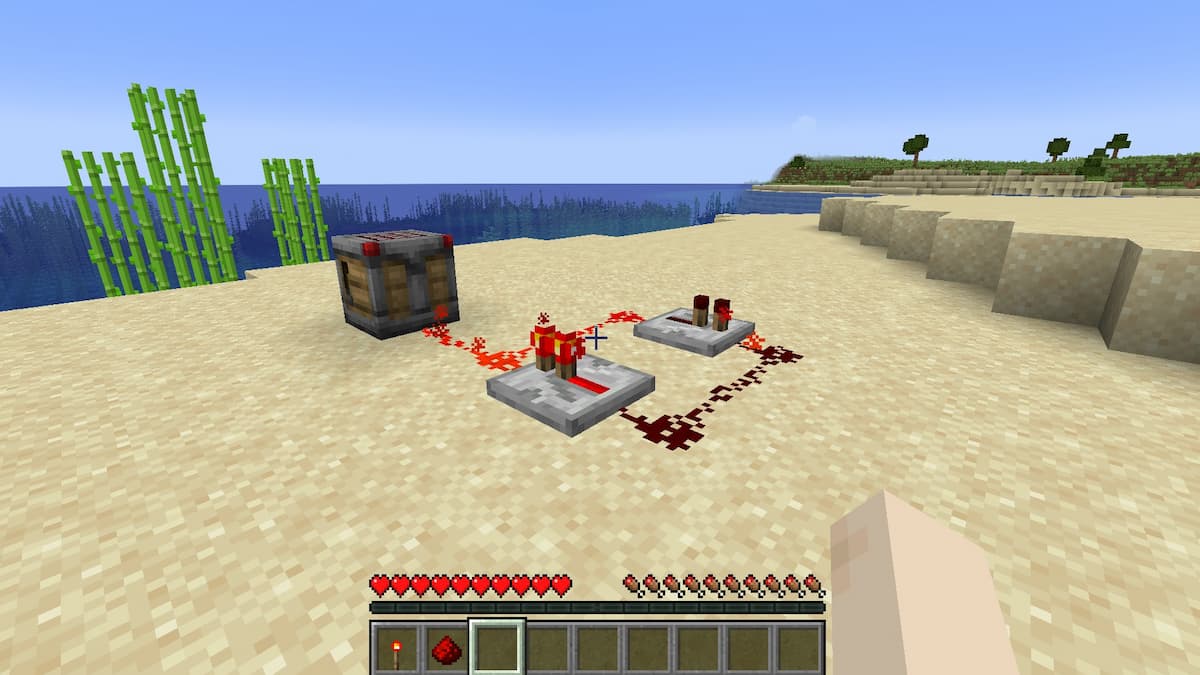
The Redstone Circuit's pulses will constantly apply power to the Crafter. It will work as if you were constantly pushing a button to activate the Crafter manually.
If you need a more visual demonstration, I recommend this TikTok by GoodVillager. While he uses the Redstone Circuit on a Piston, the process is identical to the one needed to operate a Crafter.
How to automatically add items to a Crafter
Items can be automatically placed within the Crafter using a hopper. Place the Crafter one block below and away from the chest. From there, attach the hopper to the Crafter while placing it on the block beneath the chest. The top of the hopper should be beneath the chest while its pipe is connected to the Crafter.
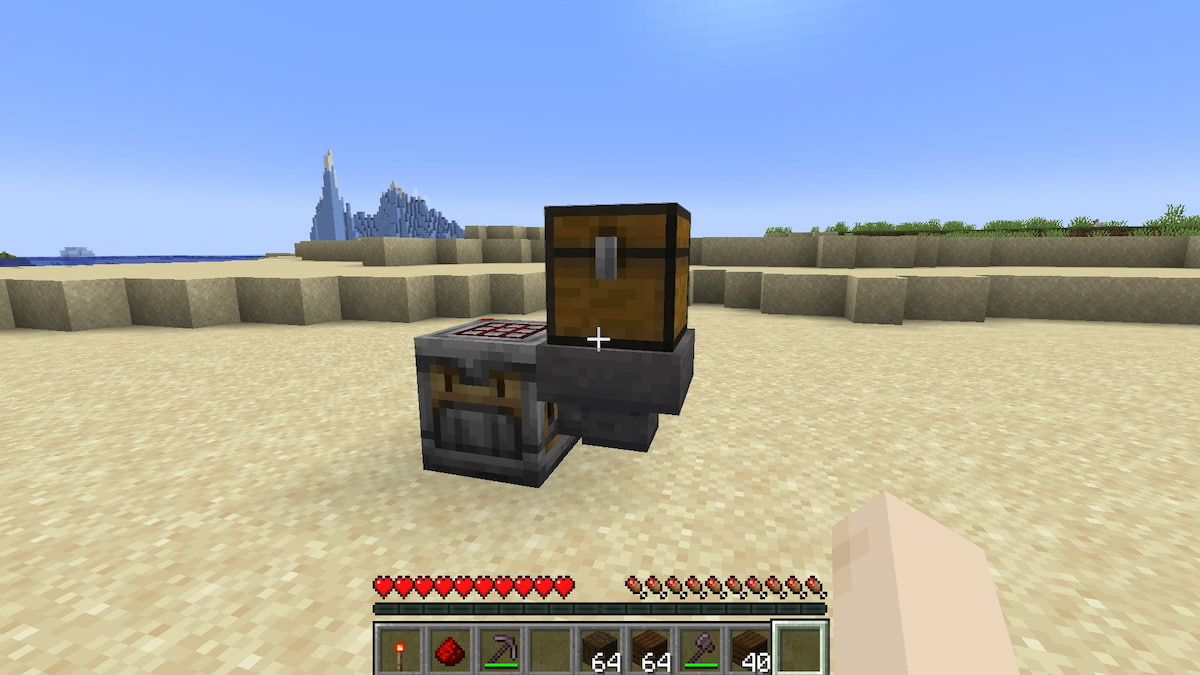
The materials in the chest will begin to flow through the Hopper into the Crafter. They will fill the Crafter from top to bottom and left to right. Nothing will happen if the Crafter is not powered by Redstone pulses. When it is, the Crafter will automatically begin crafting the first recipe that fits its resources as they are being placed.
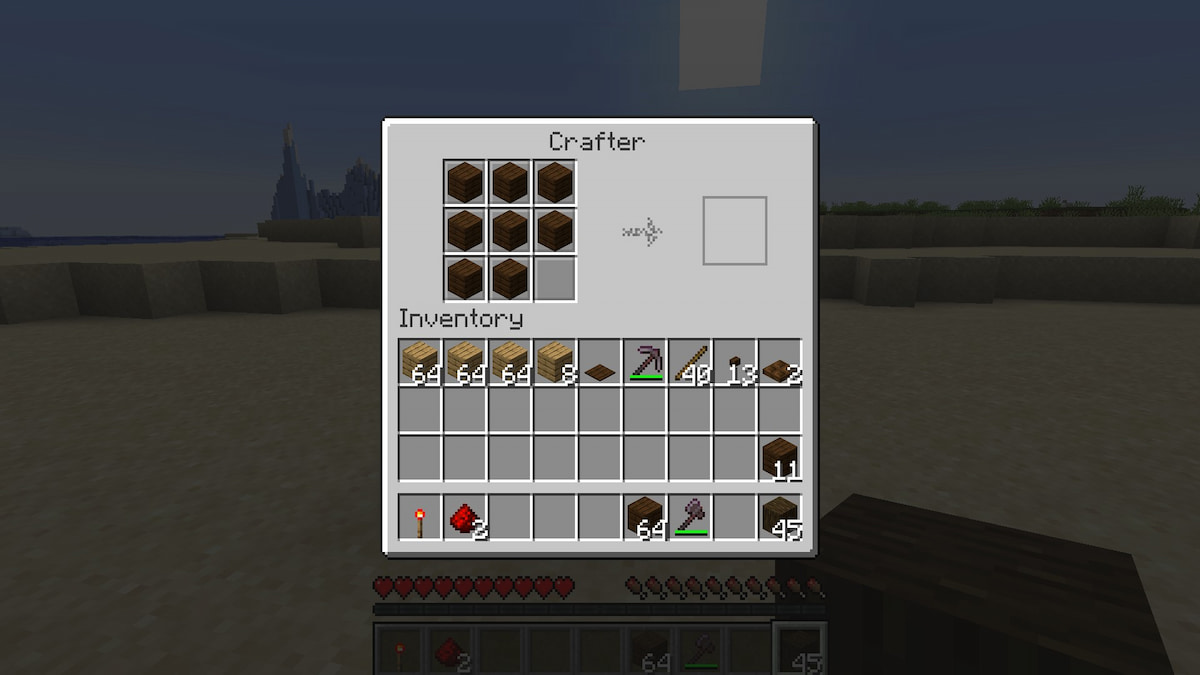
If you want to prevent resources from going into certain slots, you can disable them in the Crafter. All you need to do is open the Crafter's interface and click on the block you want to disable. The block will turn a light grey color that matches the crafter's interface. You can disable as many blocks as needed for the recipe you would like to make.
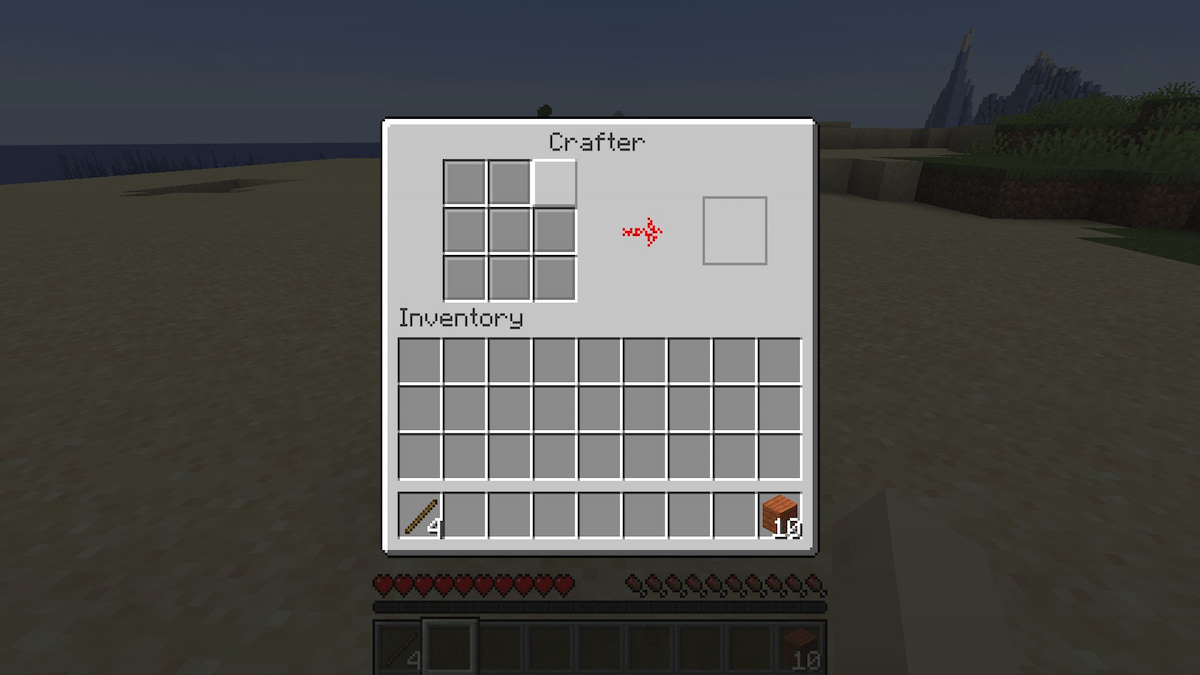
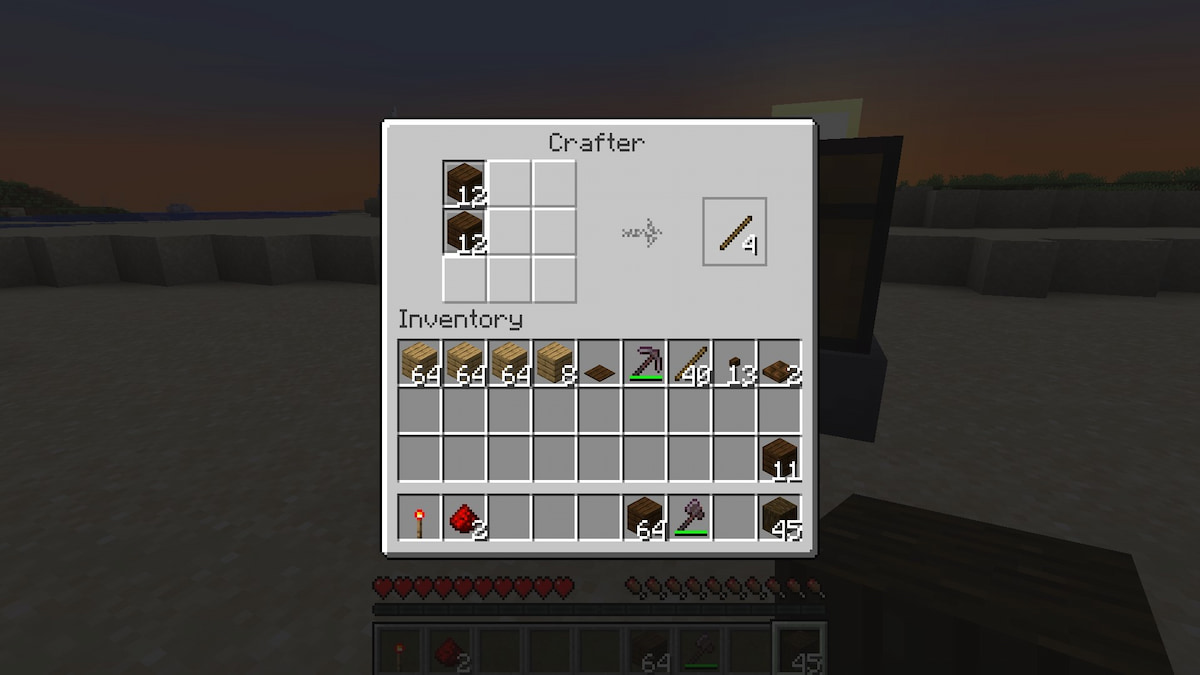
In the image below, I disabled all but two boxes because I wanted to create only sticks. While the set-up in the image below quickly left me making buttons, adding more planks to the bottom box before starting the Crafter would potentially fix that. At the very least, it would increase the amount of sticks crafted before buttons began.
Similarly, you can use a Hopper to transfer crafted items from the Crafter into a chest to prevent them from floating around. For more complicated recipes, you can even connect a Crafter to another Crafter.
Want to explore more of the Tricky Trials update? Check out How to find and start Trial Chambers in Minecraft here on Pro Game Guides.