
With every Poppy Playtime DLC adding new lore to discover and puzzles to solve, the Safe Haven marks the fourth chapter of this iteration. With challenges around every corner, here's a complete Poppy Playtime chapter 4 walkthrough to help you survive the depths of Playtime Co. Factory.
Poppy Playtime Chapter 4 Safe Haven - All Codes and Puzzle Solutions
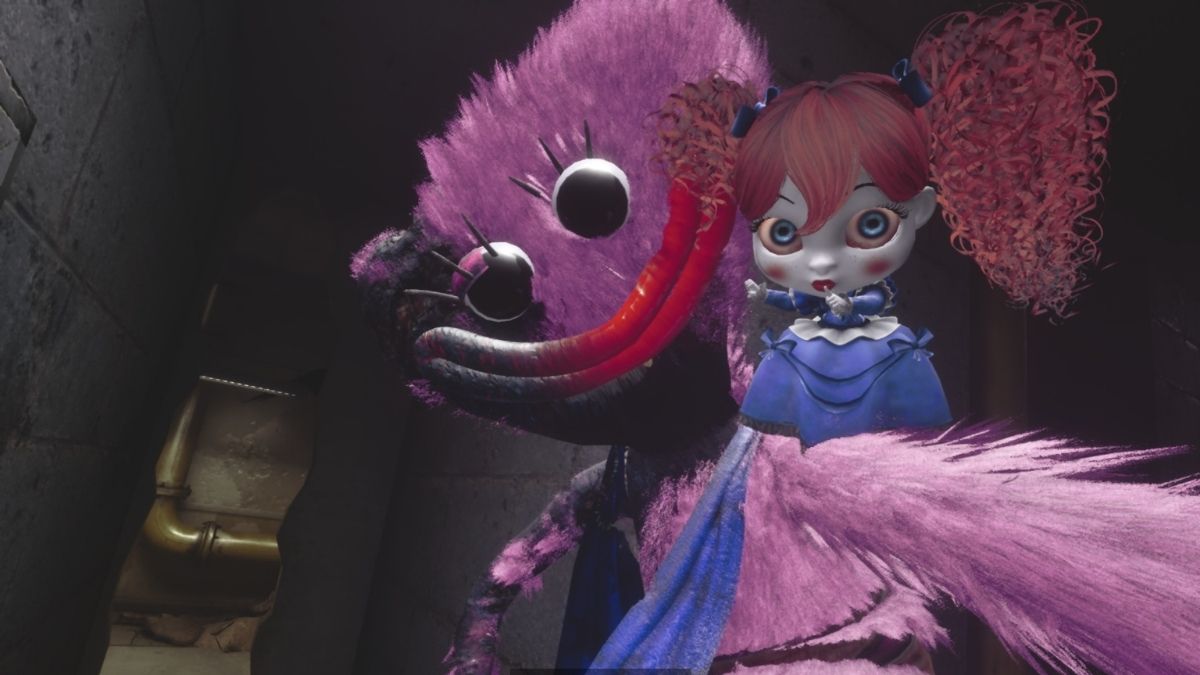
Poppy Playtime Chapter 4 introduces us to a new character, Doey the Doughman, an animatronic that you'll encounter in the Safe Haven DLC. While you might think of him as a friend, there's much to discover later on.
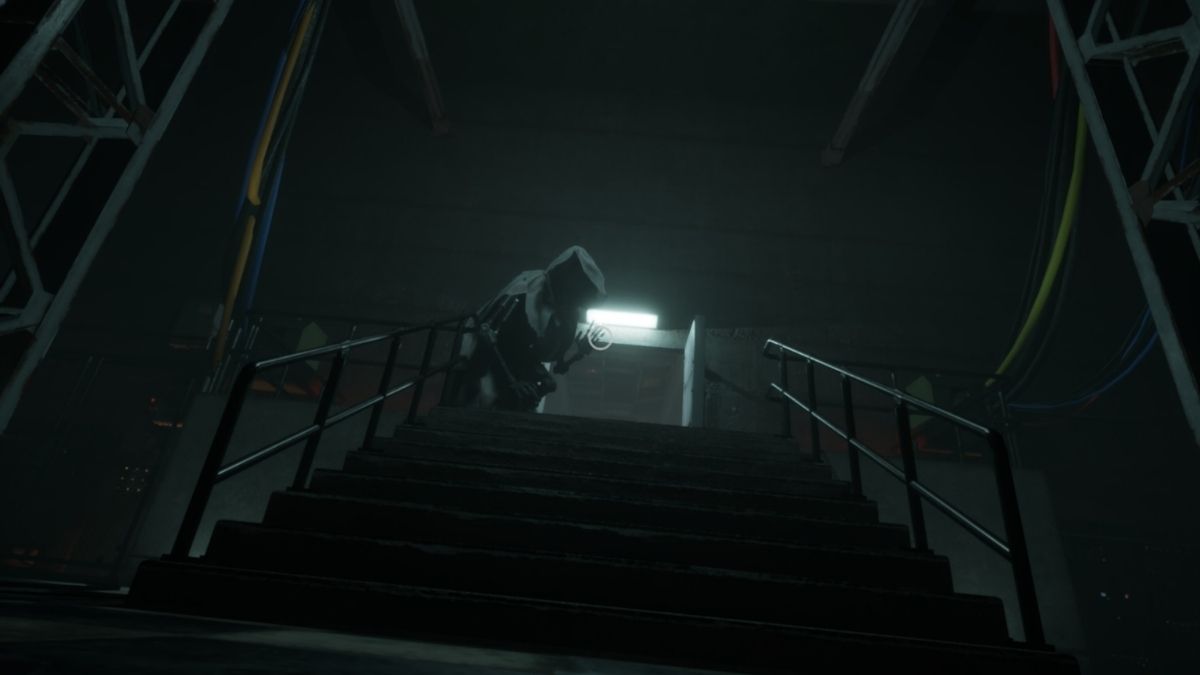
Prison Entrance


As you begin Chapter 4 of Poppy Playtime, you'll be guided by Poppy to the depths of the Playtime Co. Factory. Once there, you'll have a small puzzle that you need to solve first in order to progress. Here's how to do it:
- Move forward, climb the stairs on the right, and then position yourself on top of the blue boxes.
- Aim at the swing bar on the ceiling and press the left click.
- Sprint and jump to land on the other box.
- Once there, look to your right, and you'll spot the battery on the far corner.
- Aim at it, then left-click twice to pick it up.
- Swing back and place the battery on the door to open it.
When you've opened the door using your blue glove, you need to keep walking till you hit the big yellow gate. The gate is tied together by a rope that you can burn using your Flare glove.


After you walk through the heaps of dead toys, you'll find yourself outside the huge prison gate. As you approach the gate, it'll go on lockdown, and your objective will update to finding another entrance inside the prison. Here's how to find it:
- When you stand in front of the gate, a toy critter will appear behind you. Burn it with your flare gun, then proceed to move back.
- Look towards the left, and you'll see a heap of toys. Move towards the corner and climb the heap. You'll see a broken door underneath the light leading into the prison.
- Follow the path till you stumble upon the jump pads.
- Sprint towards the jump pads, then press right-click with your purple glove to jump across the platforms. Do it twice, then carefully cross the narrow ledge to enter the prison.
Once you make it across the platforms, keep following the path till you find another edge. You'll see another swing bar, using which you can make it into the interior of the prison.


After you make it inside, you first need to find the key, get the train started, and the actual journey of Chapter 4 begins. Here's how to do it correctly:
- Drag the boxes on the other side of the room using your blue boxes. Push them against the container to climb them and reach the hanging container.
- Inside the hanging container, you'll find a Key. This key opens the Locked Room near the area's entrance.
- Open the room, then attach your blue glove to the power source.
- Drag the charged wire towards the two electric poles outside.
- Once both the electric poles are charged, attach your purple glove to the power outlet on the train. The moment you do that, the door of the big blue container will open.
Enter the blue container and the door will be automatically closed. You'll be then introduced to The Doctor, who will be continuously watching you throughout this chapter.
Prison Escape and Red Gas Trap


After you wake up, you'll find yourself in the Prison. Your objective will change to Escape from the Prison. But this isn't so simple. Here's the exact steps to make progress from here:
- Follow the path till you reach the white area. Look up, and you'll see a Swing Bar. Grapple it with your Blue Glove, and hold the left-click to climb up.
- Once up, proceed forward till you see a broken vent.
- Use your Blue Glove to open the Big Blue Door on the lower floor.
- Once opened, go back and downstairs to the prison cell. Open the unlocked door and jump through the hole in the ground.
- Burn the critter with a flare, then proceed toward the end of the corridor. Open the second last door, and get rid of the wooden panels with your blue glove.
- Crouch and move to the other cell, then into the next room. There, you'll find the Red Glove that will allow you to open security doors.
Once you get that, go out of the room, as multiple critters will attack you. Keep closing the Prison Doors to keep them at bay. It'll last around a minute, after which they'll leave. You can even shoot flares to scare them off momentarily.


Keep following the corridor, then go upstairs. You'll then find yourself in a control room. Enter the code 3255. That will open the exit door at the end of the corridor. Here's what to do next:
- Keep following the path till you reach another control room. Unlock the first door using your blue glove.
- Go to the unlocked area to find the Access Card.
- Use the Access card at the table to open another door.
- When the next two doors open, you'll find yourself in another corridor.
- Keep following the path till you find a stone blockage.
You will have to crouch down to go through the block. Remember, this is one of the most important stages in the game. You need to do all the next steps very quickly.


As you move towards the end of the corridor, the Doctor will release a toxic red gas. This will gradually start disorienting you and eventually kill you if you don't stop it in time. Here's how to deal with it:
- Look down, and you'll see broken bars around the steel cage. Use your Blue Glove to break those bars and jump down.
- You'll see then see a massive red pipe leaking the gas. Don't go near it. Instead, run towards the end of the corridor, remove the wooden panels, and go left into the crack.
- Keep running till you reach the room at the end.
- Find a table with a Valve wheel on the right.
- Pick it up using your Glove.
- Carry the wheel and run back. This time, slide through the crack on the left (not the one through which you came).
- Crouch through the steel cage to make it to the leaking pipe.
- Place the wheel on the pipe and turn it to stop the gas from leaking.
- Quickly unlock the door by using your glove and head upstairs towards another control room.
Once inside, you'll need to solve another cryptic puzzle and enter the code to get rid of the Red gas that has filled the prison.


This time, you need to enter the code 3642, and the gas will be cleared. This will also lead the pressure to go critical, which will break the glass on the left. Here's what to do next:
- Go through the broken glass. Follow the path till you see a jump pad at the end of the room. Sprint towards it and use your purple glove to jump up.
- Follow the path till you find another puzzle. This time, drag the blue boxes under the closing gates. Make sure a big box is under every shutter, not the small ones.
- Then, attach your gloves to the panel in each room. When you attach both of them, the door in the middle will open.
This will lead you to a lab, where The Doctor will introduce you to Yarnby. Not the cute one, but the dangerous one. This will then lead you to the next stage of surviving against Yarnby.
Surviving Yarnby And Meeting Doey


Once Yarnby disappears, open the panel on the left and place the battery on the right slot to open the door behind. Follow these steps to make it to the next part of this chapter:
- Follow the path, and you'll reach a storage room. There, Yarnby will be hunting for you. Crouch the entirety of the time.
- Make it across the first section and wait for Yarnby to move onto the left side of the room (when it starts to burn).
- Once there, grab the swing bar above the vent on the right and start climbing. Be quick, as Yarnby will try to attack you when you reach up.
- Yarnby will be there when you reach the next room.
- Wait for it to turn its back, and make a run for it.
Once you're crouched, hide and wait for Yarnby to leave. Once he leaves, proceed forward till you encounter Pianosaurus, and then watch him get devoured by Doey.
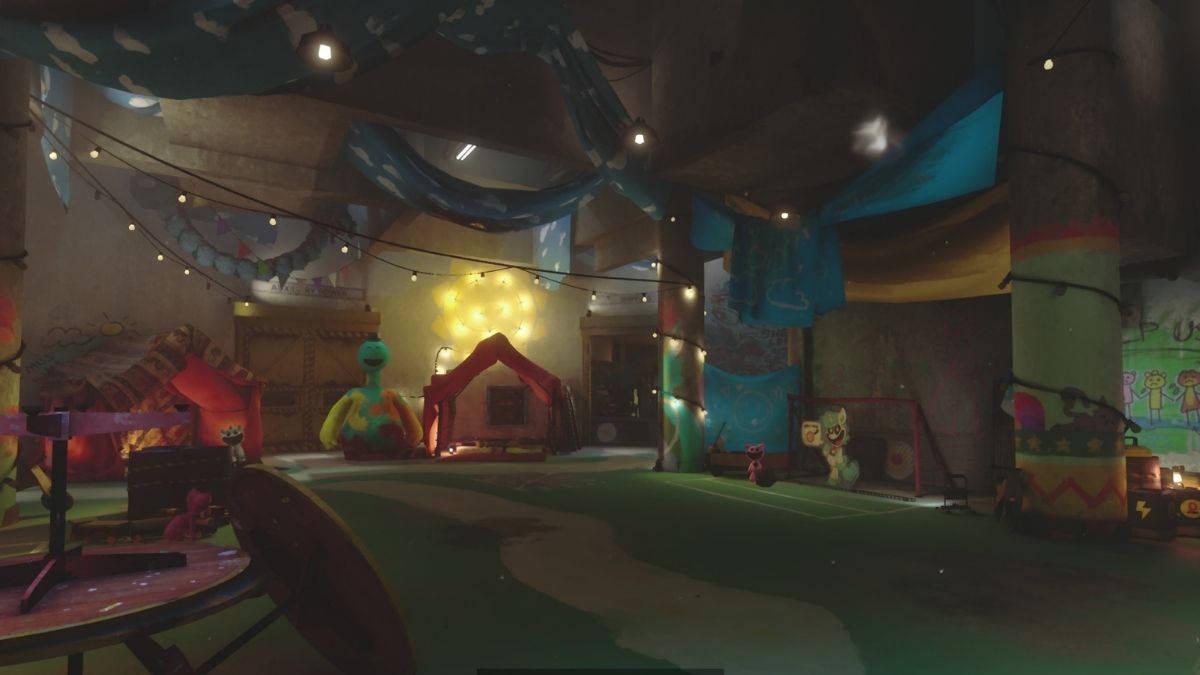
Reaching Safe Haven


After you meet Doey the Doughman, your objective will change to Follow Doey as both of you make your way to the Safe Haven. There, you'll encounter a locked gate puzzle. Here's how to clear it:
- Pick up the chain hooks that are attached to the wall with your glove.
- Hook them on the door handle.
- There are four hooks, so you need to attach two to each door handle.
- Attach the levers beside the chain.
- One lever is already attached, two of them are lying on the floor nearby, and one of them is on the top of the Blue Tower inside a locker.
- Enter the code 3021 to unlock the Locker and get the fourth lever.
- Once attached, flip all four levers using your Glove to open the door.
Once you make your way through the corridors, you'll end up in another puzzle where you need to set up a gear combination to open up the next area.


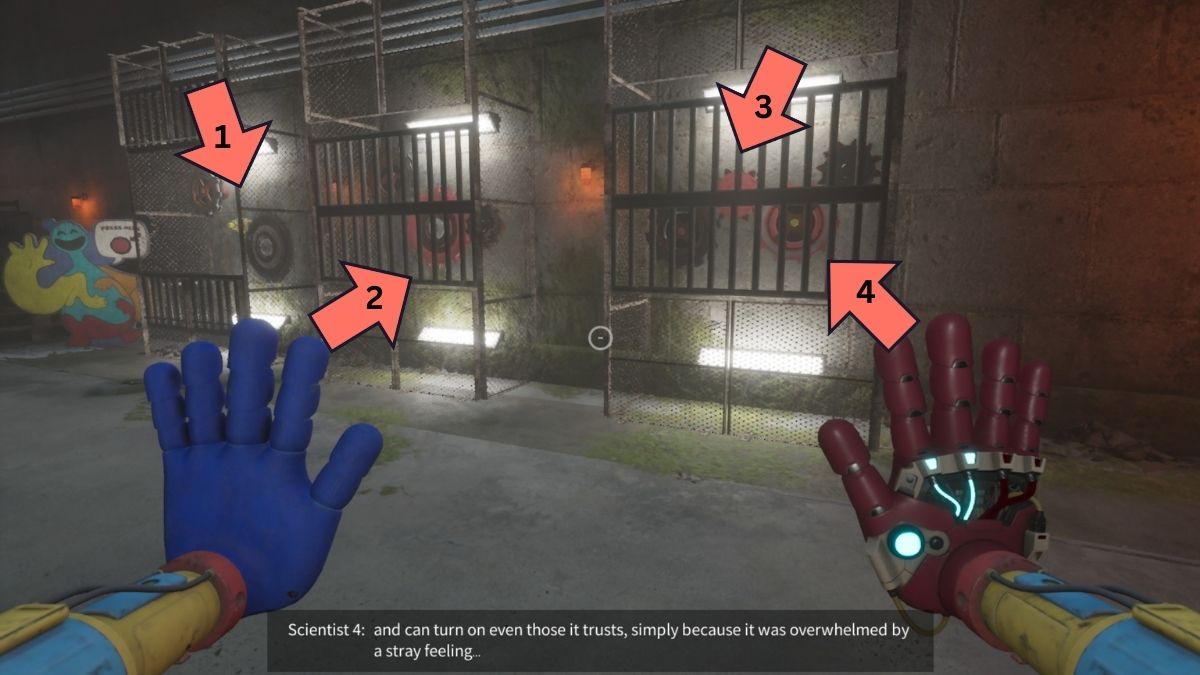
The gear combination puzzle is your last hurdle before reaching the Safe Haven. Here's how to complete this puzzle:
- The first gear is located on the steel shelf on the left when you enter the maze from the left gate.
- The second gear is located behind the two stacks of blue boxes in the right corner when you enter the maze from the center gate.
- The third gear is located on another steel shelf at the center of the maze.
- Once you have all three gears, arrange them in the combination shown in the picture (the biggest gear in the center and the two medium ones on the two ends).
Finding The Doctor And Killing Yarnby
After you deal with the previous puzzles, you'll finally reach Safe Haven alongside Poppy, who makes an appearance to save you. Doey'll instruct you to find The Doctor and get his Omni-hand to free all the imprisoned toys.


After you proceed into the Infirmary, you'll have to clear a number of puzzles, starting with another electric pole puzzle. Here's how to clear it:
- Pull the Mine Cart at the left-most corner with a dead body to the first red-light station. That will unlock the second gate.
- Pull the electric pole cart to the next red-light station till it turns green and unlock the third gate.
- Finally, pull the second electric pole to the third red-light station till it turns green. Then attach your blue glove to the generator marked '1'.
- Wrap the electric wire across the two poles and then attach the purple glove to the socket marked '2' beside the gate to unlock it.
Cables and Electricity Flow Puzzle Solution


Once you enter the interior, you'll start the next series of puzzles, all related to cables and electricity flow. Here's each of them and how to solve them:
- Follow the corridor till you reach the first computer with a cable coming out of it. Activate it to open up the next door and proceed.
- Do note that you're being pursued by Yarnby here, so do not sprint, as it will attract him to you.
- Head inside to start the next objective.
- Flip the lever with the computer, and then make your way to the Handscanner machine. Two of them are located on the bottom floor, and one of them is at the end of the room, opposite the entrance.


- Activating the machines will power up the above machine located inside the cave.
- Press the button beside it to open the next door.
- Follow it to find the next machine where you need to flip the lever and collect the Access Card.
- As you follow the path, eventually, you'll unlock the final door, where your objective will change to Run.
- You need to sprint and escape while being chased by Yarnby. In the end, grapple and jump across the fire to kill Yarnby.
Killing The Doctor And Frozen Gas Trap


After getting rid of Yarnby, your next objective would be to kill The Doctor. For that, first, you need to drag the Blue Boxes and parkour up the path inside the next room. There, you'll meet Doey, who will brief you on the Frozen Pipes. Here's how to deal with them:
- When you enter the next room, you'll see multiple pipes leaking freezing gas. These will slow you as well as hurt you upon getting close.
- First, trigger the slider on the pipe to close it. Then, shoot your glove through the gas to turn the valve of the second pipe.
- Following the path, you'll end up in a morgue-like experimentation room, where The Doctor has another quick-time trap set for you.


Your hand will be stuck when you try to open the door on the right, and frozen gas will start leaking. So, here's how to survive The Doctor's frozen gas trap:
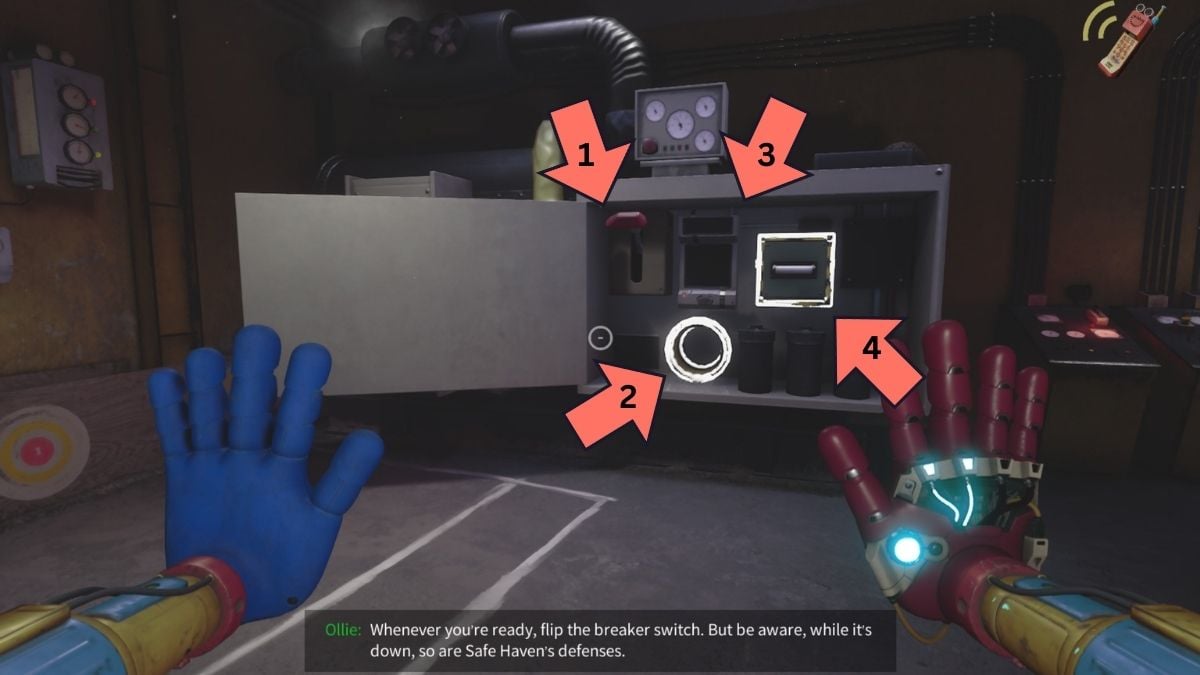
- First, turn around and open the compartment marked '2'. There, you will find a spare Battery.
- Pick up the battery with your right glove and place it behind the Saw machine kept above.
- Once the Saw starts, pull it towards the other side with your right glove to cut the attached Blue Glove.
- Pick up the Blue Glove lying on the floor with your right glove, and take it to the Scanner in the 'Temperature Control' area. That will stop the gas and open the door.
- Pull out the plug on the 'Temperature Control' and place it in the socket area inside the red room (the one with the organ).
That will break the glass as well as open up the door on the other end of the room. That will lead you to the next puzzle with the red gas again.
How to Beat The Doctor And Get The Omni-Hand


After you reach the operation room, you'll find a gas mask on the dead body. Equip it, and recharge the Oxygen from the Dispensaries in each room. You can choose to then decode the entire puzzle or follow the steps below:
- Enter the code 35198 on the screen to unlock the door on the left. Go upstairs and grab the plug from the wall. Then attach it to the socket inside the red room.
- That will open up the door to the next area. There, you'll have to pull the blue boxes to climb up, then use the swing bar to proceed further.
- You'll be greeted with laughter, and your second arm (right hand) will be disabled.
- Keep moving forward using the elevators till you reach the maze room.
- The Doctor will release another one of its pets, like Yarnby, to chase you down and kill you.


Thankfully, this creature won't one-shot you. So, your goal would be to gather Batteries, open the locked room, and progress further. Here's how to do it:
- Keep running till you see an open room vent with a battery inside. Aim your arm and grab the battery on the run.
- Take it and attach it to the socket near the room with the locked door. Repeat this twice till both the doors are powered.
- Find the broken vent on the back side of the large room. Break them while running from the monster.
- Once broken, crouch down and get inside. Don't worry about the monster, since it won't kill you while doing that. Inside the room, you'll find the Access Card.
- Take the card and run outside.
- Rush to the room and add the access card.
- The door will open, and you need to rush inside.
- After a short monologue from The Doctor, you need to quickly grab the plug and attach it to the socket to stop the chasing monster.
- Once the door opens, leave and proceed through the big gate.
Upon entering the next room, you'll be confronted by none other than The Doctor. He'll then throw you inside a maze that you need to survive.


Here's how to find all the batteries and kill The Doctor in Poppy Playtime Chapter 4:
- Take the first battery and attach it to open the first door. Rush inside, and keep sprinting till you find the first battery. Bring it back.
- Attach the battery to open the second gate. Again, sprint inside while dodging Elliot's machines, who will relentlessly chase you. Go up the stairs and grab the second battery, then bring it back.
- Finally, open the third third and rush inside till you see the corridor leading to the final battery. Grab it, go back through the same route, and attach it to the machine.
- Follow the blue charged cable from the machine station to go upstairs. There, grab the Access Card from the overloaded machine.
- Run upstairs while it explodes.
- Once exploded, go to the next room and use the Access Card to upgrade your regular Red Hand to the Omni-Red Hand.
- Open the next door and jump down to proceed.
How to Repair the Generator and Plant the Dynamites
After getting the Omni-Hand, you need to return to Safe Haven. While lengthy, the path to Safe Haven is quite simple and doesn't have any puzzles. After you're back, you'll be tasked to repair the generator.
- Use the Omni-Hand to open the generator door.
- Flip the lever.
- Grab the Capacitor (Cylinder) at the corner table, then attach it to the circle slot.
- Use the Omni-Hand to open the next slot.
- Grab the Generator Circuit from the table and replace the one installed.
- After you repair Safe Haven's generator, you'll be tasked to plant the dynamites.
- Proceed through the Infirmary all the way back to the Foundation, the area with the electric puzzle.
On the way, you'll encounter a simple gear puzzle with the above solution. The gears are lying across the room and are quite easy to find. Once you arrive at the Foundation, there, you'll find an open mineshaft.


Proceed through the mineshaft till you reach the gas chamber. There, you need to follow these steps to complete the objective successfully:
- Drag the blue boxes to jump up and grab the Access Card from the hanging room.
- Pull the jump-pad across the rail using the hand further into the mineshaft.
- Use your flares to get rid of huggers.
- Make a full circle and grab the dynamites that you'll find on the way.
- Two of them are on top of crates, while one of them is inside a stone-blocked room that you need to open using your flare.
- Attach the four dynamites to trigger the gas objective.
- Redirect the gas to all tanks A, B, and C by turning the valves as shown above.
- Once the tanks are filled, the system will go into overload.
- Quickly grab the gear that will unlock behind you.
- Run through the right door and climb up using the swing bar to attach the gear to the machine above the room.
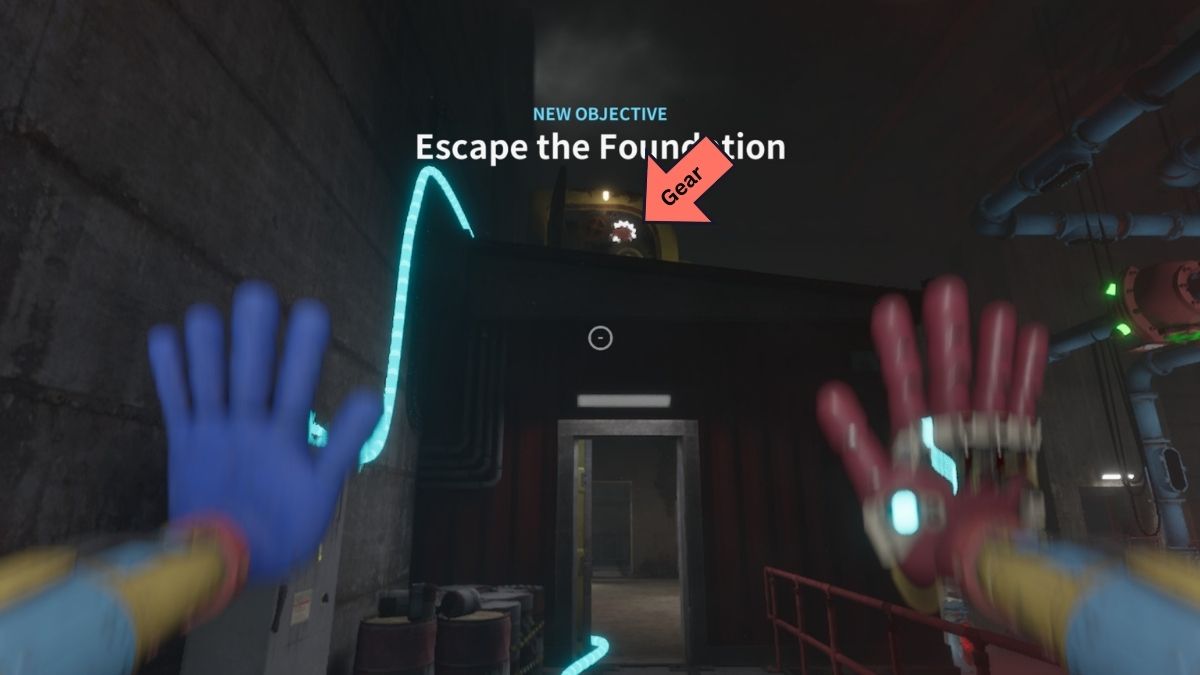
Now, you must escape the Foundation. Critters and huggers will attack you during that time, so keep the flare gun ready. After that, you'll have to follow the same path back to the Safe Haven.
How to Survive the Chase and Kill Doey


Once you make it back to Safe Haven, the final stretch of the Poppy Playtime Chapter 4 begins. After a heartbreaking talk by Doey, he will go berserk, turning into a monstrosity and ensuing a chase. To survive the chase, look up for Swing Bars and don't stop for more than two seconds.


If you're able to escape Doey, you'll then have to take a long slide and make it outside. But just as you're about to leave, you'll be attacked by Doey again. This time, you'll have to defeat him. Follow these to kill Doey the Doughman in Poppy Playtime:
- Sprint in a circle around the area to ensure that Doey doesn't reach you.
- Keep a lookout for Freeze Cylinders, which you can drop on the ground to make them stick on Doey.
- Finally, bait Doey to chase you under a saw.
- Keep the saw grabbed with your grab to bring it down on Doey the moment he steps under it.
- If you've got a freeze on Doey, using the saw does more damage. Make sure you are not hit by Doey's ranged attacks, and use the tunnels to hide from it.
- After getting 3-4 saw attacks, Doey will finally succumb.
- Make your way back up and outside.
- Doey will appear again, just as you make it out, to attack you one last time, but you can defeat him easily by pulling down the piston above him.
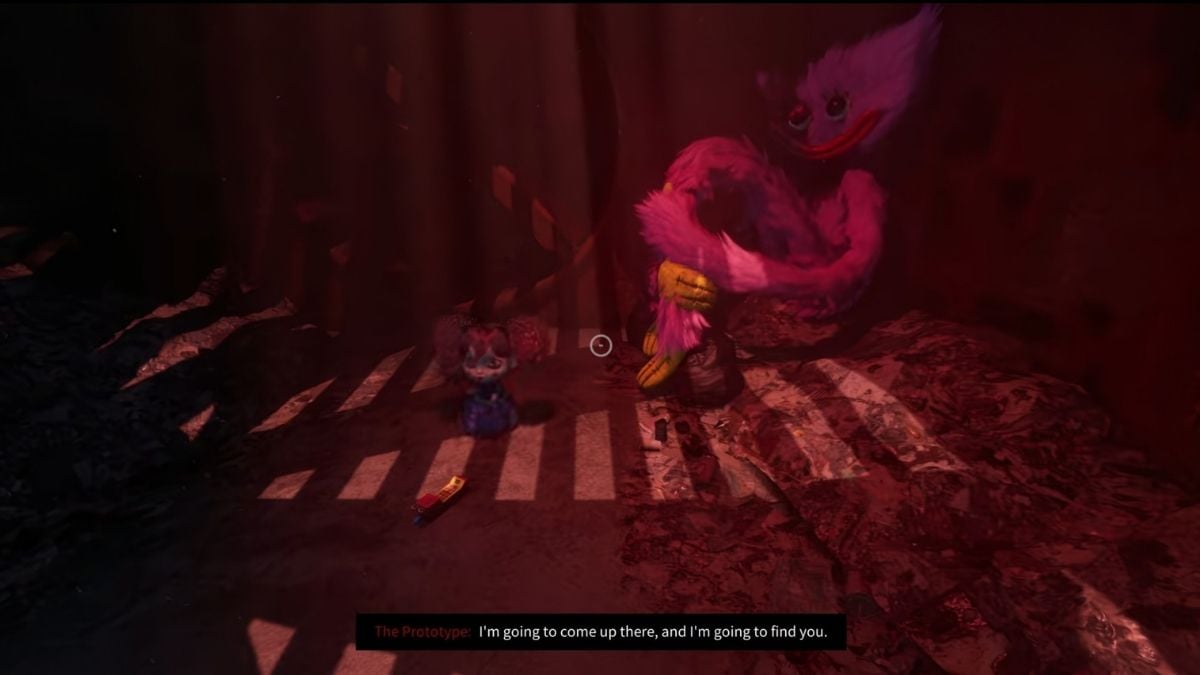
Once Doey has been taken care of, proceed to follow the path forward till you meet up again with Poppy. There, you'll be introduced to The Prototype, who has been teased as the final boss in Chapter 5 of Poppy Playtime.
For more on Poppy Playtime, check out Poppy Playtime Chapter 5 Walkthrough, All Poppy Playtime Chapter 5 Characters, Poppy Playtime Chapter 3 Walkthrough or All Poppy Playtime Chapter 3 Characters on Pro Game Guides