Having a demon inside you comes with plenty of perks in Possessor(s), one of them being the ability to infuse ordinary objects with power and wield them as your weapons or specials. Each of them has different characteristics and offers a whole new playstyle to try out. Whether you prefer to quickly slice and dice your enemies or charge up a heavy blow, our guide is here to help you gear up for the fights to come.
All Weapons in Possessor(s) and Where to Find Them
Possessor(s) gives you a choice between four main weapons during your journey, which all synergize differently with your specials and affixes, letting you customize your approach to combat. While you start with one, it's entirely possible to miss out on the rest if you're not exploring the map and doing side pursuits. In the list below, you can see where all the weapons are located, along with a short description and some tips for them.
The Kitchen Knives
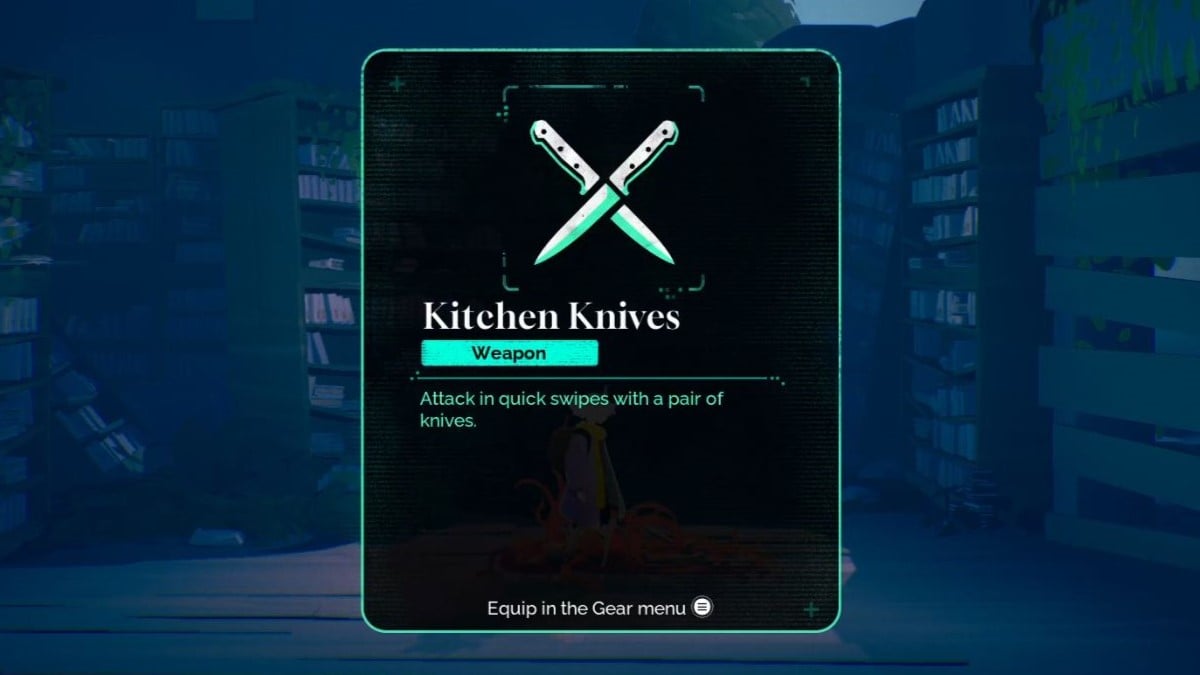
You get the Kitchen Knives as your first weapon in Possessor(s), not long after Rhem fixes you up. They are the fastest weapon in the game, letting you cut through enemies like they're butter before they even realize what hit them.
| The Kitchen Knives Pros and Cons |
|---|
| + Very fast attacks, allowing you to change your targets and get out of your combo quickly. |
| + Fills up your charges in no time at all, letting you use your specials as often as you want. |
| - Flying enemies can be annoying to deal with, due to the low damage per hit of the Kitchen Knives and the enemies' tendency to flee after each stab, forcing you to chase them around. |
The Baseball Bat
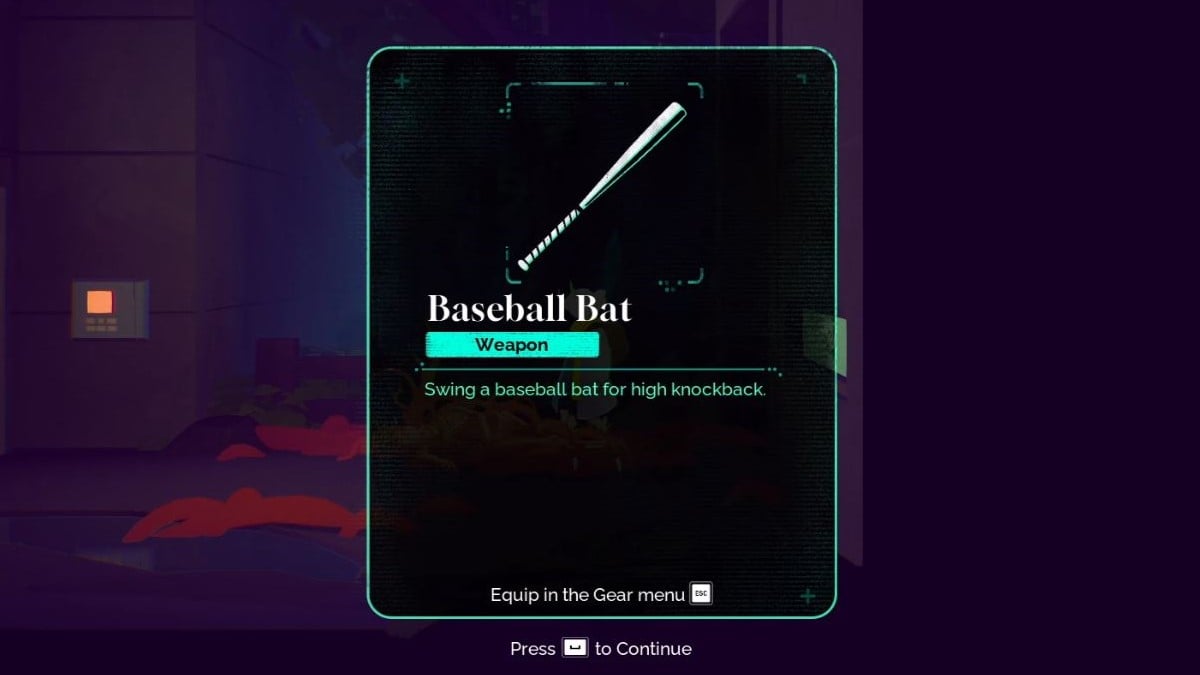
The Baseball Bat rewards you for precise attacks and is the earliest alternative weapon that you can find. After you're done with the Skyscraper Remnants for now, the next area of the game that you have access to is the Fluorescent Park. While going through the zone, you'll encounter a white haired woman in the distance, accompanied by a white wolf. This will trigger the side pursuit called Find The Hunter, marking their location on the map. Ignore Rhem's objections and track them down.
Once you arrive at their cabin, you'll meet Tens the hunter and Vanth the possessed white wolf. She'll offer you a test to prove your humanity by killing the strongest demon in the Fluorescent Park. Accept, and you'll start the side pursuit Hunter's Test and receive The Hunter's Gate Key, allowing you to progress further.
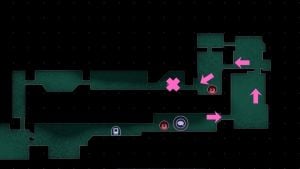
- Starting from the Hunter's Cabin, continue to the right of the screen and follow the path. There aren't any forks in the road, so just continue forward and defeat the enemies in your path.
- Use the tree branches to launch yourself to otherwise unreachable platforms. Some jumps must be made by using your Dive Breaker ability to bounce yourself off the branches and reach even higher spots.
- Right before the boss, there's a checkpoint; make sure to activate it.
- Once you defeat the Sightless All-Star, go into the room to the left and collect your new weapon.


| The Baseball Bat Pros and Cons |
|---|
| + High damage per hit, while still attacking pretty quickly. |
| + The Baseball Bat does increased damage if you hit the enemies while they are at the perfect distance from you, indicated by the flashing light at the end of your range when you use your weapon. |
| - Can be a bit finicky to utilize optimally because you need to keep the perfect distance between yourself and the enemies. |
The Electric Guitar
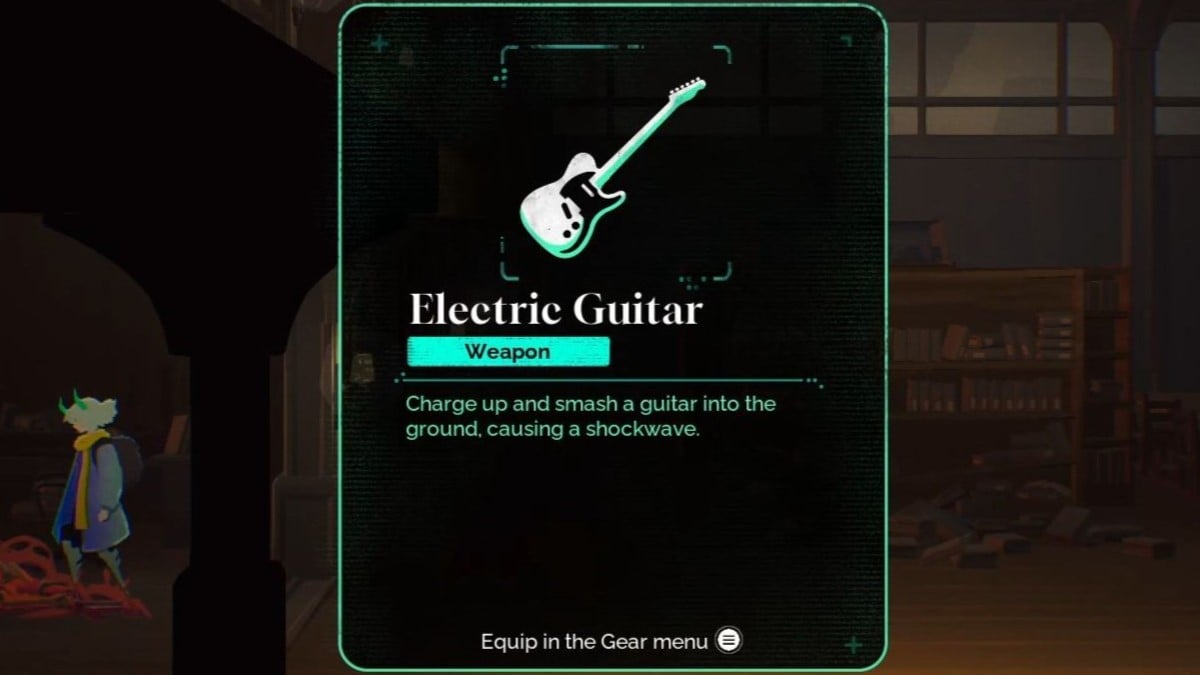
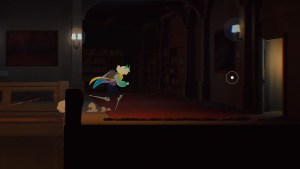
The Electric Guitar is a slow, heavy-hitting weapon that can be charged to increase its damage, rewarding you for timing your hits and knowing the enemy's patterns. It can be found at the Campus Hill area on the far right of the map, which you'll eventually have to explore in order to unlock the Slide Breaker ability.
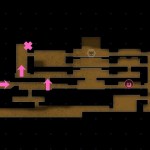
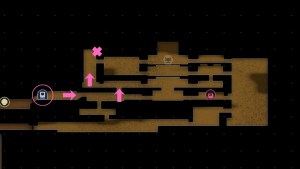
You can enter either from the Sunken City or the Abandoned Mall. Whichever path you take, you'll arrive at the same spot on the far left of the area, outside the school entrance. Make your way through to the right until you find the Campus East fast travel station.
- From the station, continue right until you reach an open ceiling that you can jump through and go up. Alternatively, continue going right first to unlock a checkpoint for safety.
- Once you jump up, continue to the left and defeat the enemies inside the next room before you start to ascend. Be careful, there will be many flying demons and turrets on your way up.
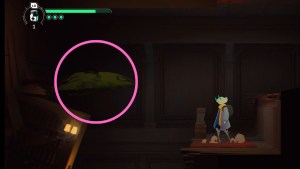
- Once you reach the top, there will be a door to your right. Ignore it and jump on the tree branch on your left and launch yourself up with Dive Breaker.
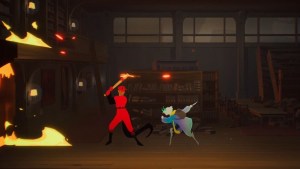
- Avoid the turret and go inside the secret room to the right. Inside, you'll find a secret boss called The Benchwarmer.
- Once you defeat it, go to the far left side of the room, and you'll be able to loot The Electric Guitar.
| The Electric Guitar Pros and Cons |
|---|
| + Best damage per hit in the game, further increased if you charge it up. |
| + The Electric Guitar has some powerful moves that unleash waves of energy from the point of impact that can reach enemies further away. |
| - It's very slow, requiring you to time your swings properly and learn the enemy patterns of attack in order to sneak in your hits when they leave an opening. |
The Hockey Stick
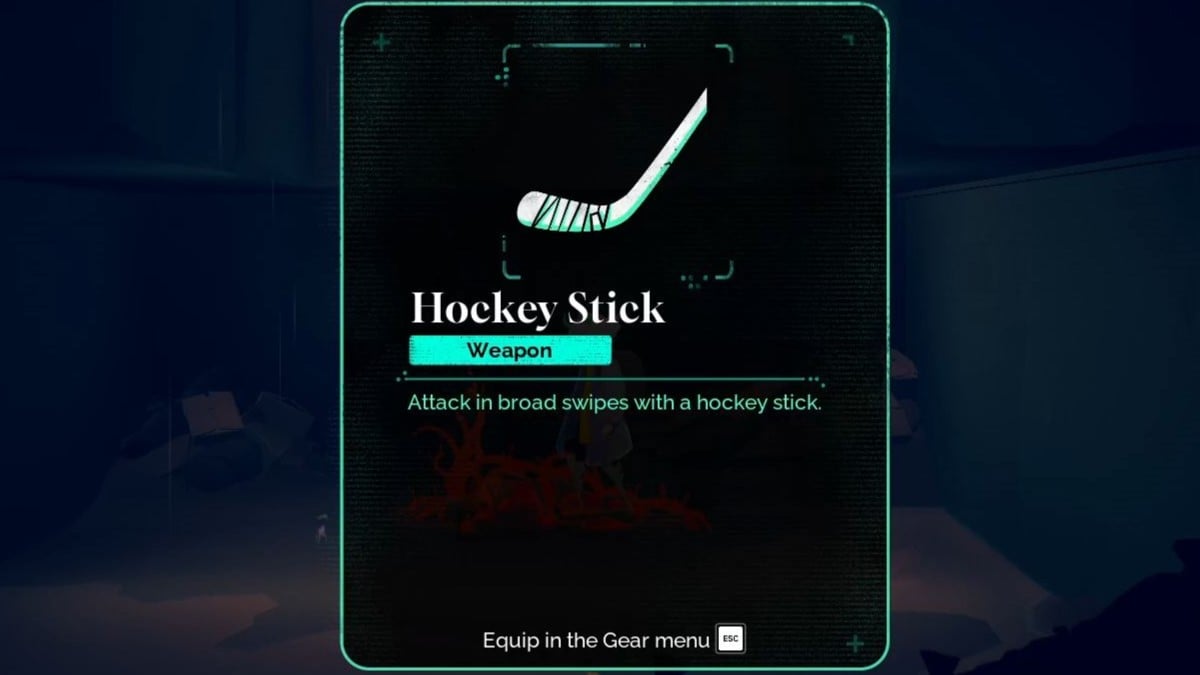
The Hokey Stick is my personal favorite, offering wide swings and a large AoE, letting you control the battlefield with ease. After defeating Tygo in The Aquarium area and obtaining The Executive's Key, you can enter many areas that were previously locked, one of which hides the last of the main weapons.
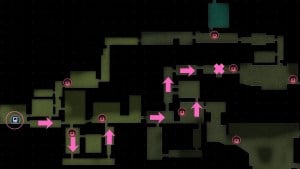
You'll want to access the previously locked area of The Sunken City at either the western or eastern entrance, but I prefer the former because the fast travel station is closer. After clearing The Aquarium, use the SanZooQuarium fast travel station to transport to the Community Recreation Center station.
- From there, you'll want to continue to the right until you reach the locked door that you can go through now with your new keycard.
- You'll find yourself in a shelter for the remaining humans with a locked door between you and where you need to go. Dive into the water below and follow the path until you emerge on the right side of the closed door. Interact with it to unlock a shortcut.
- Continue following the path to the right, platforming your way up through the area. You'll know you're on the right path as long as you continue moving upward.
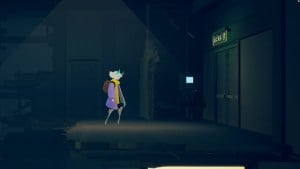
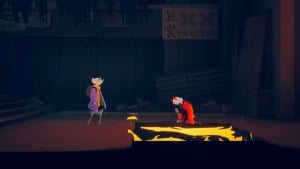
- Once you reach the top of this area, continue right until you enter a boss arena. You'll be facing The Nightmare for the second time.
- Defeat it and make sure you jump into the newly opened hole in the ground so you don't miss the weapon (I almost did).
| The Hockey Stick Pros and Cons |
|---|
| + Offers great reach and area of effect with its swings, letting you hit both enemies in front and behind you at the same time. |
| + The Hockey Stick has a great aerial move where you spin around and crash down, dealing a lot of damage along the way. |
| - The swings aren't the fastest, being a little bit slower than the Baseball Bat. |
All Specials in Possessor(s) and Where to Find Them
Specials are powerful secondary weapons with various effects that use up one of your charges every time you activate them. Up to three specials can be equipped at once in Possessor(s), and you regain charges by hitting enemies with your main weapon.
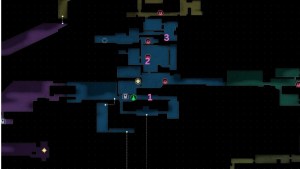
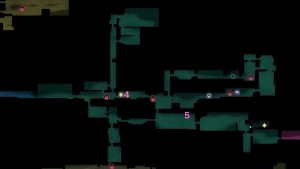
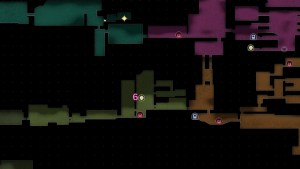
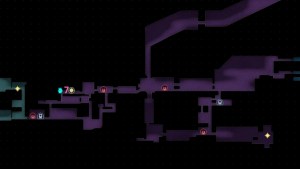
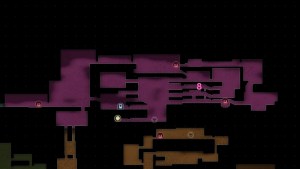
| Special | Location | Details |
|---|---|---|
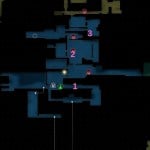
| Computer Mouse | Found at the start of the Skyscraper Remnants | Swings upwards and can fling enemies into the air. The first and possibly best special you get, very easy to weave into your combos for some extra damage. |
| Cell Phone | Found halfway up the Skyscraper Remnants | Shock enemies around you. It can be pretty great against groups of enemies that are trying to swarm you. |
| Leather Gloves | Found underwater near the keycard door in the Skyscraper Remnants | Activate right before an enemy strikes to initiate a counterattack. Parries are already very strong; this is just a better version of one, so it's great if your timing is on point. |
| Baseball | Bought from Chroma Trader Nola in the Fluorescent Park | Charges up and throws a baseball in the desired direction. It can be a great range source of damage if your aim is good enough. |
| Glasses | Found in the Fluorescent Park on the path you take to the Abandoned Mall | Activate right before an enemy strikes to initiate a counterattack. Parries are already very strong; this is just a better version of one, so it's great if your timing is on point. |
| Skull | Bought from Chroma Trader Reyna in the Sunken City | Summons a skull that attacks enemies for 10 seconds. It can be an alright source of passive damage, but it isn't anything special. |
| Silverware | Bought from Venderpup Max in the Burried Street | Hop backwards and throw multiple projectiles at the enemy. Great mix of both offense and defense. |
| Katana | Found in a room in the Abandoned Mall | Dash forward and slash the enemy. It's pretty underwhelming, and the dash can be more awkward to use than it is useful. |
Possessor(s) Weapons and Specials FAQ
You can upgrade your gear by attaching affixes to it, which can be done through the vendors in the Abandoned Mall and the Skyscraper Remnants, by spending Chroma and Chromatic Carbuncles.
Make sure you equip the Compound Eye affix that increases how much Chroma enemies drop. Explore every room you're in for hidden caches, and if you're in dire need, find a group of enemies near one of your checkpoints and kill them, rest, repeat.
Unfortunately no, once you upgrade something, those materials are lost. My suggestion is to upgrade the Specials at the beginning, since you're more likely to keep using a specific one since you can carry three at a time.
We hope our Possessor(s) Weapons & Specials guide provides you with a helping hand and all the info you need if you're unsure where certain gear is located. If you're looking for some more great sidescrollers, check out our guide on the Best Absolum Builds for Every Character.
