For the The Hunt Mega Edition event by Roblox a limited time operation quest has been added to Arsenal which you can complete to get The Hunt Tokens that brings you closer to winning the grand prize. So, to help you, here's a complete guide for The Hunt in Arsenal Roblox.
How to start The Hunt Quest in Arsenal Roblox
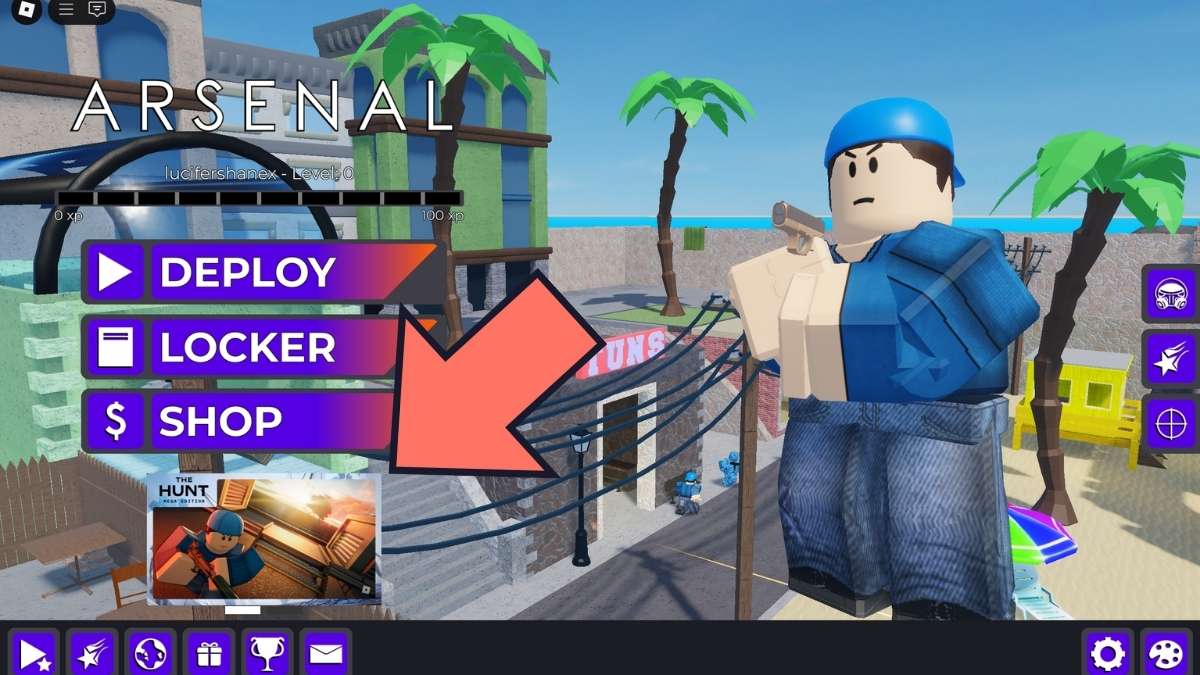
There are two ways through which you can participate and start The Hunt quest in Arsenal Roblox. You can either find the portal for Arsenal in The Hunt Mega Edition Roblox experience, or you can directly play Arsenal on Roblox.
If you choose the latter option, wait for The Hunt quest to appear in the lobby, as shown in the above image, then click on it to begin the operation. Your goal is to escape from the facility without being caught or killed.
How to complete The Hunt Quest in Arsenal Roblox
The Hunt Quest for Arsenal Roblox is a two-part quest where the first part comprises purely FPS action, whereas the second part is more of a puzzle solver. In the first part, you'll get various guns to use throughout the stage, namely the AK-47, Hush Puppy and Laser Canon.
Among them, I would highly recommend you use either the Hush Puppy or the AK-47 as the best options. Do note that if you die, you will get respawned to the last checkpoint, but lose the acquired gun. AK-47 is your default gun, so you won't lose that.
Escaping the Facility
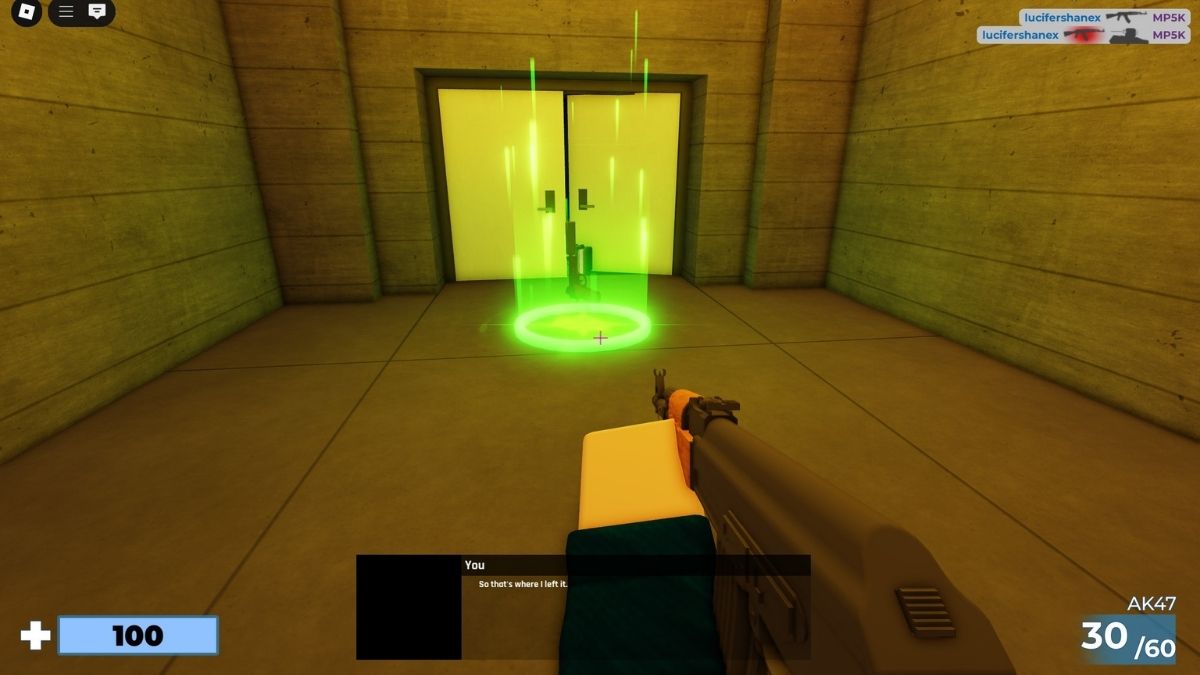
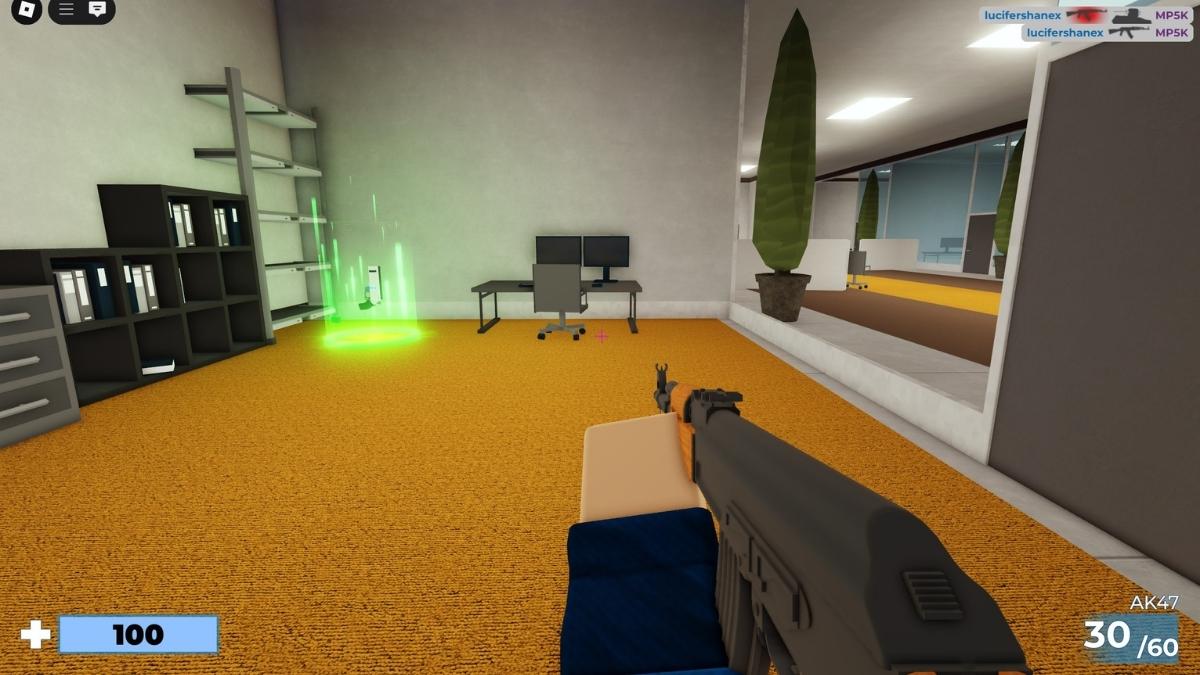
The first half of the quest requires you to defeat cyborg-like enemies called MPSK who are trying to stop you from escaping the facility. You need to keep killing them and moving forward to make progress. You can find the Hush Puppy silencer gun during the first few minutes at the end of a lengthy corridor blocked by wood.
Do note that you'll encounter multiple doors as you keep progressing, but only the Yellow doors are the ones which you can access and open. Also, moving away from a door closes it and blocks off hostile MPSKs. You can use them first to aggro the MPSKs, then block the mobs while shooting them through the door.
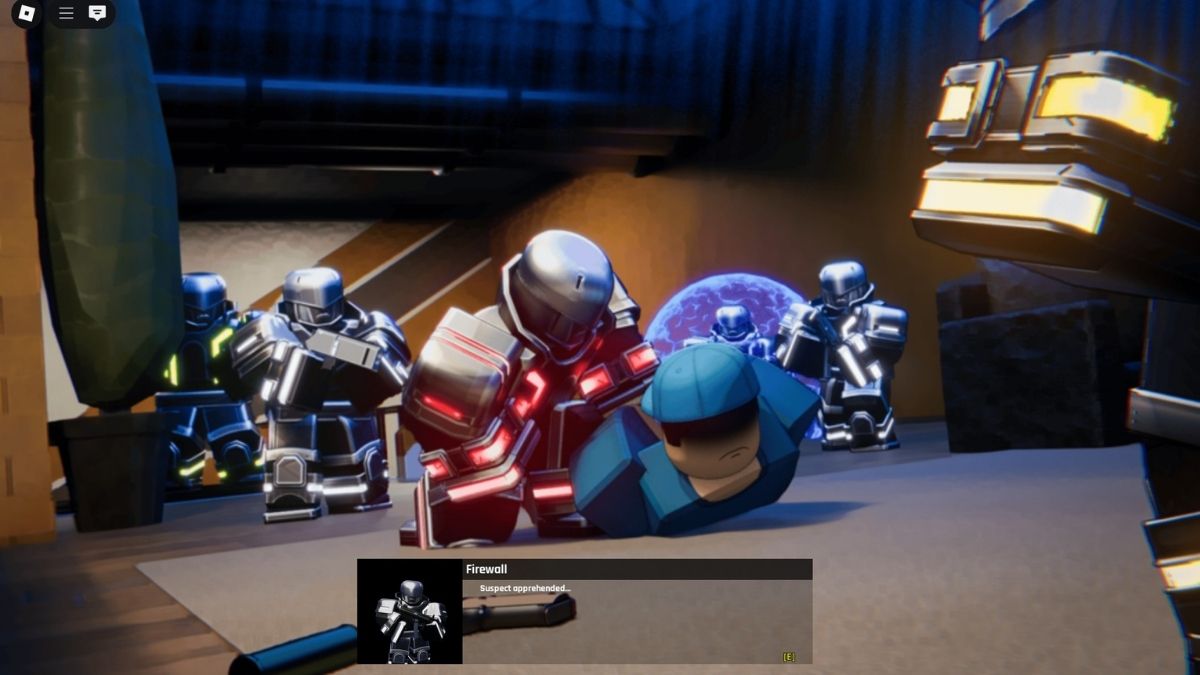
After passing the facility, and the mansion, right as you're about to make your escape, you'll be apprehended by a group of MPSKs. Unfortunately, you cannot skip this event, and this will bring the first half of your action-filled journey to an end.
Escaping the Prison
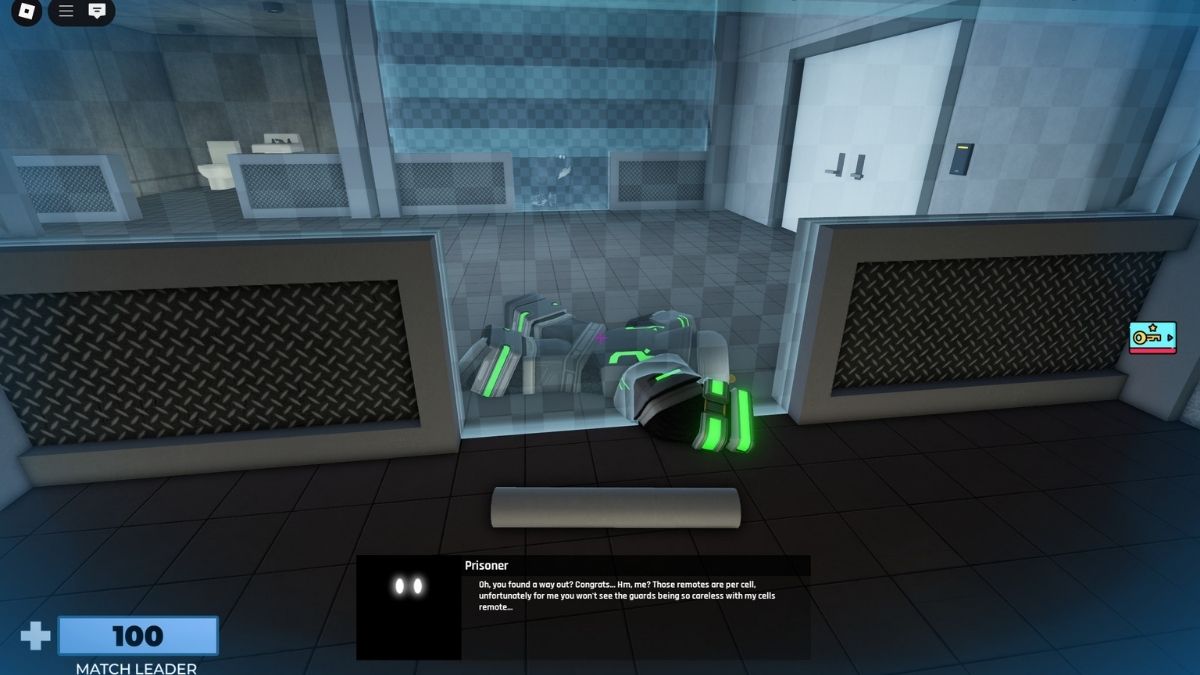
You will reawaken inside a prison cell with no guns or items in your inventory, while an NPC in the opposite cell talks to you. Here are the steps you need to follow to escape from here:
- Investigate the Sink by pressing 'E' close to it. You will acquire a Rod.
- Again, Investigate near the Bed by pressing 'E' close to it. You will acquire a Book.
- Place the Book near your cell's gate, then slide it to the NPC.
- The NPC will slide you back another item. You will acquire Soap.
- Investigate the Toilet by pressing 'E' on it. You will acquire Coin. Soap will be used up.
- Place the coin outside the cell. A prison guard will try to pick it up.
- When he tries to pick it up, get close and press 'E'. You will hit him on the head.
- The Rod will be used up, and you will acquire a Keycard from the fallen guard.
- Use the keycard to leave the prison cell. Escape the facility from the left gate.
Upon escaping, the Credits will roll and you will acquire the Evacute Badge alongside the Hunt Token as Quest rewards.
How to Get the Hunt Mega Token in Arsenal
The Hunt Mega Token in Arsenal will take you back to the scene of the crime. However, you can't escape just yet. First, make sure you have the Regular Token in Arsenal as well as all the other Mega Tokens from our list below. Only then can you go back inside the facility.
- SpongeBob TD
- Unlimited Tag Game
- Pressure
- Chained 2 Player Obby
- Rivals
- Clip It
- World Zero
- A Dusty Trip
- Infection Gunfight
- Basketball Legends
- Metro Life City RP
- Hell's Kitchen
How to Start the Mega Token quest in Arsenal
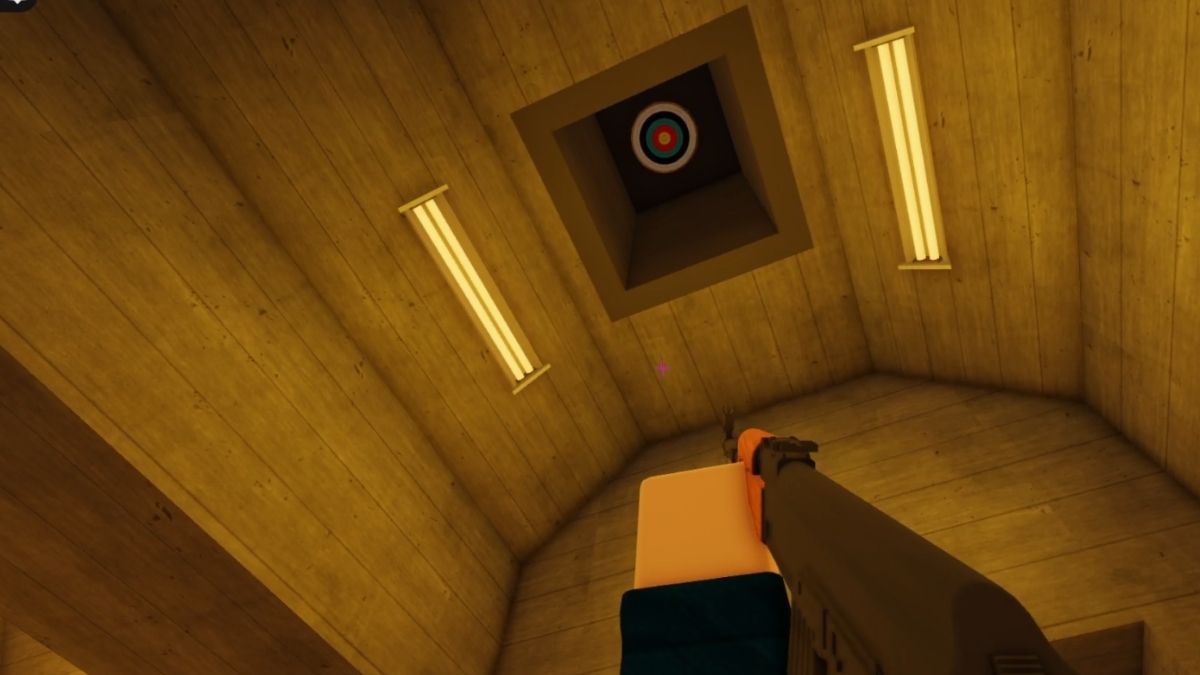
Keep going and killing enemies until you reach the hallway with one path boarded up. Instead of jumping across the planks to get the weapon at the end of the hallway, look up and you'll see a target. Shoot it and you'll see four valves in the hallway appear.
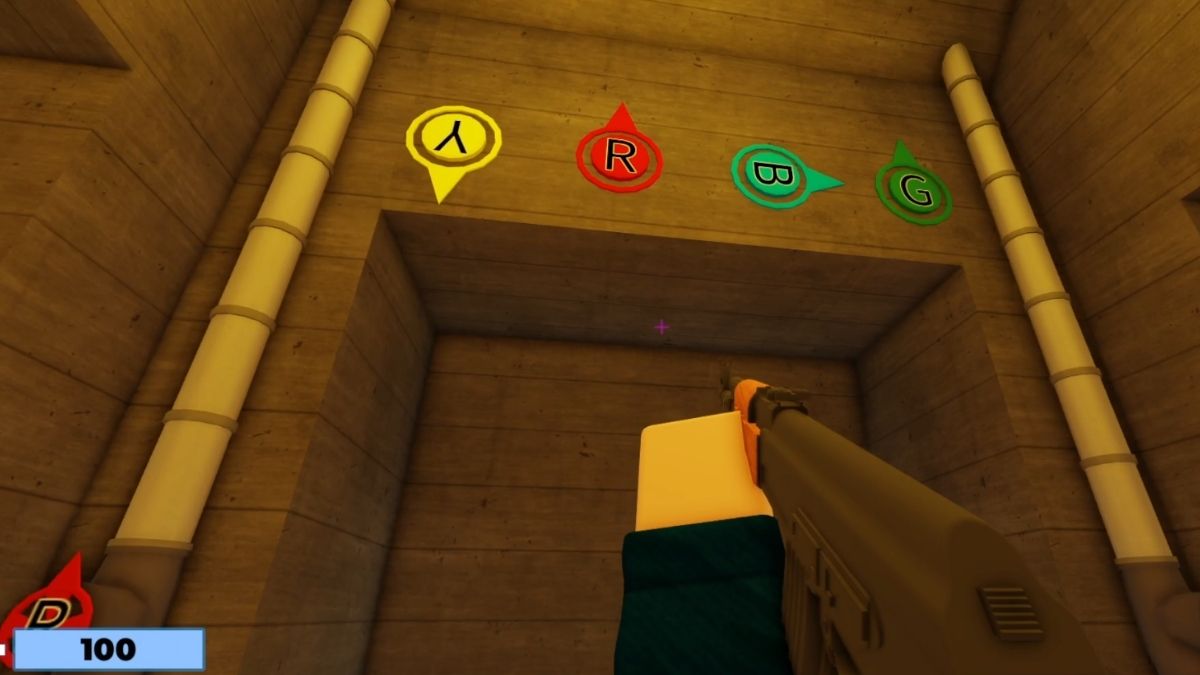
You need to turn them exactly as it's shown on the wall and you'll open a new section. Go through the first door on the right and you'll see papers that tell you what you need to do.
How to Construct the Mechanism in Arsenal Mega Hunt
To start constructing the Mechanism in the labs, you first have to find the parts. Make sure that you remember the color of all three parts, as there will be multiple different ones and you need to get the correct ones.


Go to the lockers in the Phys Lab, and select the right color of parts. Take them one by one to the STRL lab and place them in the lit up section. When you have all three, align them and form. This step is now done, but you have to figure out how to mix the chemicals in the Chem Lab.


There are a bunch of instructions pasted on the walls, the counter and the fridge. These will help you figure out the order in which you input the chemicals. Sadly, it is randomized, so you will have to follow your own clues to get it right.
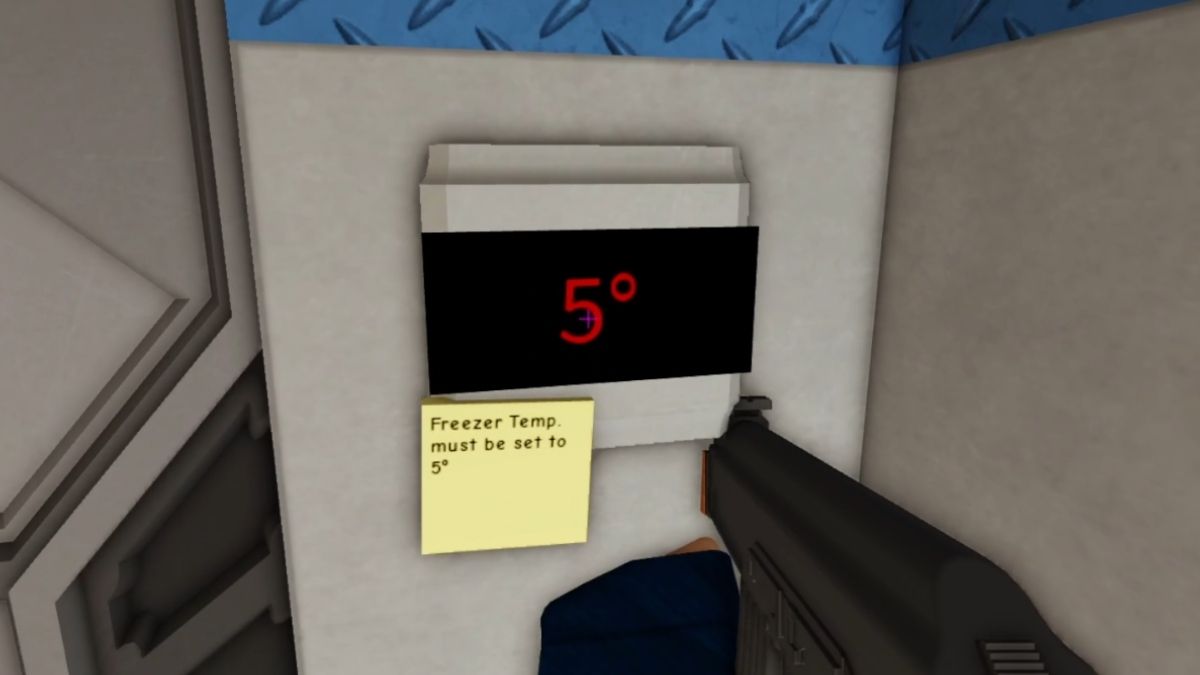
Once you've added all the chemicals, pick up the beaker and head over to the Cold Storage. To open it, set the temperature to what it tells you on the post-it note. Place it on the shelves, go outside and close the door. The doors will open again when it's ready, and you can pick it up and go pour it into the Mechanism.
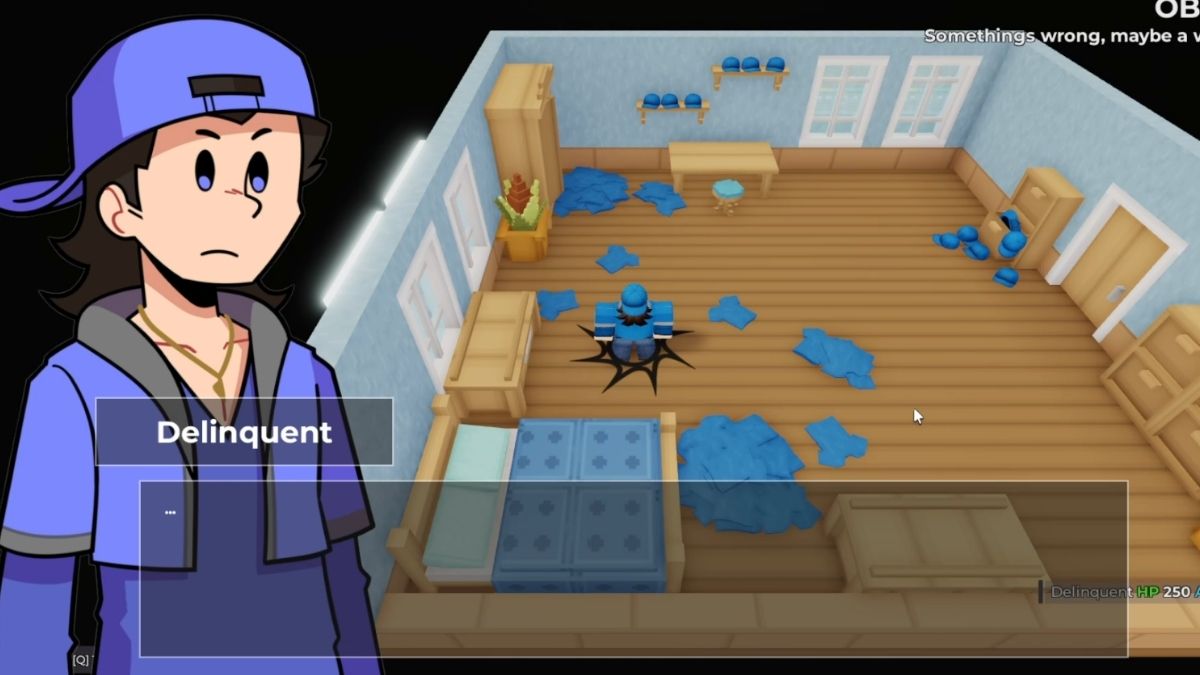
When you equip it, you will be teleported into an entirely new game mode. Arsenal went from an FPS, to a third person Pokémon-style turn based game. Honestly, didn't expect it but I did have a lot of fun with the change. This Mega Token will take a while to complete, so buckle up and check out how exactly to complete this game mode.
Best Strategy to Complete the Mega Token quest in Arsenal
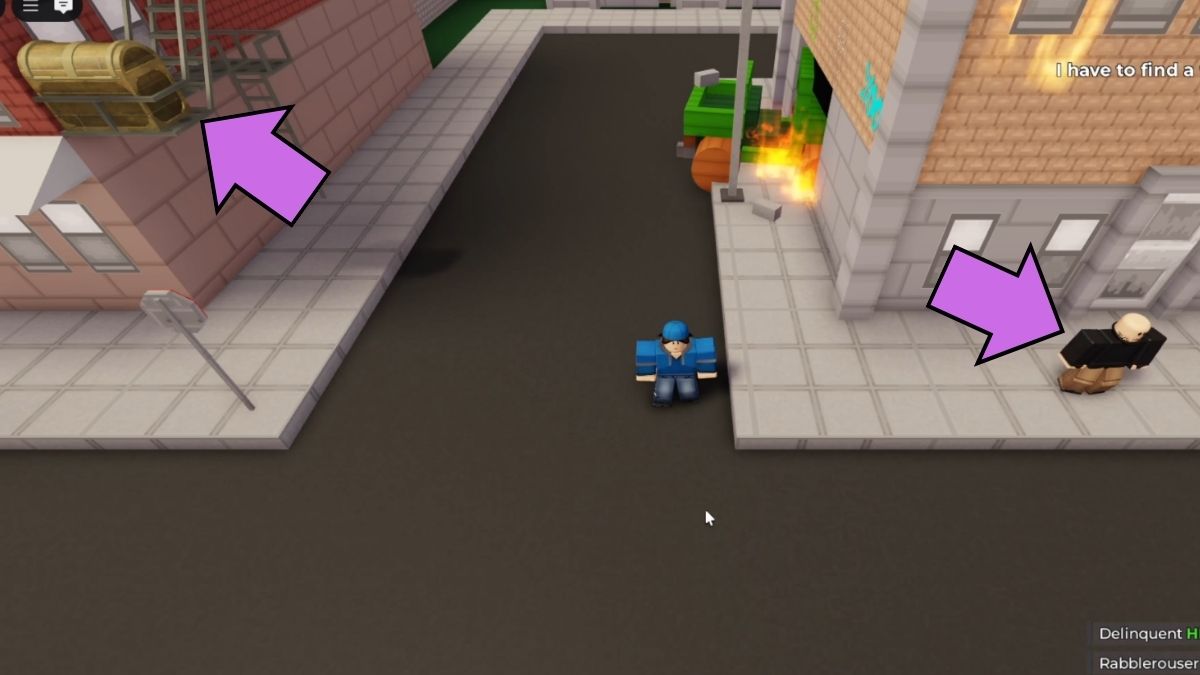
The most important thing to do outside of battling is to go around and explore. You can find chests with much needed items and interact with all NPCs you see as there is a chance they will give you a Potion, an Herb or a Revive:
- Herbs - gives you +10 AP
- Potion - gives you +200 HP
- Revives - revives a fallen ally to 50% HP
The Potion will be the most important item you can get, but the Revive will also come in handy. The Herb I haven't used once.
First Stage
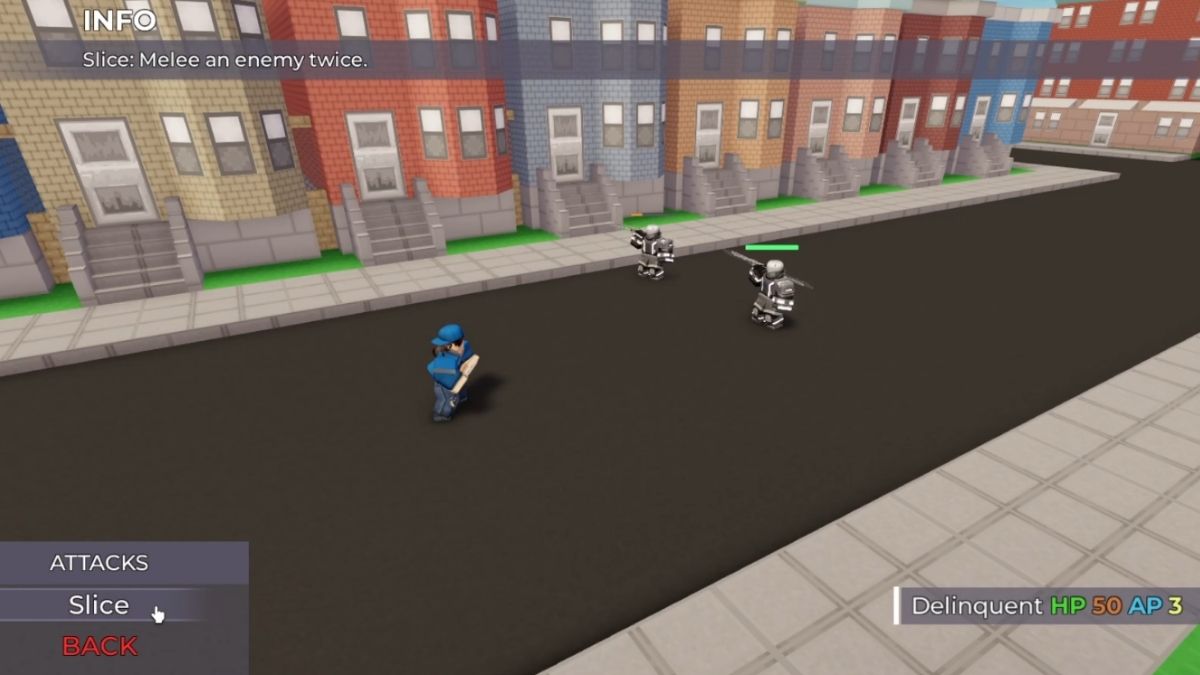
During the first section of the game, you will only be fighting as the Delinquent. He deals good damage and even has an Ability called Bravado that buffs his damage even more. At the start, you won't see a lot of usage from the ability, as your damage alone is enough to easily deal with enemies.
Most of the enemies here will be Melee Units, which deal average damage and require two attacks from the Delinquent to go down.
Second Stage
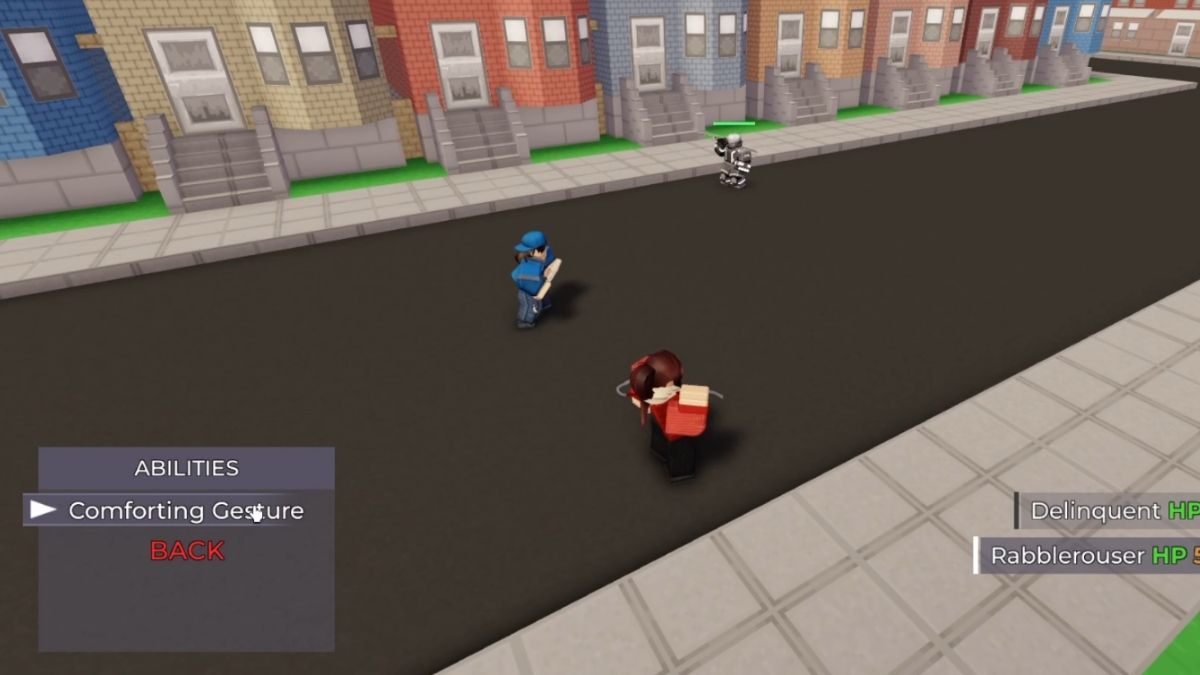
You'll run into Rabblerouser on the road, and she will join your team. She deals less damage compared to the Delinquent, but she is very important since she is the medic unit. If you don't want to waste Potions, use her ability Comforting Gesture to heal up either of your units. Keep track of her AP, and if needed you can increase it through Herbs.
This section will see the inclusion of several new units:
- Medic Unit - will, pretty self-explanatory, heal the enemies
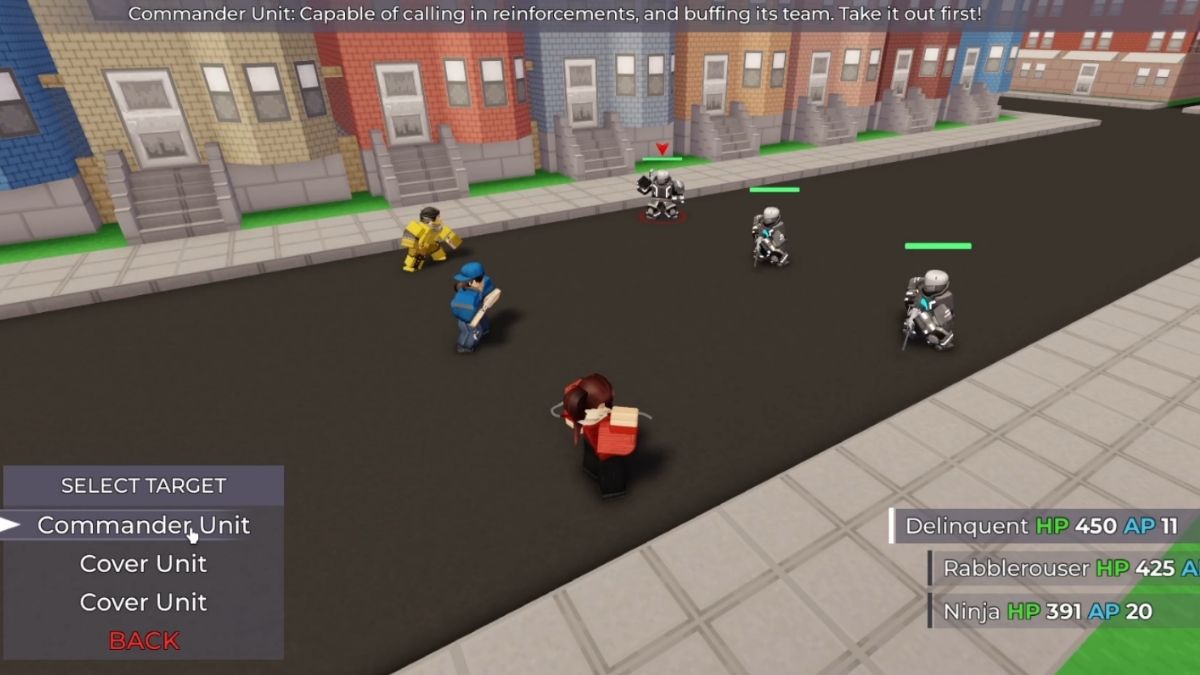
- Commander Unit - can call in reinforcements as well as buff the rest of the enemies
- Enforcer Unit - high damage and high health, this tanky unit can also light the party members on fire and deal continuous damage.
The Commander Unit should always be your first priority in a battle, to avoid additional units from popping off. Medics are the next highest priority so that they don't null all the damage you do. Enforcers are above Melee Units, but can be left for last if there are higher priority units in the enemy team.
Rabblerouser will gain another ability near the end of this section, which is called the Helping Hand. This is essentially a Revive except in ability form.
Third Stage
During this section, you will be joined by Ninja. He can deal damage to Air units (introduced in this section), and has pretty good regular damage. His abilities can set the enemy on fire, as well as reduce the defense of all enemies.
- Air Unit - immune to all melee attacks, will only take damage from Ninja
- Cover Unit - deals a lot of damage and has more health than the other units
Commanders are still top priority to take out, then Medics. Once those are out of the way, you can focus Ninja on any Air Units, Delinquent on Cover Units and Enforcers, while Rabblerouser heals as long as she has AP. You can also use her turns to apply Potions to whoever needs it and use her attack when you see you can.
How to Complete the Boss Fight

You'll first have to survive and defeat three stages of regular enemies in the final battle. Use Potions and Revives as necessary and follow the above priorities for attacking the enemies.
Once the waves are done, you will be fighting the Tank Boss. While it has more health, it's not that difficult to manage. Use Ninja's abilities, activate Bravado for Delinquent and keep healing with Rabblerouser, either with her ability or Potions on her turns. When you defeat the Tank, you'll finally get the Mega Token for Arsenal.
For more on The Hunt Mega Edition, check out The Hunt Mega Edition Untitled Tag Game Event Guide or The Hunt Mega Edition Clip It Event Guide on Pro Game Guides!