In TBH: Task Bar Hero, as a beginner, you should unlock the two Formation slot Runes first. For heroes, as an F2P, you should unlock Sorcerer, then Knight, then Ranger. You can farm gold by repeating your highest cleared stage and prioritizing Rune of Wealth upgrades. Gear comes from Stage Boss chests on completed stages only. The Priest DLC is free and worth grabbing early. We've mentioned all the other beginner's tips below.
TBH: Task Bar Hero hides a lot of depth beneath its idle surface. Gold management, hero formation, chest farming, the Cube crafting system, and the Rune Tree all interact in ways the game does not explain clearly upfront. Making the wrong calls early can slow your progression in ways that are hard to recover from. So, this complete TBH Beginner's guide covers everything you need to get started efficiently.
What Are the Best Heroes to Unlock in TBH: Task Bar Hero?
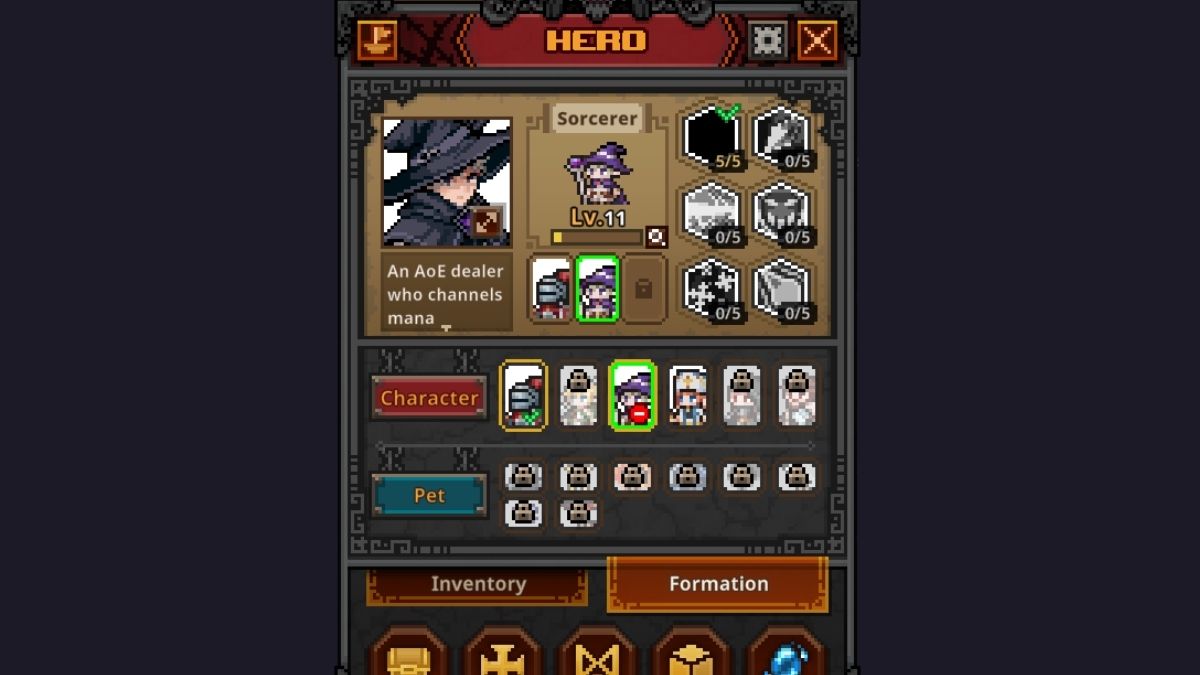
There are six hero classes in TBH: Task Bar Hero, three that start locked and need to be unlocked with in-game currency, one free DLC class (Priest), and two paid DLC classes. For free-to-play players, the best unlock order is Sorcerer first, then Knight, then Ranger. If you are going the DLC route, Hunter is the standout paid pick and worth prioritizing over Slayer.
Your first pick comes down to preference, but Knight and Ranger are both solid starting choices. Knight gives you a reliable tank that holds the front line while the rest of your formation builds up. Ranger has high attack speed and passive-trigger skills that make her feel more active from the start.
RELATED: For a more detailed breakdown of heroes, check out our complete tier list of every TBH Hero.
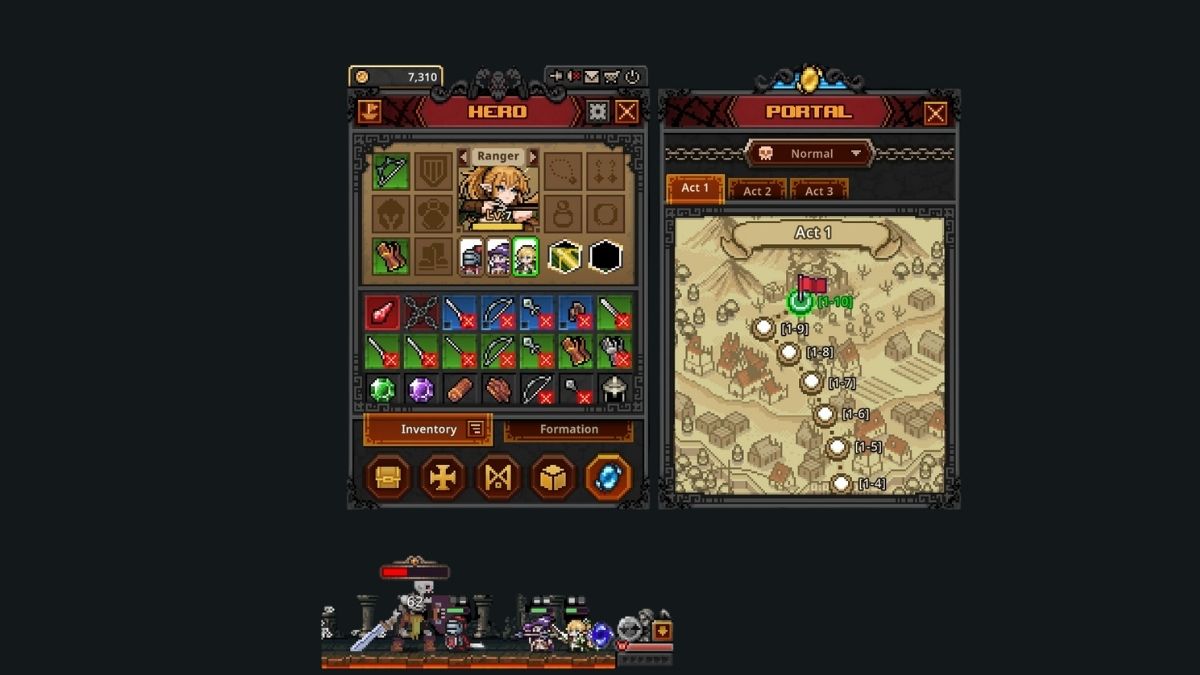
How Does Formation Work in TBH?
You can change your formation and swap hero positions at any time through the Formation tab. Locked DLC classes can also be unlocked here for 500 coins each. To redeploy a hero, select them and choose their position. Deploying a hero comes with a 60-second cooldown.
To change the order of heroes already in your formation, use the arrow buttons beside each portrait. This has no cooldown and takes effect immediately.
TIP: If a hero falls in battle and is on a resurrection cooldown, swap in a lower-level hero as a temporary filler to absorb hits and keep the stage from failing. This also passively levels the substitute.
How Do You Farm Gold in TBH: Task Bar Hero?
Gold is the only currency that matters in TBH and the resource you will always be short of. You earn it by killing enemies, clearing stages, and through idle accumulation, but the best boosts to your gold rate come from unlocking specific Runes.
The two runes you need to prioritize for gold farming are:
Rune of Wealth
This Rune has multiple upgrades, but three of them are essential:
- Gold From Boss Stage Kill +10
- Additional Gold +1
- +10% Increased Gold Per Kill
Rune of Hoarding
Provides up to +30% Offline Reward Gold, which makes every hour you are not actively playing significantly more lucrative. Unlock this early.
TIP: Do not idle on stages you have not beaten yet. Gold from active farming is fastest on the highest stage your current formation can clear consistently.
How Do You Farm Gear in TBH: Task Bar Hero?
Gear in TBH drops from chests, and chests come from clearing Stage bosses. There are three chest rarities: Common Grade, Rare Grade, and Immortal Grade. The most important rule for gear farming: only repeat stages you have already completed. If you attempt a stage and fail to beat the boss, no chest drops.
Chest Types
| Chest | Source | Drop Chance |
|---|---|---|
| Common (White) | Drop anywhere at any time | Chance-based |
| Stage Boss (Blue) | Stage bosses | Chance-based |
| Act Boss (Red) | Act final bosses | Guaranteed drop, costs one Soulstone per attempt |
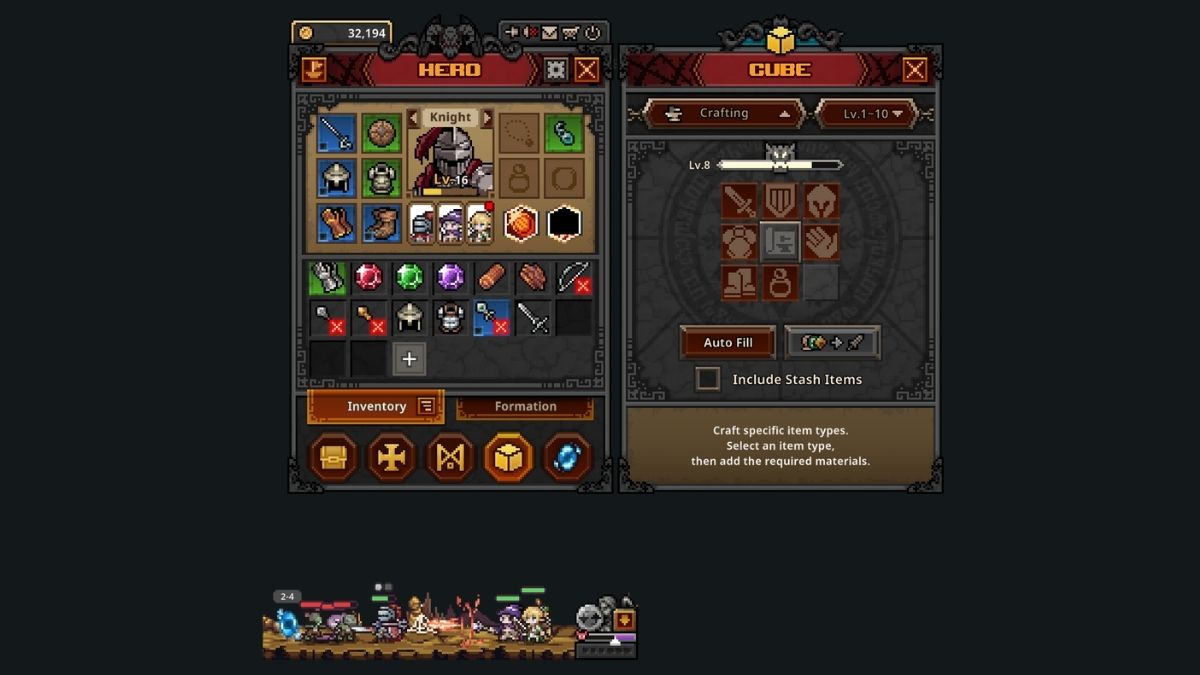
How Does the Cube Work in TBH: Task Bar Hero?
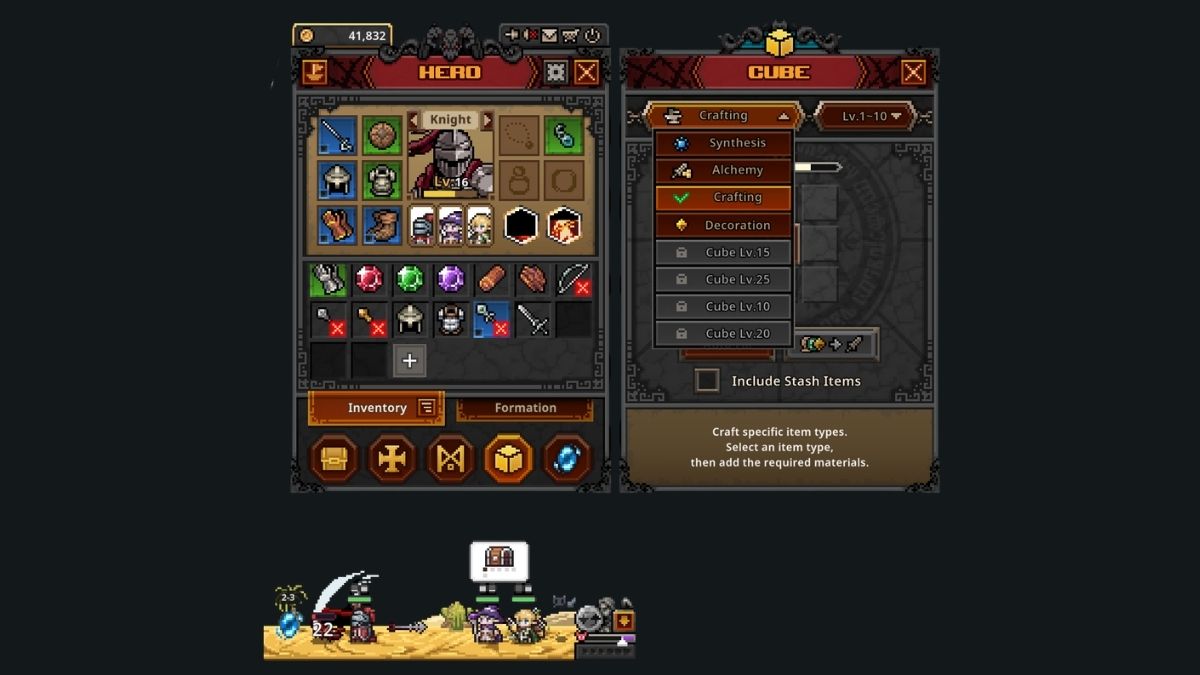
The Cube is TBH's central crafting hub and where most of the itemization system lives. It handles eight different functions. Namely, synthesis, alchemy, crafting, decoration, engraving, inscription, removal, and offering. Each is accessed from the Cube menu. Most of your time in the Cube will be spent in Alchemy and Crafting early on.
Synthesis
Fill all nine slots in the Cube with items of the same rarity to produce one random item of a higher rarity. The level of the output item is determined entirely by the level range set in the dropdown on the top right, and not the level of the items you put in.
NOTE: The result does not always go to the next rarity tier, it can jump multiple tiers if you are lucky.
Alchemy
Alchemy converts items into gold and is effectively how you sell unwanted gear. Drop any amount of gear or materials into the slots and convert. The auto-fill function speeds this up, but check it carefully before confirming.
TIP: Lock items you want to preserve using Alt + Left Click before running auto-fill. Locked items will not be auto-filled into the Alchemy slots.
Crafting
Crafting produces a random item of random rarity within the level range you select. Materials required vary by item category and level range. The rarity outcome is not guaranteed, but Legendary and Immortal results are not uncommon with enough crafts.
Crafting is also the only way to obtain accessories in Acts 1 through 3 on Normal difficulty, as they do not appear in regular chest drops. Craft whenever you have the materials, since there is no reason to stockpile them.
Decoration
Starting from blue rarity, gear pieces have decoration slots that can be filled using the Decoration feature. Slot the gear piece and the decoration material (gemstone), then confirm. The gear does not need to be unequipped first.
Engraving
Immortal rarity gear carries engraving slots. The process works the same way as Decoration, slot gear, and material, confirm, but the materials and available traits are different.
Inscription
Arcana rarity items have a third slot for Inscription. Same principle as Decoration and Engraving, with its own material category.
Removal
Removal strips a slotted Decoration, Engraving, or Inscription from a gear piece. The gear must be unequipped before using Removal. The slotted material is destroyed on removal. You do not get it back.
Offering
Offering lets you spend Commemorative Coins on random item drops, functioning similarly to a lootbox. Offering items come in multiple rarities.
How Do You Use the Rune Tree in TBH: Task Bar Hero?
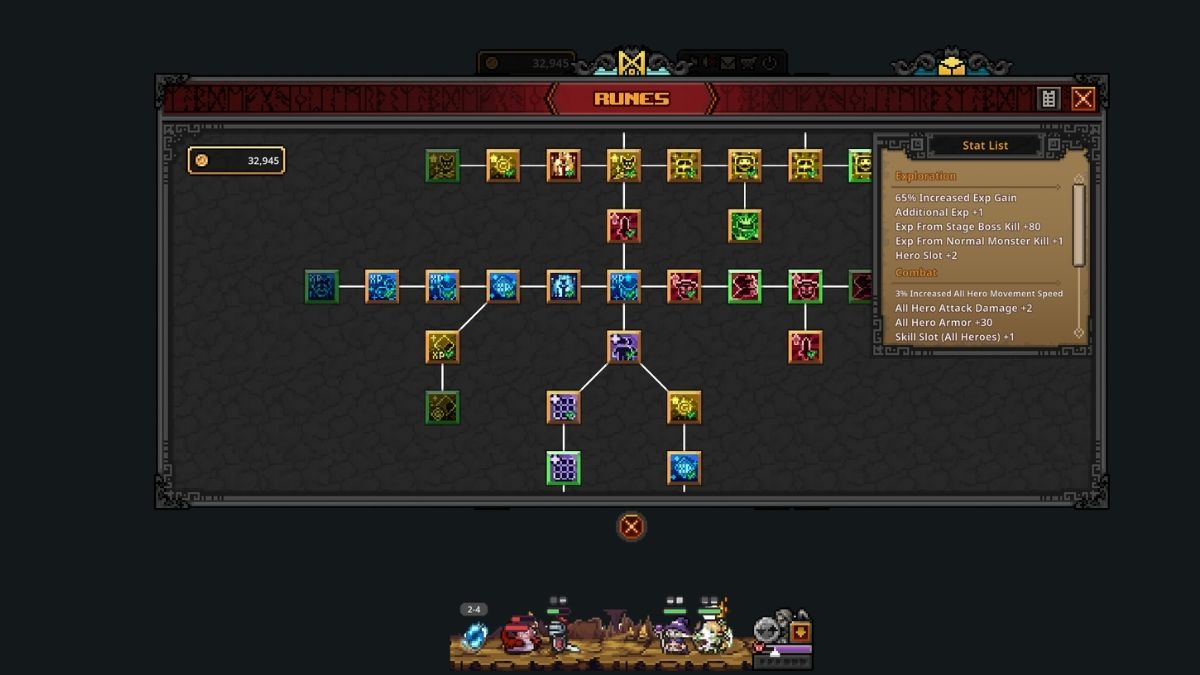
The Rune Tree is where you spend gold to unlock permanent passive bonuses for your entire formation. The most important early unlock is in the south direction, two purple Rune icons that each add a Formation slot. Getting all formation slots active is the first thing you should do in the Rune Tree.
The second Formation slot Rune costs 150,000 gold, which can feel steep early on but pays back immediately through the extra hero slot it provides. The second active skill slot is unlocked via a Rune to the right of the third Formation slot for 50,000 gold.
Rune Tree Directions
| Direction | Focus |
|---|---|
| North-West | Gold income. Boss gold, per-kill gold, and minor boosts to Alchemy gold and XP |
| North | Inventory slots, stash pages, and auto chest opening |
| North-East | Chest drop chances and chest capacity increase |
| East | Hero Attack, Armor, and Speed bonuses for all heroes |
| West | Experience gain for faster hero leveling |
What Are the Best Runes to Unlock in TBH: Task Bar Hero?
These are the most impactful individual Runes to target early:
| Rune | Effect | Priority |
|---|---|---|
| Rune of Command | +1 Hero Slot | Highest |
| Rune of Wealth | +1 Additional Gold | Must-unlock alongside Formation slots |
| Rune of War | +1 Additional Attack per Hero | High priority for DPS |
| Rune of Awakening | +1 Skill Slot per Hero | Unlocks more build flexibility |
| Rune of Growth | +1 EXP bonus | Accelerates hero leveling |
How Do You Get Pets in TBH: Task Bar Hero?
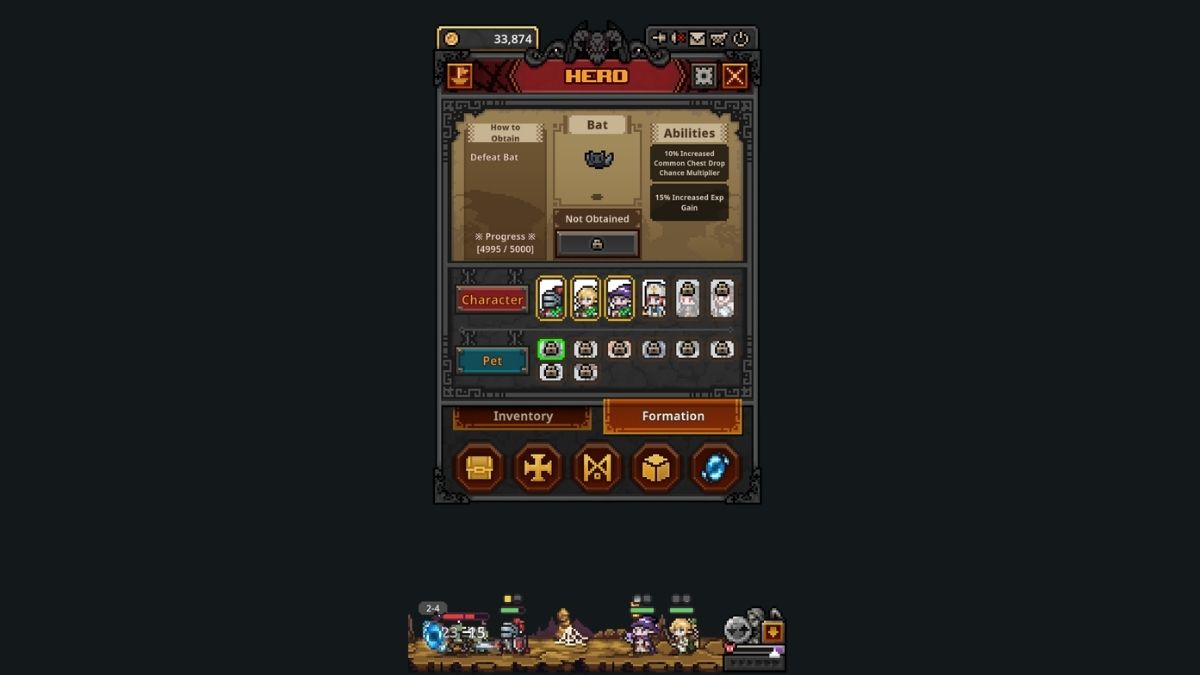
Pets are unlocked by defeating a specific number of a monster type, and every pet's passive effect is always active once unlocked. Deploying pets in your formation is purely cosmetic. Because of this, earlier unlocks compound value faster. Here's how you get them:
| Pet | Location | Unlock Requirement |
|---|---|---|
| Bat | Act 1-8 | Defeat 5,000 Bats |
| Giant Fly | Act 2-4 & 2-5 | Defeat 5,000 Giant Flies |
| Fire Spirit | Act 2-8 & 2-9 | Defeat 5,000 Fire Spirits |
| Blue Golem | Act 3-6 | Defeat 5,000 Blue Golems |
| Ghost | Act 3-4 & 3-5 | Defeat 5,000 Ghosts |
| Sword Dragon | Supporter Pack DLC | NA |
| Butterfly | Supporter Pack DLC | NA |
For more on TBH: Task Bar Hero, check out TBH: Task Bar Hero Tier List or TBH Task Bar Hero: How to Earn Money on the Steam Market on Pro Game Guides!