Disorder is one of the most powerful and rewarding DPS mechanics in Zenless Zone Zero. In this guide, I break down how the Disorder mechanic works, how to trigger it consistently, and how to deal the most possible damage when using it.
How Disorder Works in Zenless Zone Zero
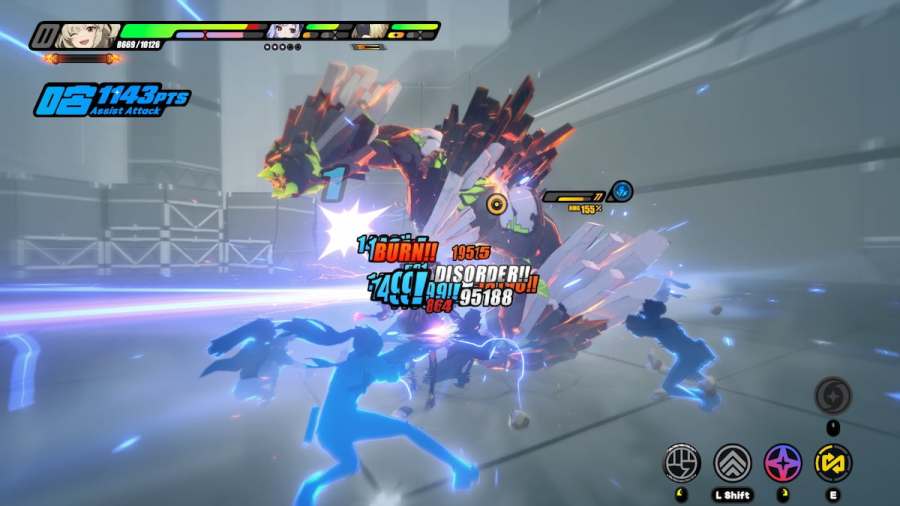
In Zenless Zone Zero, Disorder is a high-damage Anomaly-based trigger effect that activates when two different Anomalies are inflicted on an enemy in quick succession. When Disorder is triggered, it consumes the first Anomaly’s remaining duration and converts it into burst damage. The final damage is based on two things:
- The total damage the first Anomaly would have dealt over its full duration
- How much time is left on that Anomaly when the second one is applied
In addition, Disorder has its own separate damage modifier that boosts the burst damage it deals when triggered. This means Disorder damage is not only scaling from the first Anomaly’s damage and duration, but also gets amplified by this unique internal multiplier. The sooner you apply the second Anomaly after the first, the more powerful the resulting Disorder will be.
How to Trigger an Anomaly Disorder in Zenless Zone Zero

To trigger Disorder consistently, follow these steps:
- Inflict a primary Anomaly on your target, such as Burn (Fire), Shock (Electric), or Assault (Physical).
- Quickly follow up with a second, different Anomaly before the first one expires.
This causes Disorder to trigger immediately, consuming the remaining time on the first Anomaly and converting it into bonus damage that is then amplified by its own damage modifier.

A reliable combo example is starting with Burnice, who can quickly apply the Burn Anomaly through her Fire-based skills. Then, switch to Jane Doe, whose Physical attacks build up the Assault Anomaly fast. Fire and Physical combine to trigger Disorder, causing Burn’s remaining duration to be converted into extra damage.
This combo is powerful because both agents have fast-hitting attacks and significant Anomaly Buildup. Look for characters who specialize in different Anomalies and can chain their effects together efficiently. The faster you apply two different Anomalies, the more frequently you can trigger Disorder and deal significant burst damage.
How to Maximize Damage with Disorder

Once you know how to trigger Disorder, the next step is learning how to get the most damage out of it. Here are the most important tips for optimization:
- Apply the second Anomaly as quickly as possible after the first. The less time the first Anomaly has to tick down, the more value you get when it is consumed.
- Build teams with high Anomaly Buildup. Choose agents, W-Engines, and Bangboos that apply Anomalies fast and consistently.
- Equip Discs that increase Anomaly Proficiency to boost your total Disorder damage.
- Use characters whose skills hit multiple times quickly to speed up Anomaly application and Disorder triggers.
- Target elite enemies and bosses where you can stack effects without quick interruptions.
- Use Anomalies with Damage-over-Time (DoT) effects like Burn, Shock, or Corruption as your first Anomaly. Disorder damage is calculated based on how much damage the first Anomaly would have dealt over its full duration. This means DoT-based Anomalies will yield significantly higher burst damage than non-DoT ones like Physical or Ice.

Disorder is all about efficiency. It is not just about which agents you use, but how quickly and effectively you apply and chain Anomalies. If you time your combos well and build your team around rapid Anomaly triggers, you will constantly melt enemies before they can even react.
For more helpful guides on Zenless Zone Zero, check out our guide on What is Abloom in Zenless Zone Zero? or the Best W-engines for every character in Zenless Zone Zero right here on Pro Game Guides.