
Similar to the first part, Doors Floor 2 The Mines has 200 Doors to open and is filled with multiple entities on every passing corridor. So, if you are having a rough time finishing certain sections, here is a complete walkthrough of the entire Mines level, beginning from the spawn point to the final Door.
The Mines Complete Walkthrough - Doors Floor 2
Before starting, I just want to clarify that Doors Floor 2 is not a linear game and is highly dynamic, with a lot of RNG elements here and there. This means the levels or monsters I play during a particular run may be entirely different from yours. So, use the guide as a reference to finish complex puzzles instead of following it to the letter.
Spawn Area to Door 110 - The Mines
From the Spawn Area to Door 110 is a breeze as you won't encounter any giant monsters or need to solve challenging puzzles that will leave you stuck. Still, you will experience the following difficulties on the way.
Generator Fuse


The most common type of puzzle here is to find the fuse for your generator to leave that particular room. Simply search all the lockers, Table drawers, and other loot boxes within the room to get all the generator fuses necessary to activate them. Sometimes, it can be two fuses or a single fuse; depending on the requirement, your search time may increase or decrease. Once you find the fuse, place it on the generator to move to the next room.
Mine Cart Track Switch
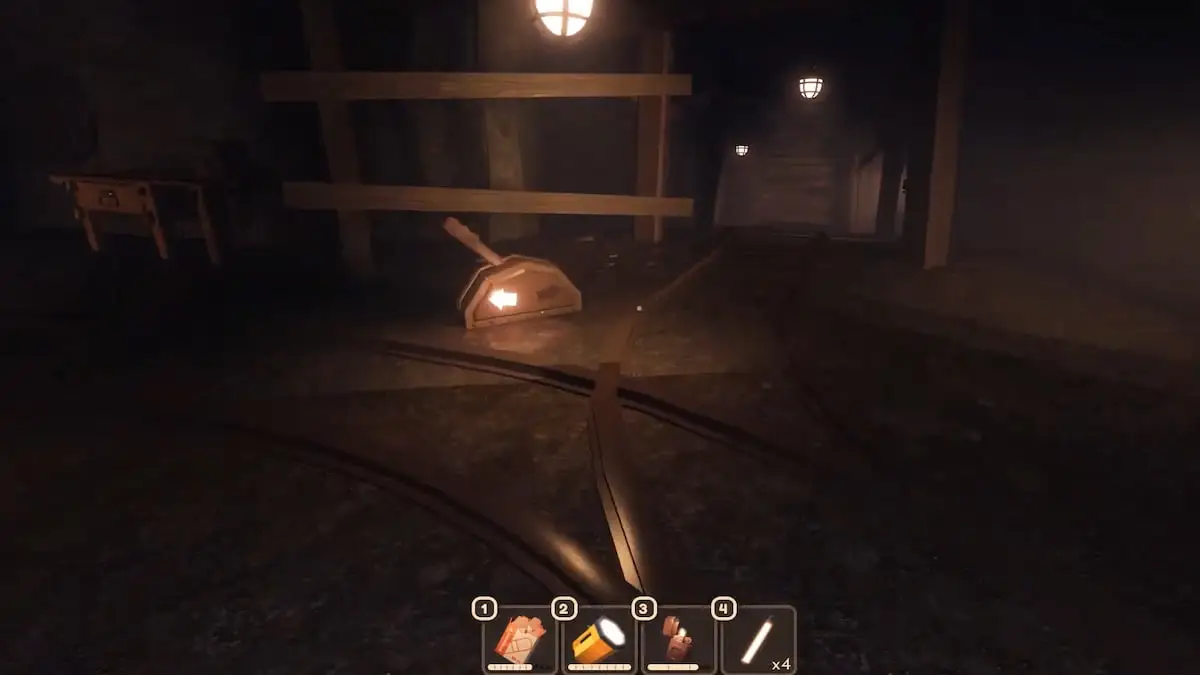
Another standard puzzle is to switch the track of your Mine Cart. Simply access the lever to change the track and move your cart forward to break the temporary doors blocking your way.
Encountered Enemies
- Gloombats: A flying bat that looks like a moth and has vibrant yellow shiny eyes. If you see this creature, turn off all your light sources and move away from that area.
- Screech: A black-colored screeching entity that will disappear if you look at it.
Door 110 to Door 120 - The Mines
The easiest section in the entire game is between Doors 110 and 120, as there is no single type of puzzle. Simply keep walking forward and open the Doors to keep progressing. The only tip I want to give here is to have some light source like a Bulklight, or Glowstick so you can easily cross rooms that are pretty dark. I am pretty sure that you will get one or more light sources by exploring all the containers, lockers, and other bootable areas.
Encountered Enemies
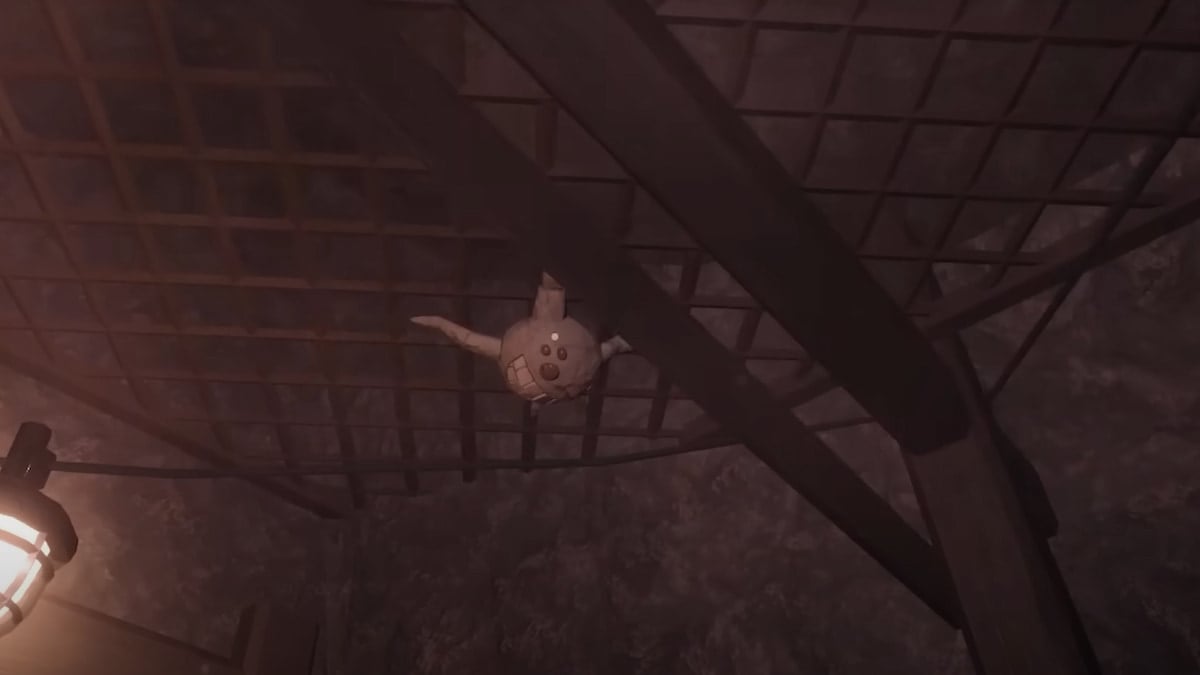
- Giggle: Throw a glowstick at it to knock it off or stop walking under the creature. You can quickly identify the Giggle by its sarcastic laugh and the fact they're always hanging on the cave roof.
Door 120 to Door 130 - The Mines

Similar to the last one, this corridor also does not have any new puzzles, but you may have to solve a few Generator Fuse Puzzles on the way. Turn on your light source and keep exploring until you find the bulbs to activate the generators. Another major thing you will encounter here is the gas-filled rooms. Yes, there will be multiple rooms filled with flammable gas. Simply don't use any items like lighters inside and cross the room as fast as you can. You can quickly identify such rooms as they will have the flammable stickers pasted at the Door entrance.
Encountered Enemies
- Hide: The Hide is a monster that will try to creep behind you once in a while. So, when you start feeling tremors and hear ominous music, hide inside the locker to play the heartbeat mini-game that revolves around pressing keys at the right moment. If you finish this game, the monster will disappear.
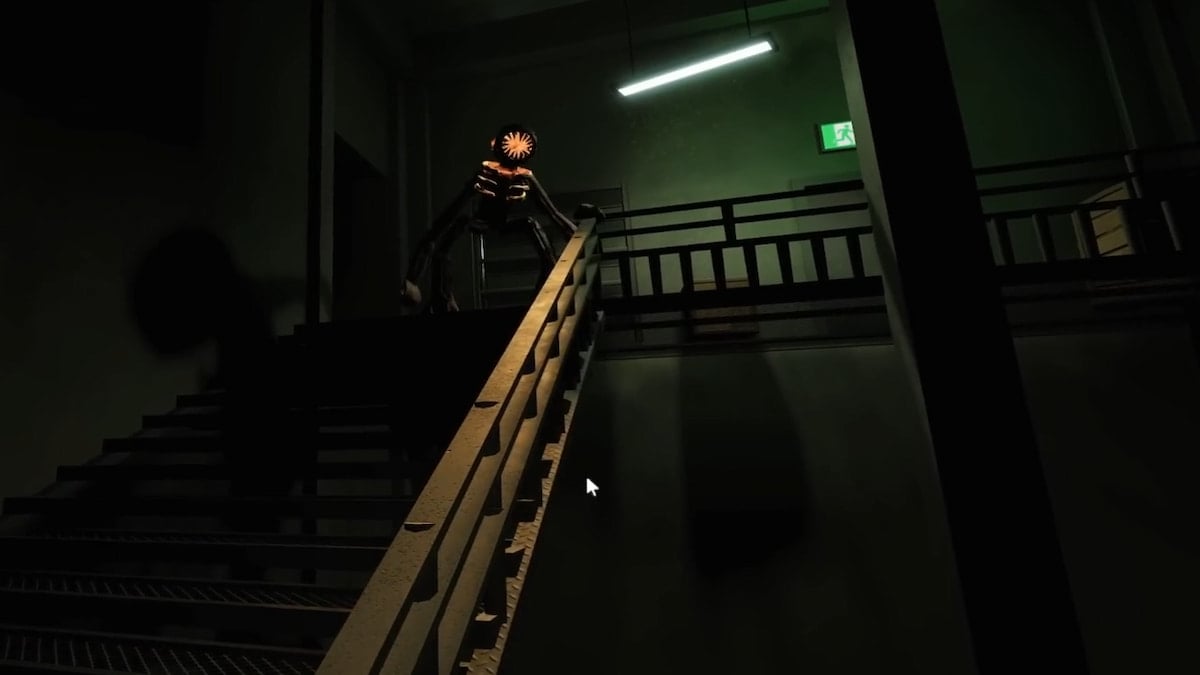
- Figure: The Figure relies entirely on footsteps and sounds to capture you. So, either hide inside a locker or stand in dark areas without making a foot to avoid it.
Door 130 to Door 140 - The Mines
In between Doors 130 to 140, you will again find the same gameplay elements from the previous sections. You have to fix several generator fuses again, use the mine cart tactically by switching levers to break specific breakable structures and evade the same set of monsters you found earlier, along with a new one called Gloombat Eggs.
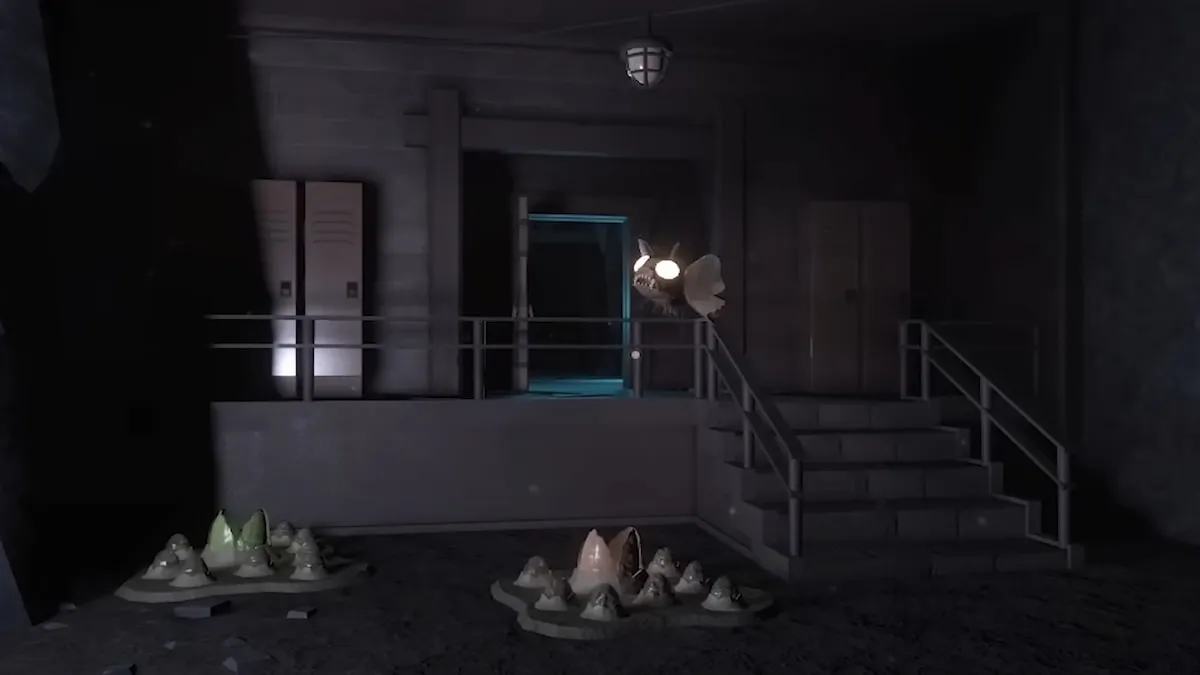
Encountered Enemies

- Gloombat Eggs: These are nothing but unhatched Gloombats that usually spawn on the ground in very dark rooms. You can avoid these nests by simply walking around their edge instead of stepping on them. So, whenever you are in an extremely dark room, throw a Glowstick or use any light source to traverse safely.
Door 140 to Door 150 - The Mines


As soon as you step inside Door 140 on the level, a cutscene will start playing, and the main Antagonist, Seek, will start chasing you in its human form. From here, it's all luck, as your character will also begin to run to evade Seek, and you have to pick the right path/exit as you run. Yes, there is no fixed course, as it varies for each run. The only tip I will say is to follow the blue guiding aura light on the screen, as it usually leads you to the right path. Follow the glow and quickly decide to enter the right Door while running or on a cart. Also, while riding on the cart, ensure you are ducking at the correct instance to avoid getting hit by any hanging boards or rocks, leading to your death. If everything goes well, you will reach Door number 150 easily within 2 minutes.
Door 150 to Door 160 - The Mines
After entering Door 150, the Seek Monster will disappear, and instead, you will be now chased by the new Grumble monster, which is like a giant version of the Giggle. Now, you have to escape the Grumble Monster while powering on the bridge that connects to Door 151.
Powering the Bridge Puzzle
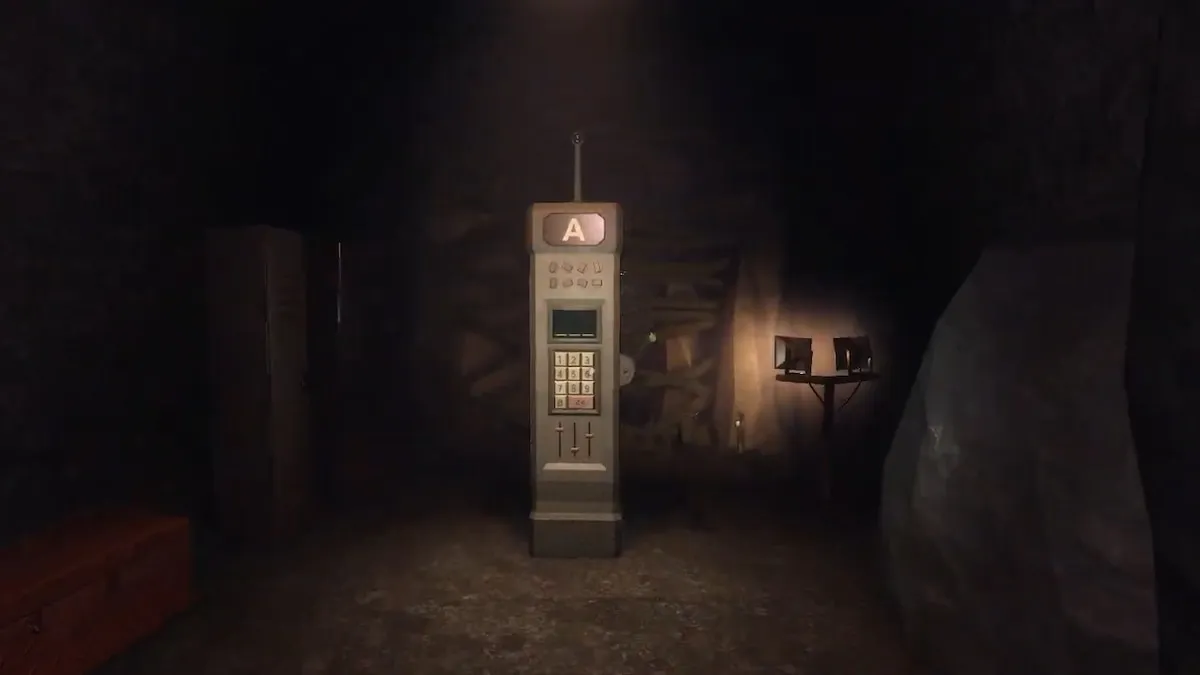
As mentioned above, you have to power the bridge to reach the following location. For this, you have to input the code given by the central power machine in each of the four anchor Machines - A, B, C, and D. All of the machine locations are completely random for each player. Still, I have mentioned some of the most common spawn spots for each Anchor Machine inside Door 150.
- A Anchor Locations
- B Anchor Locations


- C Anchor Locations


- D Anchor Locations


Use these images as a reference and follow the audio cue from the machine to locate the terminal quickly. A loud audio cue is emitted from each terminal after receiving the code. Simply follow them to reach these locations. Once you input all the codes successfully, the bridge will power, and you can enter Door 151.
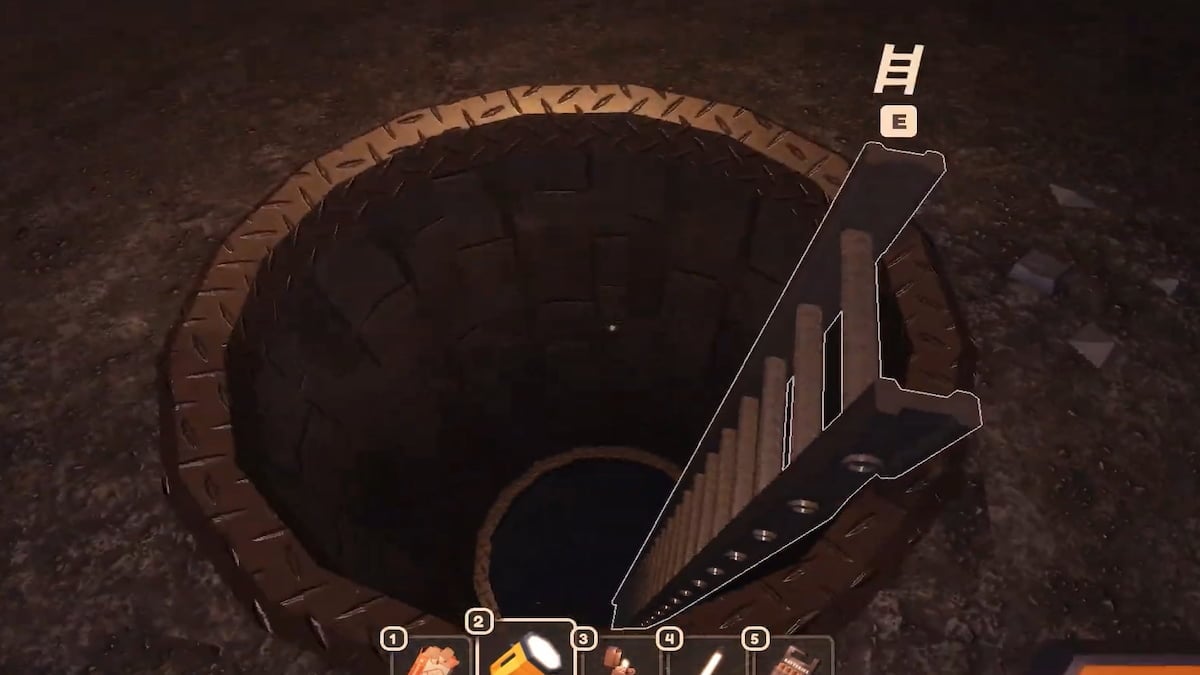
From here to Door 160, it is the usual routine found in previous corridors. Also, inside Door 152, you will find a Shop where you can replenish your items before proceeding. Additionally, a few sections require you to climb downstairs to locate the next Door. So, climb down and explore these underground areas if you have hit a dead end on the above surface.
Encountered Enemies
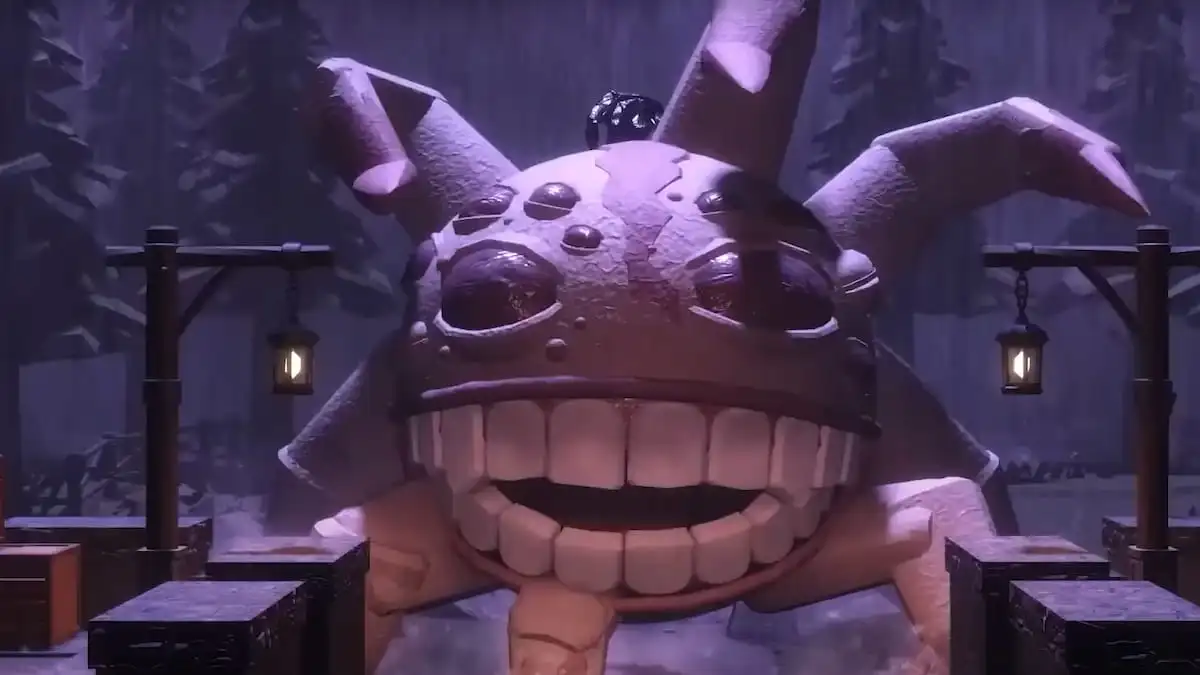
- Grumble: The Grumble is like a giant version of the Giggle Monster. The only way to avoid this monster is to use any light sources like a Bulklight or Glowstick in corridors or intersections as a distraction while you go on to explore more areas inside Door 150. Keep repeating this loop until you input all the necessary codes.
Door 160 to Door 170 - The Mines
This section is pretty much like a repeat of the previous areas as you will encounter the same monsters like Hide, Giggle, and Screech while you solve a couple of Generator puzzles. The only thing I found is that most of the rooms are extremely dark and don't have a light source. But, if you had stocked up from the Shop in Door 162, you would be good to go ahead without any worries.
Door 170 to Door 180 - The Mines


From Doors 170 to Door 180, you will come across a lot of sections that require you to swim underneath the caves. So, time your breath correctly and follow the lights in the underwater sections to reach the correct entry point to the next Door. Also, you will be required to climb a lot of stairs. Explore these staircases when available to find the next Doors. Other than that, the routine here is pretty similar to previous ones: mine carts, generators, and a whole lot of hiding.
Door 180 to Door 190 - The Mines
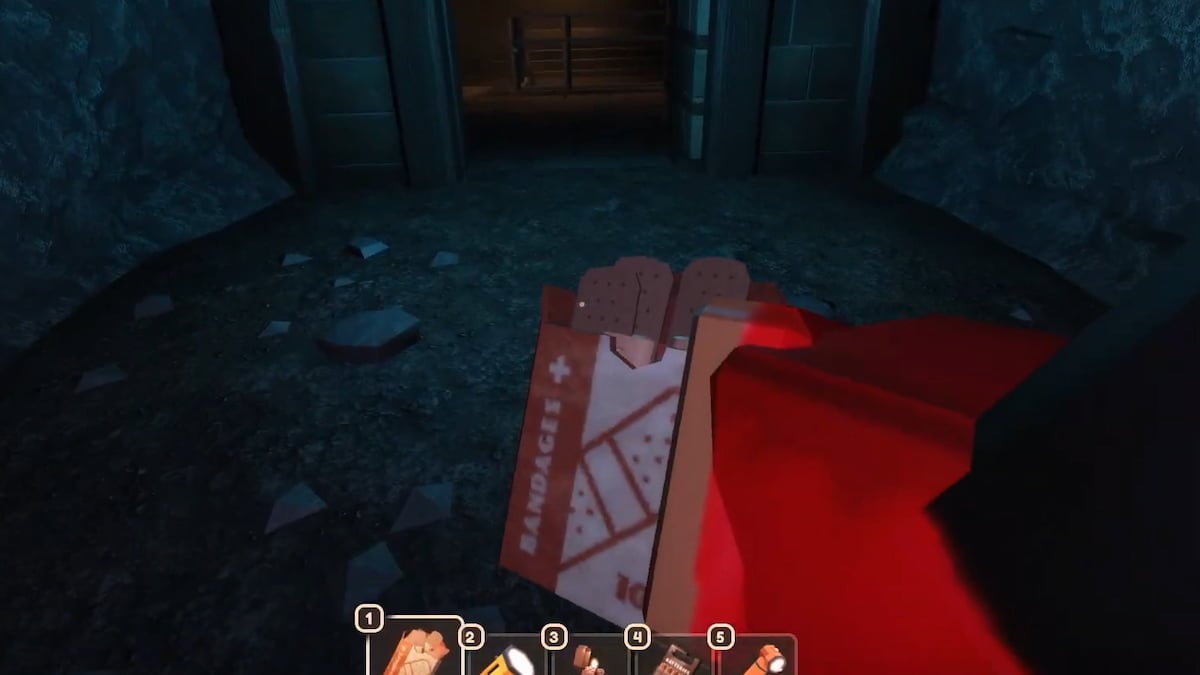
This corridor section also doesn't feature any new puzzle section but has a lot of recurring enemies. I highly recommend you scavenge a lot of Bandages or Bandage Packs before even entering this area, as you will find several Giggles hanging on the top of the cave section and other monsters from before. They are tactically placed in such a way that they will cause damage to you, and you need to have a lot of meds to recover your health. So, try to store as many bandages as possible to make your life easy here.
Door 190 to Door 200 - The Mines
This is the final section of the Mines level. Up to Door 195, everything will be the same as the previous corridors, with a lot of enemies and few exploring areas. Once you enter Door 195, the Seek Monster will again reappear and start chasing you. So, again, follow the halo blue glowing light and pick the right path throughout the cutscene chase to enter Door 200, where you will take on the Seek boss in the Blob form.
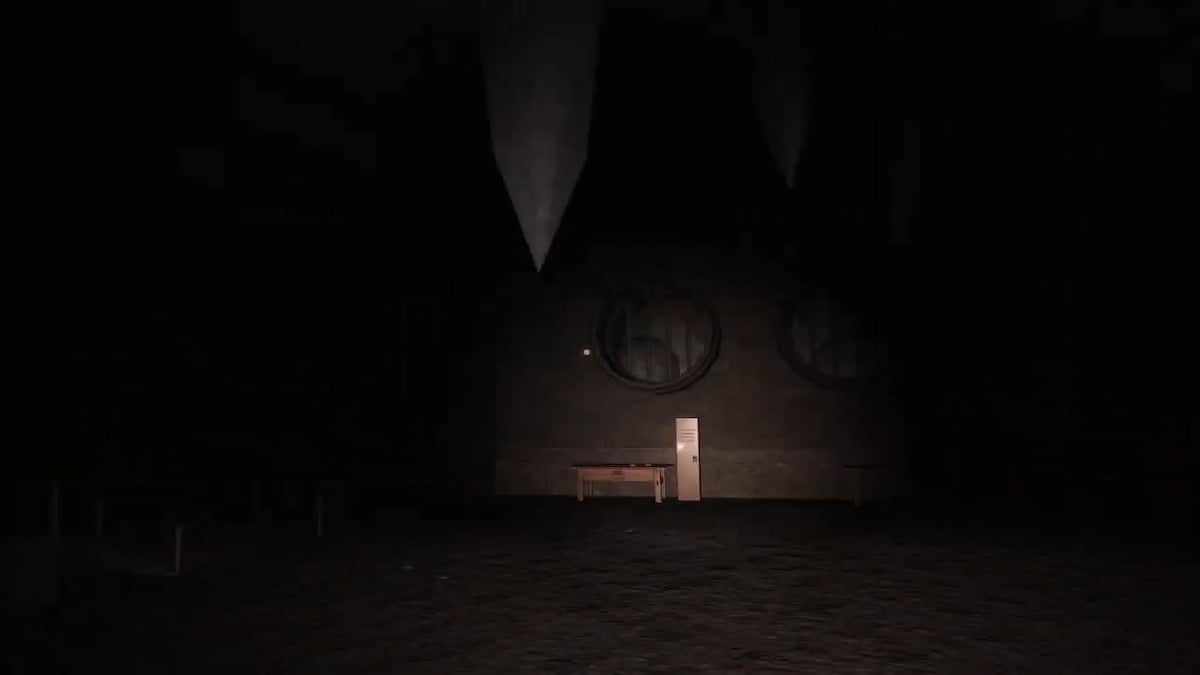
Defeating the Seek (Blob Form)
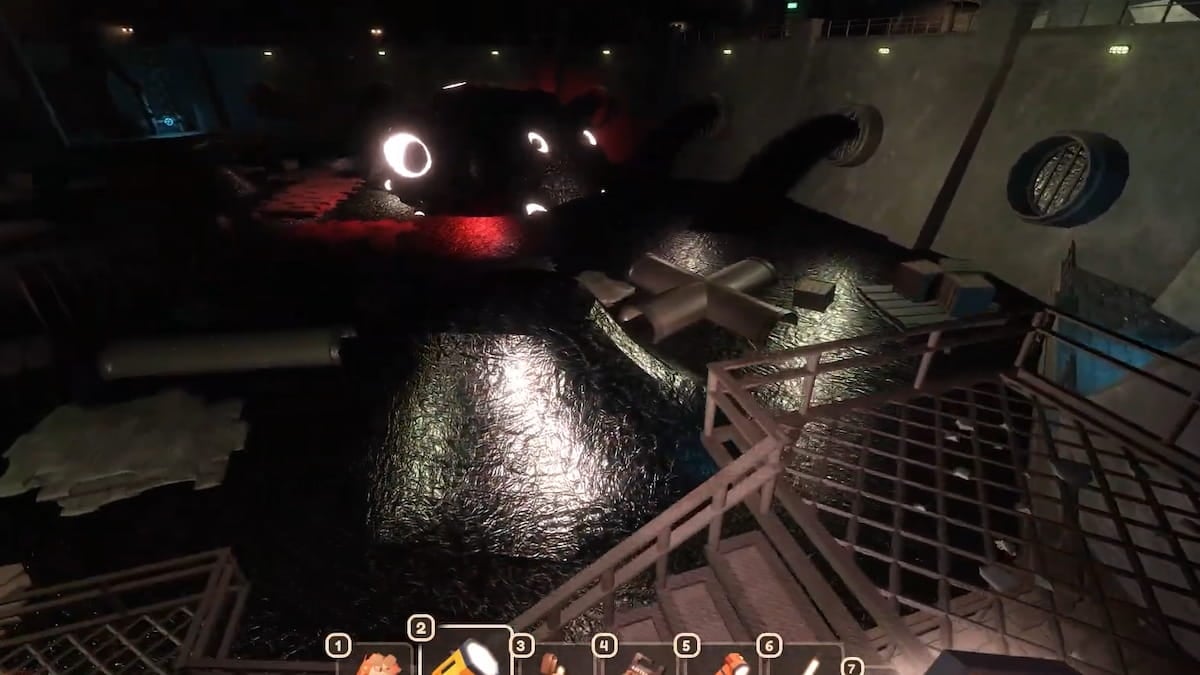
Though Seek looks deadly, you can evade his onslaught if you understand two of his attack forms: random hand attacks and laser-pointed hand attacks. To dodge the laser attacks, simply move away from the laser pointer, and for the random attacks, stay away from the edges of the central sewer area. Follow and execute these techniques when you are required to hop on the floating obstacles to reach the other side.
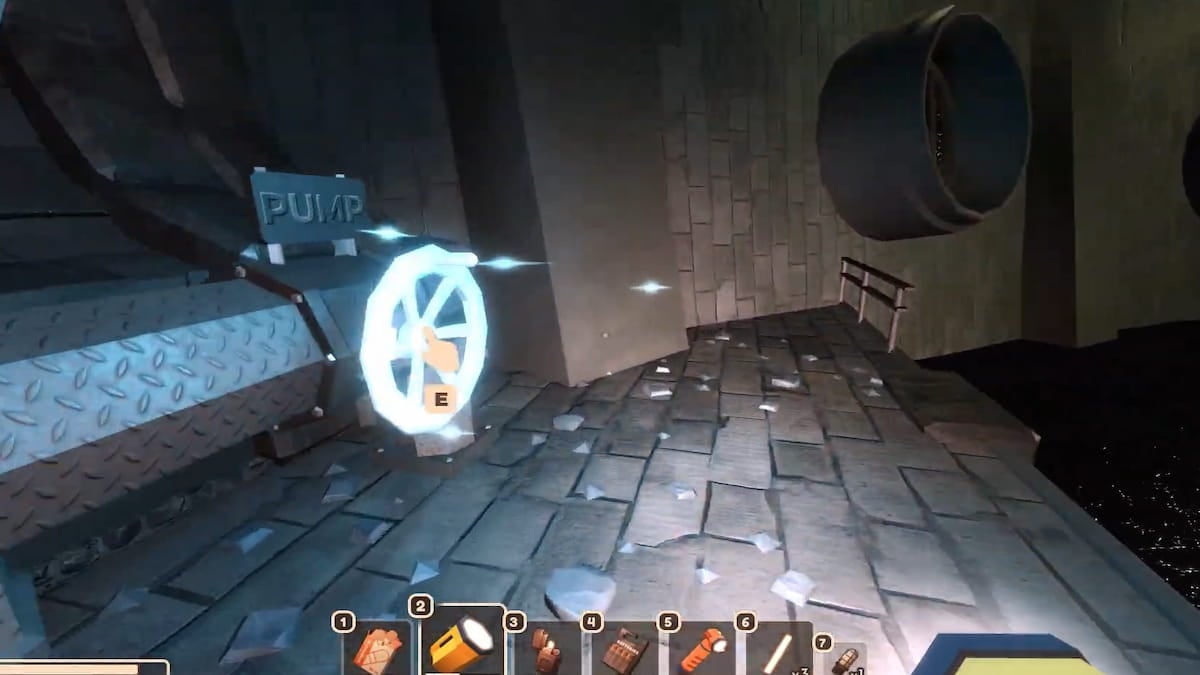
While evading the attacks is one-half of this fight, you have to drain the monster through the sewer to get rid of it entirely. To do this, you have to open all the valves inside Door 200 in a phase-wise manner. In phase 1, you have to turn on 2 valves, 4 in the second and 5 in the final phase. These are easy to locate, as all you have to do is follow the guiding light to find the valves. After turning on all the valves, the Seek monster will be sucked in, ending its run.
Once Seek has been defeated, find the bulb for the final generator and get out through the staircase to reach the forest area. Walk along the forest area to find the Door to the castle. Interact with it, and the final cutscene will play, where you will see a Grumble reappear only to be consumed by the Seek monster with the game ending.
Looking for more Roblox horror content? Check out our recent guides on All New Items in Doors Floor 2 The Mines – Roblox or How to get the Lost in Translation badge in Doors Floor 2 (The Mines) – Roblox here on Pro Game Guides!