The Sleeper Simulant is one of the most popular weapons to equip when heading into Gambit. If you want to up your wins in that mode, our Sleeper Simulant guide
goes step-by-step on how to obtain it in the Forsaken expansion!
What's so great about the Sleeper Simulant? Well, it absolutely dominates in Gambit right now. Gambit is the new mode that came along with the Forsaken expansion. It's a hybrid PVP and PVE style of mode that requires you to collect motes and summon a Primeval and kill it before the other team. To spice things up, you or your enemy can jump over to the other team's side of the map. You can then take the enemy players out, making it either harder for them to summon a Primeval, or making it so the Primeval gets healed. The Sleeper is very strong in Gambit because you can one-shot any player with it when you invade. You can also use it to melt down the Primeval on your side of the map, which will get you wins pretty easily. Learn more about the mode with our full Gambit Tips and Tricks Guide!
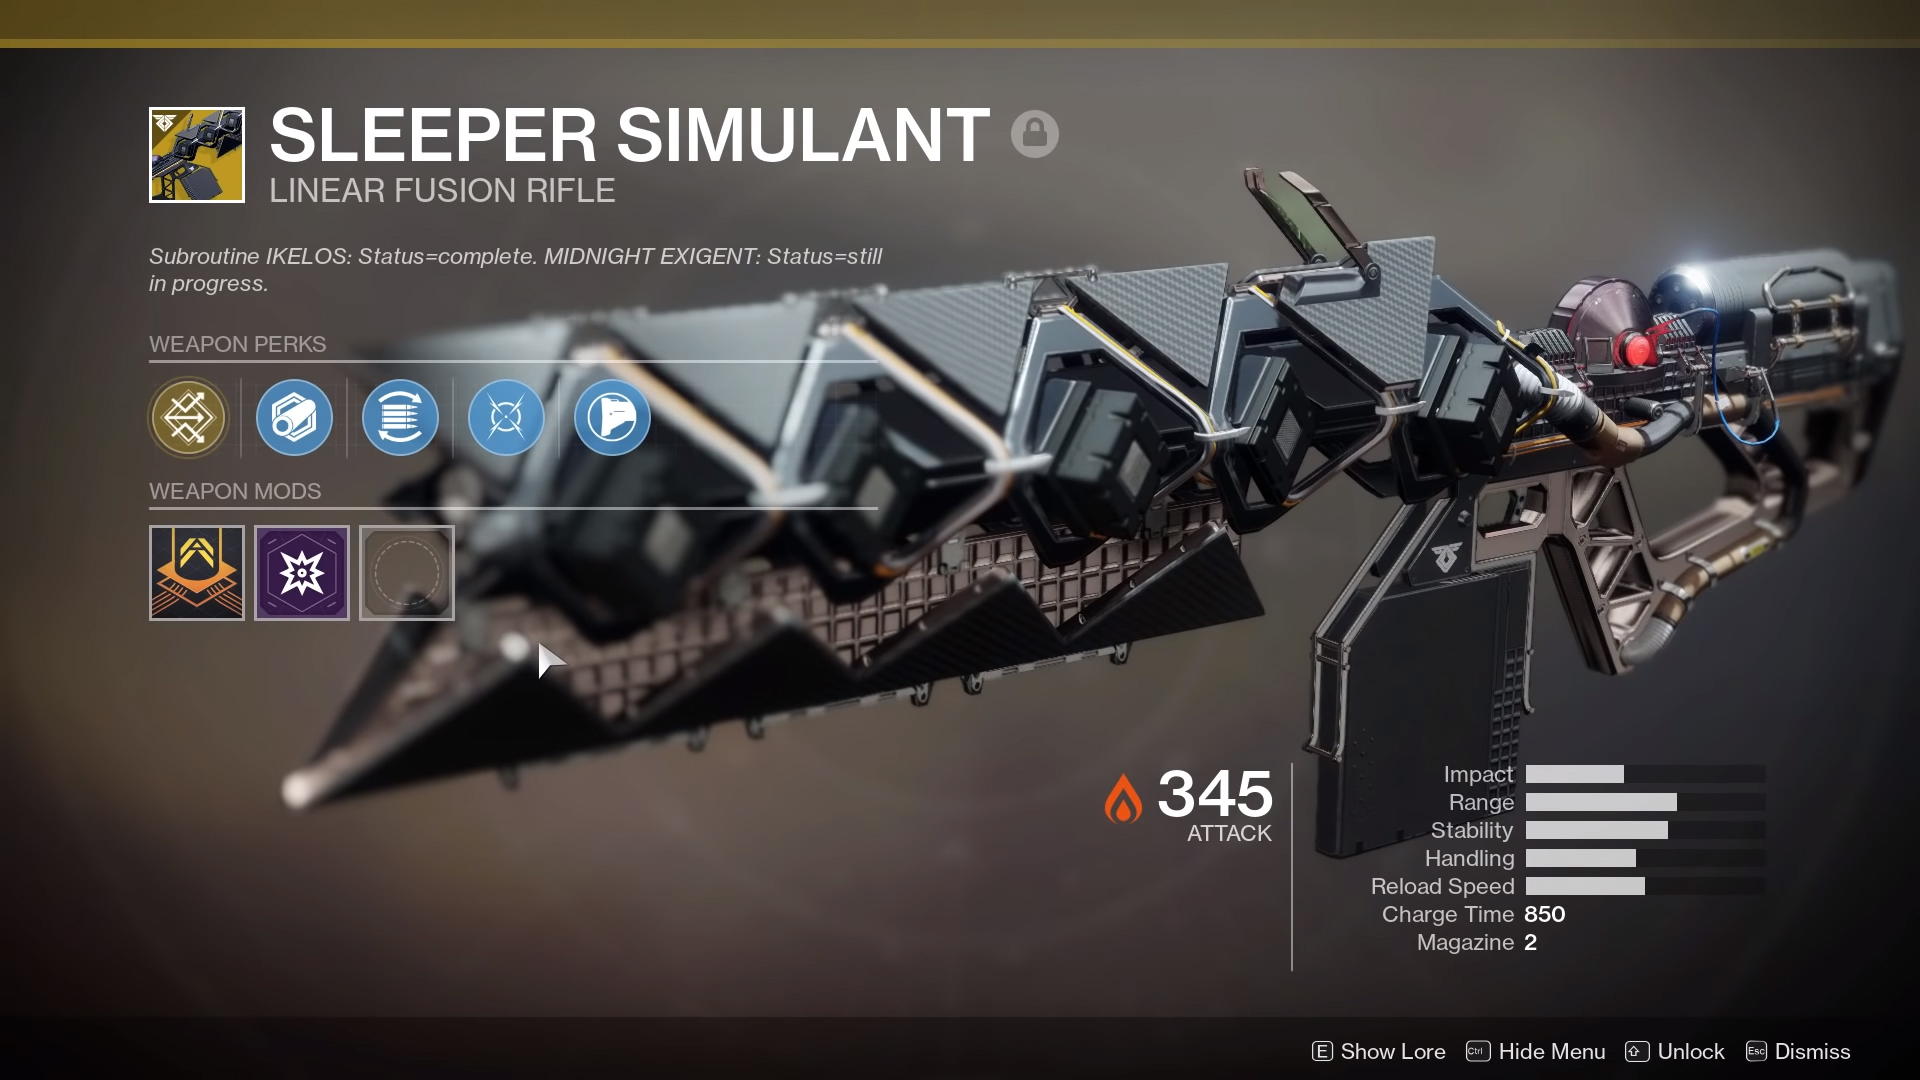
Sleeper Simulant Perks
Dornroschen
The weapon's laser overpenetrates enemies and refracts off hard surfaces.
The beam you fire can ricochet off of a hard surface and split into multiple beams hitting other targets or the same target!
Moving Target
Increased movement speed and target acquisition when moving down sights.
Sleeper Simulant Step-by-Step Guide
Quick Tips for the Sleeper Simulant Quest
- Once you get the IKELOS Hand Cannon KEEP it equipped. The quests require you to have one equipped to complete them, and this is an easy one to forget.
- You do NOT have to use the IKELOS weapon to complete any of the quests. You only need to have it equipped.
Step 1: Complete the Warmind Campaign
You've likely already done this, but if you are new to the game or coming back during the Forsaken expansion you'll want to go through these quests and finish up the campaign. Once you do so, a new quest will open up on Mars at Ana Bray called "Data Recovery."
Data Recovery
Ana has discovered a blank spot in Rapsutin's artificial cortex. She suspects it could be a digitally suppressed memory and could contain valuable information.
Step 2: Legacy Code
Investigate the blank spot in Rasputin's system memory.
You'll now be doing some quests to put this all together. It's pretty simple, you just need to follow the steps and complete the quest like any other mission.
Step 3: A Piece of the Past
Return to Rasputin with the mysterious engram.
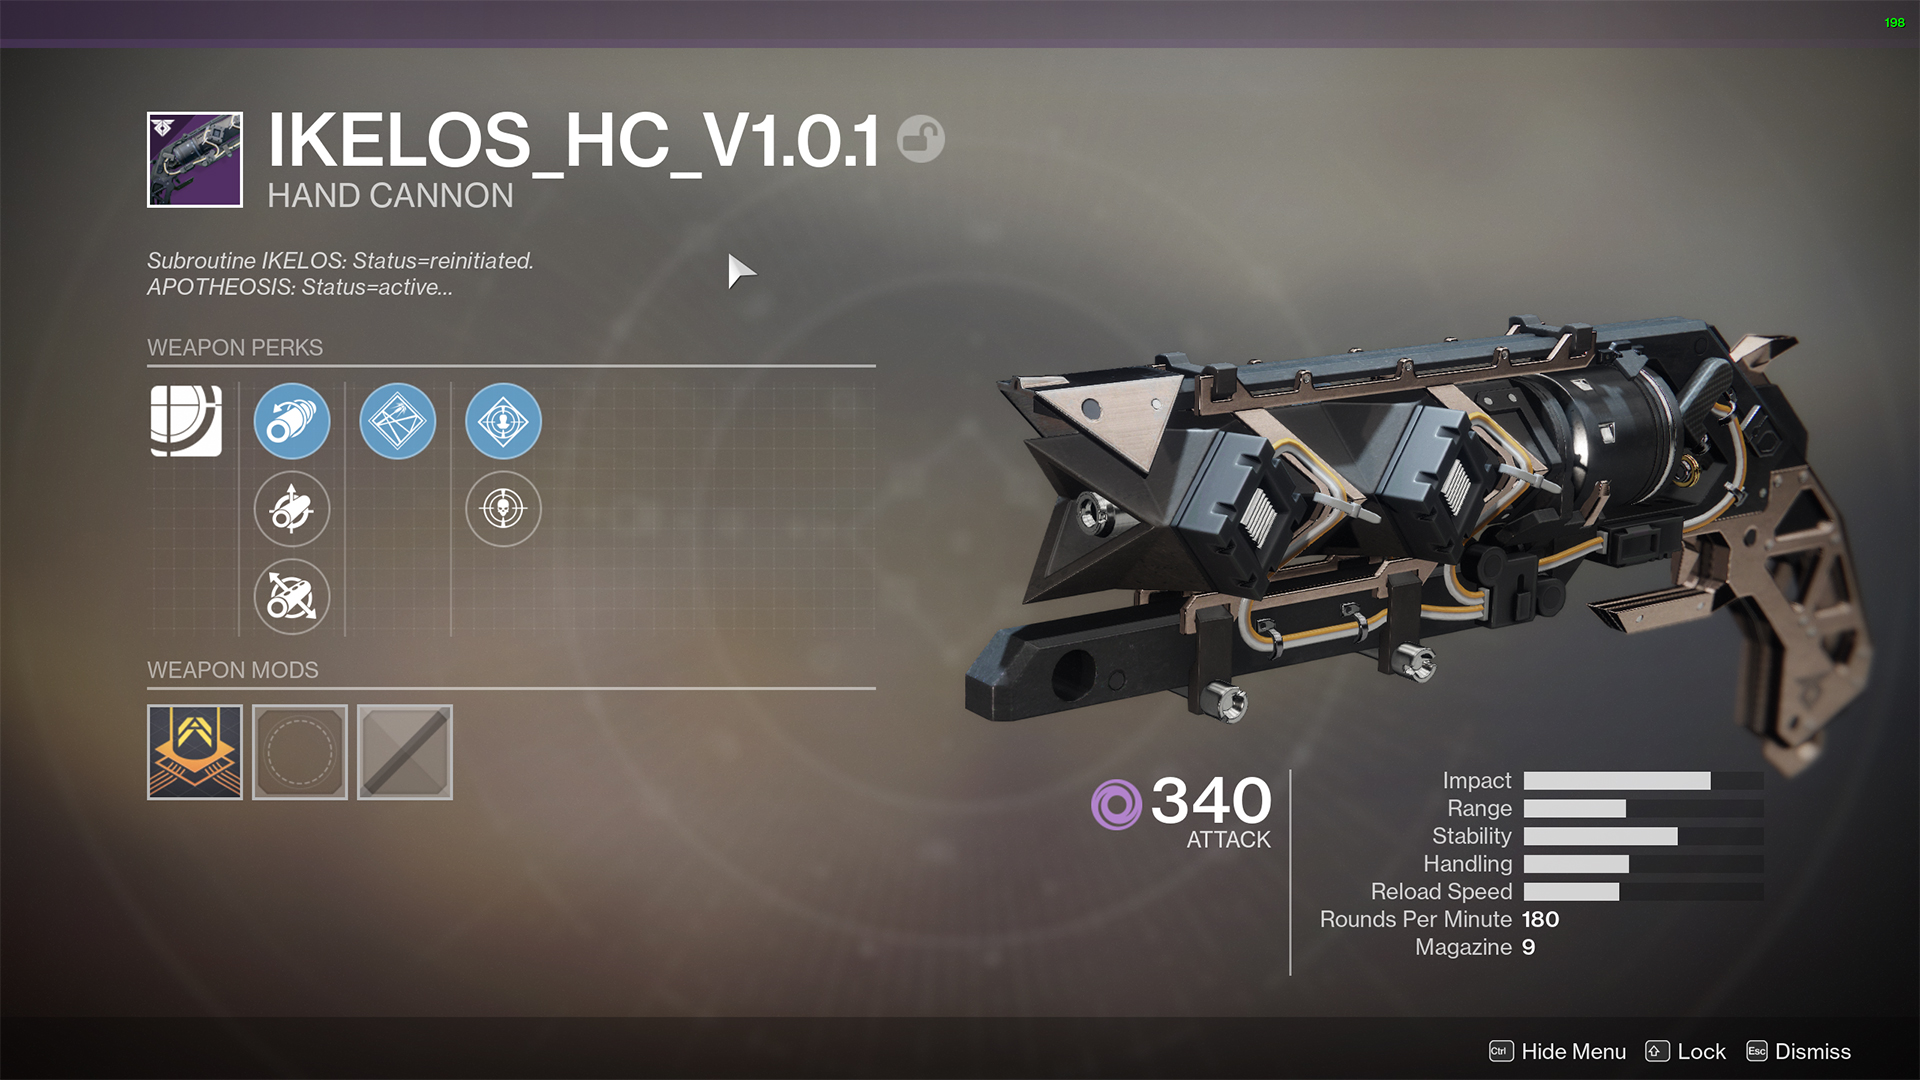
This is another simple quest, and after you've completed it you will get the IKELOS_HC_V1.0.1 Hand Cannon. This weapon directly leads you to obtaining the Sleeper Simulant. You are going to want to equip this weapon and keep it equipped for the entirety of the journey to getting your Fusion Rifle. It is important to note, you do not have to USE the weapon. It only requires that it's equipped, so don't force yourself to use it if you have a primary you want to use instead. You can also equip any other IKELOS weapon you might have instead, whether or not it's the hand cannon, sniper rifle, shotgun, or submachine gun.
Step 4: Violent Intel Quest Step
Rasputin is updating the IKELOS protocol and needs specialized data. Engage Hive and Cabal.
Defeat Hive and Cabal in Hellas Basin. You must equip IKELOS weapon and defeat Cabal with precision shots.
Nothing too difficult about this one, but keep in mind you do need to eliminate Cabal with PRECISION shots (headshot/criticals). With the Hive, however, you only need to eliminate them. Also, don't forget to do this with your IKELOS Hand Cannon EQUIPPED or none of it will count!
Step 5: Rasputin's Culling Quest Step
Rasputin requires additional information against more powerful enemies, wherever they may be found.
Defeat powerful enemies with an IKELOS weapon equipped.
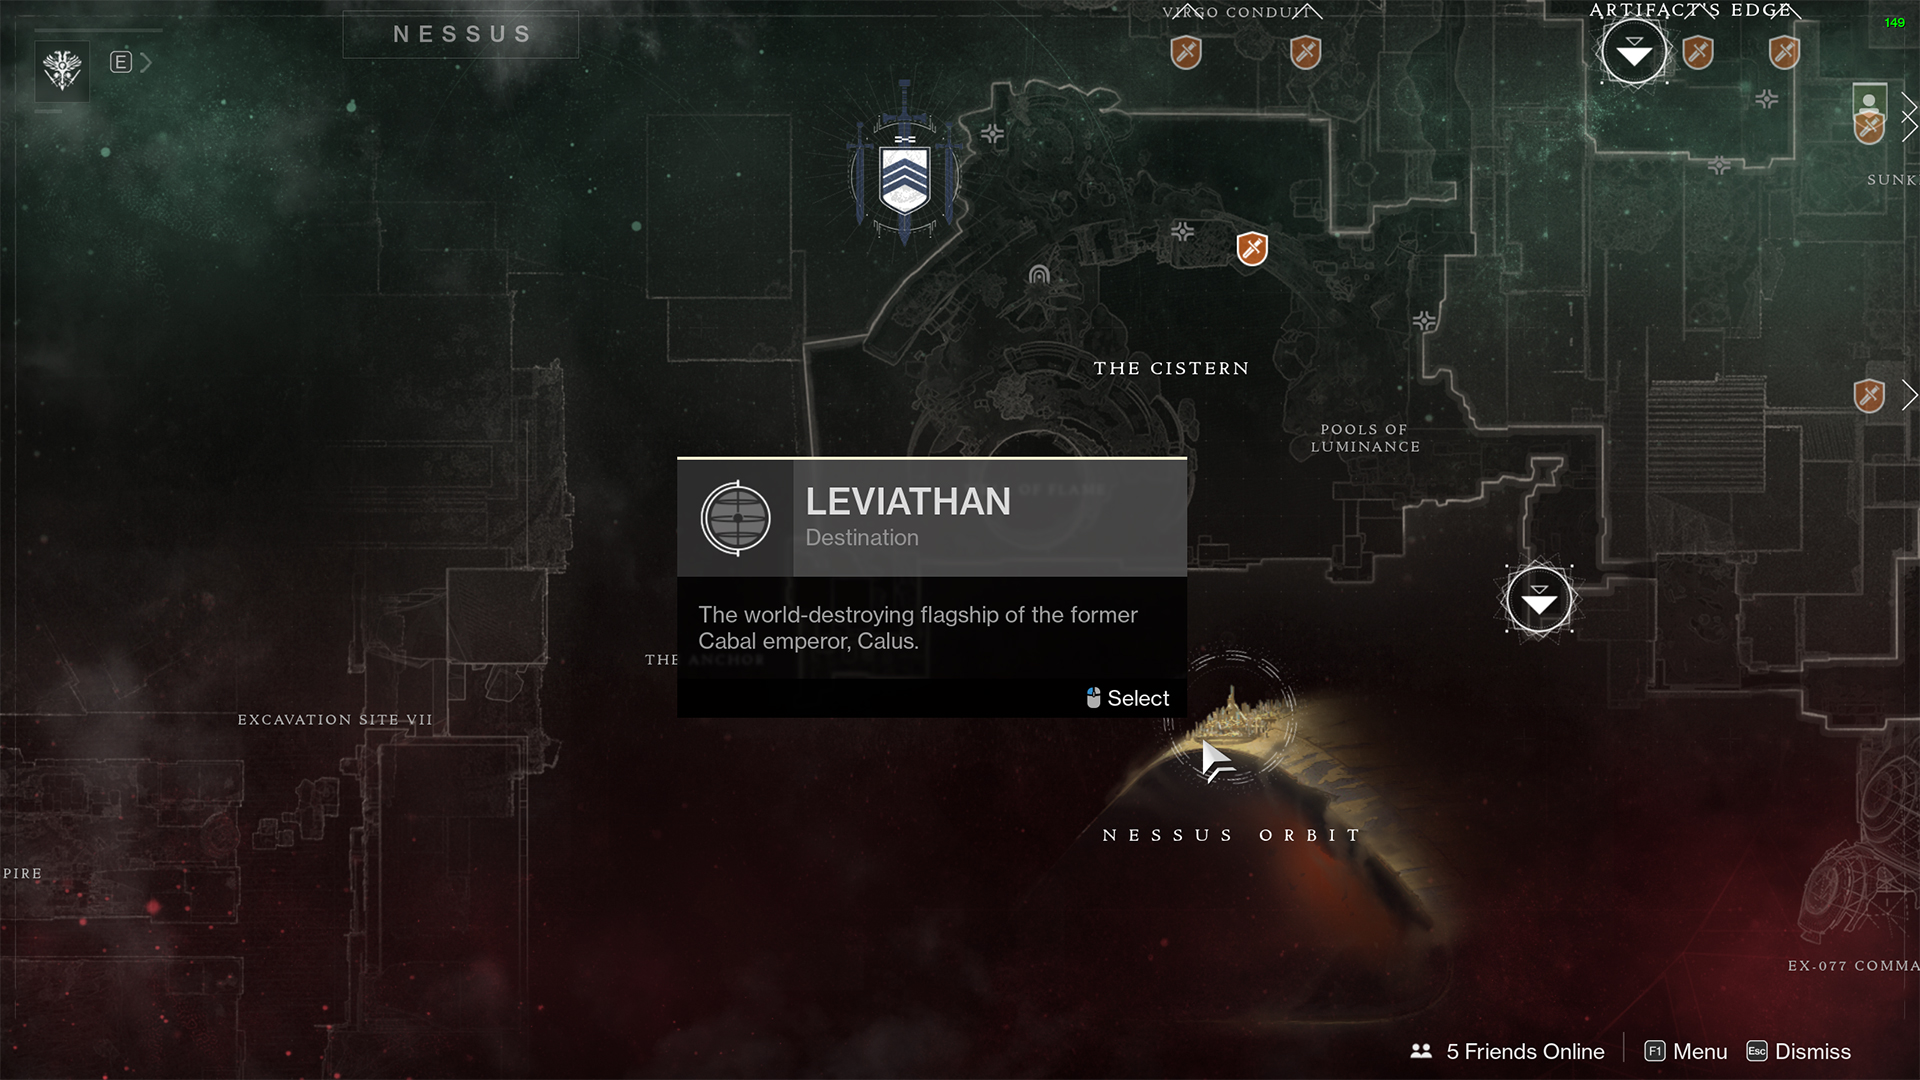
It's time to slay out some powerful enemies. A "Powerful Enemy" is any enemy with yellow health. It's best to go ahead and do any public events you see, or start the Escalation Protocol that's nearby Ana Bray and slay out the enemies that spawn there. You can also load up Leviathan Raid and eliminate the early enemies and kill them all, reload the raid, and repeat. You'll need to get 50 kills, so you'll have to do it seven times!
You can find the Leviathan raid at Nessus.
Step 6: Warmind's Glory Quest Step
Rasputin's curiosity grows. He predicts IKELOS weapons will be highly effective in dangerous operations.
Complete Heroic strikes with IKELOS weapon equipped.
You will need to complete 5 Heroic strikes to complete this part of the quest. Again, make sure you have your IKELOS weapon equipped. Now, you might have noticed that there are no Heroic strikes anymore! Well, instead you'll want to head to the Vanguard and load up some 400 and 500 power level strikes that will count for this.
Step 7: Nodes and Protocols Quest Step
Travel to Hellas Basin to gather components and additional data for Rasputin.
Clear Escalation Protocol levels and access Sleeper Nodes with an IKELOS weapon equipped.
The Escalation Protocols from this quest aren't too shabby. Head to the areas that look like the following with this icon:

You only need to complete a level 1 of these three times, you don't have to go through the entire thing three times thankfully. You do have to complete an ENTIRE level, so all of the blips that show up on the side of your screen, and eliminate the boss. Now that our power levels are higher, this isn't as difficult as it once was. Hopefully, there will be people in the area to make it easier for you.
The Sleeper Nodes part is the difficult portion of this quest. This will take a while, so be ready for some grind. First, you'll want to make sure you have your Nascent Dawn item (you should have gotten this already leading up this part).
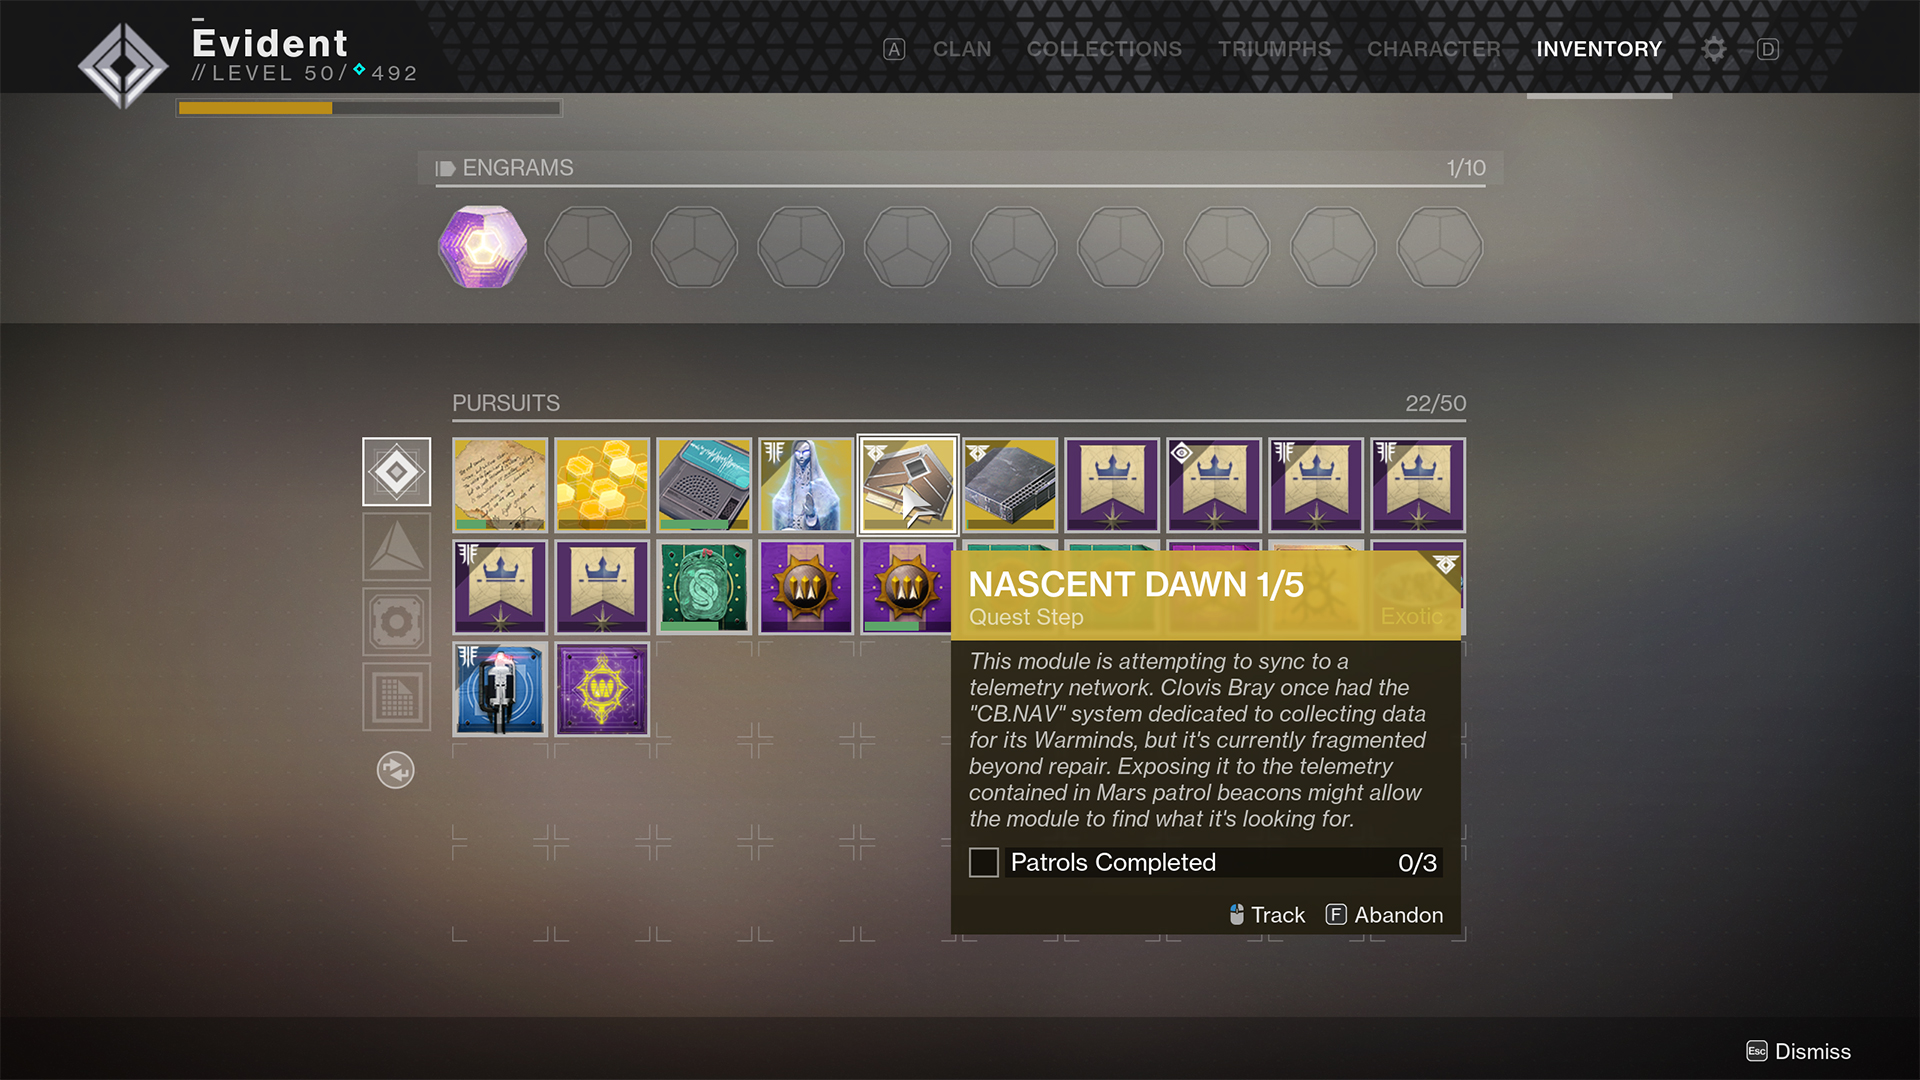
You'll only need to complete the three Patrols and follow it up with a Lost Sector. Once you've done that, you will then combine the four Resonate Stems you get. That will give you clues to ONE of the Sleeper Nodes you need. You'll then return to Ana Bray and complete the quest. Once you've done this, you can now get Resonate Stems for doing things around Mars: Patrols, Lost Sectors, Public Events (heroic events give you two, so be sure to trigger that), and high-value targets. You need 60 total stems to get all 15 Sleeper Nodes.
Once you combine four stems, it will give you a clue to where to find the specific node. There are no quest markers, so you really need to read the clue carefully on the Override Frequency item you receive when you combine the nodes. You'll know you are close when you hear the music from it!
Like I mentioned, this is going to take a while (they don't call them Sleeper Nodes for nothing).
More Great Destiny Content
- Destiny 2 Codes – Emblems, shaders, & more!
- Ice Breaker confirmed for Destiny 2 return, against all odds
- Destiny 2 players love the Pathfinder system but it has one fatal flaw
- Destiny 2 Salvation’s Edge Raid Walkthrough: Every Encounter & Boss Explained
- Top 10 Best Legendary weapons in Destiny 2 The Final Shape (God Rolls)
Step 8: Protocol "Perfected Form"
Final calibration requires the engagement of a class 6 or greater biological threat.
Replay the "Will of the Thousands" with an IKELOS weapon equipped.
You've already completed the Warmind Campaign so you've done this once. Time to crank through it again, and be sure to have that IKELOS weapon equipped!
Final Step: Final Calculations
Rasputin has finished his calculations and made the necessary modifications to the IKELOS protocol. The sleeper has return.
This is it, all you need to do now is head to Ana Bray and receive your sweet new weapon!