Learn everything there is to know with our Destiny 2: Forsaken Gambit Guide! We've got tips and tricks for Gambit to help you survive longer and get more wins. This guide will help you with both sides of the mode with tips for PvE and PvP!
Gambit is a new mode, which was released with Destiny 2 Forsaken expansion. It combines PvE with PvP, so everyone should find something they like about it. However, despite the basic rules being very simple, there are lots of things that you still might not know. In this guide, I'll try to share everything that will make you a better Gambit player.
What is Gambit?
Like I've mentioned already, the basic rules of Gambit are simple. It's a 4v4 mode that mixes PvE with PvP. At the base level, the goal is to kill enemies, who drop motes. Then you collect those motes and bank them. Once your team gets to 75 motes, you summon a Primeval boss - killing it wins the round. One match is Bo3 - the team who wins two rounds first wins the entire thing.
Each player can carry up to 15 motes at a time, and dying means that you lose all of the motes you currently have. When you bank enough motes, you send a so-called "blocker" to the opposing side - you need 5 for a Small Blocker (Taken Phalanx), 10 for a Medium Blocker (Taken Knight) and 15 for a Large Blocker (Taken Ogre). You can't bank motes as long as there's a blocker on your side - you need to kill it first (the same goes for your opponent).
Gambit is like a race, but a race in which you can try to handicap your opponent (while trying to prevent them from doing the same thing to you). You need to be quick about everything - killing minions, banking motes, invading. At the same time, you can't be sloppy - a single mistake can easily cost your life, a lot of motes and potentially an entire match.
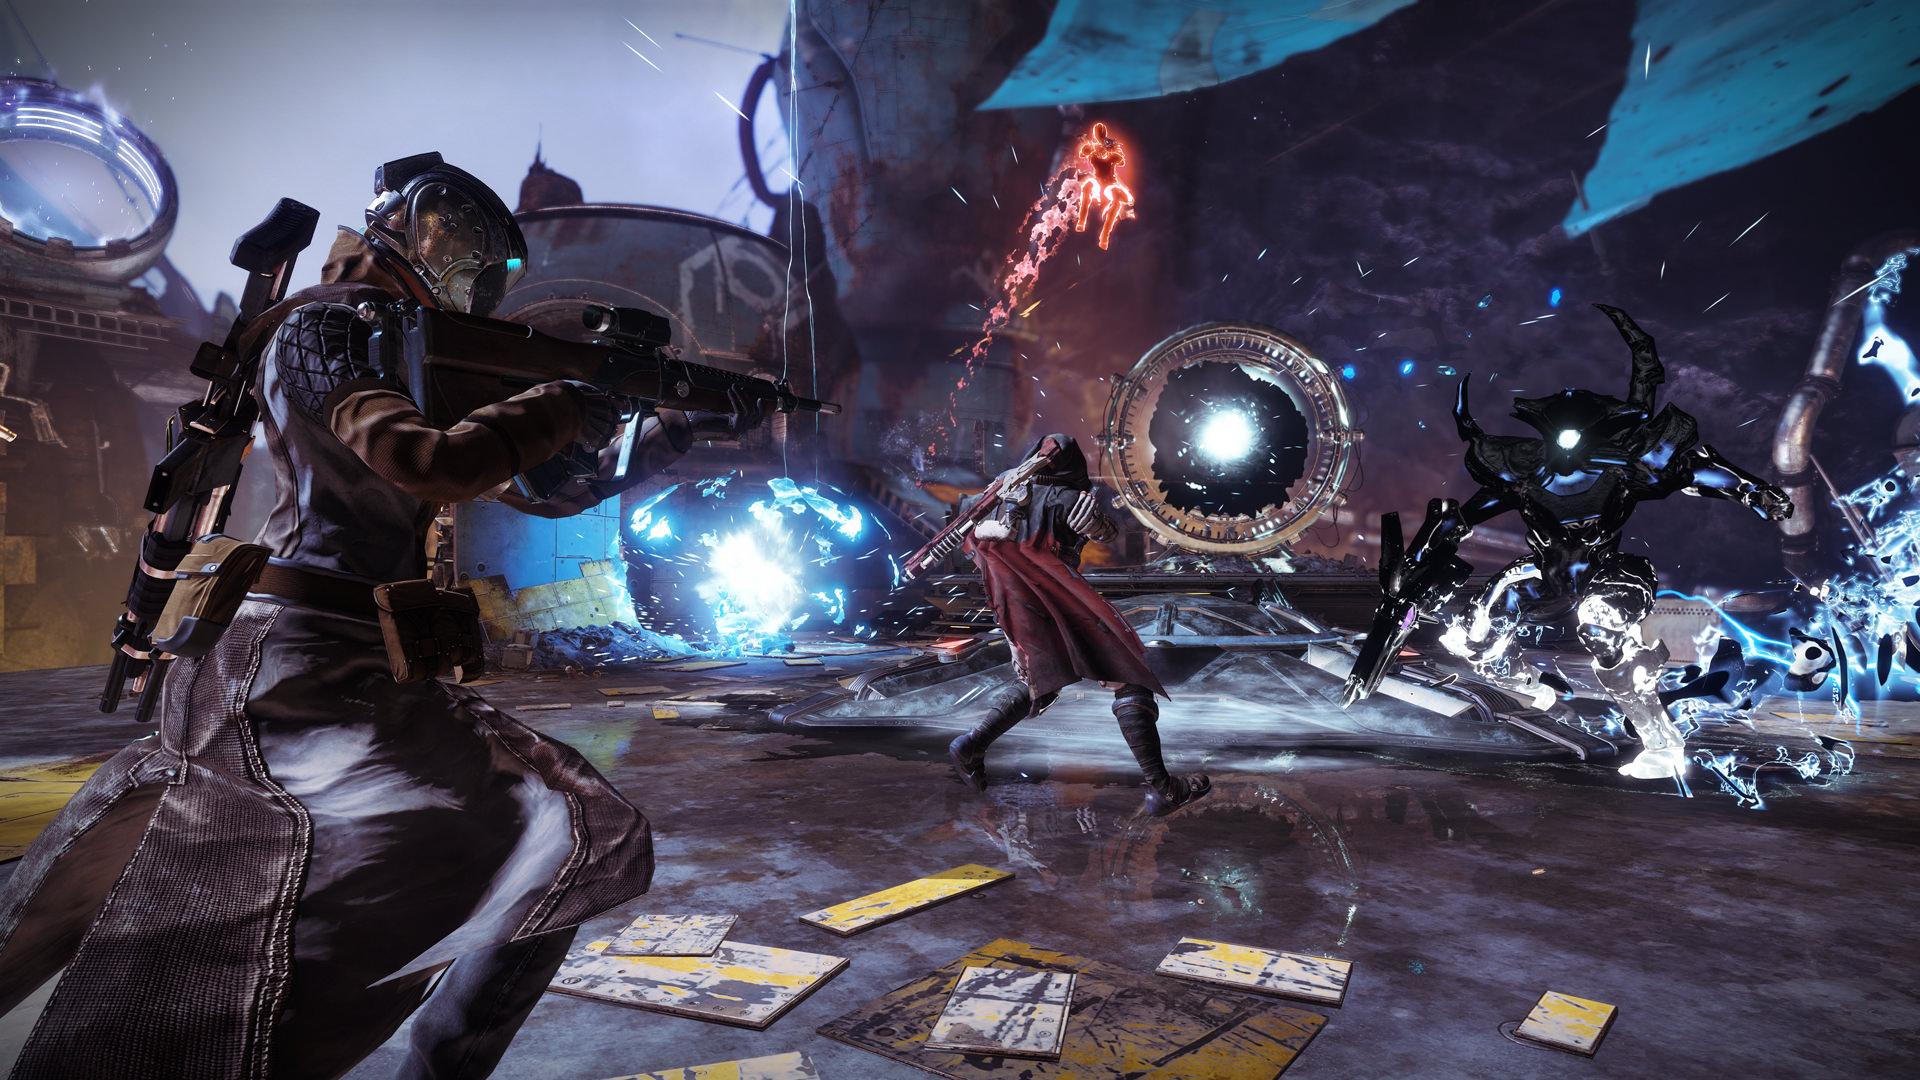
There's also a PvP mechanic called "invading" - a few times per match a portal opens, and one member of your team can travel to the other side. Their job is to hunt the opposing Guardians and kill them, slowing down the other team's progress. But be careful, because opponents can also invade your side. The invading player has an advantage, because he gets an extra blue shield (overshield) and sees names of opposing players (with the amount of Motes they're holding) through the walls, knowing their exact positions. If the team is already damaging their Primeval boss, every kill invader makes heals the boss for 12% of its life total. When an invader dies, they are teleported back to their side, and they drop 3 motes.
During the regular course of the Mote phase (before either team summons a Primeval), each team has up to 3 opportunities to invade. The Invasion Portal opens every 25 motes banked - at 25, 50 and 75. And as you can imagine, it's not something you want to miss. Once one of the teams summons a Primeval, if the other still didn't, the Portal will only open for the team which still hasn't summoned it (so it's behind). During that time, you need to be extra careful - you will be fighting a Primeval, all of the adds AND opposing Guardians will invade you constantly.
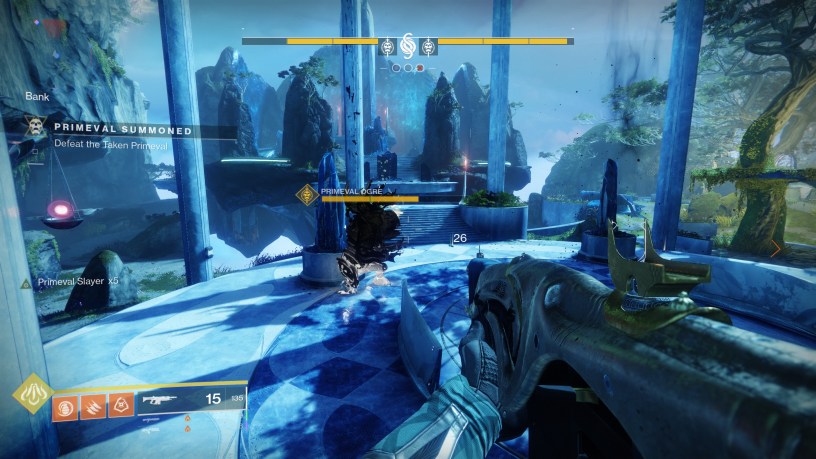
Once both teams summon a Primeval, it comes with a bunch of adds and two Primeval Envoys - powerful Taken Wizards, which give your team "Primeval Slayer" damage buff once they're down. During the Primeval phase, Invasion Portal once again opens for both teams, roughly every 30 seconds (the clock starts after invader is back), so the entire action is very quick. The simplest goal is to focus down the Primeval Envoys, mind the invaders, invade yourself to disrupt the opponent and heal their boss, and finally take down the Primeval boss as quickly as possible (e.g. use your Power Weapon and Super). The team who does it first wins a round. As you can see, the basic rules are quite clear, but in order to excel in Gambit, you will need to involve more complex strategies, which I will try to lay down below.
Gambit PvE Tips
- Your weapons choice is important. If you're playing casually, anything will do - don't sweat it. But if you're more serious about Gambit, get the right weapons. First of all - your Kinetic and Energy weapons should be PvE-focused. You won't likely PvP with those - ideally you will rely on your Power weapon. Pick weapons that will let you melt the enemies quickly, especially from close range. Staying far away and shooting with Pulse or Scout Rifle can be okay if you communicate with your team, but if you're playing solo, you risk motes disappearing. The exact weapon you pick really depends on your style - if you feel alright about Bows or Hand Cannons, go for them. If Auto Rifle is your thing, do it. But since you will use a single weapon to clear enemies most of the time, it's good to have one Primary Ammo weapon and one Special Ammo weapon, like a Shotgun (IKELOS_SG_V1.01 is still a great choice, despite it not being a Forsaken weapon). Alternatively, pick one far distance and one close distance weapon, and switch between them as you need. As for element you will want to go for, it depends on the enemies you face. Look at the color of their shields and pick the right weapon for that - remember that you can change weapons in the middle of the match.
- Same goes for Super choice. In general, Supers will be best used to clear a huge wave of enemies, or burst down the boss, so pick anything that fits the description.
- Don't get too stingy with your Super. If your entire team uses their Supers the moment they load, it will load again by the time you want to use it on Primeval. Of course, don't blow it on 2-3 enemies, but if you see a big wave, you can use your Super to clear it and generate multiple Orbs of Light. If your teammates do the same thing, you will all clear the regular enemies faster and have your Supers ready again for the boss fight.
- If you're the first one to summon a Primeval, focus on the adds first... Every time you summon a Primeval, it comes with two shielded Primeval Envoys (Taken Wizards). Killing those grant your team a stacking Primeval Slayer buff. The more it stacks, the more damage your team deals to the Primeval. It's very inefficient to try to focus down the Primeval first - you will do very little damage, not to mention that Envoys can be deadly if left alive and you will be constantly invaded by the opponent. Try to focus on the Envoys first, and only then damage the main boss.
- ...but if you're the second one and your opponents have already cleared them, then you can try to melt the main boss as quickly as possible. That's something a lot of people don't know. If one team has already killed their Primeval Envoys, the other one doesn't have to. Of course, it's sometimes wise to do it, since they don't have that much health and they're pretty annoying. However, a lot of the time it's just better to focus on the boss and try to melt it quickly. How do you know that opponents have already killed them? Not only will the Drifter announce it ("Primeval is compromised, focus your fire" or something along those lines), but you will see a stacking Primeval Slayer buff. For that reason, ironically, the team who summons Primeval second often has an advantage.
- Glowing enemies are worth a lot of motes - kill them! Glowing enemies is another catch-up mechanic in Gambit. Once your team is behind, glowing enemies that drop a lot of extra motes will start spawning. They aren't hard to kill, but they're worth a lot.
- Hunt down the High Value Target. Once Drifter announces that there's a High Value Target on the field, it's worth dedicating at least a single person to hunt it down. It drops A LOT of motes. If you're the one looking for it, let other people know where you found him. If you have the right loadout, you can solo it, but it's usually quicker to team up on it.
- Don't let the motes disappear. When you kill an enemy, it drops a mote on the ground. However, the motes don't stay there forever - someone needs to pick them up, or else they disappear. That's one of the reasons why at least 1 or 2 people should be close to the enemies, right in the middle of the action - so they can pick up motes. Shooting enemies from afar when there's no one there to collect motes is a huge waste of time.
- Don't get too greedy. While Taken Ogres are the scariest blockers, getting to 15 motes can be very risky. A common mistake is ending up with 12 motes or something, and instead of banking them, going to the next spawn location to get the last 3. It's an okay thing to do if opponent just invaded and they are still far away from another Portal, but if they might invade any time, it's generally not worth the risk. Very often you will get the last 3 motes, but by the time you can bank them, opposing Guardians can start spawning blockers, then someone invades, then you die and lose everything. Not worth it.
- Don't "steal" motes from your teammates if they need them more. This is especially common when queuing alone. The reason why you see how many motes each of your teammates has is because you need to help each other. If you see someone at 11 motes, trying desperately to run and find the last few, let them. It's safer for them to do it now and bank then to run around and potentially die to an invader. Similarly, if someone is one mote away from a certain threshold (5, 10, 15) - help them get it if you don't need it that much (e.g. you're still far away from anything meaningful - e.g. at 2, or you're right after a certain threshold, e.g. 6).
- Clear the blockers as soon as you can. Clearing blockers should be a team job. Most of the time it's more important than clearing regular enemies. Even if you aren't trying to bank, even if you're holding 0 motes, you should still help with the blockers. A single Phalanx is easy to kill, but if opponents drop a Knight and an Ogre on top of them, it will get way more difficult. Keeping your bank clear means that whenever someone collects a high amount of motes, they can immediately bank them, without worrying about clearing the blockers first.
- Revive is a thing. Do it. Once someone dies, it takes them 10 seconds to revive and then another 15-20 seconds to run back to where they were before. If you see someone dying nearby, just drop what you're doing and revive them (as long as you don't risk dying yourself). It takes a few seconds of your time, but puts your entire team ahead.
Gambit PvP Tips
- Coordination & communication are key. Of course, if you're playing solo, it's easier said than done, but when it comes to PvP aspect, communication wins or loses the games. If you're playing as a team, don't play as 4 individuals, but rather say what you intend to do, and most importantly, let your teammates know once you see the invader. If you're solo - you can even type that. Each of the locations on each map has its name - e.g. if you say (or type) "Invader at the drill"
- Let a single player focus on invading. It's much more efficient that way. Not only can they take the right equipment for the job, they are most likely experienced in PvP if they're willing to take that role, but instead of having multiple people running to the portal every time it opens (losing time), one person can do it much more efficiently.
- Pick the right moment to invade / coordinate invades with blockers. One of the most common PvP mistakes is taking the portal as soon as it spawns, not looking whether invading makes sense or not. For example, invading right after everyone on the opposing team has banked their motes, or right after they have summoned a Primeval doesn't really accomplish much. Of course, it always does something, but in order to win, you want to be as effective as possible. Most importantly - invade when opponents are holding a lot of motes. You see the amount of motes the opponent has on the progress bar at the top - the red bar (and the number) shows the amount of motes they've already banked, while the grey bar shows the motes they're holding. When you see that they're holding a lot of motes, you want to coordinate two things - send blockers to the other side (so they can't bank) and invade (so you can hunt down the ones with lots of motes). This way they can't bank before you come, and then you have entire 30 seconds to find the players holding motes. You will probably catch them in the middle of trying to deal with the blockers, so they might not even have enough time to hide. Once the opponent summons a Primeval, wait a moment too. You want to let them clear the Primeval Envoys - after all, the buff will carry over to your side too, and they will probably waste Grenades, Heavy Ammo and such trying to clear them as quickly as they can. Invade after you see that they started damaging their Primeval - not only they might be damaged from fighting against it, but every kill you make (you don't even have to land the final blow - all you need to do is deal some damage, and minions can do the rest) heals the Primeval for 12% of its maximum health.
- When you're invading, prepare a Power Weapon. Invading is incredibly important, and you want to bring down as many opponents as you can. Even if they aren't carrying any motes, killing someone means that he will be grounded for like 30 seconds (revive time + the time it takes for him to come back). That's why Invaders usually jump to the other side with Power Weapon equipped. The most meta Power Weapon right now is Sleeper Simulant (check out our Sleeper Simulant Guide), because it one-shots anyone, it's hit-scan (the beam hits instantly without a travel time) and it has basically infinite range. It's a good choice, but not the only choice. In general, most long-range weapons work perfectly. Unlike the regular Crucible PvP, you have a massive advantage of knowing where your opponents are. It means that you don't need to come close to them and risk dying - you can just find a higher ground and try to shoot them from distance. For that reason, Sniper Rifles work amazingly well. However, if you want to get more up close and personal, something like Grenade Launcher or Rocket Launcher can also be good, especially if you are splitting your attention between PvE and PvP - they can still one shot opponents (although you usually need to get closer), and they can be used to clear huge waves of enemies in PvE. Shotguns and Swords are generally the least effective weapons, because you need to get really close to make them work. If opponents are staying together, they will shoot you before you close the distance. It's not like Crucible, where you're fighting in tight corridors and closed spaces most of the time.
- Be sneaky when invading. Simple as that. The longer it will take for your opponent to notice you, the more deadly you can be. You have a massive advantage of knowing where each of your opponent is, don't blow that advantage by just showing up. Jumping onto the middle section (the one with opponent's bank) is usually the worst thing you can do, because you will be visible and vulnerable from every side. Either try to hide somewhere and snipe opponents from a massive distance, or if they're hiding, sneak past walls/rocks/etc. and strike out of the blue.
- When you invade, using Super is fine, but only if it will give you a massive advantage. You're chasing someone who holds 15 motes, you're out of Heavy Ammo and you're running out of time? Popping that Super if you're sure that it will get them is correct. You run into 3 enemies who are close to each other and would kill you? Pop that Super and kill all of them! However, don't pop super just to get a random kill that won't be very meaningful. It's better to save it for the Primeval or even another invasion.
- As an invader, try to stay on the other side as long as you can. Once you invade, there are three ways for you to go back to your side - dying, running out of time or killing 4 opponents. Of course, killing 4 opponents is the best scenario, but it's not that easy. However, try your best to not die before the timer runs out. That's because invading is not only about getting kills - it's also about forcing the opposing team to play defensively. They won't be able to focus on their regular tasks as long as you're on the battlefield. That's why it's better to just run around and scare them for 30 seconds than to go in and trade 1 for 1. They will just revive the one dead guy and get back to work. However, if you scare them for the whole 30 seconds, they will be hiding somewhere, often doing nothing at all. So if you can't reliably kill them (e.g. they've teamed up near their spawn), at least shoot them from time to time so they won't come out of hiding.
- When you're being invaded and you're holding a lot of motes - bank or hide! Remember that the opposing invader will be prepared, most likely with Heavy Ammo and maybe even a Super. If you're at 10+ motes, it's not worth it to fight them, because you have too much to lose. The best course of action would be banking as quickly as you can, but it's not always possible. If you're far away from the bank, or the bank is blocked, you simply can't do that. Second best course of action is running away and hiding, while the rest of your team (those without lots of motes, that is) try to find them and kill them. There's no shame in hiding, and I've saved 15 motes multiple times by staying behind a rock or something. A lot of inexperienced invaders might be staying away while trying to snipe someone with a Sleeper Simulant - don't give them that sort of opportunity. Keep in mind, however, that your base (spawn location) might not be the best hiding place - invaders will often look there for targets.
- When you're being invaded and you aren't holding many motes - fight! Plain and simple. There's zero reason to hide if you're low on motes (you have 5 or less) - losing them is not that big of a deal anyway. You aren't contributing anything by hiding, so it's better to look for the invader. If you're in a voice chat, coordinate with other Guardians who aren't holding motes and try to find and kill the invader. If you have a Heavy Ammo, then it's great, because just like the invader can one shot you with a Sleeper or a Sniper Rifle, you can do the same thing to them.
- It's better to blow a Super than to die when you're carrying a lot of motes. Simple - if you're holding many motes (10+, but especially 15), hiding behind some rock, and suddenly you see an invader jumping at you, you can pop that Super to kill them if that is going to save you. Not only will you not lose the motes, you will get 3 extra ones from the invader, and you might also save the lives of your other teammates. At the same time, DO NOT blow your Super if you hold only a few motes, or no motes at all, unless you can save someone else that way. If you do it only to save your own skin, that's an overall win for the invader, because you might now not have a super for the Primeval.
- Invader always spawns away from the currently active area. On each map, you have three "areas" in which PvE enemies can spawn. Invaders can NEVER spawn in the Arena that is currently active, it will always spawn in one of the other two (so, usually, far away from opposing Guardians). Use that knowledge to your advantage. When you're invading, you will have a few seconds to prepare - look where your opponents are, try to plan your route to the person with the most motes, possibly single someone out. On the other hand, if you're being invaded, you can make an educated guess as to where your opponent will spawn. If you're all on one side of the map, the chances are that the invader is on the exact opposite. You have some time to hide or, if you want to fight, you know where they might come from.
- There's a Heavy Ammo you can pick up near your bank. It's on a 60 second cooldown and only a single player can pick it up. Don't let it get wasted - keep track of how long it will take for it to respawn, and try to pick it up every time you can. Heavy Ammo is incredibly valuable, especially in PvP. Pick it up before going to the other side.
- Remember that a PvP Level Advantage is enabled in Gambit. That's why it might not be the best idea to take your low level equipment. While it won't matter when you fight against enemies, you will deal much less damage to the opposing Guardians, as well as take much less damage. It's especially important if you're the one invading - Sleeper Simulant will still one shot everything, but if you have to get closer and finish your opponent with a regular weapon, having a big Power Level disadvantage can make a big difference.
Ranks, Rank Reset & Bounties
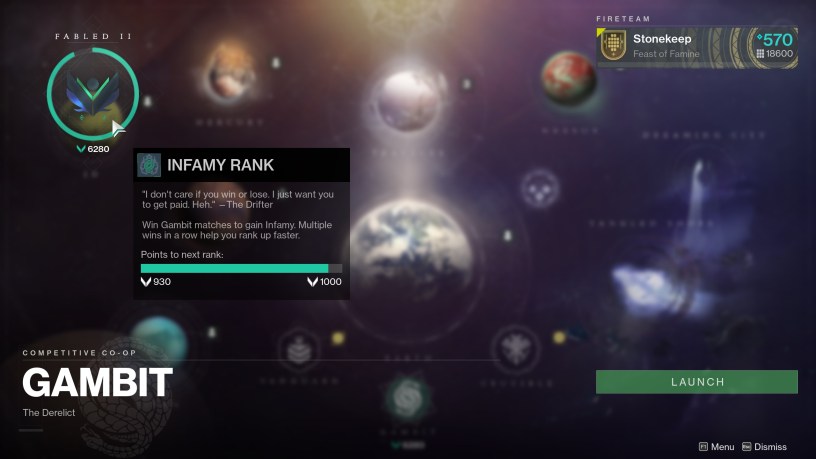
Gambit ranks work similarly to Crucible ranks, with one exception - each rank (besides the highest one - Legendary) is split into three Tiers. Gambit ranks look as follows:
- Guardian - I, II and III
- Brave - I, II and III
- Heroic - I, II and III
- Fabled - I, II and III
- Mythic - I, II and III
- Legendary
Advancing to a higher Tier (e.g. from Fabled I to Fabled II) gives you a Legendary Gear. Ranking up (e.g. from Guardian III to Brave I), however, gives you a Powerful Gear.
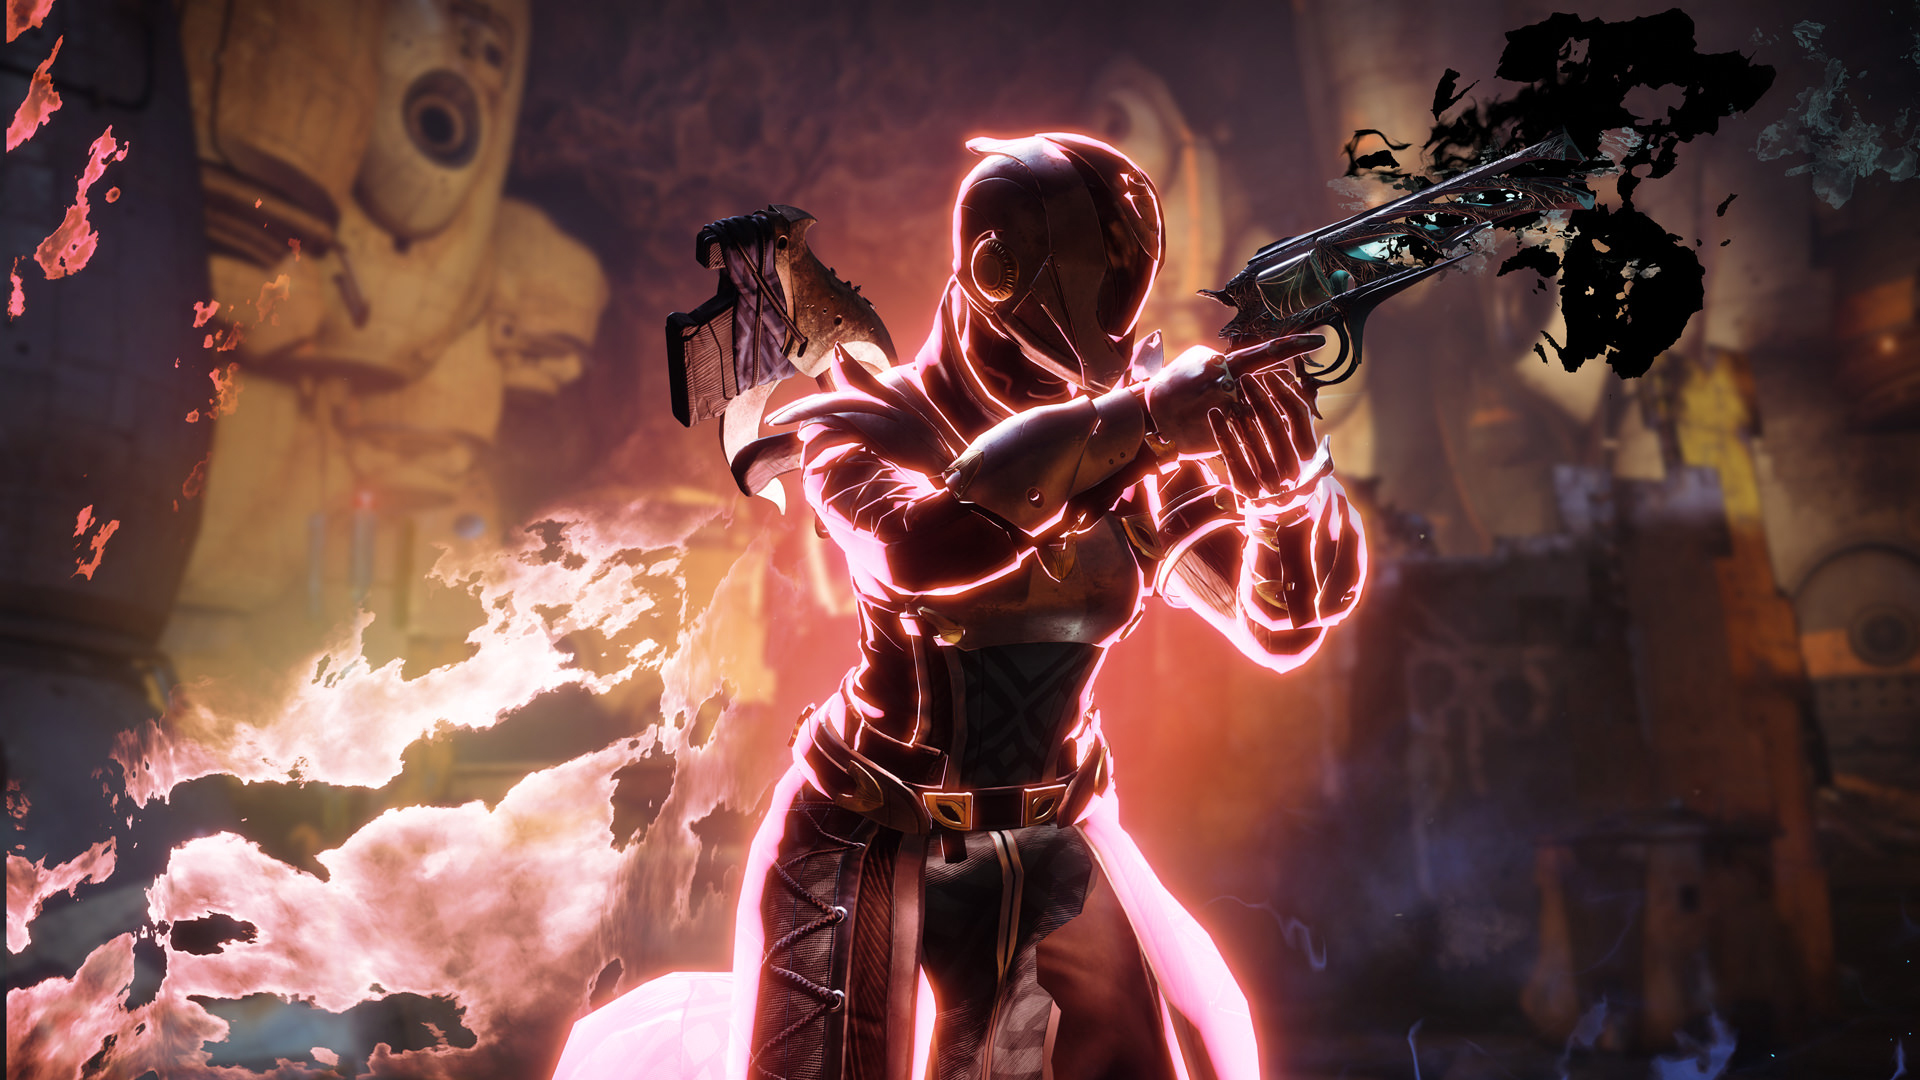
Players get Infamy points for finishing Gambit matches - both winning and losing. Winning, obviously, gives you more points, as well as stacks a winning streak (up to 5 wins). The higher streak you have, the more Infamy Points you will get for each win. However, the real grind starts once you're in the middle of Legendary rank. At that point, loses start awarding you Infamy points - you need to grind wins in order to get there. Once you hit 15,000 Points on Legend rank, you're allowed to reset your ranks. You go back to Guardian I, but you unlock a special reward package you can get from The Drifter - the first one gives you a Trust Hand Cannon, while the second one (if you go through the whole grind and reset again) gives you a Bad Omens Rocket Launcher. Both items are Masterworked to Tier 10 and have curated rolls.
Besides winning or losing Gambit matches, another way to grind the Infamy points are bounties. You can pick up Gambit Bounties from The Drifter (he's in the Bazaar section in the Tower). There are three kinds of bounties you can get - Daily, Hard Daily and Weekly. Daily bounties are easy to complete (things like "Bank 50 motes", or "Summon 2 Primevals") - they generally shouldn't take more than 1 or 2 games to get done - they give you a small amount of Infamy Points (+15). The Hard Daily bounty is, like the name suggests, harder to finish. They include killing powerful (orange/yellow health bar) enemies with specific element, banking 65 motes in a single match etc. They give you a medium amount of Infamy Points (+25), as well as a Legendary Gear. The weekly bounty is not really difficult, but time-consuming - you will likely have to play a lot of matches to complete it, but you will get it in time. It gives you a lot of Infamy Points (+75) as well as a Powerful Gear, so it's worth doing.
Malfeasance Quest
As an extra note, the Malfeasance Exotic Hand Cannon Quest starts right here in Gambit. A new Primeval boss has a chance to spawn, killing it drops an item that starts the entire Quest chain.
There's nothing you can really do to get the boss other than grinding Gambit. Just remember that even if you get it to spawn, you still need to kill it, if you lose the round, you won't get the Quest.
If you want to learn more, check out our Malfeasance Quest guide!