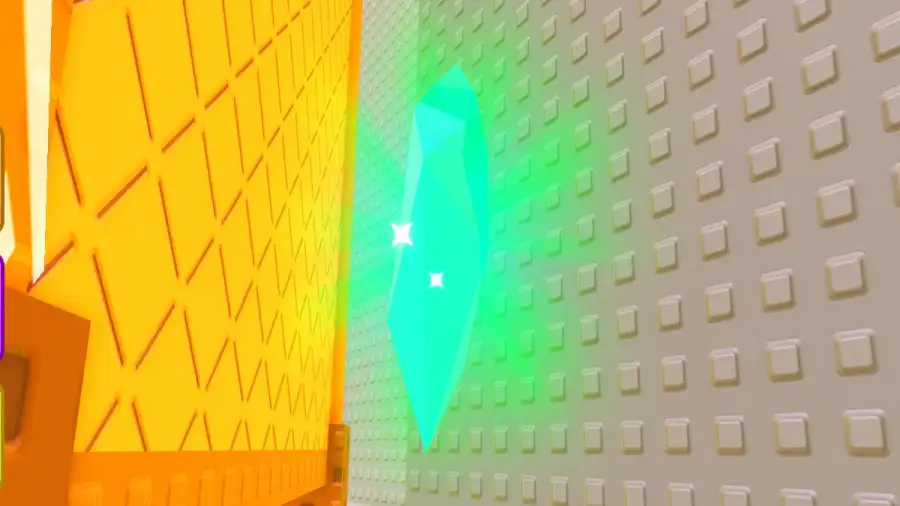
There are 9 Sunken Shards in +1 Speed Monkey Escape located in various parts of the map, starting from the main lobby all the way to Stage 9. Collecting the Sunken Shards provides players with a free x2 Speed Treadmill used for training.
In +1 Speed Monkey, players can earn an x2 Speed Treadmill for absolutely free simply by collecting the nine Sunken Shards present around the map. While the initial few Sunken Shards are easy to collect, others are carefully hidden by the developers. So, if you are having a challenging time finding all nine Sunken Shards, here is a location guide to help you out.
Where are all the Sunken Shards located in +1 Speed Monkey Escape?
Below, you can find all the Sunken Shards locations in +1 Speed Monkey & the fastest way to reach them.
Sunken Shard Location 1
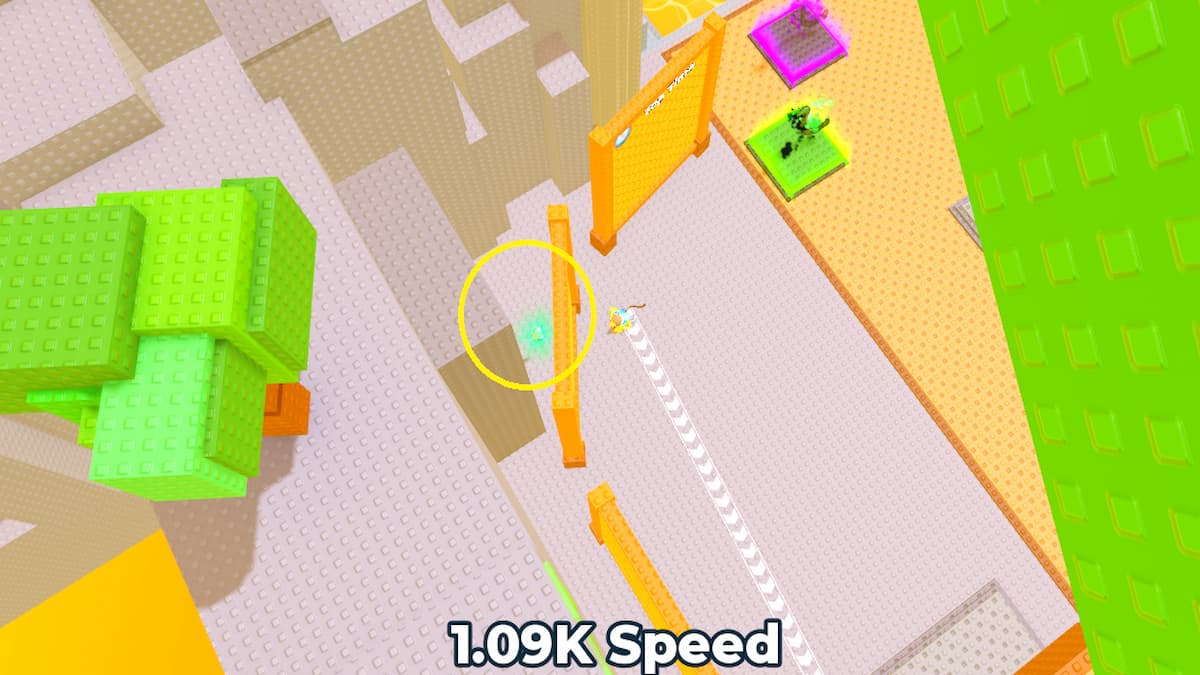
Look behind the Top Robux Leaderboard on the left side of the main lobby to find a Sunken Shard. This is towards your left side after spawning inside the game.
Sunken Shard Location 2
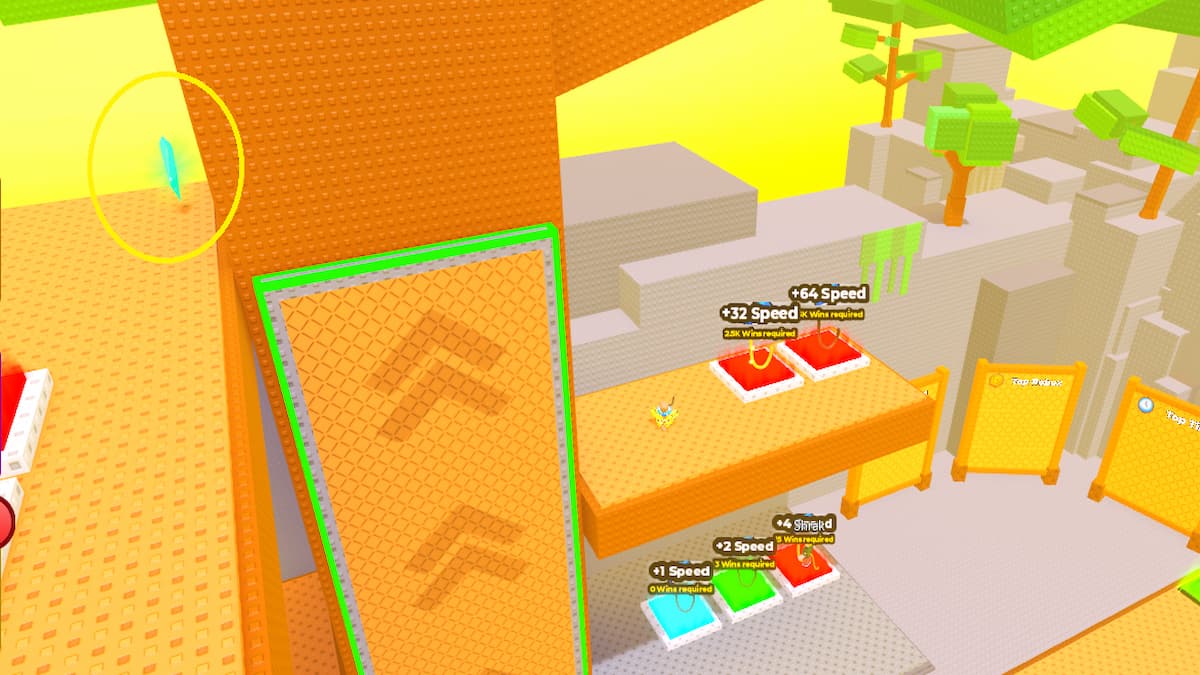
In the main lobby, if you look towards your left side, you can find a large vertical directional jump booster. Increase your speed and use the booster to reach a ledge on the left to find a Sunken Shard in a corner.
Sunken Shard Location 3
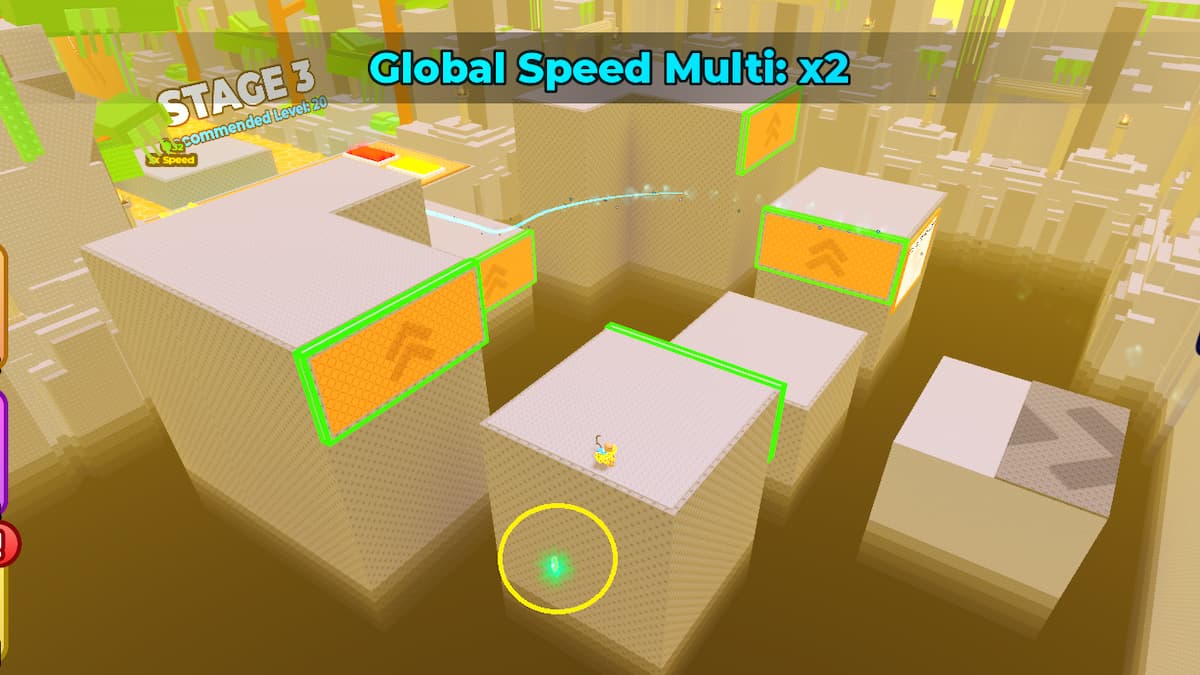
For this one, go towards the center of Stage 2 and then look towards a small pillar on the left side to find a Sunken Shard at the bottom. Dive down and collect the Shard as you fall to your death.
Sunken Shard Location 4
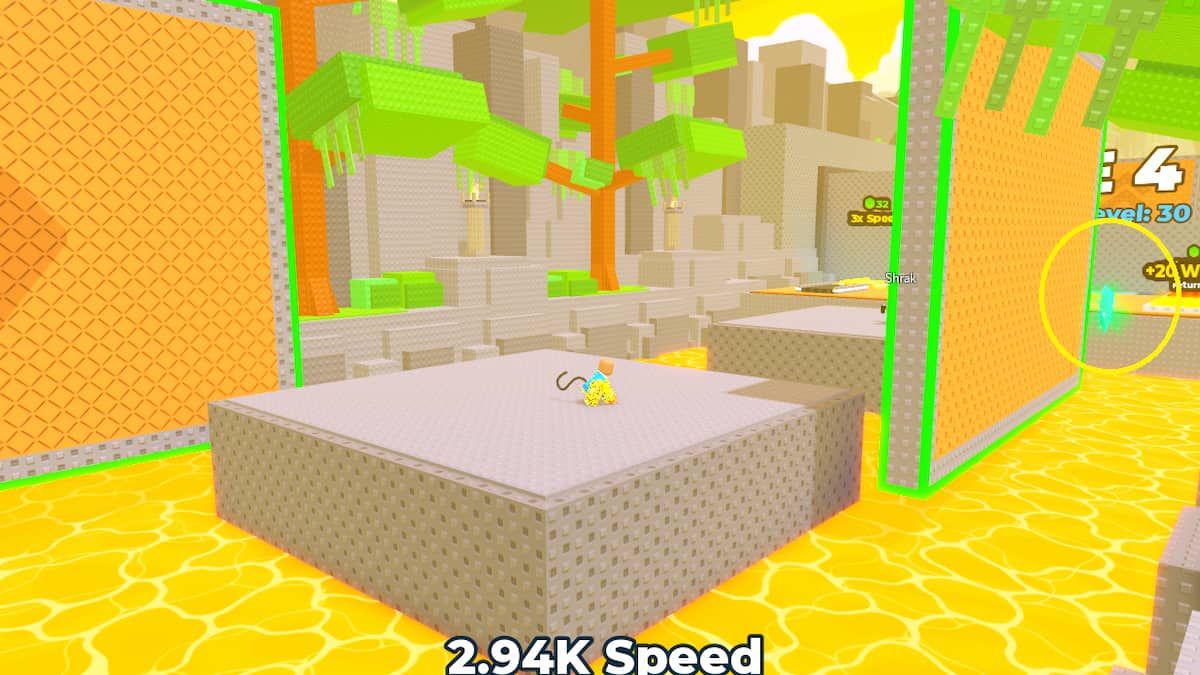
At the end of Stage 3, you can find a Sunken Shard hidden behind a large wooden block on the right side. Remember, you need a lot of speed to climb over the right booster to reach the other side and fall to collect the Sunken Shard.
Sunken Shard Location 5
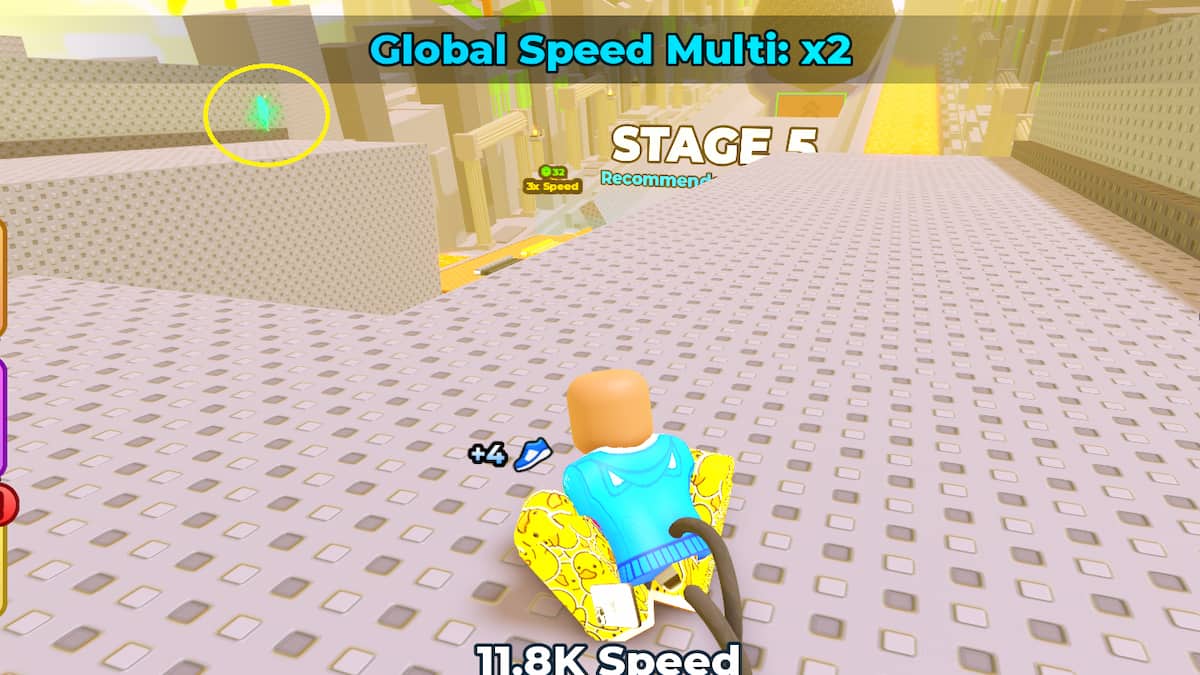
For this one, jump on the top side of Stage 4 using the vertical boosters at the start. Now, go towards the left side to find a Sunken Shard at the end before the starting area of Stage 5.
Sunken Shard Location 6
The next one is at Stage 6. Reach Stage 6 and jump forward to the first center platform. Immediately, make another jump to reach the second central platform. Go to the edge of this second central platform to find a Sunken Shard at the bottom.
Sunken Shard Location 7 & 8
Both the 7th & 8th Sunken Shards are located at Stage 7. For the first one, go towards the three green platforms at the end of the Stage. Check the central platform to find a Sunken Shard. Right next to the central platform, you can find the last platform with a small ledge to the side holding the other Sunken Shard.
Sunken Shard Location 9
The final Sunken Shard is located at Stage 9. After reaching the level, jump to the third central platform while avoiding the Tsunami waves rushing towards you. At the third central platform, you can find the Sunken Shard on the right-side corner.
For more on Roblox, check out Roblox Throw A Coin Beginner’s Guide or How to get Mastery Aiku in Azure Latch – Roblox