
In 100 Days at Sea, your first priorities are a Sawmill for unlimited Wood and a Crab Trap for steady food, both are craftable early and remove two of the biggest survival pressures from the start. Get your Bonfire to Level 3 before anything else, then build the Map Radar so you can locate islands and survivors without wandering. The Angler Fish is the biggest threat, keep your Bonfire lit at night or it will chase you until you're dead. For more Beginner Tips, check out our guide below.
100 Days at Sea throws you onto a raft in the middle of the ocean with a harpoon, a fishing rod, and a growing list of problems. It get progressively harder as the days tick up, adding stronger enemies and raid nights that can wipe out an underprepared base. Getting your build order right in the first few days is essential. So, this 100 Days at Sea Beginner's guide covers everything you need to know when setting sail.
How Do You Farm Resources in 100 Days at Sea?
The two resources that drive every craft in the game are Wood and Metal. Everything else is secondary until you have a reliable source of both.
How to Farm Wood?
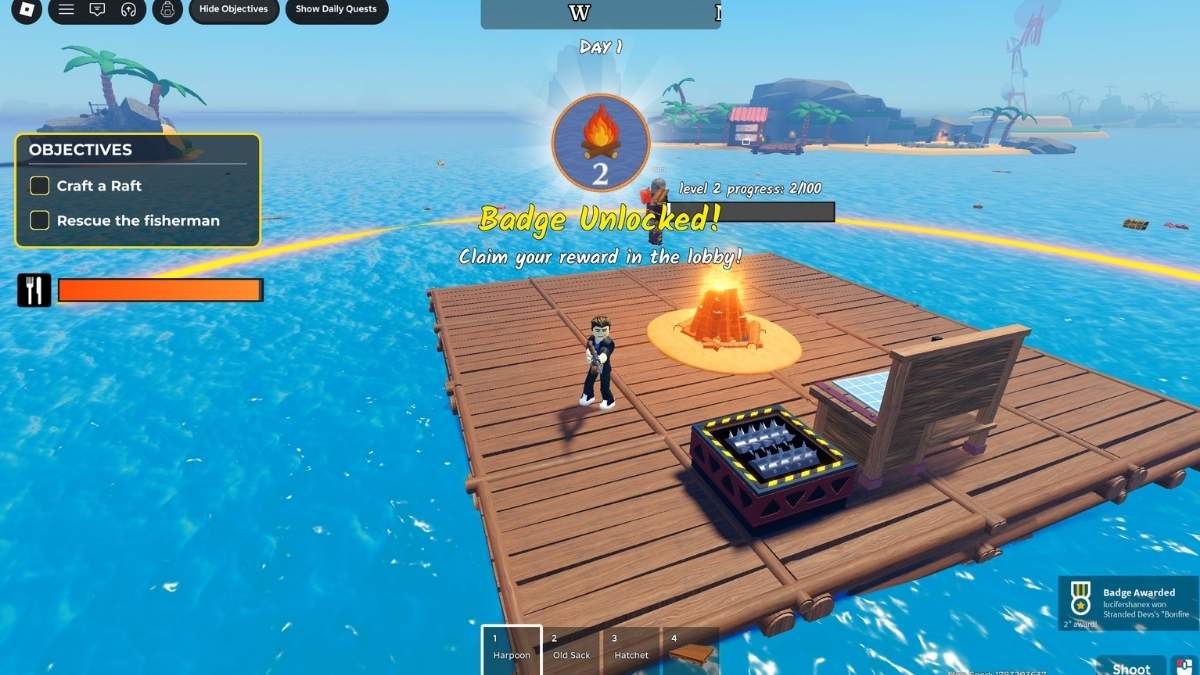
Start by using your harpoon to fish wooden planks and furniture out of the sea. You can deposit them directly into the crafting machine to use for building or into the Bonfire to level it up. The immediate goal is reaching Bonfire Level 3, which unlocks the Sawmill.
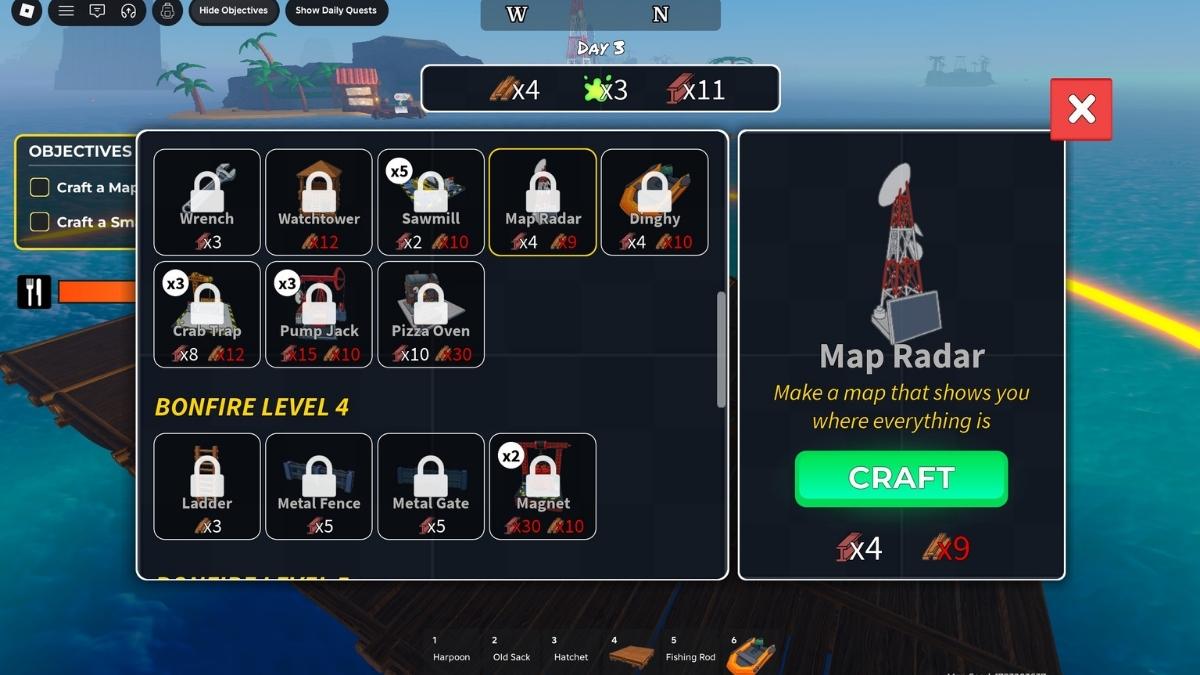
The Sawmill is your endgame Wood solution. Place it on the raft and it becomes an infinite supply. Each use takes a few seconds and produces 3 wooden planks. Get at least two on your raft, more if you're playing with others. It costs 10x Wood and 2x Metal to craft.
How to Farm Metal?
Metal is harder to come by early on. Your options are fishing it out of the sea with the harpoon or collecting it from islands and bringing it back in your sack. Once you reach Bonfire Level 4, the Magnet becomes available. Like the Sawmill, it's an infinite passive source of Metal placed on the raft. Slower than the Sawmill but it never runs out. It costs 30x Metal and 10x Wood to build.
How to Farm Green Gum?
The only other resource worth knowing about early is a green gum-like substance used in certain crafts. You get it by placing Ghost Pirate corpses into the crafting machine, so make a habit of collecting their bodies after killing them rather than leaving them on the ground.
How Do You Get Food in 100 Days at Sea?
Starvation kills your health regeneration and eventually kills you outright, so establishing a food supply early is just as important as farming Wood. There are three main methods:
- Fishing: You start with a fishing rod. Throw the chip into the sea and click when prompted. It is simple enough to keep you fed through the first few days without crafting anything. It scales poorly later but costs nothing to use.
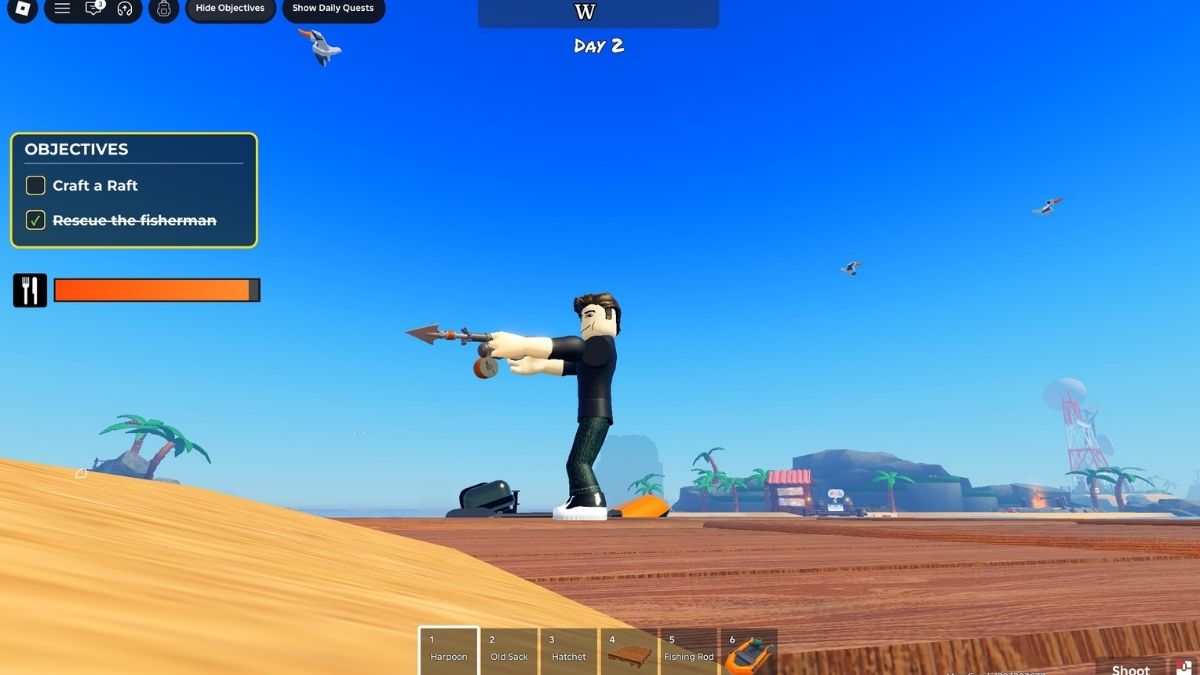
- Harpoon: Your harpoon pulls double duty for food. Potatoes float by periodically and can be scooped up from the water. More valuably, birds fly above the raft during the day. Hitting one with the harpoon drops Cooked Bird, which restores a large portion of your satiety bar in a single use.
- Buildings: Once you're ready to build, the Crab Trap is the best food building to get. It drops a mix of fish and food items on a short CD with no active effort required, making it the closest thing to a passive food supply. The Pizza Oven is another option for the same role.
TIP: Always keep spare food items in your inventory. The Fisherman NPC on the nearby Fisherman Island trades food for high-tier loot like buildings, weapons, and other valuable items.
What Should You Build First in 100 Days at Sea?
Buildings are the backbone of a long run. So, you should know which ones to craft early on. Here's the order worth following when starting out:
- Sawmill: The Sawmill solves your Wood problem permanently. Get two of them on the raft as early as your Bonfire Level and Metal supply allow, and add more if you're playing co-op.
- Crab Trap: After Wood is stable, sprint toward one or two Crab Traps. It is a passive food supply that removes one of the biggest early-game stressors and lets you focus on other things.
- Map Radar: A Non-negotiable. The Map Radar unlocks the full map and lets you mark islands and points of interest without sailing blindly in every direction. Get this early.
- Auto Turret: A higher-tier building, but the Travelling Merchant sells it for 150 Doubloons early on. If you're playing solo, this is one of the best investments you can make. It handles base defense automatically during night raids.
- Magnet: Takes until Bonfire Level 4 to unlock, but Metal shortages become a real problem as crafting increases. Get the Magnet as soon as the level requirement is met.
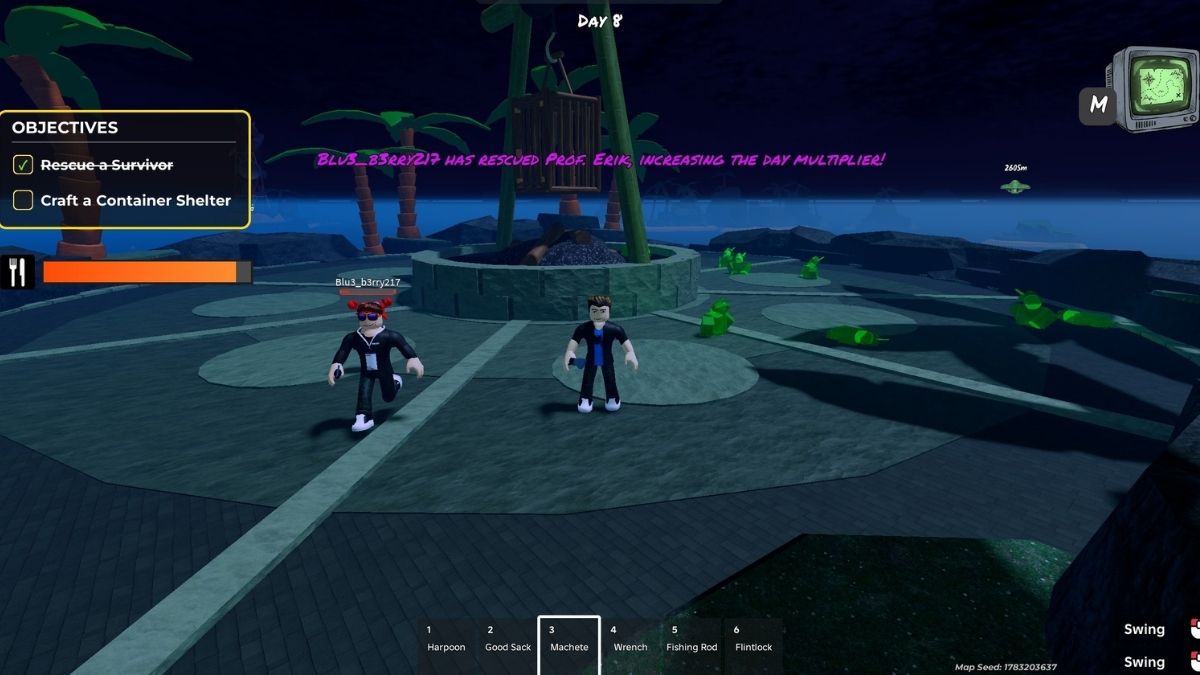
- Radio: The Radio shows Survivor locations directly onto your map. Since Survivors function like passive teammates once rescued, knowing where they are early has great value throughout the run.
Which Islands Should You Explore in 100 Days at Sea?
Several islands appear near the raft at the start. Some are safe and worth visiting immediately, others will get you killed without high-tier gear. Here's the ones which you should check out first:
- Fisherman Island: Go here first. It's the nearest island, and you will almost always find two chests, one of which typically contains a Dinghy that makes the rest of your map exploration much faster. The Fisherman NPC here also takes food in exchange for high-tier loot.
- Survivor Islands: These are tough. There are waves of Ghost Pirates before you can rescue anyone. Don't attempt them without proper preparation and decent weapons, but getting the Survivors out is worth the effort.
- Alien Island: The alien invasion lands around Night 6-7 and is relatively easy to repel once you're ready for it. After clearing it, use the Transponder item to get the Alien Island's location, which contains high-tier loot.
- Mini Islands: Always check these while sailing. These are small islands scattered across the map usually hold one or two chests plus loose loot on the ground. Easy pickings with no risk.
NOTE: If you're playing solo, avoid the Tower Island and Fortress islands (the ones with keys). They're heavily guarded and will likely kill you without of high-tier equipment. Save those for later runs or co-op.
What Mobs Appear in 100 Days at Sea and How Do You Deal with Them?
Mobs appear from time to time in 100 Days at Sea, and knowing how to deal with them is a must. There are four regular mob types plus one event-exclusive one, here's what you need to know:
- Angler Fish: The biggest threat in the game. This enormous fish only appears at night when you're off your raft or if your Bonfire goes out. Once it's on you, it keeps chasing until you're dead. Counter it by keeping your Bonfire lit and staying near it at night, or use a Flare Gun to temporarily distract and redirect it away from you.
- Sharks: Sharks patrol around islands and attack when you get close. They deal real damage fast. The best response is to get out of their range immediately rather than trying to fight them in the water.
- Tribal Mobs: Appears on certain islands and during raid nights. Standard enemies. Use melee or ranged weapons to handle them without much trouble.
- Ghost Pirates: They come in two types: Melee and Gunner (ranged). Both go down to melee or ranged weapons. More importantly, collect their bodies afterward and put them in the crafting machine.
- Aliens (Event Exclusive): Small enemies that appear during the Alien Invasion event around Night 6-7. A few hits from any melee weapon is enough to take them down.
What Are the Best Classes in 100 Days at Sea?

Classes are purchased in the lobby using Pearls and significantly shape how your run plays out. They operate on a star rating system from one to six, with five and six-star classes being the most impactful. Here's which ones you should get:
| Class | Stars | Cost | Why It's Worth Buying |
|---|---|---|---|
| Alien Overlord | 6 ★ | 750 Pearls | Starts with the Raygun and a UFO spaceship. At max level the ship gets faster and the weapon gets a 50% cooldown reduction |
| Raider | 6 ★ | 750 Pearls | Starts with Dual Pistols and extra speed. Ammo generates from kills and magazine size grows every 5 kills. The strongest offensive class in the game |
| Ancient Squid | 6 ★ | 750 Pearls | Starts with the Squid Laser Gun, one of the best weapons available. At max level gains +15% Sprint Speed, +10% HP, +20% Laser DMG, and the weapon stops overheating |
| Treasure Hunter | 5 ★ | 500 Pearls | Starts with up to 6 extra sack slots, 150 Doubloons, and a permanent +25% Doubloon bonus. The early-game resource advantage snowballs heavily through the late game |
NOTE: For a more detailed breakdown, check out our complete 100 Days at Sea Class Tier List!
How Do You Get Pearls in 100 Days at Sea?
Pearls are the premium currency used to purchase classes from the lobby. They're entirely earnable for free through in-game activities:
- Achievements and Badges: Completing in-game milestones rewards Pearls.
- Daily Quests: Consistent daily play generates a steady Pearls income over time.
- Active codes: Redeeming game codes is one of the fastest ways to get Pearls early.
- Crafting: Unlocks at max Bonfire level and generates Pearls, but it's the slowest and most resource-intensive method.
TIP: If you don't know the codes, check out our guide to find the latest codes!
How Do You Get Companions in 100 Days at Sea?
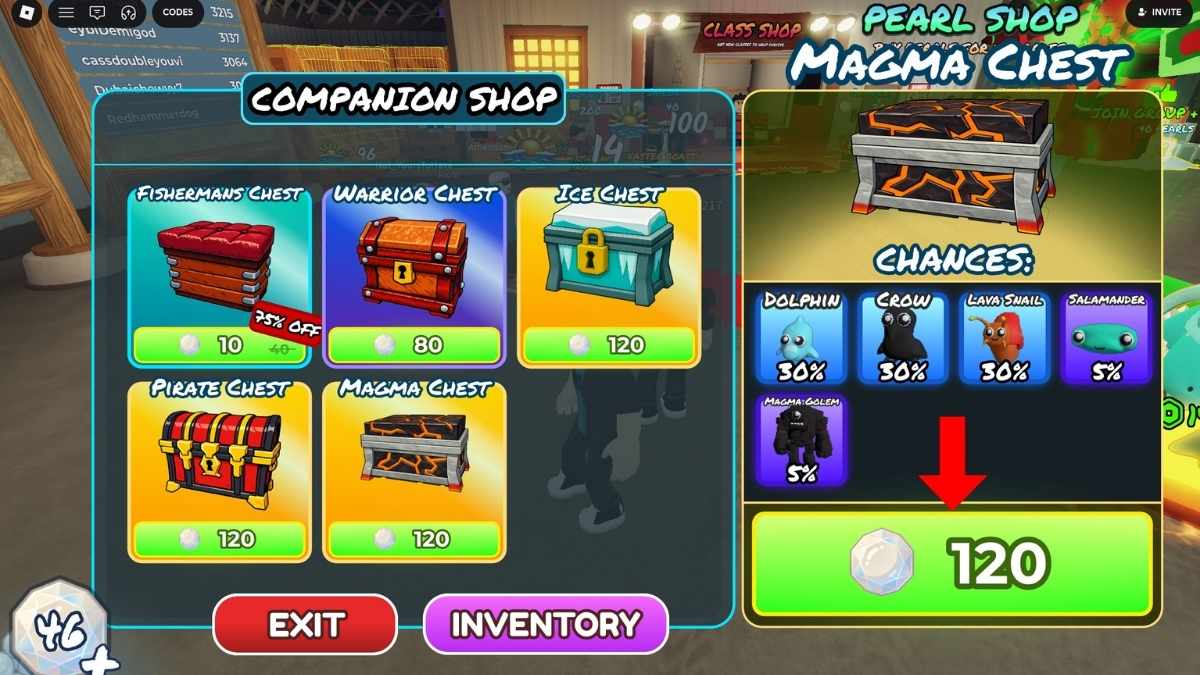
Companions act like passive pets that provide ongoing perks during your run. Purchase them from the Companion Shop by buying chests, each of which has a drop chance for a companion based on the chest's rarity tier. Higher-rarity chests give better odds at stronger companions.
What Are the Best Companions in 100 Days at Sea?
Not every companion provides equal value. These four are the ones worth prioritizing:
| Companion | Bonus |
|---|---|
| Salamander | Automatically grabs nearby loot so you don't have to collect it |
| Penguin | Spawns a Bandage every 220 seconds. Useful for getting healing items. |
| Crow / Seagull | Drops food every 120 seconds. Removes your food search problem. |
| Swordfish / Magma Golem | Increases melee damage by +10%. Decent Damage boost. |
For more on 100 Days at Sea, check out 100 Days at Sea Class Tier List or 100 Days At Sea Codes on Pro Game Guides!