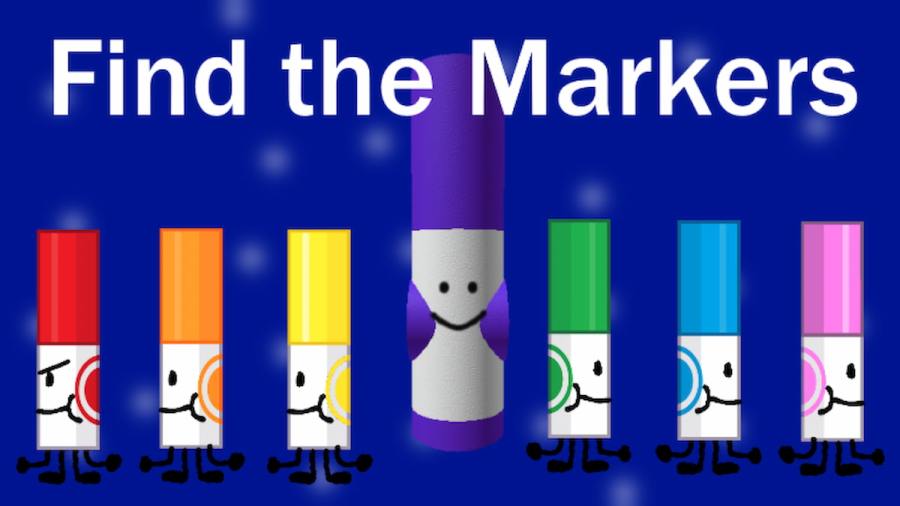
While Find the Markers may seem like just another scavenger-hunt-style experience, it actually offers quite an intricate map, with more than a handful of challenging secrets to find. Inside the Difficulty Dimension, there are five markers for players to discover, including the one we'll cover in this brief guide, Danger Marker.
Finding the Difficulty Chart Marker in Find the Markers
Once you've spawned into Find the Markers, head toward the forest area of the map and approach its large mountain.
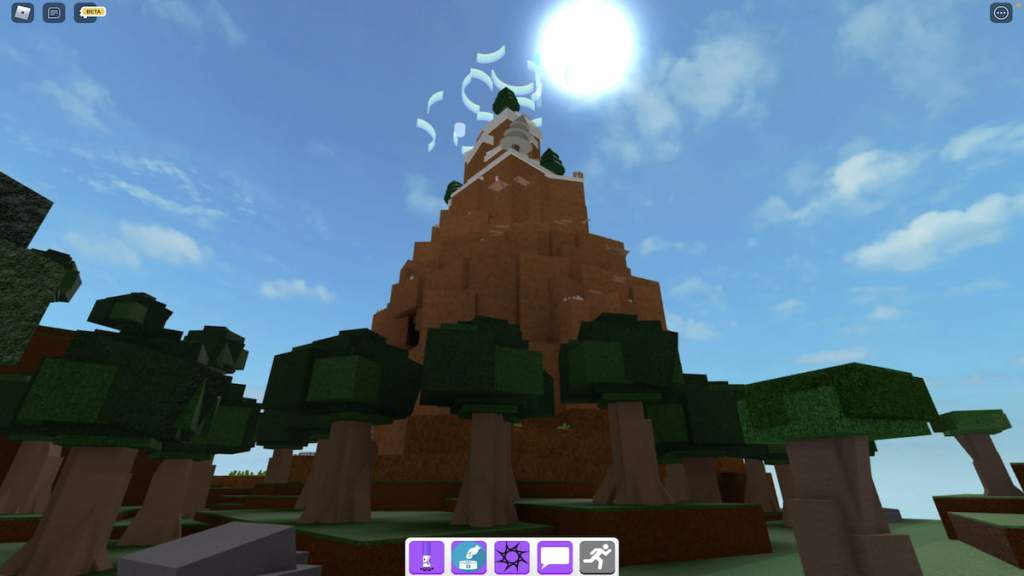
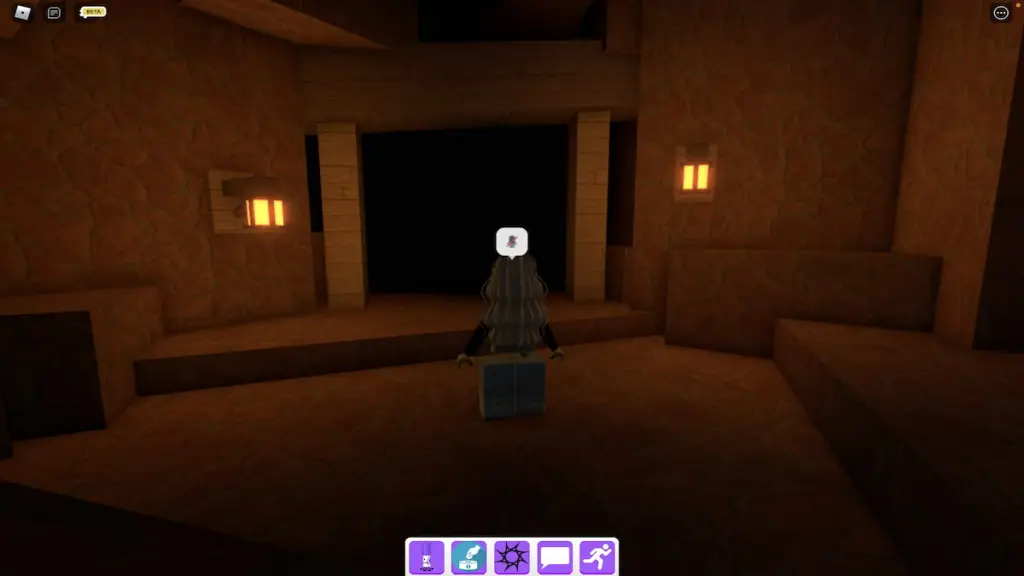
At the bottom of this mountain is a makeshift wooden ladder—climb it and enter the cave it leads to.
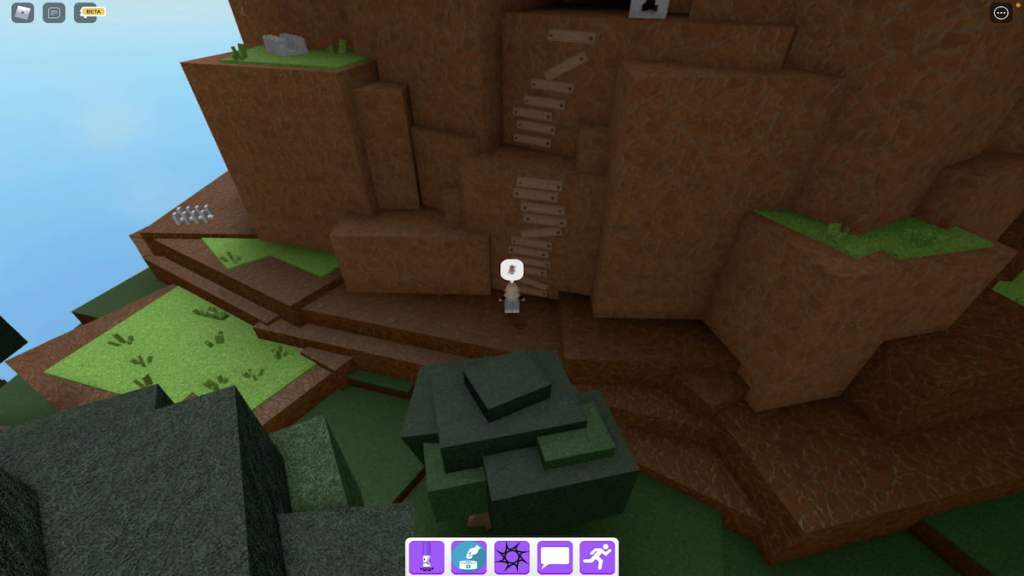
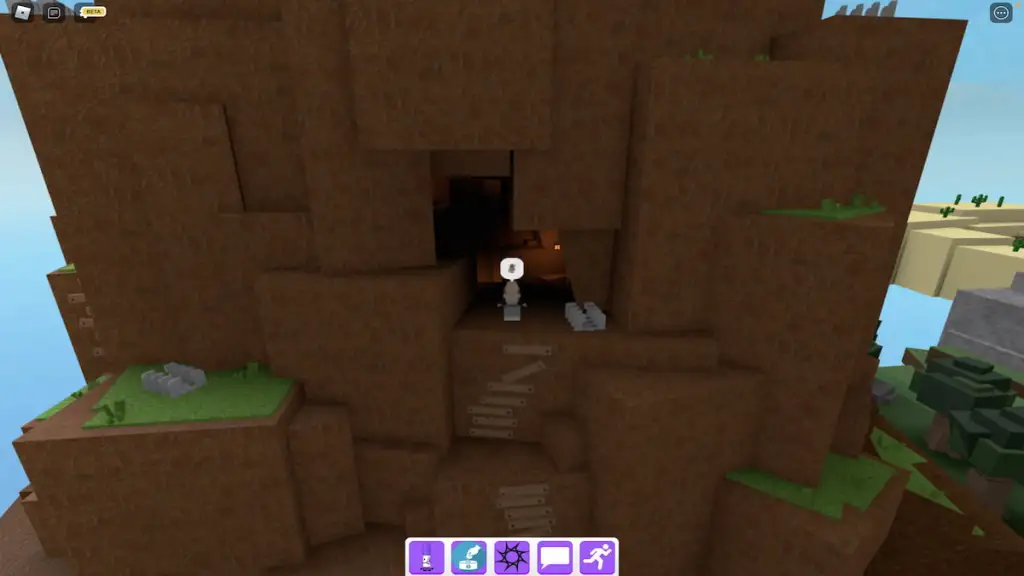
As you walk into this cave, you should notice a dark tunnel with two lanterns at the start of it.
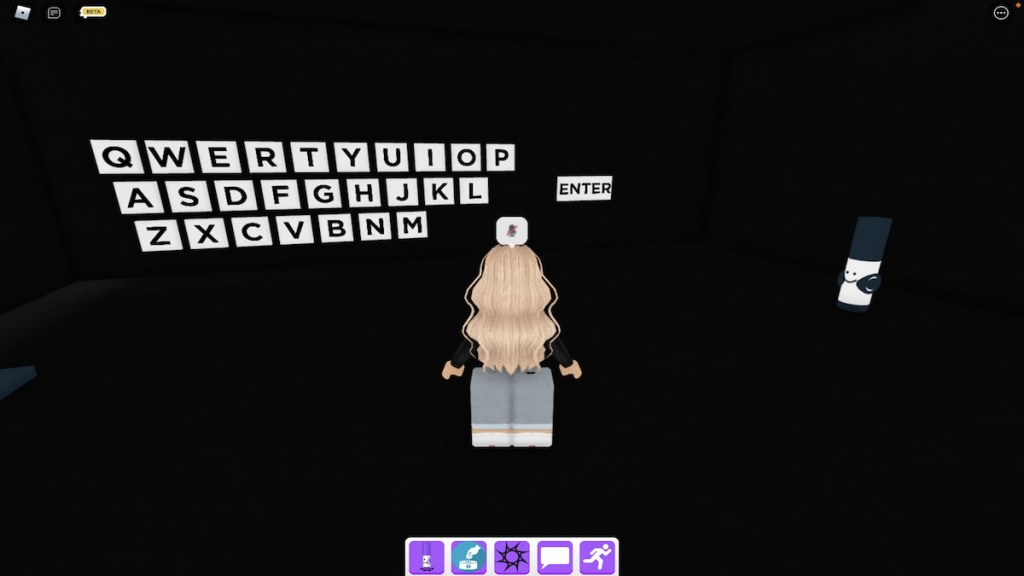
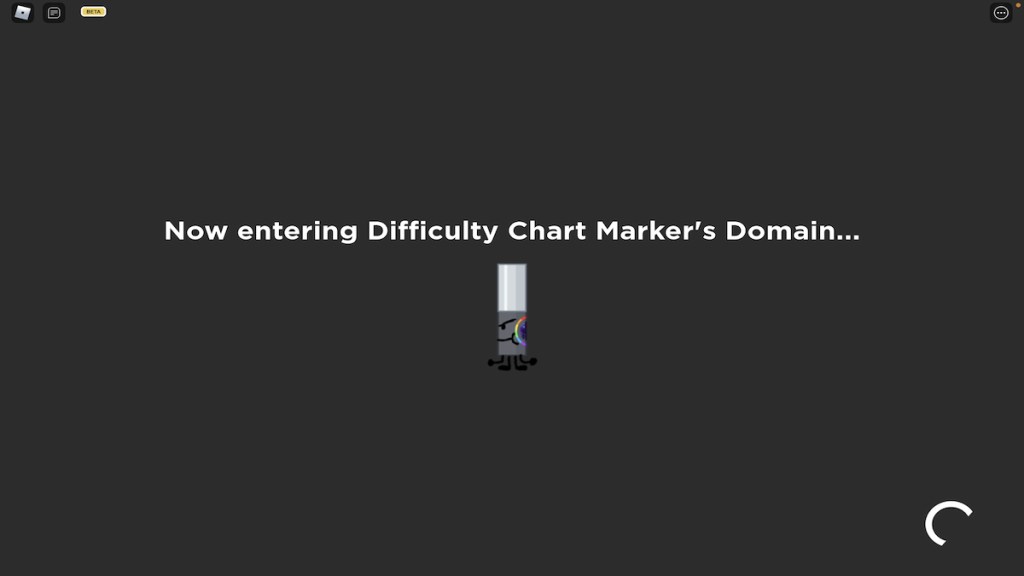
Upon walking into this tunnel, you will enter a secret room that features a wall of letters. To continue toward the Killbrick Marker, click on the letters D, I, F, F, I, C, U, L, T, and Y, in that order, to spell the world DIFFICULTY, and then click on the Enter button. If you entered the code correctly, you will automatically be teleported to the Difficulty Dimension.
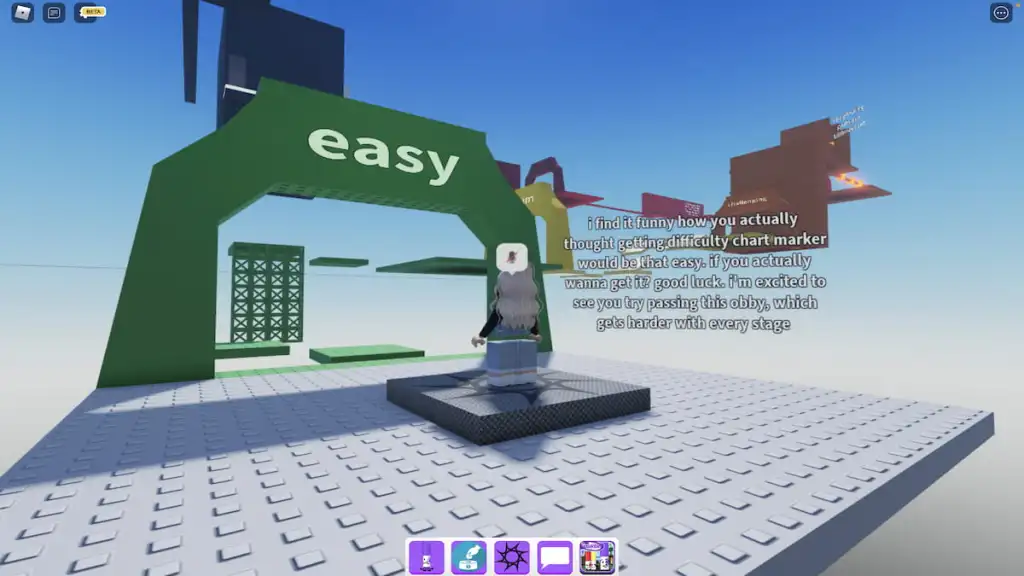
To obtain the Danger Marker, players must reach the insane level of the Difficulty Dimension's obby and find a secret exit inside the dark maze. To start this journey, walk and jump your way through the easy level to reach medium.
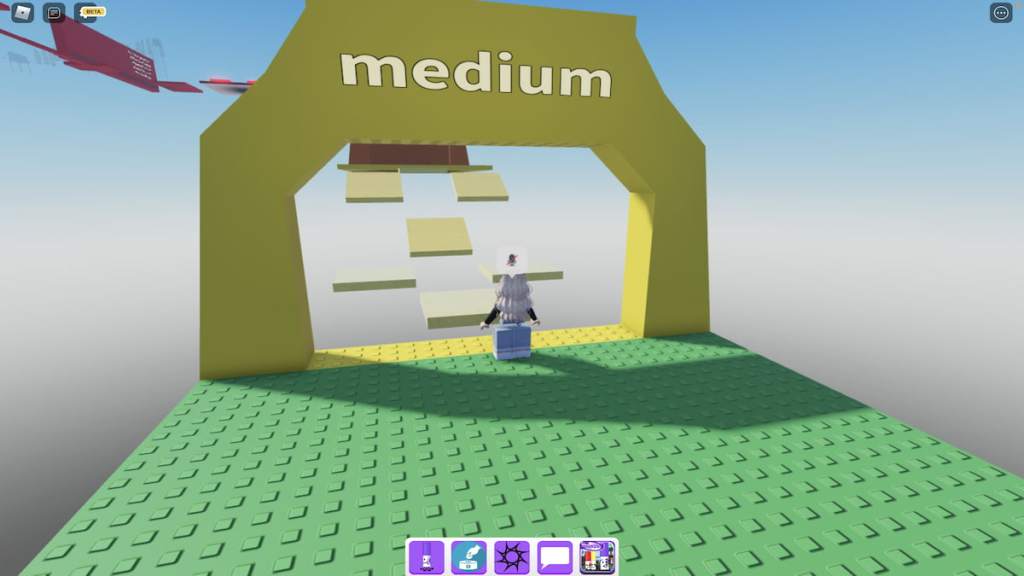
To survive medium, you'll need to jump across a set of slippery tiles and reach the platform above. If you slide off and fall to your death, you will be restarted at the beginning of the easy level, so be careful! Once you've made it to the start of the challenging level, hop across the small gap and onto the first ledge in front of you.

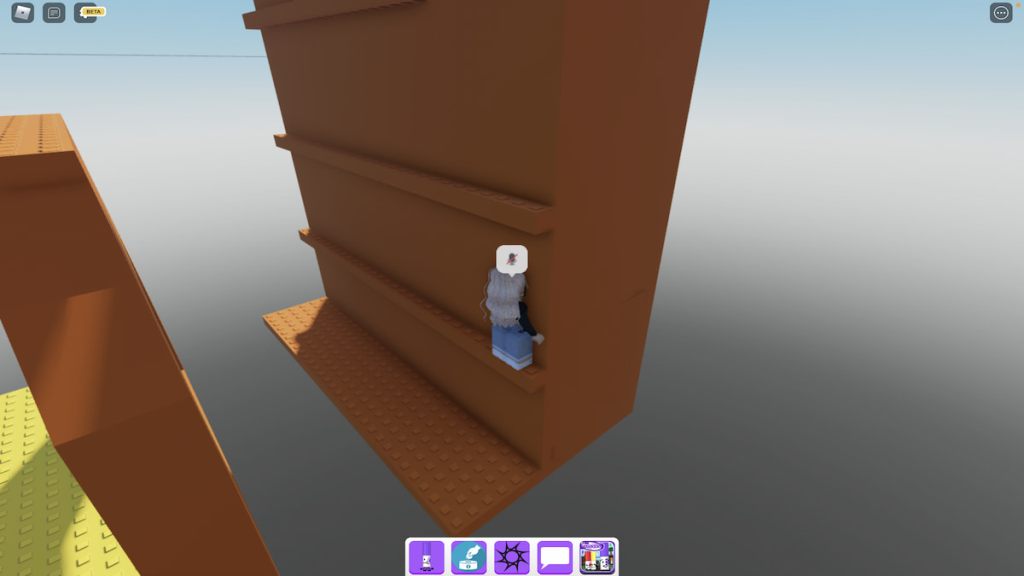
Now, jump out and up from this ledge to reach the next one and repeat this strategy until you're at the top of the wall.
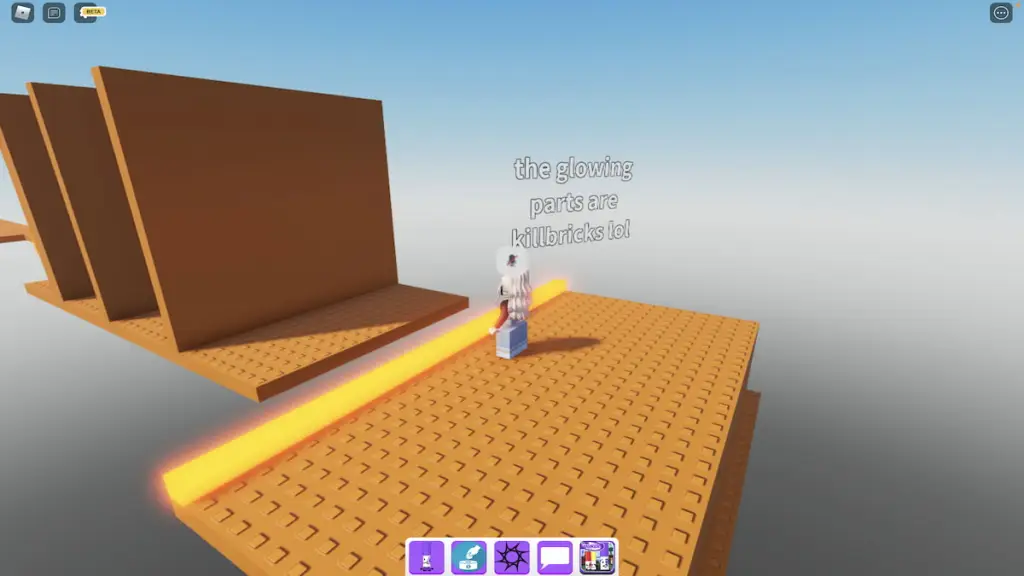
From here, jump over the glowing killbrick, out and around the small walls, and to the start of the hard level.
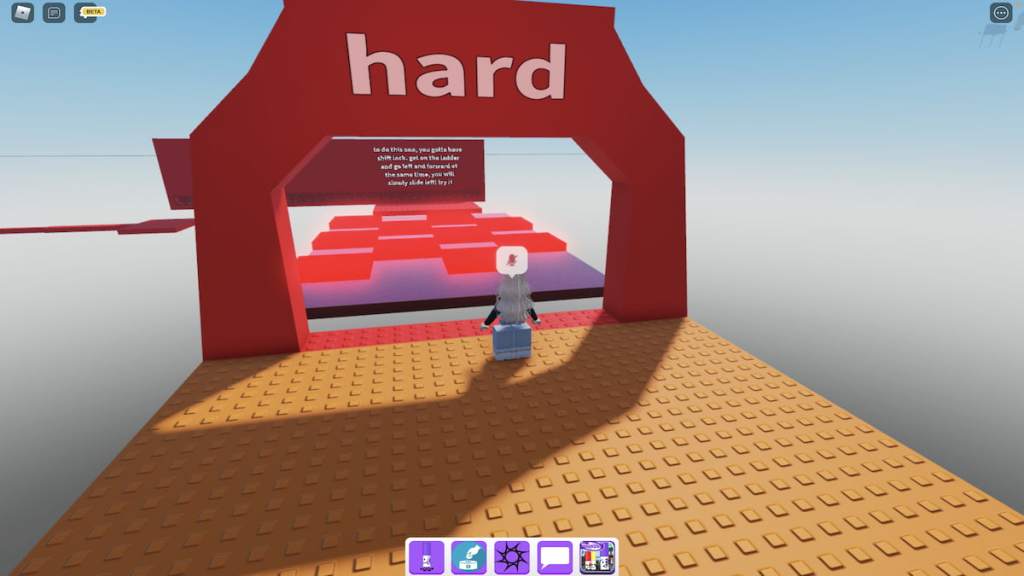
Similar to the medium level, the hard level uses a slick base for its first obstacle, making it hard to avoid the glowing killbrick squares as you attempt to jump between them. To complete this obstacle easily, we'd recommend running and jumping through it in one quick motion rather than trying to jump and stop repeatedly. If you can pick up a solid momentum, you should be able to run and jump between the squares without hitting any of them.
Related: How to get the Mimic Marker in Roblox Find the Markers
Once you reach the end of the first obstacle, you'll immediately be faced with the second, which requires you to jump and latch onto a horizontal ladder and slide your way to a small platform on your left. Though the experience says otherwise, using shift lock isn't required. If you find that just turning your camera and moving to the left is easier than using shift lock, that can totally work too.
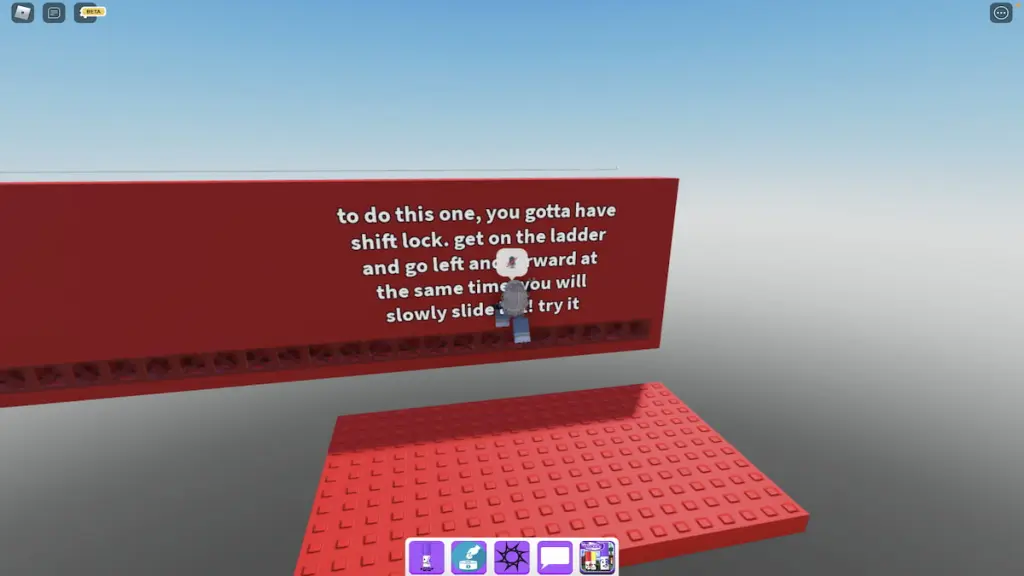
To reach this small platform, either climb down the ladder using the downward movement key or press the Spacebar to jump off. Then, simply walk across the thin bridge to reach the entrance to the difficult level.
This level uses the same type of obstacle as hard, the horizontal ladder, but takes it up a notch by making players jump across a large gap from one ladder to another. Again, if shift lock is easier for you, turn it on, but if not, feel free to leave it off. Just be sure to move at your own pace!
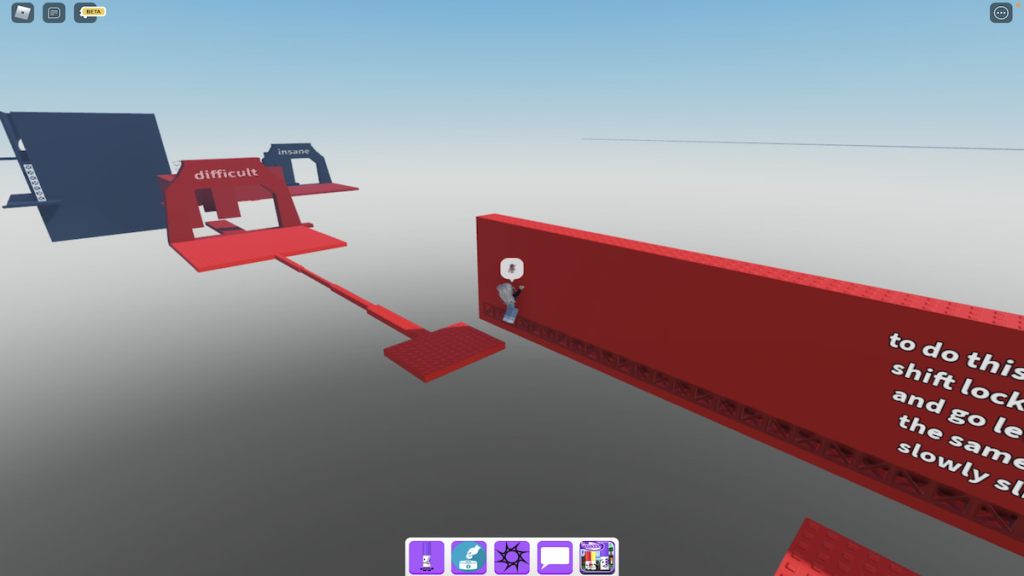
Once you've cleared the ladder obstacle, you're basically at the end of the difficult level—all that's left to do is jump over a few killbricks. After jumping over the third killbrick, you should be in front of the insane level entrance.

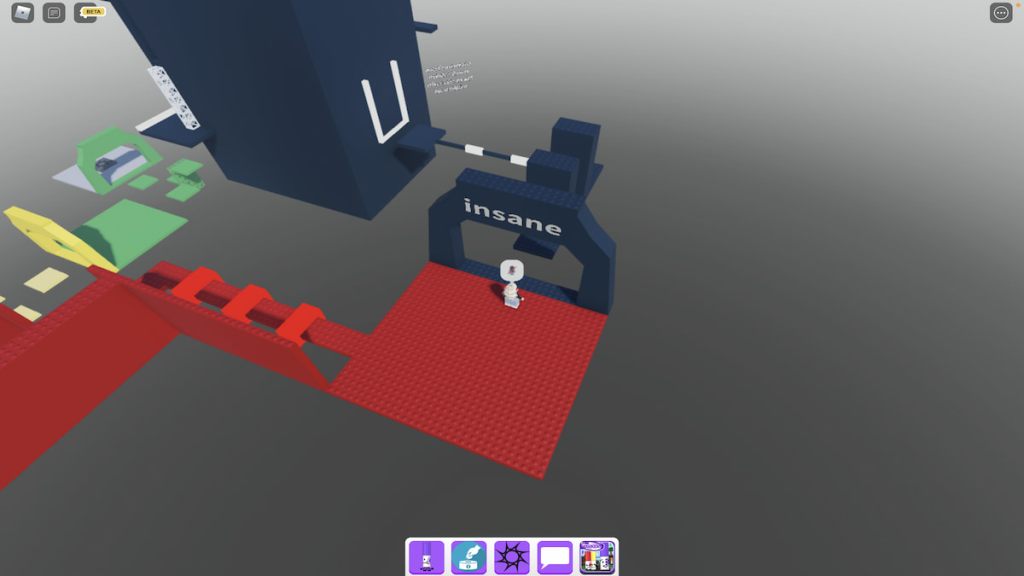
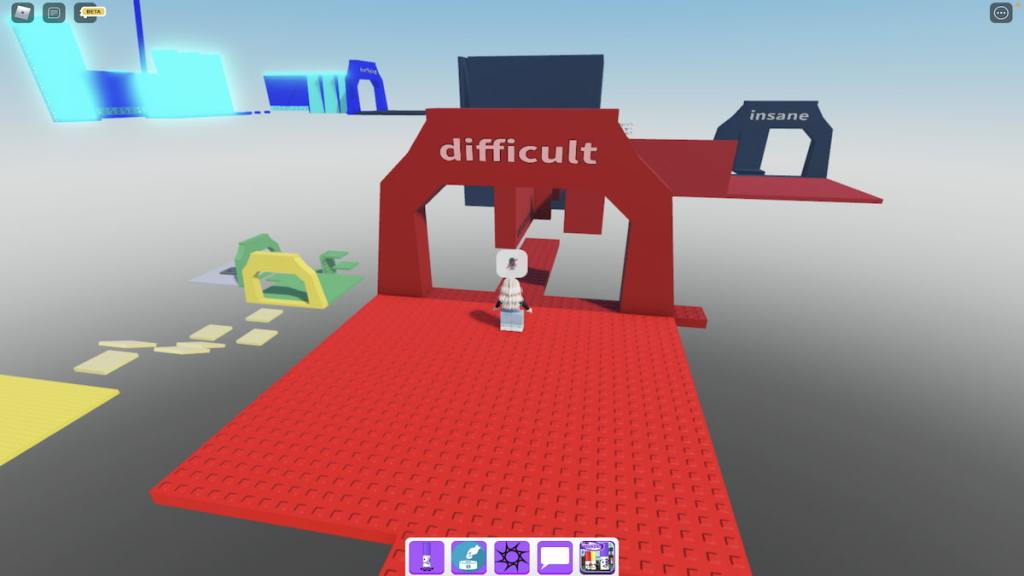
As seen from the image above, the insane level is mostly contained inside of a building rather than spread out across various platforms. You'll need to jump around two obstacle walls, over two thin killbricks, and then through the building's transparent entrance to reach this building.
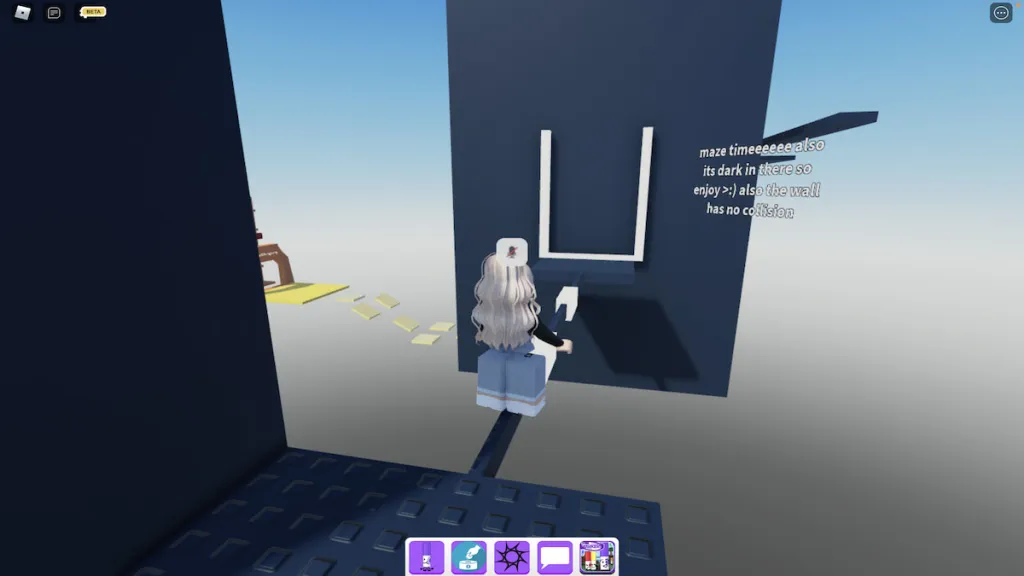
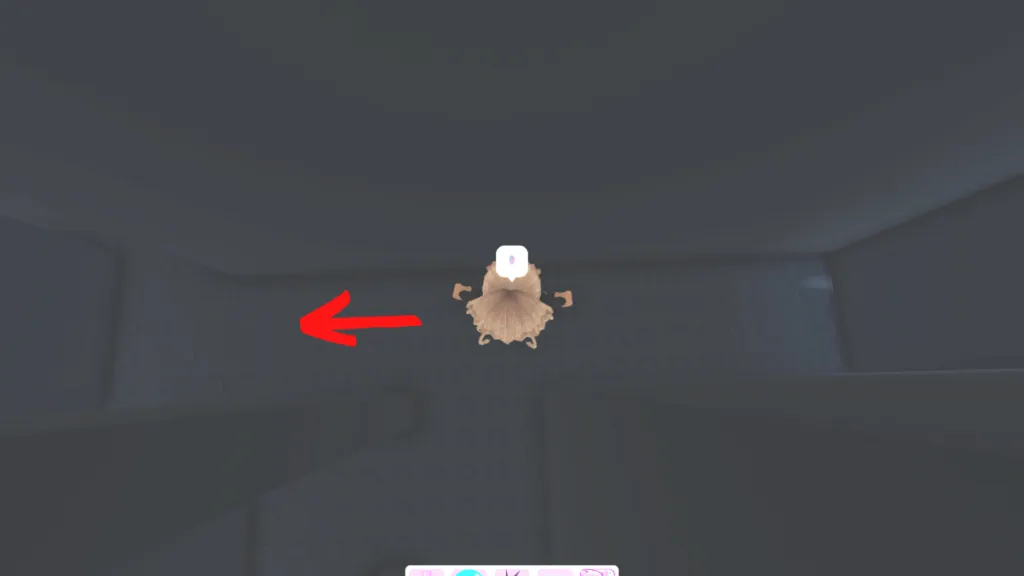
Inside this building is an exceptionally dark maze that can lead you to two different exits, one that leads you to the rest of the standard obstacle course and another that teleports you to the Danger Marker's obstacle course. The images below show you the path you need to take to find the secret Danger Marker obstacle course. To help you see the path better, we've increased the brightness on these images—unfortunately, it's nowhere near this bright inside of the maze!
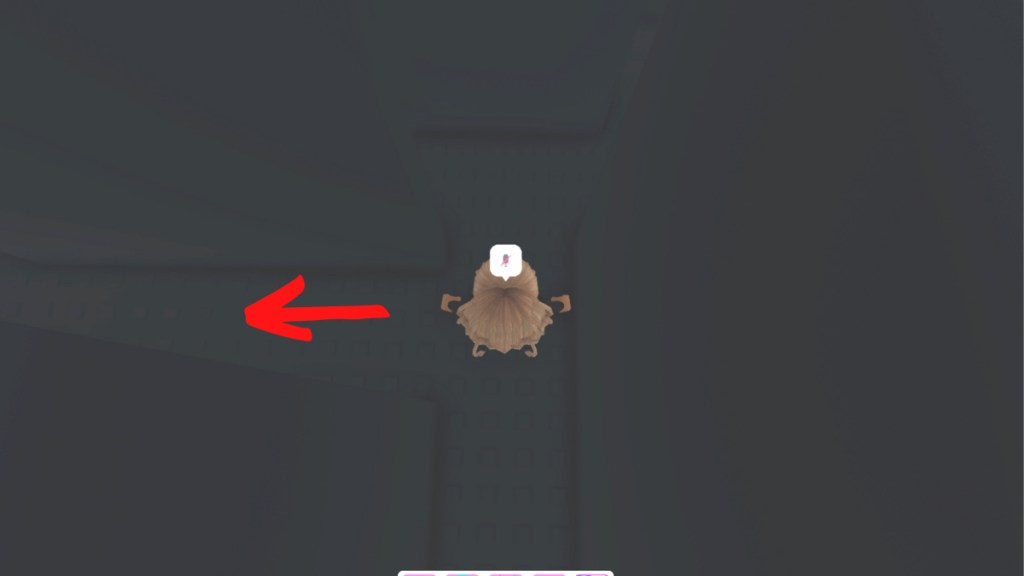
As soon as you hop through the transparent entrance, turn left and walk straight until you run into a wall. At this wall, turn right.
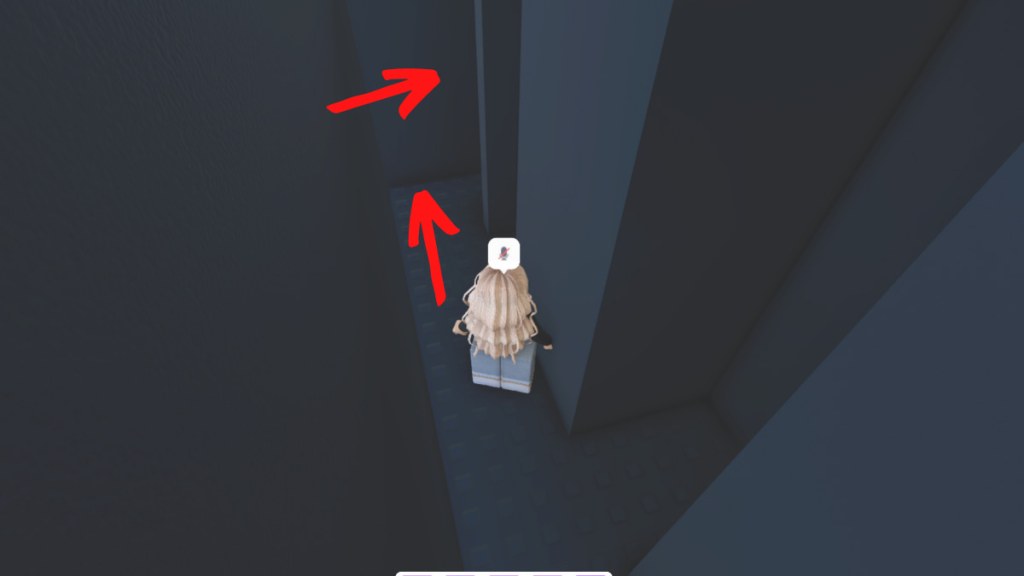
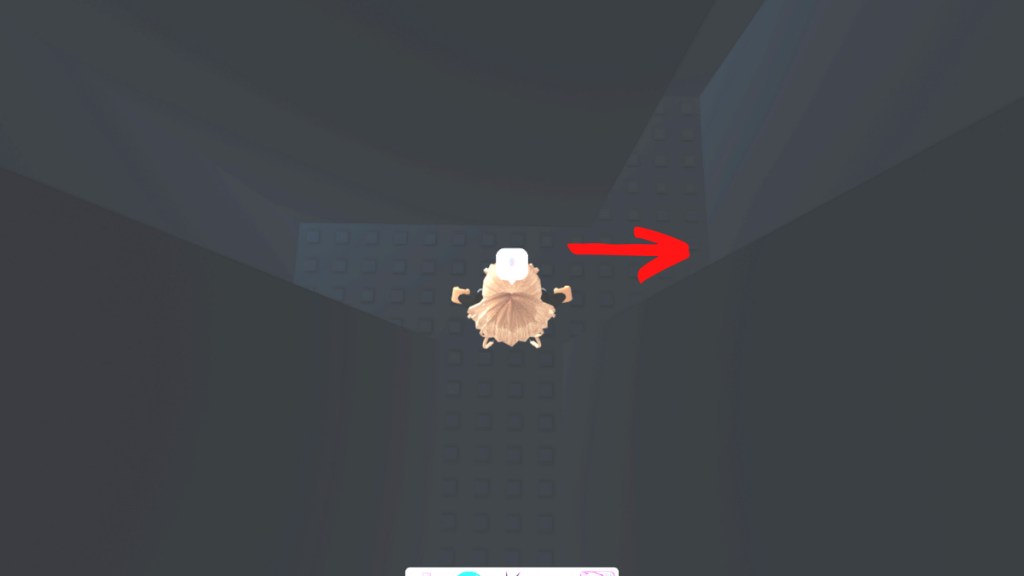
Continue straight and then turn right before running into the next wall.
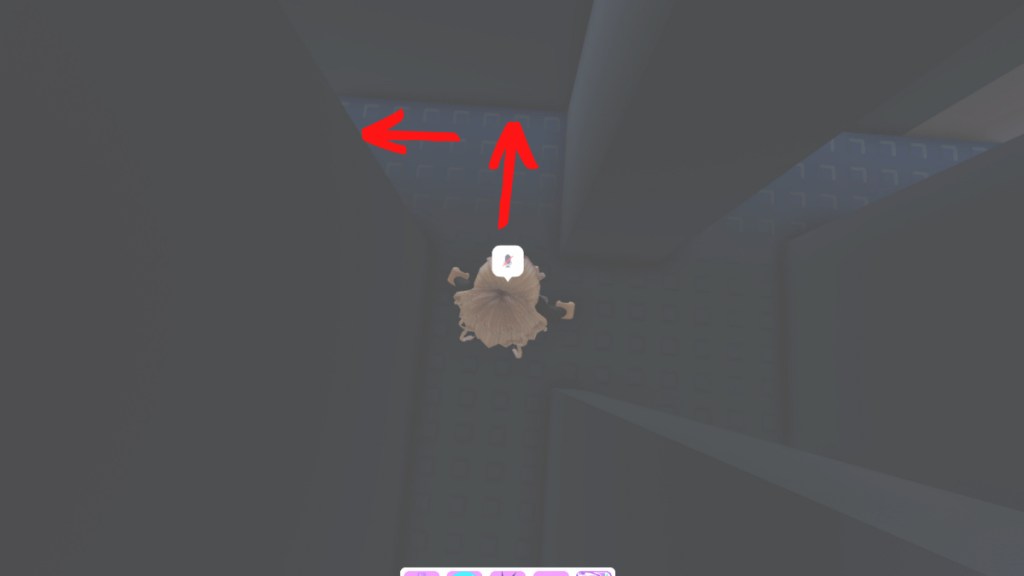
Now, walk straight again until you reach the first turn on your left. Take this turn and continue forward.
Related: How to get the Vitellary Marker in Roblox Find the Markers
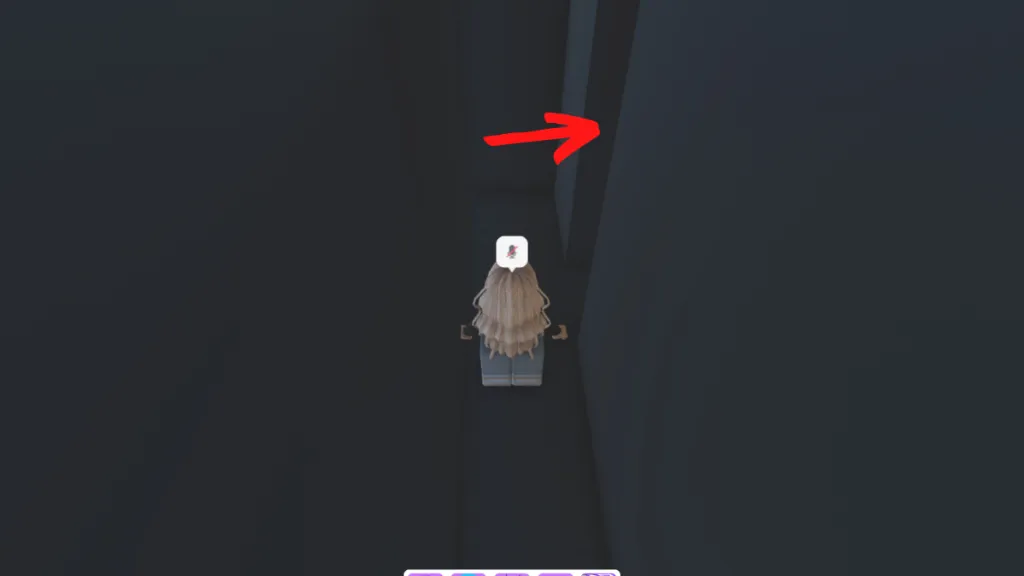
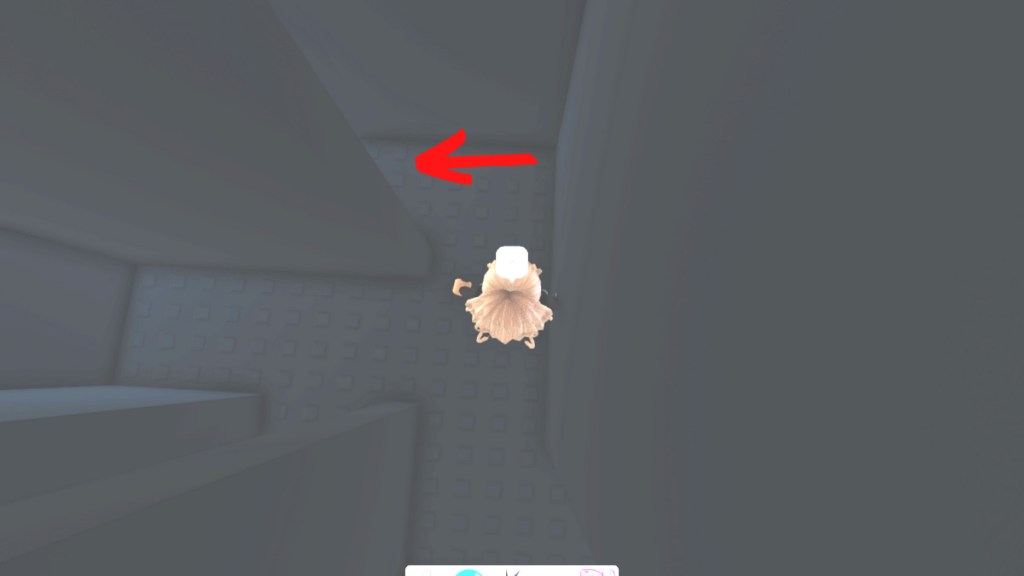
After a few steps, you should see a turn on your right—ignore this turn, continue forward, and then turn left.
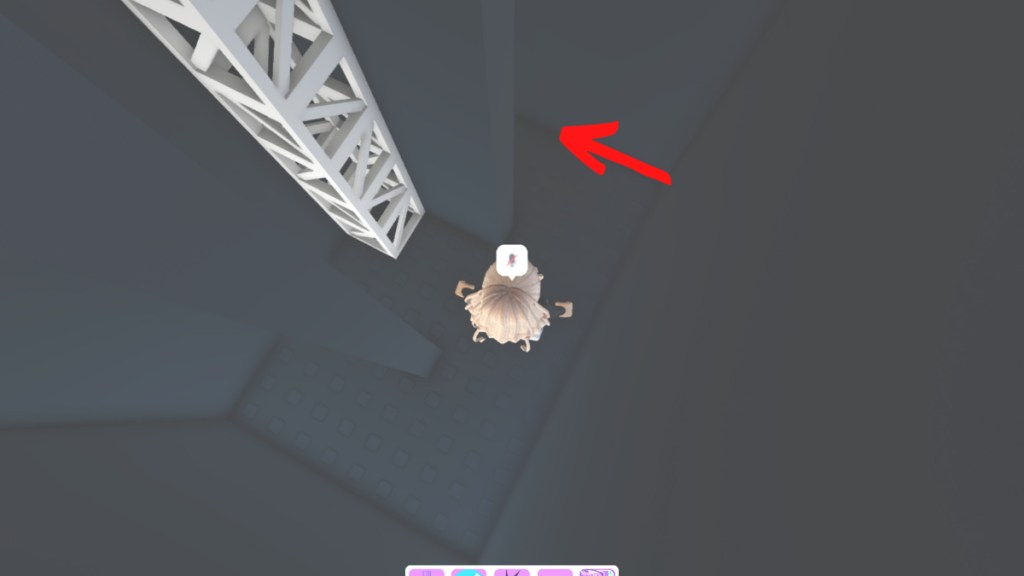
As soon as you turn this corner, you should see a white ladder in the distance. Approach this ladder and use it to climb down to the floor below.

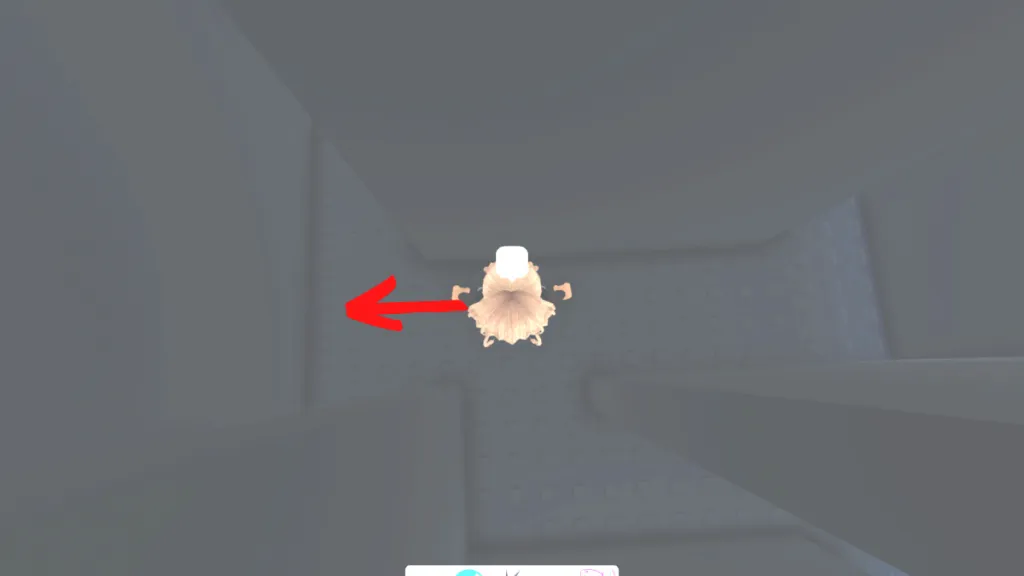
Once on the bottom floor, walk forward, turn left around the corner, and then immediately turn right.

At this T intersection, turn left and then turn left again.
At the next intersection, turn right.
From here, walk forward and turn left.
After turning left, you should see a yellow light in the distance. Approach this yellow light to find the Danger Marker teleporter. Step into this teleporter to enter the Danger Marker obstacle course.
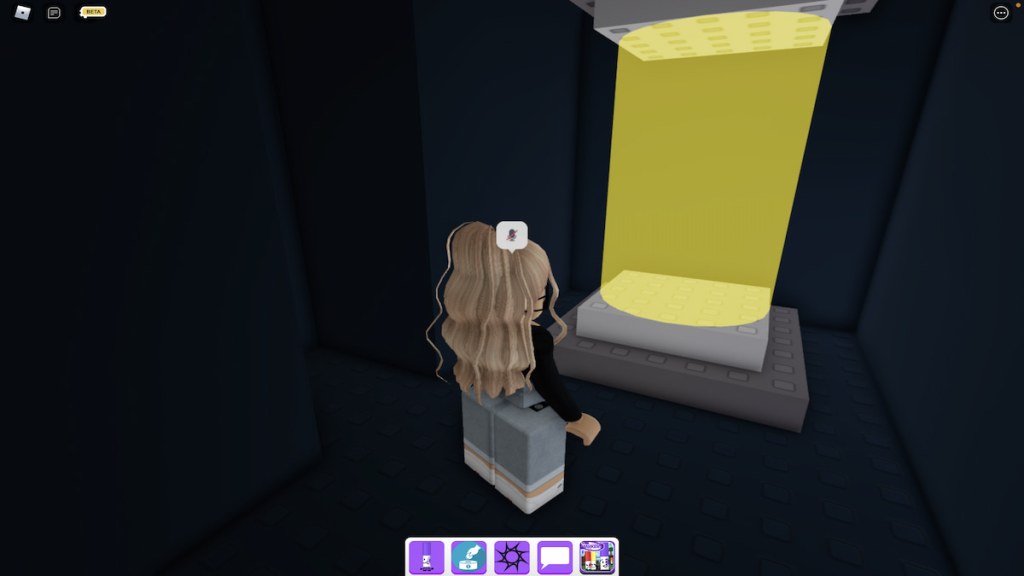
To begin this obstacle course, you'll need to press E on the button labeled Activate DANGER.
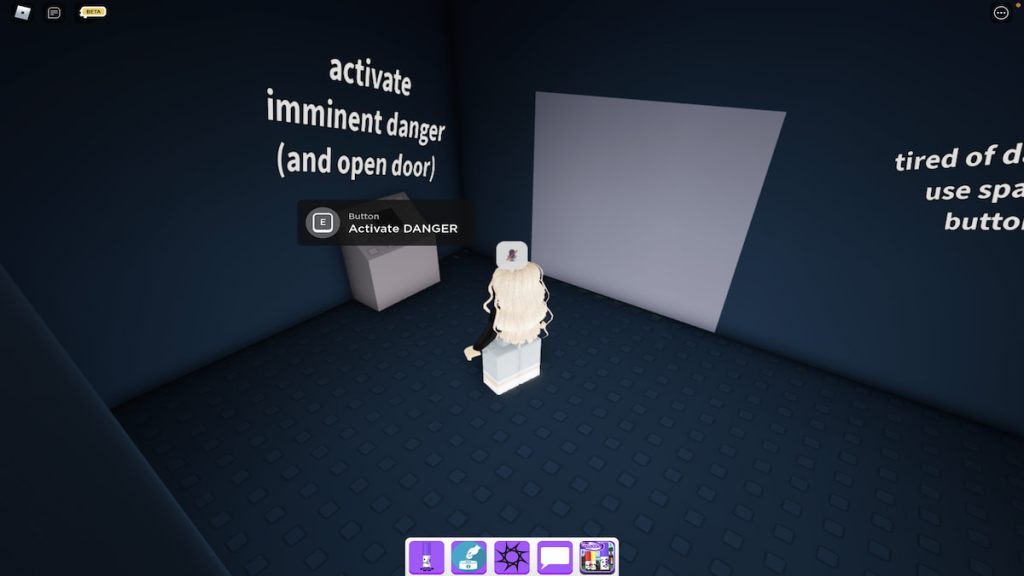
Upon pressing this button, the obstacle course's door will open, allowing you to begin your first attempt at completing it. Be warned, however, that this is, in our opinion, the hardest obby in all of Find the Markers. Even when compared to beating Dark Markery or finding the Marker Chomik, both of which we've done successfully, this obby takes the cake.
To find Danger Marker, players will need to walk, jump, climb, balance, shift lock, and avoid death at all angles while also outrunning a moving wall of death at the same time. Sounds easy, right?

For a good look at how to complete this obby, check out the video below from NoobBlox.
Once you've completed the obby and reached Danger Marker, it can be added to your Markerdex by simply walking up to it and touching it. When, or more realistically, we finally unlock this marker, we will update this guide with our own pictures accordingly. We just have to keep trying!
Looking for more Find the Markers content? Check out our recent guides on How to get the Potion Marker in Roblox Find the Markers or How to get the Zen Marker in Roblox Find the Markers here on Pro Game Guides!