
Apart from the items, the most important thing you should be mindful of picking in the Violence District as a Survivor is the character perks. These perks provide powers to the Survivors that should be used correctly to win games consistently; as a result, they must be selected based on your gameplay style and their overall effectiveness in a game. Here is a complete tier list of all the Character Perks in Violence District.
All Survivor Perks in the Violence District, Ranked
The list below contains the description of each perk and its overall effectiveness against Killers during a match.
S- Tier
| Perk Name | Description | Pros/Cons |
|---|---|---|
| Second Wind | Upon being rescued from spikes, you gain invincibility for 15/20/25 seconds. | + Easy way to Escape from Killer + Easy Repositioning |
| Grab My Hand | Unhooking a survivor fills their healing bar by 30/40/50%. | + Instant Healing for Others + Easy Reset Simple to Execute and Repeatable |
| We’re Stronger Together | Staying in the vicinity of a teammate will give you both a 2/4/6% speed boost. | + Simple to Execute and Repeatable + Increased Movement Speed over a long time + Mutual Benefit for Both Players |
| Heads Up | When the killer gets within 40 studs of you, get an auditory warning and a 10/15/20% speed boost for 3 seconds. then gain the Winded debuff for 60 seconds. | + Easy to track the Killer +Increased Movement Speed over a long time - Winded Debuff is irritating but bearable |
| Group Project | Increase repair speed by a stackable 3/4/5% per other survivor who’s repairing with you, up to a maximum of 9/12/15%. | + Easy Repair of Generators + The Buff's Scales per Survivor |
| Enhanced Touch | Players you heal get a 10% heal, repair, and speed boost for 10/15/20s. | + Increased Speed, Heal, and Repair Boost + The Buuf Duration is lengthy |
A- Tier
| Perk Name | Description | Pros/Cons |
|---|---|---|
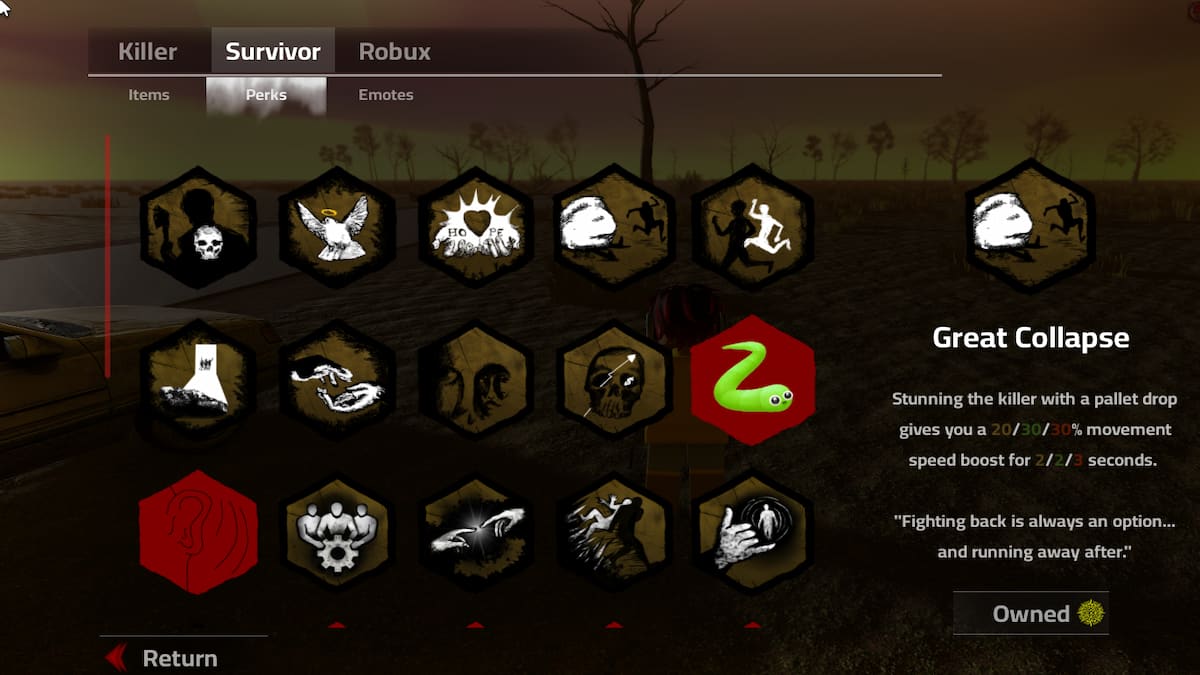
| Great Collapse | Stunning the killer with a pallet drop gives you a 20/30/30% movement speed boost for 2/2/3 seconds. | + Simple to Execute and Repeatable + Increased Movement Speed over a long time - Nothing for Healing |
| On My Own | When you are Alone, you can open gates 40/50/60% faster, and you can see the killer’s aura for 5 seconds | + Good for Solo Players + Easy Tracking of Killer - Nothing for Healing |
| Born in Blood | When you heal another survivor, you both gain a 30/40/50% speed boost for 6 seconds | + Increase in Movement Speed + Mutual Benefit between teammates |
B- Tier
| Perk Name | Description | Pros/Cons |
|---|---|---|
| Time To Grow Up | After being hit by the killer, extend your speed boost for 1/2/3 seconds. | + Temporary Speed Boost To Go Near Ally + Easy Repositioning - Nothing for Healing |
| Left Behind | When one of your teammates leaves through the escape gates, gain a permanent 5/6/7% speed boost. | + Easy Exit during the final stage + Permanent Speed Boost - Nothing for Healing |
| High Karma | After saving a teammate: You can free yourself on the first spike stage, but applies anti-heal for 90/75/60 seconds. | + Easy Escape after first Spike -Requires you to save a teammate - The Anti-Heal Time is extremely high |
| Snake Step | Your past life as a burglar has proven to be more helpful than you think. While crouched, get a 60/70/80% speed boost. | + Increased Speed Boost + Easy to evade the Killer - Nothing for Healing |
| Iron Tranquility | Your willpower transcends torment. While you are spiked, your aura is hidden from the killer, and your pools of blood despawn 3/4/5s faster. | + Hiding the Aura allows to escape easily + Despawning of Blood enables the Killer to track much less efficiently - Nothing for Healing or Movement speed |
| Last Stand | When you are the last one standing: You heal up by a soul state and see the aura of the killer for 10/15/20s. | + Easy to track the aura of Killer + Free Healing - Secnario based Perk |
C- Tier
| Perk Name | Description | Pros/Cons |
|---|---|---|
| Nobody Left Behind | When the escape gates are powered, gain 30/70/100% Healing Efficiency. | + Great for Escaping at the end + Heal while you move - Lack of Speed Boost |
| Call Me Back | After a player you healed gets hit, you can see their aura for 20/30/40 seconds. | + Easy for tracking allies in danger - No Increase in Speed or Repair Generation |
| Desperate | When being carried, instantly add 10/15/20% to the Wiggle meter | + The Wiggle Slows Killer Speed Immensely - There are better Perks than this |
| Perfect Landing | When landing from great falls, your recovery is sped up by 75% then grants you a 50% speed boost for 3 seconds. After using this perk suffer from the Winded status effect for 60/50/40 seconds. | + Useful for Maps with elevated areas. - The small buff duration and Winded Status make it less effective |
D - Tier
| Perk Name | Description | Pros/Cons |
|---|---|---|
| Pacificist | Healing Efficiency increased by 5/10/15 % and Generator repair speed reduced by 5%. | -Reduction in Generator Repair - No Speed Boost - Nothing More Important than Repairing the Generator |
| Intense Workout | Increase the speed at which you save people from spikes by 10/20/30%. | - The Increase in Spike Removal Speed is not that good. |
| Expensive Decor | At the beginning of the round, you get a 40/50/50% healing boost, but it gets lower by 10/10/5% each time you get spiked up to a maximum of 80/80/90%. | - The Healing Debuff over time is not worth the initial buffs |
How to get Character Perks in the Violence District
You can get Character Perks in the Violence District by purchasing/unlocking them from the Store menu. Unlike most features in Violence District, which are unlocked with screws, Character Perks are purchased with the Emblem, which can be earned by simply playing the game and fulfilling objectives. Alternatively, you can buy the Emblem currency with Robux in the store section.
When you purchase the item using Emblem, you can only upgrade it with Screws. Head over to the inventory, and you can upgrade your Perks twice to max level using them.
For more on Violence District, check out Violence District Killer Tier List - Roblox or Violence District Items Tier List - Roblox