Splatoon 3 has a bevy of weapons suited for every style of play. While some are better for hyper-aggressive pushes, others are better suited for the more passive, tactical player. The latter might prefer Chargers, who operate like snipers in other shooting games. What's nice about Splatoon 3 is that each map offers at least a few areas where Charger users can post up, get a good eye on the action, and pick off enemies.
Splatoon 3 Chargers Strengths
Players will want to stay on the backlines to get the most value out of a charger. Being anywhere close to the middle of the map will result in getting destroyed by any Rollers, Ink Brushes, or Splattershots in the area. Instead, hang back and look for enemies in the open.
- Can fire safely from afar
- Usually needs only one shot to kill
- Can see the whole map by sitting on a high perch
Splatoon 3 Chargers Weaknesses
Chargers take a while to charge up their shots, so they're automatically disadvantaged if an enemy with a different weapon gets up close. If this ends up happening, the best thing the charger user can do is swim back to a safe area to resume sniping.
- Can't scramble with opponents well
- Will lose any engagement if the opponent gets close
- Requires exact aim
Splatoon 3 Charger Type Weapons
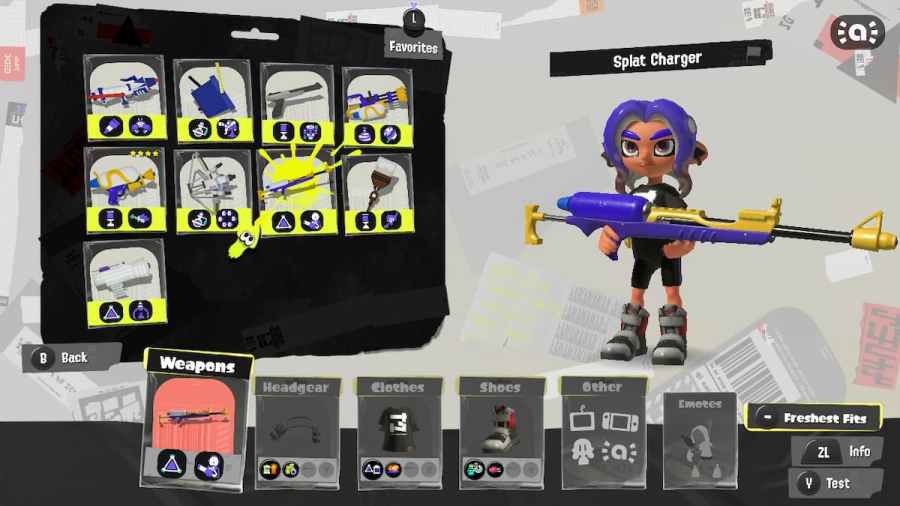
Splat Charger (level 2)
- Splat Bomb: a small projectile that can be thrown a fair distance. It will explode several seconds after it lands, releasing ink to the surrounding area.
- Ink Vac: creates a vortex that sucks in enemy ink. This can protect teammates from getting inked, and once the timer runs out it will release a large ink shot.
Classic Squiffer (level 8)
- Point Sensor: when it explodes, it creates a cloud in the user's ink color. Any enemies who pass through that cloud will get a swirling marker around them, identifying their location for the team.
- Big Bubbler: forms a large, cylindrical barrier when placed. Enemy ink will not be able to penetrate this barrier, but enemies can shoot if they get inside.
Splatterscope (level 10)
- Splat Bomb: a small projectile that can be thrown a fair distance. It will explode several seconds after it lands, releasing ink to the surrounding area.
- Ink Vac: creates a vortex that sucks in enemy ink. This can protect teammates from getting inked, and once the timer runs out it will release a large ink shot.
E-liter 4K (level 18)
- Ink Mine: a small bomb that can be placed beneath the user. If an enemy steps over it, the bomb will explode with ink. If no enemy steps over it for a certain period of time, the bomb will detonate on its own.
- Wave Breaker: creates an ink balloon which emits three shockwaves. Any enemies that get hit with a shockwave will take ink as well as have a marker circling around them.
Bamboozler 14 MK I (level 23)
- Autobomb: An explosive that actually walks. When sent out, the Autobomb will seek out a nearby enemy and then detonate after an amount of time.
- Killer Wail 5.1: Summons six speakers that fire as beams of ink. The user can target one enemy, and then the six beams will fire in several directions, one of which is the targeted player. This can even splat enemies hiding behind walls.
E-liter 4K Scope (level 27)
- Ink Mine: a small bomb that can be placed beneath the user. If an enemy steps over it, the bomb will explode with ink. If no enemy steps over it for a certain period, the bomb will detonate on its own.
- Wave Breaker: creates an ink balloon which emits three shockwaves. Any enemies that get hit with a shockwave will take ink as well as have a marker circling around them.
Want more tips on Splatoon 3? Check out the 8 best early game weapons to unlock at Pro Gamer Guides!