Begin making your Bubble elevator by getting the essential objects: two Soul Sand, two Magma Blocks, and at least two Water Buckets. The Soul Sand creates bubbles in your water elevator that make you move up, and the Magma Block creates bubbles in your water elevator that make you go down.
In the guide below, we used glass to create the sides of our elevator, but you can use whatever building tools you'd like. The Soul Sand is necessary to make the up current for the elevator, and the Magma Blocks are necessary to make the down current. Having two Water Buckets isn't required, but eliminates the need to make multiple trips. Follow the steps below to complete the elevator.
Related: How to Move Villagers in Minecraft - Pro Game Guides
Step One: Build the Walls
You can use any type of block to build the walls of your elevator. We used glass for ours to make it easier to see the process.
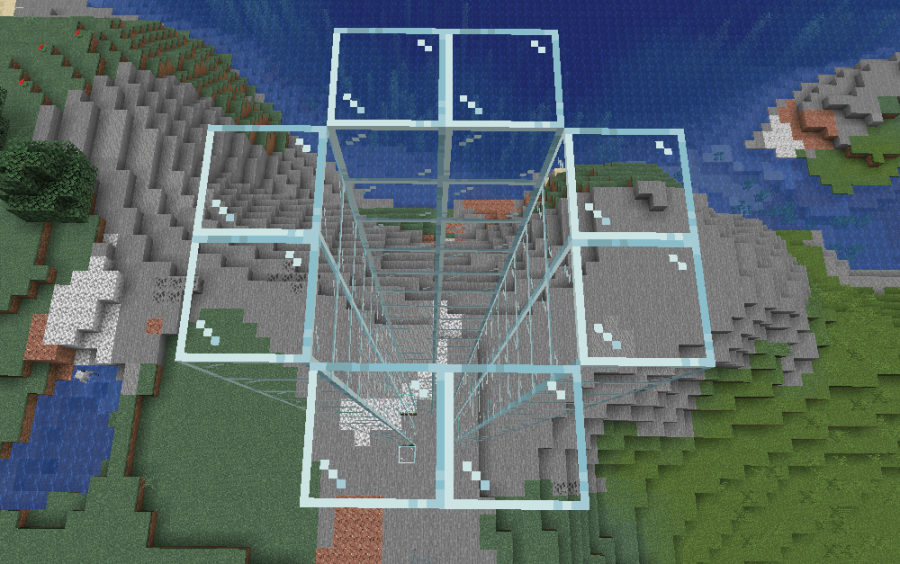
In the image above, you'll see the basic pattern for the elevator walls. Place a ring around an empty two-by-two block section and build up. You can make your elevator as tall as you'd like, even up to the build height.
Step Two: Make the Base
There are two parts to this step. First, you need to make an archway on one side of the elevator that is two blocks high by two blocks wide.
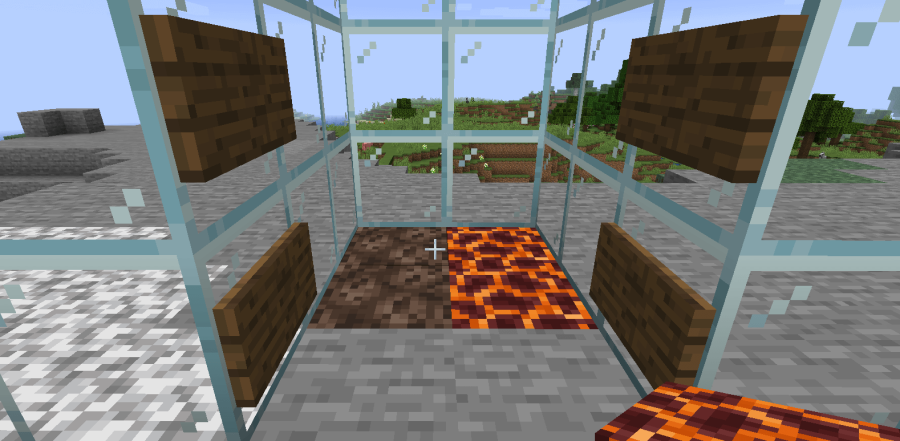
Once you have done that, place signs on the outside of the archway, as shown in the image above. These signs are used to hold in the water that you'll be placing in Step Three. You'll need four signs total.
The other part of this step requires you to place the Magma Blocks and Soul Sand. Continue to use the image above for reference on how to do this. At the very bottom of the water elevator, place two Soul Sand blocks on one side, and two Magma Blocks on the other.
This will allow for seamless transfer between going up or down in the elevator. Still, you can separate these two sections if you want to make your elevator look a little cleaner.
Related: How to get music discs in Minecraft - Pro Game Guides
Step Three: Place the Water
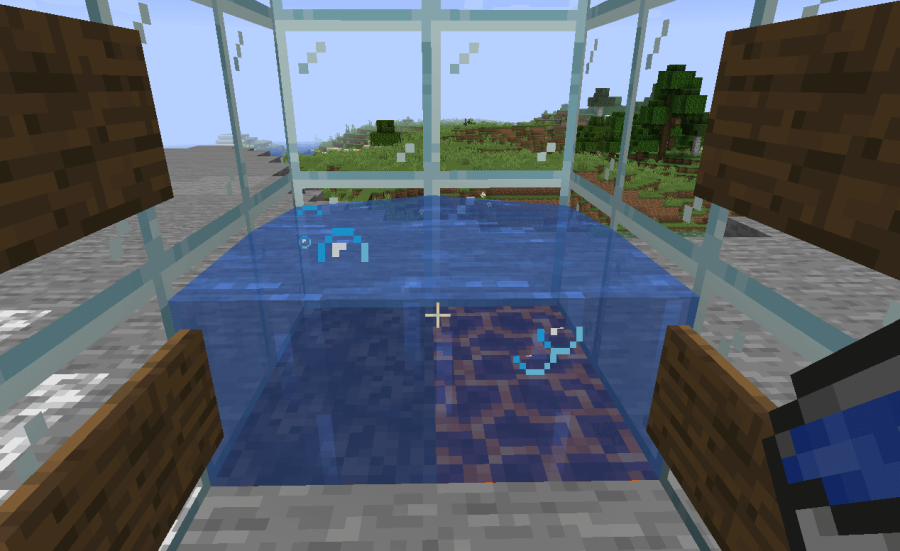
You need a lot of water source blocks for this step. With the Magma Blocks and Soul Sand placed, grab two Water Buckets. Place one on any of the four blocks at the base, and place the other Water Bucket on the block in the opposite corner. This will create an infinite water supply from which you can collect the water for the next level.
From here, you need to repeat the step above on every level of your water elevator. The reason for this is that the bubbles created by the Soul Sand and Magma Blocks only work on Water Source blocks, not running water.
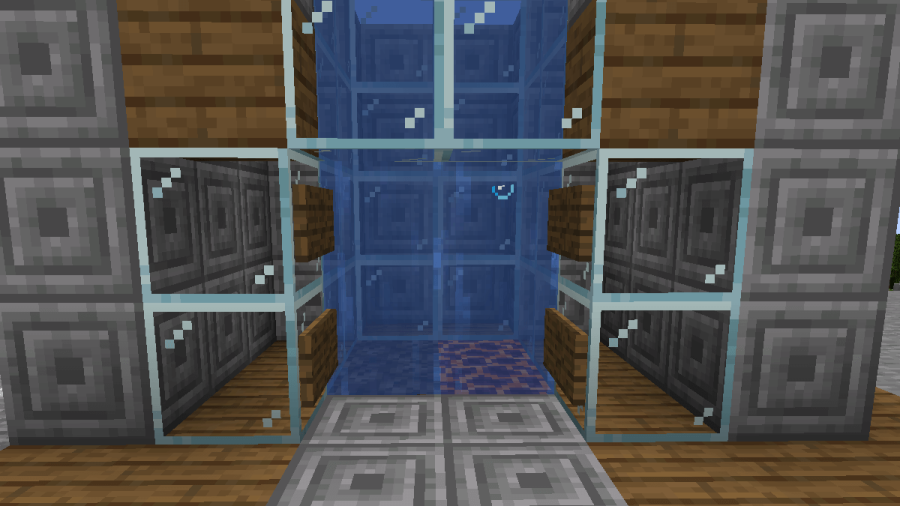
Once you have done all this, you will have a basic (and efficient!) working bubble elevator! You can edit the blocks around it as you wish to make the elevator more aesthetically pleasing. However, you always need to have the Magma Blocks and Soul Sand at the bottom of the elevator. You must also have a Water Source block at ever level.
Step Four: Add Multiple Floors (Optional)

If you wish to add multiple floors to your base, you can easily modify this elevator to accommodate for that. Make a two-by-two hole where you want the level to be and place signs outside the elevator like you did on the ground floor. While you're going up or down, walk out where you made that floor's exit. This is an easy way to go to a specific floor in your base!
Want to see how to make some produce farms? Check out our guides on How to Make an Automatic Mushroom Farm and How to Make an Automatic Pumpkin/Melon Farm!