
Dungeons in Destiny 2 serve as intermediary content between Nightfalls and raids. Warlord's Ruin, released during Season of the Wish, has plenty to offer in terms of challenge and loot. Here's everything you need in handy guide form to get in and out.
Throughout your journey in this frozen castle, you'll see plenty of locked doors and chests. Don't fret too much on initial runs as you'll be coming back often to complete the quest chain. For now, let's focus on learning the mechanics of each fight.
Destiny 2 Warlord's Ruin Dungeon Walkthrough
To access the Warlord's Ruin Dungeon, you'll need to have purchased either the Lightfall Annual Pass or the Dungeon Key. Now that you've handed money over to Bungie for yet another time this year, you can grab the quest from Ikora Rey in the Tower to start the Dungeon in the EDZ.
Throughout your trek into the Dungeon, you'll run into a few things of note. There are multiple doors requiring Tier I, II, or III clearance. These doors contain the Ahamkara bones necessary for progressing the quest following your first completion. In a Catch-22 situation, you'll unlock the next tier provided you complete each step on subsequent runs. All in all, you're looking at four runs minimum to get everything.
The other thing to note is the various chests spread about. 95% of these chests are traps that will paralyze you and spawn several Screebs. The trick to spotting the traps is to look for a pulsing blue glow around the chest. An easy way to remember this is "See the glow? Gotta go."

Related: Destiny 2 Season of the Wish Iron Banner – Schedule, Loot, & More!
The Ascent
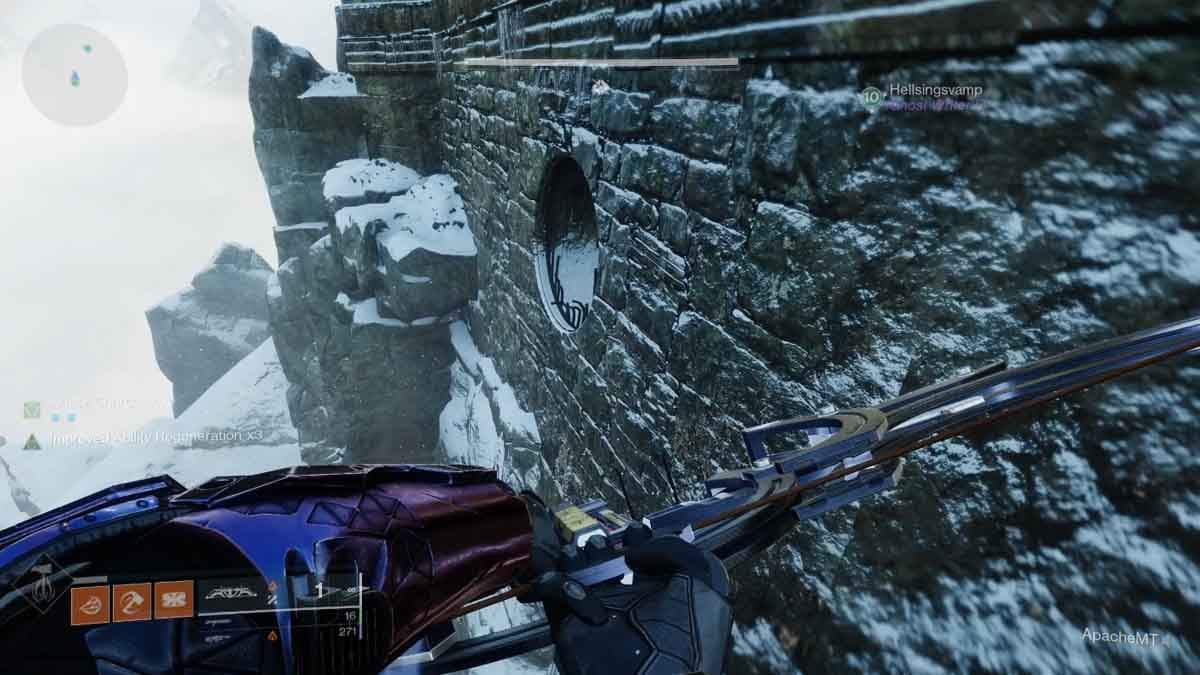
So, the first part of this dungeon is simply climbing to the entrance. There are a few branching paths, but otherwise, it's quite difficult to get completely lost. Two things to keep you heading the right way are to keep an eye out for the large red flags and simply keep trying to move "up."
The red flags are spaced such that you can use them as a reference for where to head. Up is the general direction as the whole point is to climb this mountain.
Rathil, First Broken Knight of Fikrul
This is the first encounter in Warlord's Ruin and sets the tone for what's to come. The mechanics may seem overwhelming at first and there's a very high ad density, but once you get into the swing of things, it becomes second nature and you'll be breezing through it without thinking.
Rathil is going to be immune to all damage until we can get his shield down. The encounter begins with Rathil summoning ads. Keep running and gunning to prevent yourself from being overwhelmed.
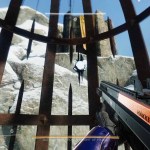
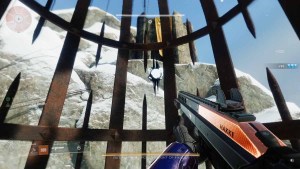
Eventually, you'll be teleported to a hanging cage. This cage will keep moving upwards and should you reach the top, it's an instant death. To circumvent this, you'll need to shoot out three Blighted Eyes. These will spawn randomly around your cage and the cages of your fireteam members. Just like equipping an oxygen mask in a plane, focus on yourself first before helping others.
Once out of the cages, a few Scorn Pylons should appear. There will be a ring around them and a Taken Blight in the center. We need to do an absurd amount of damage to the Blight in order for it to disappear and that can only be done by standing inside the circle. Any damage from outside the circle is completely ineffective.
The previous two steps must be done quickly as you'll only have 30 seconds from the time you're put in a cage until the Pylons disappear. You can track this by the "Imminent Wish" countdown in the lower left of the screen.
Breaking one or both Blights will trigger "Naeem's Wish Empowerment." This begins the damage phase against Rathil. You'll only have 10-20 seconds to do as much DPS as possible before Rathil becomes invulnerable again. Rinse and repeat this cycle until you've sent this Scorn back to the Great Beyond.

Jailbreak
Following Rathil's defeat, your fireteam will be teleported to individual prison cells. From your cell, there will be two circular discs visible, for a total of six. Shooting these discs will cause them to spin. Shoot them once more to make them stop and another time to make them spin in the other direction.
In adjoining cells will be skeletons with tally marks carved into the stones. Depending on which side of the skeleton they're on will tell you how many discs need to be spinning in that direction. So, if you have one on the left and five on the right, you'd call out something like "1L 5R" and coordinate with the other members to ensure all six discs are spinning properly.
With the discs spinning, the fireteam member who can see the lock will shoot it. If done correctly, the cells will open and you can collect your loot.
For those brave enough to try the encounter solo, you'll have greater access to all the cells so you can shoot all of the discs. However, instead of two sets of tally marks, there will only be one. So, if it's four tally marks to the left of the skeleton, you'll make four discs spin left while the other two spin right.

Escape the dungeon
Now that you're out of the cells, it's time to get out of the dungeon. It's laid out like a maze but the dead ends are small side halls instead of branching paths. Along the way, you'll see a few more of those glowing chests. Much like the ones we encountered earlier, opening them will paralyze you and spawn a Screeb death squad.
As you navigate the hallways, there will be several Corrupted Ravager patrols. Make sure to shoot their lanterns to kill them more easily. Eventually, you'll reach a tower consisting of several destroyed floors. Hop up to the top and make your way outside.
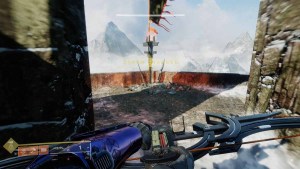
After jumping along the cliffs, you'll reach a large stone bridge. There will be plenty of enemies between you and the next section, including a big floating meatball of a chimera. This blimp can't be shot down, so you'll want to play cautiously as you take out the throngs of foes.
Once you reach the "entrance," you'll find it's anything but. To get inside, you'll need to wrap around the left side of the building until you see a tunnel on the side of the wall with a busted gate. Head inside. After creeping and crawling through a few crevices and holes, you'll come to the next encounter.
Locus of Wailing Grief
Before beginning the encounter, make a mental note of the four pillars in the central courtyard. The objective is to light those pillars so the boss can be damaged. Also, make note of the torches along the rear edge of the castle wall. Every few meters will be a torch. Standing next to these torches will give you the "Shelter from the Storm" buff. Always know where the closest one is as they are the only way you'll survive this fight.
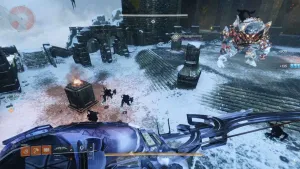
When the fight starts, a Taken Ogre, the Locus of Wailing Grief, will appear in the courtyard. Running the length of the arena will be Blighted Eyes. We need to kill all of the Blighted Eyes to trigger the next part of the fight. However, before doing that, I highly recommend taking out the two Taken Minotaurs in the courtyard as they can be problematic if left alive.
Once the Minotaurs and Eyes have been dealt with, your fireteam will be hit with the Biting Cold debuff. This will gradually slow you down and you'll die upon reaching 10 stacks of it. Standing next to the aforementioned torches will clear the debuff.
Once this phase begins, you'll see "Imminent Wish..." in the corner of the screen with a 30-second timer. On either side of the upper section will be a Scorn Knight. They will create Scorn Pylons with Taken Blights just like in the Rathil fight. That same mechanic applies here, sans the hanging cages.
For each Blight destroyed, you'll receive a Solar charge in the center of the upper ledge. The objective is to take four of these charges to the pillars in the courtyard below. Once all four pillars have been lit, the damage phase begins.
Around each pillar will be a circle. Standing in the circle protects you from the Biting Cold debuff while also providing Naeem's Wish Empowerment buff. Essentially, you need to stay inside the circle to stay alive and do damage to the boss.
It is critical that you and your fireteam stand near the same pillar as when the buff wears off, any pillars that had been activated will be extinguished. By rotating to each pillar as a team, you can extend the damage phase. When the boss is invulnerable again, get away from it and start the cycle over again.

Hardcore parkour
As is customary for a Destiny 2 dungeon, the phases between a boss fight must be filled with running, jumping, and climbing. There's nothing noteworthy about this ascent aside from another appearance by the flying meatball. Like before, it's invulnerable, so take your time and move carefully to avoid the 45-second revive timer.
Before you climb the staircase to the final encounter, you'll notice a Taken Rift. Odds are you don't meet the requirements yet, but fret not, you'll get put on the right path after the initial run.
Hefnd's Vengeance, Blighted Chimaera
Alrighty, this is the culmination of everything we've learned up to this point. The fight against the Blighted Chimaera is divided into three phases on each of the four sections. It will be a little overwhelming out of the gate, but trust me, it's a lot easier than you think once you get into it.
The fight begins at the lowest section. After summoning the boss, it will spawn a bunch of Taken Psions in addition to two Taken Wizards and several Blighted Eyes. Like in the Locus of Wailing Grief fight, destroying the Eyes will trigger the next phase. However, taking out the Wizards beforehand will make the next part easier.
With the Wizards and Eyes dealt with, pools of corrosive Taken energy will begin appearing on the ground. Shooting the orbs above the pools will clear them. The Scorn Knights and their Pylons also return with a new trick this time.
When the Knights appear, you'll be afflicted by the "Hex of Vengeful Corruption" debuff. Within 17 seconds, you must melee an invincible Scorn to transfer the debuff to them. Note that if you are hit back, the debuff will return to you. As such, I advise holding onto it until the timer is running low, transferring it, and running away. Failure to do so will result in instant death.
With the Pylons dealt with, you can begin damaging the boss. Once you clear the first section of its health, it will teleport up to the new area. Follow it up there, repeating what you just did.
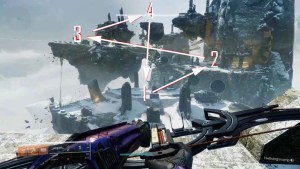
Eventually, you will reach the top of the arena, a circle of floating platforms orbiting the boss. You don't need to worry about the previous mechanics and can go HAM here. Note that the boss will corrupt the current platform, and you'll need to rotate to the next one to survive.
Eventually, you'll be teleported back to the bottom of the arena where the whole thing starts over. Keep it up until you've reunited this flying meatball with the great pasta in the sky.
Before leaving the dungeon, make sure you loot the Ahamkara bones next to the final treasure chest. They're required to complete the quest from Ikora and progress to the next step.


Destiny 2 Warlord's Ruin loot
While I have the loot pool for each boss broken down in this article, here's a quick sheet of what can be found on your adventures in this EDZ haunt:
| Weapon Name | Slot | Element | Type |
|---|---|---|---|
| Vengeful Whisper | Kinetic | NA | Combat Bow |
| Endebted Kindness | Energy | Arc | Sidearm |
| Naeem's Lance | Energy | Strand | Sniper Rifle |
| Dragoncult Sickle | Power | Strand | Sword |
| Buried Bloodline | Energy | Void | Sidearm |
For more Destiny 2 content, check out All new Destiny 2 Season of the Wish weapons & how to get them on Pro Game Guides!