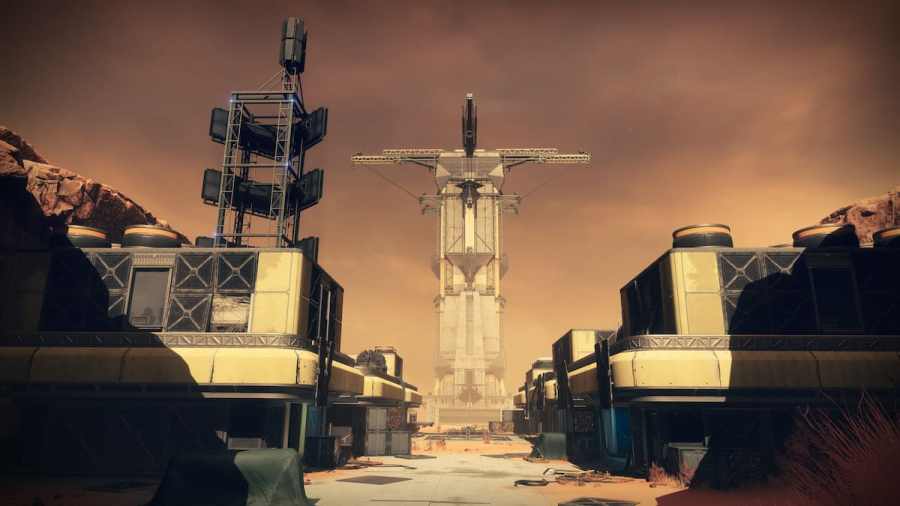
The Vex are assaulting a critical installation related to Rasputin's functions. It's up to the Guardians of Destiny 2 to ascend the Spire of the Watcher and prevent the Vex from integrating the Warmind's functions into their own systems. Along the way, there will be plenty of puzzles to solve, enemies to fight off, and bosses to drop for sweet loot.
Spire of the Watcher Core Mechanic
The base puzzle mechanic for Spire of the Watcher involves restoring power to terminals. This is done by finding the starting point of a line of pipes, shooting the junction points when under the Arctrician buff, and following the course to the terminal. To get the Arctrician buff, Guardians must slay the Minotaurs that spawn and stand in the Vex pool that they drop upon defeat. The buff lasts 30 seconds, and more time will be added for each junction shot.
When it comes to the pipes, they come in two colors. Yellow pipes will hold the charge indefinitely. Players have time to figure out where the pipes lead, obtain the buff, and string together the current. Red pipes are on a relatively short timer, and Guardians must complete the circuit before the charge is lost.
Spire of the Watcher Boss - Akelous, the Siren's Current
After ascending the tower, Guardians will face off against their first boss in Spire of the Watcher, Akelous, The Siren's Current. This fight will make use of yellow pipes. There are four that are spread out in cardinal directions from the center of the map. We recommend Guardians split up on the first three and tag up for the fourth arm. Remember that adds, including your Minotaurs, will constantly be spawning, so try and keep them under control, but don't lose focus on charging the terminals.
Akelous will float out to meet the fireteam after charging the fourth terminal. Much like Garden of Salvation, it will strut like a peacock and show off its pretty eyes. Reward this vulgar display by shooting them all out. Once all the lights go out, Akelous will be vulnerable to damage. Pop a bubble, drop a well, break out Divinity and your linear fusion rifles, and go to town. Achelous will retreat to the center of the map. Follow along, but drop into the hole on whatever catwalk you're on to save yourself from being sent flying when Akelous goes boom. There isn't an enrage timer, so take as many DPS phases as needed to ground this flying pain in the butt.
Related: It’s Season 19 of Destiny 2 and fans are angry, once again – Here’s why
Spire of the Watcher Boss - Persys, Primordial Ruin
It's time to put everything you've learned to practical use in this hectic encounter. This fight is divided into two rooms. At the start of the fight, Persys will be in Room #2. The first objective is to open the doors. Before that, note the layout of Room #1. Four columns in the center with red pipes on the inside feed the fifth switch above the doorway to Room #2. On the outside of those same columns are yellow pipes that lead to terminals in Room #2.
When the fight starts, two Hydras will spawn on opposite sides of Room #1. Kill them to make the Minotaurs spawn. You should know the routine by now. Kill the Minotaurs, stand in the Arctrician buff, and hit all the red pipe junction points to open the doors to Room #2. Note that the big door in the center is open, as are the two smaller doors on either side.
With the door opened, Persys will begin wandering between the rooms. It is extremely hostile and will quickly drop a Guardian. Be aware of its location at all times! This phase aims to feed power on the yellow pipes to room two. Each time this phase rolls around, there will be randomly selected nodes on the columns in Room #1. Simply find the open ones and chase the power to their respective terminal.
Before activating the final terminal, make sure that Persys is in Room #2! The reactor will be active, and Guardians need to immediately hoof it to Room #1, drop the Minotaurs, and activate the red switch to close the main door. The reactor will fire, and Persys will lose his shield. Once the reactor is done doing its thing, the main door will open, and Persys will enter Room #1. This marks the start of the DPS phase. Much like Akelous, use whatever buffs you have in conjunction with your weapons that hit the hardest. The damaged window is short, so you'll want to make the most of it.
Once its shield is back up, Persys will wander the rooms again. This marks the beginning of the rotation again. There isn't an enrage timer for this fight, so play safe, play smart, and take your time. Eventually, you'll drop Persys and hopefully nab a pretty nifty bow for your troubles.
For more Destiny 2 goodies, check out Where to find All 12 Resonance Amp locations in Destiny 2 on Pro Game Guides.