If you can’t get enough of escape rooms in real life, you’ll relish the chance to become a member of the Escape Academy and work your way through a series of tough puzzles in the computerized equivalent. It’s a tough ask to work through all thirteen parts of the academy, with extra pressure being put on you by the dreaded countdown clock. So, if you’re a little bit stuck, below you’ll find our Escape Academy final-level puzzle guide and walkthrough for What Lies Below.
How to beat the last level in Escape Academy - Walkthrough
Room 00
You’ll see a pair of glasses on the second bust on a plinth by the lockers. Grab them, and you’ll be able to see hints written in pink writing that are on the walls. Now head to the lockers, opening the four you can open to get the code for the locked one (thanks to the glasses). Starting with the dial on zero on the locked locker, turn it right 10, left 25, and then right 15. Inside, you’ll find the test sheet and headmaster’s pin. Take both.
There’s a machine just to the left of the door marked 00, next to which is a sign saying, Only an ace may enter. Put the test paper into the machine, mark it A, C, and E, press enter, and move on to the next room (not forgetting to take the test paper with you). Note the test paper has five rows, so that is one down and four to go.
The disco room
In this room, you'll see a five-by-five grid of colored floor tiles. A screen at the far end shows a combination of tiles. While on each side of the room are a series of tall tanks attached to torches, each of which has a button. Follow the path on the screen by moving across the colored tiles in order, and you’ll arrive at a torch. Activate it to light a torch and get the next clue to appear on the screen.
Repeat this until five torches are lit, at which point the monitor display will change to Exit. The only tricky path is the last one, which requires you to cut back on yourself and walk across some tiles twice. This may feel wrong but go with it. Note that each lit torch has a circle and letter beneath it, with the filled circles being the letters you need. The answer you’re looking for, to input on the second line of the test sheet, is B, C, and D. Before leaving, remember to grab the test paper once more. Also, grab the 12-volt battery that is on the shelves. You’ll need it later. You also need to charge the battery, which you can do with the tesla coil here.
Pipe puzzle room
This is similar to a previous puzzle in which you needed to connect the pipes to light up the bulbs. You’ll need to connect the pipes in various ways to make a circuit from the left to the right side. There’s not a right answer this time, though. Instead, you just have to light all the bulbs (not all at once) and remember which will be green when lit. This will be lights A, D, and E. Which, you guessed it, will be the next three answers on your testing sheet. Put these answers into the machine by inserting the paper again, and you’re done (again, don’t forget to take the test paper with you).
Morse code room
The next area (with green walls) has a pink eye on the wall. Ignore that for now and move on to the next room. You’ll see the letters A to E written on the wall, each with dots and dashes above them. You need to move the five pillars in the room to their corresponding letters, which you can work out by the blinking lights on each column. A dot is a short blink, and a dash is a long blink. The column order, from shortest to longest, is C, B, A, E, D. Once in the right spot, each column will reveal a circle. Once again, the ones that have the circle filled in are the ones you need to enter on your test sheet. This time is it just B and D.
Before you leave the room, move the columns so that they make a set of stairs leading up to where you’ll see a vent marked Restricted: Keep Out clearly marked in pink (thanks to the glasses). Climb up and use the headmaster’s pin to open it. You'll be back later. Now, take your sheet to the next room for your final line of test results.
Chemical mixing
Here you’ll find five canisters (labeled A through E), each containing a different liquid. By the testing machine, you’ll see the question, Which tank(s) contain water? To solve the puzzle, look at the screens that show only one combination can contain H20 (water). Through experimentation, you’ll find the only canister that can do this is the one marked D. Enter D on the sheet via the machine, and you have the solution you need to get to Quanty.
Defeating Quanty
You now need to get into the central mainframe. Head to the chemical mixing room and grab Cannister D (which contains water). Go to the green-walled area before the morse code room where you saw the pink writing on the wall earlier. Use the headmaster’s pin to remove the bolts, giving you access to a hidden vent that gets you into the mainframe room.
Related: How to complete Mission Two Entrance Exam in Escape Academy
Inside you’ll find three terminals. One has a label that reads, Warning: Max load 5V. Use your charged 12V battery to overcharge it. Another reads, Warning: No water. Use your canister of water here. The final terminal has a five-by-five grid, which happens to match that of your test paper. Use the same sequence you’ve marked on your test sheet, which will spell out self destruct. With the three terminals down, you’re almost there.
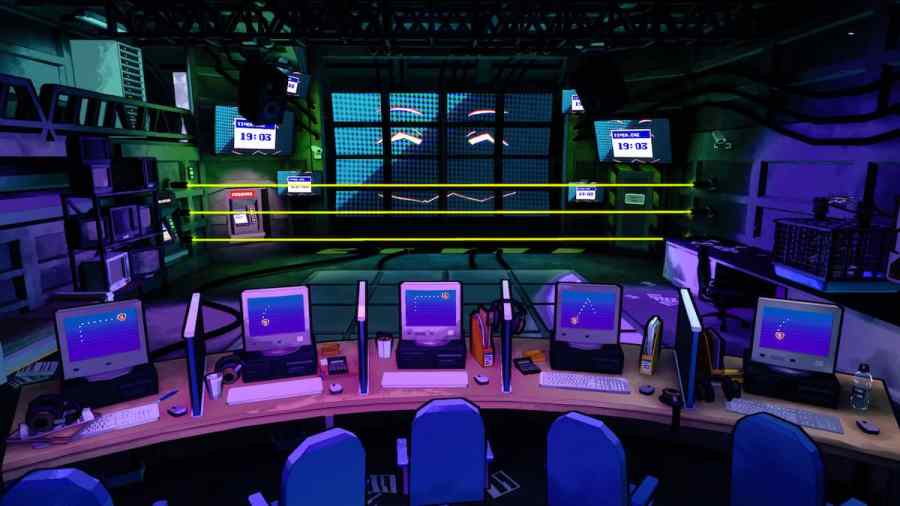
Finishing the job
Go back to the morse code room, climb up the stairs you made from the pillars and go into the vent. Follow the walkway there until you find a big red button. Press it, then head back along the walkway until you get to the ladder that’s on the wall. Push it down and climb down it. Multiple screens have appeared in the center of the mainframe room, and they need to be decoded to finish the job:
- PARA(M180O)OUNT (I)S STUDENT COM(P)LIANC(E): WIPE
- TOTAL CONTROL IS JUST THE (STARTOPPOSITE): STOP
- (F3)RIENDS(H7)IP I(S6) A WASTE OF R(E2,5)SOU(R1, 4)CES: REFRESH
- FUN I(S+2) A FOR(M+1) O(F-2) INEFFICIE(N+1)CY: UNDO
- (CREAT(E3) THE BES(T+1-5) ESCA(P2,6)ISTS, (N4)O MATTER THE C(O1)ST.)OPPOSITE: SHUT DOWN
With those entered, you have defeated Quanty and won through the Escape Academy!
Want more on Escape Academy? Check out Is Escape Academy crossplay? and All achievements/trophies for Escape Academy here at Pro Game Guides!