
Upon entering the temple in the To the Night, What is the Night's World Quest, you must find a way to venture deeper into the ruins. To do so, solve three lantern puzzles to unlock a mechanism to reduce the water level. Here's how to find and solve them.
How to find a way to venture deeper into the ruins in Genshin Impact – To the Night, What is the Night's
The puzzles below can be solved in any order.
Puzzle #1
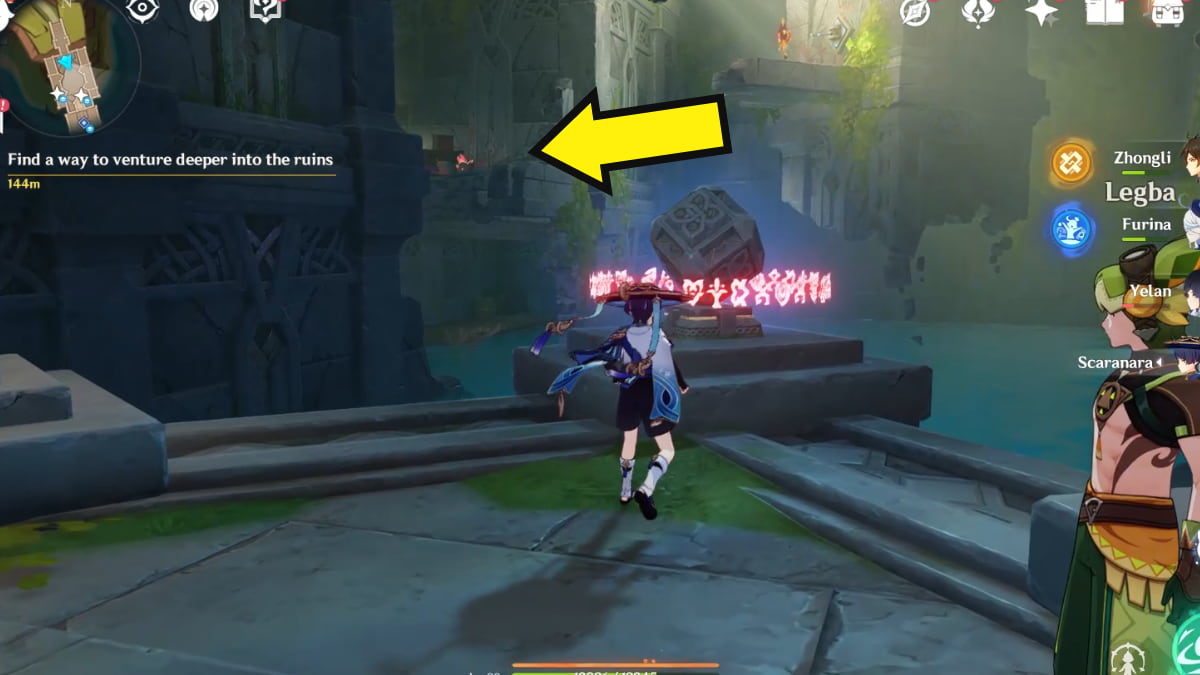
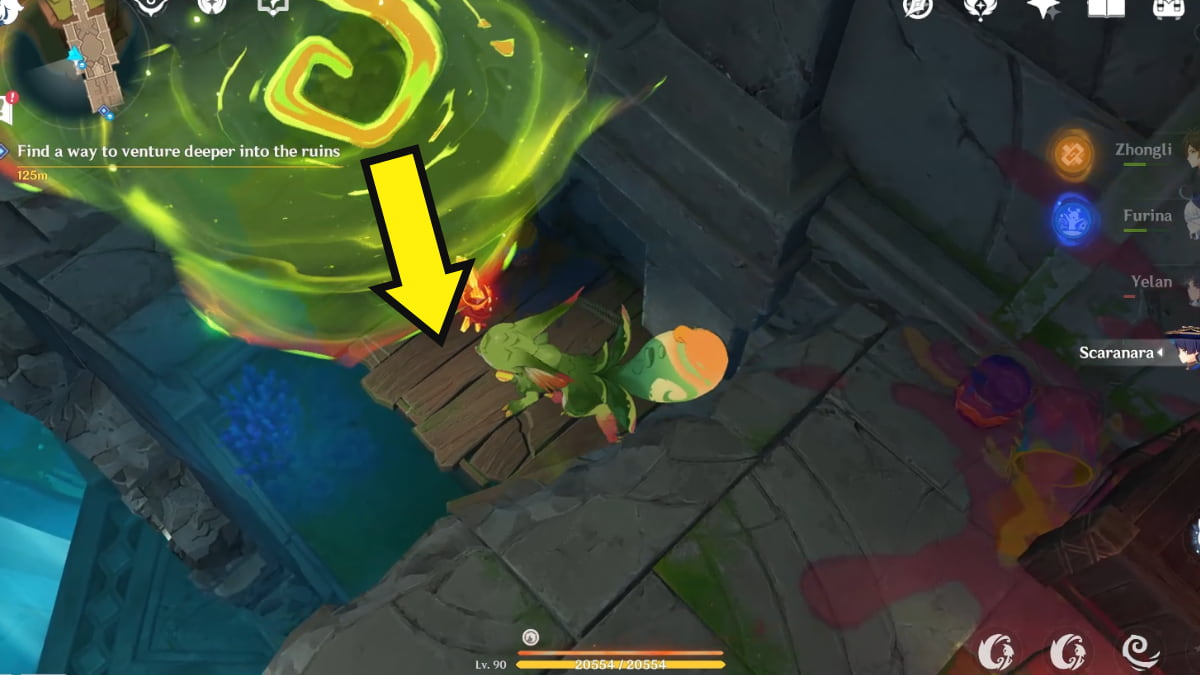
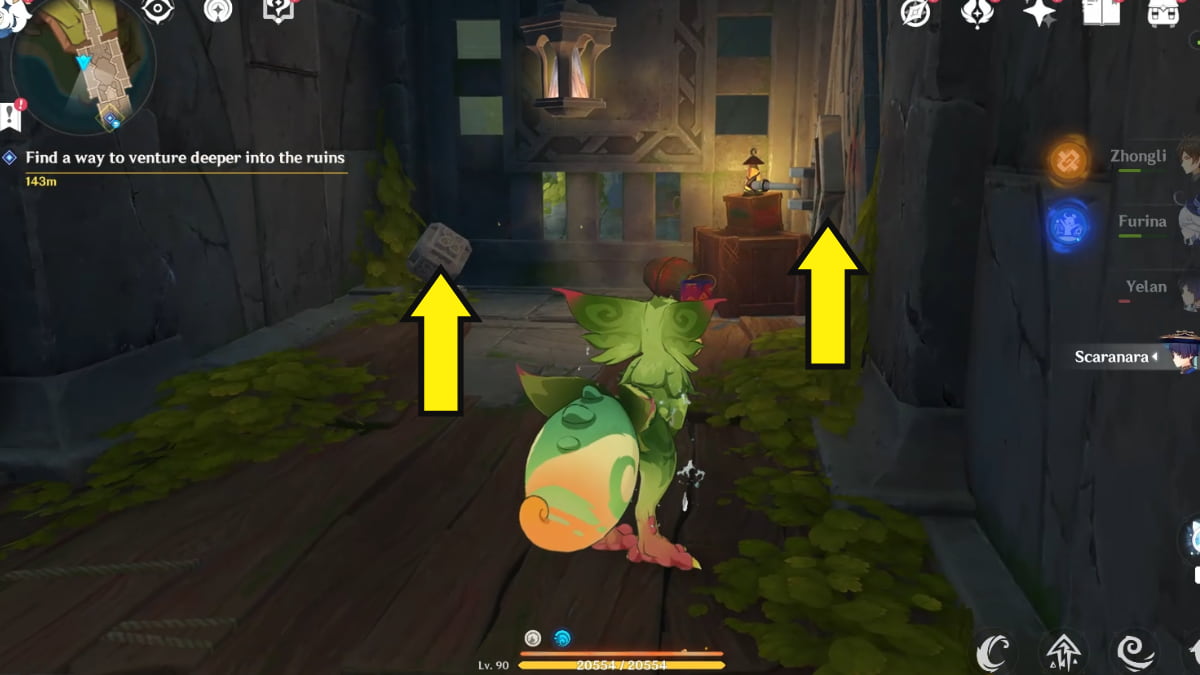
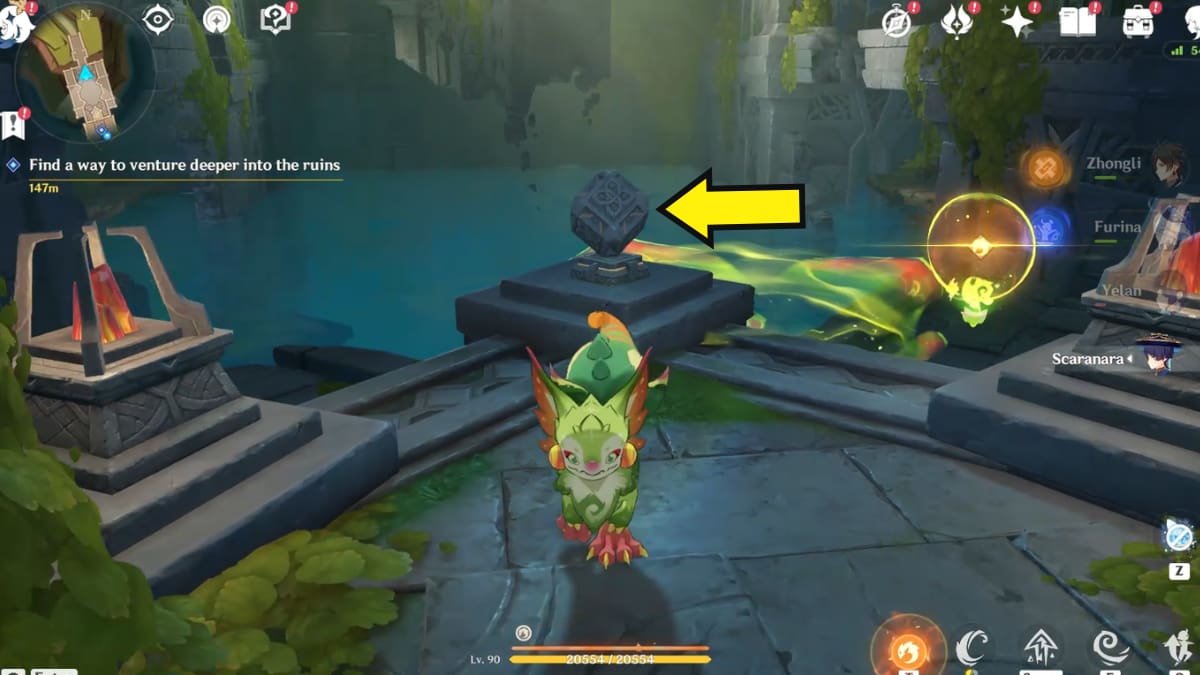
Upon being presented with the quest objective, transform into a Yumkasauri using any of the symbols inside the ruin. Then propel toward the small corner where the arrow is pointing above, to the left of the locked mechanism (the area is on the right side of the map, as shown in the image below).
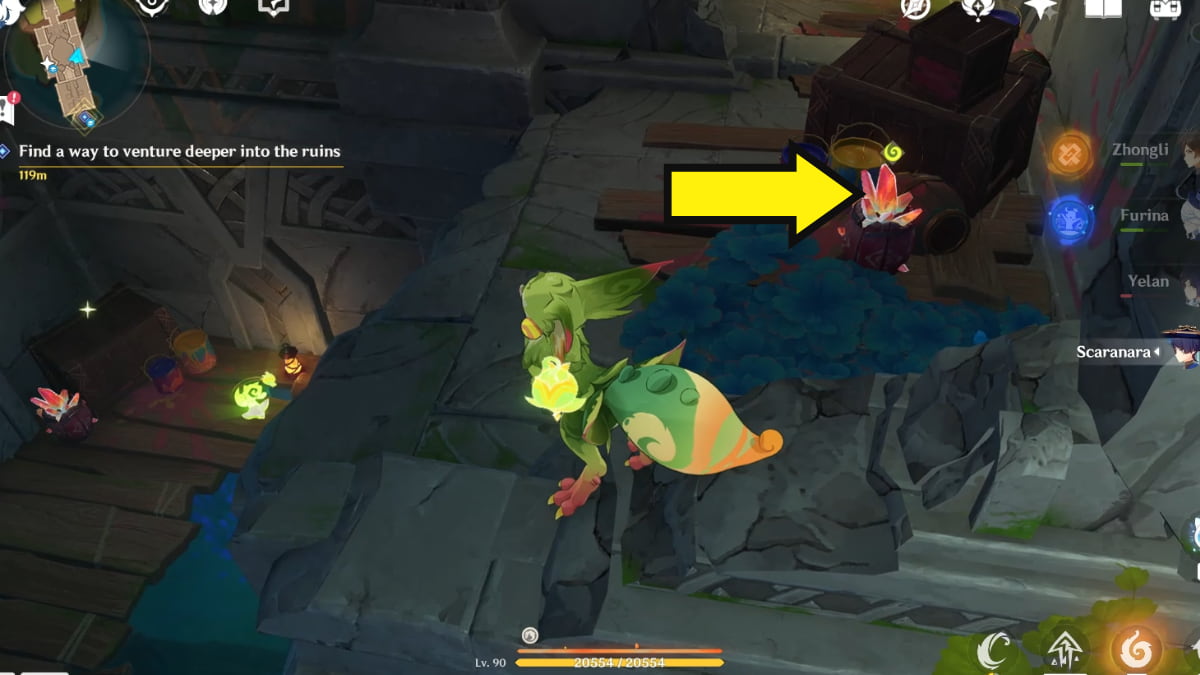
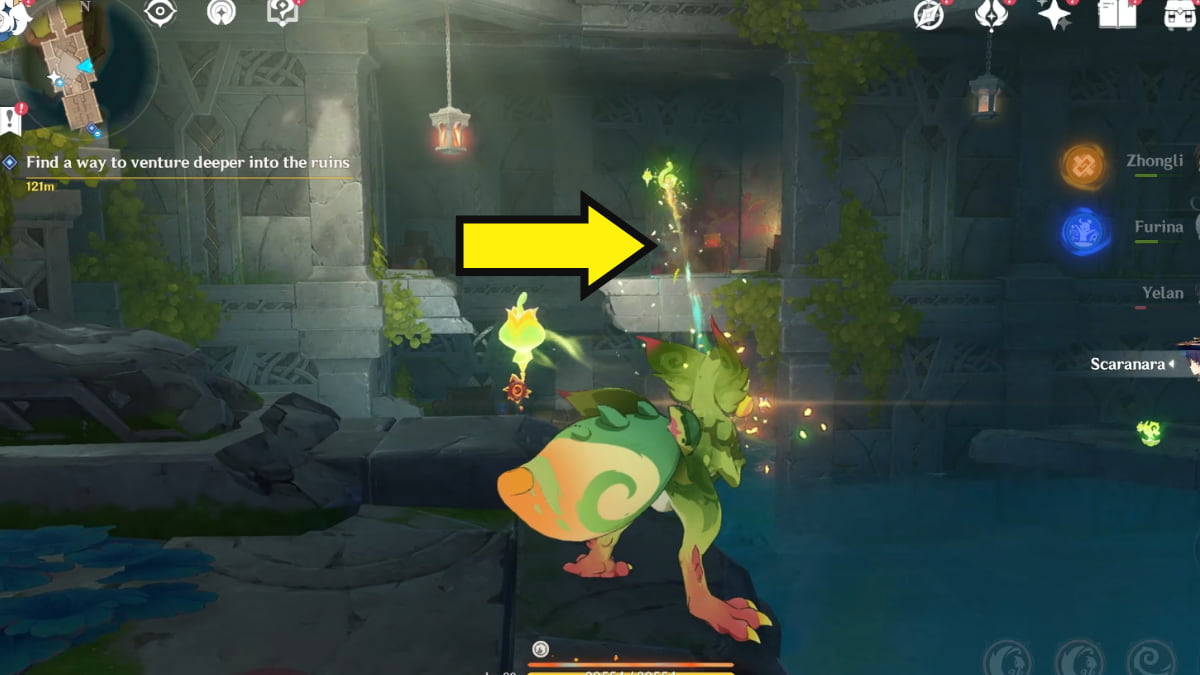
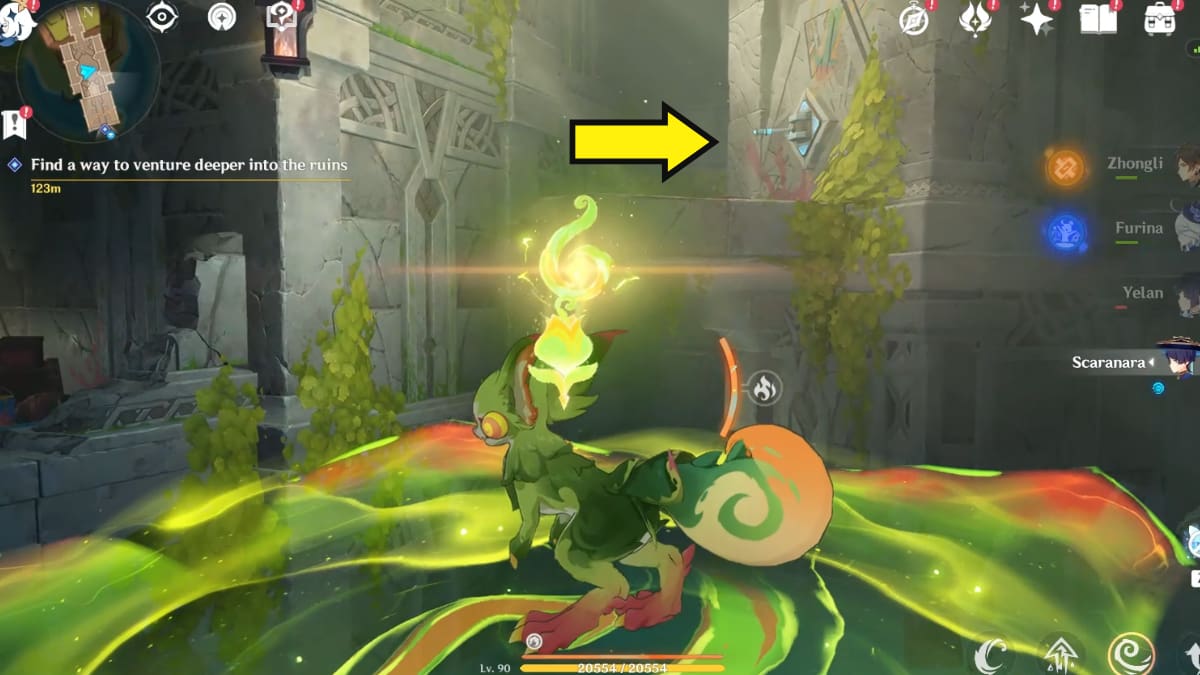
Once you've propelled yourself to the designated location, use the Yumkasauri's Elemental Skill to pick up a red crystal, as pictured above.
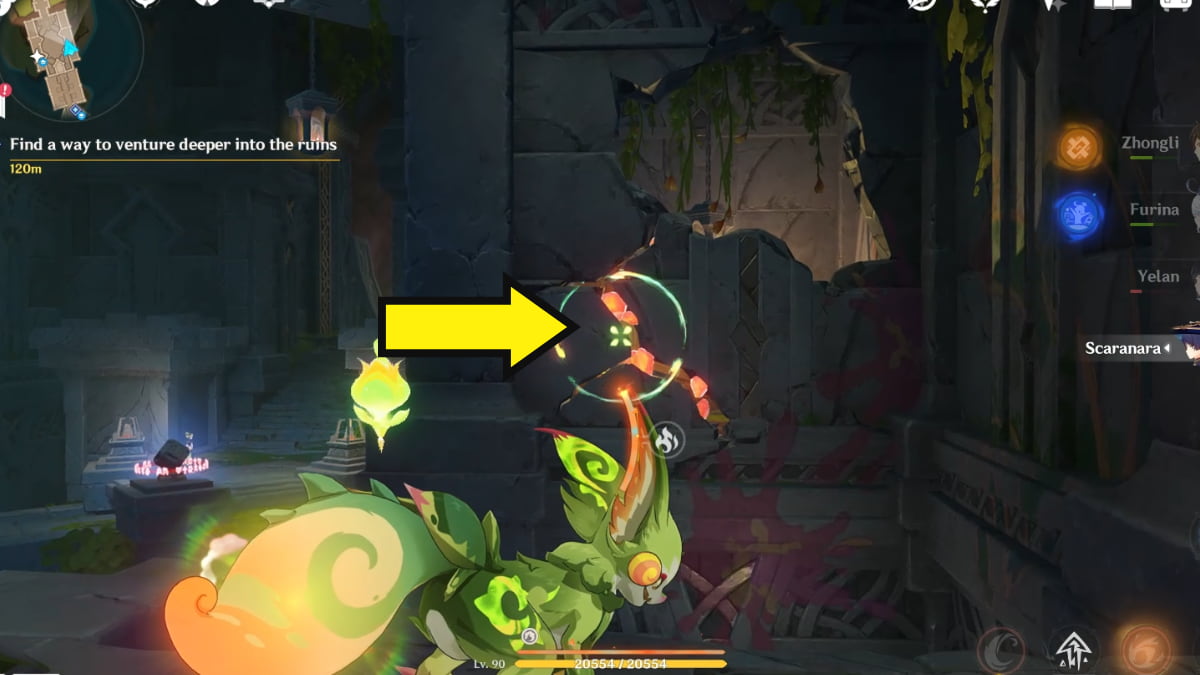
You must then press and hold the Elemental Skill button and aim at the broken wall on the opposite side. Release to throw the ball and subsequently break the wall, revealing a small room. Enter the small room.
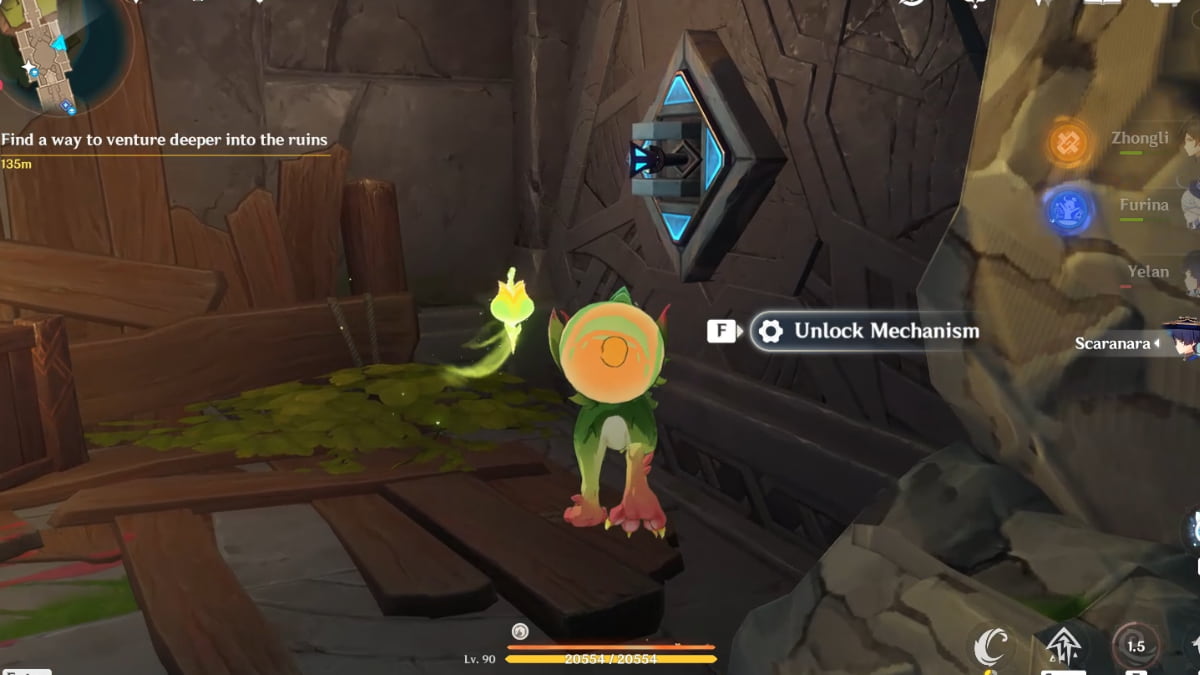
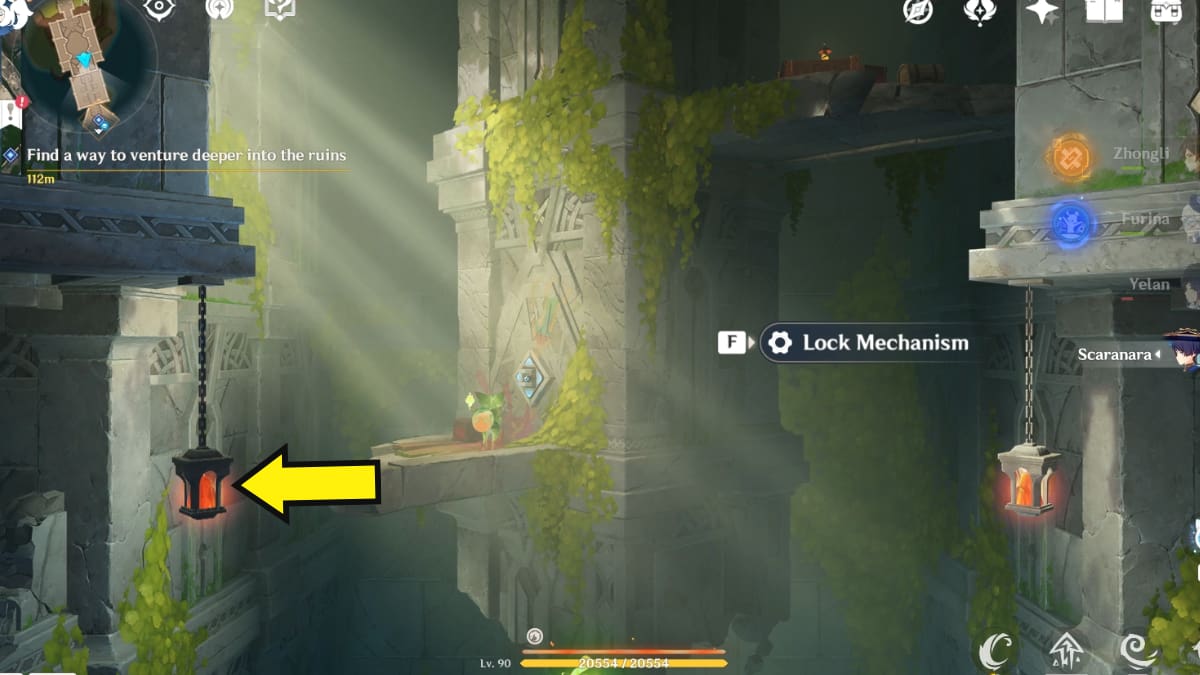
Inside the small room, you'll find a mechanism on the wall. Interact with it to unlock the mechanism and trigger the puzzle.
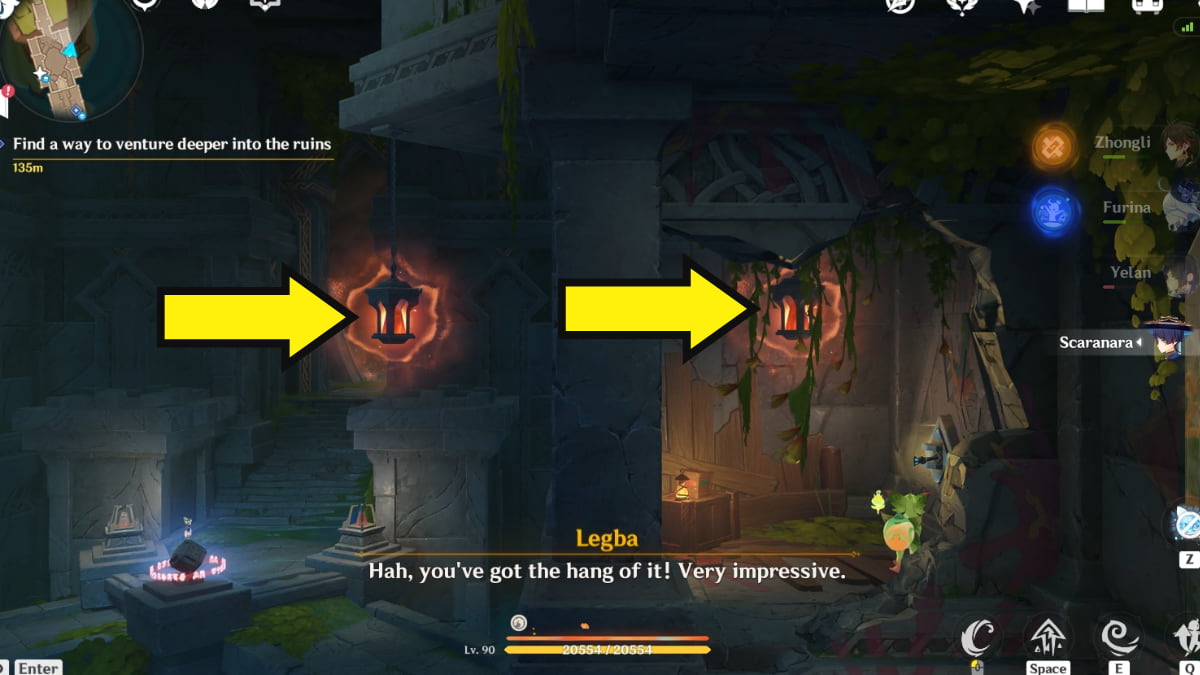
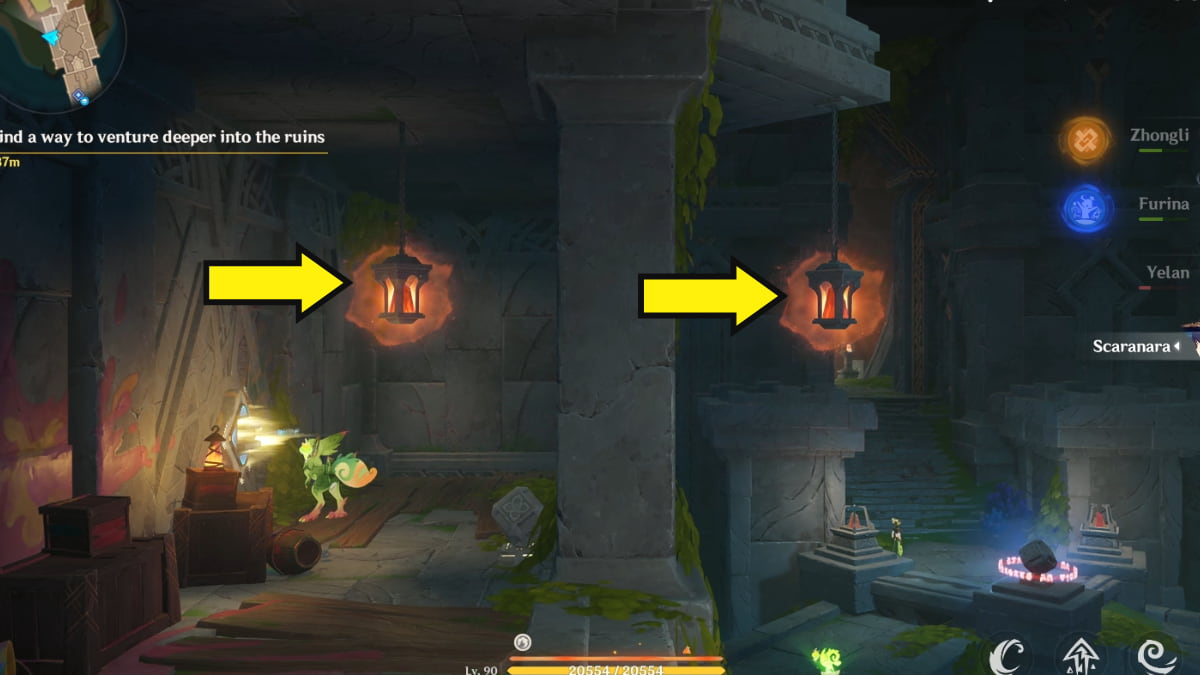
The lamp on the left will move up and down. As soon as both lamps turn red, press the interact key to lock the mechanism, completing the challenge.
Puzzle #2
Next, head to the platform on the opposite side of the room with the help of the Yumkasauri's Elemental Skill. You'll land on the left side of the map (refer to the mini-map in the image below).
As soon as you step onto the platform, the gate beside you will close. Jump down to the wooden bridge below.
The wooden bridge will lead you to a small pocket in the building, which houses a ladder that leads up to the second floor. Climb the ladder.
Once you're on the second floor, you need to interact with two mechanisms in the following order:
- Interact with the mechanism on the ground to unlock the gate.
- Interact with the mechanism on the wall to unlock it and trigger another lamp sequence.
Both lamps will move simultaneously. Wait until they both turn red, then press the interact key to lock the mechanism. Doing so will complete the objective in this section.
Puzzle #3
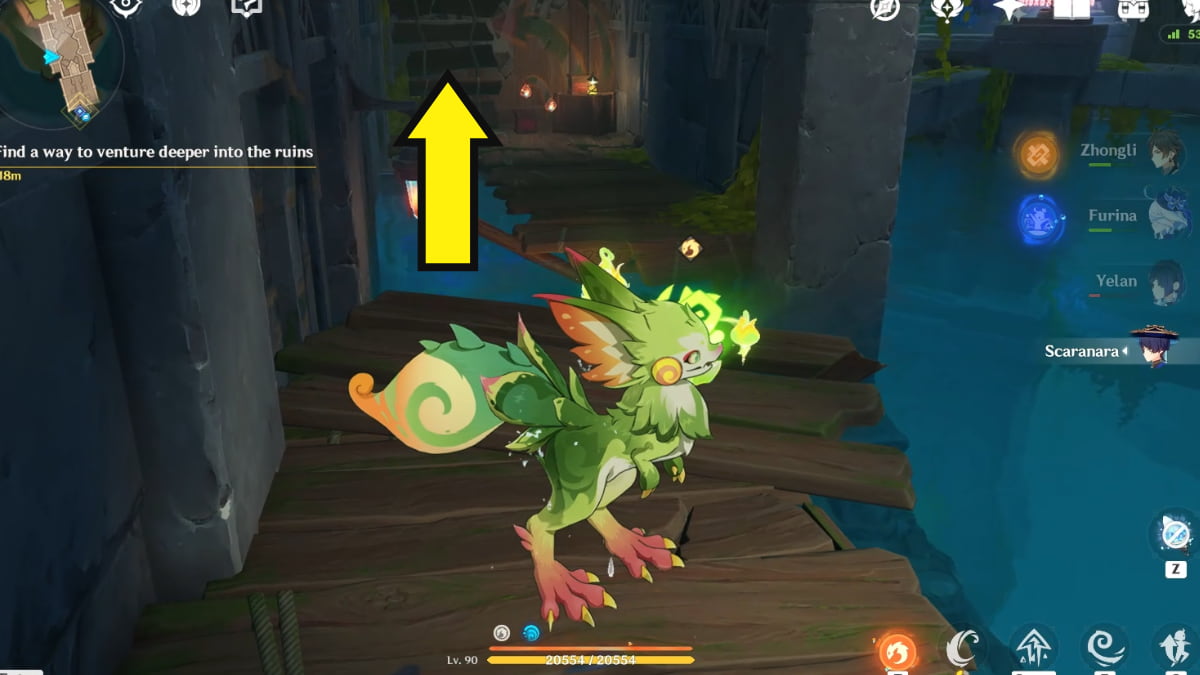
The last puzzle is located on a platform attached to a pillar at the center of the clearing. Use the Yumkasauri's skill to reach the platform where the arrow is pointing above. Then, interact with the mechanism on the wall to unlock it.
The same lamp sequence will start. Pay attention to the lamp on the left. As soon as it turns red, press the interact key to lock the mechanism. Doing so will complete the puzzle.
Once all three puzzles are completed (in any order), return to the starting point to find that the mechanism has now been unlocked. Interact with it to force the water level to go down.

When the water level has gone down, jump/glide to the bottom, where you'll find a Precious Chest waiting for you. From there, follow the path up ahead to complete the quest objective.
To cook Natlan dishes, check out our guide on Mualani’s Special Dish and How to cook it in Genshin Impact – Pass the Luck here on Pro Game Guides.