
Aqueous Tidemarks is a Genshin Impact World Quest that you can accept in the Court of Fontaine. It involves accompanying a diver named Virgil to the Liliacruses Forum, which supposedly houses treasure. While this quest is supposed to introduce players to Fontaine's underwater diving mechanics, I highly recommend learning them yourself beforehand to ensure you don't get lost in the puzzly structure of the Liliacruses Forum.
How to unlock & complete the Aqueous Tidemarks World Quest in Genshin Impact
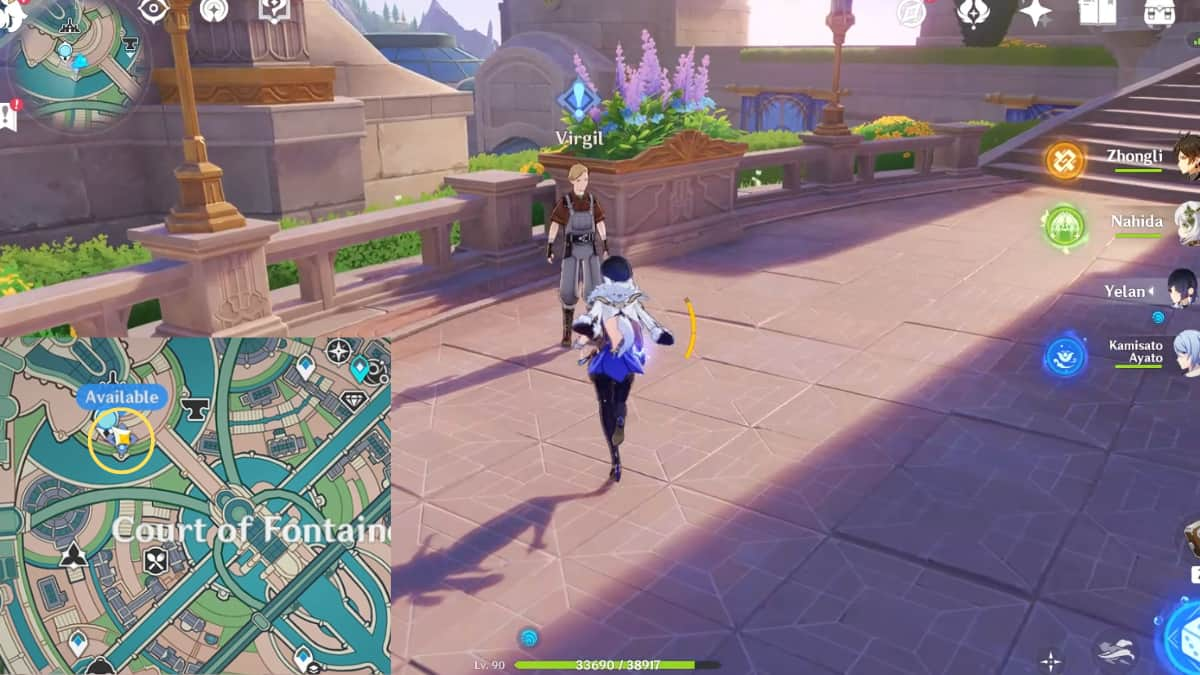
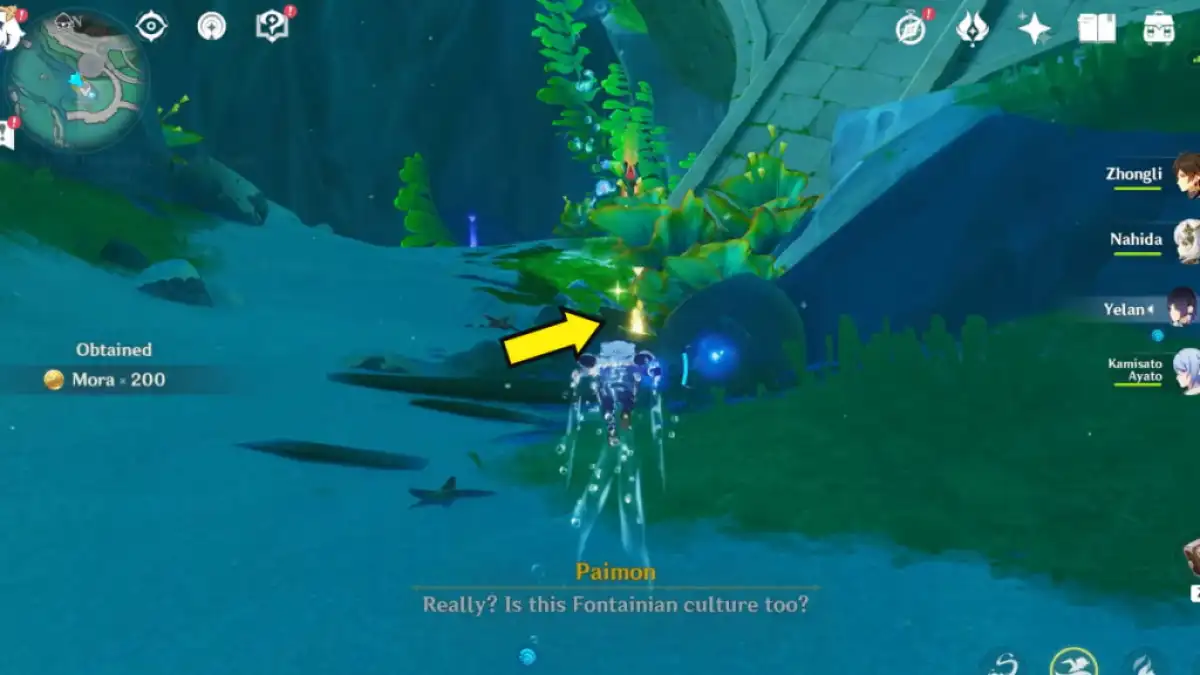
You receive the The Aqueous Tidemarks World Quest from Virgil, who can be found in front of the Palais Mermonia Statue of The Seven. Speak with him to engage in lengthy dialogue about the Liliacruses Forum. You'll automatically be teleported to the diving spot.
Search for and collect clues
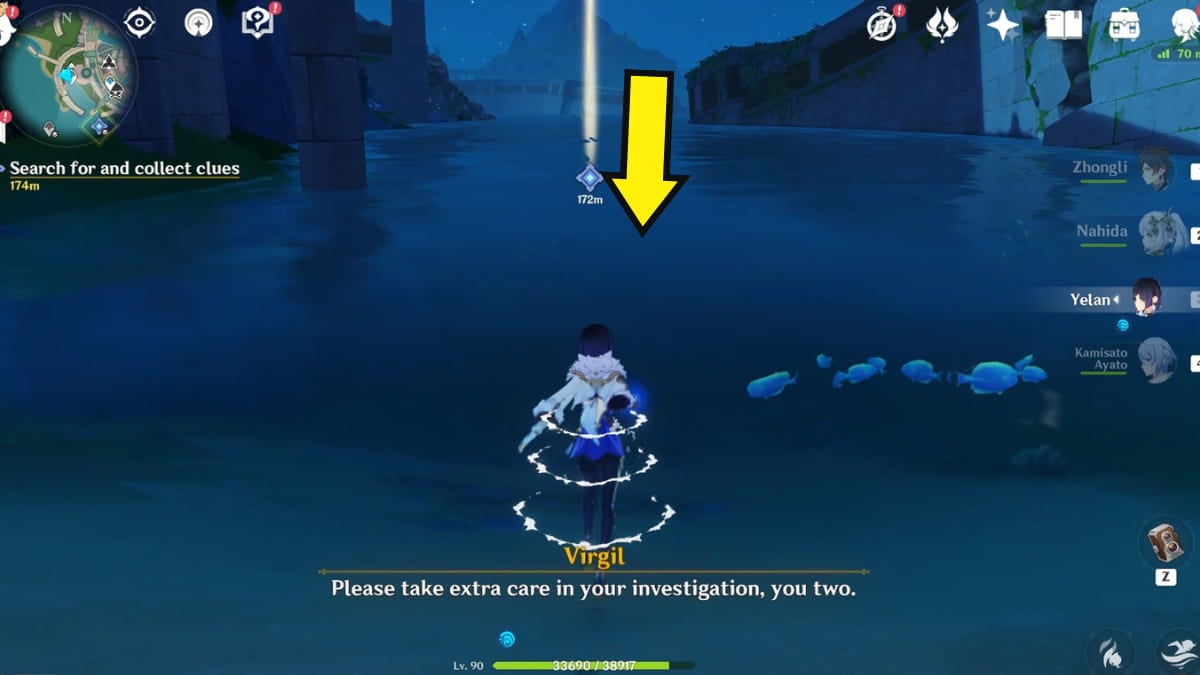
After even more dialogue with Virgil, you'll be prompted to search for clues. Start swimming in the water in front of you, then dive into the underwater world to begin your search.
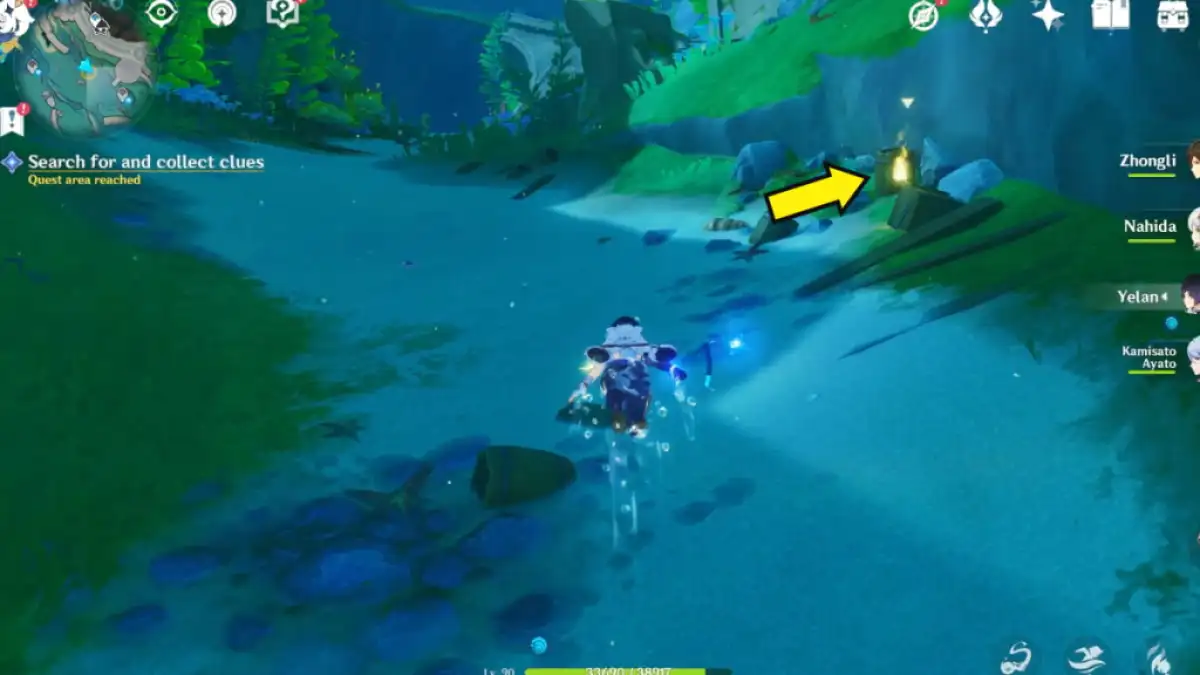
For this segment, reference the highlighted area in the mini-map to easily find clues in the form of glowing investigate spots. Following the path toward the Teleport Waypoint, interact with the three glowing spots to proceed.
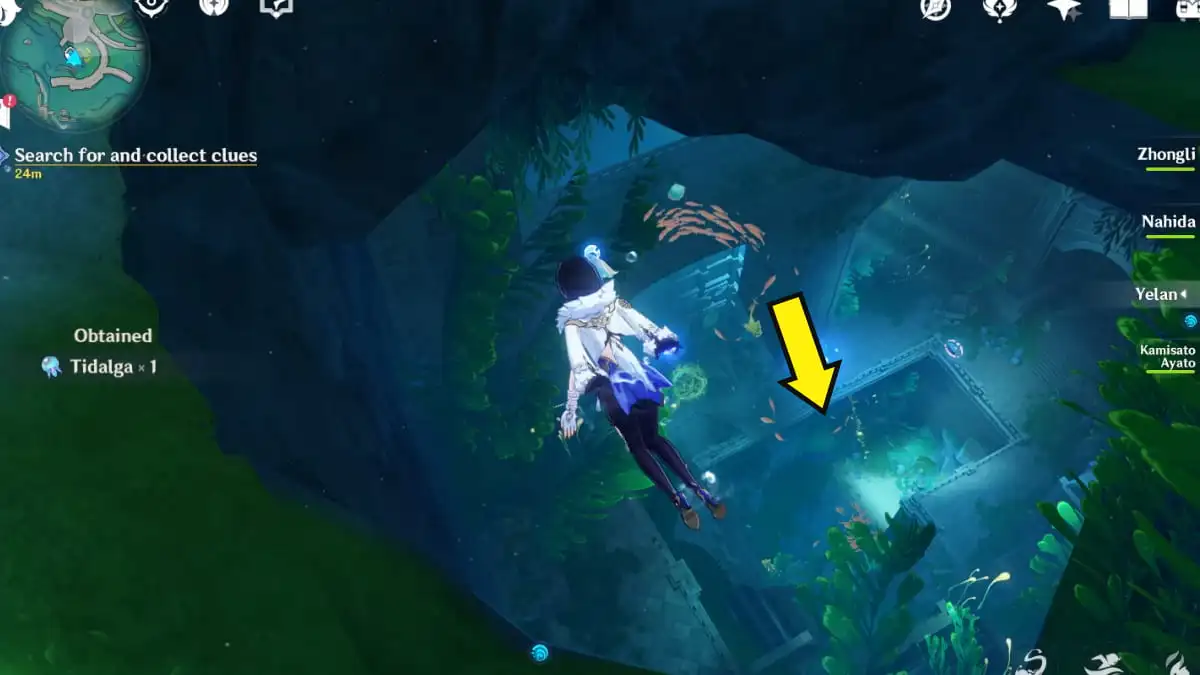
Beyond the Teleport Waypoint, you'll find a massive ruin deeper into the sea. Dive downward to push the story forward.
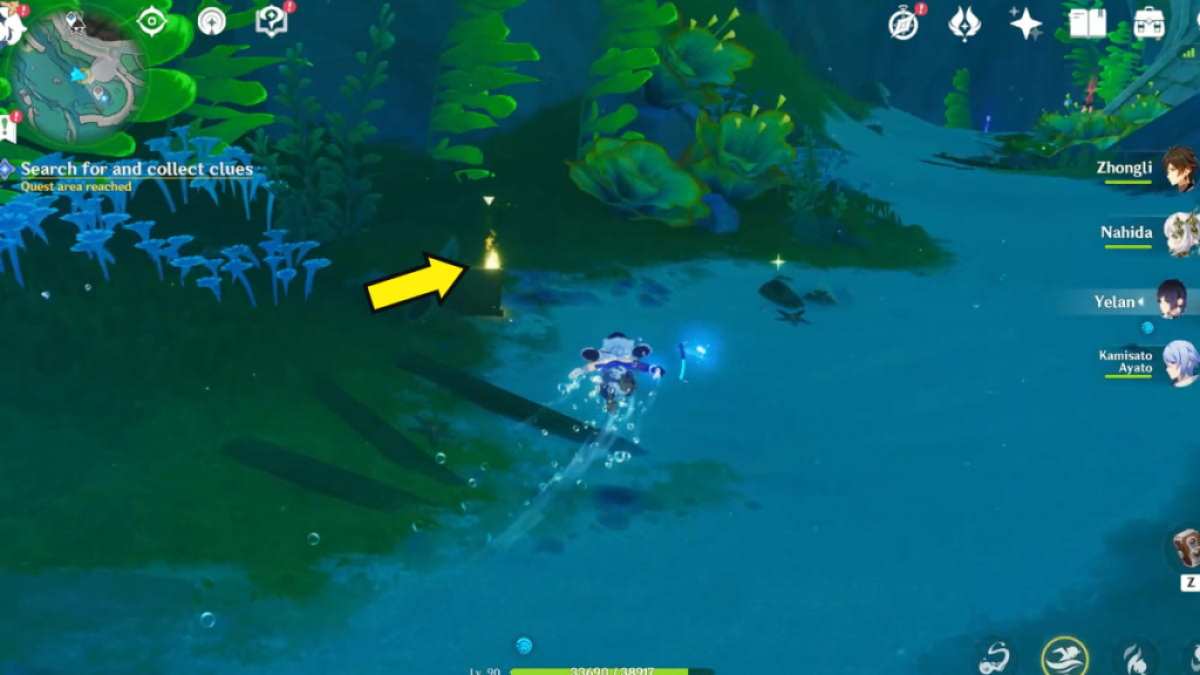
Explore the former site of the Lilacruses Forum (get Ancient Key)

You need to get rid of some Fontemer Seagrass to proceed, so absorb the ability of a Xenochromatic Hunter Ray floating in the ruin.
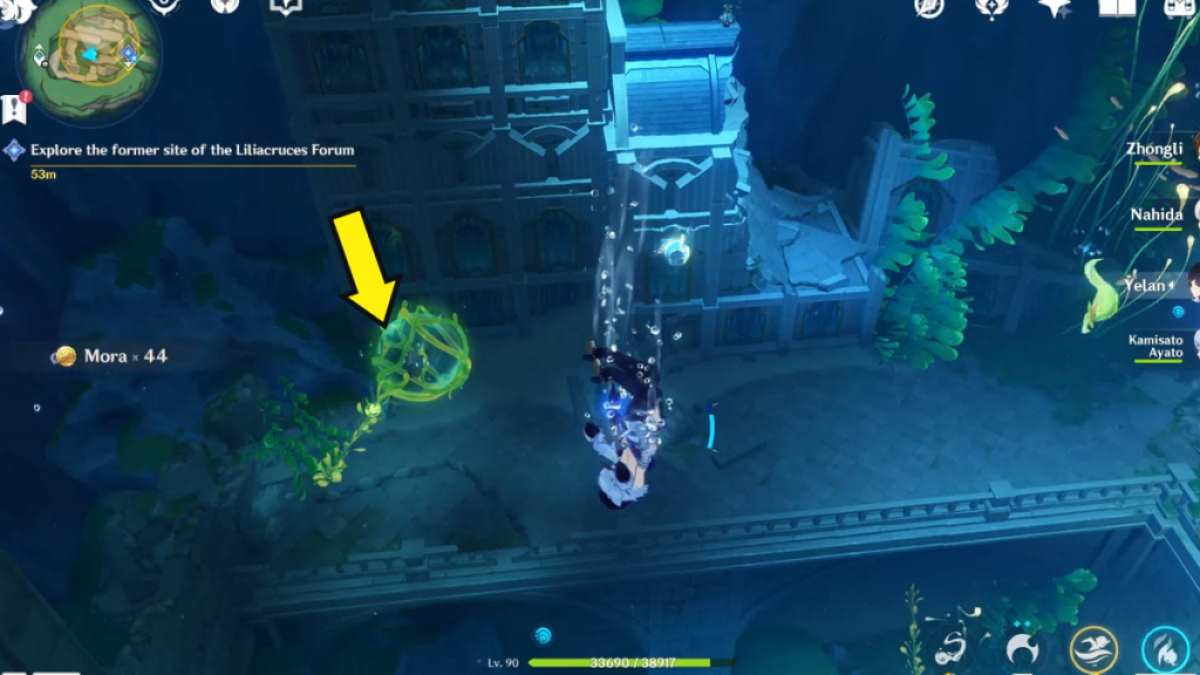
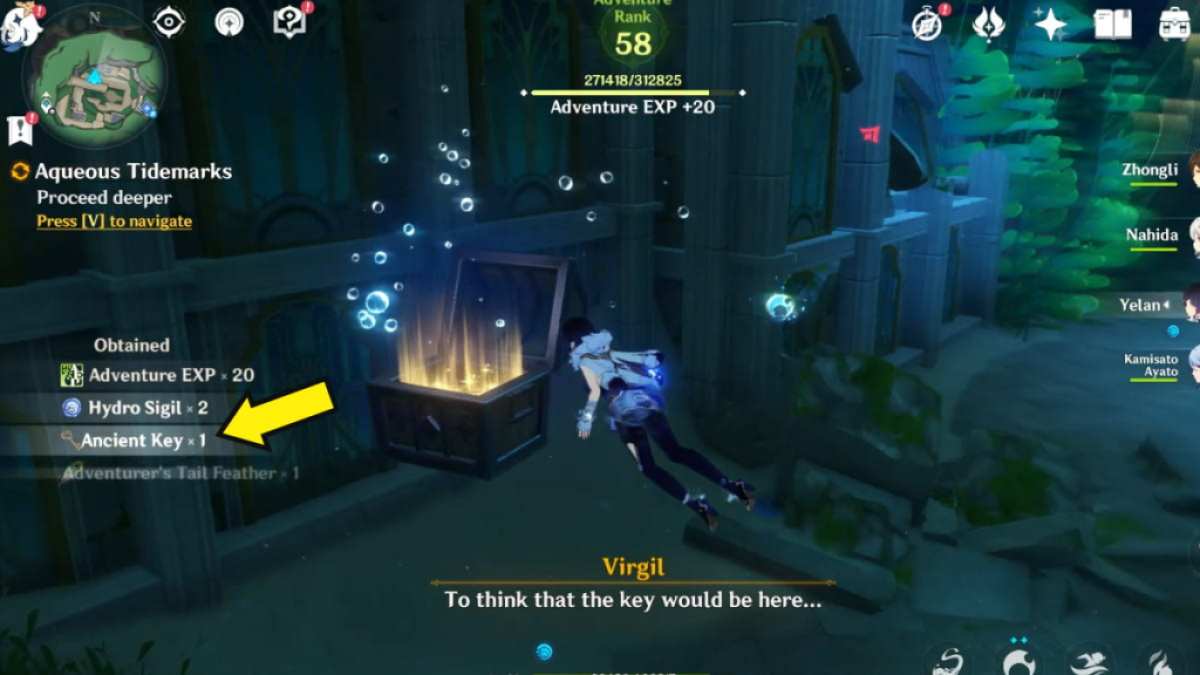
Next, swim toward the Seagrass pictured above. Cut the Seagrass using the Xenochromatic Hunter Ray's Ability to reveal an Exquisite Chest. You must open the Chest to get the Ancient Key, so don't save it for later.
Related: Genshin Impact The Three Primary Colors of the Solar Corona Hidden World Quest Guide
Proceed deeper

After obtaining the Ancient Key, you'll be asked to proceed deeper into the ruins. The path forward is blocked by Fontemer Seagrass, so cut them using the Xenochromatic Hunter Ray's Ability, just like you did to free the Chest earlier.

Now that the path has been unblocked, keep swimming forward until you reach another dead end. This time, you need to absorb the Xenochromatic Armored Crab's Ability. It's swimming in front of the blocked path, so you won't miss it. After that, use its ability (Elemental Skill button) to break the cracked wall blocking the path, allowing you to proceed further.

Swim downward to find a mechanism in front of a locked gate. Interact with the mechanism to place the Ancient Key you picked up earlier, likewise unlocking the gate.
Search for and collect clues

In this room, a lot of currents will try and sweep you away. You can press and hold the Xenochromatic Armored Crab's Ability to generate a shield, which will prevent you from getting swept away. Swim forward and downward until you reach another blocked path.
Use the Xenochromatic Armored Crab's Ability (Elemental Skill button) to break the rocks, allowing you to proceed inward. You'll immediately spot a Teleport Waypoint. I recommend unlocking it for easy access later on.

In this room, swim toward the glowing spot in front of a locked cave (behind a bookshelf). Interact with the glowing spot to investigate it.
Leave the water and talk to Virgil

Ascend to the surface of the water, then swim toward the glowing spot. Doing so will automatically trigger dialogue with Virgil, pushing the story forward.
Find a way to open the path forward

For this segment, you need to complete a Pneumosia puzzle southwest of the highlighted area in the mini-map. First, pick up the Pneuma Block. Then, use a Normal Attack on the Ousia mechanism (where the arrow is pointing above). It will trigger a Pneumosia Reaction, destroying the mechanism.

Do the same for the other pair. Climb the ladder and pick up the Ousia Block, then use a Normal Attack on the Pneuma mechanism (where the arrow is pointing above) to destroy it. Doing so will unlock the mechanism at the center. Interact with it to trigger the gate underwater to unlock.
Related: Genshin Impact Upon a Flowery Field of Grass World Quest guide
Proceed deeper

Dive underwater and enter the area that just unlocked. The quest navigator will point you to the exact location. Once you're inside, swim forward and ascend to the surface.

As soon as you're on land, you'll spot an opening on the ground, leading to another underwater area. Dive down and keep swimming forward.

Once the cliff pictured above is within sight, swim toward it. Keep swimming upward until you reach the surface of the water. Ascend to the land area.

Once you're on the surface, climb the stairs and approach the glowing spot to complete the objective. In the small room, two Clockwork Mekas will spawn. Defeat them to trigger dialogue with Virgil. When that's done, keep following the path forward until you reach a dead end.

The quest navigator will prompt you to go up, but there is no path upward. Instead, jump down to find a mechanism. Interact with it to trigger the water level to go up. Wait until it takes you to the upper floor, then swim toward land.
From there, keep following the path forward. There will be a locked Chest with two Clockwork Meka, but defeating them is optional.

By following the path forward, you'll eventually encounter another underwater path. Dive underwater, then keep swimming forward and ascend to the surface. You'll find a glowing spot, indicating you're in the right place.
Defeat the Ruin Grader and find a way to open the door

In this new area, you'll find a Ruin Grader at the center of the clearing. Defeat it to complete the first half of the objective. Don't forget to unlock the Teleport Waypoint for easy access later on. Once that's done, interact with the mechanism in front of the gate to open it, allowing you to continue onward.
Fight and Survive

Entering the next area will automatically trigger dialogue with Virgil. You then have to defeat the Ruin Grader at the center of the room. However, this Ruin Grader will keep reviving, so you need to kill it three times. After the third "death," you'll trigger the next objective, but the Ruin Grader will continue revive itself.
Try to break the glass barrier

As soon as you trigger this objective, ignore the Ruin Grader and divert your attention to the nearby glass barrier. Attack the glass barrier using any Normal Attack or skill, until its HP bar diminishes. When it breaks, the water level will increase, and you will be swept away by the current.

While you're being swept by the current, try to enter all blue rings to get a Luxurious Chest reward later. If you fail, don't worry as it doesn't affect the World Quest, and you can come back to do the challenge again. When the current ends, the Aqueous Tidemarks World Quest will complete.
To complete another major Fontaine quest, check out our Genshin Impact A Brush of Seafoam and Crimson World Quest guide – Ancient Colors Act I here on Pro Game Guides.