After completing The Hall of Herodiana side quest in Hogwarts Legacy, you'll spot some optional Depulso puzzles you can challenge yourself with. Depulso Puzzle Room One is a great place to start. Once you've finished it, you'll be given a collection chest as a reward, so it'll be necessary to complete if you want to find them all. Here's how to complete Depulso Puzzle Room one in Hogwarts Legacy.
Where to find Hogwarts Legacy's Depulso Puzzle Room One

Depulso Puzzle Room One can be found in the Long Gallery. The best way to get there is to start from the Potions Classroom Floo Flame. Go past the classroom and down the stairs. You'll pass a house cabinet on your way. Unlock the level one door nearby, then head down the long corridor. The entrance will be on your right. Just like with The Halls of Herodiana, use Depulso to reveal the entrance.

As with all of Herodiana's puzzles, there are some things you should remember before you get started. First, while she was a Depulso master, you'll also be using Accio frequently, so we suggest that you equip both spells to the same spell wheel for convenience. If you do use Accio, be careful of where you are standing, pulling a block on top of yourself will result in the puzzle resetting and you will be transported back to the entrance. You can reset the puzzle any time, and not reset your position, by casting a basic strike on the glowing cube inside the golden pedestal. Lastly, if you pull or push any blocks together, they will become permanently combined forming a new block.
Related: How to mod Hogwarts Legacy
Hogwarts Legacy's Depulso Puzzle Room One solution

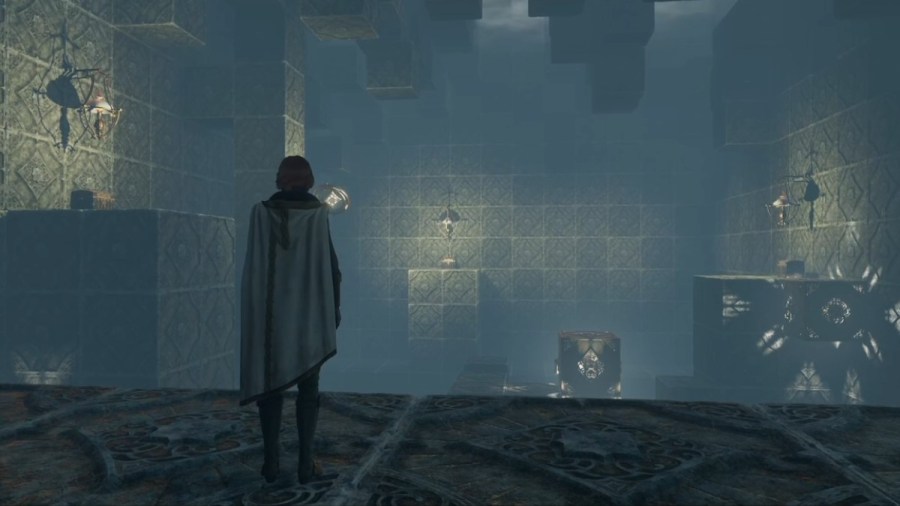
Hogwarts Legacy's Depulso Puzzle Room One is a singular room. You'll need to retrieve all three chests, on your left, right, and at the back of the room, then exit the way you came to retrieve your collection chest. We'll start with the chest on the left.


Most of the blocks are all singular blocks, so we're going to number them for clarity. Refer to the images above for where each block starts when the puzzle is reset.
How to open the left chest in Depulso Puzzle Room One
Start by pulling block number six, the highest set block, over to the left side of the room, then towards the back and into the far corner. Pull it one last time toward the left treasure chest. It should look like the image below.

Next carefully pull block number two, the long block, away from the left chest towards the right hand wall. Then pull block number four toward the back wall, so it combines with block number three, forming a pillar. Pull the new pillar block into block number five. This will create a large L shaped block. Push the L block toward the back wall again, to the left, and forwards towards the left chest.

The last move you'll nee to make is pulling block number two back to the left hand side from the right wall. This will create a staircase that you can use to climb up to the left treasure chest. After you've collected it, a stone path will appear along the wall that you can use to return to the entrance and reset the puzzle.
Related: How to open The Mine’s Eye goblin mine in Hogwarts Legacy
How to open the right chest in Depulso Puzzle Room One

The solution to create a staircase for the right chest in Depulso Puzzle Room One can be done in three simple moves. Use Accio to pull block number six to the right hand wall, out of the way. Then use Depulso to push blocks number four and five to the right hand wall, creating your staircase. It will look like the image above. Easy Peasy.
How to open the chest at the back of the room in Depulso Puzzle Room One
Your last chest is across a chasm, so your goal here will be to use the blocks to make both a staircase and a bridge. Start by pulling block number three forward into block number five. You'll also want to push block number four towards the back wall, and pull it towards the treasure chest as shown below.

Next, your going to start linking more blocks together for the bridge. First, pull block number one toward the right hand side. It will be stopped by a stone block halfway. Move it towards the entrance, then the right corner, and then forward, toward the right side chest. Next, push the combined three and five block to the right hand wall. This will combine it with block number one, and it should look like the image below.

Next, you'll be bringing block number two around the corners toward the entrance of the room, then pulling it into the combined block to make the block five widths long, a bridge. Pull that bridge back toward the left side of the room, then push it toward the back and across the chasm. It should look like the image below.

You could probably make the jumps without moving the blocks any further, but if you want to make things easy on yourself, you can pull the bridge slightly to the right, negating the need to jump.
Go and claim your last chest. Another stone path will appear so you can return to the entrance. After opening all three chests, you'll find a Collection Chest just past the entrance gate. It holds a random conjuration spell for you Room of Requirement.
There's another Depulso Puzzle in Hogwarts Legacy, and it's even more complicated. If you need help check out How to complete Depuslo Puzzle Room Two in Hogwarts Legacy here at Pro Game Guides.