
In the Lost Jungle Update guide, the developers have introduced a secret location called the Forgotten Temple on the same Lost Jungle Island. This place is very tricky to reach, as you have to cross multiple obstacle-filled areas while solving puzzles, making it highly challenging for players. So, if you are confused about how to get to the central region of the Forgotten Temple, here is the perfect guide for you to follow.
How to enter the Forgotten Temple
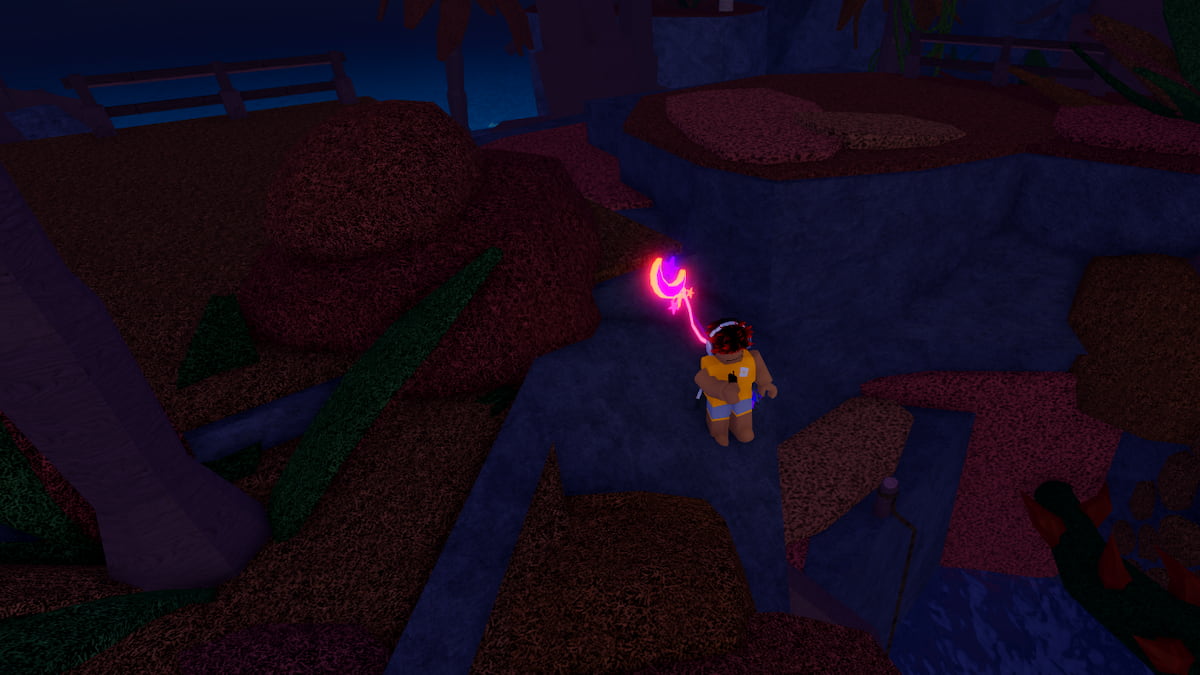
To enter the Forgotten Temple, you have to reach the Lost Jungle Island. Simply follow the marker on the screen to locate the Lost Jungle, which is situated behind Sunstone Island. Here, on the island, go to (-2603, 161, -2190) to find an opening with a rope attached to the corner. Use the rope to enter the Forgotten Temple.
Immediately, you will find yourself in front of the Jungle Adventurer NPC, who will speak about the dangers of the map and hand over an object called Temple Eye. This particular item allows you to teleport to the main door, which can be opened by solving a puzzle that revolves around finding five items and placing them on the pedestals.
All 5 Forgotten Temple Puzzle Room Guide
Room I Puzzle
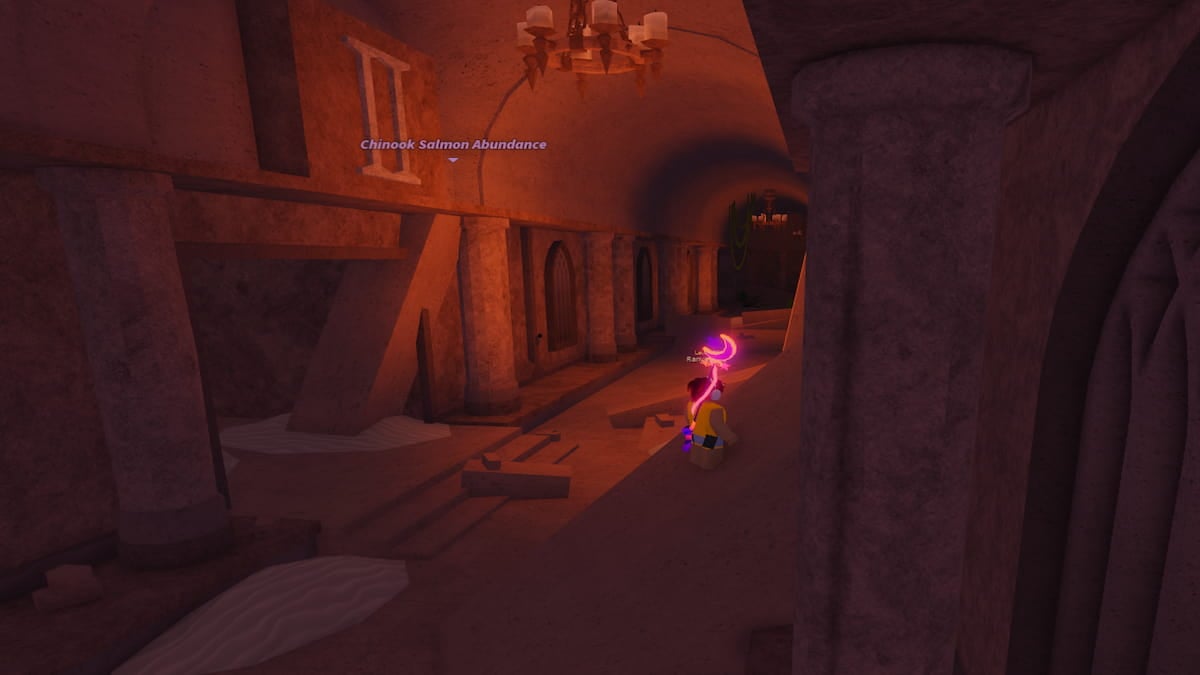
Firstly, we have to reach Room 1 in the Forgotten Temple. You can take the left from Room IV and then move past the map, only to take a right at the next intersection to reach Room I. If this seems confusing, simply use your GPS to locate the coordinates (-5234, -1758, -9620).
This is essentially an Obby that requires you to jump onto the correct platform and safely reach the other side. Just follow the given patterns below to cross easily.
- Triangle -> Square -> Square-> Triangle -> Circle-> Triangle-> Square-> Triangle-> Circle
Touch the hand to get the Posinous Spearhead and the Rune Glyph.
Room II Puzzle
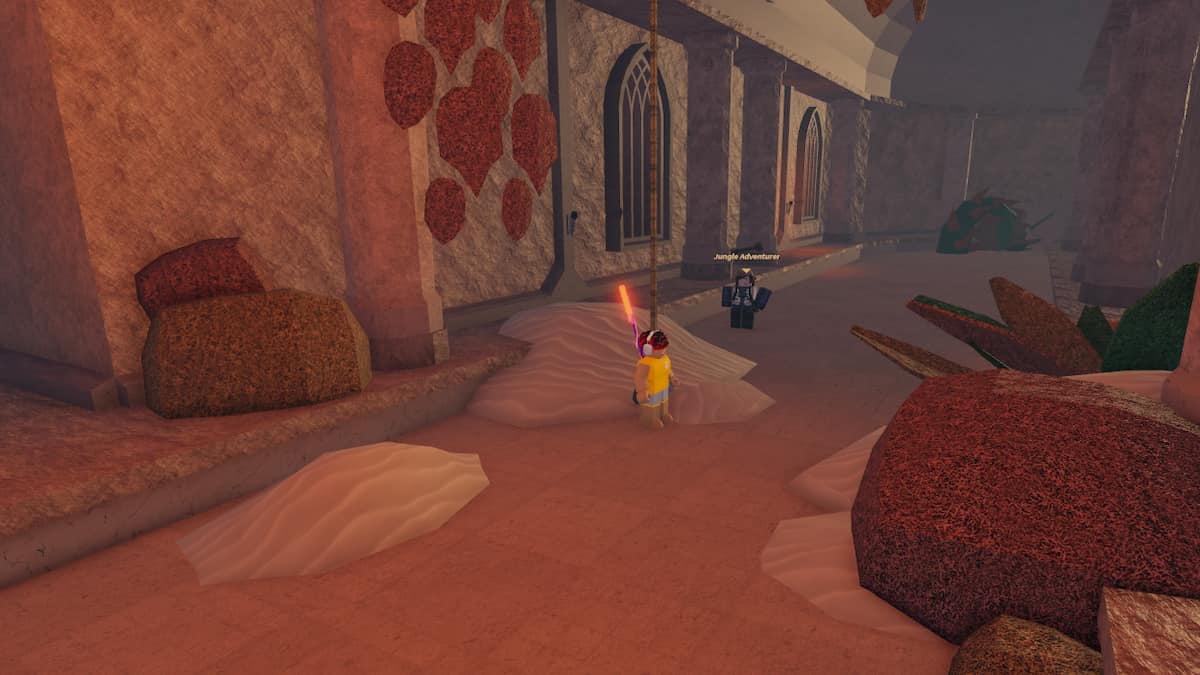
The Room II is located at (-4642,-1748, -10193). Use your GPS and take a right from Room IV to reach this location pretty easily. From the outside, this does not appear to be an area, and you must look towards the top wall to see the II marked on it. Enter this small section, and tap with a Spear to enter the area, which immediately starts flooding. Simply use the railings and platforms to reach the top, where you can obtain the Toxic Core and Toxic Rune. This is a based obby and requires all your parkouring skills. Initially, you will die a couple of times as you won't know the next area to grab or move forward. But, with time, you will understand the exact layout, allowing you to reach the top.
Room III Puzzle
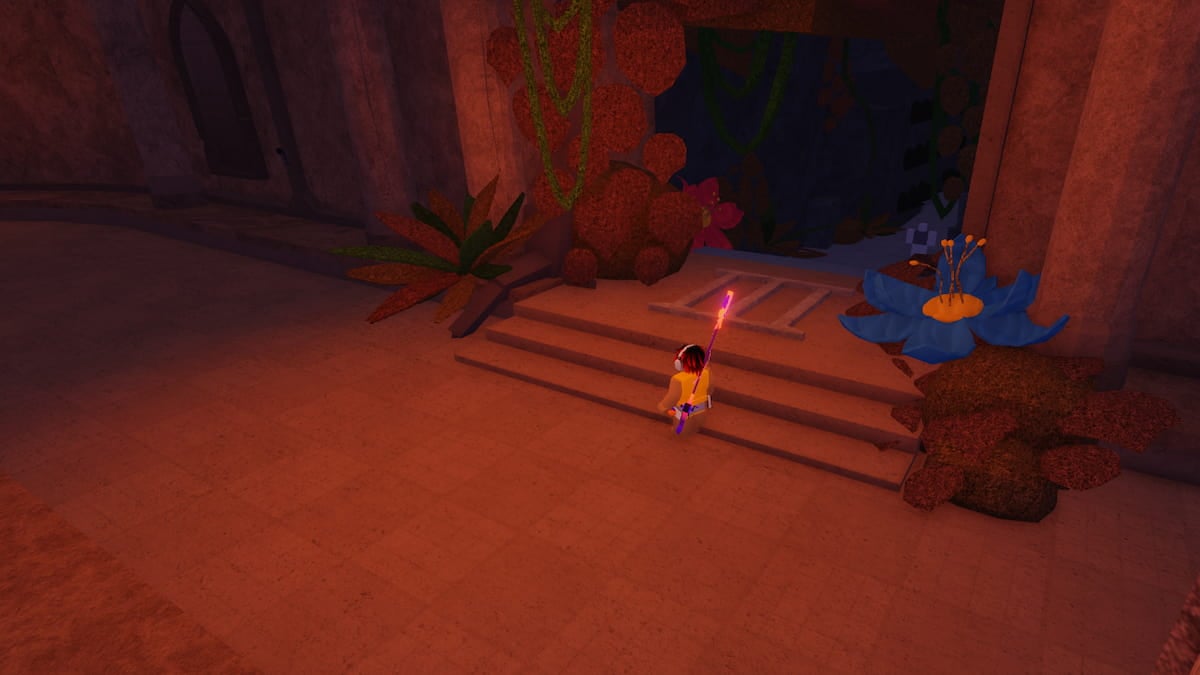
The Room III is literally on the way to Room I. Take a left from Room IV, and walk straight to find Room III just after moving around the corner at GPS (-5405,-1759,-10231). Enter this area to see large spikes protruding from the wall.
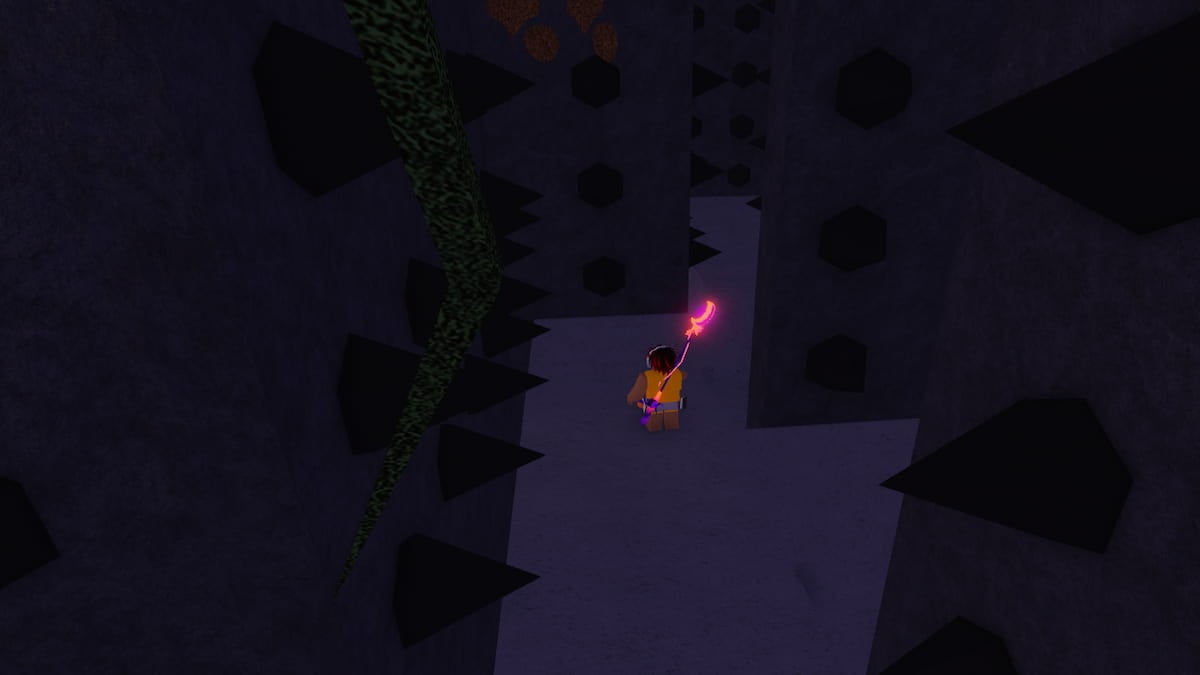
The objective here is to walk carefully in the center to the final Hand Piece without getting yourself killed by the spikes. Like the first room, just follow the directions I have provided to reach the room easily without any issue, where you can touch the Hand Piece to get the Barbed Spearhead and Spike Rune.
- Right->Left->Right->Left->Left->Left
Remember, the entire route mentioned above is for intersections, meaning if there are two paths, take the one described above. Otherwise, move right or left according to the natural direction/pavement of the road to keep moving forward.
Room IV Puzzle
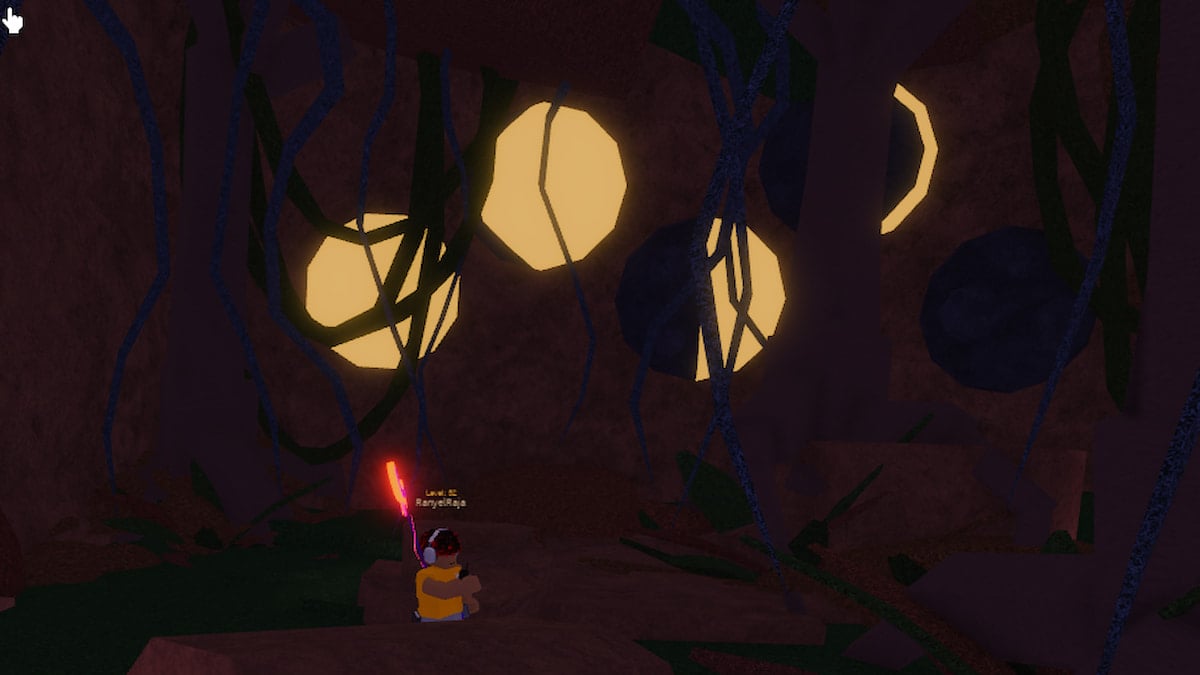
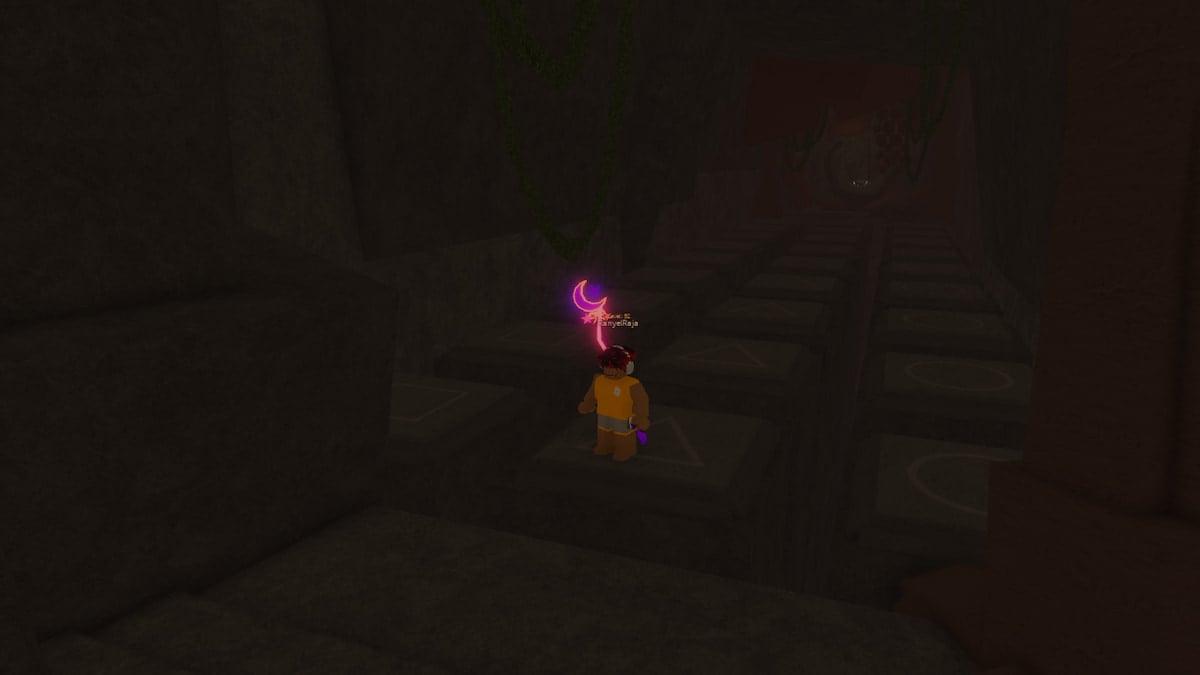
Room IV is a pretty interesting Room where you have to solve the Moon Trial. You can reach this location by traveling right behind the Main Temple Door that you will teleport to by using the Temple Eyes. The exact GPS location is at (-5172, -1759, -10329). Here, you must pull Vines adjacent to the Moon Symbols in the ground in the following order to finish the quest.
- 🌕->🌖-> 🌓->🌒-> 🌑
Remember, the Vine Patterns will appear only during the night. So, you can either use a Sundial or wait until to keep the cycle moving. If done correctly, you can find the Hand Piece at the center, and touching it will allow you to get the Vine Line & Vine Rune. Additionally, each night, the Moon Trials are reset. Therefore, you must start from the beginning to proceed. If you have died within an ongoing night, just press the remaining vines from the sequence.
Room V Puzzle
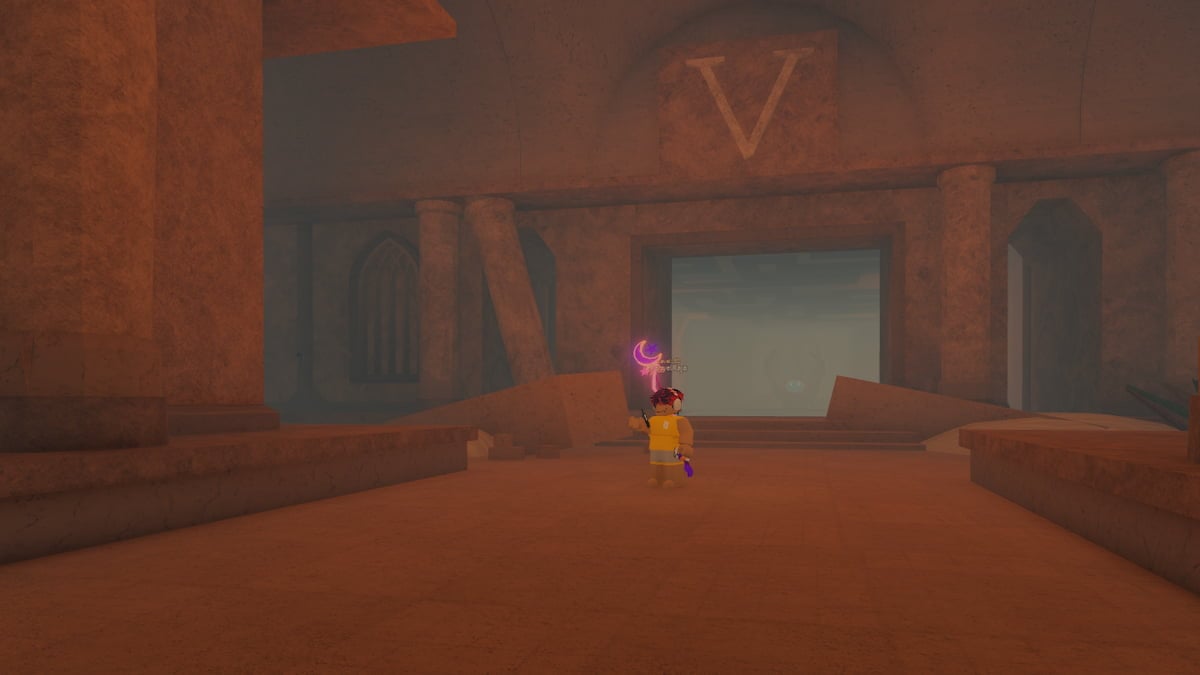
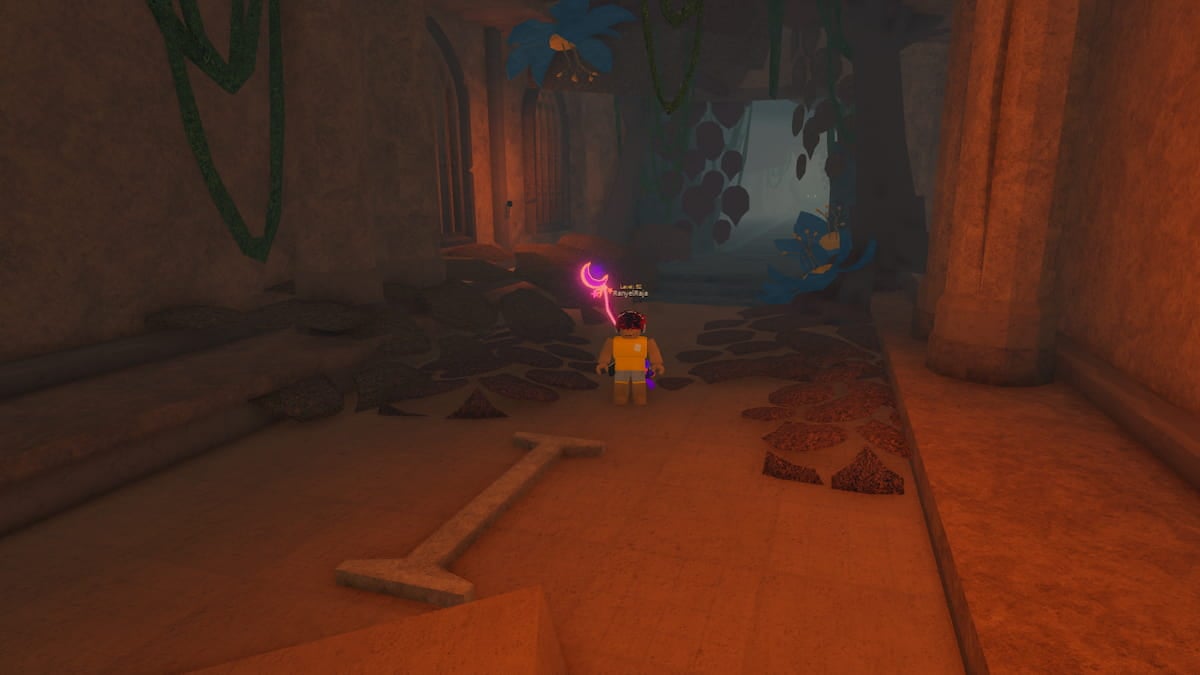
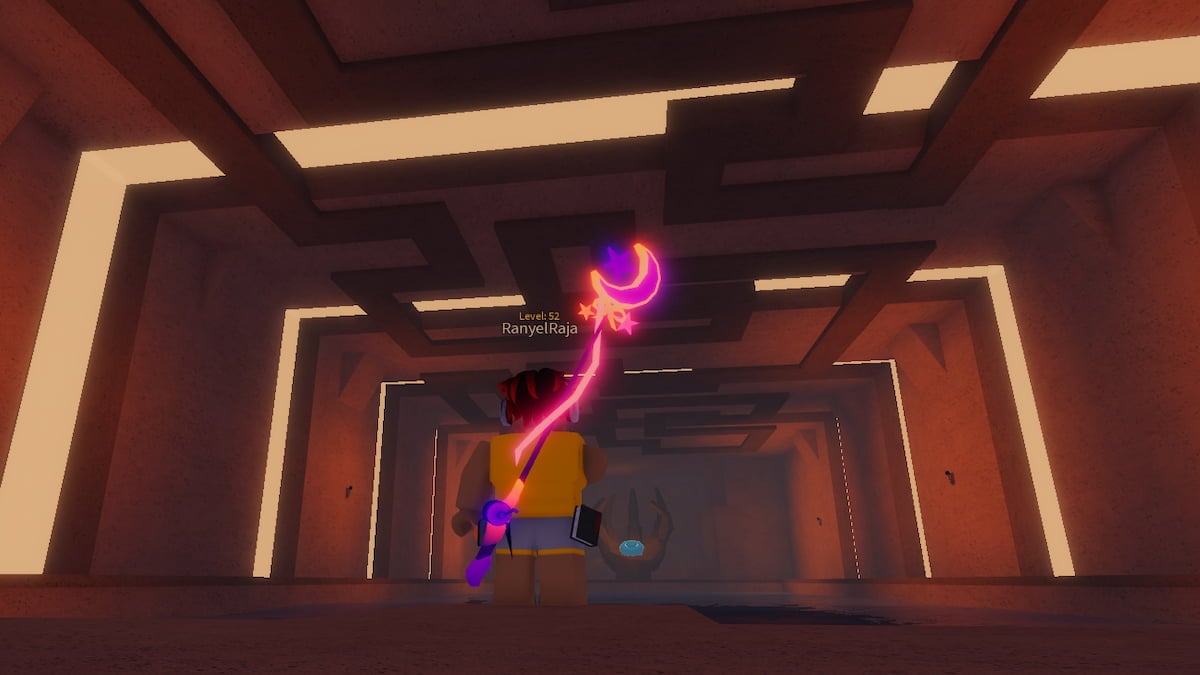
The Final Puzzle Room 5 is located at (-4848, -1759, -9580). You can keep walking straight from Room 3 to reach the area quickly. After reaching the room, you will find a small pond in front of you and the Hand Piece at the end. So, how do you get to the other side? If you examine the roof or ceiling of this building, you will notice a pattern as shown in the image. Just zoom your camera and follow the same path on the pond to reach the other side. This is quite tedious and challenging, but move slowly and bit by bit, you'll eventually get to the other side.
Murky Thread and Water Rune. Alternatively, many players have used the Advanced Gliders to slowly land on middle paths and fly to the other side. This requires you to study the map and predict landing zones to fly again.
Once you have solved all 5 Puzzle Rooms and collected the 5 Glyphs. Place them one by one on the several pedestals in front of the main Forgotten Temple door to open the Mossjaw Rest.
For more on Fisch, check out Roblox Fisch Private Server Links or Best Enchant Relic Farming Locations in Fisch