
In the Chapter 5 of Poppy Playtime called Broken Things, we will continue off where we left off, and that is being chased by Huggy Wuggy as well as trying to escape the entire facility, so to help you with that we have assembled this walkthrough. We will teach you where to go, how to solve puzzles, and survive the atrocities of Playtime as well as the Prototype, so be prepared!
Complete Guide for Poppy Playtime Broken Things Chapter 5
This article is a Work in Progress and will be updated ASAP, just as soon as Huggy and the Prototype back off!
How to Escape Huggy Wuggy in Poppy Playtime Chapter 5
As Huggy Wuggy breaks through the door at the start of Poppy Playtime Chapter 5, you'll just have to wait until the door behind you opens, and then you need to book it! It's pretty linear where you need to go, since the game takes this as an opportunity to reteach you some basics of gameplay.
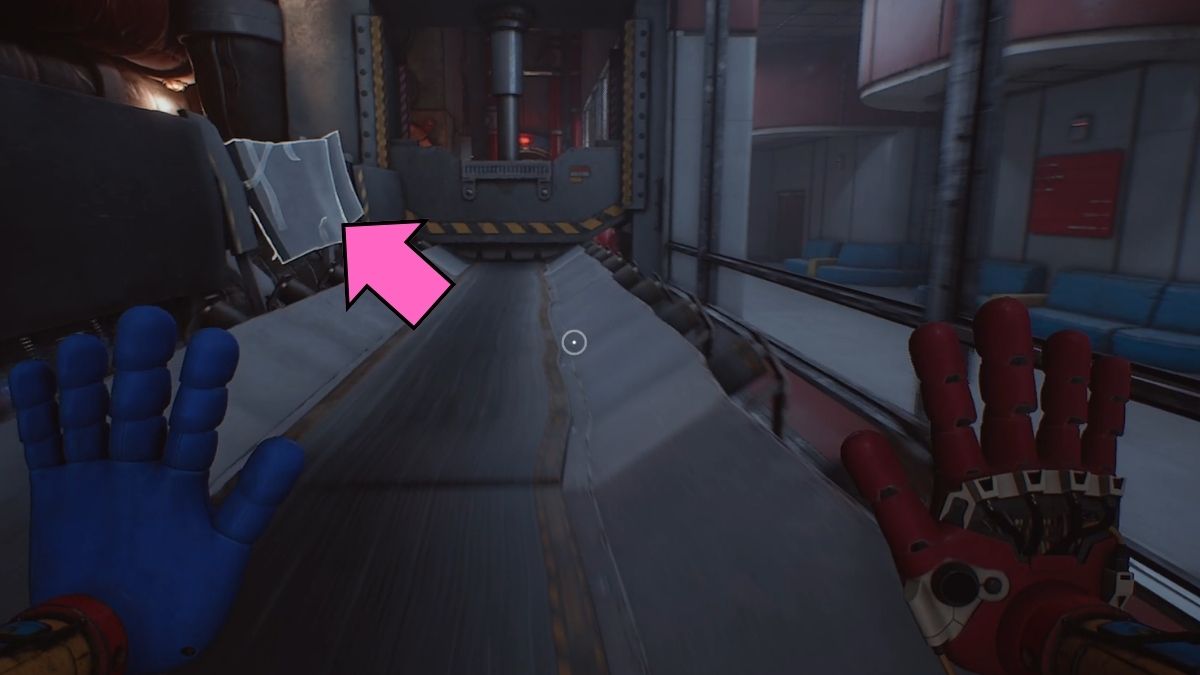
Once you drop down from the Vent, it's time to really get serious. Time running down the conveyer belt to avoid getting hit (you will have to crouch to get through). After you pass the first two, you will have to bend the metal on your left and jump off. You'll have to do the same to get back on. When you see the red and blue gate in the distance, prepare to shoot your blue hand at the scanner on the left.
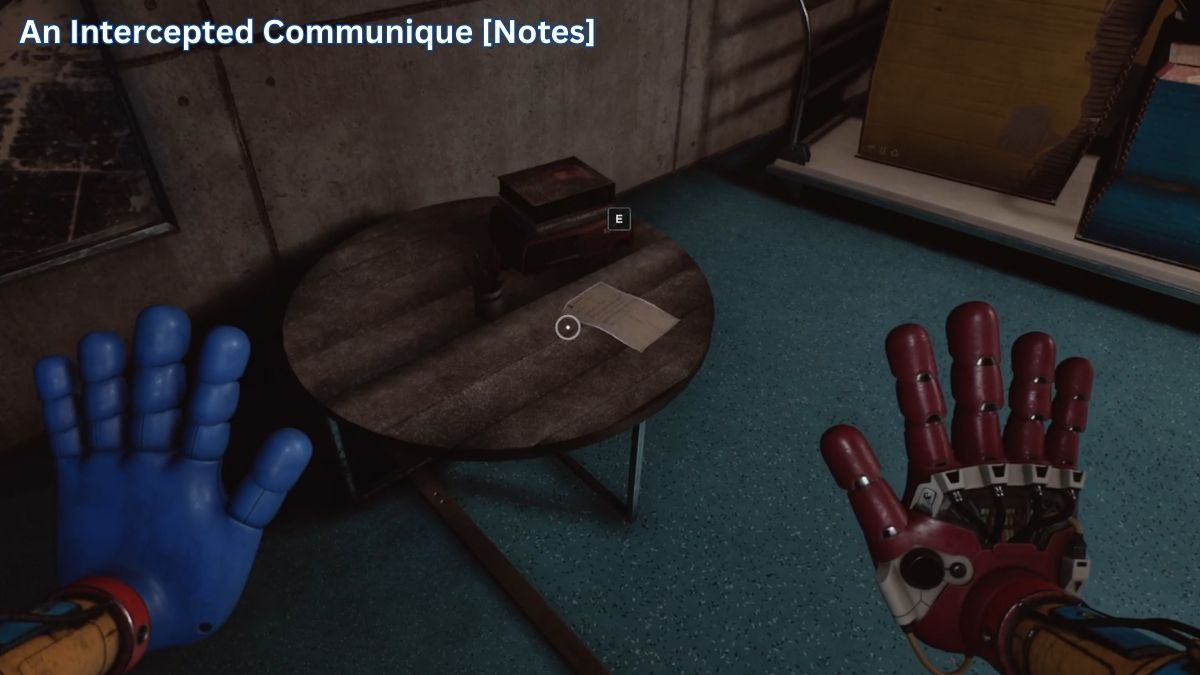
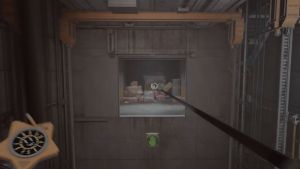
Keep running until you fall down and find yourself on a platform. Turn around to grab the first of 35 documents ''An Intercepted Communique'' which you can collect in the game from the table behind you. Swing from the Grab Handle at the end of this balcony to get across.
Find a Way Out
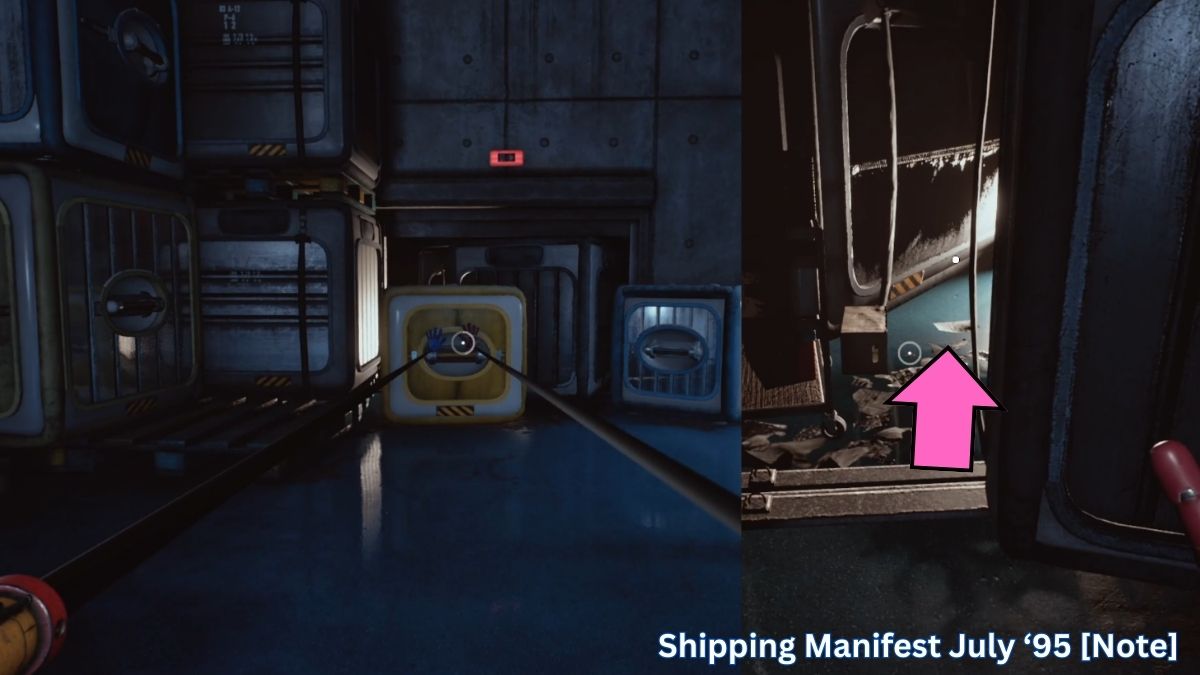
After you get into the next room, your new objective is to find a way out. Before you do so, move the boxes on the left which are blocking a door, and then grab the ''Shipping Manifest - July '95'' note from the floor.
Climb up the ramp and on top, drag one of the medium sized boxes into the left corner next to the big box, then do the same with a smaller one. This will ensure you can jump onto the big box and get to the other side.
Open the Vent cover, do the same assembly of boxes here, then jump up. If you thought you were safe here, well, Huggy says you're wrong. He will try to grab you, but as soon as his arm goes back up into the ceiling, start running forward.
There will be two more red and blue gates on the conveyer belt ahead, except this time you the scanner is on the right side and you need to use your red hand. Ignore Huggy in front of you, just jump down and run to the left. There is another Grab Handle, so grab it of course to get to the other side. Huggy will leave you alone, for now.
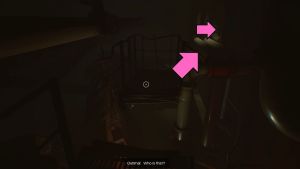
In the next room, turn the Valves to shut down the fire. Make sure to stand in the circle for the second valve, or it won't register. Once you do, brace yourself because Huggy is actually coming back, he was faking us out. When he jumps onto where you are, run to the left and through the hole Huggy just made straight to the elevator.
He will again attack you through the walls, but just keep moving around and looking for bent sheets of metal, indicating that the attack is going to come from that area. Once the doors open, scan the Red Hand on the scanner, but you're entire Grab Pack will get taken by Huggy. It's time to rely on our own two hands again. Disgusting.
The entirety of the next section depends on you interacting with the switches to turn on the lights. If it's dark in the room and you see a little creature on the floor, do not approach it. It will kill you. Here's the direction you need to be going in:
- Go into the room to the right from the hallway and turn on the light
- Enter the door to the right, press the button and unlock the door on the left
- Turn on the light in the hallway, then crouch through the hole in the left wall
- Go up the ramp to proceed to the next section
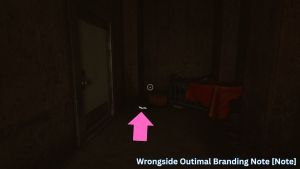
When you go through the hole, jump back down into the hallway, then make your way through the door on the far left end. Look behind as you close the door and grab the ''Wrongside Outimal Branding Note''. Here you will get an updated objective to turn on the lights (as we mentioned above), as well as to find a way to the key which you can see through the glass on the left.
Both doors here are dangerous. Instead, go up the wooden ramp and into the very bloody room on the right side. Turn on the light and keep repeating this process until you get to a room with the conveyer belt you have to use as passage.
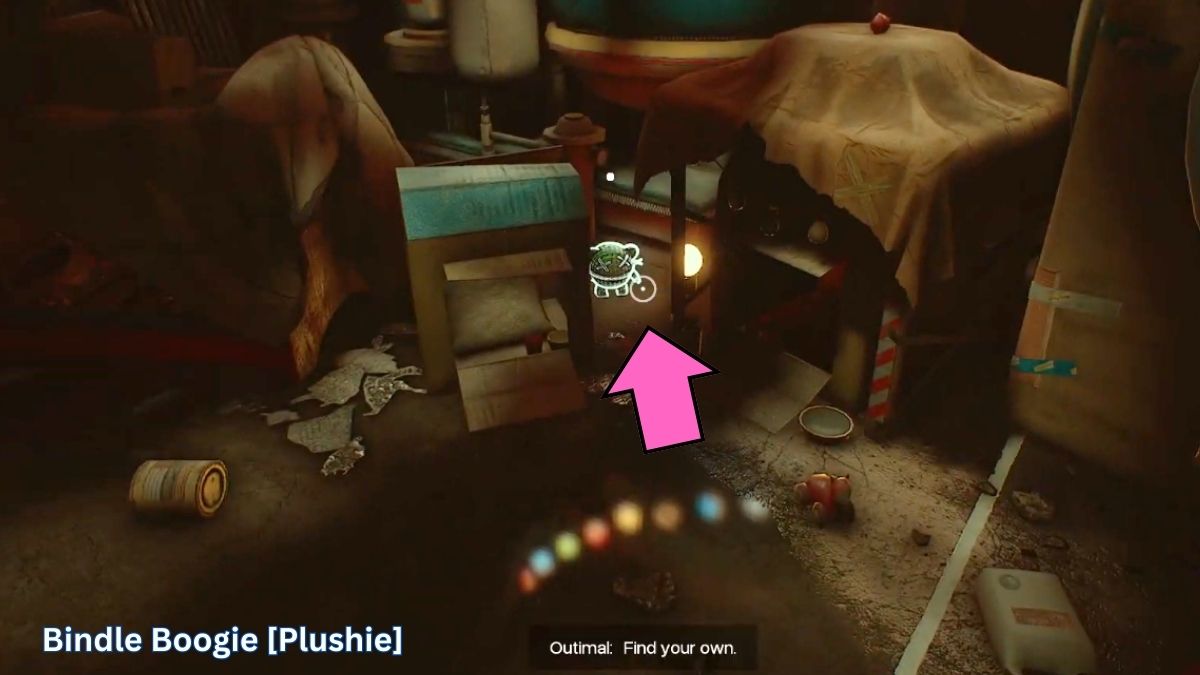
Here, make sure to grab the ''Bindle Boogie'' Collectible, one of the Wrongside Outimal Plushies we've seen in the commercial at he start of the game.
Keep making your way through the rooms until you reach a room with a grinder. Here, turn the lights on first, then click the red button to the right of the machine. This will give you a cute star Flashlight with a Blacklight setting as well, useful for revealing secrets. Switch between Blacklight and the regular Flashlight to scare off any of the toys running around in the darkness waiting to attack you.
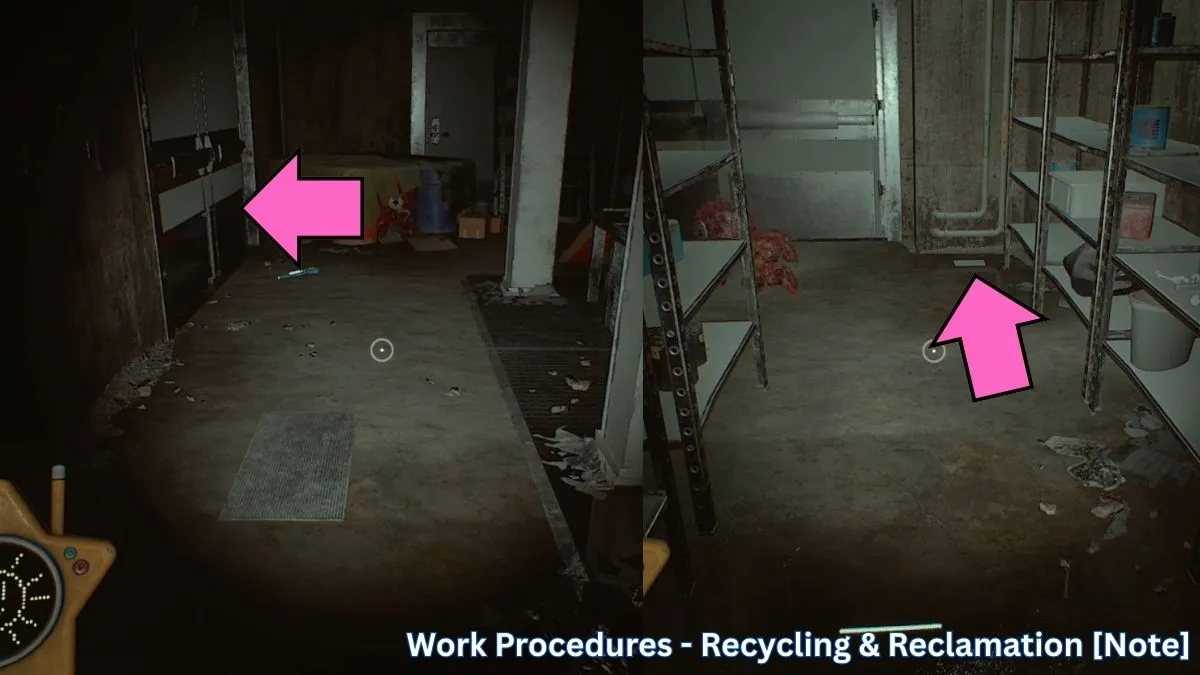
Go out through the double doors, then stick to the left wall and go through the other set of double doors. In the far right corner of this room you will find the ''Work Procedures - Recycling & Reclamation'' note on the ground.
Follow the path you came through before except this time keep switching to the Blacklight so that you can see the glowing arrows on the floor which you should track.
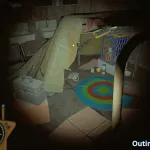
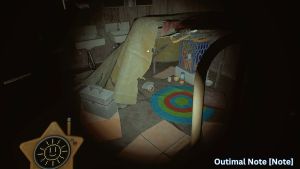
You will find yourself in the original area where you went through the first window. The arrow on the floor points to the door on the far end of the hallway, so that is where we should go, but we are making a few pitstops first. Go to the bathroom on the right first with your flashlight on to scare off any foes. Crawl underneath the tent and you will find an ''Outimal Note''.
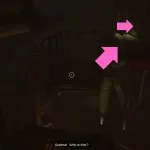
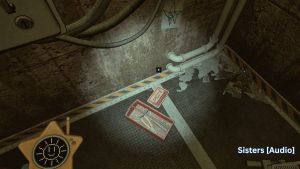
Go through the door on the left where you will find the first audio ''Sisters'', one of the ten Audio logs which you can collect throughout your Poppy Playtime Chapter 5 walkthrough.
Once you've grabbed the audio, go through the right door and keep walking until you reach the room with the stairs. Here you can finally go into the room underneath it and get the Recycling & Reclamation Key.
With the key now, it's time to keep exploring. It's a pretty linear path for a while so just keep trekking along. You will get attacked by an Outimal, but Giblet will come to your rescue. For the next section just follow him to his hideout. The Prototype will interrupt you during a cutscene, but at this point you are still safe from it.
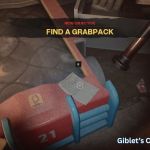
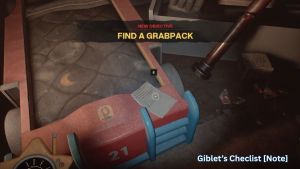
How to Find a Grabpack in Chapter 5 of Poppy Playtime
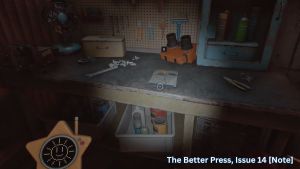
Before heading out to get the new Grabpack in Poppy Playtime Chapter 5, you can first explore his room for some notes. The first one ''Giblet's Checklist'' is on his bed, while the second one ''The Better Press, Issue 14'' is on his worktable.
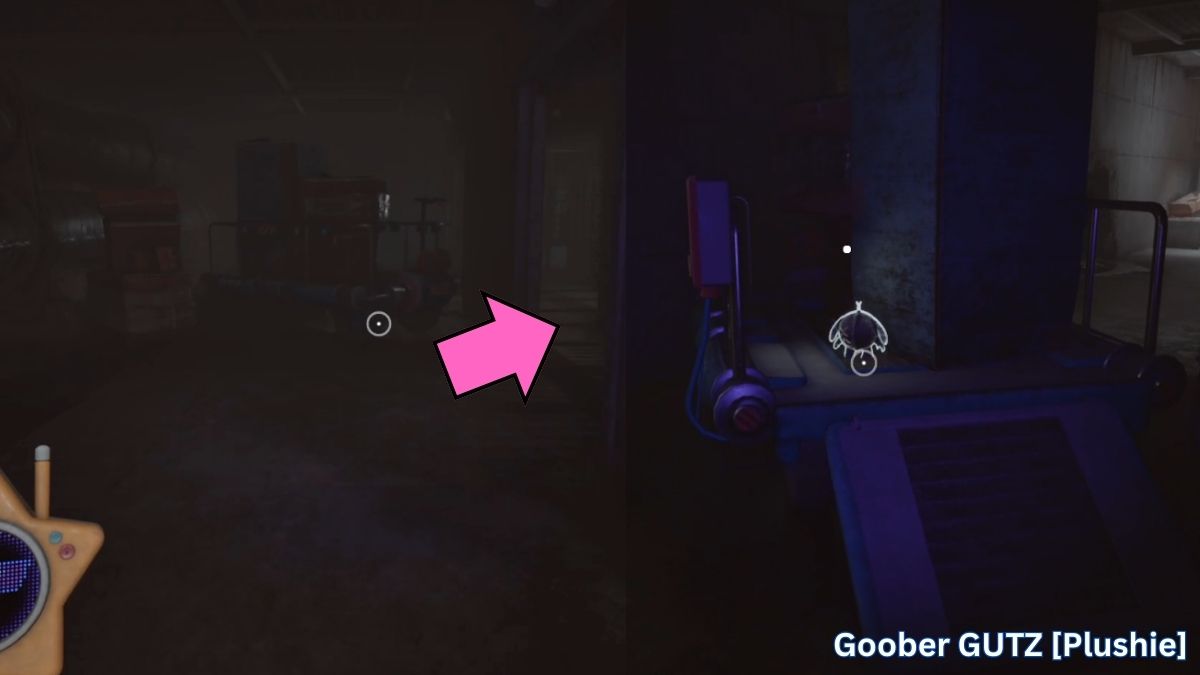
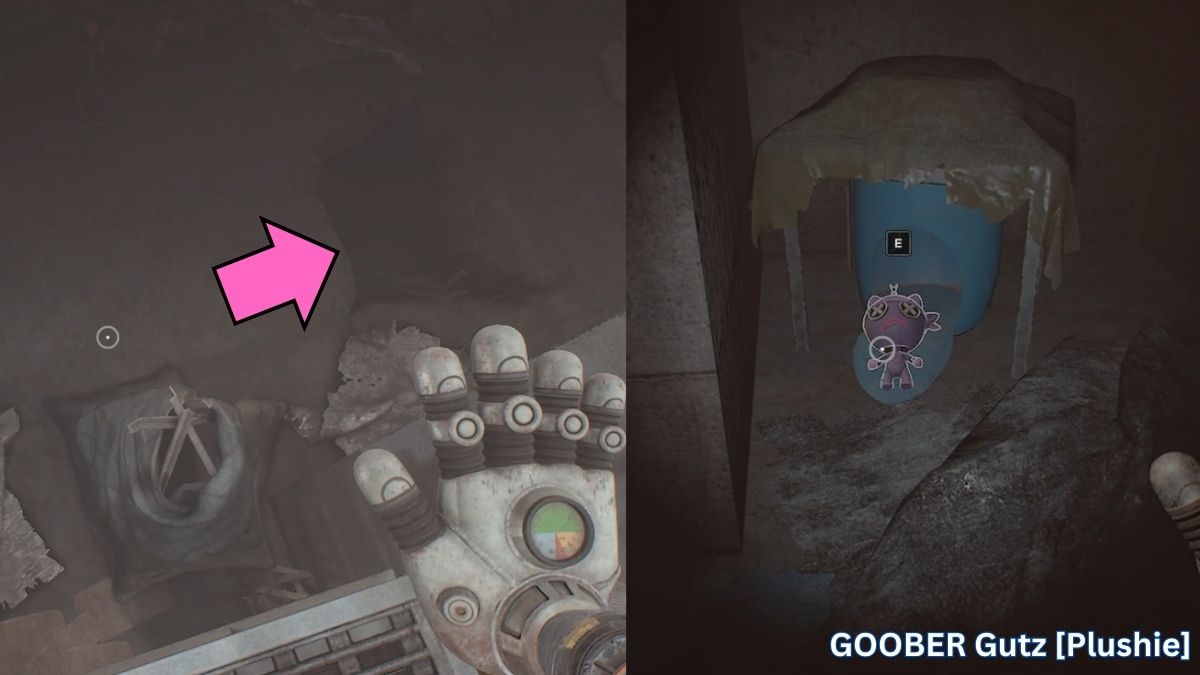
When you're done exploring, head back to Giblet and down the hole to the right of him. The arrow is pointing to go to the left and up into the vents, but let's go to the right first since we want all of those cool collectibles. Make your way around the corner and once more to the left until you see a little ''Goober Gutz'' Plushie on the cart. Grab it and head back towards the vent, where the actual progression is.
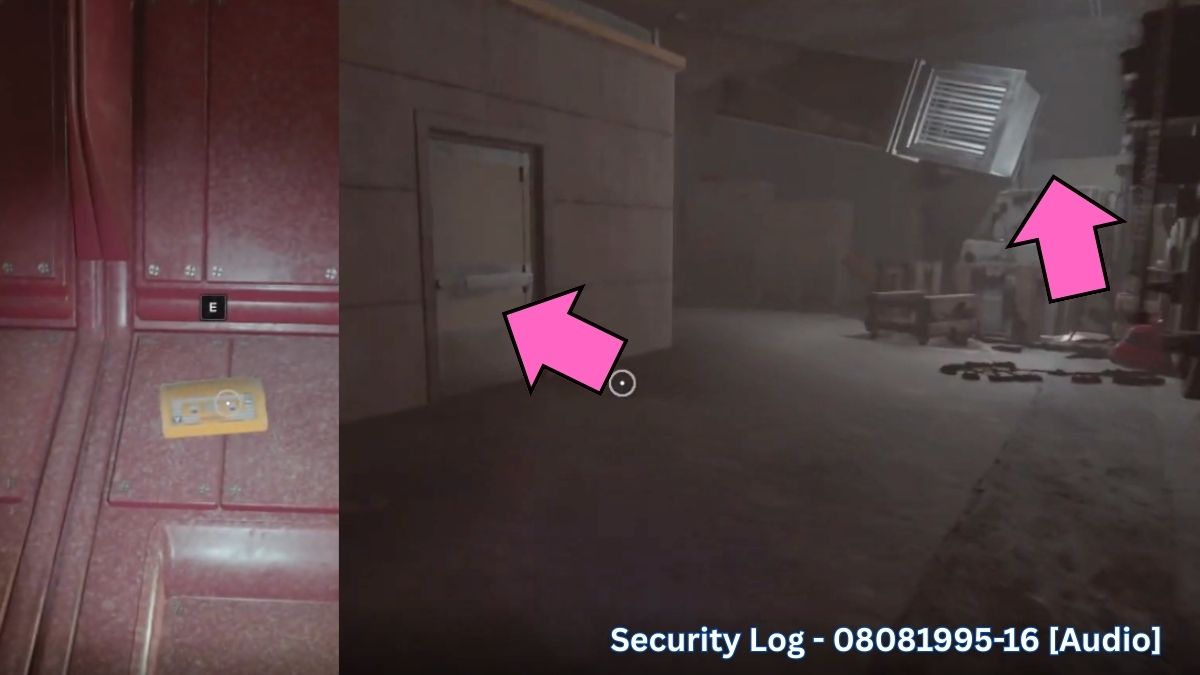
You'll drop down into a large room with a locked and unlocked door. While the unlocked door is the clear path ahead, we want what's behind the locked door.
Climb up into the fallen vent and crawl through until you are in the locked room. An Outimal will conveniently open the door for you as it runs out, but make sure to pick up the ''Security Log - 08081995-16'' Audio cassette before exiting.
Find a Way Out Part 2
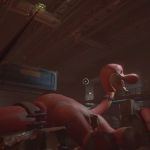
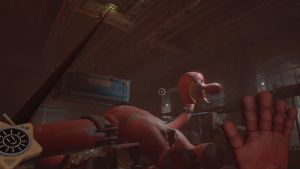
Now you can go through the double doors and up the stairs. At the end of the hallway, you will find yourself in a large room with a dinosaur chewing on a Gearpack (as well as Outimals chewing on the dinosaur). Climb up its tail and jump onto the walkway in front of it so that you can grab the Gearpack.

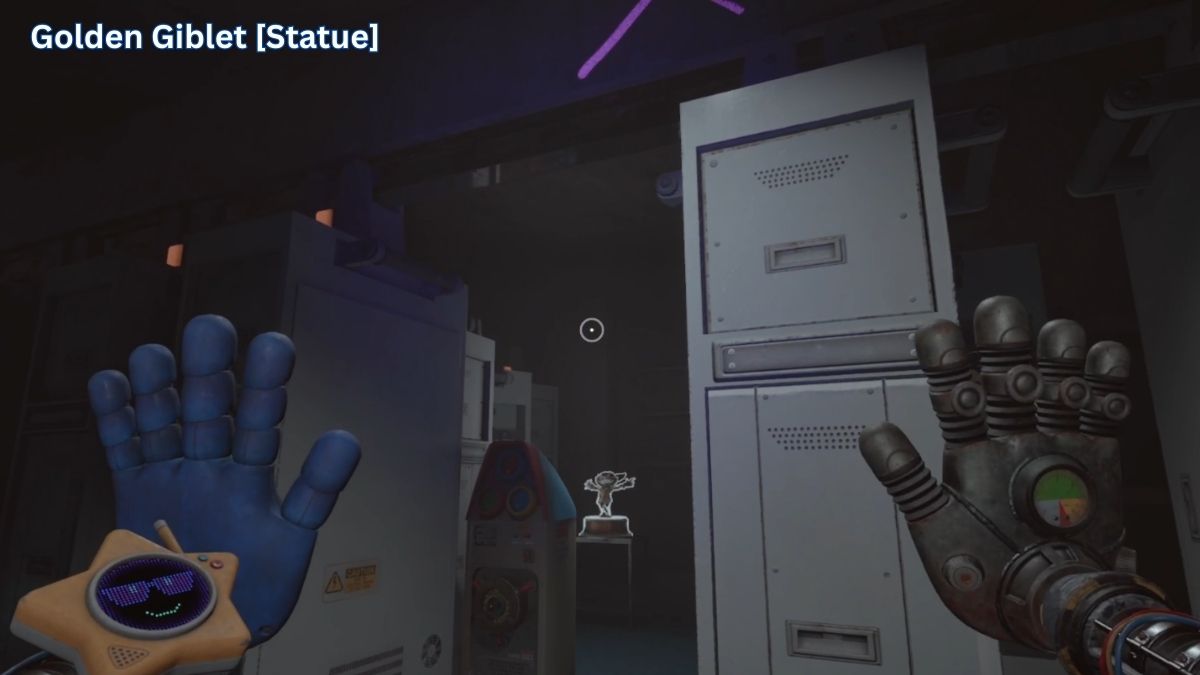
Since we now have our handy dandy Gearpack, we can grab another Collectible that we couldn't before. In the hallway previously, head through the door on the right and into the Sever Room. Click on your Blacklight and look up above the servers until you see an Arrow as well as an X in the third row, with X of course marking the spot. This is the server which you can move aside to grab the Golden Giblet Collectible in Poppy Playtime Chapter 5.
We are now back on the objective to find a way out. For starters, we need to get out of this large room, so here's how to do that.
- There is a large cart hanging above the door on the opposite end from where you came in. Pull it along all the way to the entrance to the room.
- Jump across to the room with a Whiteboard and lockers.
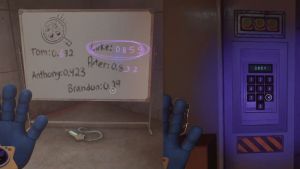
- To unlock the locker, flip the Whiteboard and use the Blacklight to see some hidden numbers
- The code to get the Pressure Hand in Chapter 5 of Poppy Playtime is the Luke number: 0859
Quick Explanation: The Pressure Hand can attach itself to certain objects (boxes, carts, windows, etc.). When you hold down M1, the Pressure Hand will charge. When you release it, it will either push or break the item it was connected to.
Now get out of the room and jump across. Before we go any further, if you want another collectible, then make sure to follow our instructions. On the same side of the walkway (where the entrance is) go to the right and jump down below. You can't leave this section now, but you can, and should, go down into the hole.
You can come out of the hole all the way on the other side, but that's not the point, the point is to grab a plushie. Here's where you can find it when you jump into the hole closest to the entrance:
- Take the first left (there should be toy blocks blocking your way)
- Take the next right, then an immediate left
- Keep going forward (the path to the right is the exit)
- You will find the ''GOOBER Gutz'' Plushie, spelled differently compared to the previous one.
Now go back out of the hole and you will see another cart in this section which we couldn't move before, but we can now with the Pressure Hand.
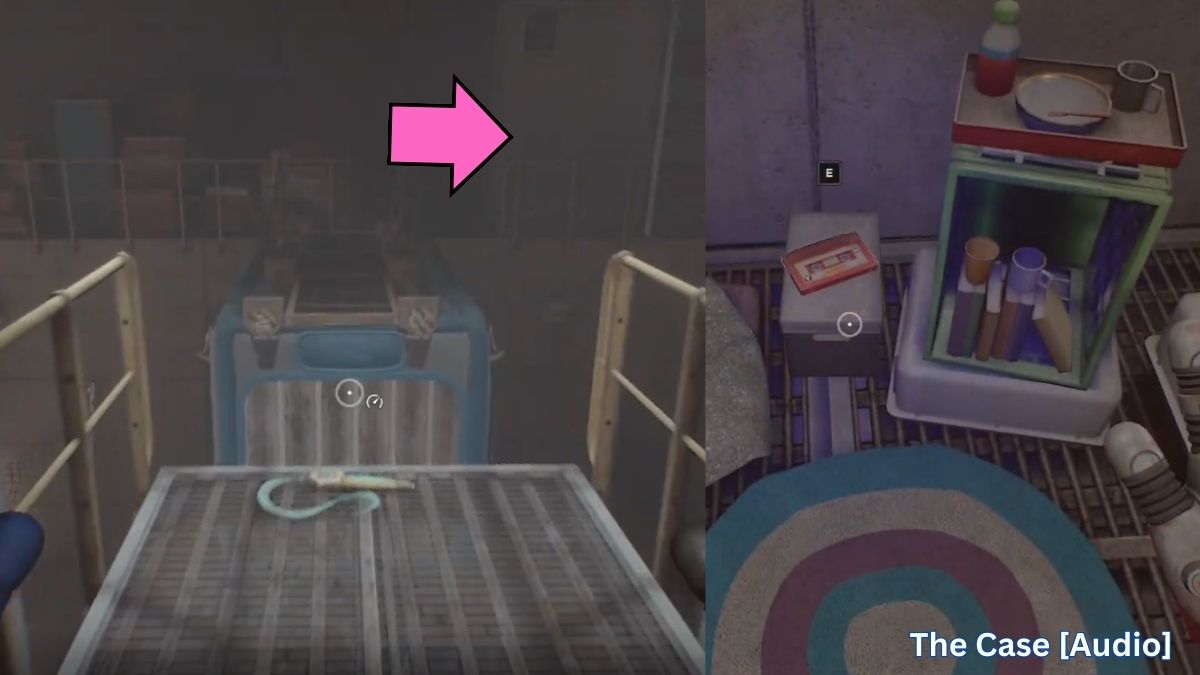
The cart will stop at the middle walkway. While this isn't the path, you should still jump across to collect ''The Case'' Audio cassette. It's in the right corner of this walkway.
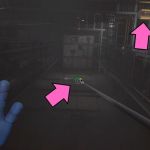
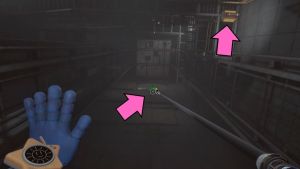
Now jump back across and use the Pressure Hand to push the cart all the way to the back. On the other side there's a locked door, but also a Vent which you can break by using the Pressure Hand on it (not all vents are breakable, but you will be able to tell visually which ones you can). Jump down and you'll find yourself in an elevator shaft.
The goal here is to press the correct green hand pad to get through. The third door (going from bottom to top) is the one that can be opened fully, we just need to get up there. For that you will use the conveniently place Grab Handles.
- Grab the first Grab Handle
- Climb up until you can reach the second Grab Handle
- Go onto the elevator where you will see another handle which you can hold
- Hook onto the third Grab Handle and hold with the regular Blue Hand so that you can use the Pressure Hand to open the Elevator doors and catch the final Grab Handle.
The second climb is similar to the first, just maneuver your way around with the Grab Handles until you reach the open door. Scan your Blue hand next to the Red door, and go through. It's time for a new objective.
Explore the Biodiversity Lab
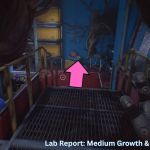
Before getting to the important sections of the Biodiversity Lab in Poppy Playtime Chapter 5, we want to explore this section first so that we can get some more collectibles. First, down the stairs to the left you will find a ''Lab Report: Medium Growth & Plantlife'' Note. This one is pretty obvious, but the second one is a little more complicated:
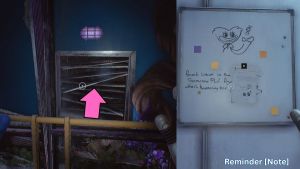
- Go back up the stairs
- Break the Vent cover to the right
- Crawl through until you reach the locked room
- Look at the Whiteboard and you'll see a pinned ''Reminder'' Note

Now open the door with the Scanner and you'll have access to the previous section again. Here, go back down the stairs where you found that first Note. To the left, you can blow up a sack by using your Pressure Hand, as well as remove the branch (this is also a quick lesson for the next section).
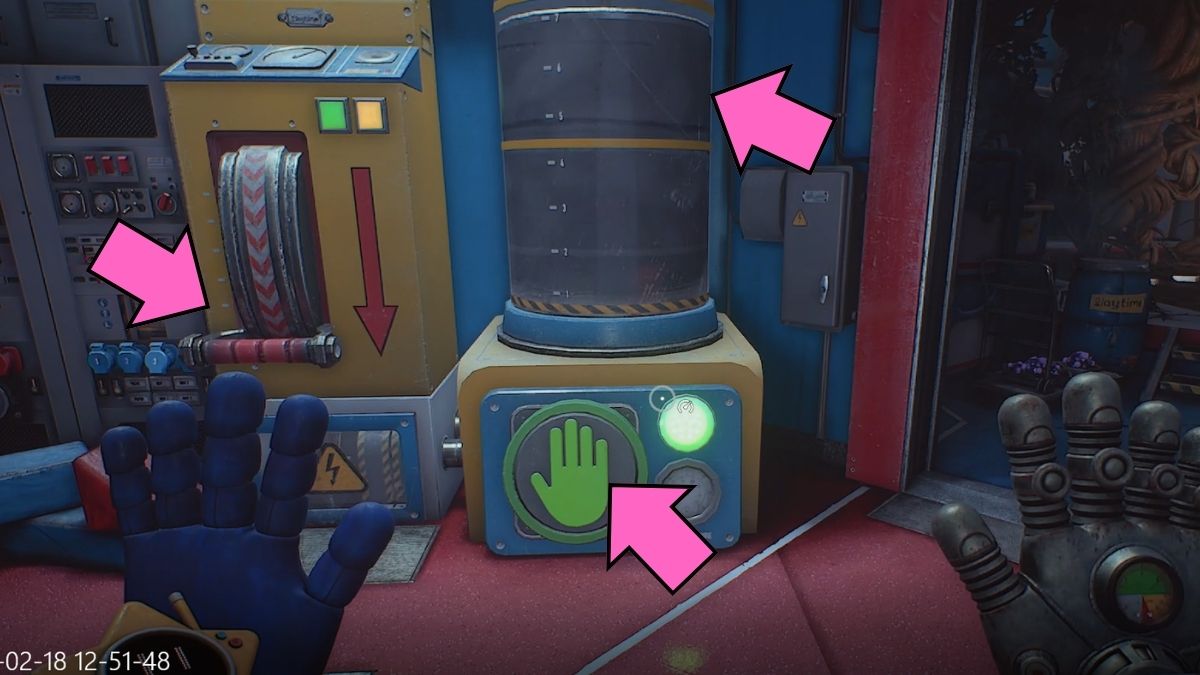
Use the Pressure Hand again to push the box away and you'll find yourself faced with a Tank. Here's how to use it in order to open this door. This will also work for any future tanks.
Press the Green Pad to fill up the Tank. Each Tank in Poppy Playtime Chapter 5 has specific sections of it marked off with a top and bottom line. Once the pressure in the Tank is between these two lines, pull the Lever. This will activate whatever you are trying to activate, and the Lever will lock it in place.
In the next section, first make sure to turn off the two valves. Once you do, follow the same pattern as you did when you were opening a path to get to the Tank. After breaking enough Saps in one area of the vines, you will be able to break off a branch and save a Toy. This is also causing the vines on the double red door to recede slowly. Do this until all of the Saps and branches have been broken, then break the largest Sap in the middle. This will open the door and you should go through it.
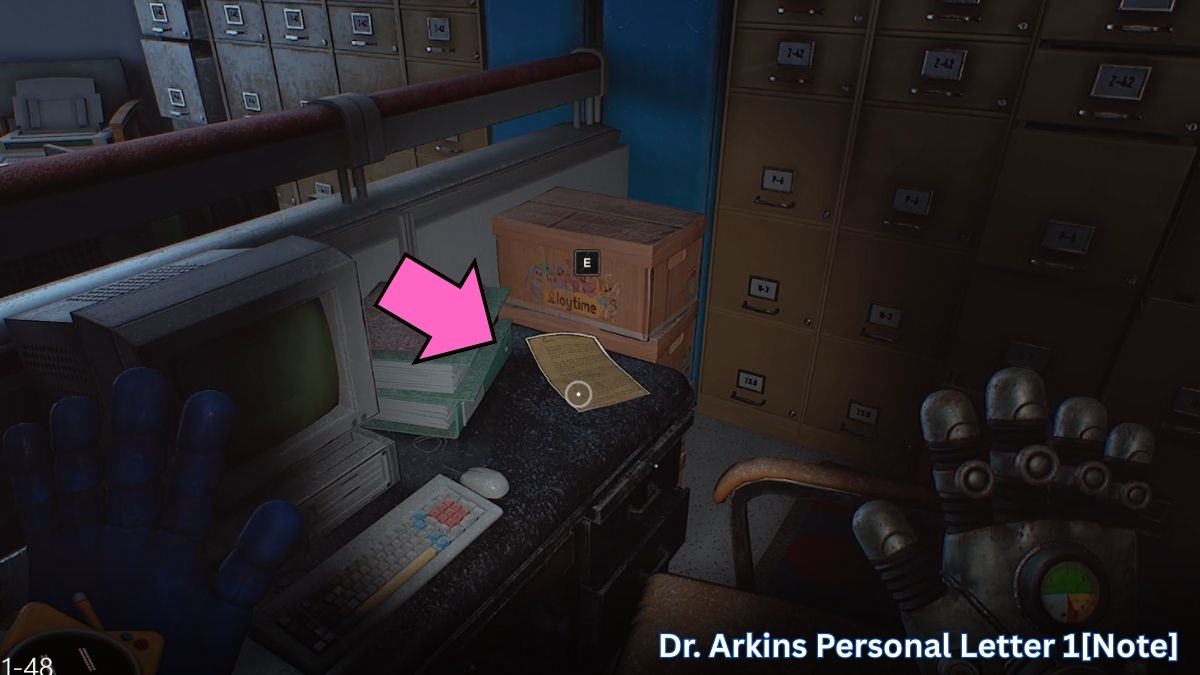
When you get through the red door, first walk to the room in the middle. The desk on the right has a Note ''Dr. Arkins Personal Letter 1'' which you need to pick up. Once you have it, go back out and through the only other unlocked door in the area.
First, grab the Battery Pack from the ground in the left corner, then make your way up the boxes and into the Vent. This is an area where we will have to complete an Electrical puzzle. It may seem tricky to wrap around the Rods, but it does have a pretty simple solution which we will show you.
Now, grab the second Battery Pack from the ground below and place them both into the Slots in the wall. Now you've powered the Electrical Charge.
- Connect to the Electrical Charge with one hand
- Wrap around the pillars next to the right rod in a circle, ensuring that you touch the rod and activate it.
- Do the same to the second rod and finish off close to the receiver.
- Connect to it with your other Hand to complete the puzzle.
Poppy Playtime Chapter 5 FAQ
It will take you around five hours to complete the entirety of Chapter 5, provided you don't get stuck on any puzzles.
As of right now, Broken Things is only available on PC, but it will get a console release.
Collectibles are not mandatory, but items like the VHS tapes as well as the Audio cassettes provide further lore and insight into the game.
If you want to know how to complete previous chapters, make sure to check out our Chapter 3 and Chapter 4 Poppy Playtime walkthroughs right here on Pro Game Guides.