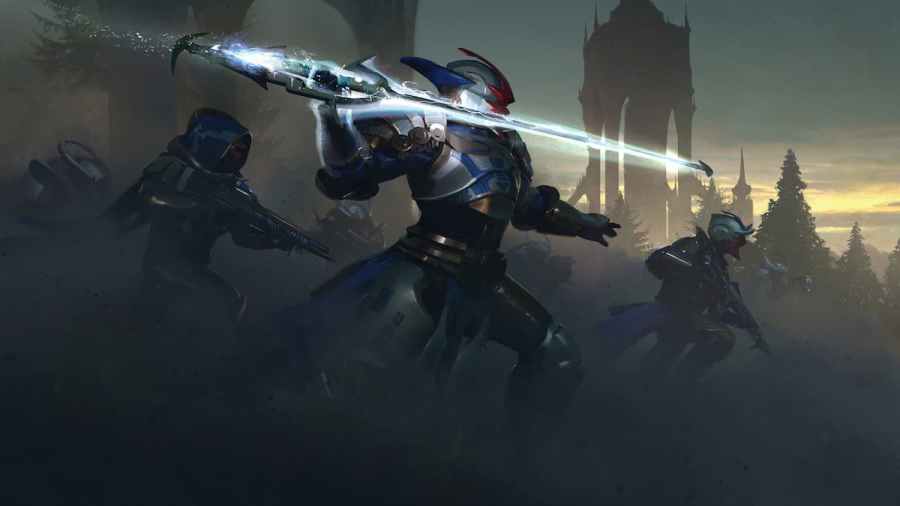
The Wellspring activity in Destiny 2 is a six-man matchmade activity. There are two different modes to this activity: Attack and Defend. These two modes rotate on a daily basis, and both these modes feature different bosses as well. Before we go on to the mechanics, let us look at the weapons you stand to acquire from this activity.
Destiny 2 Wellspring Weapon Rewards
- Tarnation (Grenade Launcher)
- Fel Taradiddle (Bow)
- Father’s Sins (Sniper Rifle)
- Come to Pass (Auto Rifle)
Now that we know which weapons drop from the Wellspring activity, let's take a quick look into the mechanics of the activity.
Related: Can’t find Warden of the Spring in Destiny 2? Here’s why
Wellspring Mechanics
As mentioned before, there are two different modes to this activity. We'll look into the mechanics for both these activities one by one.
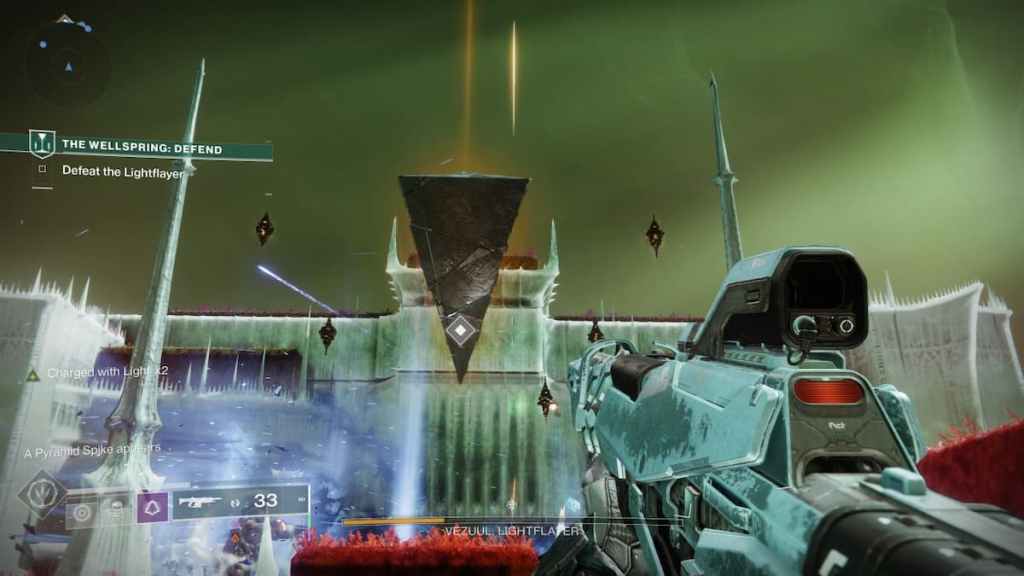
Wellspring: Defend
As the name suggests, when this mode of Wellspring is active, you will have to defend the area from an onslaught of attacks by the Scorn. There are a total of three encounters in this activity. Before every encounter, you can use a banner to fill up your super and ammo for any weapon that uses special and heavy ammo.
You will have to stand on a platform for the first encounter and wait for it to charge up to 100. Once you've done that, push to the next encounter. You will have to destroy the Pyramid Spikes for the second encounter while holding off a Scorn onslaught. These Pyramid Spikes are black and gold in color, so you can't really miss them. Also watch out for that Scorn Walker that spawns during the second encounter.
For the final encounter, you will have to go up against Lightflayers. There's just one Lightflayer you need to destroy here. But every time you reduce their shield by 1/4th, you will have to destroy Pyramid Spikes yet again. There are three rounds to this as well, with the first having only two spikes and the final one having six. Break these spikes, and the Lightflayer is all yours for the taking.
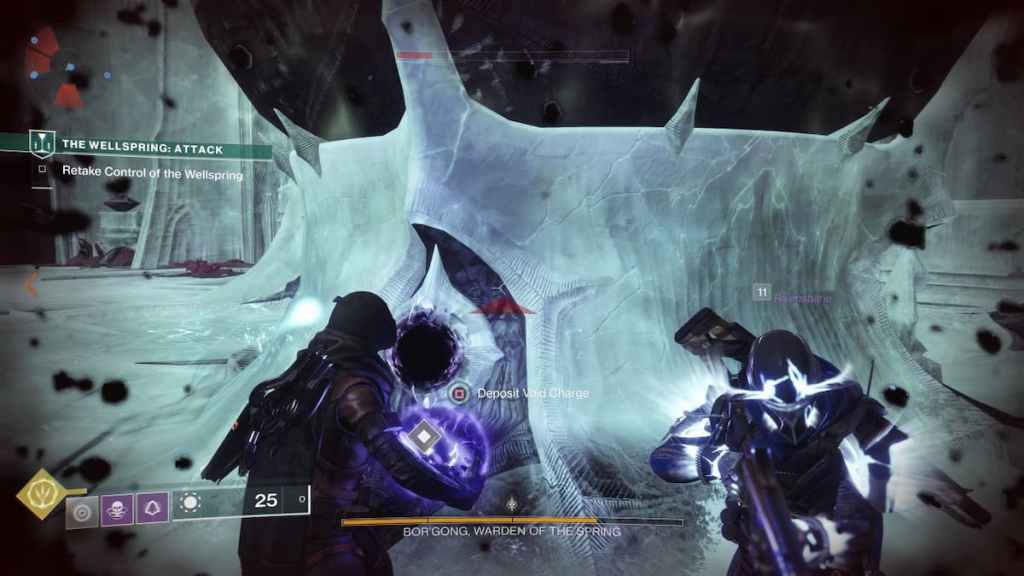
Wellspring: Attack
The Wellspring Attack mode is slightly different. Here, you will have to push through waves of Hive while escorting a Resonant Splinter. This is comparatively simpler than defending the Wellspring. All you need to do is stand within a certain perimeter of the splinter. You can also stand on the Resonant Splinter and work your way through the crowd of Hive.
You need to continue working your way through the crowd of Hive till you get to a room with runes and shielded crystals. Damage the crystals to trigger the final boss fight. Every time you reduce the boss's health by 25%, you will have to defeat a Patron of the Wizard located in an adjoining room. Once you defeat the Patron, they'll drop a void charge. You need to pick up this void charge and then place it in the Wellspring in front of the boss.
You will have to repeat this process a couple of times before you can finally defeat the Warden of the Spring. And the number of Patrons of the Wizard keeps on increasing every time you trigger a shield over the Warden of the Spring. For the final round, you will have to defeat three hive wizards before you can take down the boss for good.
If you're having difficulty defeating Scorn in strikes, check out Best way to kill Scorn in Strikes – Destiny 2 Bounty only on Pro Game Guides.