
For whatever reason, indie horror darlings set in theme parks with animal motifs seem to haunt me now, after my stint in the brilliant Crow Country, which we also covered with a full walkthrough! Not that I'm complaining, mind you.
Indigo Park Chapter 1 released on May 18th, and seems to have won hearts and minds fairly quickly, so if you're here from this new wave of appreciation but have found yourself stuck on a particular section, we've got you covered with our walkthrough.
Indigo Park Chapter 1 Walkthrough - Birds of a Feather
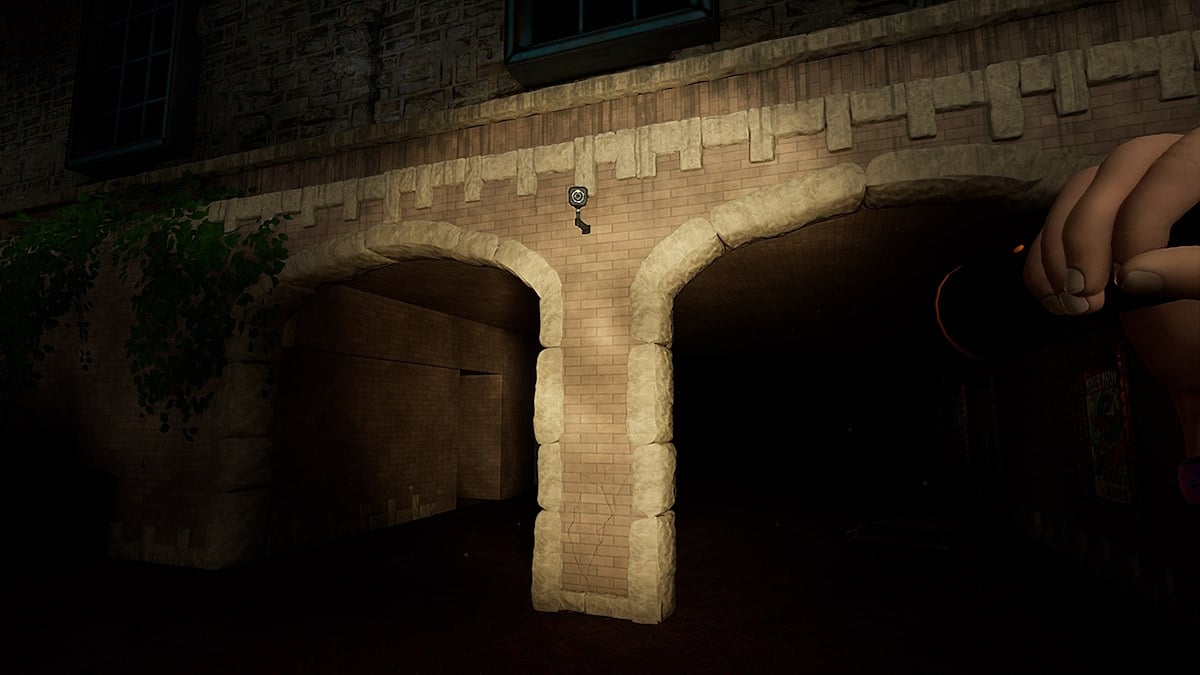
Right out the gate, we'll be met with some dark and eerie surroundings and a big gate straight ahead. This gate is closed off to us, so instead, head towards the right to access a 'Ranglers Only' door. There's a collectable on some boxes nearby so make sure to pick that up.


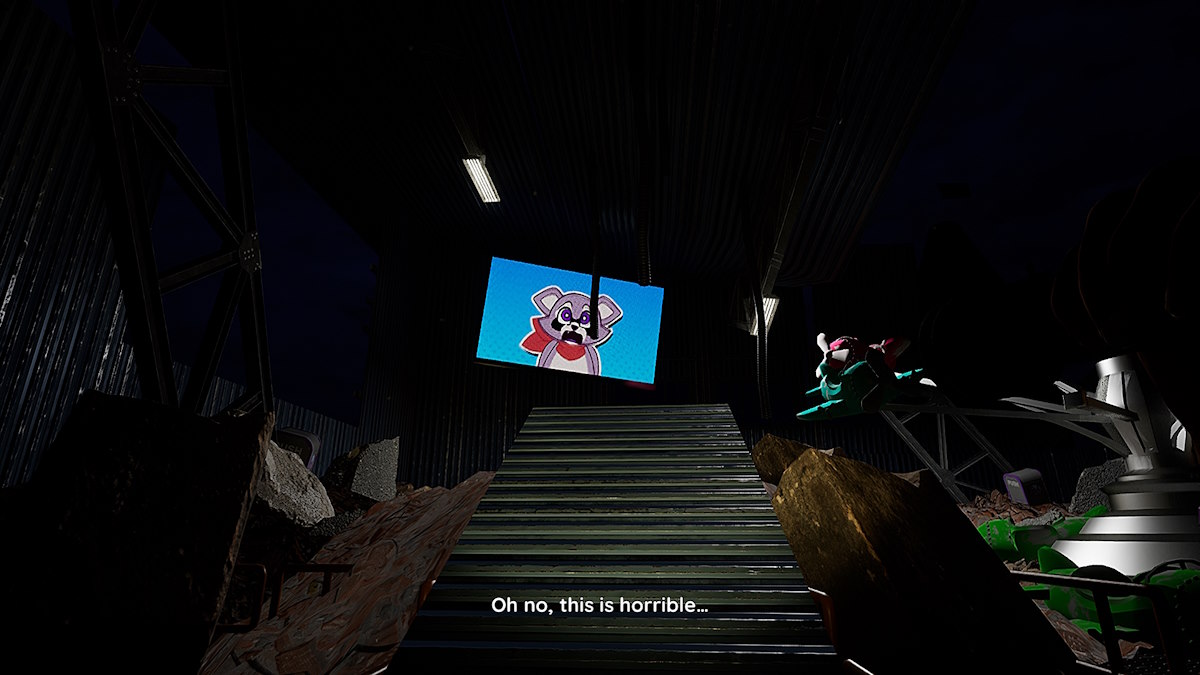
Head on through the Ranglers Only door and you'll see that a TV will turn on, before a (really well animated) raccoon introduces you to the park, and insist that you get registered. Once he's done, head to the back of the room with the desk and interact with the chair.


Now you'll need to head back out and towards the main gate you saw right at the start. Get close to the screen at the left side of the main gate to summon the beast once more, and he'll inform you that the gate is open.
The beast lies, and soon informs you that you must go on an extra special one-off adventure to turn on the generator; a far cry from the comically large turkey leg and funnel cake I had in mind. There's another collectable next to the main gate here on the right side, so make sure to pick it up.

Head back toward the Ranglers Only door, and you'll see a door has opened. Head on in, and you'll find out that the generator is missing a piece. There's a collectable on the right of the door as soon as you head in, so grab that whilst you're here and then simply turn around and go back into the previous room to find the missing cog placed on a box.


Return the missing cog to the generator, and then interact with the lever to the right before heading back to the main gate.
Head forward until 'Rambley' (I don't trust him) speaks again, and he'll let you know that in order to have charges properly allocated to your room (and enter the park), you'll need a 'Critter Cuff'. This will open up the gift shop for you, and you can head straight to the counter at the back to receive your shackle.
When you go to head back out, the door will lock, so interact with the sensor on the right to unlock it with your new cuff.
When you leave, head straight on before continuing into the park to grab another collectable, seen in the fifth image below.
1a - Gift Shop / 1b - Main Gate / 1c - Collectable


With all that done, continue on into the next area, and head right for the big arches towards the back right, which will take you to a new area before leaving you trapped behind some rubble.
Indigo Park Rambley's Railroad & Plaza Walkthrough
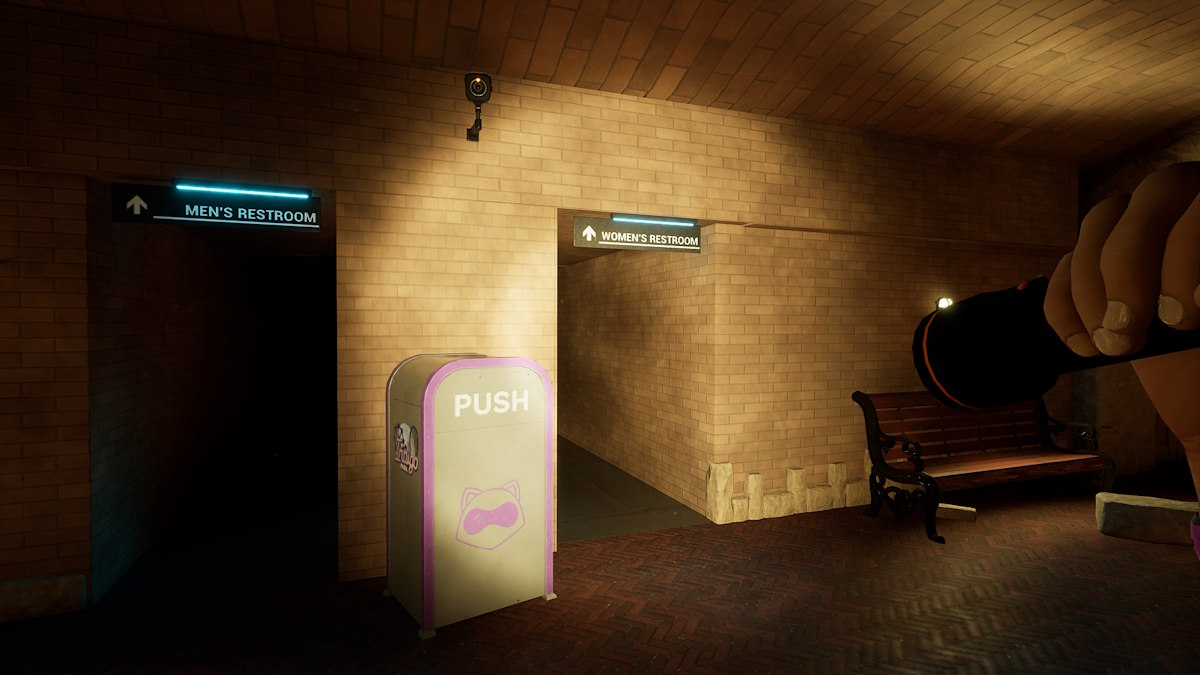
Directly on your left as you come into this new area you'll see the bathrooms, head into the women's restroom and check the right side as you enter for another collectable.
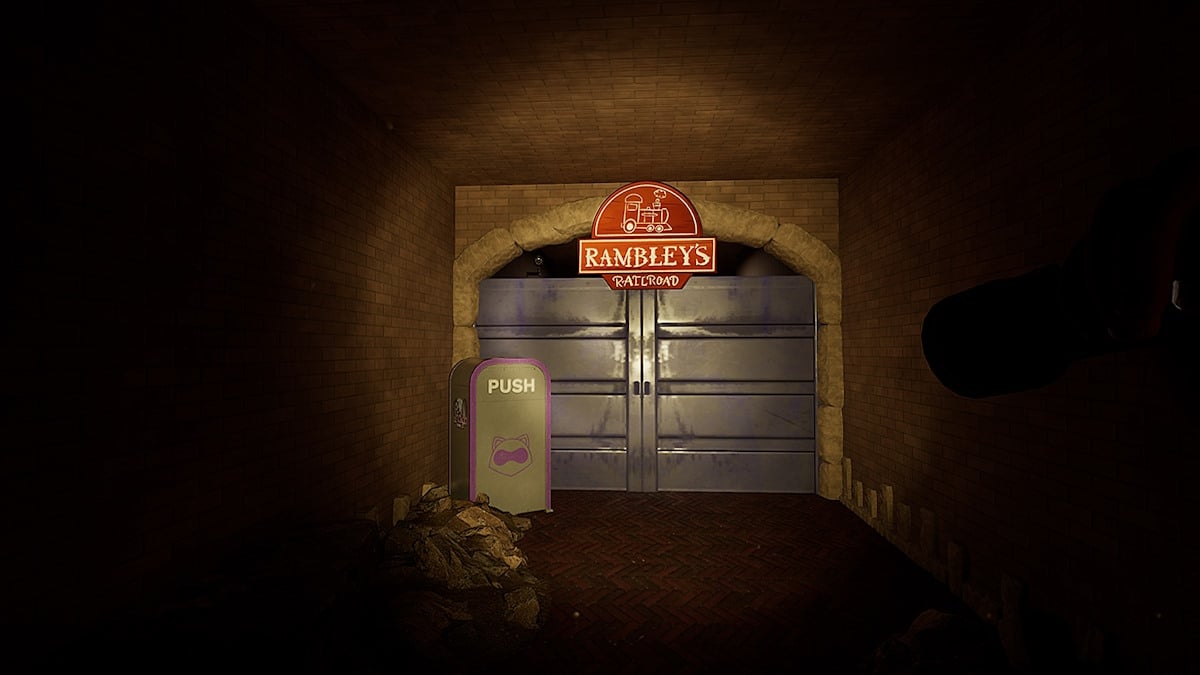
Continue on until Rambley returns to apologize for the park being in disarray; he'll even offer you a discount of 'free' before doubting your ability to find a massive set of doors. Head through the tunnel to the right, just behind the screen where Rambley was, and enter Rambley's Railroad.
Head through the empty queue area, trying not to notice something darting around a corner, with what looks to be some rather bright plumage. Rambley will express his love for trains as you progress, though I doubt he is qualified to operate a locomotive. When you finally reach the train, interact with the carriage.
We will then be taken through the ride and introduced to more characters, like 'Mollie Macaw' and 'Finley'. Mollie Macaw also appears to be operating an industrial vehicle without a license, and expresses joy at causing massive property damages. Finley will say perhaps the most questionable thing I've ever heard, and finally we'll be taken to a point in which the ride ceases to function, before being tasked with getting it up and running again.


1a - Cog / 1b - Cog / 1c - Collectable
Head through the door towards the right and traverse the corridors. You'll come to another room with the machine you need to repair, which requires two cogs. Both cogs are in the room, along with a collectable behind the boxes you first see when you enter.


Place both cogs in the machine, and head back to the train. The train will take off again, and we'll meet 'Lloyd', someone who Rambley is certainly not a fan of. This will take us to the end of our train journey, and we'll get to see all of those lovely ride pictures. (Only one of them has a beast in it!)


Continuing on, we'll enter a large plaza area. Head toward the Café you can see in the second image, and go inside to grab the collectable on the counter at the back. Once you've got it, continuing heading down the main street.


Rambley will appear on an information kiosk, which we can use to get some details about any collectables we might have picked up. Directly across from the information kiosk is an open doorway to a diner, head on in to find another collectable on one of the tables.
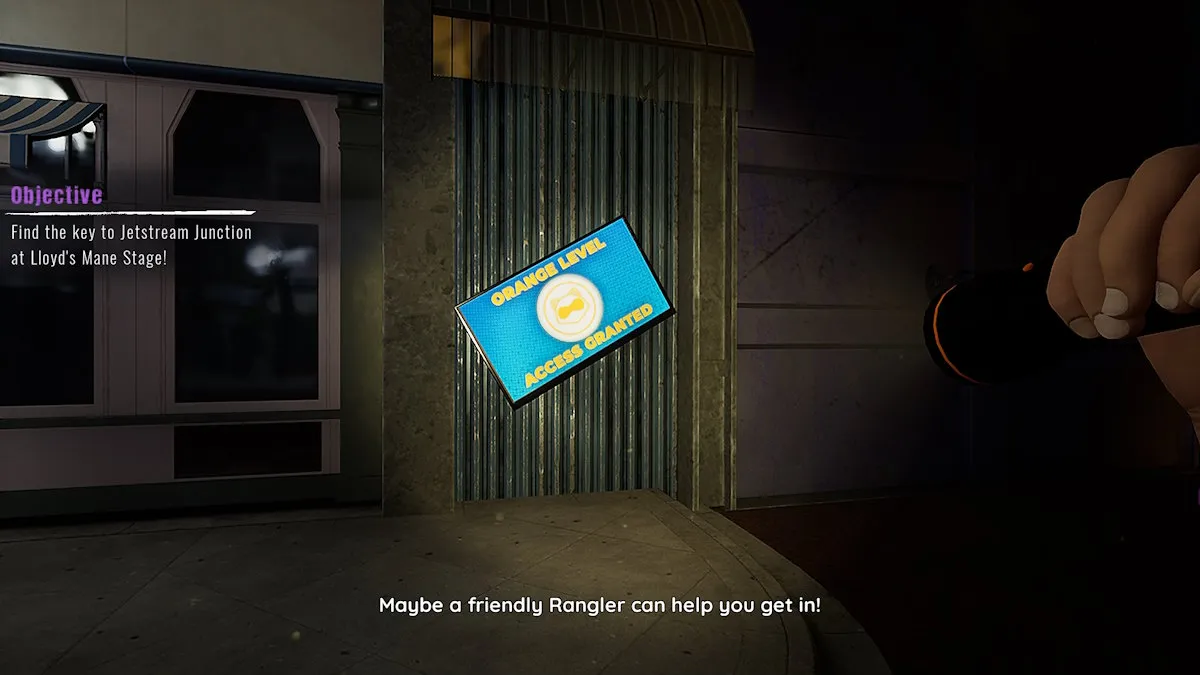
Continue down the main street until you reach a large set of locked doors leading to another ride. Rambley will appear and tell us to head to the theatre, which is to the left of the big fountain back-a-ways (right if you're heading from the gift shop of the Rambley's Railroad). Rambley will grant us 'Orange Level Access' so that we can enter and find a helpful Rangler to let us in to Jetstream Junction.
Indigo Park Lloyd's Theatre Walkthrough
Interact with the sensor on the right of the theatre doors to gain entry, and you'll load in to the theatre.


Head towards the stage, and watch as what appears at first to be a really dead and really animatronic lion quickly becomes a really not dead, really not animatronic lion. Head up the stairs to either side of the stage, and walk on until Rambley appears once more to inform us that he can't see back there, so caution is advised.
Head through the Ranglers Only door at the back right of the stage, and head into the storage area in the back. This section is fairly linear, but be prepared for a spook or two, as that aforementioned not dead lion watches from a distance, and even charges you at one point.
You simply need to continue on, heading towards the back of the storage area to reach the security office and grab the keys needed for the other ride back in the Plaza.


Once you've grabbed the keys, high tail it all the way back to the entrance. The door will be shut, so interact with the sensor to open it before being jumped by Lloyd. (Who will strangely back off, almost as if he's in pain.)


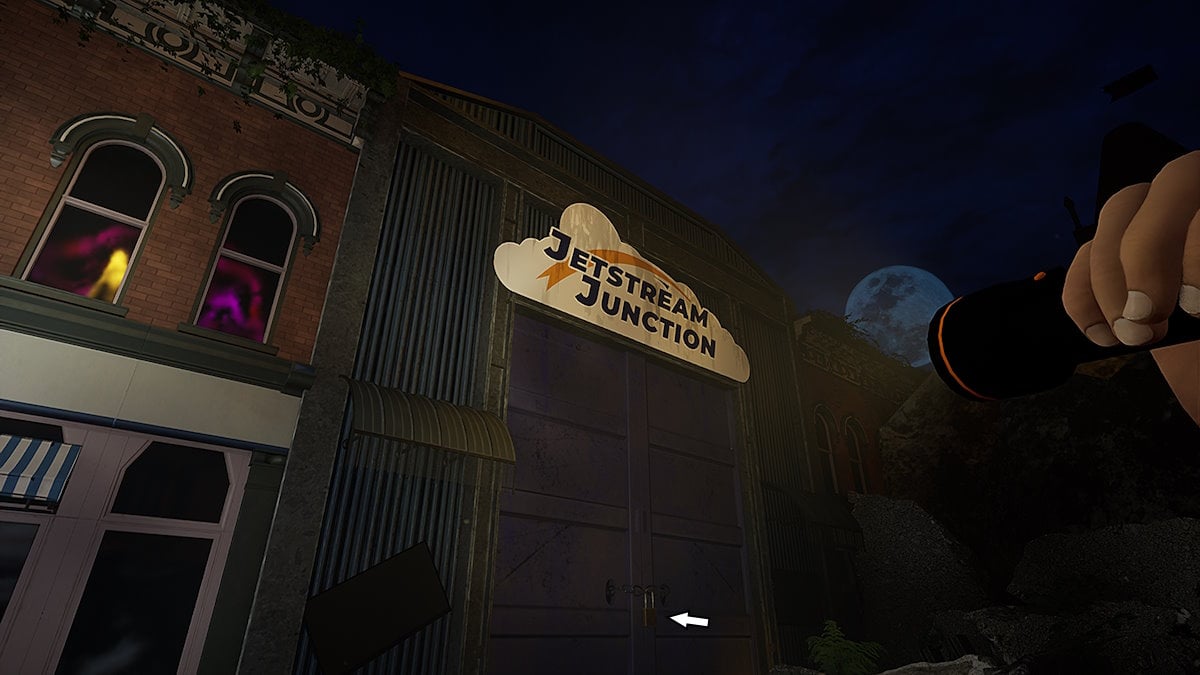
You'll see Mollie again, but she won't stop you from running all the way back to the entrance to the theatre. But at least now we have the key to the next area: Jetstream Junction.
Indigo Park Jetstream Junction Walkthrough
Head back through the plaza and toward the door in which you got the Orange Level Access from Rambley, and interact with the large padlock.
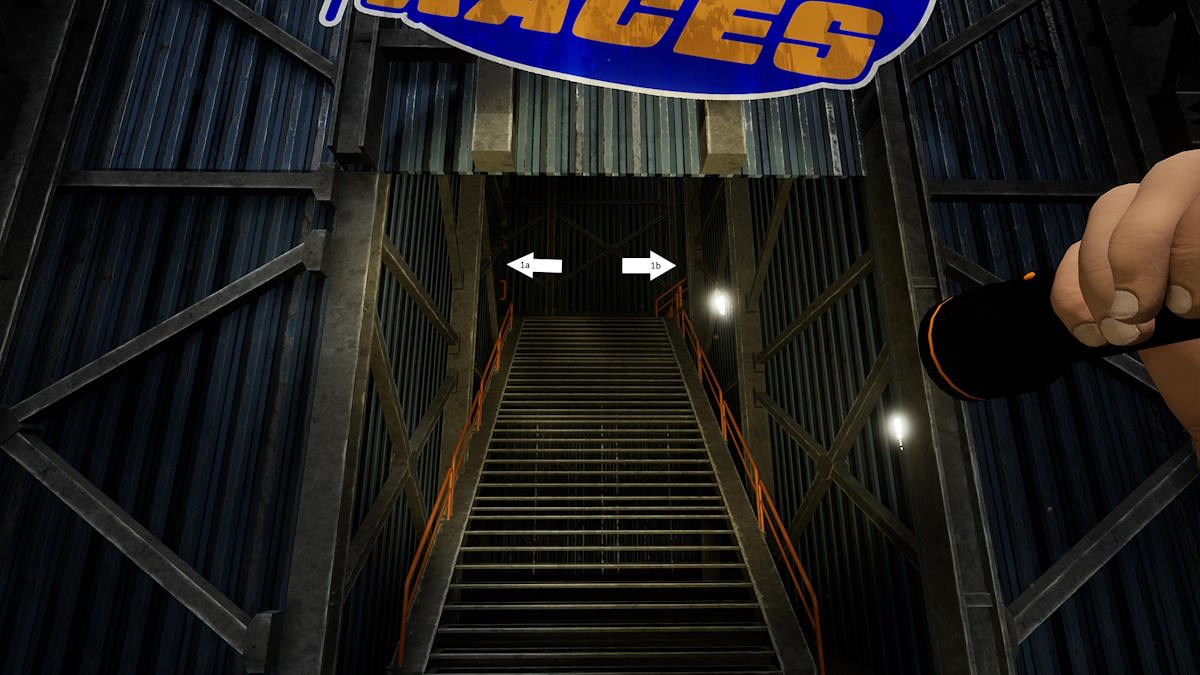
Upon entering Jetstream Junction, Rambley will return to tell us that we might want to consider doing Mollie's Rooftop Races before taking on any of the bigger rides. But before we even do that, there's another collectable we can get, only this one is slightly more involved.
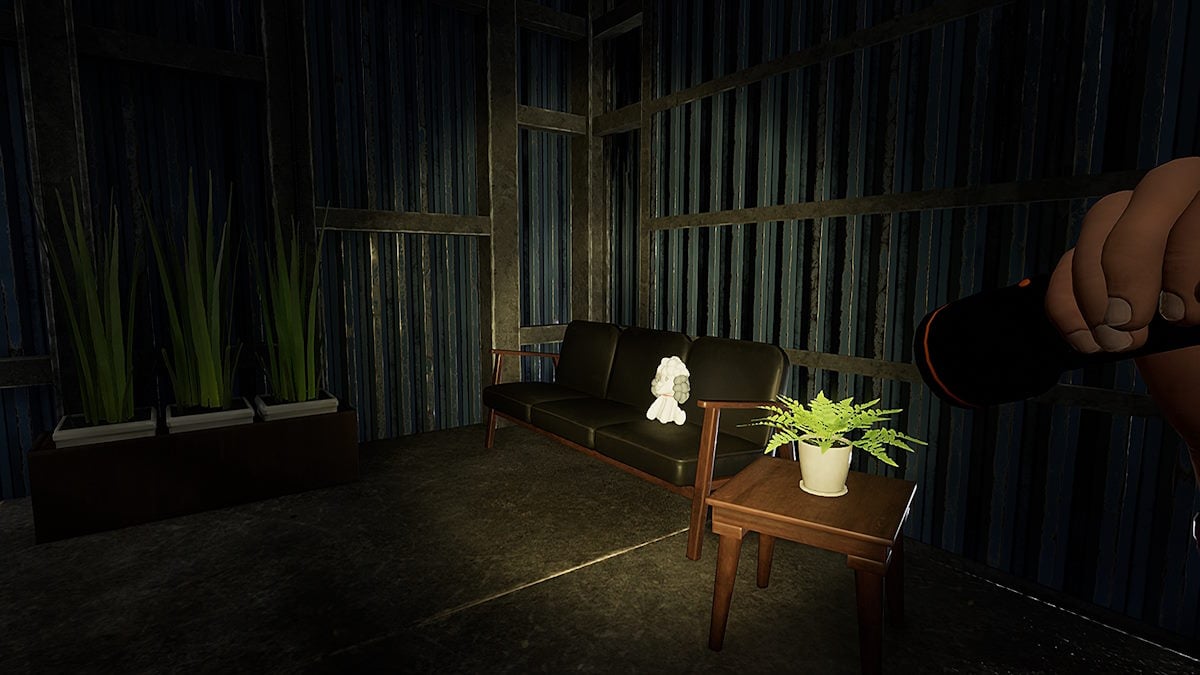
Head into the room at the back of the area as pointed out in the second image, and interact with the arcade machine to begin a small minigame. It's your typical platformer rodeo where you jump on heads to do damage and collect raspberries.


There's even a boss fight of sorts at the end, in which we're introduced to 'Salem', a skunk who is clearly the antagonist to our... heroes? Then again, it wasn't Salem attacking an unarmed individual in the Theatre, was it Lloyd? Just avoid bumping into Mollie Macaw unless it's a jump on the noggin', and be careful of the blue... stuff. Once you're done, she'll react poorly to losing, crash the game, and you'll receive another collectable as a reward.
Head back out, and over to the Rooftop Races sign. Head up the stairs but before going up the stairs on the right, head down the other set on the left and progress along the walkway for yet another collectable.
1a - Collectable / 1b - Rooftop Races
Backtrack and continue up the stairs proper, and we'll be greeted by a disaster and Rambley once again coming to cover his own hide. He'll direct you back down towards the Landing Pad again.
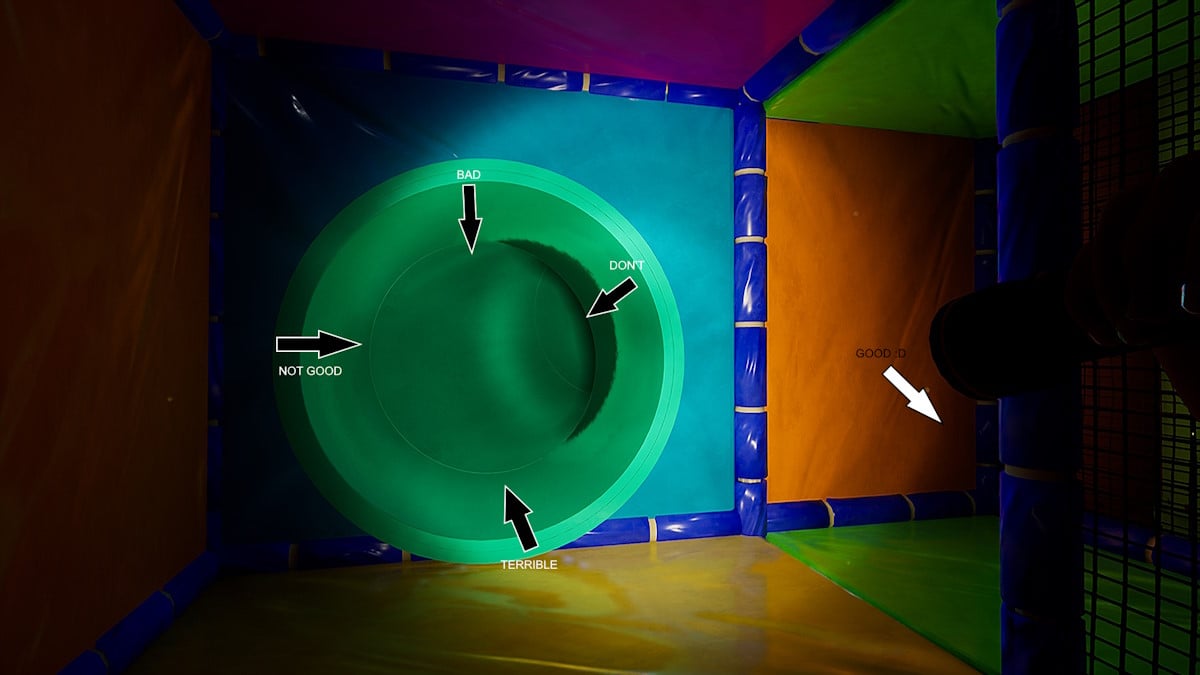
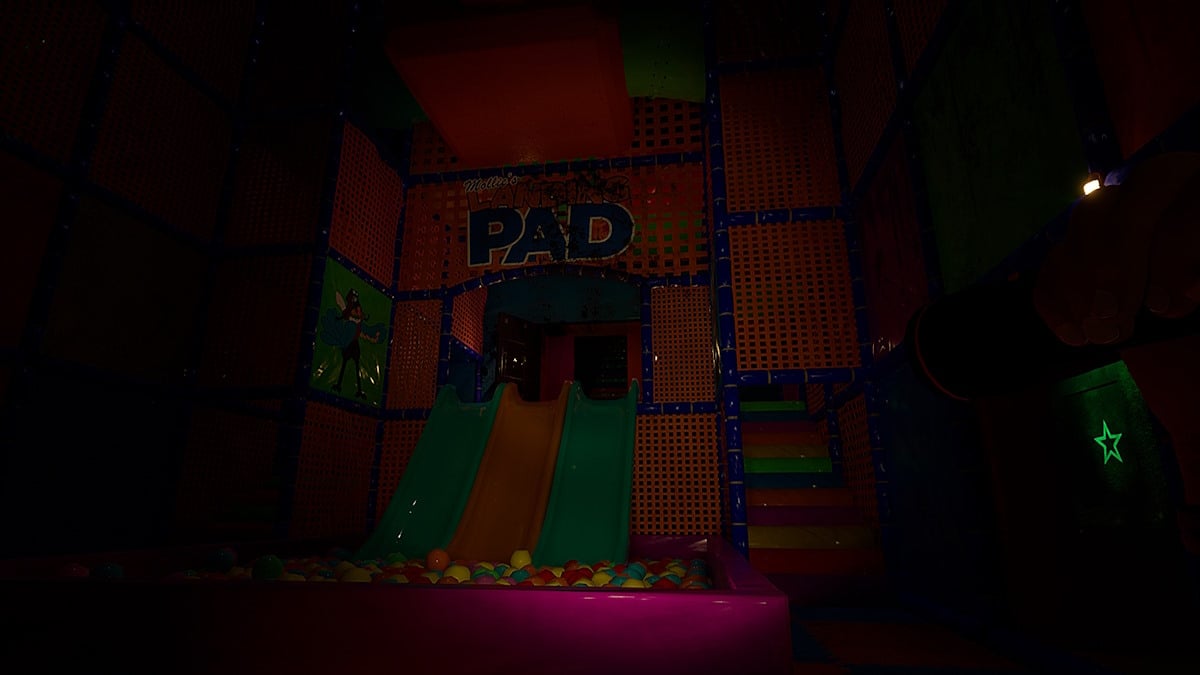
Interact with the sensor on the metal beam to the right of the door to enter a loading screen, greeting you with a soft play area. You can go down the slide if you want to (I did). When you're done, head towards the big purple cube on the left of the room as you enter. Interact with it until it rotates to the star (which we can see painted on the wall) and tremble as the power goes out. Progress through the large circular door that just opened.


As soon as we enter we can see that we are not alone, as Mollie Macaw is prowling.
Do not go into the tunnel directly ahead of you, and instead proceed on the path to the right. If you do decide to go into the tunnel, here's a helpful tip: you can sprint backwards!
Upon continuing on the PROPER PATH we'll see another shape painted on the wall over the ball pit below—this time a red star. Take note before running onto the trampoline ahead to get across to the other side and enter another tunnel.


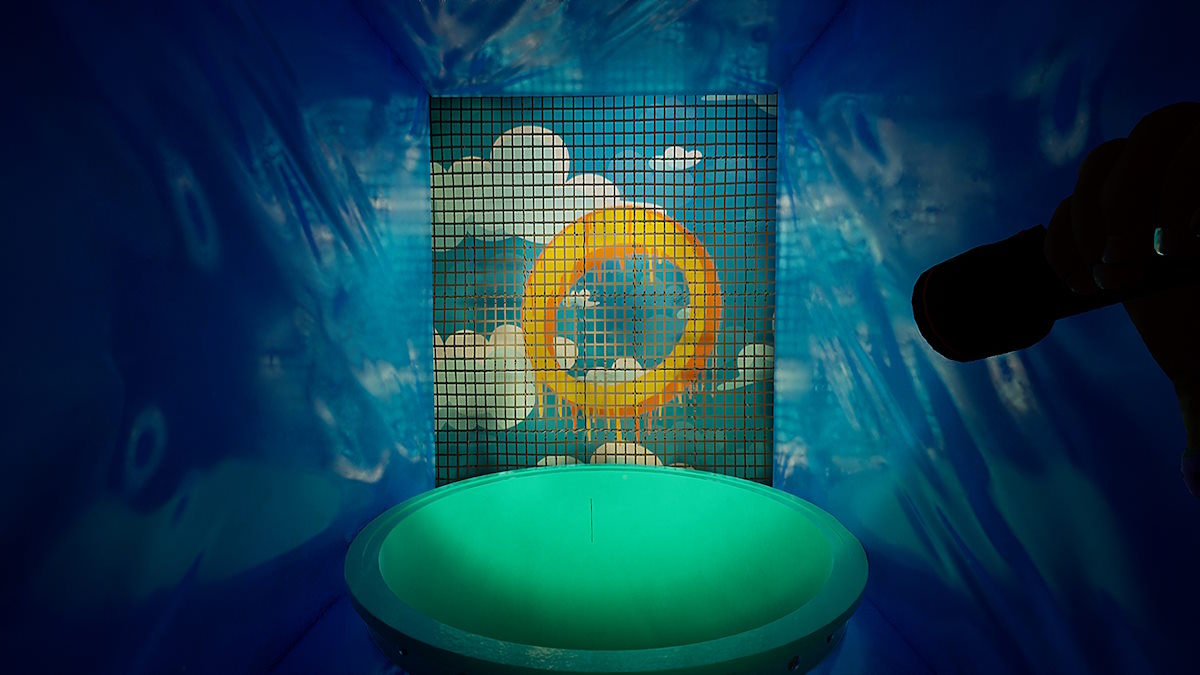
Upon exiting the tunnel, we'll see another painted shape—a green triangle. Keep moving, and head up some trampolines before being greeted with another piece of the puzzle— a blue star.
You'll eventually be led back to the slides area, but we're still missing a piece of the puzzle. So sadly, we'll have to go back up that tunnel I explicitly told you not to go up to get the final piece - a yellow circle.
You can now return back to the slides area and input the code using the blocks on the wall (like before with the purple star). The code is Red Star - Green Triangle - Blue Star - Yellow Circle. The door on the top of the slide will open, leading to the next area.
Head up, head in, and go through the tunnel. When you get through the loading screen, walk up the raised platform to the right to interact with a sensor to open the doors ahead, and get ready as we have a chase section coming up. You'll continue on before being ambushed by Mollie, and when she shows up just turn right around and head through the tunnel.
Don't worry, you've got unlimited sprint here; so as long as you don't stop moving, you'll be fine. The paths can catch you off guard, but we've got you covered.

Image by Pro Game Guides | Sensor to access chase area 
Image by Pro Game Guides | Left turn 
Image by Pro Game Guides | Trampoline to get across 
Image by Pro Game Guides | Another left turn 
Image by Pro Game Guides | Drop down 
Image by Pro Game Guides | Another drop down 
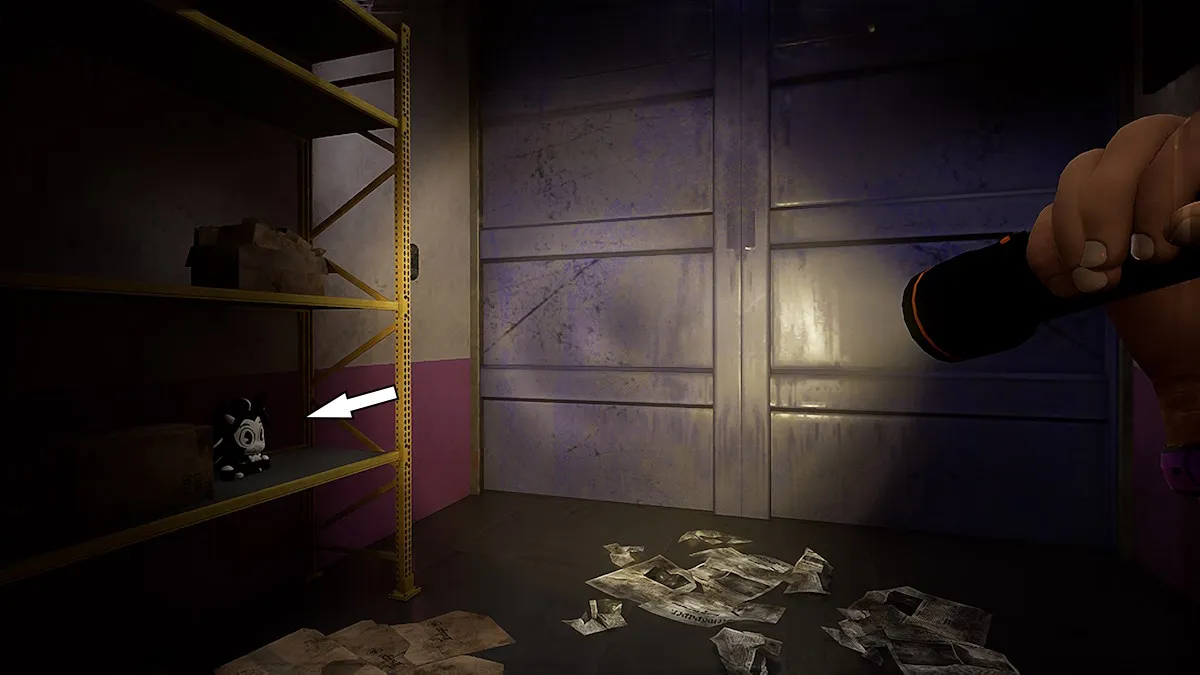
Image by Pro Game Guides | Shelf collectable 
Image by Pro Game Guides 
Image by Pro Game Guides | Left after vent exit
It's important not to bother jumping in this section, as you might miss trampolines and allow Mollie to catch you, so just keep running. Be sure to grab the collectable you can see on the shelf in the seventh image!
When you reach the end, Mollie will be... unfortunately dealt with, and Rambley will finally grant you a meagre boon of honesty before instantly turning to impose his will of fixing the park upon you, at which time you'll be made a member of staff.


Ignore Rambley's instruction to head left in the next area at first, and continue on to grab another collectable.
Once you've snagged it, head back and into the Ranglers Only door as instructed. Keep heading on, just a little bit, and you'll see one more information kiosk before being greeted with the entrance to Oceanic Odyssey, and sadly for now, the end of the game.
I hope you've enjoyed your stint in this park filled with wildly unqualified animals. If you're looking for more spooky goodness, then check out our list of the best horror games of 2023, only at Pro Game Guides.