Paintings have been in Minecraft since Beta, and they have, quite honestly, always been confusing as to how to use them properly (at least at first). However, Pro Game Guide is here to help you understand how to make them and how to place them to get the painting you want. We'll also show you how to make a painting into a hidden door, as well as how to create a custom painting!
How to Make and Use a Painting in Minecraft
Crafting
The plus side to Paintings is that they're easy to make and not costly for resources. The resources you'll need are listed below:
- 8 x Sticks
- 1 x Wool (Any Color)
These resources are generally available very early in-game. If you spawn next to a sheep, you might even be able to get them within a minute or two. Once you've obtained the resources, you can follow the recipe below to craft a painting.
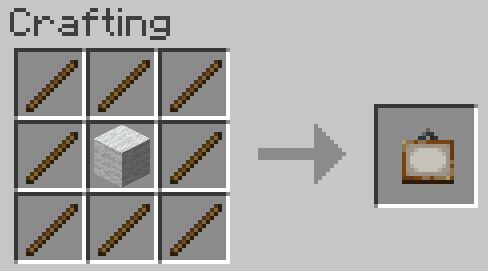
In case you're not able to see the image, we'll explain the pattern in text. Using a crafting table, place the wool in the center space of the board, then place a stick in each of the eight spaces around it. From there, you'll have a painting ready to use!
Placement
The odd thing about paintings in Minecraft is that the same item is used for every painting, no matter the size. The mechanics of placing the painting to get the right one may seem a little odd at first. Still, once you see the mechanics of it, you'll be able to force a certain size painting to form when you place it.
Unfortunately, you're only able to force the size of the painting, and not which painting appears. However, you're able to break the painting and try again to get the painting you want, if you're looking for a specific one.
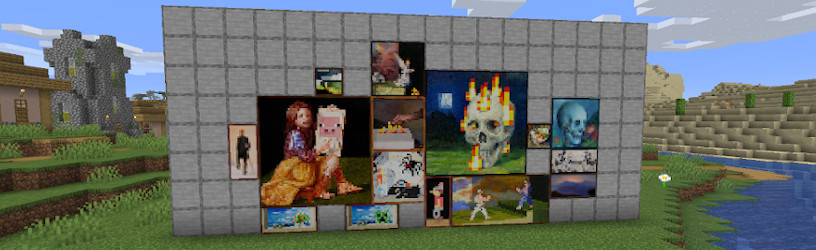
When placed, the game will detect the largest possible painting it can make given the allocated space and form a random painting of that size. The sizes range from 1 block by 1 block to 4 blocks by 4 blocks. The images below show every painting available, separated by size.
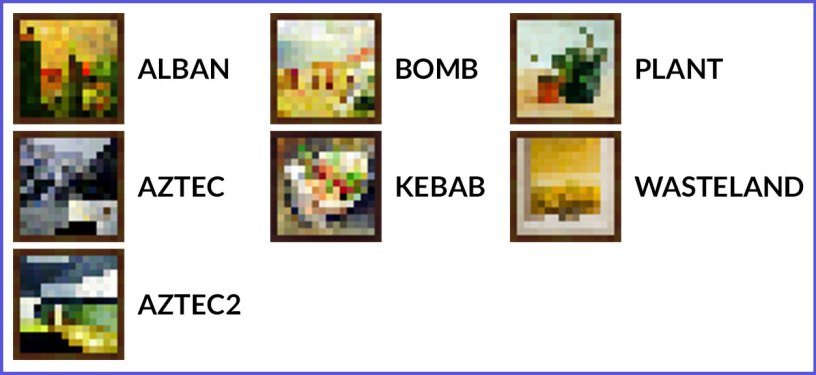
1x1 Paintings: There are seven paintings that are 1x1 blocks. These images are 16x16 pixels.
2x1 Paintings: There are five paintings that are 2x1 blocks. These images are 32x16 pixels.

1x2 Paintings: There are two paintings that are 1x2 blocks. These images are 16x32 pixels.

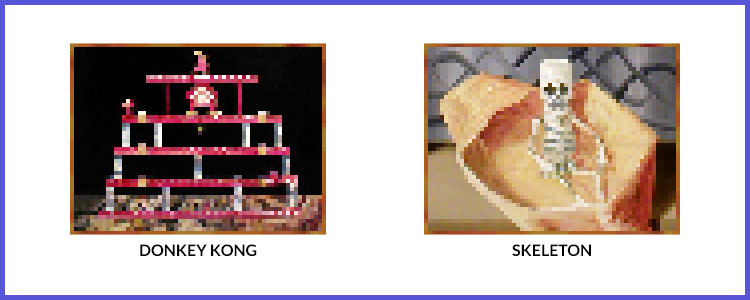
2x2 Paintings: There are six paintings that are 2x2 blocks. These images are 32x32 pixels.

4x2 Paintings: There is one painting that is 4x2 blocks. This image is 64x32 pixels.
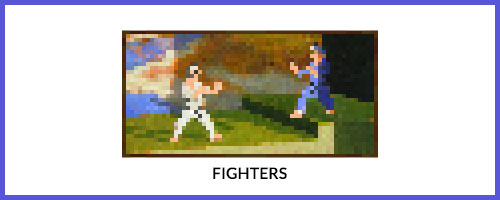
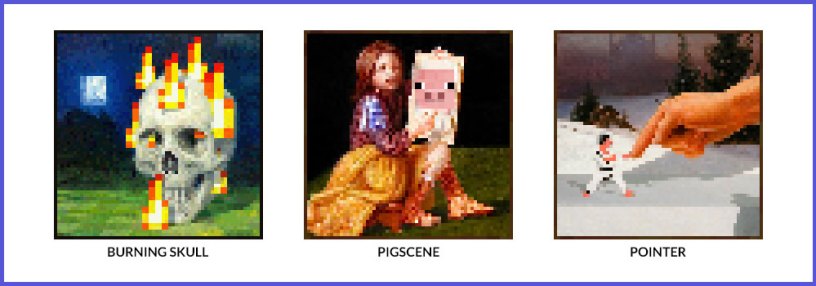
4x3 Paintings: There are two paintings that are 4x3 blocks. These images are 64x48 pixels.
4x4 Paintings: There are three paintings that are 4x4 blocks. These images are 64x64 pixels.
The most important thing to note when placing paintings is that a painting will measure its maximum size from the bottom left. By this, we mean that when determining how much space is available for the painting, you must assume you will be placing it at the bottom left of where the painting will be. When determining what size of a painting should spawn, it will measure from this point, counting the space available up and to the right.
If you'd like to place an image of a certain size, the easiest way to do this is to place the painting against a wall of blocks equal in size to the size of the painting. For example, if you want to place one of the paintings that 2 Blocks by 1 Block, you would place a wall of blocks two blocks high and one block wide. Similarly, if you want to place a painting 4 Blocks by 4 Blocks, you'd place it on a wall of solid blocks four blocks tall by four blocks wide.
If the wall is the exact size of the painting, it will always pick that size. It will not randomize between smaller paintings, and instead always places the largest painting possible.
How To Make a Secret Painting Doorway
One interesting project you can do with paintings is create a secret doorway! In order to make this work, you'll need to start with a normal doorway. This can be done with a single door or double doors, but the doors must be open when you place your painting. Next, place your painting over the doorway opening.
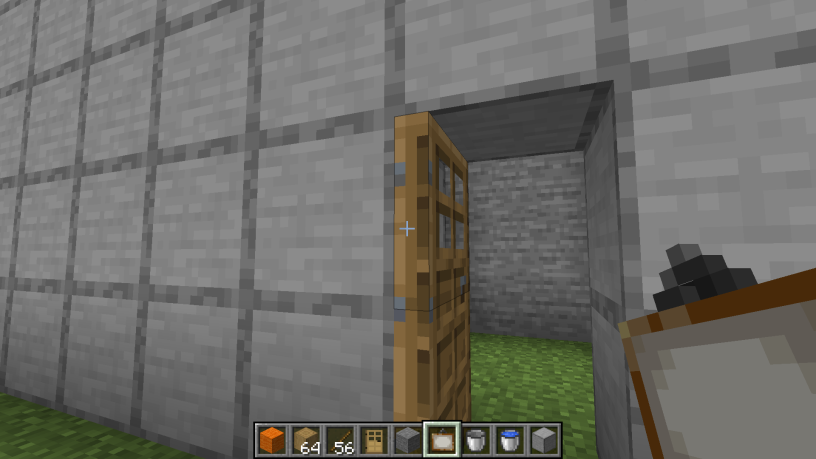
If the painting you want is larger than the doorway, you can place the painting to the left of the door and it will cover the doorway. If you want the painting to only cover the door, you'll need to place it on the door itself by crouching before placing the painting.
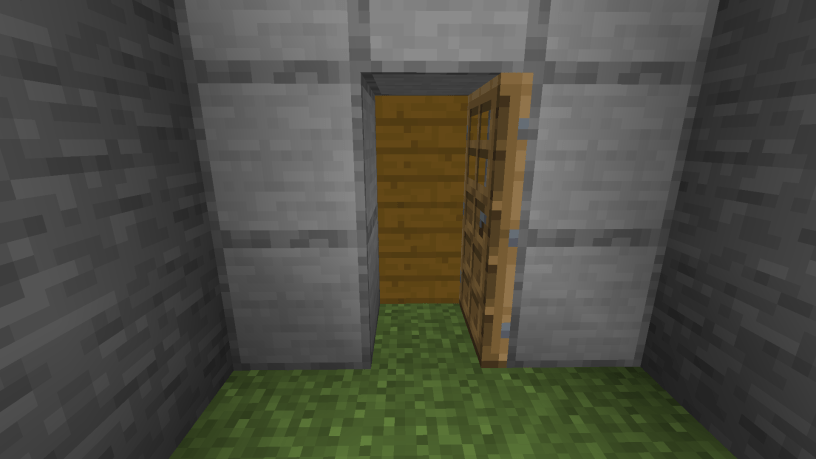
The picture above is what the other side of your secret doorway will look like behind the painting. You can now move freely through the painting and doorway as long as the door stays open. If the door is removed or destroyed, the painting will fall off.
How To Create a Custom Painting
If you would like a painting in Minecraft to be a custom image of your choosing, follow along and we'll take you through the steps involved in creating your very own unique Painting!
Step 1: Create a Resource Pack
Before you can begin to create your own Painting, you'll need to create a resource pack. Resource packs allow you to alter textures, sounds, models, and many other aspects of the game.
Navigate to your "resourcepacks" folder within the ".minecraft" folder. Create a new folder and name it whatever you want. For this example, I named mine "Custom_Paintings." Within this folder, create a text document named "pack.mcmeta." It is vital that this is labeled correctly with the .mcmeta extension.
In the text document, type out the following exactly:
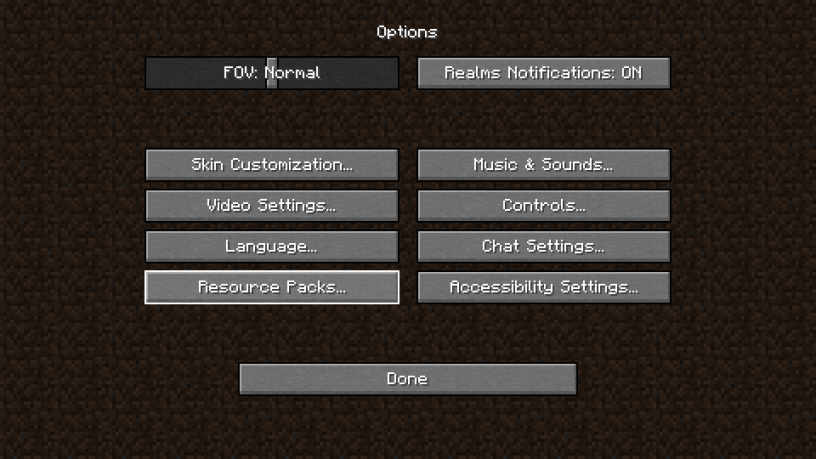
{ "pack": { "pack_format": 5, "description": "Custom Paintings" } } Where it says "Custom Paintings" you can label this with whatever you named your folder. Open up Minecraft and navigate to your Resource Packs. These can be found by clicking "Options" and then "Resource Packs" as shown below.
Your custom resource pack should show up on the left side. Click on the triangular arrow on the icon of your resource pack to move it over to the right side under "Selected Resource Packs."
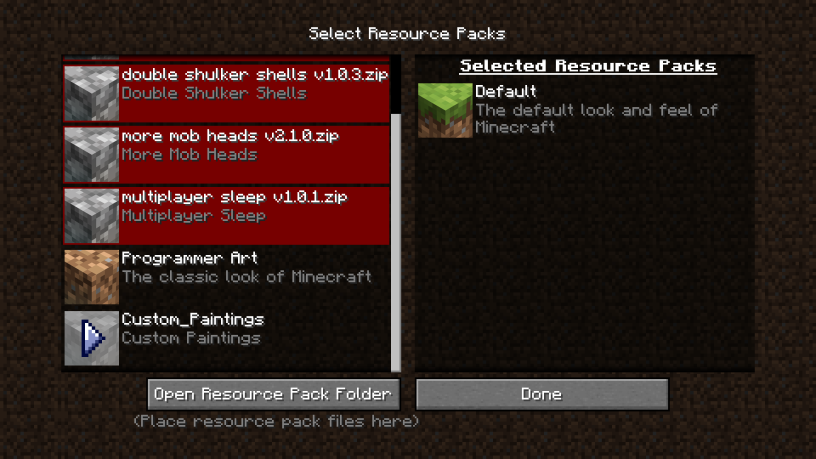
Once you hit "Done," your resource pack will be loaded into the game.
Step 2: Finding Your New Painting Image
Do you remember reading about the sizes of the paintings above? That information is important when creating your custom image. By creating a custom image, you are replacing one of the 26 paintings in the game. In order to do this, you must decide what size painting you will overwrite. For example, if you decide to overwrite the painting with the ID "pointer" which is a 4x4, you'll need to make sure your image is also a 1:1 ratio, or just stick to the original 64x64 pixels.
For my example, I found a 64x64 pixel image on pixelartmaker. You can use a resource like this website to create your own image, or use any image as long as it can be converted into the appropriate ratio.
When you have your image finalized, you'll need to save it in a specific manner. Depending on which painting you choose to replace, you'll name the image that painting's ID with the extension .png. For this example, we are overwriting "pointer" so our new image will be named "pointer.png."
Step 3: Placing Your Custom Image Into Your Resource Pack
Next, you'll need to create a series of folders. In "Custom_Paintings" (or whatever you chose to name your resource pack folder) create a folder named "assets." Within the folder "assets" create a folder named "minecraft." Within this folder create a folder called "textures." And finally, within "textures" create a folder named "painting."
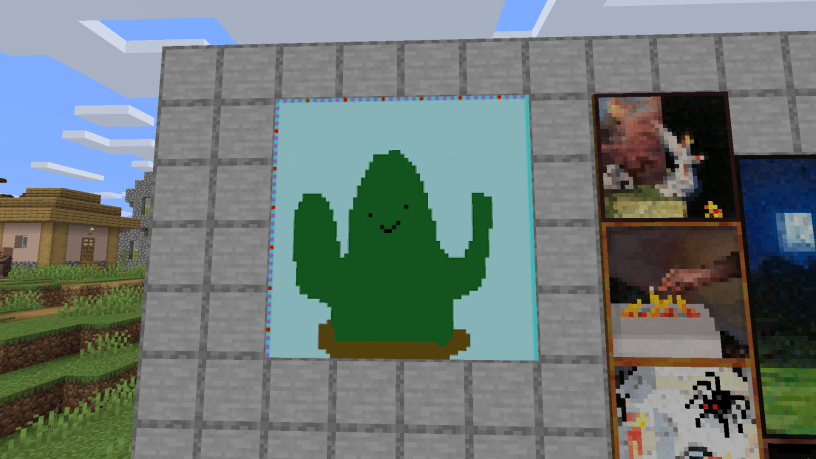
Here, you will place your custom image. If everything was done correctly, your image should show up in-game when you create a painting of that size.
If you're playing on a shared Minecraft Realm, this custom painting will only be visible to you. Other players will see the original "pointer" Painting unless they also go through these steps.
Original story by Carlyn Crouse