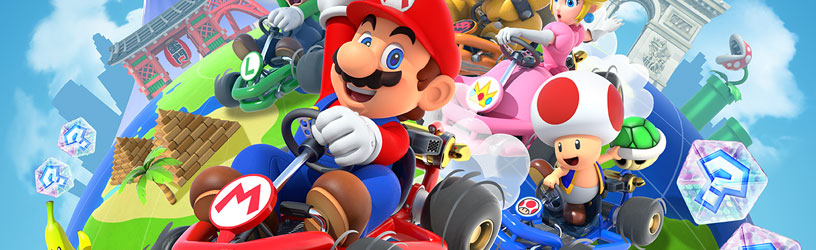
Our Mario Kart Tour Characters Tier List goes over the best drivers you can collect in the game! If you want to have the greatest advantage when going into a race, you'll want to have the racers with the highest possibility of going on a frenzy! This list features a look at which racers have the highest rate for that and what their special skill is!
Update (10/10/19):
New characters have been added to the game and have been placed on our tier list!
Mario Kart Tour Characters Tier List
Characters across the board pretty much drive exactly the same, so the thing that sets them apart are rarities, frenzy levels, and special skills. So, those are the metrics we're taking into account when ranking all of the drivers! Higher rarity characters have more potential to be upgraded when leveling them up.
S-Tier
Dry Bowser
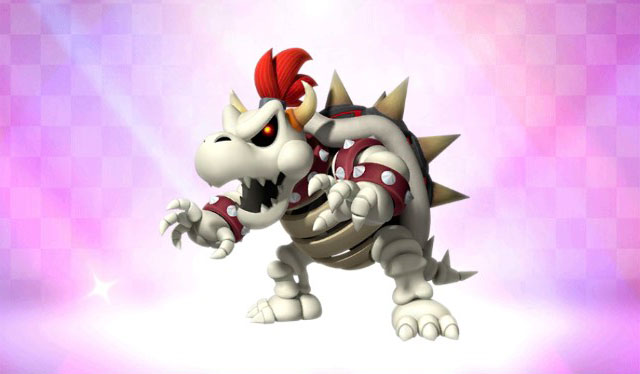
Dry Bowser has one of the best abilities to utilize, and also has five frenzy levels and an additional four two item bonus courses. Add those up and you likely have the best driver in the game!
Special Skill: Bowser's Shell
Hurl this sharp shell in front of your kart to scatter opponents.
Favored Courses - Three Items Per Box
- Dino Dino Jungle
- Dino Dino Jungle T
- Bowser’s Castle 1R
- Neo Bowser City T
- Shy Guy Bazaar R
Favored Courses - Two Items Per Box
- Daisy Hills T
- Bowser’s Castle 1
- Kalimari Desert T
- Neo Bowser City
- Neo Bowser City R
- Rock Rock Mountain
- Rock Rock Mountain T
Metal Mario
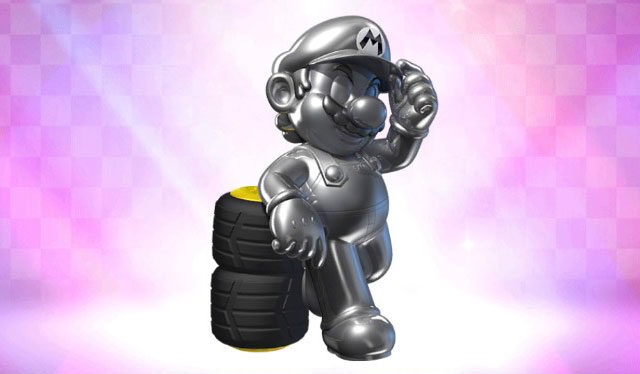
Metal Mario jumps up the list with a bunch of new frenzy courses available to it!
Special Skill: Fire Flower
Lets you throw three fireballs. Spin out your opponents while you burn up the track!
Favored Courses - Three Items Per Box
- Rainbow Road
- Rainbow Road T
- Rock Rock Mountain R
- Mario Circuit 2R
- Shy Guy Bazaar
Favored Courses - Two Items Per Box
- Dino Dino Jungle T
- Rainbow Road R
- Toad Circuit
- Yoshi Circuit R
- Yoshi Circuit T
- Mario Circuit 1T
- Shy Guy Bazaar R
- Shy Guy Bazaar T
Mario (Hakama)

Mario (Hakama) is a new character in the recent patch, and he's got a pretty good set of favored courses. His special skill isn't super strong though, so he isn't able to jump to the top of the list just yet.
Special Skill: Coin Box
Spits out coins with reckless abandon. It's a very generous item!
Favored Courses - Three Items Per Box
- Bowser's Casstle 1T
- Mario Circuit T
- Mario Circuit 2
- Tokyo Blur
- Tokyo Blur R/T
Favored Courses - Two Items Per Box
- Bowser's Castle 1R
- Rainbow Road T
- Mario Circuit 1R
- Mario Circuit 2T
- Shy Guy Bazar T
- Tokyo Blur T
Mario (Musician)

Mario (Musician) is still a strong character and has a useful ability.
Special Skill: Double Bob-ombs
Gives you two Bob-ombs you can hurl at once. Engulf your opponents in a might blast!
Favored Courses - Three Items Per Box
- Daisy Hills
- Yoshi Circuit R
- New York Minute T
- New York Minute R
Favored Courses - Two Items Per Box
- Daisy Hills R
- Mario Circuit T
- Neo Bowser City T
- Rainbow Road T
- Rock Rock Mountain T
- New York Minute
- New York Minute R/T
Peachette

Peachette has good value and a pretty decent ability. If you can get good with the ability and not leave any mushrooms for your opponents then it is even better!
Special Skill: Mushroom Cannon
Rapidly fires Mushrooms onto the course. Grab as many as you can to dash ahead!
Favored Courses - Three Items Per Box
- Dino Dino Jungle R
- Mario Circuit
- Toad Circuit
- Toad Circuit T
Favored Courses - Two Items Per Box
- Daisy Hills
- Mario Circuit R
- Rainbow Road R
- Yoshi Circuit
- Yoshi Circuit T
- Mario Circuit 1
- Mario Circuit 1R
Peach (Kimono)
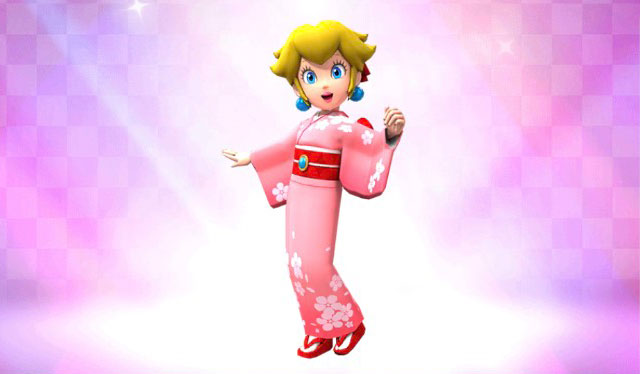
Peach (Kimono) is very similar to Peachette, but has a couple less courses in the two items category which keeps it a bit low.
Special Skill: Mushroom Cannon
Rapidly fires Mushrooms onto the course. Grab as many as you can to dash ahead!
Favored Courses - Three Items Per Box
- Mario Circuit
- Mario Circuit 2R
- Tokyo Blur R
- Tokyo Blur T
Favored Courses - Two Items Per Box
- Mario Circuit R
- Rainbow Road
- Mario Circuit 1
- Tokyo Blur
- Tokyo Blur R/T
Pauline

Pauline has a great ability which is what sets her slightly above some of the other drivers in this tier. The problem for her is that her value is weak because of only two frenzy levels.
Special Skill: Lucky Seven
Surround your kart with seven items. Tap once to use them all!
Favored Courses - Three Items Per Box
- New York Minute
- New York Minute R/T
Favored Courses - Two Items Per Box
- Neo Bowser City
- Yoshi Circuit T
- Cheep Cheep Lagoon T
- Shy Guy Bazaar
- Shy Guy Bazaar R
- New York Minute T
- New York Minute R
A-Tier
Peach

Peach has a ton of value with the four frenzy levels and has a pretty solid special ability that gives her a way to protect herself from attacks!
Special Skill: Heart
This Heart is overflowing with kindness! It will protect you from opponent’s attacks.
Favored Courses - Three Items Per Box
- Koopa Troopa Beach R
- Koopa Troopa Beach T
- Yoshi Circuit R
- Mario Circuit 1T
Favored Courses - Two Items Per Box
- Mario Circuit
- Mario Circuit R
- Toad Circuit T
- Mario Circuit 1R
- Cheep Cheep Lagoon T
- Shy Guy Bazaar
Daisy

Daisy is very similar to Peach and has the same ability. She is only edged out because she has one less two item course.
Special Skill: Heart
This Heart is overflowing with kindness! It will protect you from opponent’s attacks.
Favored Courses - Three Items Per Box
- Daisy Hills
- Daisy Hills T
- Cheep Cheep Lagoon R
- Shy Guy Bazaar R
Favored Courses - Two Items Per Box
- Mario Circuit T
- Toad Circuit
- Yoshi Circuit T
- Shy Guy Bazaar T
Mario
Mario is a very solid driver with a lot of value and a pretty good special skill.
Special Skill: Fire Flower
Lets you throw three fireballs. Spin out your opponents while you burn up the track!
Favored Courses - Three Items Per Box
- Koopa Troopa Beach
- Mario Circuit T
- Mario Circuit 1
- Cheep Cheep Lagoon T
Favored Courses - Two Items Per Box
- Koopa Troopa Beach R
- Yoshi Circuit
- Yoshi Circuit R
- Mario Circuit 1R
- Shy Guy Bazaar R
Bowser
Bowser has slightly more value than Donkey Kong and has a better special skill.
Special Skill: Bowser's Shell
Hurl this sharp shell in front of your kart to scatter opponents.
Favored Courses - Three Items Per Box
- Dino Dino Jungle T
- Bowser’s Castle 1
- Bowser’s Castle 1T
- Neo Bowser City
Favored Courses - Two Items Per Box
- Bowser’s Castle 1R
- Kalimari Desert
- Rainbow Road T
- Rock Rock Mountain R
- New York Minute T
Bowser Jr.
Bowser Jr. comes out of the gate relatively strong with a good ability and quite a few frenzy course options.
Special Skill: Bowser's Shell
Hurl this sharp shell in front of your kart to scatter opponents.
Favored Courses - Three Items Per Box
- Bowser's Castle 1R
- Neo Bowser City
- Neo Bowser City T
- Choco Island 2R
Favored Courses - Two Items Per Box
- Bowser's Castle 1T
- Neo Bowser City R
- Mario Circuit 2T
- Cheep Cheep Lagoon
Diddy Kong

Diddy Kong slides down the list a bit with a lack of frenzy courses and an only somewhat useful ability. Spraying a bunch of bananas on the course isn't terrible, but you'll have to be sure to avoid them yourself!
Special Skill: Banana Barrels
This barrel automatically launches Bananas. Turn the course into a sea of Bananas!
Favored Courses - Three Items Per Box
- Dino Dino Jungle R
- Toad Circuit R
- Rock Rock Mountain R
Favored Courses - Two Items Per Box
- Koopa Troopa Beach R
- Koopa Troopa Beach T
- Rock Rock Mountain
- Choco Island 2T
- New York Minute R
- New York Minute R/T
- Tokyo Blur R/T
Wario
Wario's got a pretty good ability, but is lacking a bit in frenzy courses.
Special Skill: Double Bob-ombs
Gives you two Bob-ombs you can hurl at once. Engulf your opponents in a might blast!
Favored Courses - Three Items Per Box
- Kalimari Desert R
- Kalimari Desert T
- Choco Island 2T
Favored Courses - Two Items Per Box
- Neo Bowser City
- Rock Rock Mountain T
- Choco Island 2
- New York Minute R
Donkey Kong
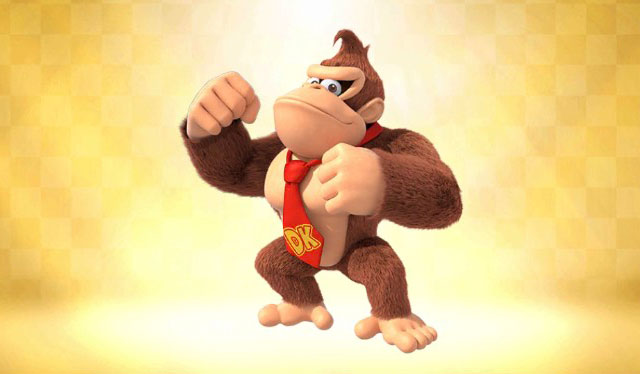
Donkey Kong only has two frenzy courses and his ability isn't particularly great.
Special Skill: Giant Banana
This particularly stern-looking Giant Banana splits into three Bananas when hit.
Favored Courses - Three Items Per Box
- Dino Dino Jungle
- Rock Rock Mountain
Favored Courses - Two Items Per Box
- Dino Dino Jungle R
- Dino Dino Jungle T
- Koopa Troopa Beach R
- Rock Rock Mountain R
- New York Minute
- New York Minute T
- Tokyo Blur R
Yoshi
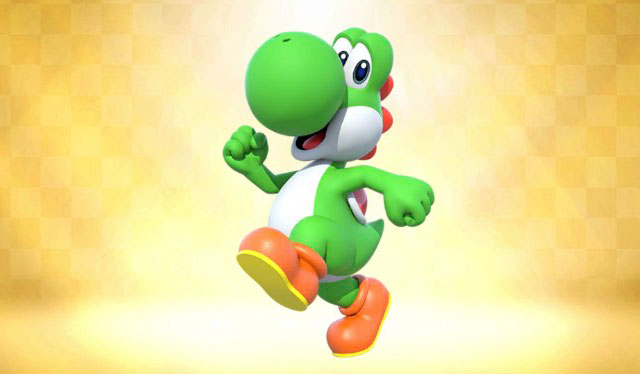
Yoshi has strong value with the three frenzy courses, but unfortunately his ability is RNG based which makes it hit and miss.
Special Skill: Yoshi's Egg
Chases down opponents. But what’s inside?! You’ll find out when it breaks!
Favored Courses - Three Items Per Box
- Rock Rock Mountain
- Yoshi Circuit
- Yoshi Circuit T
Favored Courses - Two Items Per Box
- Dino Dino Jungle
- Dino Dino Jungle R
- Yoshi Circuit R
Toad
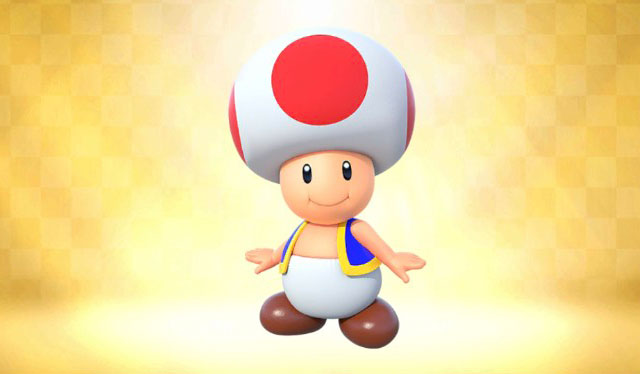
Toad got an additional frenzy course in the recent update which puts him firmly ahead of Toadette.
Special Skill: Triple Mushrooms
Gives you three Mushrooms to use in one go for a long-lasting boost.
Favored Courses - Three Items Per Box
- Mario Circuit R
- Toad Circuit
- Rock Rock Mountain T
Favored Courses - Two Items Per Box
- Koopa Troopa Beach
- Toad Circuit T
- Mario Circuit 1
- Mario Circuit 1T
Toadette - 12
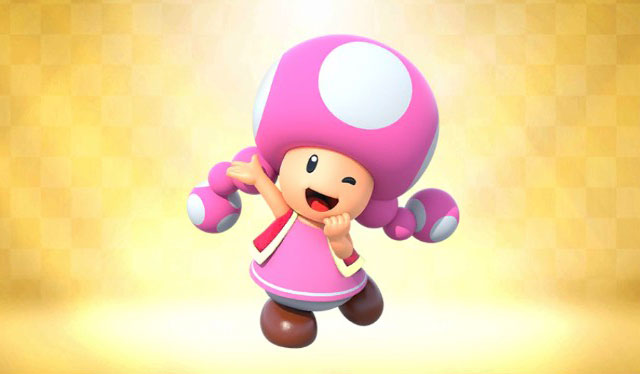
Toadette isn't bad, but she's only got a couple of frenzy courses which keeps her low on the tier.
Special Skill: Triple Mushrooms
Gives you three Mushrooms to use in one go for a long-lasting boost.
Favored Courses - Three Items Per Box
- Daisy Hills R
- Toad Circuit
Favored Courses - Two Items Per Box
- Daisy Hills
- Koopa Troopa Beach
- Mario Circuit
- Mario Circuit T
- Toad Circuit R
- Toad Circuit T
Lakitu
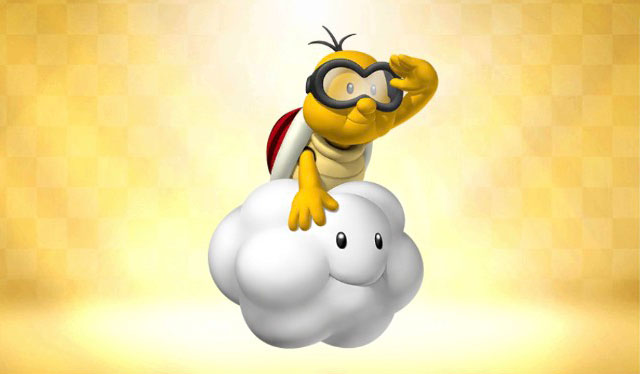
Lakitu and Toadette are very similar, it just depends which ability you value more.
Special Skill: Triple Green Shells
Three Green Shells surround your kart. They’ll fire off rapidly all at once!
Favored Courses - Three Items Per Box
- Toad Circuit T
- Mario Circuit 2T
Favored Courses - Two Items Per Box
- Dino Dino Jungle R
- Rock Rock Mountain R
- Mario Circuit 2
- New York Minute R/T
- Tokyo Blur
- Tokyo Blur T
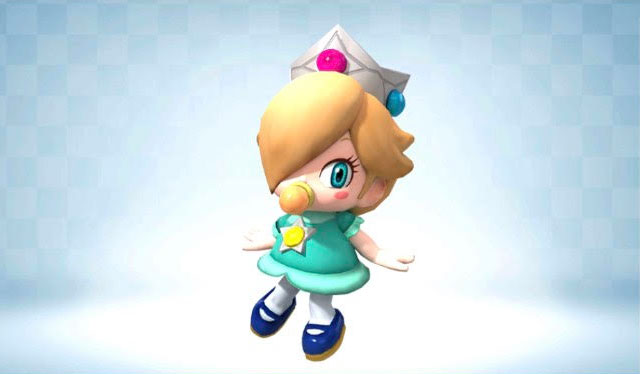
Rosalina - 10

Rosalina is a new character in the patch, but finds herself at the bottom of the tier. She's lacking in frenzy courses, and her ability is okay but it being able to be used by opponents is pretty bad.
Special Skill: Dash Ring
Pass through this for a burst of speed. Your opponents can use it, too, so make it count!
Favored Courses - Three Items Per Box
- Mario Circuit R
- Rainbow Road
Favored Courses - Two Items Per Box
- Neo Bowser City R
- Rainbow Road R
- Mario Circuit 2
- Choco Island 2R
B-Tier
The B-Tier is pretty much all determined on frenzy courses and based upon their abilities. There's not a ton separating the majority of these characters.
Dry Bones
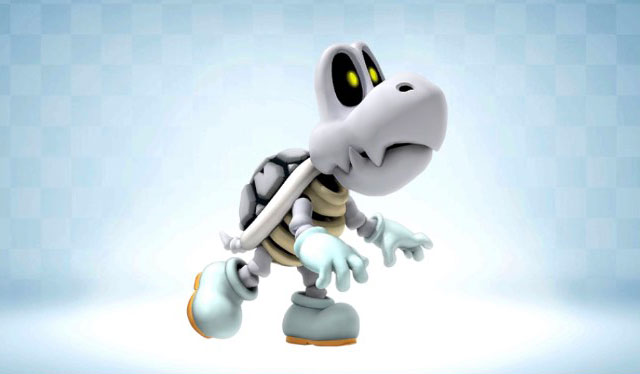
Special Skill: Triple Green Shells
Three Green Shells surround your kart. They’ll fire off rapidly all at once!
Favored Courses - Three Items Per Box
- Bowser’s Castle 1T
- Shy Guy Bazaar T
Favored Courses - Two Items Per Box
- Bowser's Castle 1
- Bowser's Castle 1R
- Kalimari Desert
- Cheep Cheep Lagoon R
- Cheep Cheep Lagoon T
- Choco Island 2T
Baby Daisy
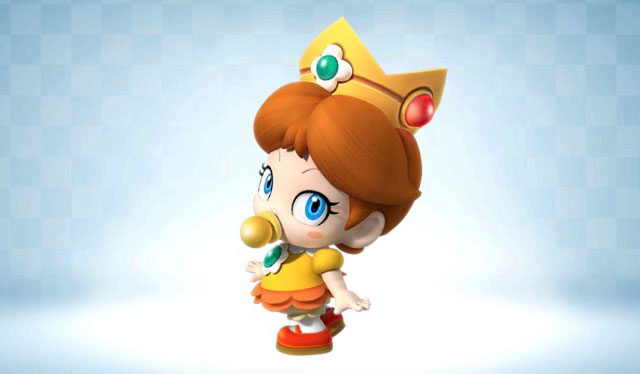
Special Skill: Bubble
Kick back and relax as this bubble floats you around. But beware the sudden pop!
Favored Courses - Three Items Per Box
- Daisy Hills T
Favored Courses - Two Items Per Box
- Daisy Hills R
- Koopa Troopa Beach T
- Kalimari Desert T
- Toad Circuit R
- Mario Circuit 1R
- Cheep Cheep Lagoon
- Choco Island 2R
- Shy Guy Bazaar
- Tokyo Blur R/T
Koopa Troopa
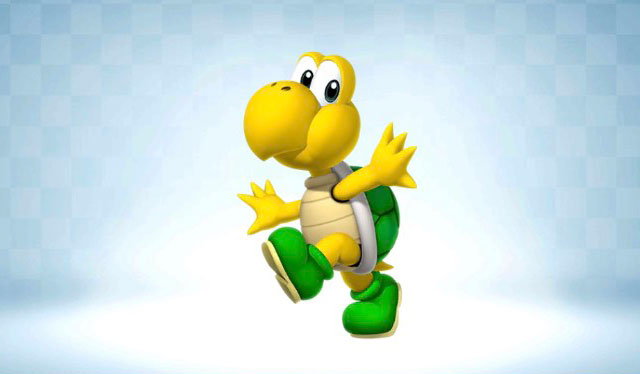
Special Skill: Triple Green Shells
Three Green Shells surround your kart. They’ll fire off rapidly all at once!
Favored Courses - Three Items Per Box
- Koopa Troopa Beach
Favored Courses - Two Items Per Box
- Bowser's Castle 1T
- Koopa Troopa Beach R
- Koopa Troopa Beach T
- Mario Circuit T
- Cheep Cheep Lagoon
- Cheep Cheep Lagoon R
- Choco Island 2
- Tokyo Blur R
Baby Mario
Special Skill: Boomerang Flower
Whirls around and around your kart to strike nearby opponents.
Favored Courses - Three Items Per Box
- Mario Circuit 1T
Favored Courses - Two Items Per Box
- Daisy Hills R
- Koopa Troopa Beach
- Toad Circuit
- Toad Circuit T
- Yoshi Circuit
Roy
Special Skill: Double Bob-ombs
Gives you two Bob-ombs you can hurl at once. Engulf your opponents in a might blast!
Favored Courses - Three Items Per Box
- Kalimari Desert T
Favored Courses - Two Items Per Box
- Kalimari Desert
- Kalimari Desert R
- Mario Circuit 2T
- Neo Bowser City R
- Dino Dino Jungle R
- Koopa Troopa Beach T
Iggy - 10
Special Skill: Triple Green Shells
Three Green Shells surround your kart. They’ll fire off rapidly all at once!
Favored Courses - Three Items Per Box
- Choco Island 2R
Favored Courses - Two Items Per Box
- Bowser's Castle 1T
- Koopa Troopa Beach T
- Kalimari Desert R
- Neo Bowser City T
- Rock Rock Mountain T
- Mario Circuit 2
- Mario Circuit 2R
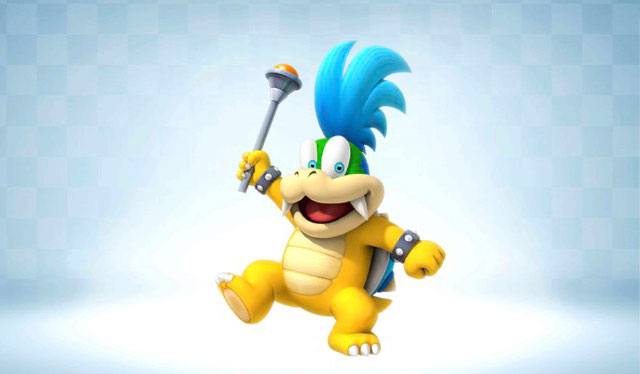
Lemmy - 10

Special Skill: Bubble
Kick back and relax as this bubble floats you around. But beware the sudden pop!
Favored Courses - Three Items Per Box
- Rainbow Road R
- Mario Circuit 2T
Favored Courses - Two Items Per Box
- Bowser's Castle 1R
- Rainbow Road
- Toad Circuit R
- Choco Island 2T
Baby Peach - 9
Special Skill: Bubble
Kick back and relax as this bubble floats you around. But beware the sudden pop!
Favored Courses - Three Items Per Box
- Cheep Cheep Lagoon
Favored Courses - Two Items Per Box
- Daisy Hills R
- Koopa Troopa Beach R
- Mario Circuit 1R
- Choco Island 2
- Tokyo Blur
- Tokyo Blur T
Baby Rosalina - 9
Special Skill: Bubble
Kick back and relax as this bubble floats you around. But beware the sudden pop!
Favored Courses - Three Items Per Box
- Rainbow Road T
- Choco Island 2T
Favored Courses - Two Items Per Box
- Rainbow Road R
- Yoshi Circuit R
- Mario Circuit 2T
Shy Guy - 8

Special Skill: Double Bob-ombs
Gives you two Bob-ombs you can hurl at once. Engulf your opponents in a mighty blast!
Favored Courses - Three Items Per Box
- Shy Guy Bazaar
Favored Courses - Two Items Per Box
- Dino Dino Jungle
- Bowser's Castle 1
- Bowser's Castle 1R
- Rainbow Road
- Shy Guy Bazaar T
Morton - 8
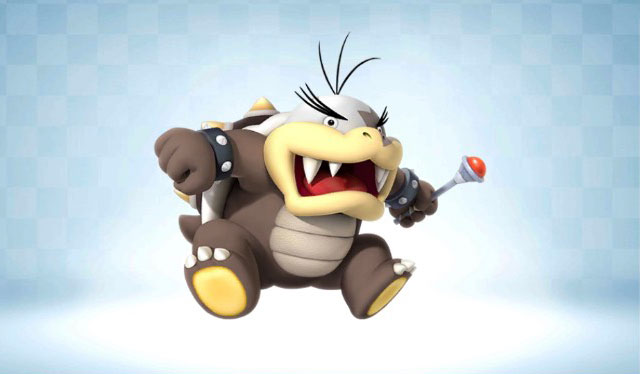
Special Skill: Giant Banana
This particularly stern-looking Giant Banana splits into three Bananas when hit.
Favored Courses - Three Items Per Box
- Kalimari Desert
Favored Courses - Two Items Per Box
- Bowser's Castle 1
- Kalimari Desert T
- Neo Bowser City T
- Rock Rock Mountain
- Mario Circuit 2R
Ludwig - 8
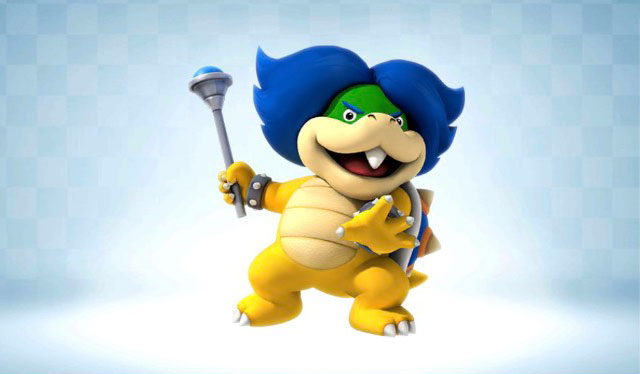
Special Skill: Dash Ring
Pass through this for a burst of speed. Your opponents can use it, too, so make it count!
Favored Courses - Three Items Per Box
- Bowser's Castle 1
- Kalimari Desert
Favored Courses - Two Items Per Box
- Rainbow Road
- Shy Guy Bazaar R
Larry - 7
Special Skill: Boomerang Flower
Whirls around and around your kart to strike nearby opponents.
Favored Courses - Three Items Per Box
- Kalimari Desert R
Favored Courses - Two Items Per Box
- Kalimari Desert T
- Neo Bowser City
- Neo Bowser City T
- Rock Rock Mountain T
Wendy - 7
Special Skill: Heart
This Heart is overflowing with kindness! It will protect you from opponent’s attacks.
Favored Courses - Three Items Per Box
- Choco Island 2
Favored Courses - Two Items Per Box
- Daisy Hills T
- Mario Circuit
- Mario Circuit T
- Neo Bowser City R