
As the search for Ice Shards continues in Pathfinder Lord of Nothing, you will have to visit the Wizard's Tower, where a band of goblins have taken over. The crumbling building has many puzzles and hidden rooms, so here is a guide on how to reveal all its secrets.
All Wizard's Tower Secrets in Pathfinder Wrath of the Righteous
It is easy to miss the hidden loot in the Wizard's Tower or get stuck with a puzzle that has to be solved to move the story forward. However, if it was any easier, it wouldn't be a proper arcane fortress.
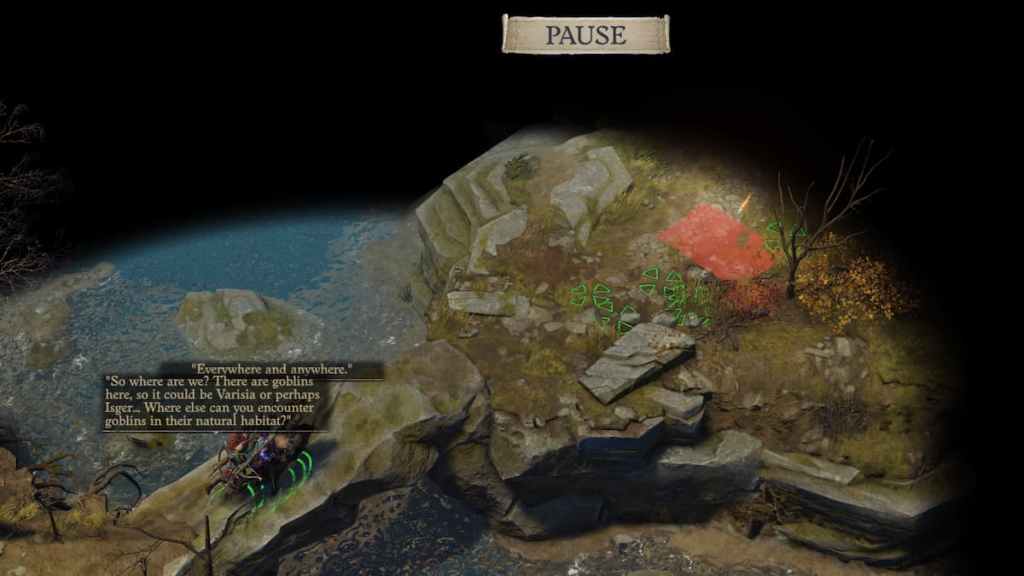
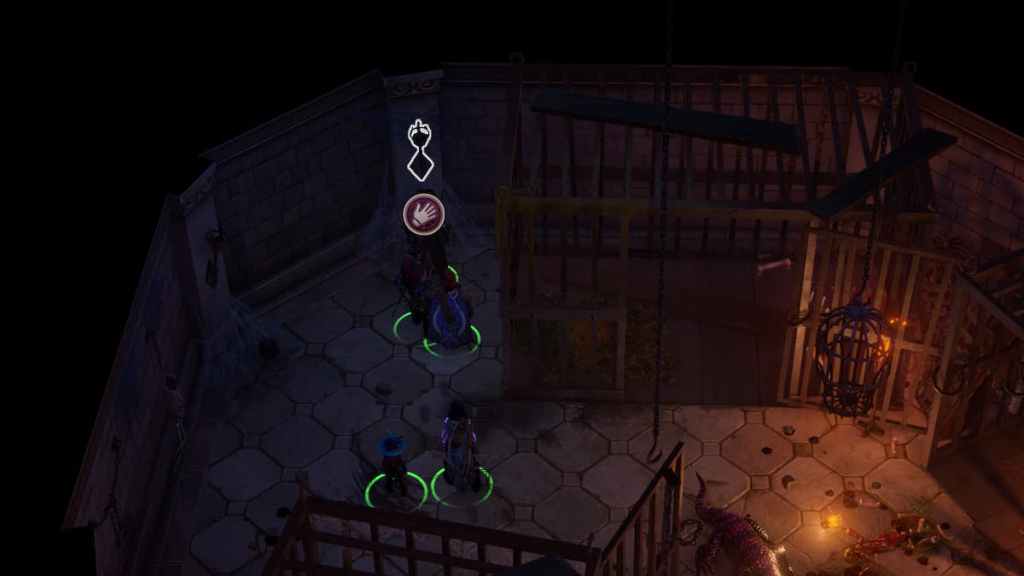
Mind the trap on the ground before the entrance. Once inside the tower, the corridor will take you to a tall atrium with stairs that go up and down. If you go downstairs, it will take you to the basement. Upstairs, you will find the dining hall and a group of goblins having a party.
Dining Hall
The goblins here will attack you on sight. Once you've defeated them (including the one who transforms into a mammoth), you can talk to the statue at the end of the hall. The magic statue, whose name is Aethylia, will ask you to collect crystals and place them on several statues along the tower, to perform a ritual and liberate her.
Kitchen
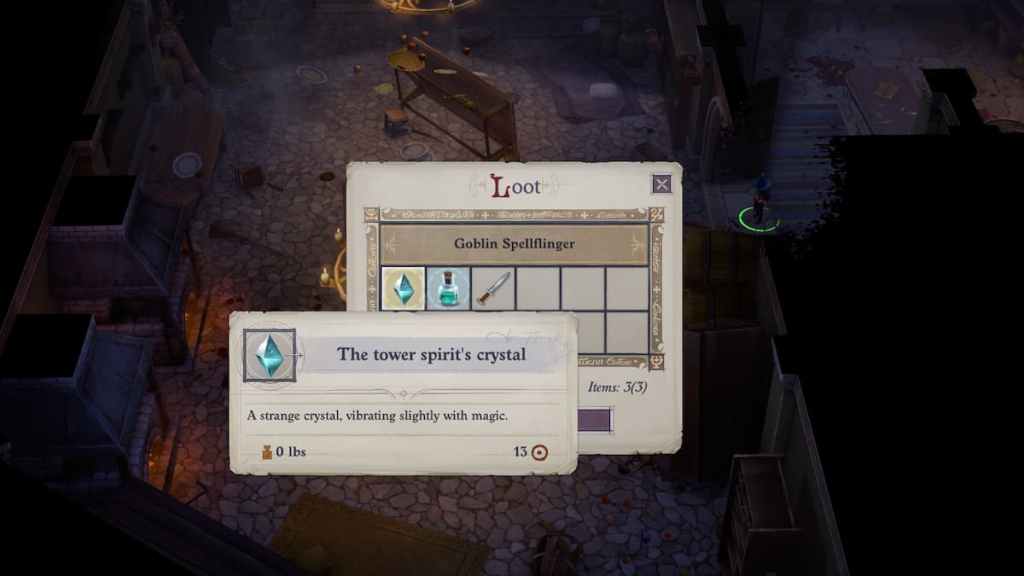
From the Dining Hall on the first floor, there are two doors. The one which is closed leads you to the kitchen where you will find a goblin that accidentally turns into a giant frog. You have to kill him if you want to get the first Tower Spirit Crystal.
Corridor on the first floor

From the dining hall, the door next to the kitchen exits to a corridor that takes you back in the direction of the Atrium. There, you will find a goblin that summons three Animated Armours. The goblin dies at the hand of one of his minions, and you can loot him for the second Tower Spirit Crystal.
After you've climbed a short flight of stairs, the first door on your left will have you entering a scene where a bunch of goblins are bullying another one called Norte. If you save him from his bullies, Norte will ask you to Free the Animals that are being locked in the basement.
Basement
Going down the stairs from the entrance hallway will take you to the basement. Sitting on the magic bench at the corridor, works as a short rest. Save it for when you really need it.
In the cellar, there are two Gelatinous Cubes. Kill them, and one of them will drop another Tower Spirit Crystal. There's also some loot and a Beer Elemental that spawns from one of the large barrels, so if you want to avoid an unnecessary fight, don't click on the barrel that requires an investigation.
During my first playthrough, I thought I would find the animals here, but they are behind the first door that is blocked with rubble, and you can only access that area from the mirror portal on the first floor.
Mirror portal
Before the end of the corridor were you encountered the Animated Armours, there's another closed door to the left that leads to a studio. There you will find some loot, most importantly two scrolls of Resist Fire that will be useful for the next room, and a mirror that works as a portal to the other part of the basement.
Room in flames
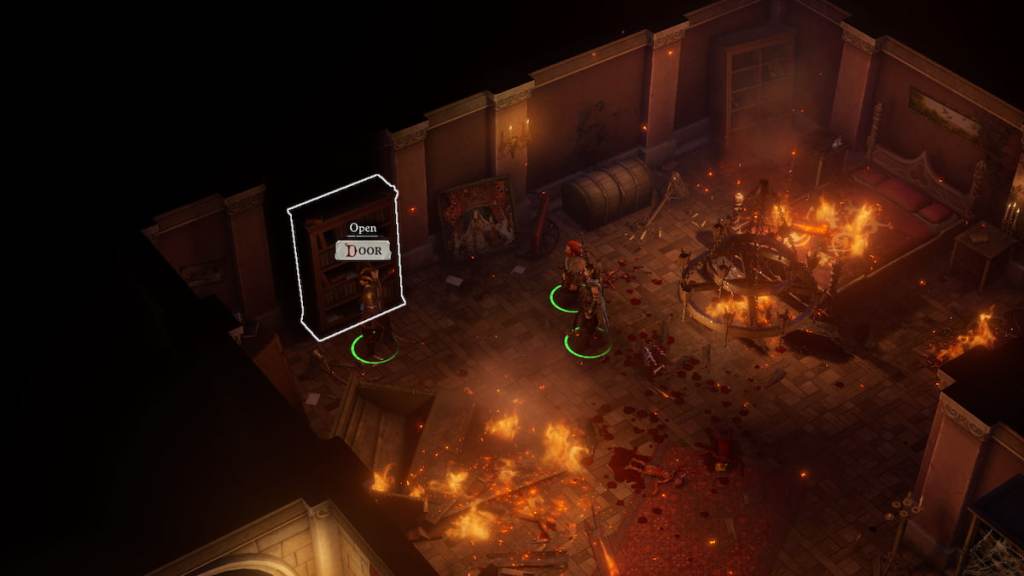
At the very end of the corridor, and next to the studio with the mirror portal, there's a room that is partially in flames. There you will have to fight against a bunch of goblins that will drop another Tower Spirit Crystal. Here I used the scrolls of Resist Fire to mitigate the damage.
This room has a secret door behind a bookcase, where you can find a chest with the Bookworm's Headband, an item that grants +2 to Intelligence and immunity to all compulsion effects. However, the boon comes with a -2 penalty to Charisma and -3 penalty to all Persuasion checks.
Portal to the second floor
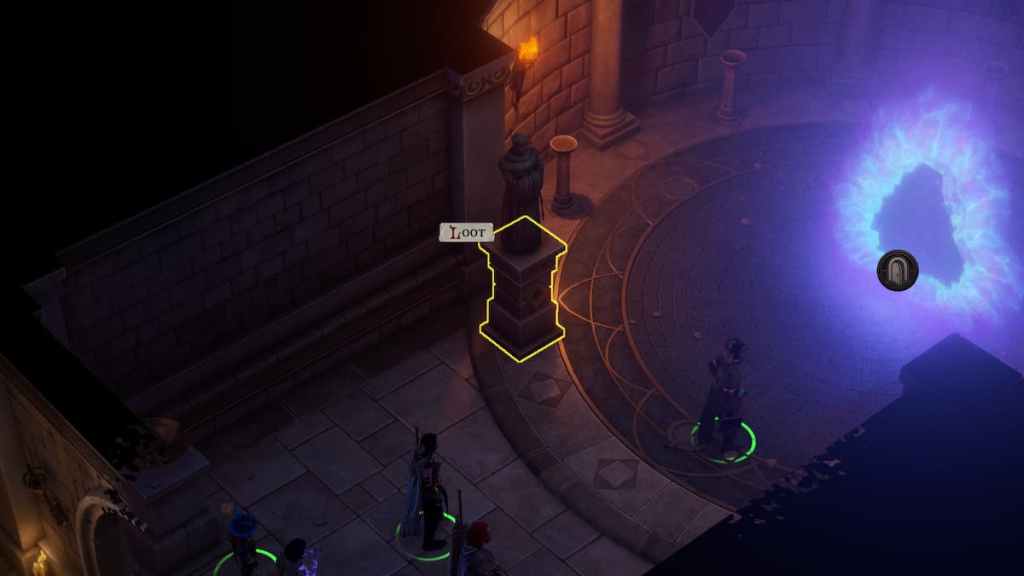
The corridor of the first floor has a whole in the wall that leads back into the atrium. Go up the stairs, mind the pressure plate trap, and you will find a portal to the second floor. In this room there's a statue of Aethylia.
Secret Chamber on the second floor
Going through the portal from the first floor, will take you one level up the tower, leaving you in a similar circular room. Walk around the portal, close to the wall, and you will find a chandelier that opens a secret door. A new portal will take you up on the roof, where you can activate a ritual to summon an extraplanar creature and earn a reward.
The reward scales up with the power of the ritual you perform, and it is random to each player. To give you an idea of what you can expect, here is what I got:
- My Elementary ritual summoned an Incubus, and upon victory yielded 87 gold coins, a Potion of Aid and a Pearl of Power (1st Level).
- My Intermediate ritual summoned a Succubus Rider and a Nightmare, and yielded 121 gold coins, two Potions of Aid and two Pearls of Power (2nd Level)
- My advanced ritual summoned an Enraged Dweomercat and yielded 166 gold coins, three Potions of Aid, and three Pearls of Power (3rd Level).
Library
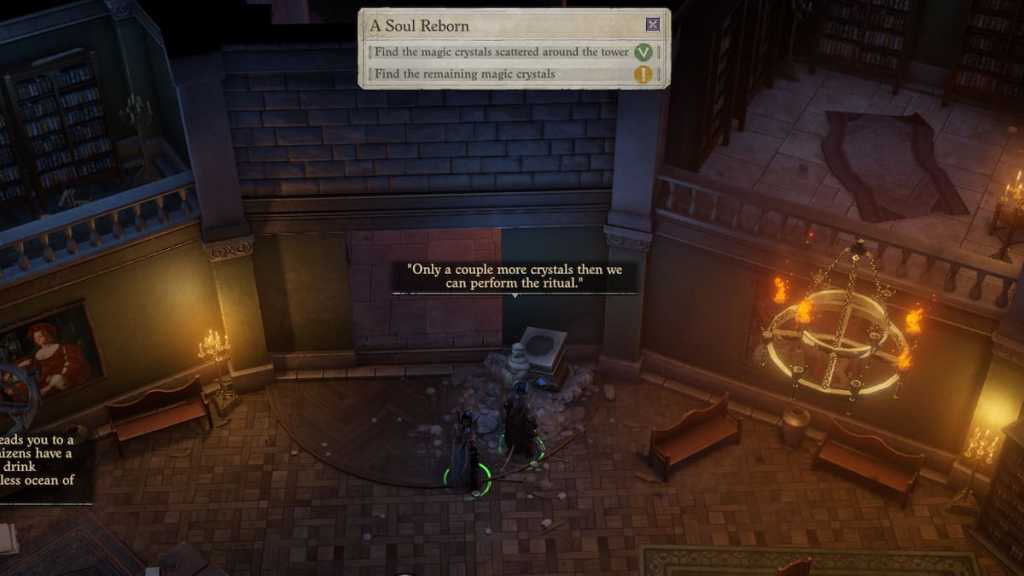
The next room in the second floor is the library. When you come in, the goblins will open a magic book that creates a strong whirlwind; the only way of stopping it, is closing the Giant Tome that's on the desk. After you've defeated them, you can loot them to find another Tower Spirit Crystal.
Here, Aethylia will speak to you again and say she will open a portal to the upper floor once you've placed all the crystals you can find in the statues. If you already have five crystals and put one on the pedestal behind her, she will open the door next to her.
However, there's a bug where the door won't open. If that happens to you you can use a scroll of Dimension Door (like the one found in the basement), and go through the half-opened stone door. There's a lever on the other side that opens the door completely.
Tip: there are Crusader Supplies in the Library, in case you want to take a short rest.
Secret door in the Library
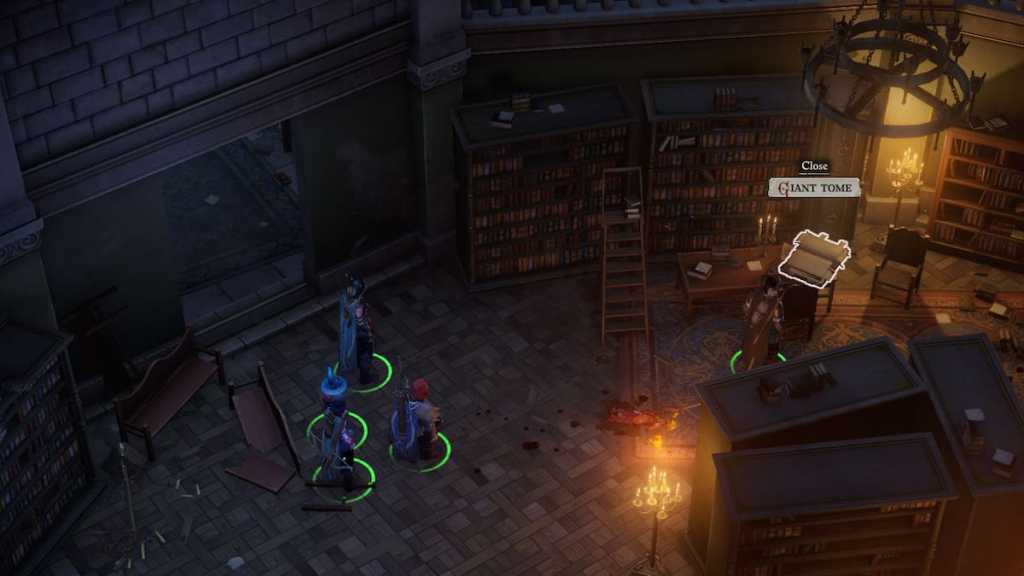
There's another Giant Tome in the library, which is not the one that summons the whirlwind. You can open it, and a wall will slide open to show a secret room. There, you can find the Master Hand gloves, which grant a +5 competence bonus on Use Magic Device checks.
Bedroom on the third floor

After going by the statue of Aethylia and climbing the stairs, you will find a room with a trap and three Mimics. Right after that, you can enter the bedroom where you will find the body of a wizard crushed by a dead horse. Cast a Dispel Magic on the horse, and you'll be able to loot a key and a Wand of Fox's Cunning.
The key opens the laboratory on the second floor; exit the room towards the atrium and go down the stairs to find it.
Bonus tip: before leaving the bedroom, touch the large harp by the wall to enter a small secret room. Just mind that once you've looted the chest, the Stone Golem will attack you.
The Laboratory
There's a trap right when you enter, and a group of goblins will attack you. Try not to stand on top of the puddles, especially the blue ones, because they are potions of Contagious Laughter. If you happen to roll bad saves, the laughter can spread through your party and the fight can go sour too quickly.
Once the fight is over you will find a door in the back of the laboratory that has been frozen shut. Throw alchemist fire on it to open it.
Related: How to start the Kellid ritual in Pathfinder Lord of Nothing
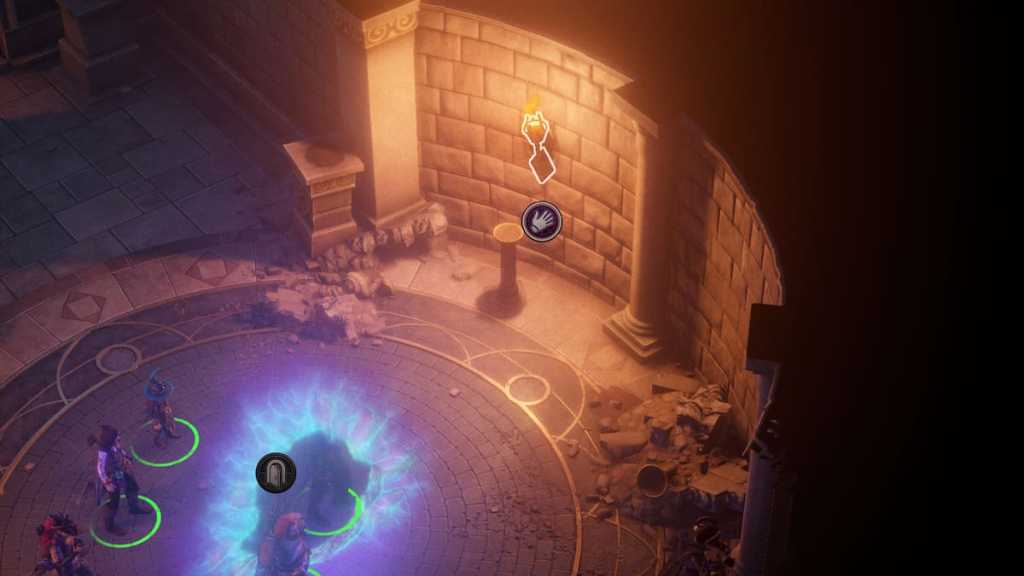
The Ritual Room
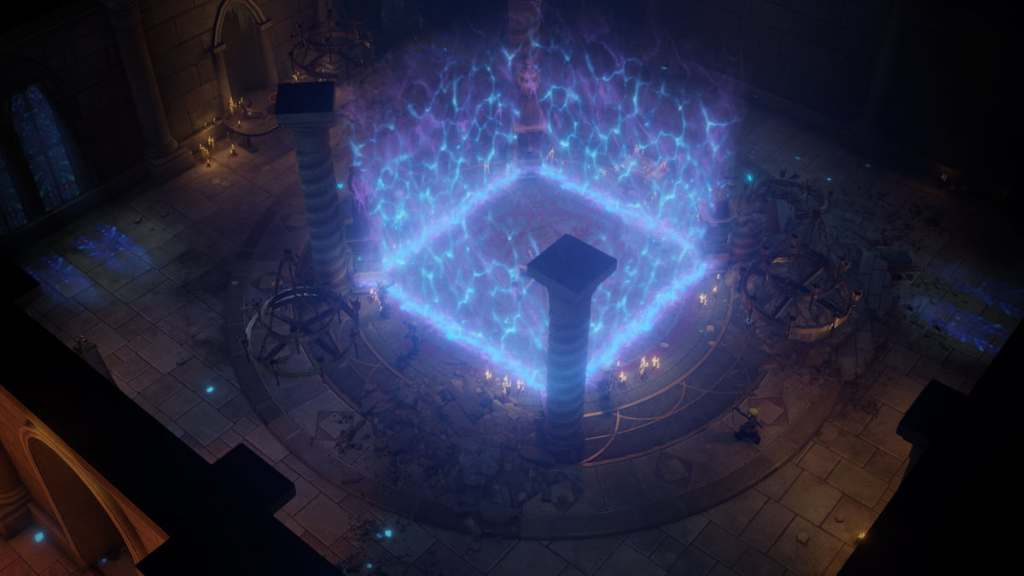
Going up from the bedroom, you will find the ritual room. The vessel Usurviel made for Aethylia is laying in the center, surrounded by protective walls, and a group of goblins is trying to break through the barrier.
Defeat them, and you will be able to loot one more Tower Spirit Crystal from them and finish the ritual for Aethylia. Once you complete the ritual, she will enter the arcane body and become an automaton, just like Penta.
How to solve the Torches puzzle in Pathfinder Lord of Nothing
As a reward for having helped her, Aethylia will open a door in the back wall where you will have to complete a puzzle of torches. Leave on just the two torches shown in the image above, and a magic door will appear.
You can cross the magic bridge without hesitation to find 1321 gold coins, a scroll of Walk Through Space, a scroll of True Seeing, a Potion of Restoration and an Old Grimoire —which will grant you 3 slots level 1, 2 slots level 2, and 2 slots level 3.
How to free the Animals in Pathfinder Wrath of the Righteous
The mirror portal on the first floor will take you to the cages, where you must fight a Goblin Druid, two Goblin Archers, two Plagued Wolves and a Plagued Horse. Kill the druid before it transforms into an elemental, and the fight will be easy.
If you want to free the animals without them attacking you, you will have to feed them. Click on each goblin corpse and then click on one of the cages to feed the animals. Don't forget that last step before opening the cages; during my first playthrough, I clicked on the goblins but forgot to click on the animals, and the ungrateful beasts attacked me the moment they were released.
Regardless of what Norte tells you, the button to open the cages is the Blue button. The Red one kills all the beasts instantly.
Before leaving, there is a secret room in this area that opens with a pull from a chandelier. Most importantly, in this hidden area you will find a scroll of Mass Dimension Door that could be useful later on.
All Tower Spirit Crystal locations in Pathfinder Wrath of the Righteous

- The first crystal is in the hands of a goblin that turns into a frog, inside the kitchen on the first floor.
- The second one is with the goblin that summons the Animated Armours, on the corridor of the first floor.
- You can find the third one inside a Gelatinous Cube in the basement. Go down the stairs from where you entered the tower and go into the cellar to find it.
- The fourth crystal is in the room in flames, on the first floor. You will have to kill a goblin to take it from him.
- The fifth one is on a Goblin in the library, on the second floor.
All Aethylia Statue locations in Pathfinder Wrath of the Righteous
There's five Tower Spirit Crystals and five Statue's pedestals where you have to place them.
- The first statue is located in the Dining Hall, on the first floor, where we first encounter Aethylia.
- The next one is before the portal that takes you to the second floor.
- The third one is in the library, on the second floor.
- The fourth one is on the third floor, right when you exit the bedroom with the dead horse.
- The fifth and last statue is on the second floor, going down the stairs from where you found the fourth one.
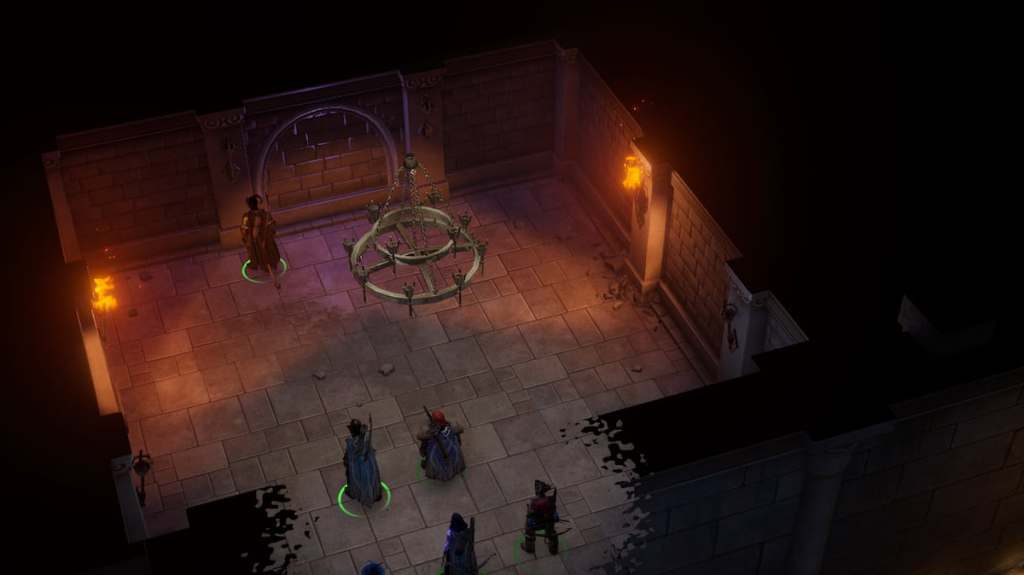
How to Defeat Buuze in Pathfinder Wrath of The Righteous
If you keep going up the stairs from the Ritual Room, you will find a portal that will take you to the roof, where you will have to fight Buuze. The goblin boss has the shard and has become a powerful spellcaster. Do not get distracted by the other enemies; focus fire on Buuze, and once he is dead, all his minions will die too.
With the goblins gone and the shard in your hands, you will be able to go back to the ancient fane through a newly opened portal.
For more on Pathfinder: Wrath of the Righteous, check out How to unlock Demon Mythic Path in Pathfinder: Wrath of the Righteous here on Pro Game Guides