In Starfield, you can complete different missions to meet new characters, earn credits, and gain XP. Operation Starseed is a mission that starts on the planet Charybdis III where you'll encounter clones of popular figures from Earth's history. Here's a complete walkthrough of the Operation Starseed mission in Starfield.
Operation Starseed walkthrough - Starfield
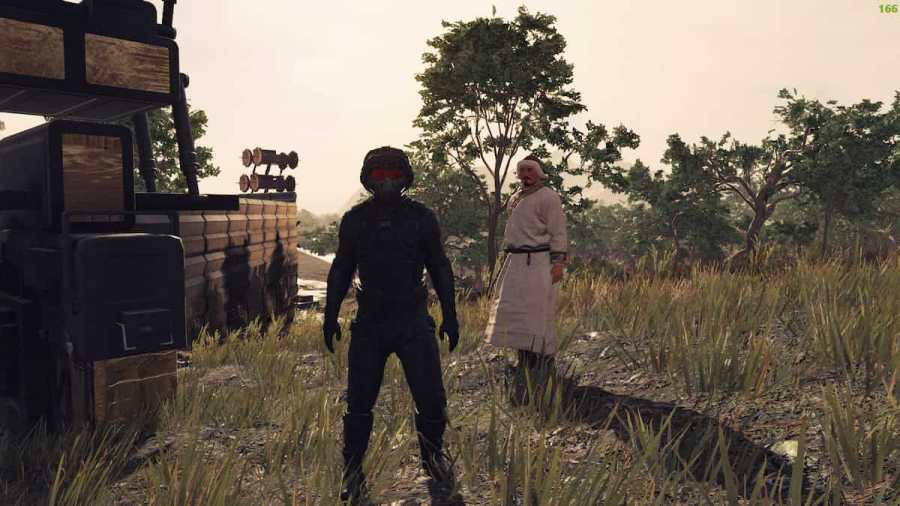
Operation Starseed is a mission that starts after landing at The Crucible on planet Charybdis III in the Charybdis star system and interacting with the robot Tobias. The conversation is interrupted by Ada Lovelace who informs that your character is the first outsider to arrive at The Crucible. Soon after, you encounter a clone of Franklin D. Roosevelt who explains the societal structure of The Crucible.
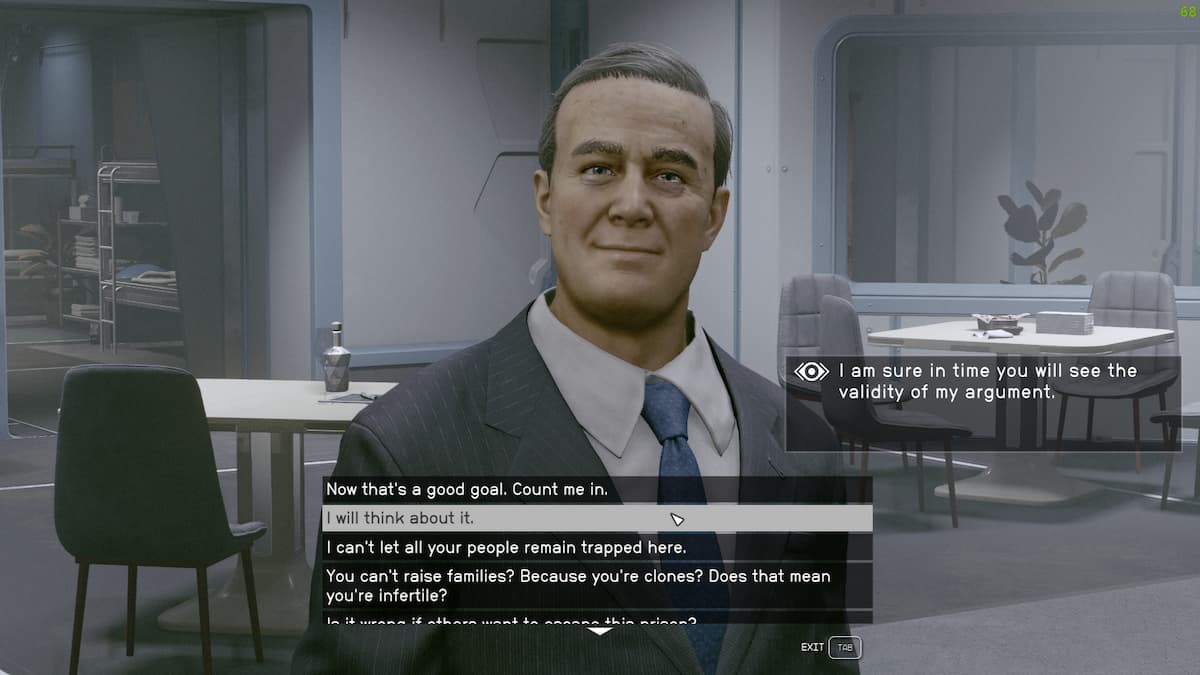
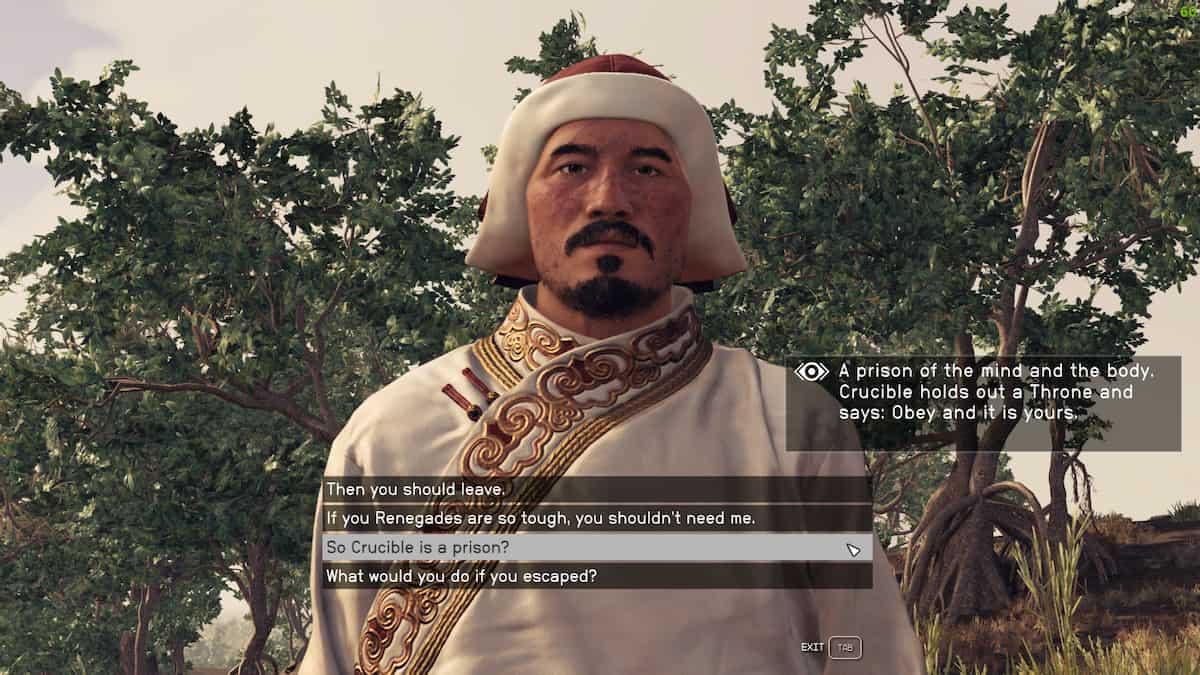
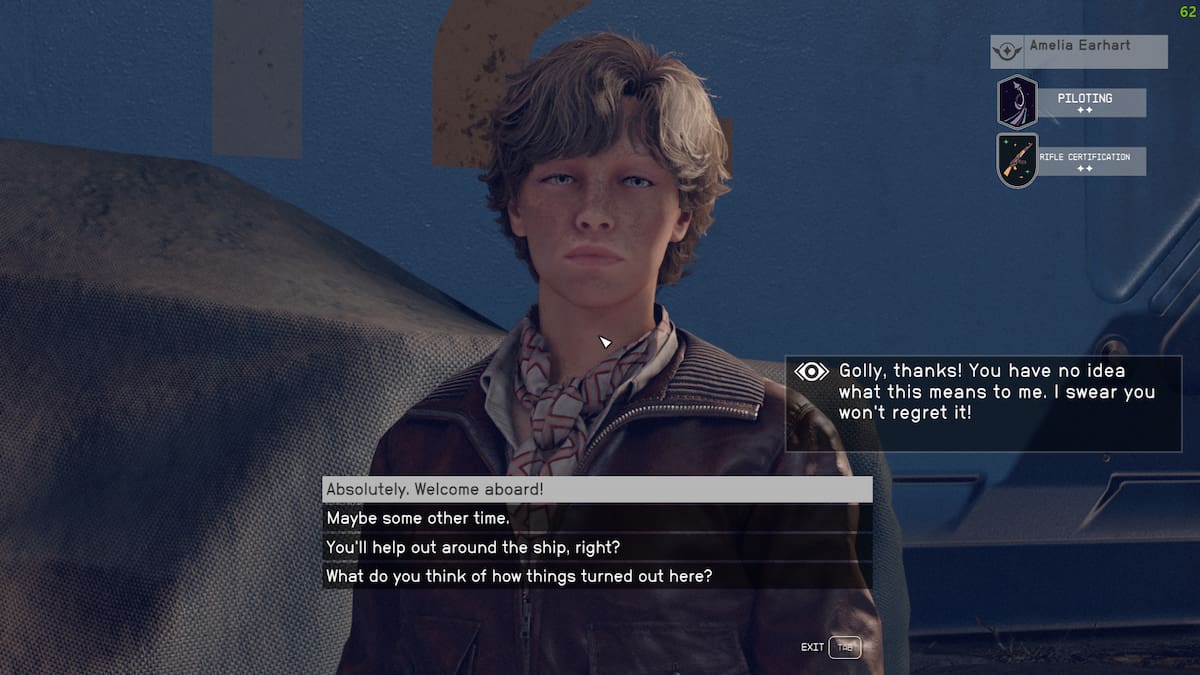
The Crucible is divided into three major societies: Pragmatists, Believers, and Renegades. Franklin D. Roosevelt leads the Pragmatists and believes that the people have to learn more before they can embark on new journeys. Queen Amanirenas leads the Believers and feels it's their destiny to explore space. Finally, Genghis Khan is the leader of the Renegades who feels The Crucible is a prison; he won't hesitate to use force to break free from the cage. At this colony of famous clones, you'll also encounter characters like H. H. Holmes—a vendor—and Amelia Earhart, who you can recruit as a crew member after completing Operation Starseed.
All of these clones at the Crucible are monitored and controlled through a system at The Facility. Genghis Khan asks for your help to escape The Crucible by destroying the Facility. Roosevelt asks your character to visit the Facility and liberate the people of The Crucible from robots. On the other hand, Queen Amanirenas believes her people are designed to explore the galaxy, and for that, she needs your help to deal with the Facility.
All three of these leaders have their own agendas and your mission will be to visit the Facility, learn more about the clones, and choose which society to give authority over The Crucible. Remember, this choice involves persuading or killing different characters, so it is best to make multiple game saves to explore every outcome.
How to reach Charybdis III planet in Starfield

The Charybdis star system is quite far from Alpha Centauri, and you'll need to grav jump to new stars to unlock a direct route. If you are looking for a quick route from planet Jemison (Alpha Centauri) to Charybdis III, follow the pathway mentioned below:
- Grav jump from Alpha Centauri to the Cheyenne system
- Grav jump from Cheyenne to the Denebola system
- Grav jump from Denebola to the Zosma system
- Grav jump from Zosma to the Charybdis system
After entering the Charybdis system, orbit around the Charybdis III planet to find the landmarks. The Crucible is one of the landmarks on this planet, select this area and land here with your ship.
Where to find the Facility in Starfield
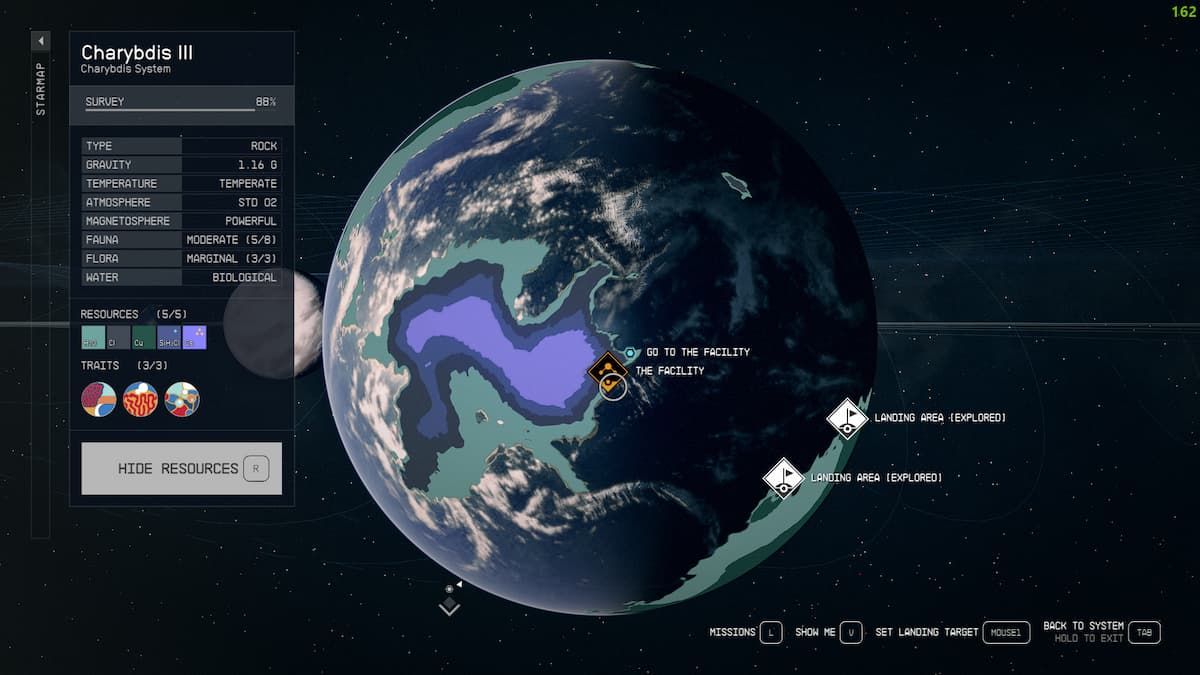
After speaking to all three of the leaders at the Crucible, you'll be tasked with visiting the Facility. This is a secure location also located on Charybdis III where you will discover more information about the clones.
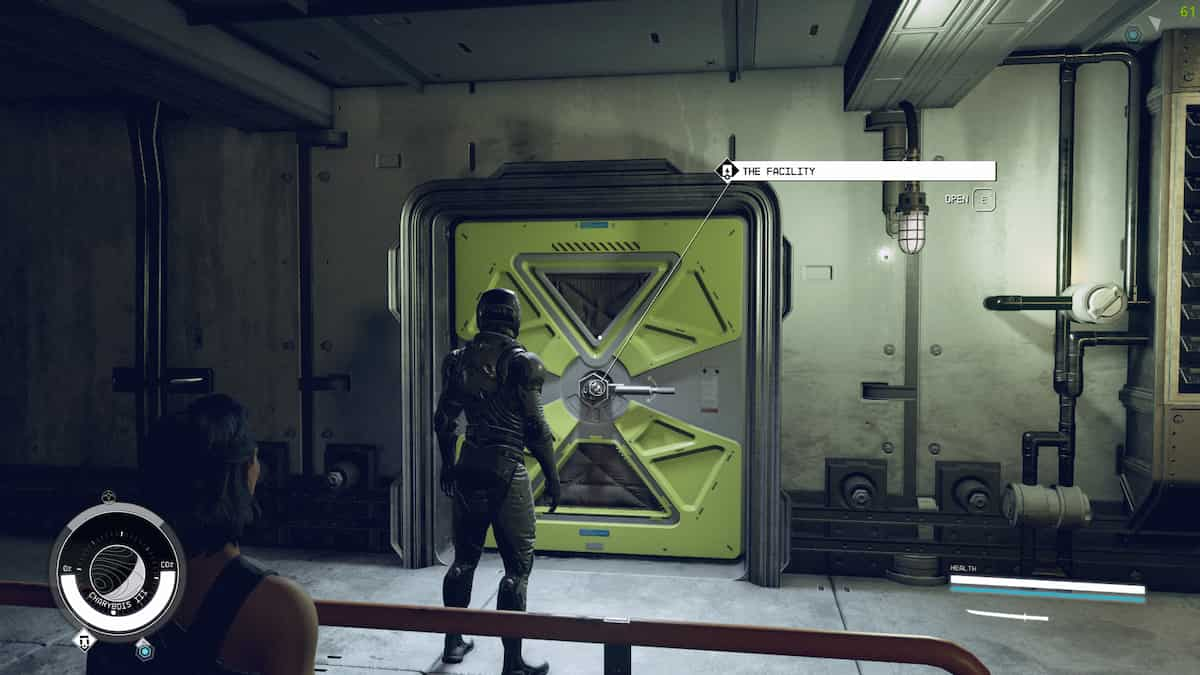
Get on your ship, fly to space, and orbit around the planet to find The Facility landmark. Land in this area and head to the building in front of the landing zone. Enter through the green door to get inside the Facility, but be careful as there are swarms of Hunting Maggotmaw hostiles in this area.
Where to find the clues in Operation Starseed in Starfield

Inside the Facility, you'll have to discover clues to learn more about the clones. However, this area has way too many hostile creatures. If you've unlocked the Sense Star-Stuff starborn powers, use it to detect all the enemies nearby. Otherwise, powers like Supernova and Phased Time help to crowd-control hordes of enemies more easily. You can also choose the stealthy method to infiltrate the lair unnoticed and start taking down the enemies at close range with sneak attacks.
There are seven pieces of clues hidden in the Facility, and gathering them is essential to progress in this mission. Here are all the clues you need to find along with their precise locations:
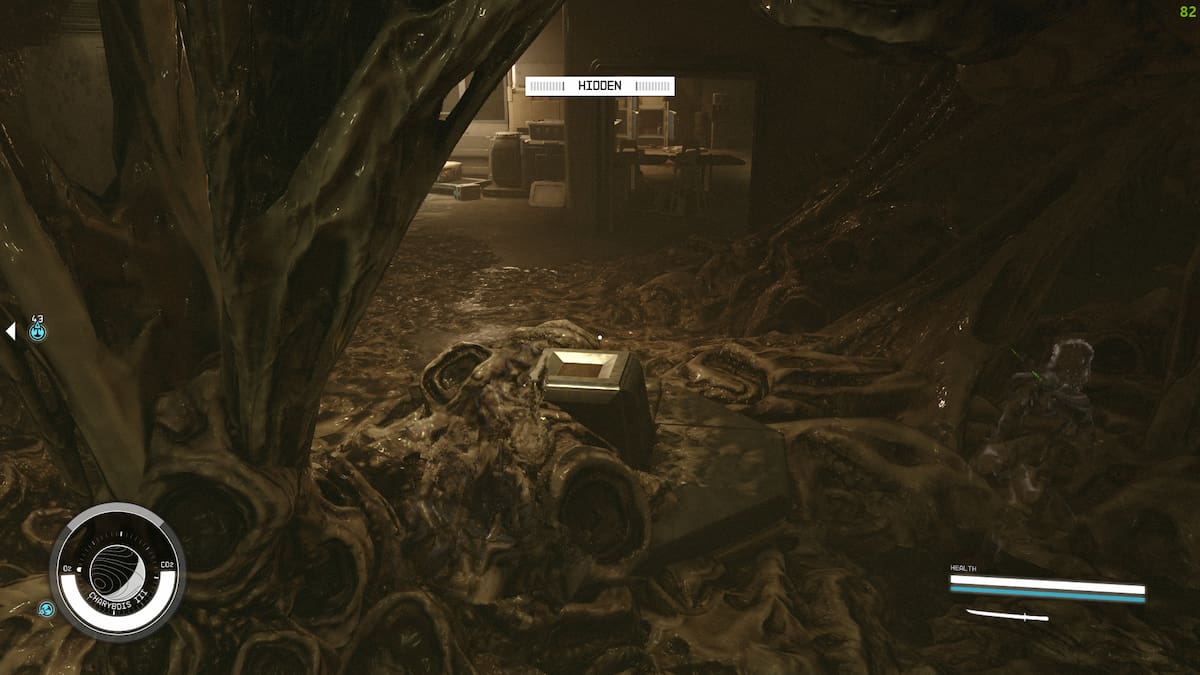
- Diary Page - Discovering Galathea: This page is kept on top of a box at the center of the first room with alien growth. After entering the Facility, head down the corridors to enter the alien growth room, but be careful of the hostile creatures in this area.
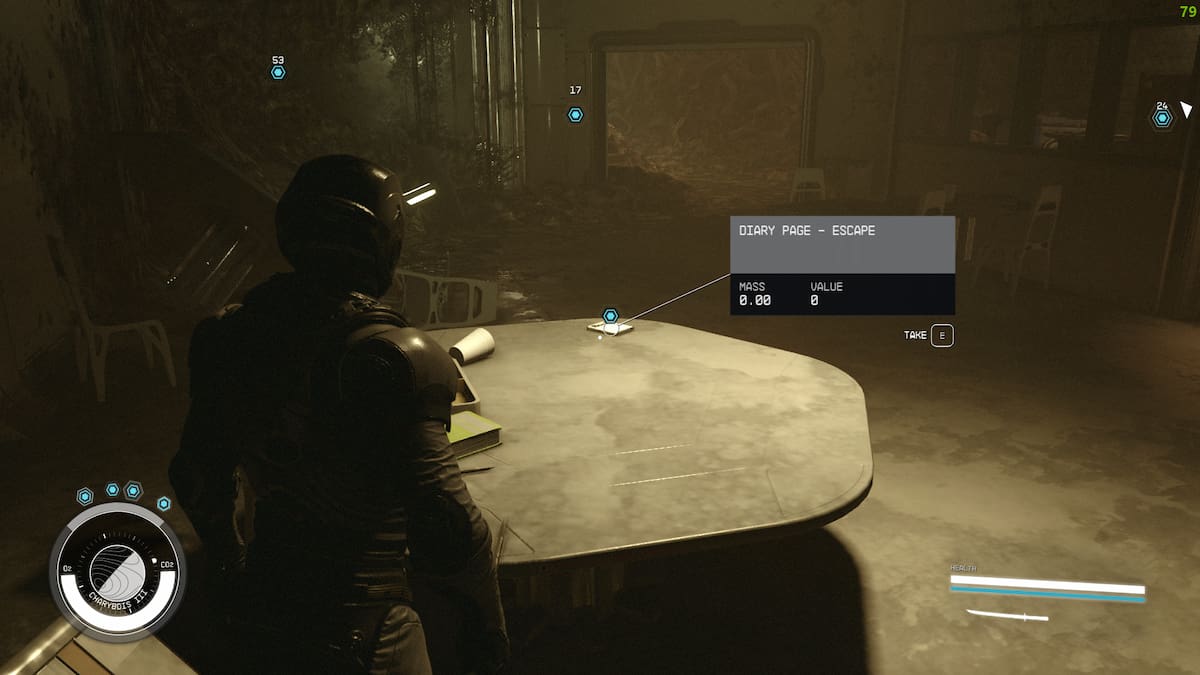
- Diary Page - Escape: This page is kept on a table in the cafeteria room located straight from the entrance of the alien growth room. Defeat the Hunting Maggotmaw in this room, or sneak past them to obtain the clue.
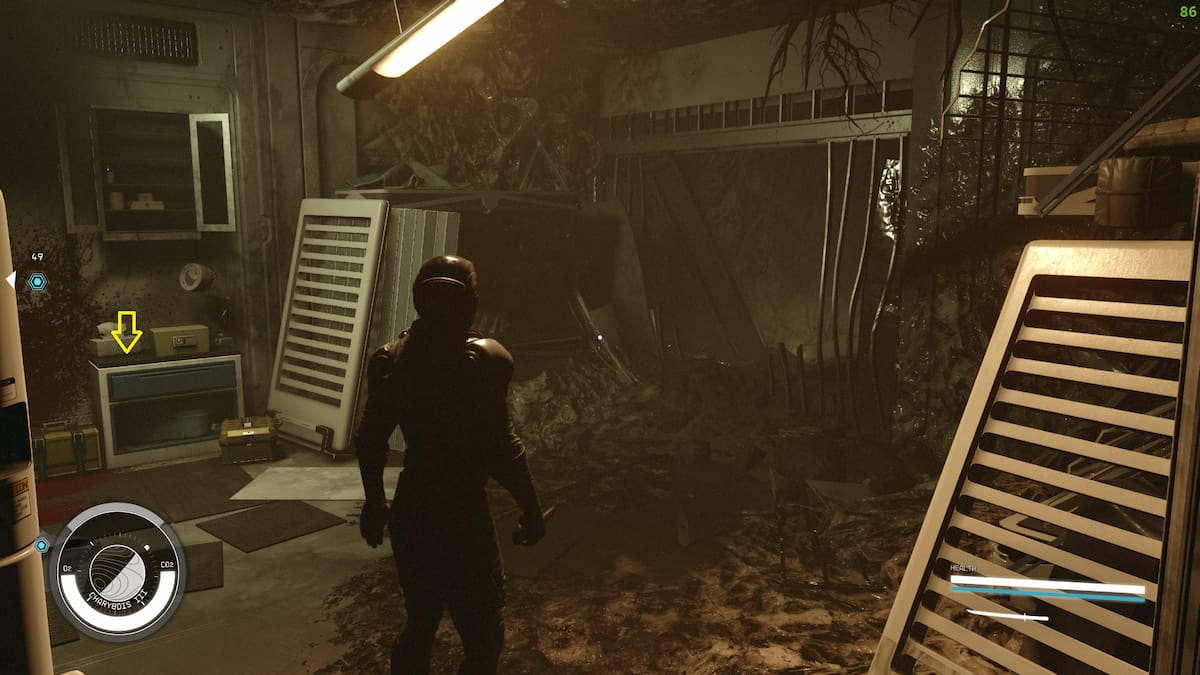
- Diary Page - Reborn: The third page is located inside the room on the left side of the cafeteria. Check the yellow arrow on the image above to see the precise location of the Diary Page - Reborn clue. After collecting it, head down the tunnel on the right through the broken metal cage.
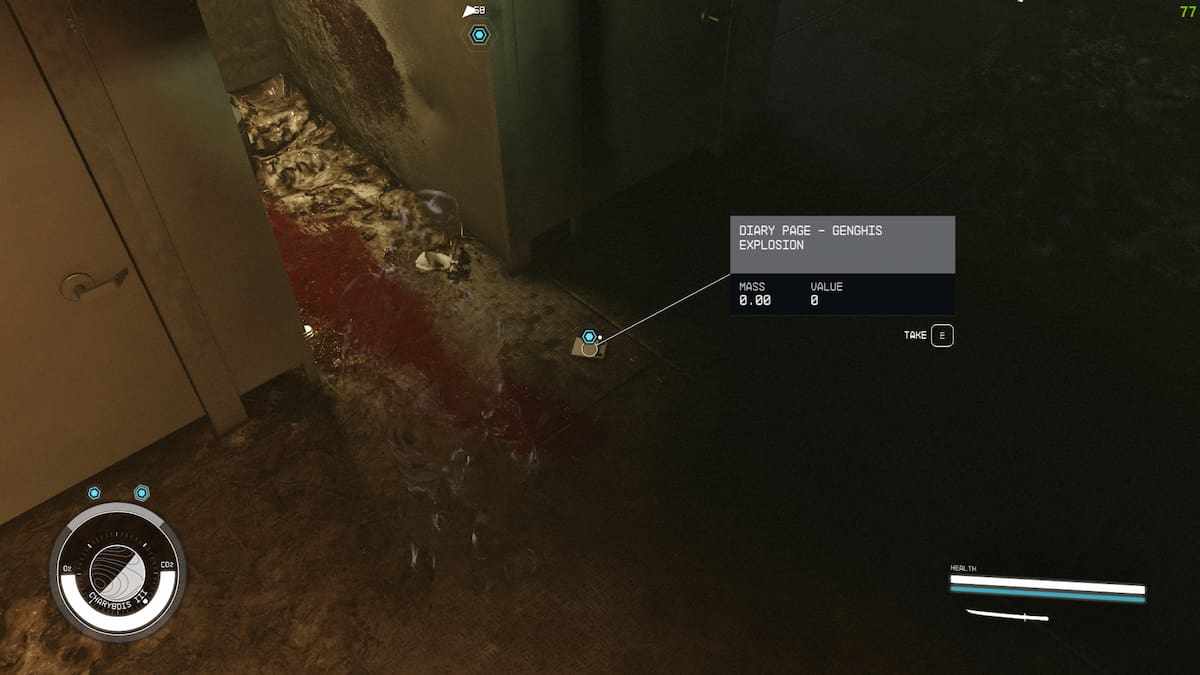
- Diary Page - Genghis Explosion: The fourth clue can be found at the end of the tunnel in front of the washroom stalls. Switch on your helmet's light to navigate through the tunnel as it is shadowed and has a few hostiles. After picking up the note, take a door on the left of the stalls to enter the next area.
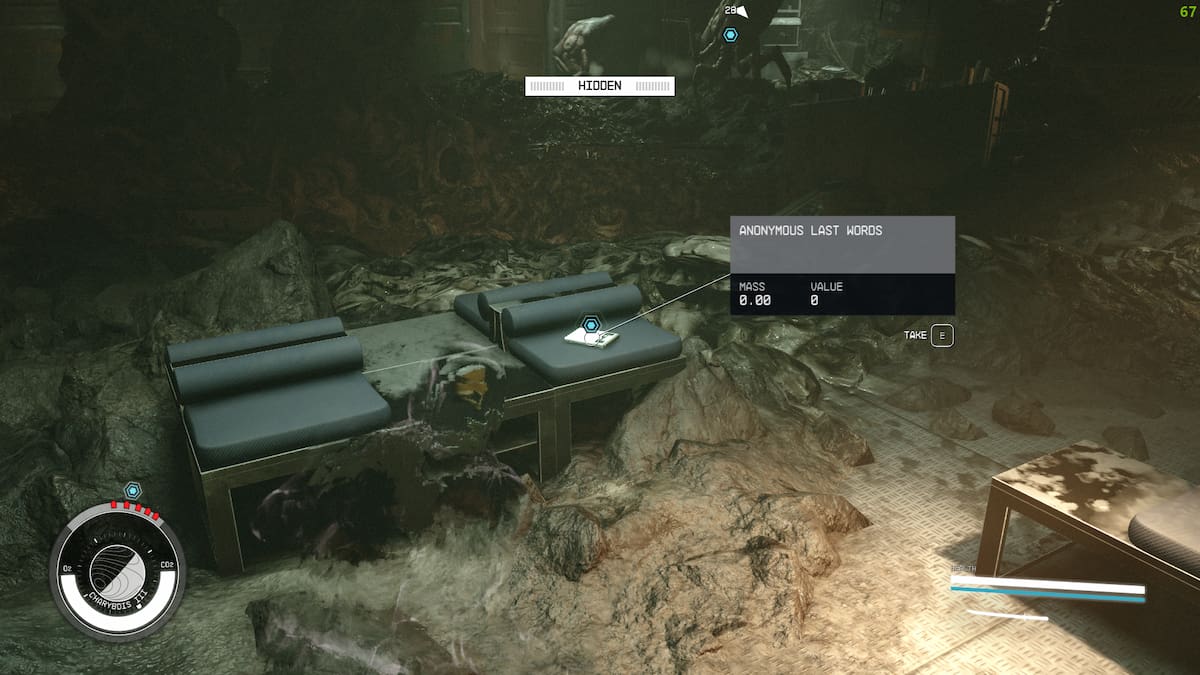
- Diary Page - Anonymous Last Words: To find the fifth clue, take the door on the left of the washroom stalls and go down the corridor. Here you'll encounter a few Hunting Spaceroaches. Defeat them quickly and look to the left side of this room to find the fourth clue on top of a table with blue cushions. After collecting the clue, walk across from the same table to enter through the door directly opposite of it.
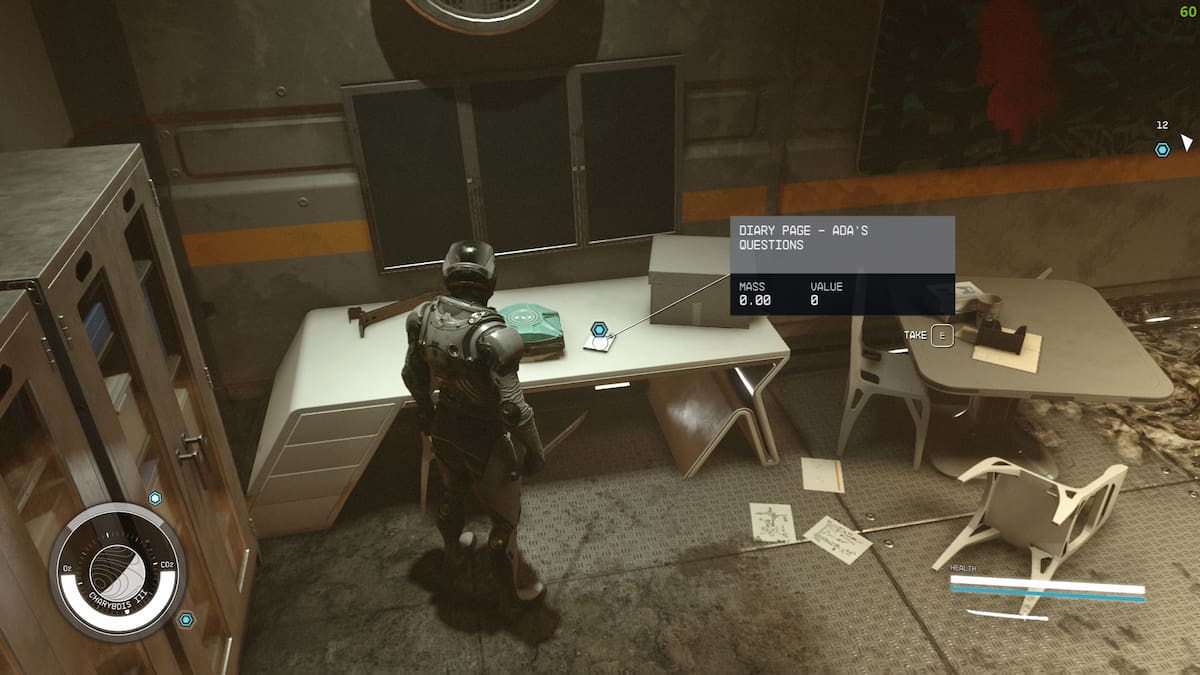
- Diary Page - Ada’s Questions: After walking through the door, take the room to your right, and inside you'll find the sixth clue on top of a white table. Once you've collected this clue, exit the room and jump inside the giant hole in front of the table where you found the Diary Page - Anonymous Last Words. Navigate through the alien growth tunnel to finally reach the computer console table.

- Ada’s Diary - Heart of the Facility: On top of the console table you'll find the seventh and final clue. Read the note as this has an encrypted override code that holds the key to The Crucible. To exit the Facility, look directly opposite the computer console to find a set of stairs leading to the surface. Get up the stairs and open the door to exit the area.
Which society to give Facility Information to in Starfield?
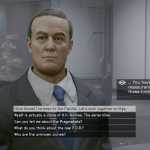
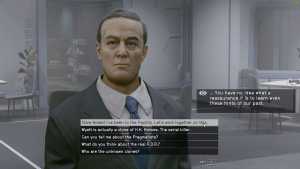
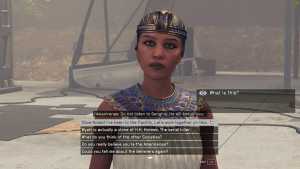
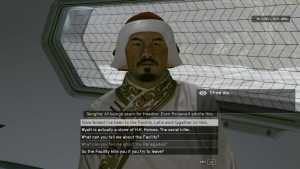
You can hand over the Facility Information to any of the three leaders at The Crucible as they would all direct you to speak with Ada Lovelace. Check the images above to see their initial responses to getting this information. Select the Give Notes dialogue option while speaking to the leaders to hand over the notes.

Return to Ada Lovelace and speak to her about the encrypted override code. She decrypts the message and informs that the radio telescope directs to a navigation beacon near planet Bel V in the Bel star system. You'll need to investigate this beacon to figure out the flight path and location of the Beagle.
Related: How to complete the Akila Run side mission in Starfield

To reach the Bel system from Charybdis, you'll need to make four grav jumps. Check the image above to see all the star systems in the path. Follow the route listed below to reach the Bel star system:
- Grav jump from Charybdis to Zosma system
- Grav jump from Zosma to Ixyll system
- Grav jump from Ixyll to Bara system
- Grav jump from Bara to Bel system
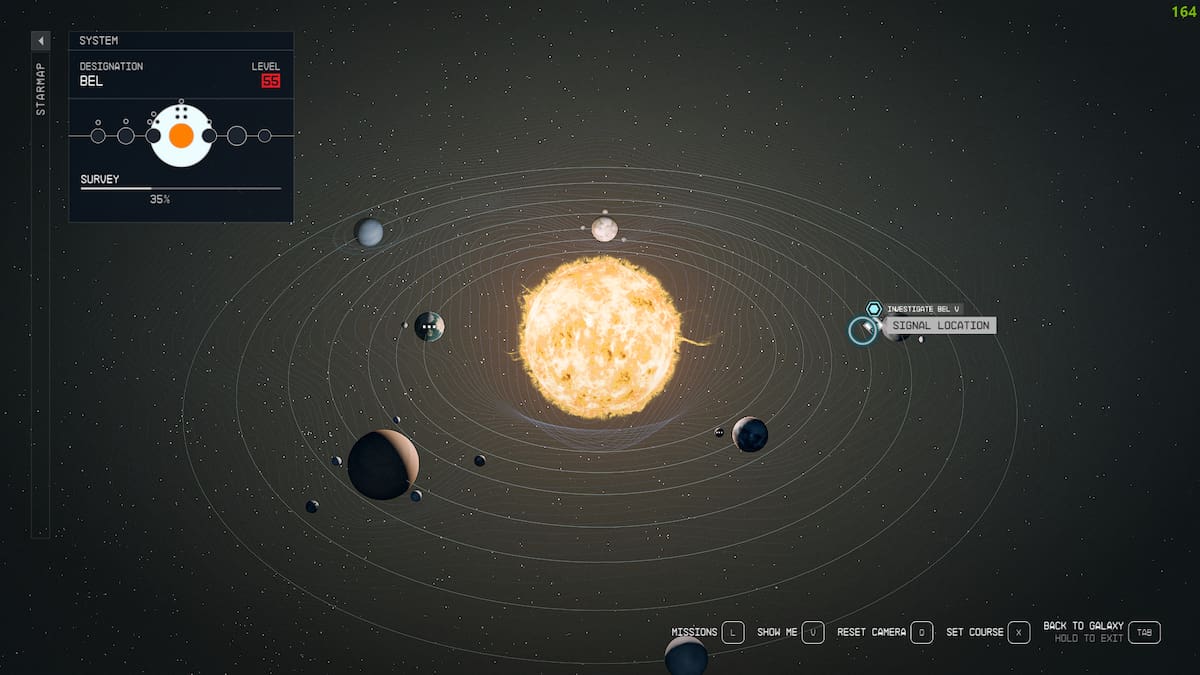
Once you reach the Bel system, navigate to the orbit of planet Bel V to find the signal location from the navigation beacon.
In the orbit of Bel V, you'll find the navigation beacon floating in space, check the image above to see how it looks in-game. Fly close to the beacon and press R to scan it for information. You'll learn that the Beacon is now bound on a path to planet Zelazny I in the Zelazny system.
How to reach the Zelazny system in Starfield
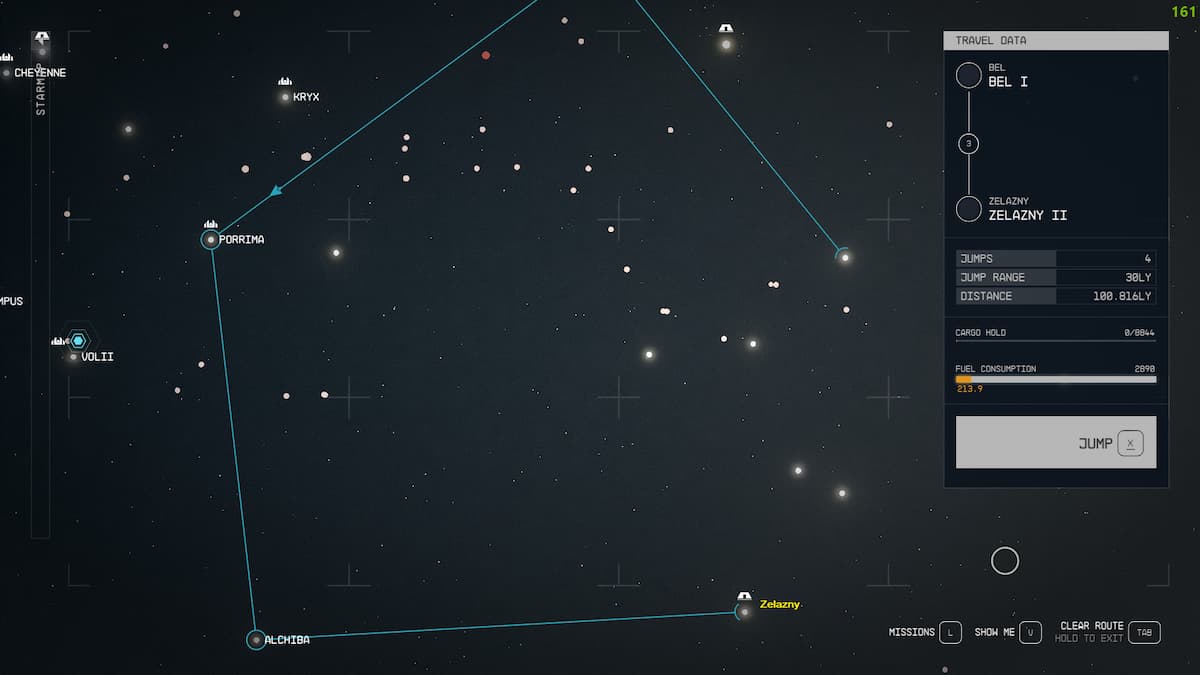
The route from Bel to Zelazny star system involves making four grav jumps, check the image above to see all the stars to navigate in this exact pathway. Here are the jumps you need to make:
- Grav jump from Bel to Bara system
- Grav jump from Bara to Porrima system
- Grav jump from Porrima to Alchiba system
- Grav jump from Alchiba to Zelanzy system
After reaching the Zelanzy star system, you'll notice the Beagle starship and must navigate close to it.
Related: Should you save Rafael or Director Patel – Starfield
How to get Beagle Datacore Security Override code in Starfield
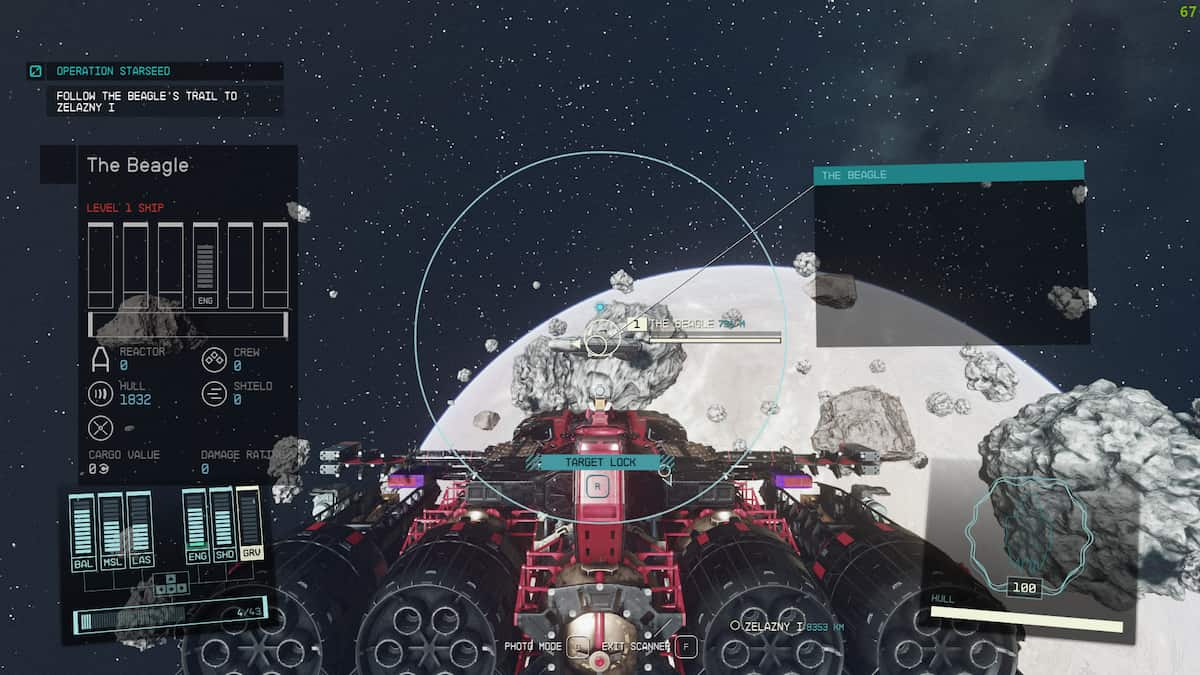
Dock onto the Beagle ship, and enter it to find the Datacore computer which has the Security Override code for the Facility. Inside the Beagle, you'll encounter several automated Turrets and Robot enemies. Use ballistic weapons and grenades to tear apart these enemies quickly.
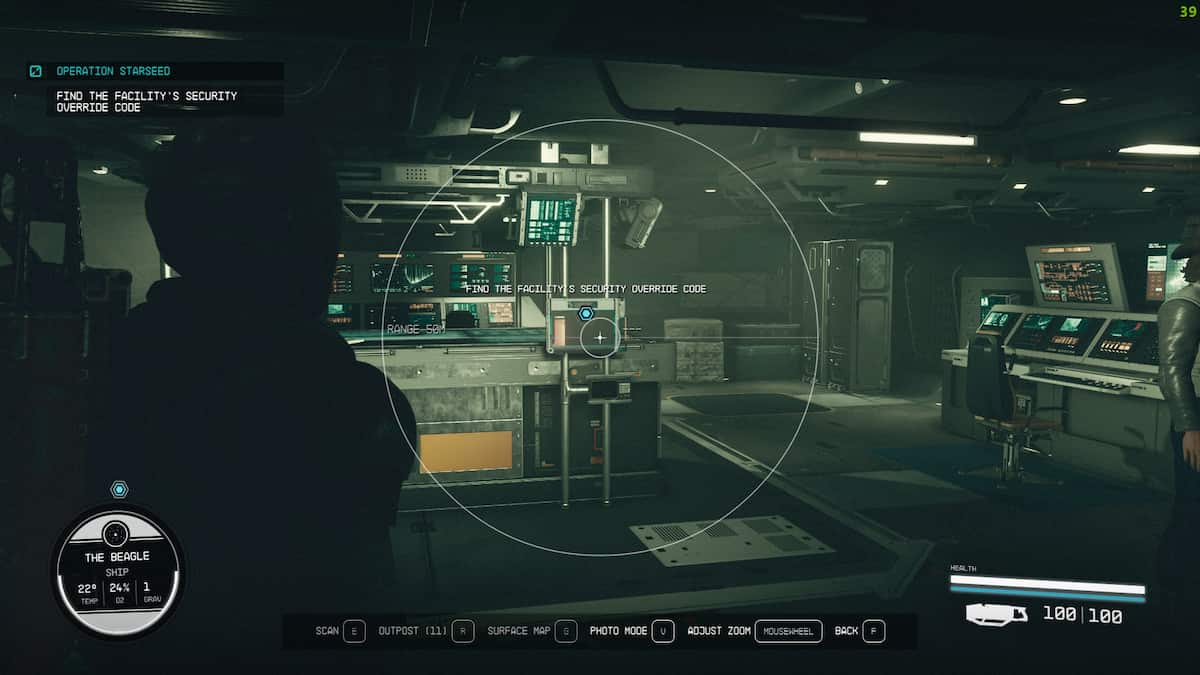
Follow the linear pathing to the interior hubs of the ship, and you'll come across the Beagle Datacore computer. Interact with the computer and select the download Security Override code option to extract the information.
Should you side with Genghis Khan, Amanirenas, or Roosevelt in Operation Starseed in Starfield?
After collecting the code, return to your ship and undock from the Beagle. Head back to The Crucible on planet Charibdys III. You'll return to see that the three leaders are calling for an emergency meeting as things are getting hostile at The Crucible. One of the leaders will declare war while the other two side together, depending on which character you select to share the Facility information with.
For instance, Roosevelt declares war if you share the Factory information with Genghis Khan. On the other hand, if you gave the note to Roosevelt or Amanirenas, Genghis Khan declares war at the meeting. Regardless of which leader declares war, you'll have to choose between the Pragmatists, Believers, or the Renegades.
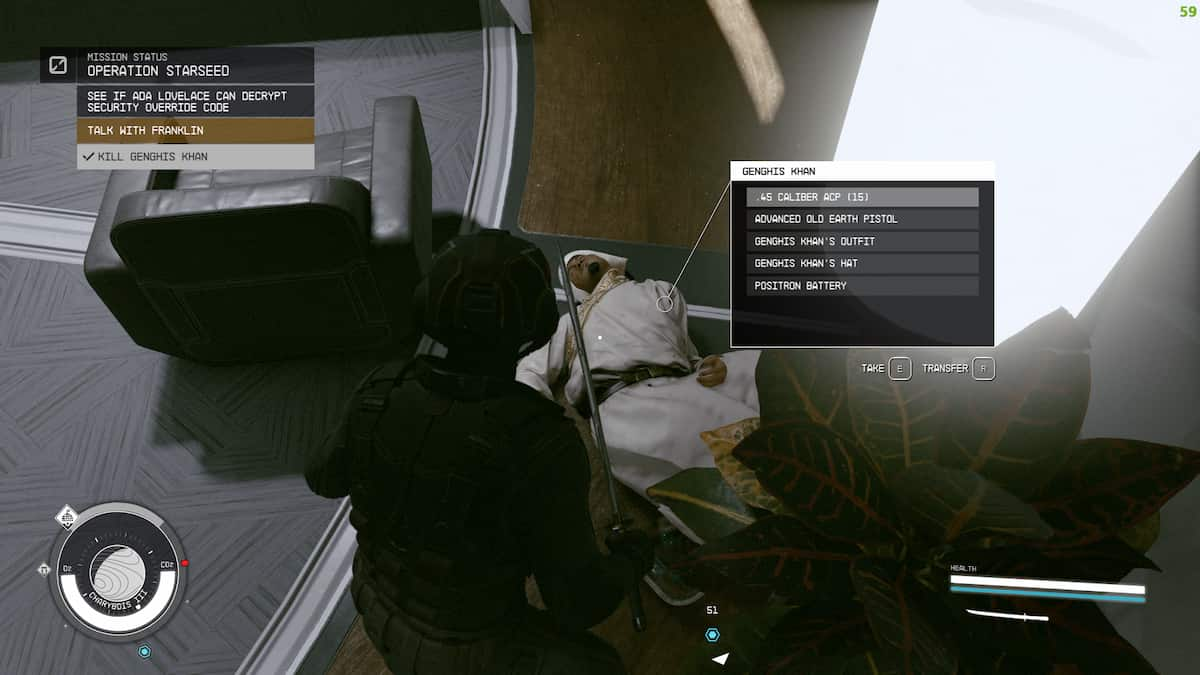
- Side with Roosevelt: Siding with the Pragmatists means you have to persuade Amanirenas to listen to Roosevelt's plea and stay at The Crucible for 20 years. However, Genghis Khan turns hostile and you must eliminate him to stop the war. Likewise, if you fail to persuade Amanirenas she will turn hostile as well.
- Side with Genghis Khan: Siding with the Renegades allows you to persuade Roosevelt to withdraw from the war peacefully. Similarly, you can persuade Genghis Khan against demolishing The Crucible. However, Queen Amanirenas must be executed as she turns hostile.
- Side with Amanirenas: Siding with the Believers is perhaps the best option where all characters get to live with a definitive outcome. Queen Amanirenas wants to leave the Crucible with her people, and you can persuade Roosevelt to stand down. Genghis Khan also aligns with this peaceful solution between the societies.

After deciding which leader to side with during the emergency meeting, speak to Ada Lovelace about decrypting the Security Override code. She decrypts the code and your next task is to return to the Facility.
Return to the Facility
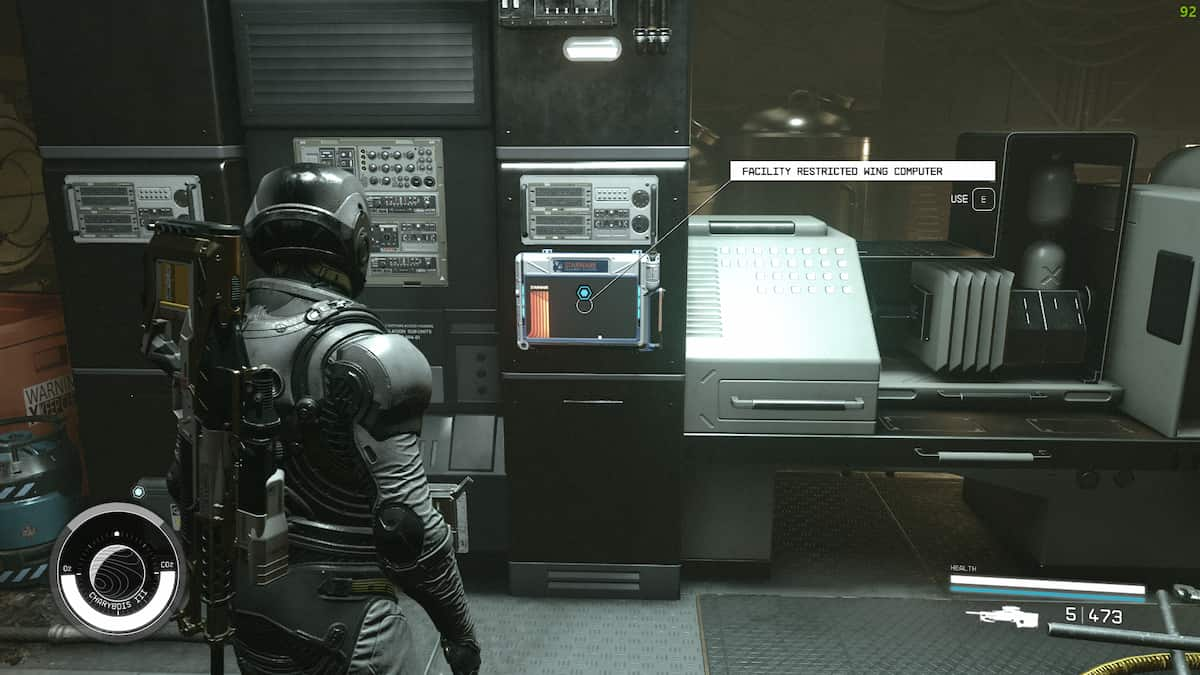
Get into the Facility and interact with the Restricted Wing Computer to gain access to a new area. Inside the Restricted Wing, you'll encounter various clone hostiles, turrets, and other enemies.

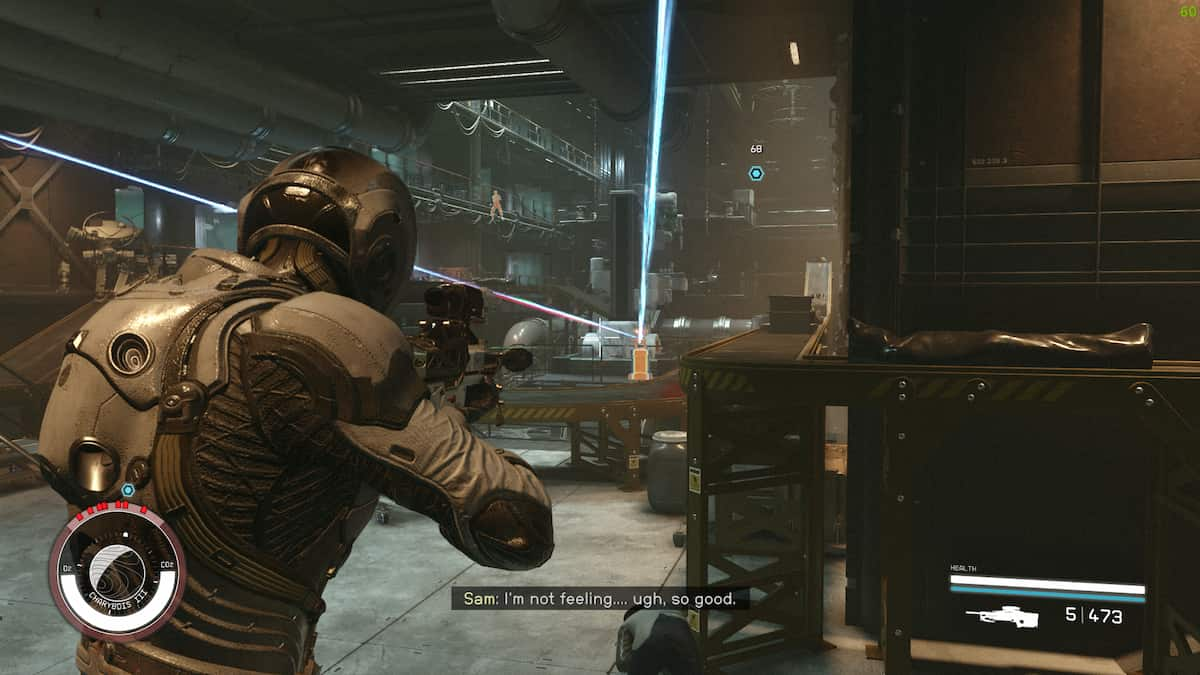
Enter through the corridor into the Restricted Wing and start eliminating the enemies. You'll come across a room with a circular underground area as shown in the image above. Jump into it to navigate further ahead through the complex.
There are several clone enemies and turrets inside the underground complex section, so be prepared for a fight. After defeating the enemies, use the stairs to get to the upper floors to access the Facility Datacore.
All outcomes in Operation Starseed in Starfield
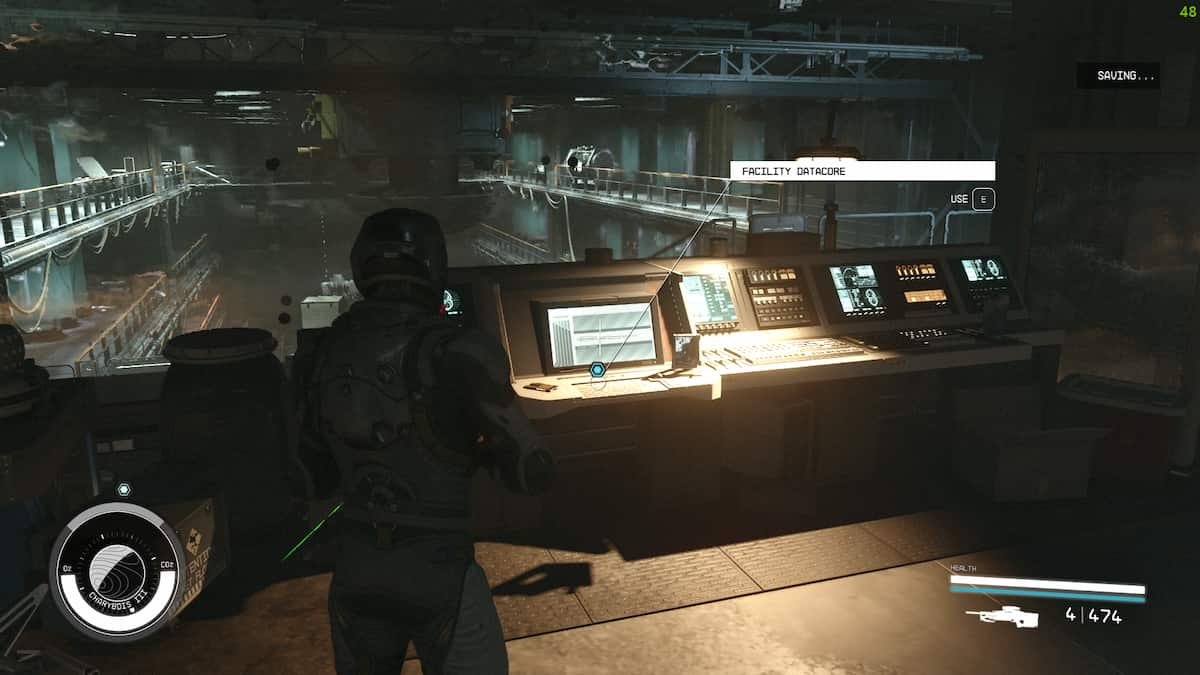
Once you reach the Facility Datacore, I recommend making a few game saves to explore all the different outcomes for the Operation Starseed mission. Here are all the choices and the rewards you'll get for completing the final objective of this mission:
Reboot and restore current Mission parameters
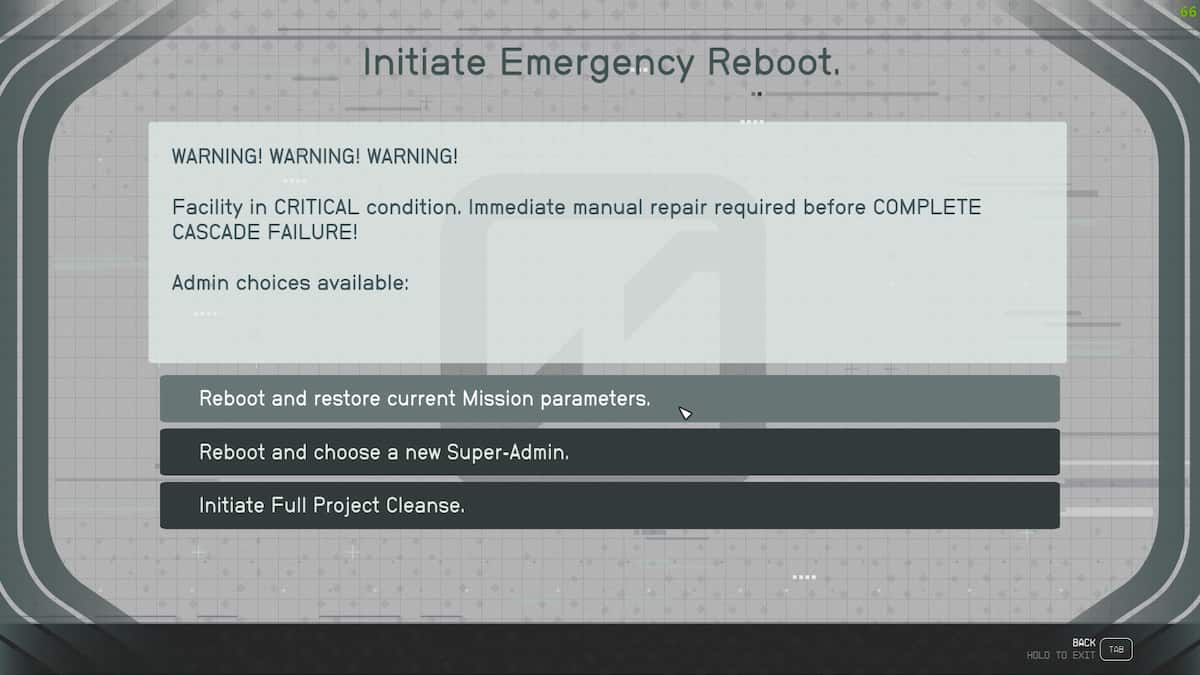
After interacting with the Facility Datacore computer, you can choose to reboot and restore current mission parameters to reset everything at The Crucible. You'll be rewarded with 3,000 credits, and you can return to The Crucible to recruit Amelia Earhart.
Reboot and choose a new Super-Admin
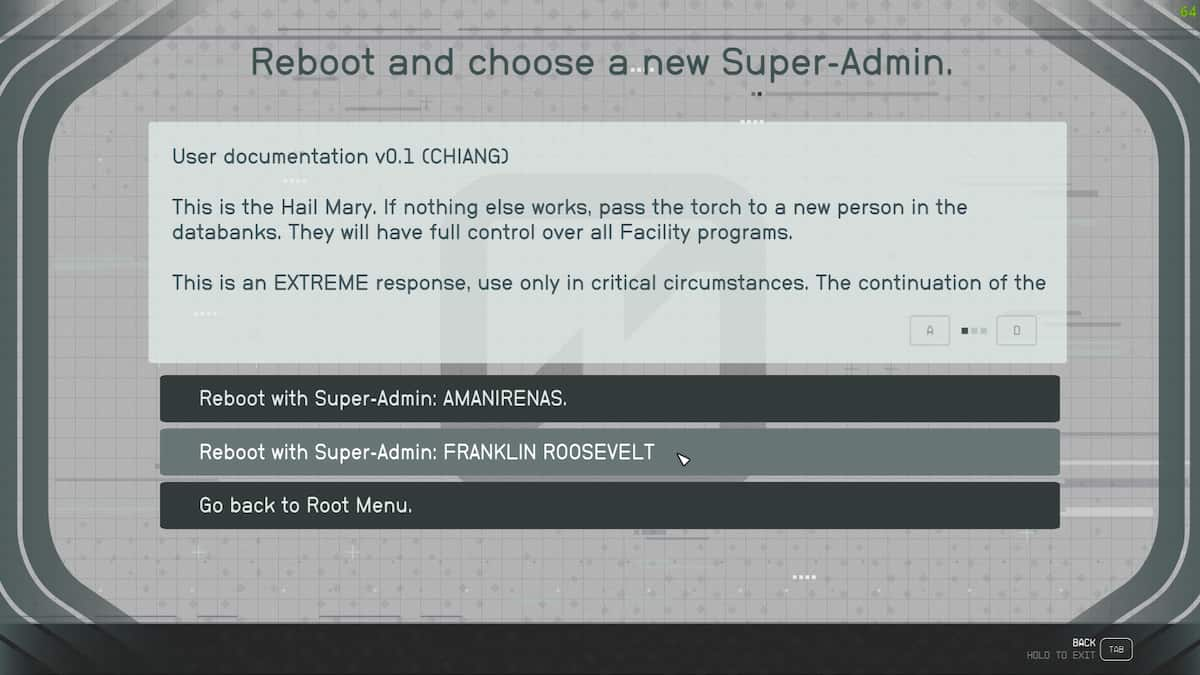
Choosing a Super-Admin allows you to give power to one of the societies at The Crucible. This is the most rewarding outcome since you'll receive 6,000 credits and can still recruit Amelia Earhart.
Initiate Full Project Cleanse
Initiating Full Project Cleanse is the worst outcome to choose during Operation Starseed as it eliminates all the clone NPCs at The Crucible. While you can return to this area to loot their bodies, you won't be able to access Wyatt Earp's shop or recruit Amelia Earhart. Selecting this outcome fetches 2,000 credits.
For more on Starfield here at Pro Game Guides, check out Best Weapons for Companions in Starfield or Can you reset skill points in Starfield.