
Dreams Beneath the Searing Sand is the fourth part of the Golden Slumber World Questline, detailing the archaeological team's expedition to the Khaj-Nisut. After finding clues in the area, you'll be asked to Pass the three trials, located west, north, and south of the area.
While you can do the three trials in any order, this guide will walk you through all the puzzle solutions to complete the trial west of Khaj-Nisut. You can find walkthroughs of the other puzzles below:
How to Pass the three trials (1/3) in the Genshin Impact Dreams Beneath the Searing Sand Sumeru World Quest

Start by gliding toward the quest marker west of Khaj-Nisut. You'll find a building with a pyramid-shaped entrance. Go inside to find a Control Unit above the stairs, which you need to interact with to open an entrance to the floor below.
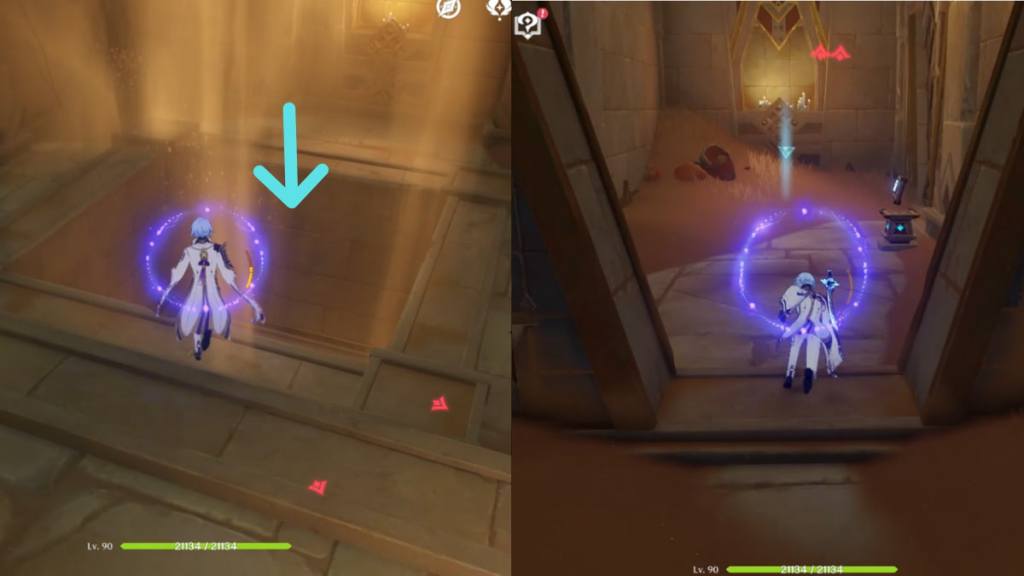
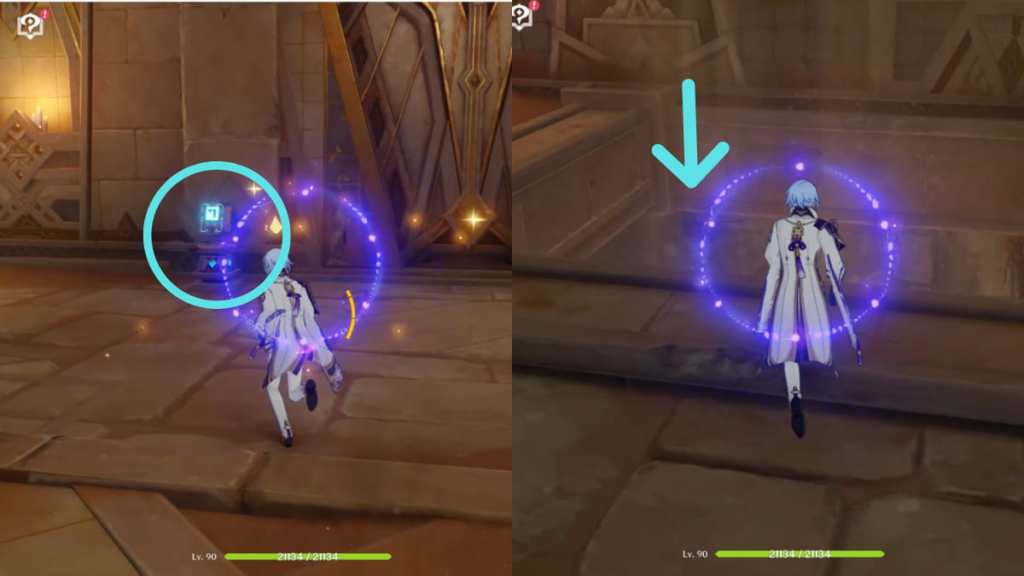
Turn right to find a hole in the ground. Ignore the sand current and jump down to enter the floor below, then head toward the next room, where you'll find a Forged Primal Light (blue pyramid) and a Control Unit. Pick up the Forged Primal Light and interact with the Control Unit to open the gate.
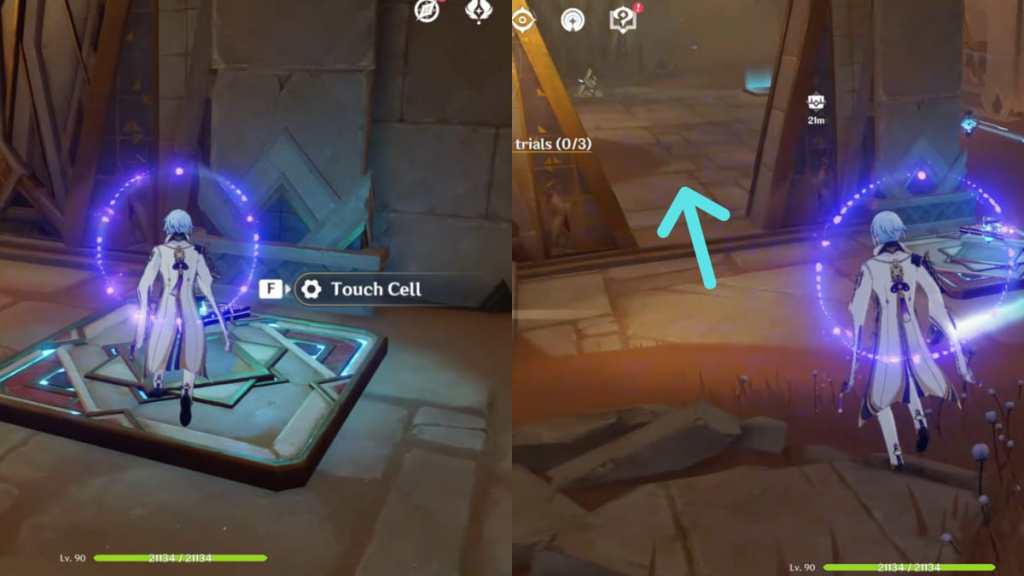
Enter the room and place the Forged Primal Light onto the platform. Then pick up the other blue pyramid in the room and place it on the second platform. This will spawn an Obscuring Cell, which you need to touch to make the wall on the right transparent, allowing the Primal Beam to pass through. Enter the next room via the entrance on the left.
Related: Genshin Impact: Best Artifact farming locations in Sumeru
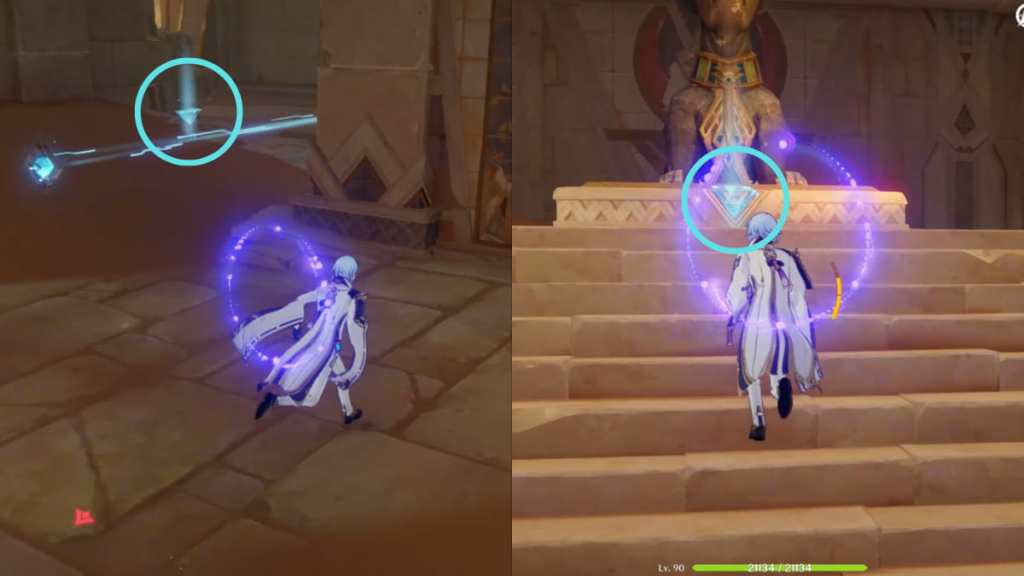
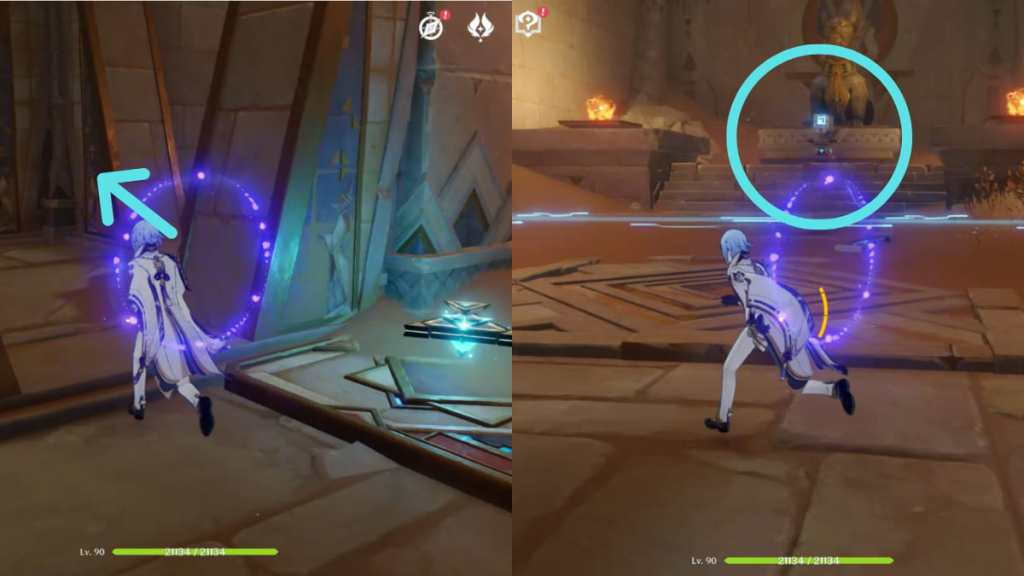
You'll find another Replicator Keystone puzzle with two platforms. You can find the Forged Primal Lights nearby: one is in the previous room and the other is on top of the staircase, in front of the statue. Place the Forged Primal Lights onto the platforms one at a time to spawn a yellow Verity Cell.
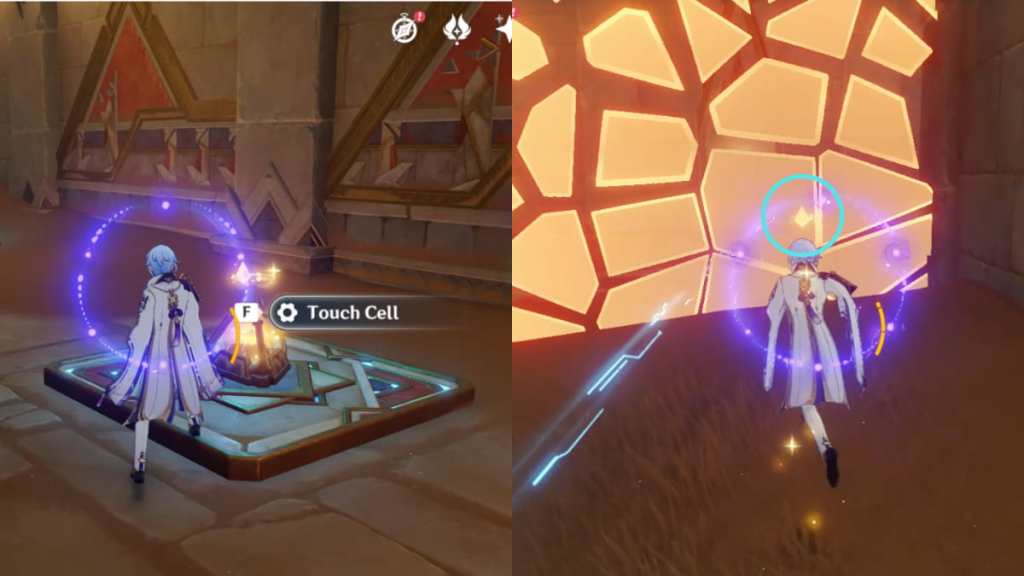
When you touch the Verity Cell, a yellow diamond will appear on top of your head. This will allow you to make invisible objects reappear. Approach the wall in front of the Primal Beam to make it reappear and open the gate on the left to enter the next room.
You'll immediately spot a Control Unit. Interact with it to open the gate and enter the next room. Inside is a hole in the ground with a sand current—jump down to get to the floor below.
Related: Which characters is the Missive Windspear good for in Genshin Impact?
There are three things in this room:
- A Primal Construct
- A locked Control Unit
- A glowing spot
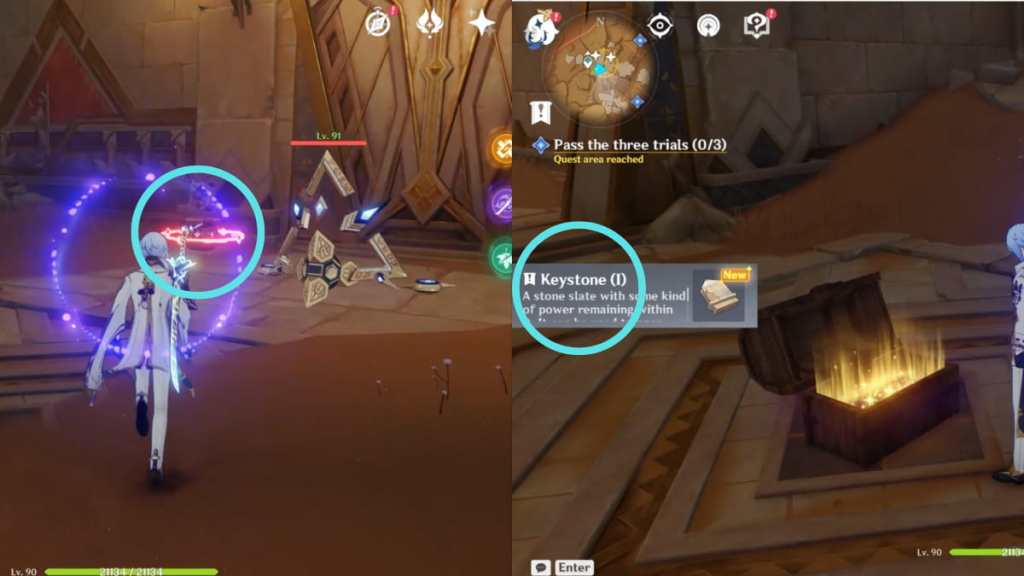
The glowing spot will lead you to the next exploration area, but you need a Keystone (I) to unlock the door. So start by defeating the Primal Construct to unlock the Control Unit. Interact with it to open the gate, revealing a Common Chest, which you then need to loot to get Keystone (I). Next, return to the previous room and head to the glowing spot to unlock the gate using Keystone (I).

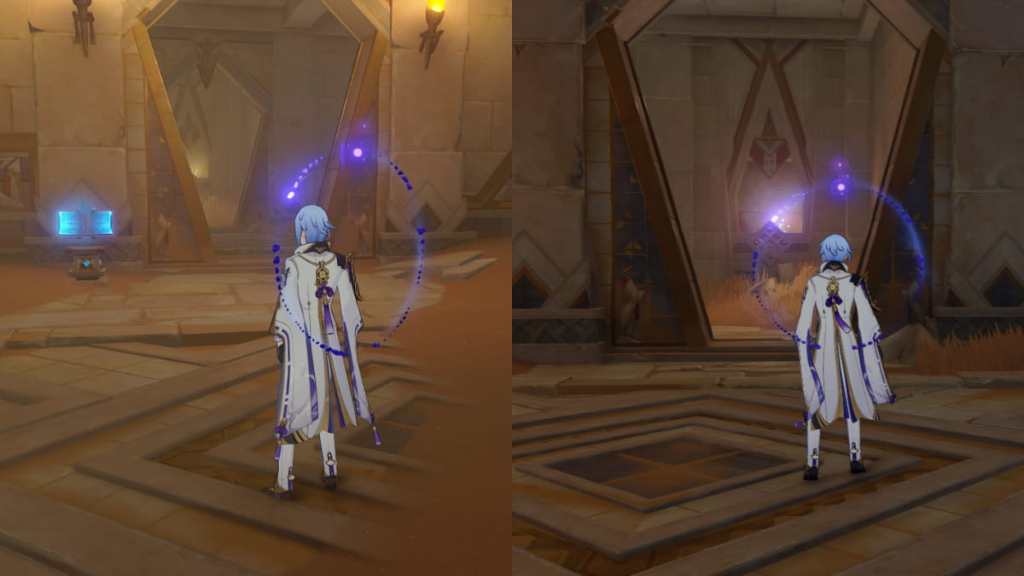
Turn right to find a Forged Primal Light and place it on a platform in the room. Then pick up the other Forged Primal Light on top of a pile and place it on the second platform. Once both devices have spawned, interact with the Obscuring Cell to make the wall in front of it disappear. Make sure to loot the Common Chest at the center of the room to obtain Keystone (II).
Return to the previous room with the sand current and enter the door beside the Control Unit. Once inside, head straight ahead to find a room with a Primal Construct and a glowing spot. Interact with the glowing spot to use Keystone (II) to open the gate, where you'll find the last Replicator Keystone puzzle inside. There's only one Forged Primal Light, so place it onto the platform to reveal an Obscuring Cell.
Touch the Obscuring Cell to reveal a door beside it. Go through the door to enter a large room, and turn right to find a Control Unit in front of a statue. Interact with it to pass the first trial.
Check out our Genshin Impact Garcia’s Paean World Quest guide to unlock a sequel in Sumeru.