The final Tier 5 Black Mous faction mission is one of the most time-consuming and complex missions in Call of Duty: Warzone DMZ. Crack The Code tasks you to acquire the special diamond-tipped drill and use it to open the Factory Safe. In this guide, I've shown in detail how you can complete this mission fast and with ease.
Crack The Code Black Mous Mission DMZ Walkthrough
Below are all the objectives for Crack The Code:
- Drill the safe in the Factory Wing using the diamond-tipped drill found in the keypad-locked room in the Alpha Cluster.
- Extract the note found inside.
Items required for this mission
Before we begin, I want to brief you on some items I recommend you take with you to Crack The Code:
- Top-tier gear: This includes powerful custom weapons, a level three vest, and a self-revive kit. I recommend bringing in the KV Broadside Shotgun as one of your weapons.
- Car Battery and Jumper Cables: Make sure to acquire these two items in Al Mazrah, as you'll need them to unlock the Alpha Cluster.
- Factory Admin Key: If you don't already have this key, you can find one inside the vents in the Chemical Plant section of Koschei Complex.
- Bomb Drone Killstreak: It's not necessary, but the Bomb Drone will allow you to kill the Rhinoceros and the Sniper in one hit. Take two of these if possible.
Now, deploy into Al Mazrah and then travel to Koschei Complex via the entrance of your choice. Make your way to the Chemical Plant section and equip your Night Vision Goggles for clear vision.
Where to find the R4D Detector and Factory Admin Key
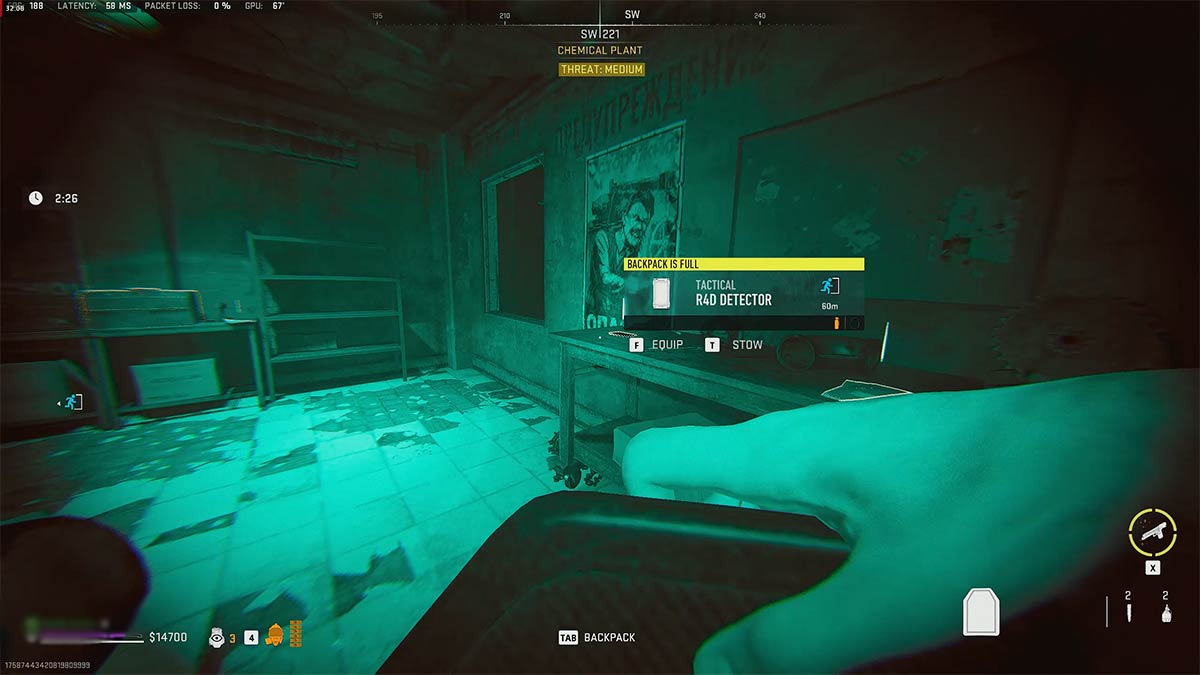
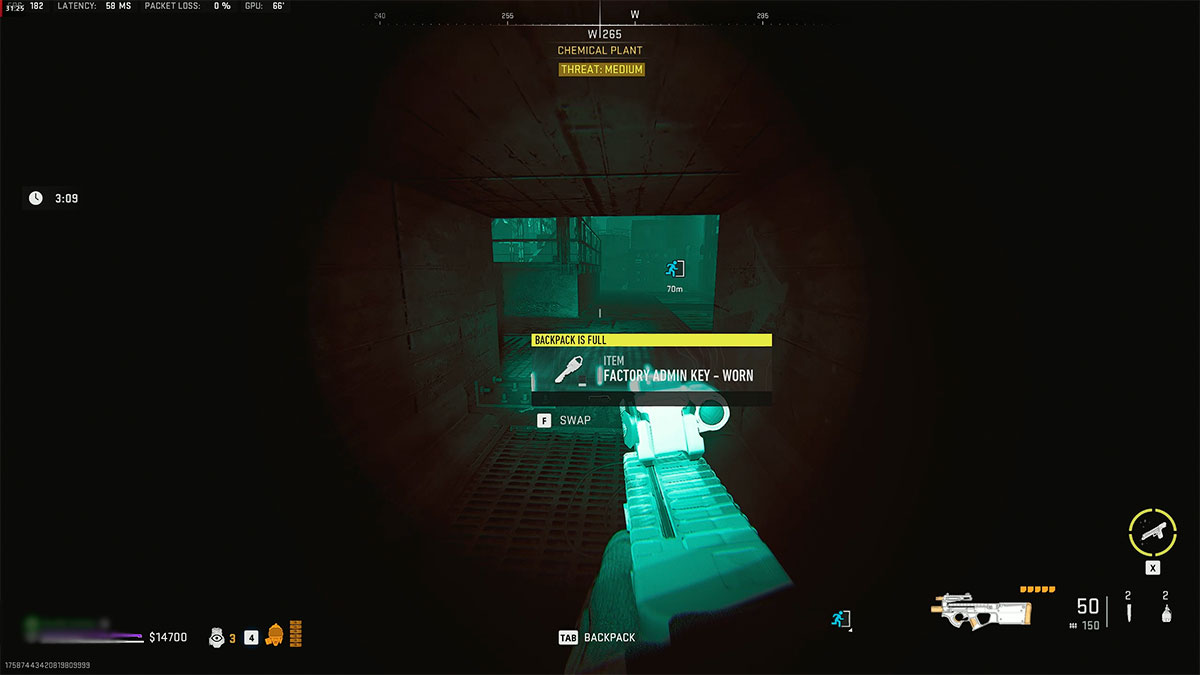
To solve the puzzle of the keypad-locked room inside Alpha Cluster, you'll need the R4D Detector tactical equipment. This gadget can be found inside the two small office rooms in the Chemical Plant section. Also, get your hands on the Factory Admin Key that should be sitting somewhere in the nearby vents.
Where to find the Alpha Cluster and how to unlock it
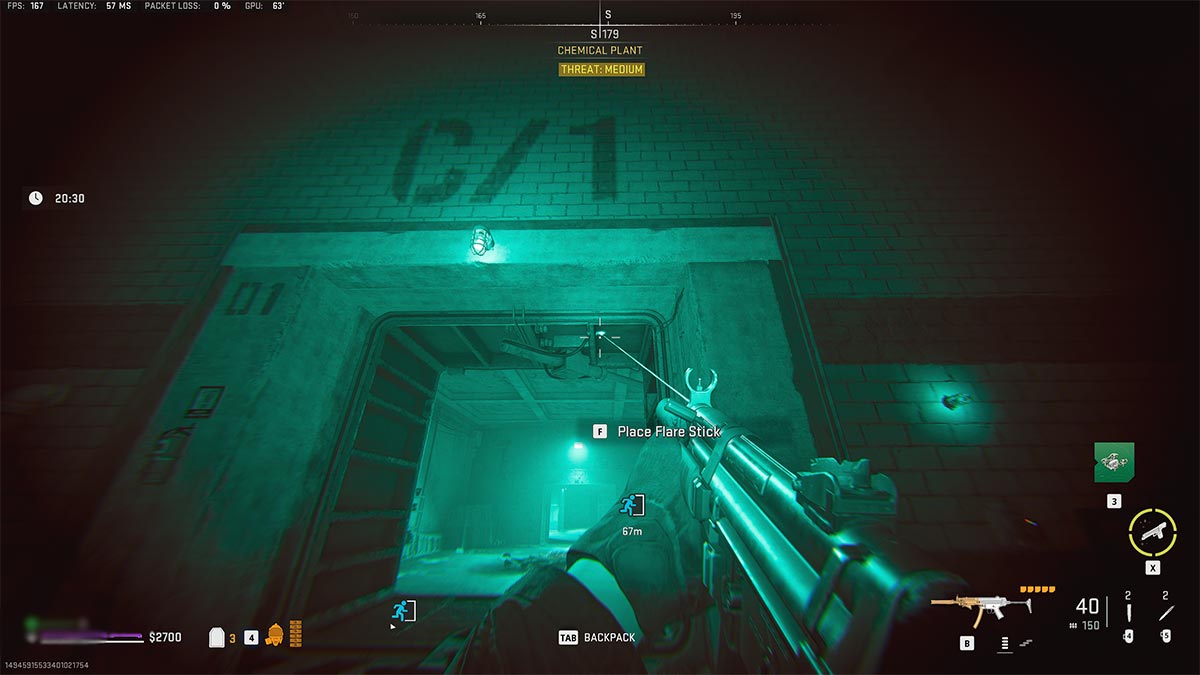
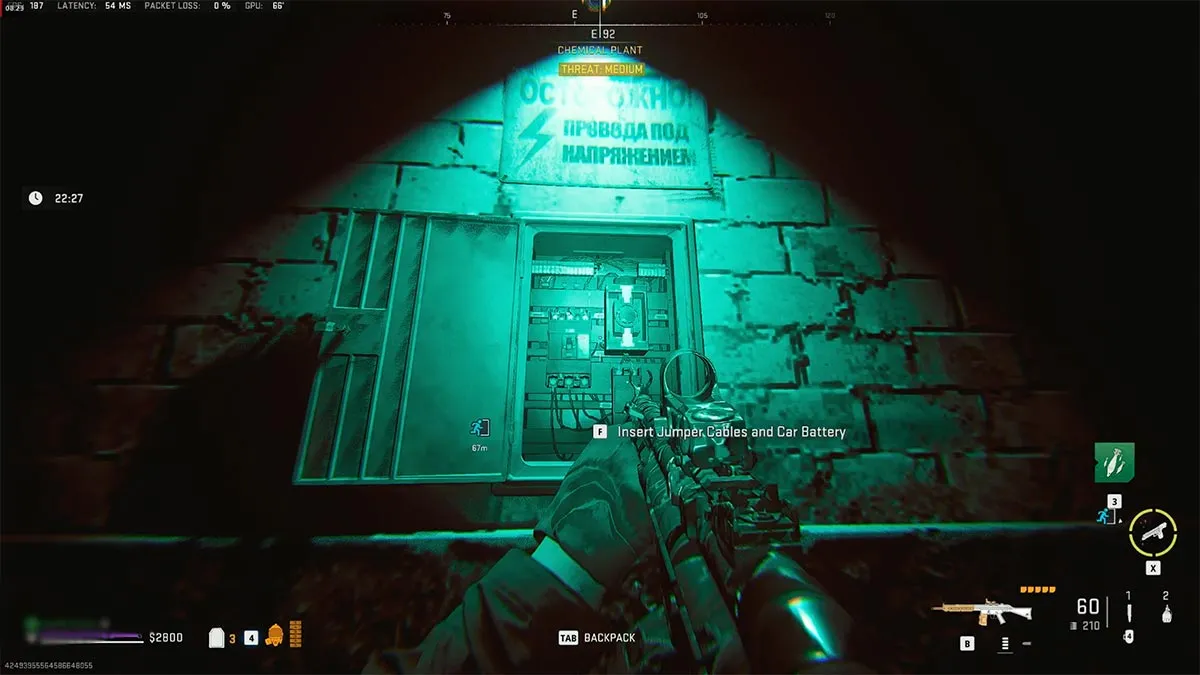
Once you have the required items, head in the south direction until you come up on Bunker Door C/1 or C/2. Between these doors, you'll find a breaker panel where you need to place the Car Battery and Jumper Cables you brought with you. This will power up the bunker doors, which you can then unlock to access the Alpha Cluster.
How to get the diamond-tipped drill from the keypad-locked room

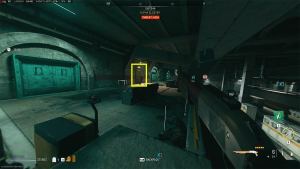
Make your way inside the Alpha Cluster, and at the west end of the sector, you'll find two sentry turrets guarding an area. Take out the guards and the turrets and approach the keypad-locked room, as shown in the first image. Scan the keypad next to the door with your R4D Detector, and you'll see three symbols. To decipher these symbols, look for chalkboards around the Alpha Cluster and scan them using the R4D Detector.
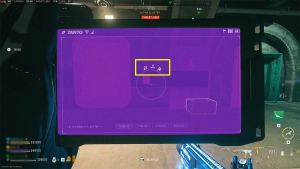
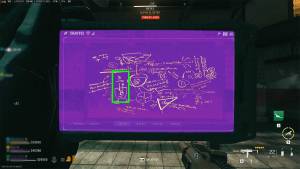
Each chalkboard has a symbol, and it may or may not be the one you need to decipher. If you find a chalkboard with one of the symbols you need to decode, note the number associated with it. In my case, the digit for the first symbol B was 5 as you can see in the last picture. Also, beware of the laser traps and guards while exploring the area.
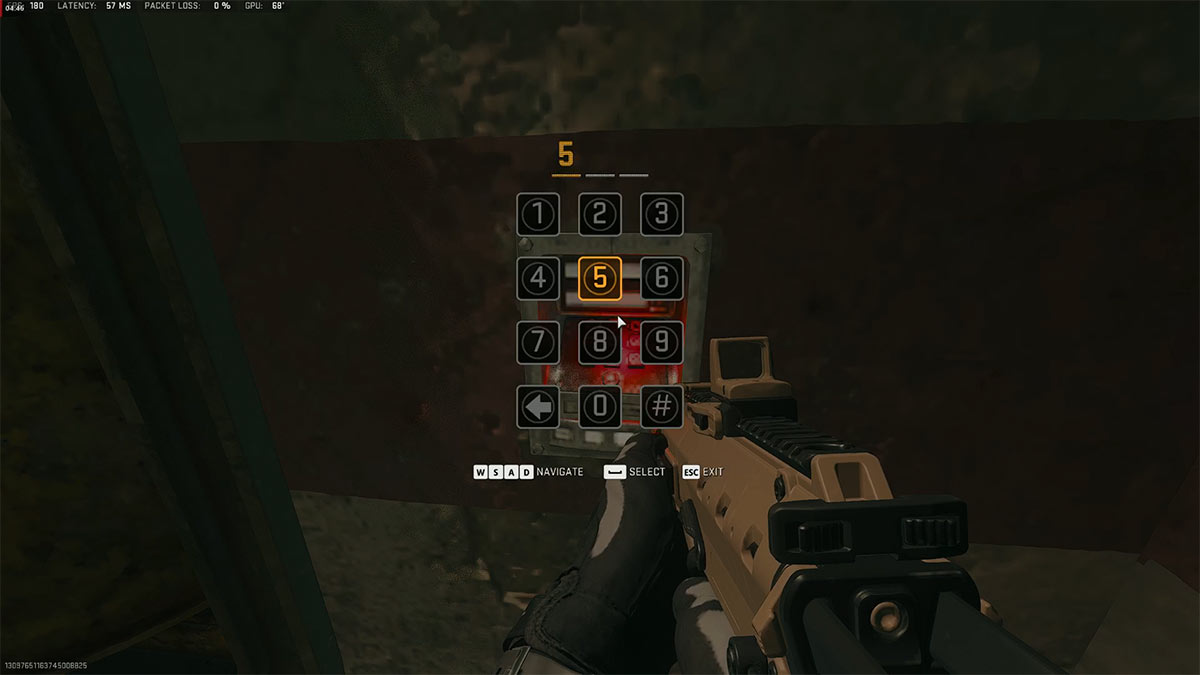
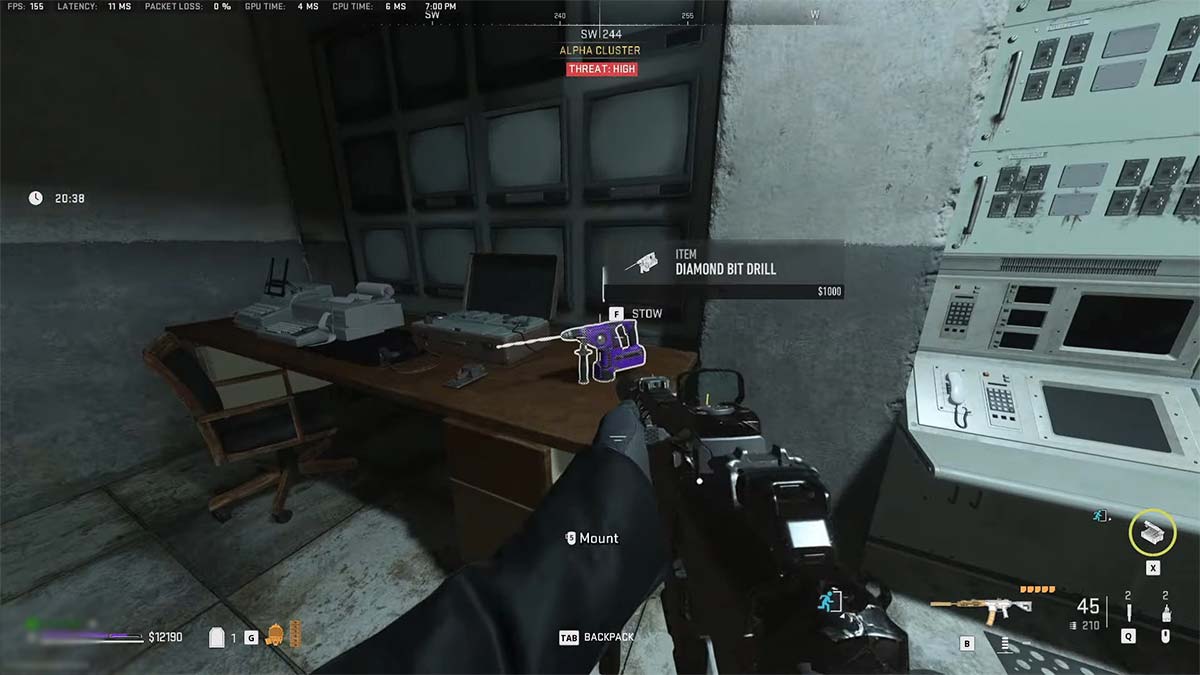
Once you have decoded at least two of the symbols, go back to the keypad-locked room and try to unlock the door by guessing the third digit that you don't know. For instance, I knew the first two digits were 5 and 7, so I started using numbers from 0 to 9 for the third code until I finally unlocked the door. Now, pick up the Diamond Bit Drill from the table and head back out of the Alpha Cluster. You can also take the Heated Madness blueprint part from the room.
Where to find the safe in the Factory Wing
In the north end of the Chemical Plant, you'll find Bunker Doors A/1 and A/2. Enter either one of these airlocks and use the Factory Admin Key to unlock the yellow door. This will lead you to the Factory Admin section, where you can access the Shopkeeper buy stations. I highly suggest you fill up your backpack with munition boxes and armor plates, as you'll need them soon.

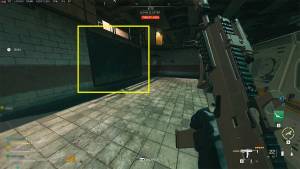
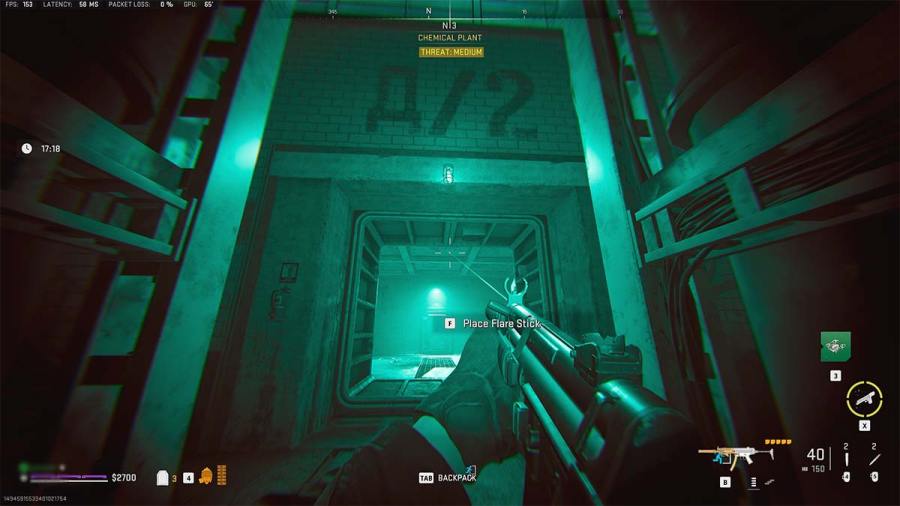
Proceed further inside the area while fighting off bots, and you'll eventually reach the Factory Wing. This is the section where the Rhinoceros and the Sniper are held up. While the Rhino will be on the same level as you, the Sniper resides one floor above that you can access only via the door you can see in the image above.
Now, you can take out the Rhino in one magazine of the KV Broadside Shotgun if you have the 25 Round Drum mag and Dragon's Breath attachments on it. Make sure to shoot him up close and be prepared to take some damage.
Alternatively, the easiest way to take the boss out is by using the Bomb Drone killstreak. Sit in a safe spot away from the bots and fly the Bomb Drone close to the Rhino before detonating it. Similarly, use the second Bomb Drone, if you have it, to kill the Sniper hiding on the top floor.
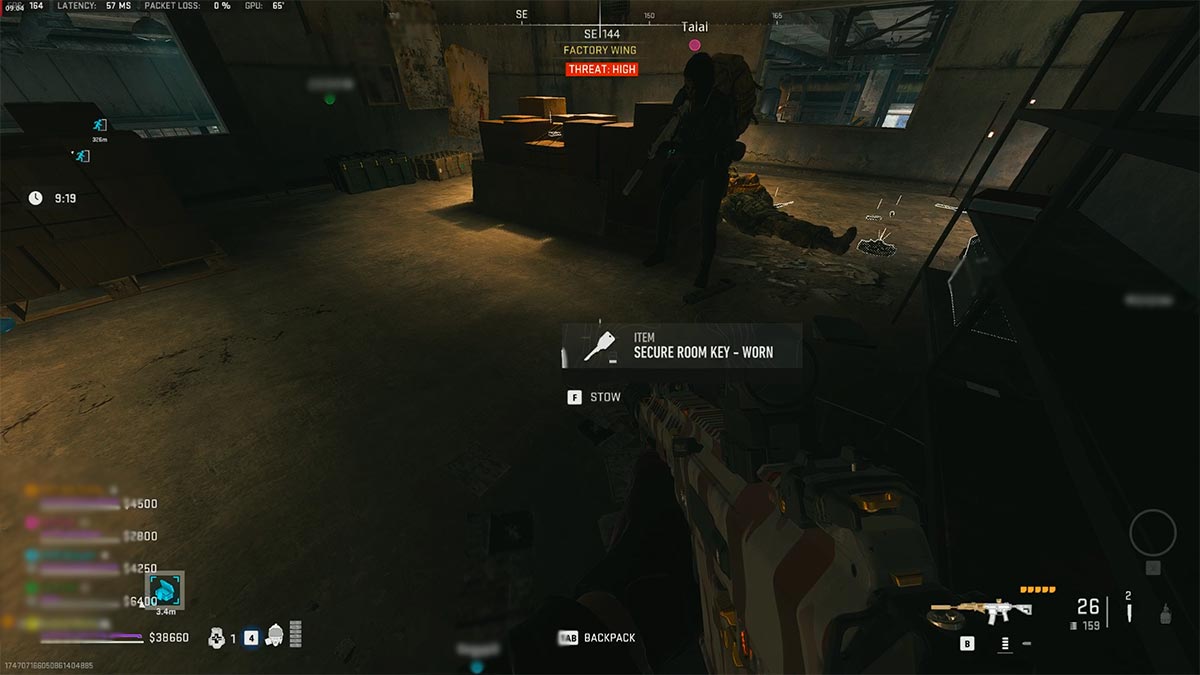
Once the Rhino is down, take the stairs up and carefully dodge and disable the laser traps. Now, kill the Sniper if you don't have the second Bomb Drone. Once the Sniper is down, he'll drop a Secure Room Key. Grab this key, and the Secure Room will be marked for you. But for this mission, you don't even have to unlock that door as the factory safe sits in the corner outside the room (see image).
How to drill the safe in the Factory Wing
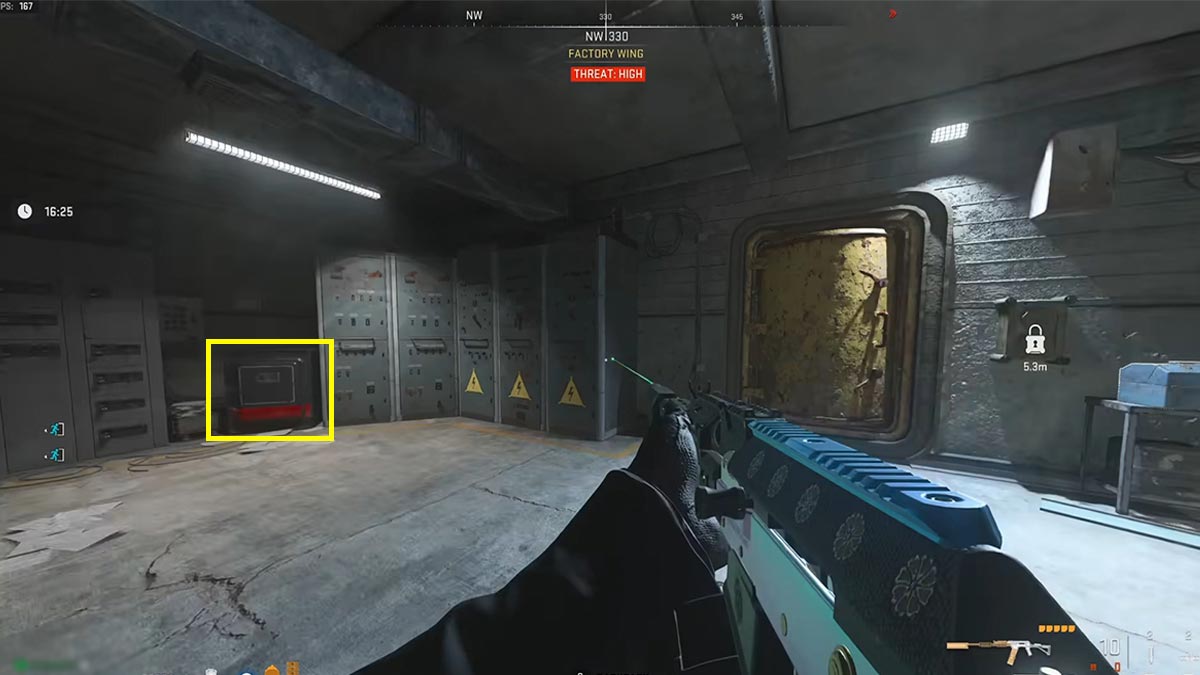
The next part is simple, just approach the safe and press the interact button to start drilling. Remember, this is only possible while you're carrying the diamond-tipped drill from the Alpha Cluster. Wait until the drilling process is over for the safe to open. Inside the safe, you'll find three types of vests, Dr. M's Lab Notebook and Bunker Safe Note.
I stowed both the notebook and safe note into my backpack just in case. Once you've picked up the two items, all you have to do is exfil from Koschei Complex to complete the Crack The Code mission. I suggest using the L2 Restricted Zone inside Factory Wing to extract as it'll be safer than the Chemical Plant exfil elevator.
Stay tuned to Pro Game Guides for more Call of Duty: Modern Warfare 2 and Warzone 2 content. In the meantime, head over to our article on Explosives Sourcing DMZ Mission Guide.